-
Here’s how to turn a chain into a lariat that holds your wireless ear buds
Wireless headphones allow you to roam freely, but they can also get lost easily, so here’s a tutorial that shows you how to make a chain that holds your headphones, can can also be worn as a lariat necklace when you’re not using it. How handy? Please note that this tutorial contains affiliate links for which this website may receive a commission.
You’ll need the following tools and materials to make this lariat.
1: A chain. I used this silver tone snake chain that is quite long. Make sure you have some jump rings to add to either end or that the chain necklace already has them in place.

You can get a similar chain here:
You can purchase jump rings here:
2: Two hair elastics.

You can get some here:
3: Wireless earbuds. Hopefully you already have these 😉

Follow these steps to make your headphone holder lariat:
1: Take one of the hair elastics and slide it through the jump ring at one end of the chain.

2: Loop one end of the elastic through the other and pull it tight around the end of the chain. Add a knot above it to secure the elastic in place.


3: Add a knot in the middle of the elastic, make it sit closer to one end so that it is small enough to sit tightly around your ear bud.

4: Repeat steps 1-3 for the other end of the chain.


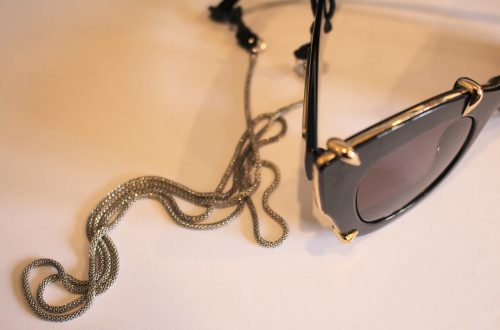
Once you have both elastics in place, your ear bud holder lariat is ready to use. Slide the elastic around each of your ear buds and pop them in your ears. When The ear buds are in use, the chain will hang around your shoulders like a glasses chain, when you are finished, you can pull the ear buds out of your ears and loop the chain around your neck like this. So handy!


If you want some other ideas for how to keep track of your headphones you can check out these tutorials.
-
Get Hands-Free and Stylish with a DIY Crochet Phone Wrist Strap: Follow our Step-by-Step Tutorial Now!
It’s great to keep track of your phone without having to old it in your hands all the time, strap on this crochet wrist strap to ensure you don’t lose yours! This tutorial is a beginners crochet tutorial, and the results are pretty cool! Please note that it contains affiliate links.
You’ll need these tools and materials to make your crochet phone strap:
1: Some yarn or thread. I used this beaded thread.

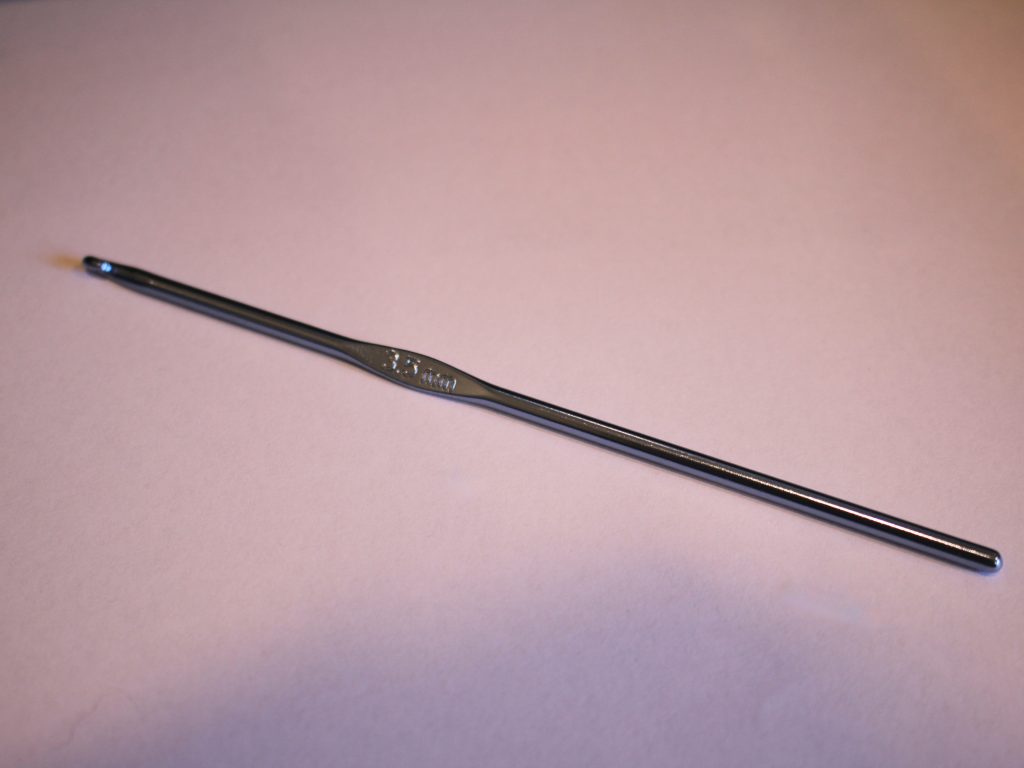
2: A crochet hook. I used this 3.5mm hook, If you like the loose look you can see in this tutorial, this size is fine for the thickness of thread I used, but if you want it to be tighter, try using a smaller crochet hook.
3: Scissors.

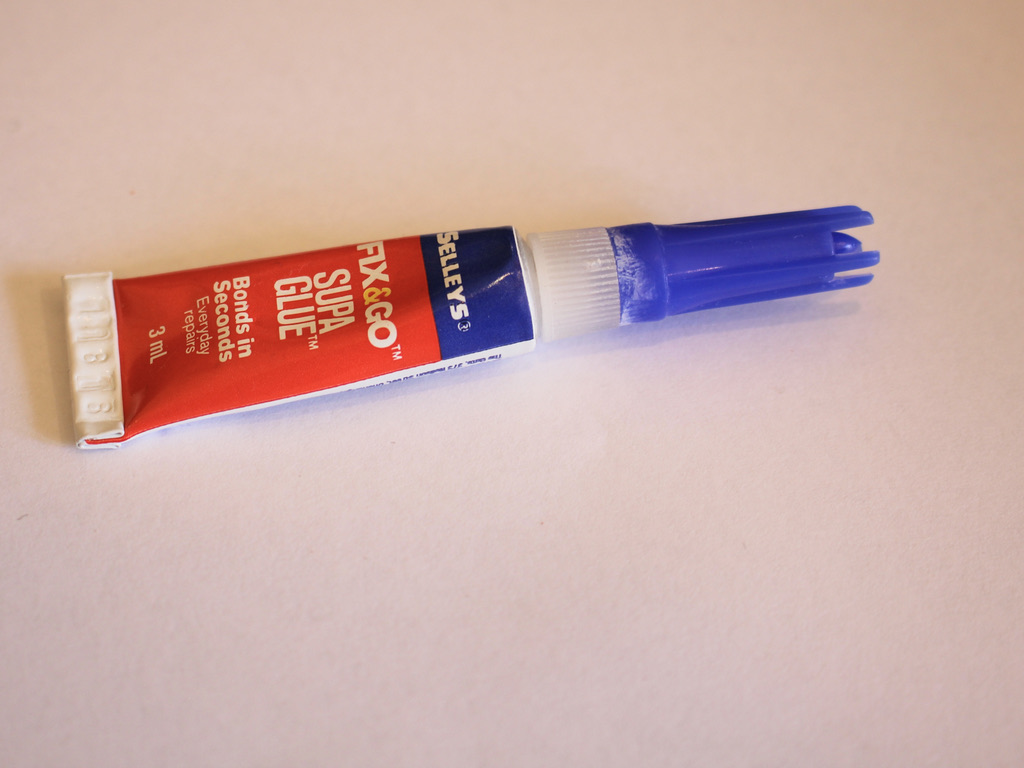
4: Super Glue.
5: A phone strap keychain.

Follow these steps to make your cute crochet wrist strap:
1: Take your chosen yarn and create a slip knot.


2: Slide the knot over the crochet hook and then pull it tight.

3: Take the long end of the yarn and loop it over the crochet hook in front of the first loop you added.

4: Take the first loop and pull it over the second loop and off the crochet hook. You can find a video demonstration here.

5: Repeat steps 3 and 4 until you have a length of crochet chain you like. I made mine about 30cm long but you might want to make yours longer or shorter depending on your wrist size.

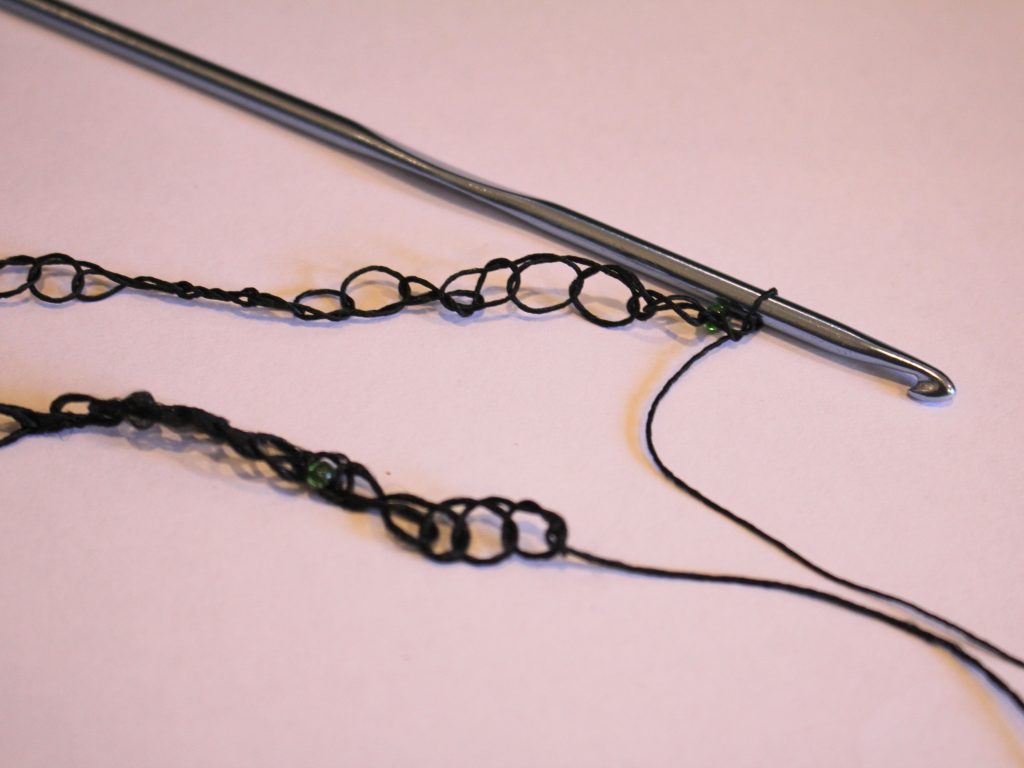
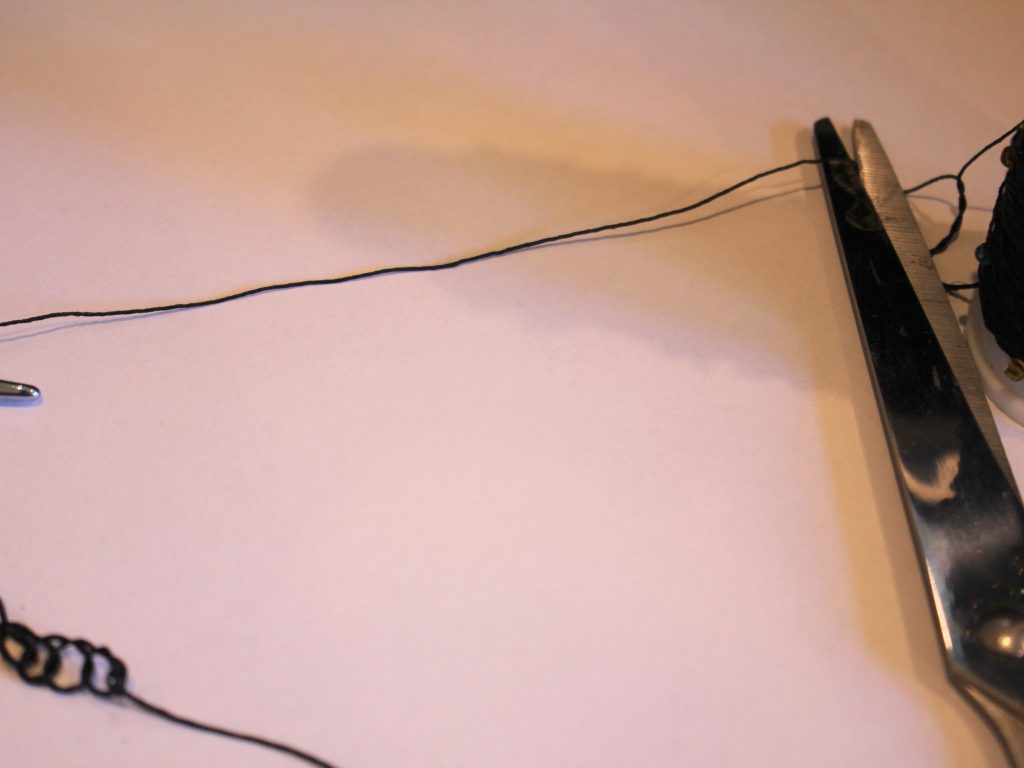
6: Once you have a length you like, cut the end of the yarn so that you have a 12cm tail.
7: Take the final loop off of the crochet hook and thread the tail through the loop pulling it tight to secure it.


8: Knot the ends of the crochet chain together.
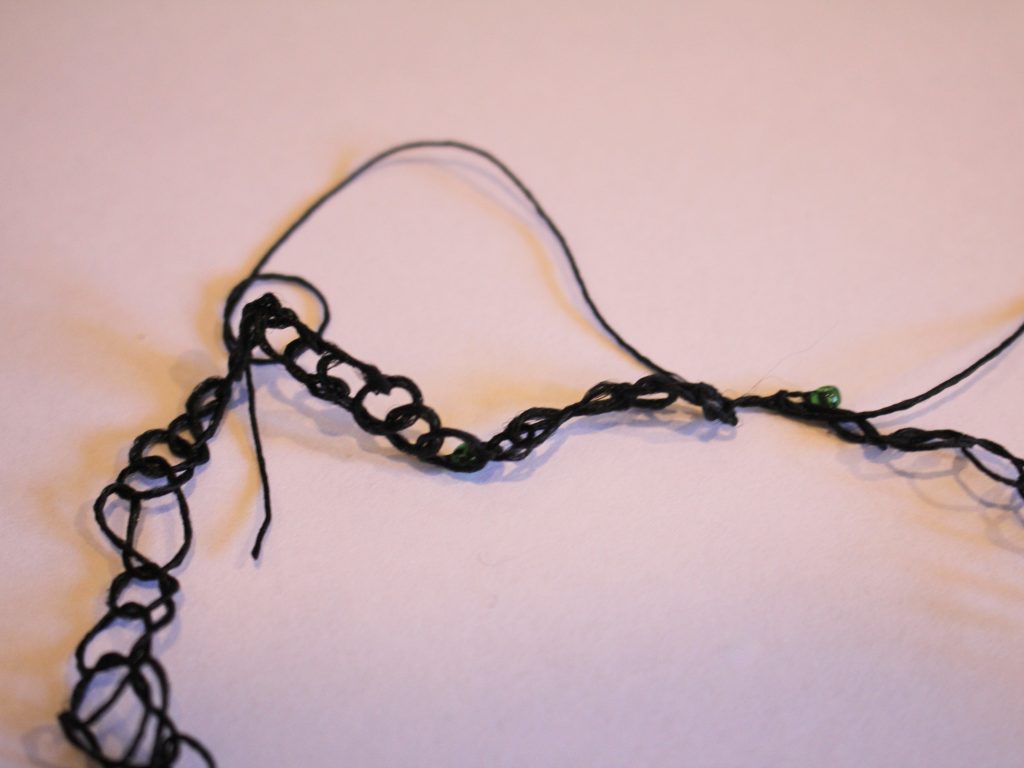

9: Thread the yarn through the jump ring on the keychain and create a few knots to secure it.


10: Trim the ends of the yarn and add a dab of superglue to secure it.


Now your crochet phone wrist strap is finished and ready to use! How fun?!
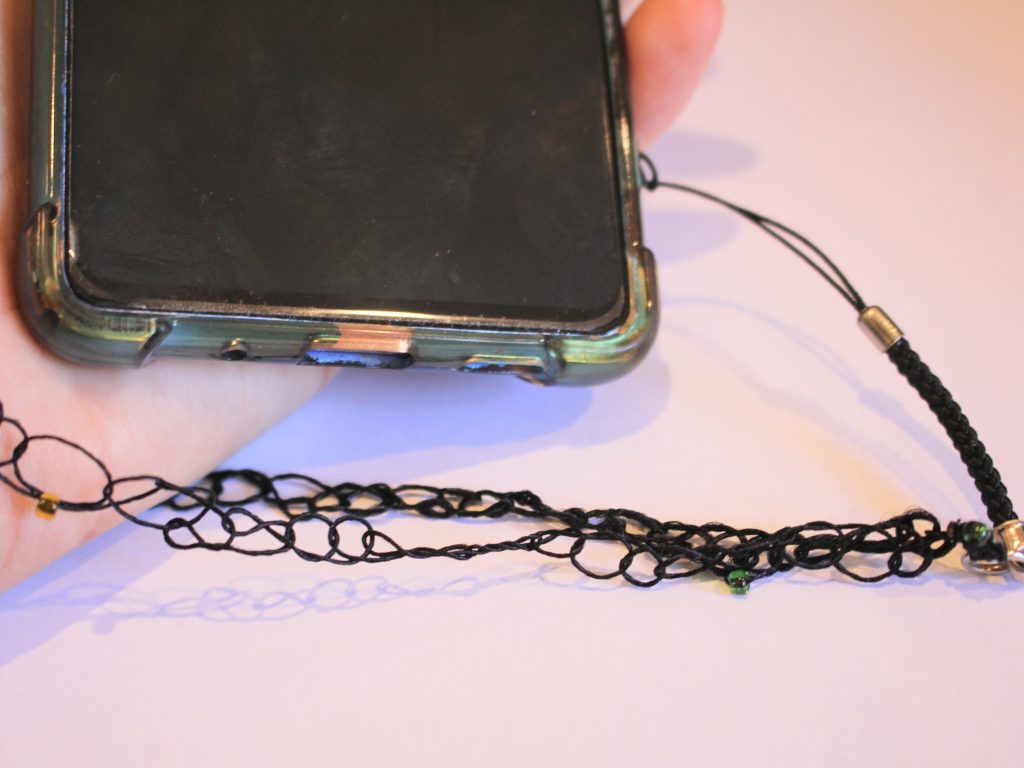

Here are some other wrist strap tutorials to follow:
1: A chain and rhinestone phone strap
3: This simple chain phone strap
4: A tutorial that shows you how to transform a necklace into a phone strap.
-
Here’s how to make a glasses chain using an old necklace and some hair elastics!
Sometimes I like to MacGyver some things together to make something far more useful, this is one of those times. I needed a sunglasses chain for an upcoming trip where I definitely didn’t want to lose my glasses. In the past I’ve made glasses chains using specialised findings, but I found that the rubber would wear out and break very quickly, so I wanted a more durable option… cue hair elastics! By tying some hair elastics cleverly, I’ve now got a stylish glasses chain that is far more long lasting than my old rubber pieces. How cool!?!
Please note that this tutorial contains affiliate links.
You will need the following tools and materials to make your glasses chain:
1: Two thin hair elastics.

2: A long chain that you don’t use anymore. I used this snake chain costume jewelry necklace.

3: Some flat nose pliers for opening and closing jump rings.

Here are the steps to make your own handy glasses chain using hair elastics:
1: Using your pliers. Remove the clasp and any additional hardware from the jump rings on either end of the chain.

2: Close the jump rings.

3: Take one of the hair elastics, fold it in half and thread it though one of the jump rings at the end of the chain.

4: Loop the other end of the elastic through the loop that you just threaded through the jump ring and pull it tight.


5: Create a knot above the loop you just made to secure the elastic on the jump ring.

6: Now find a spot near the middle of the elastic, but closer to the open end of it, and create a knot. You might need to make it closer to the end of the elastic or further away depending on the width of your glasses arms.
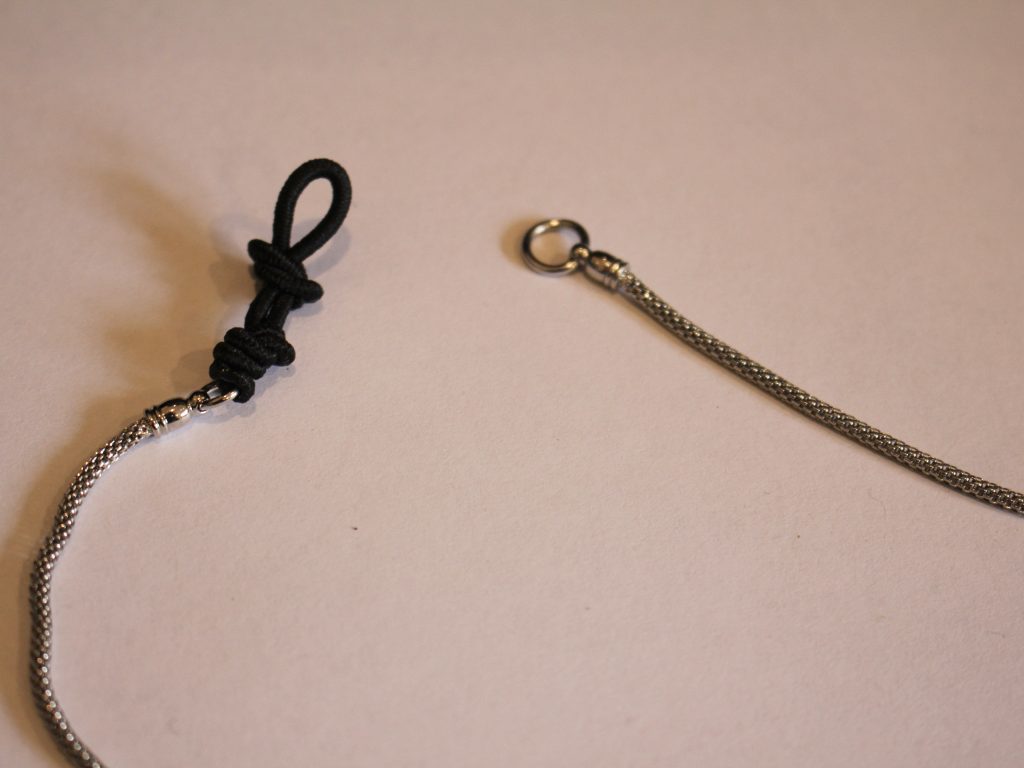
7: Repeat steps 3 to 6 for the second elastic to complete the glasses chain.
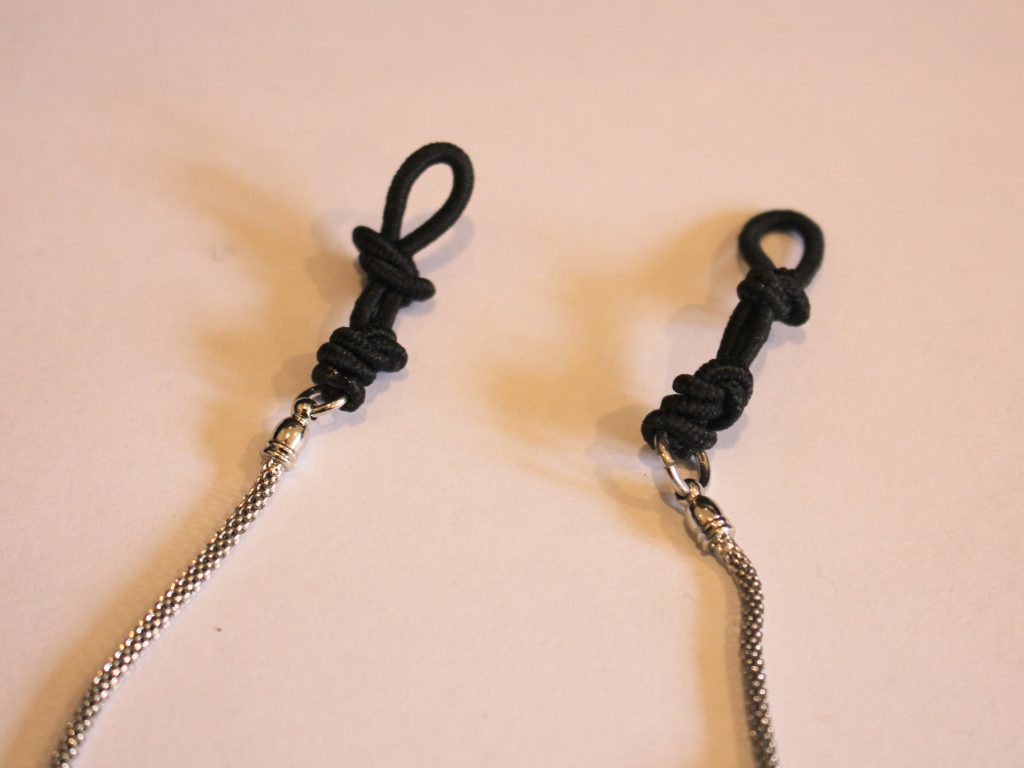
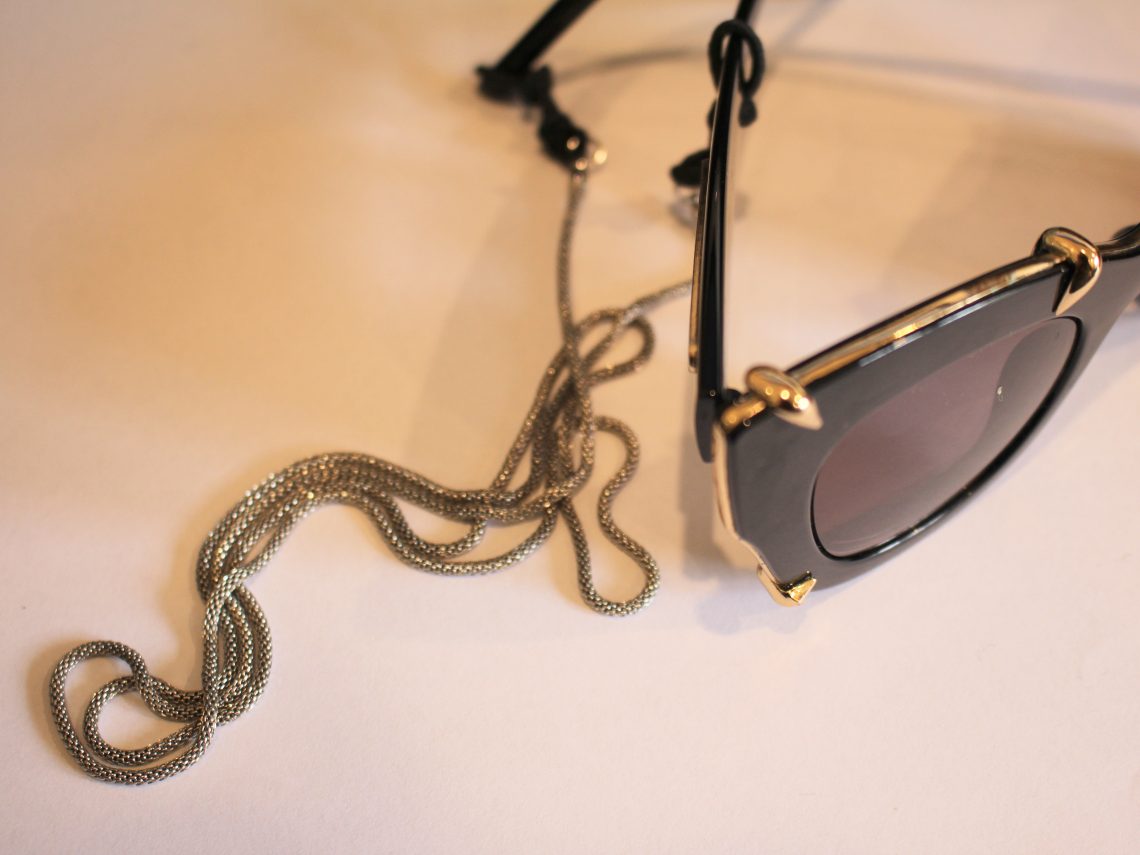
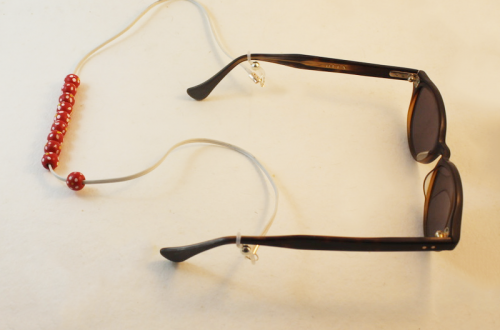
Once you have both elastics in place your glasses chain is ready to use! Here’s my finished chain.
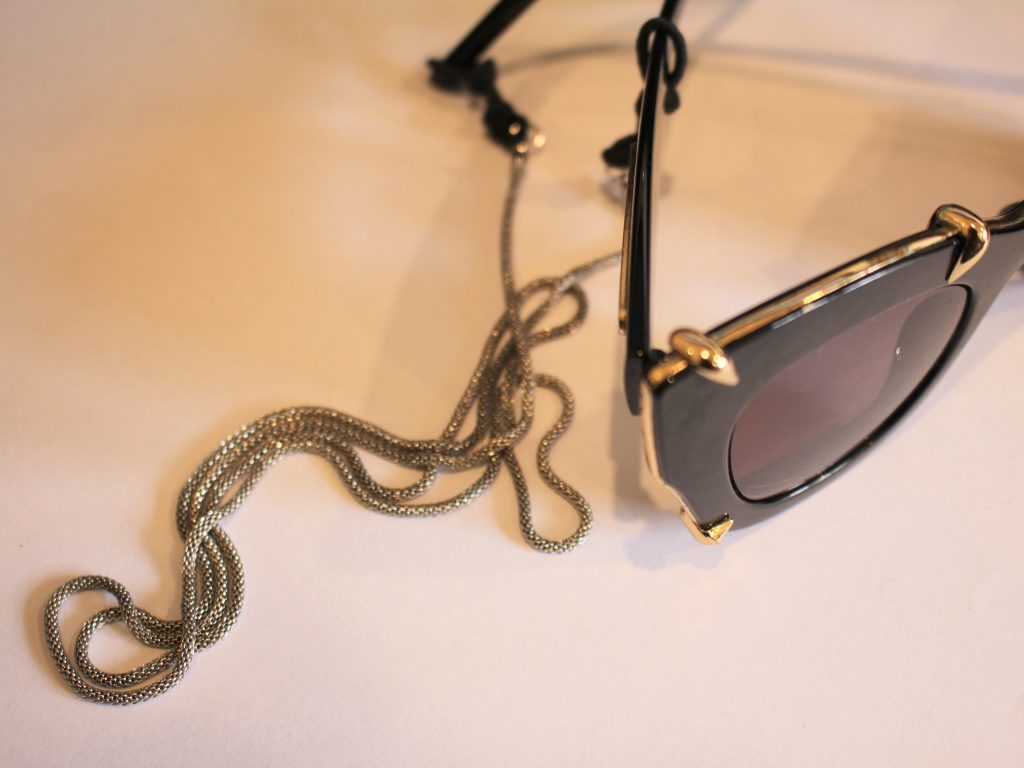
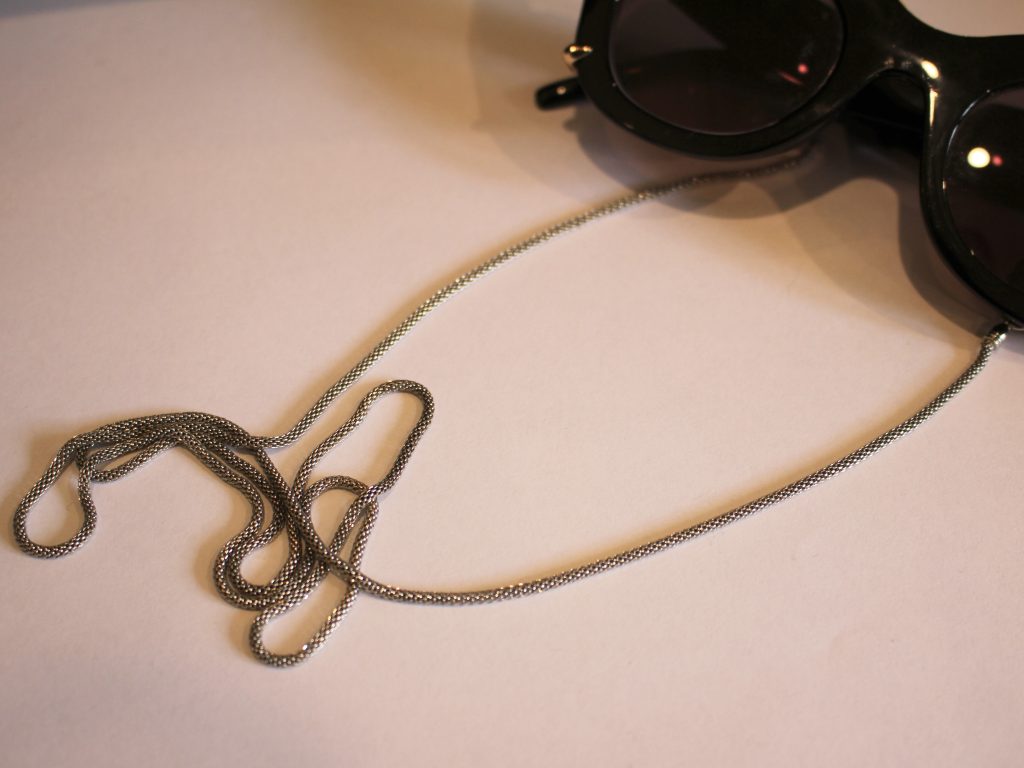
And here are some more I made:
This one was made with a handmade beaded copper chain.
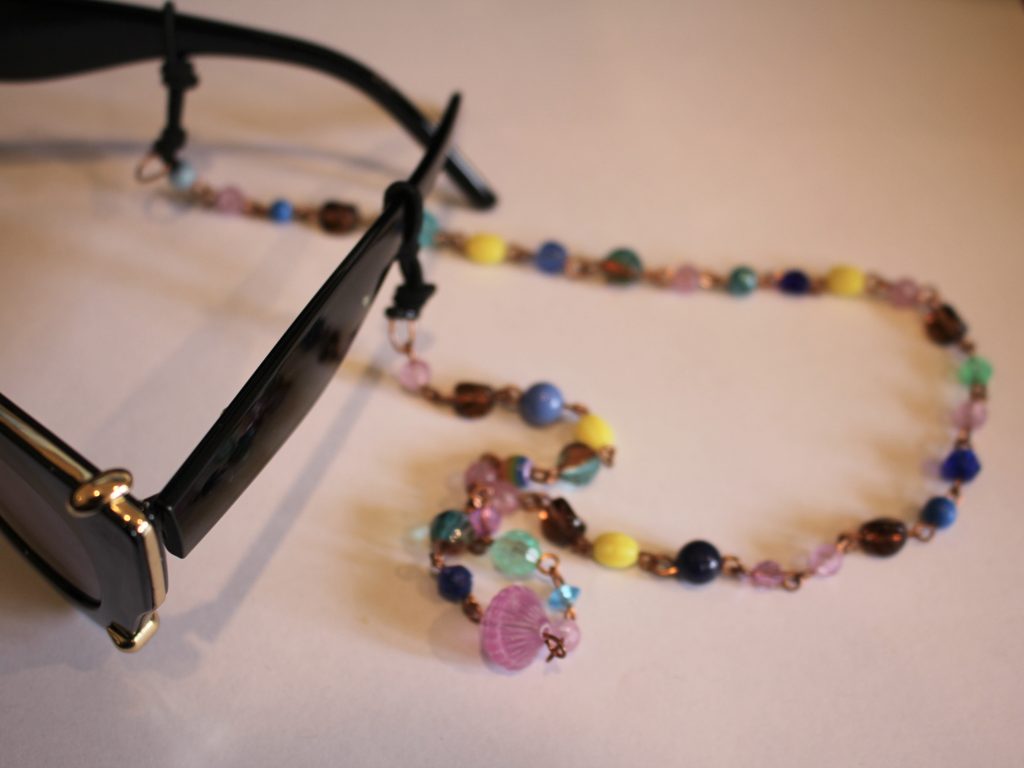
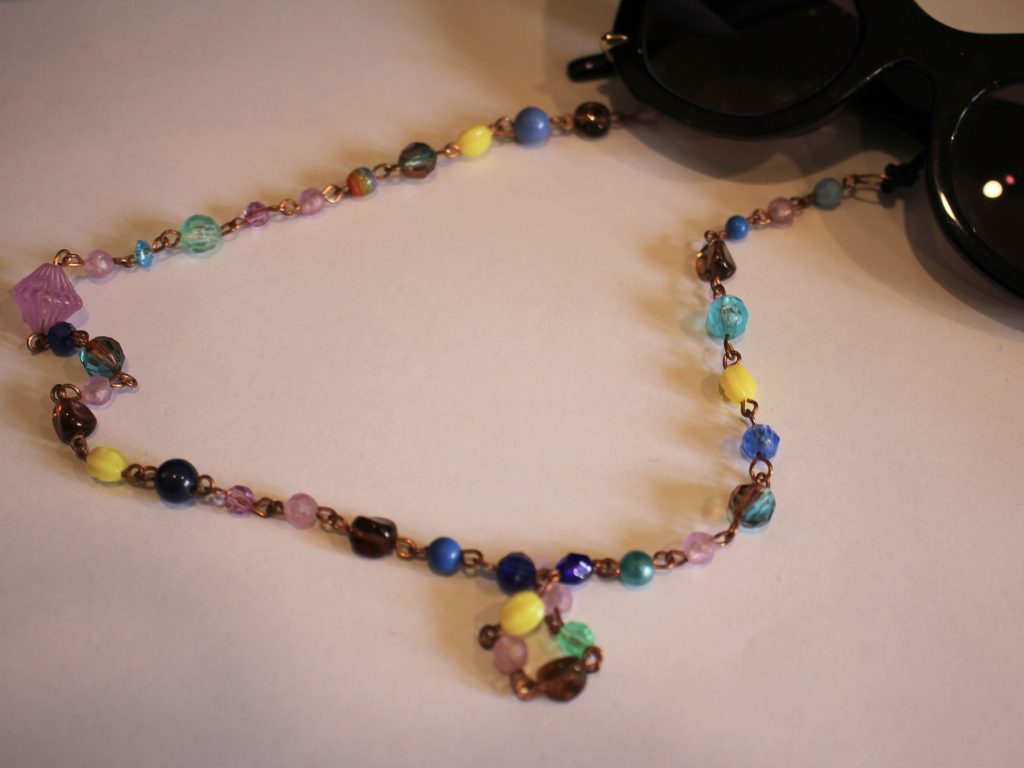
Here’s some pre-made beaded chain you can use if you don’t want to make your own:
And this one was made using a vintage plastic chain.
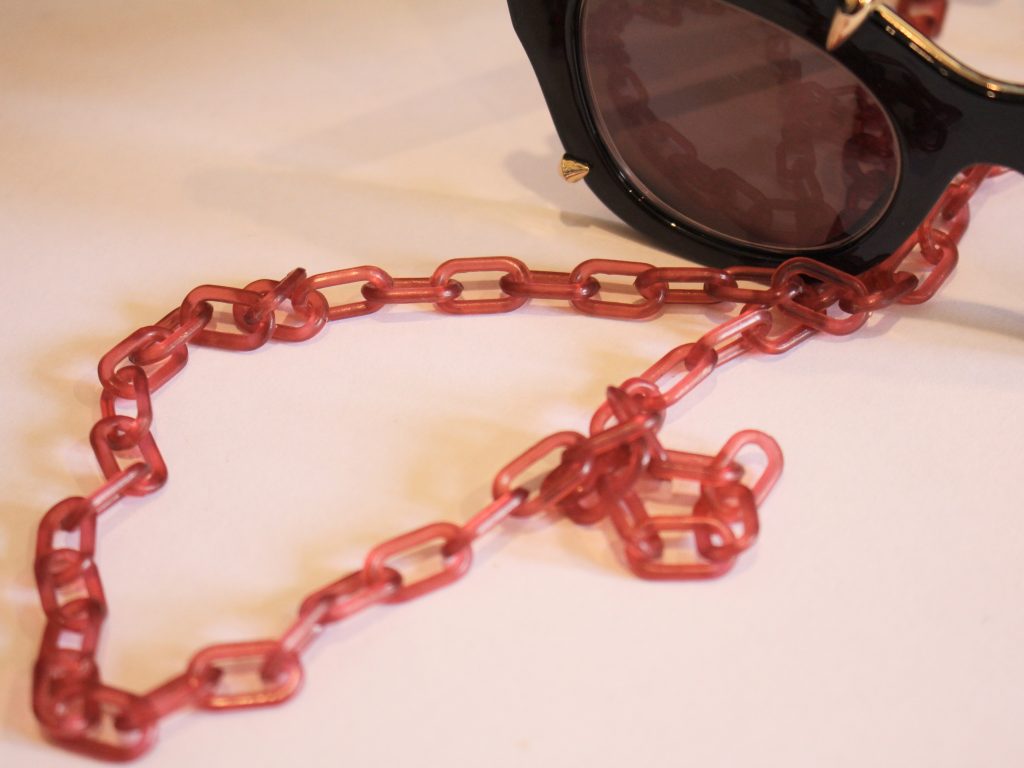
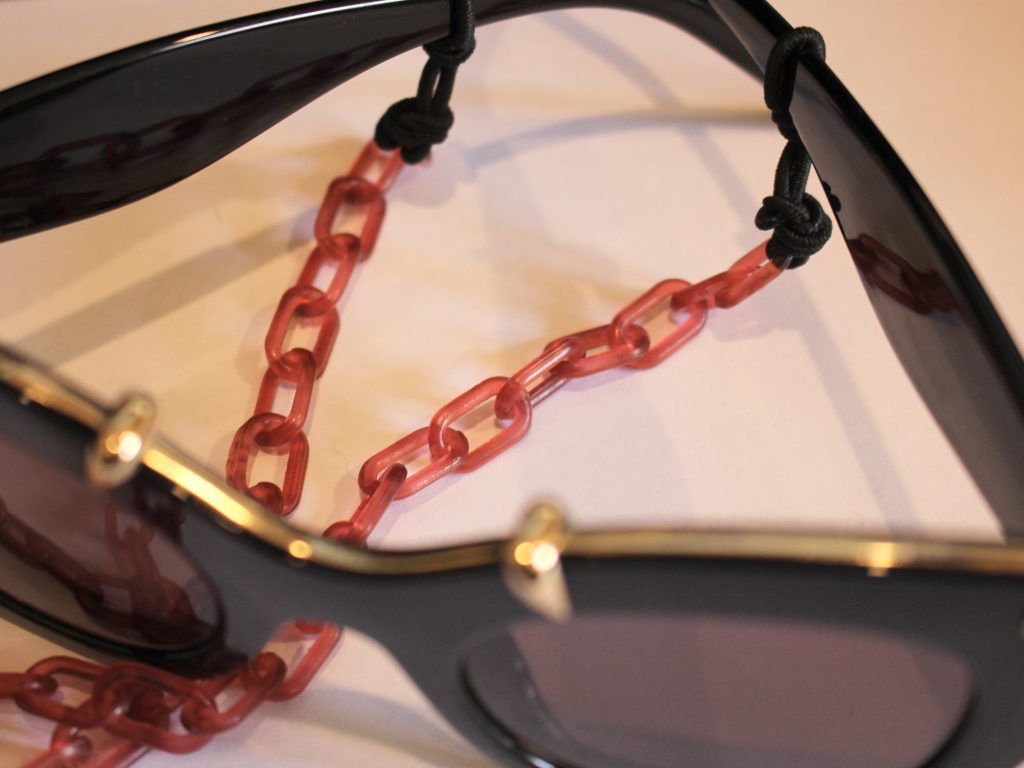
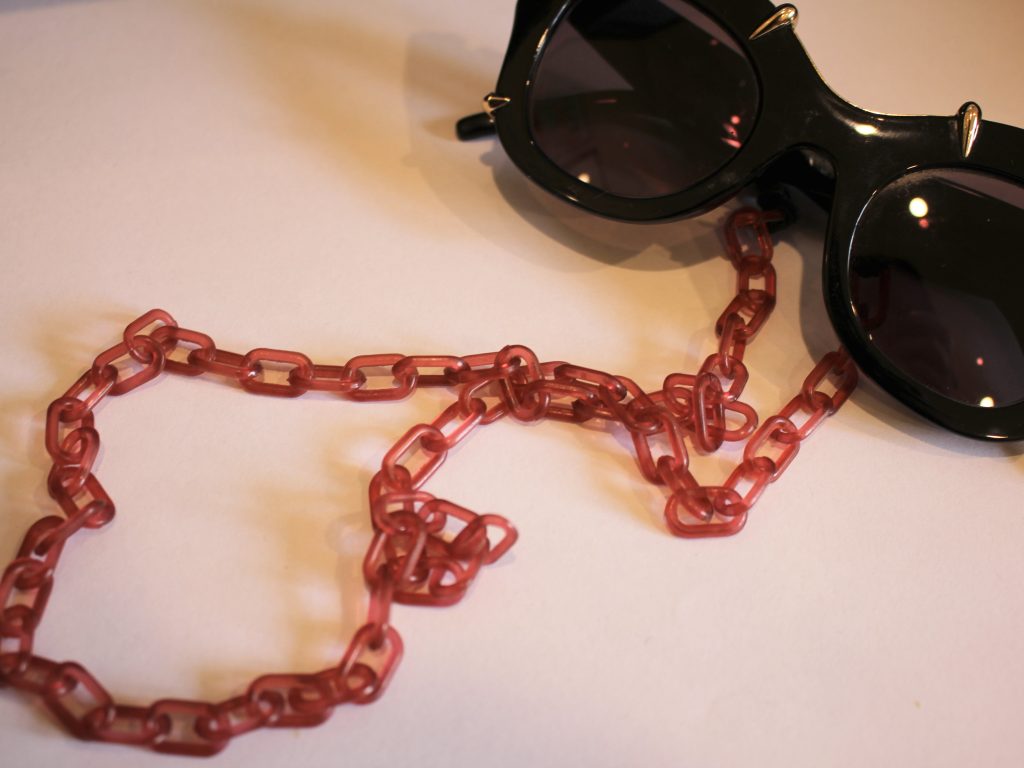
Here are some plastic chain options you can use:
Here are some more glasses chain tutorials you can follow using traditional findings, if you want to use elastics instead, just follow the steps in this tutorial to knot them in place 😉
- Here’s how to make a glasses chain using a ball chain. This one also has clips so you can use it to keep track of a face mask or other accessory.
- Here’s a simple glasses chain with bead accents.
- This is a fully beaded glasses chain.
- This one shows you how to make a chain using head pins and beads.
- This glasses chain is made from recycled materials.
- Here’s a tutorial that shows you how to make a rhinestone glasses chain.
- This glasses chain has dangling charms on it.
- And finally, this tutorial shows you how you can use a glasses chain as a holder for your wireless headphones!
-
Never Lose Your Phone Again: Learn How to Crochet Your Own Stylish Phone Lanyard!
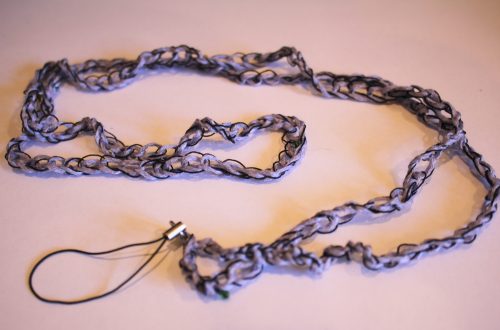
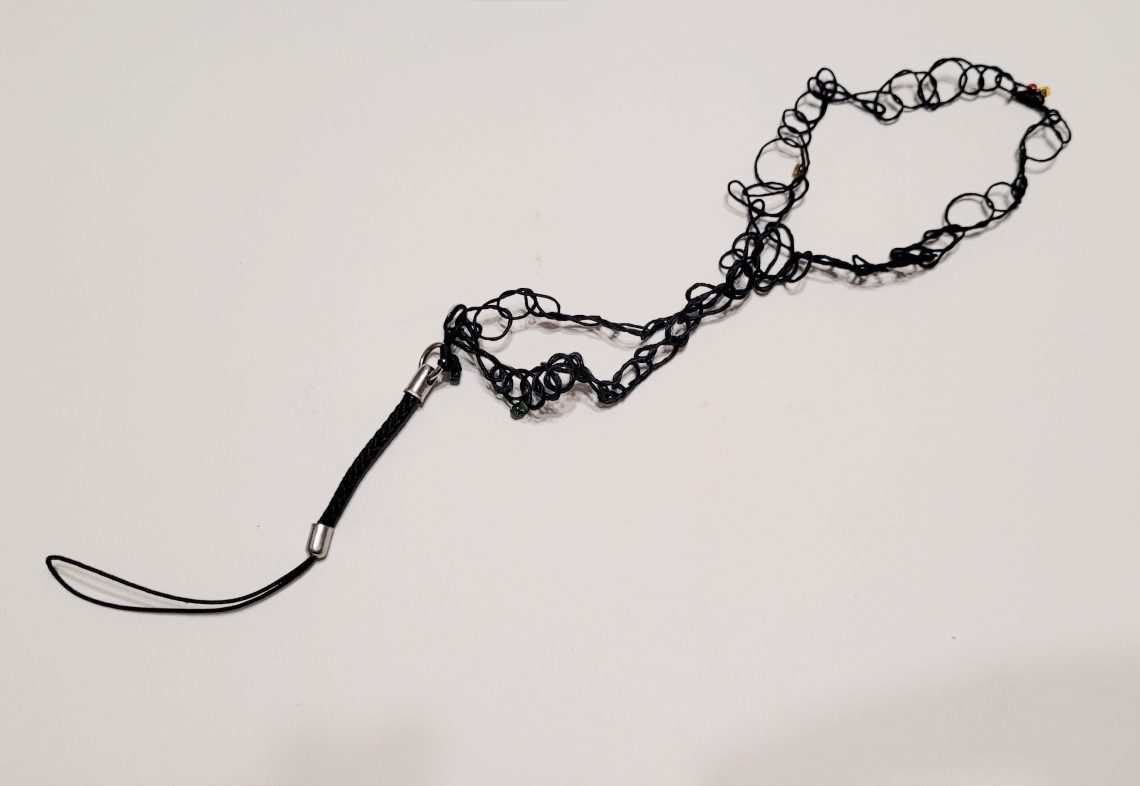
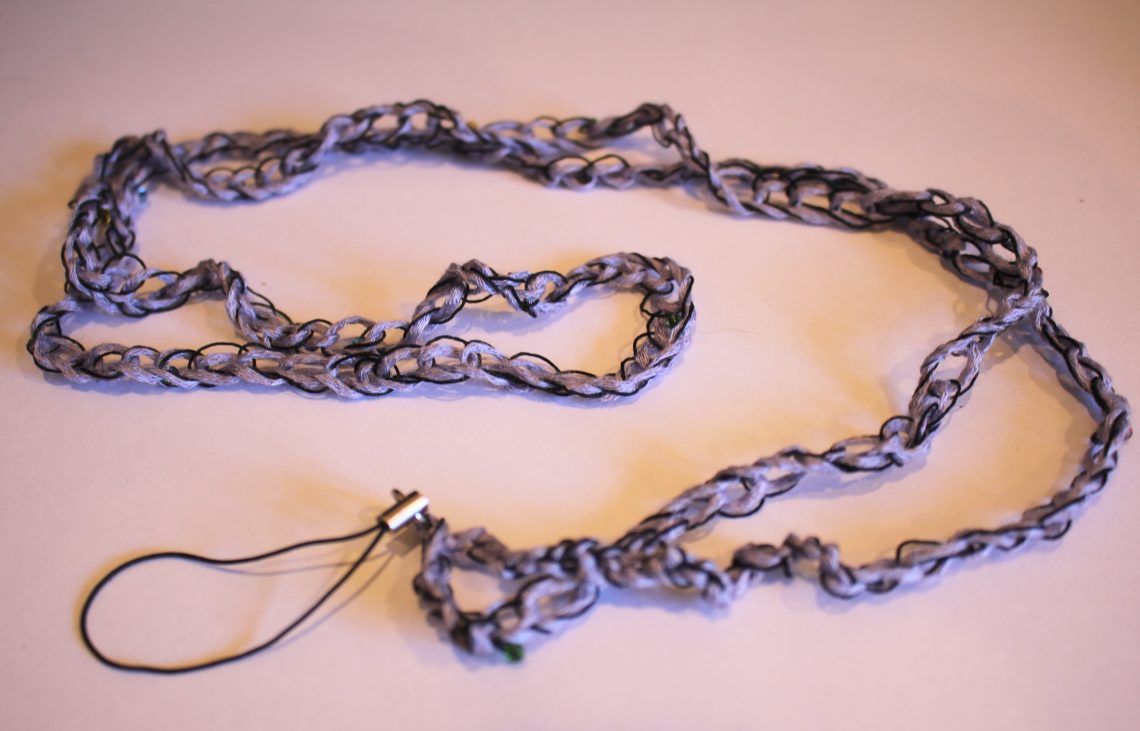
I sometimes worry that my phone could be easily lost or stolen from me, so I decided to make this sweet crochet lanyard so I can wear my phone and tuck it into my bag or pocket at the same time! This lanyard uses loose crochet and thin thread to add length. Kinda cute and also practical! Please note that this is a beginner crochet tutorial that contains affiliate links.
You’ll need the following tools and materials to make this phone lanyard:
1: Some yarn. I used two yarns held together, purple bamboo yarn and thin beaded thread.
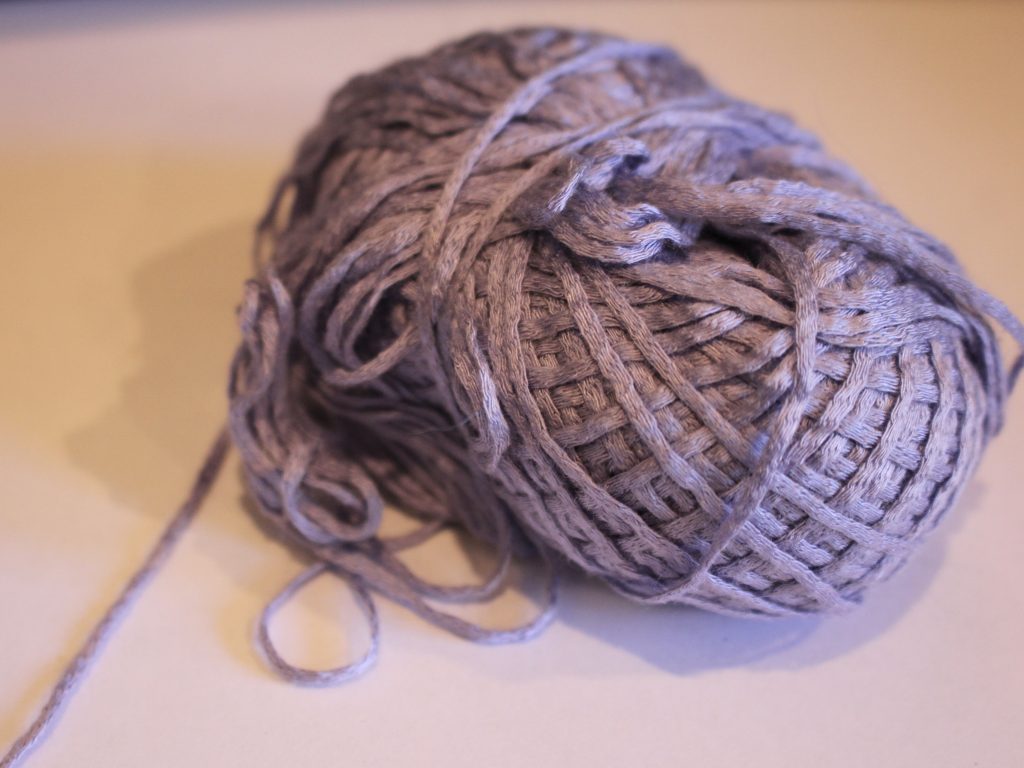
Get some purple bamboo yarn here: https://amzn.to/41yN7Qa
Get some black sequin yarn here: https://amzn.to/44VeNS8
or here: https://tidd.ly/3O34oxP
2: A crochet hook. I used one that was 3.5mm in size. If I made this again I would use a crochet hook that was slightly smaller. The size crochet hook you will need depends on the thickness of your yarn.
You can get a 3.5mm crochet hook here
Here: https://amzn.to/3Ml08si
or here: https://tidd.ly/3O2YDQF
3: A phone loop keychain.

You can get one here: https://amzn.to/42vJzzs, or 4: A thick needed for weaving in the ends of the yarn.

5: A pair of scissors.
Here are all the steps you need to follow to make your crochet phone lanyard:
1: Hold the two yarns together.

2: Create a slip knot with the two yarns held together.

3: Slide the open knot over the crochet hook and then tighten it around the hook.

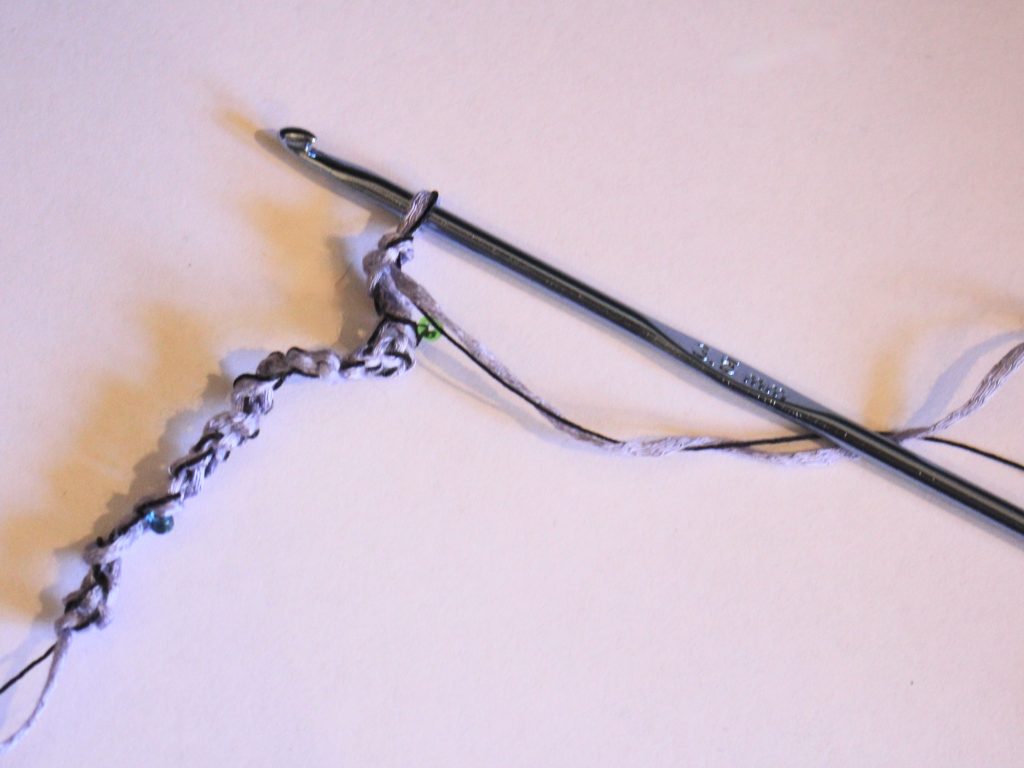
4: Take the long thread and loop it around the hook close to the hook end and in front of the slip knot loop you just tightened. You can see a video of this technique here.
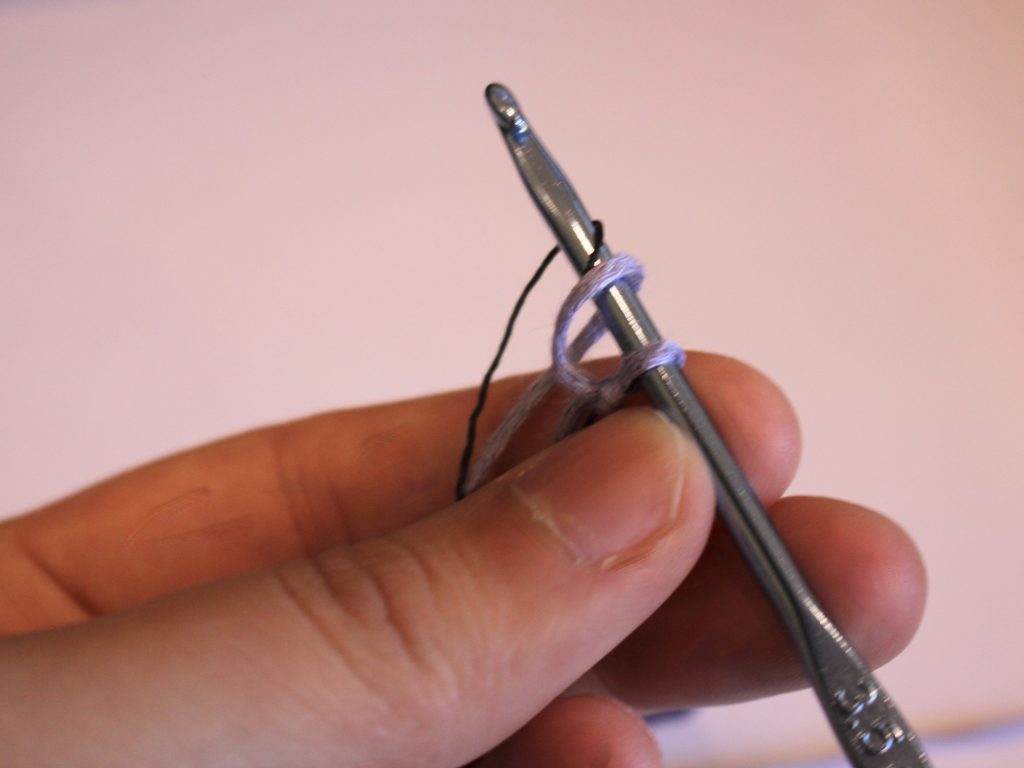
5: Now take the first loop and pull it over the second one and off the crochet hook.

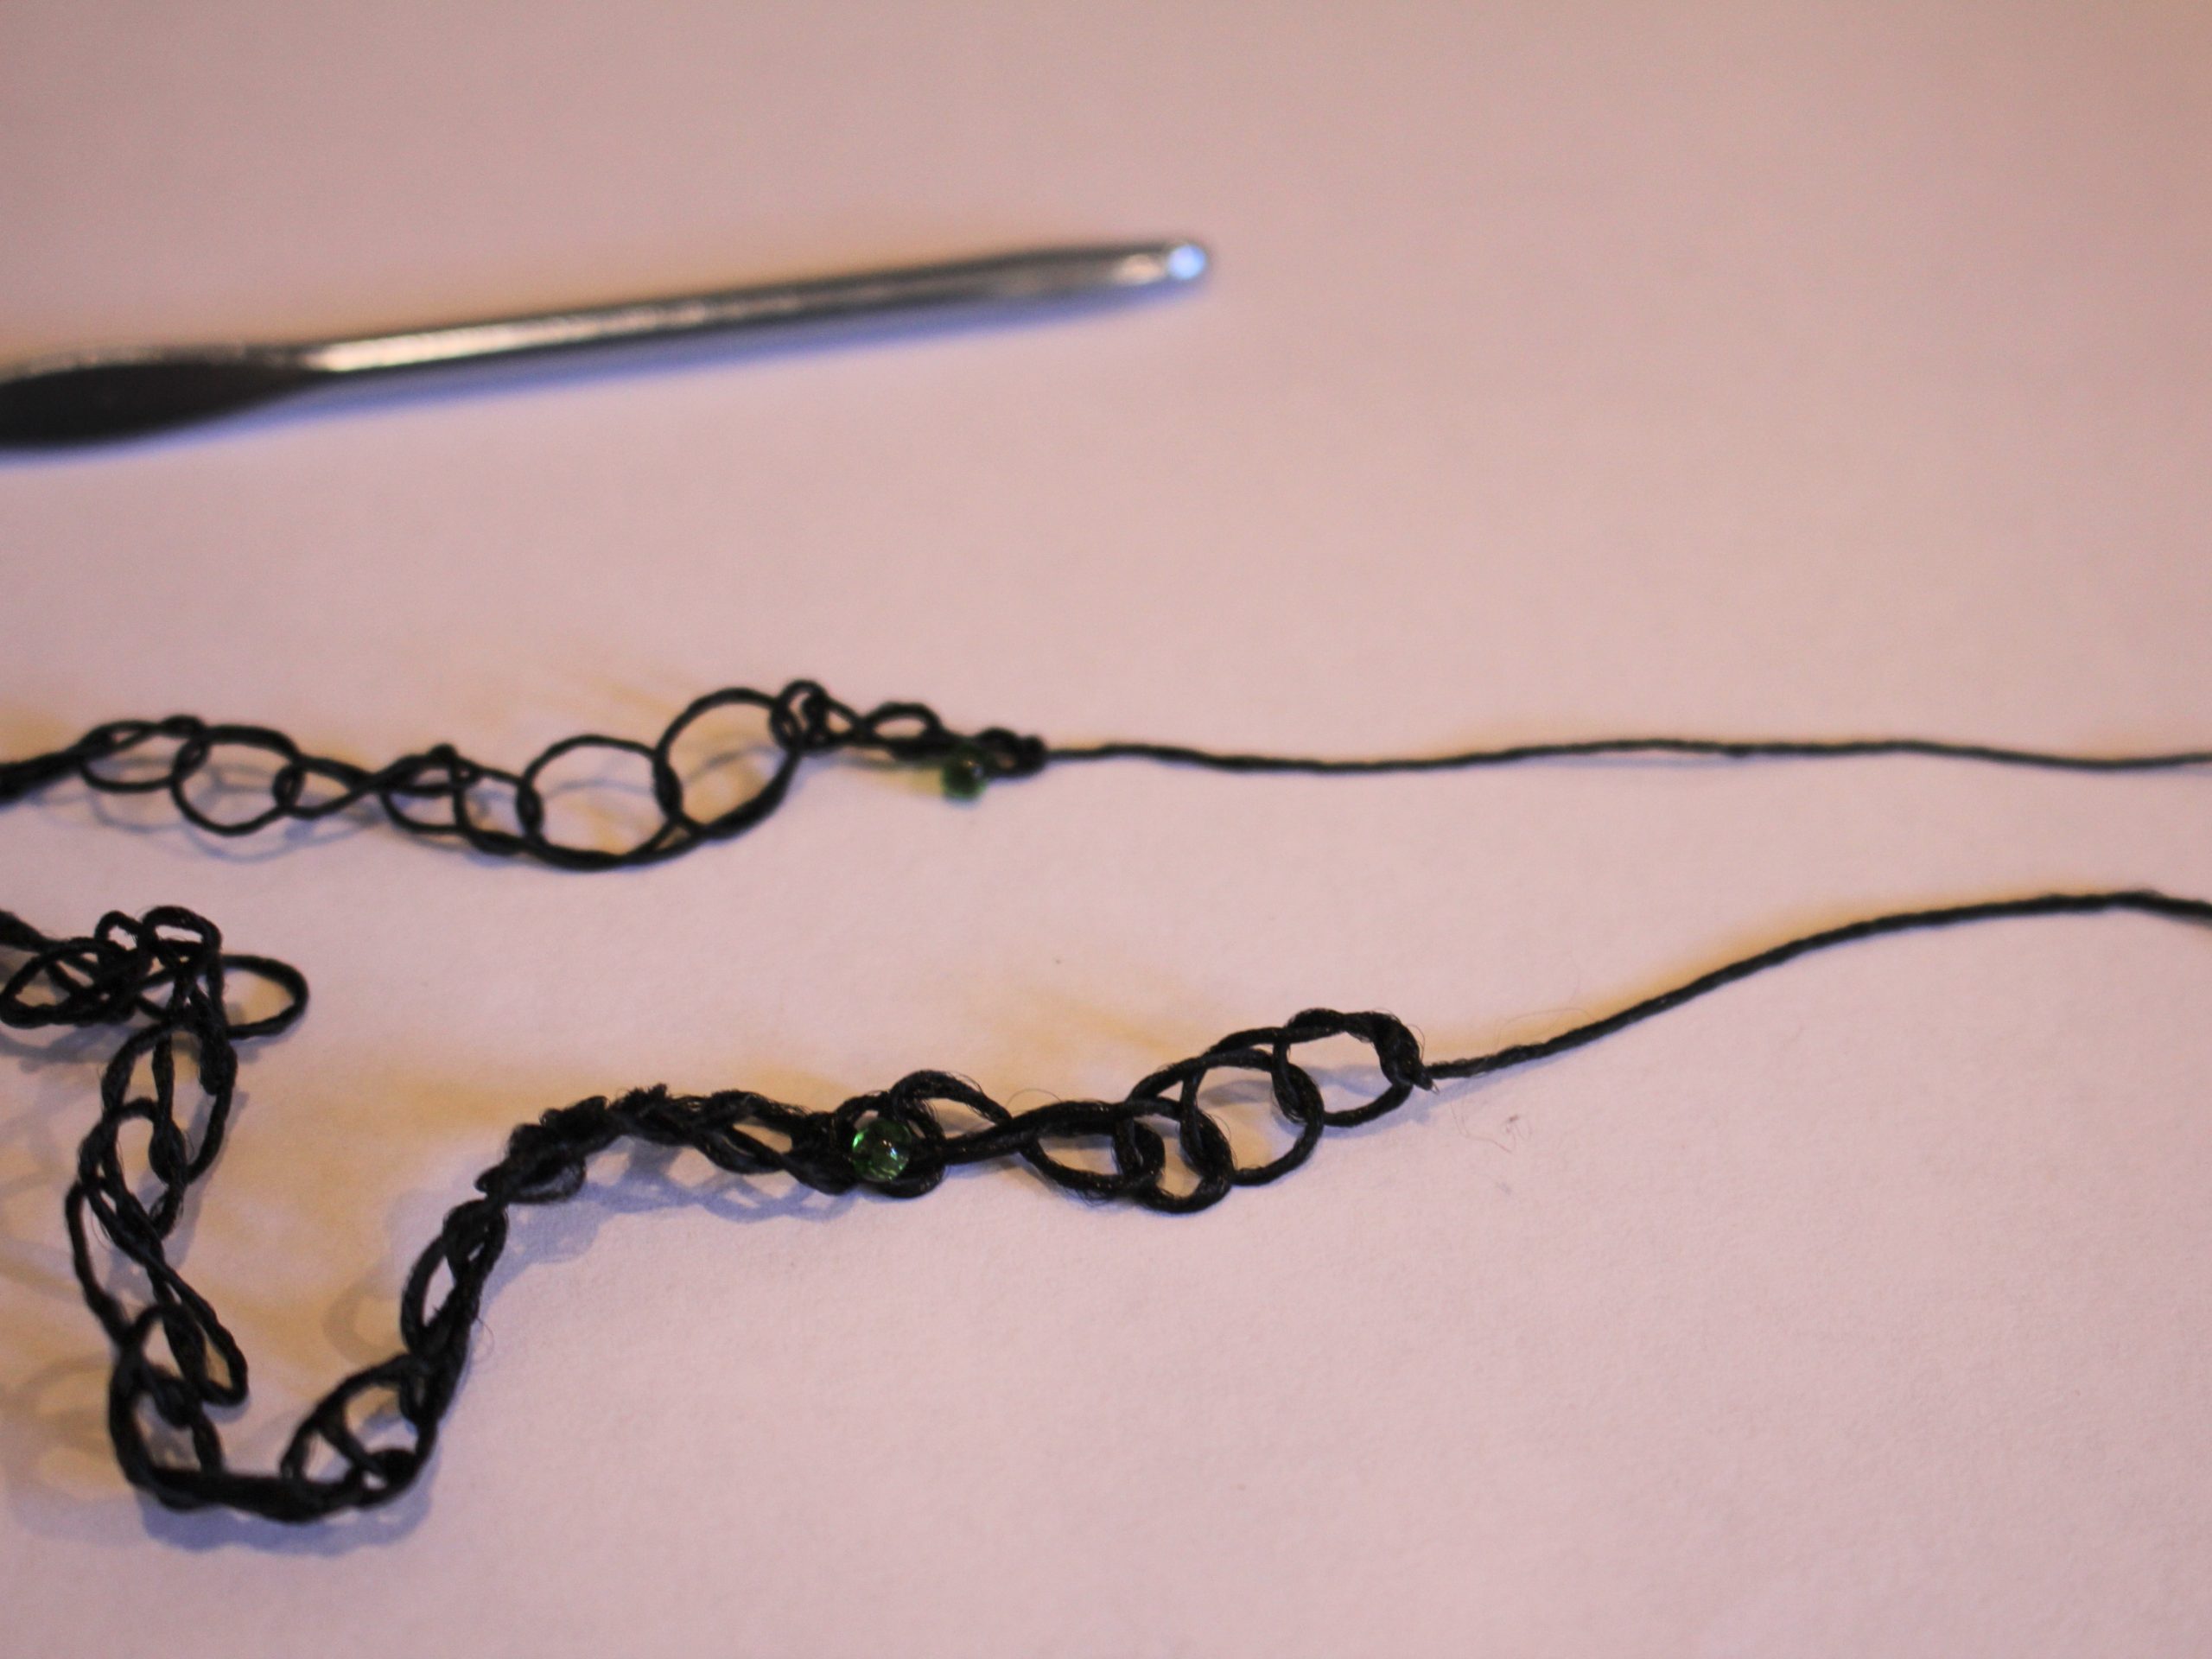
6: Continue steps 4 and 5 to create your crochet chain. Keep making loops until you have a chain long enough to fit across your body like a cross body bag. You can use your favourite cross body back to measure a length you like.

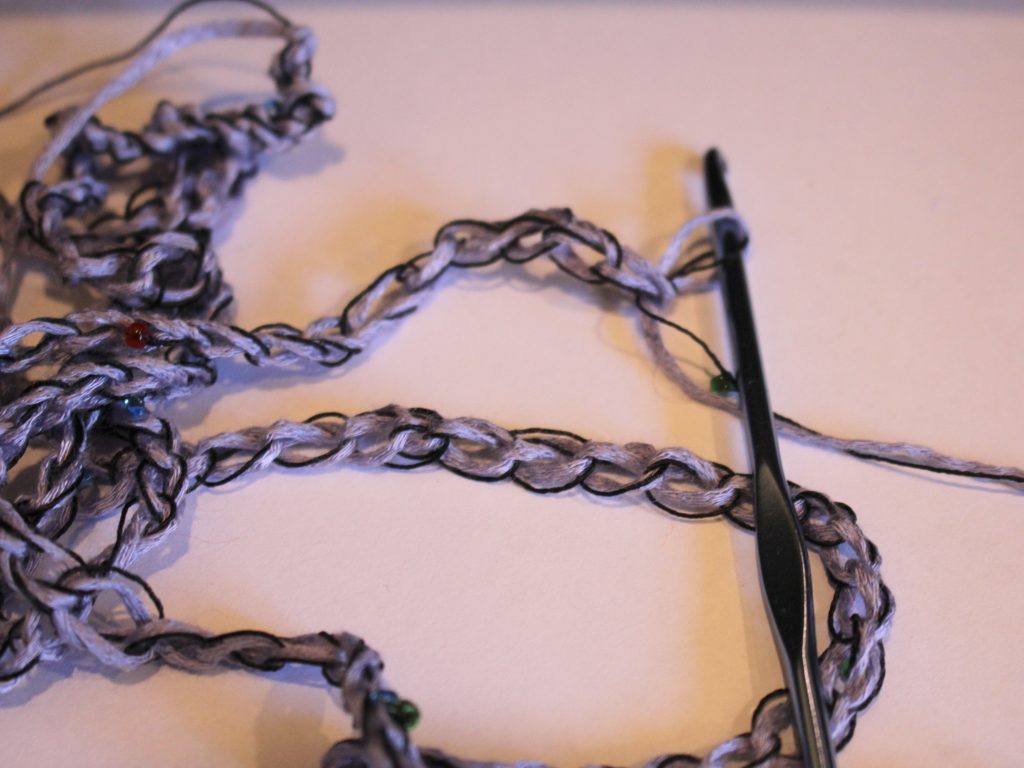
7: Once your crochet chain is long enough, cut the yarn so that you have a shorter length of yarn.

8: Take the last loop off of the crochet chain and loop the end of the yarn through it, pull it tight to create a knot and finish the crochet chain.

9: Knot the two ends of the crochet chain together.

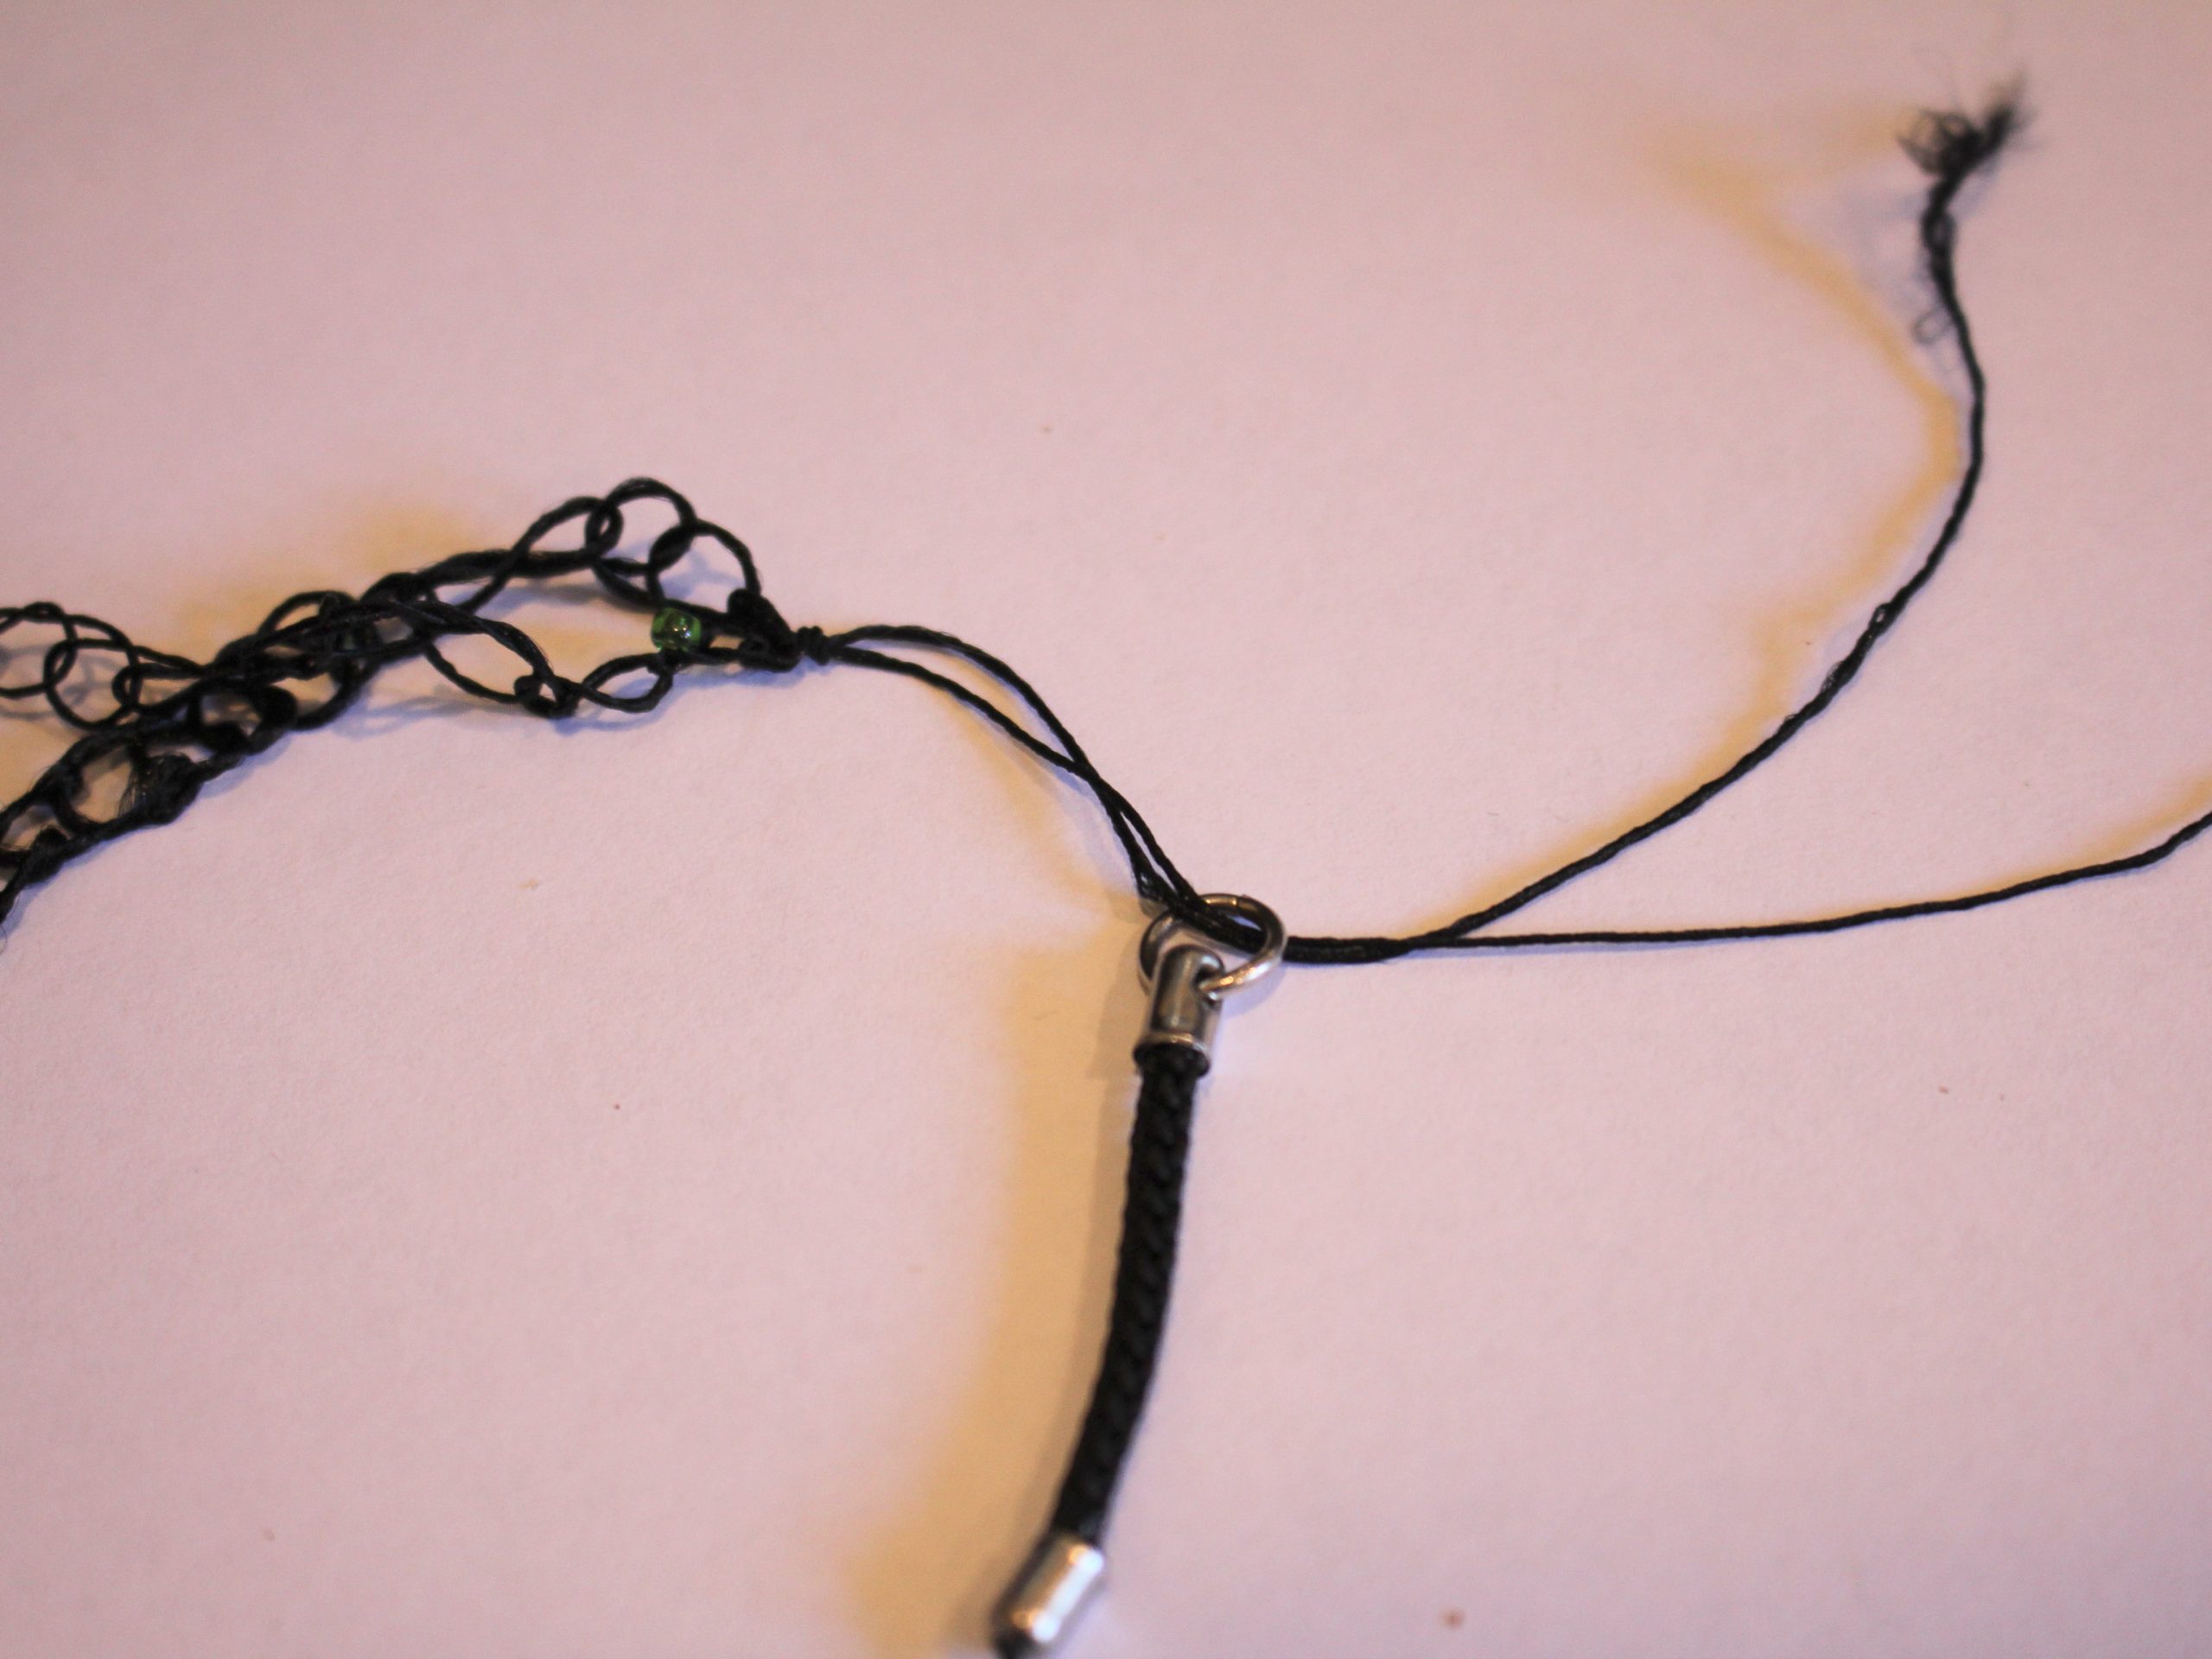
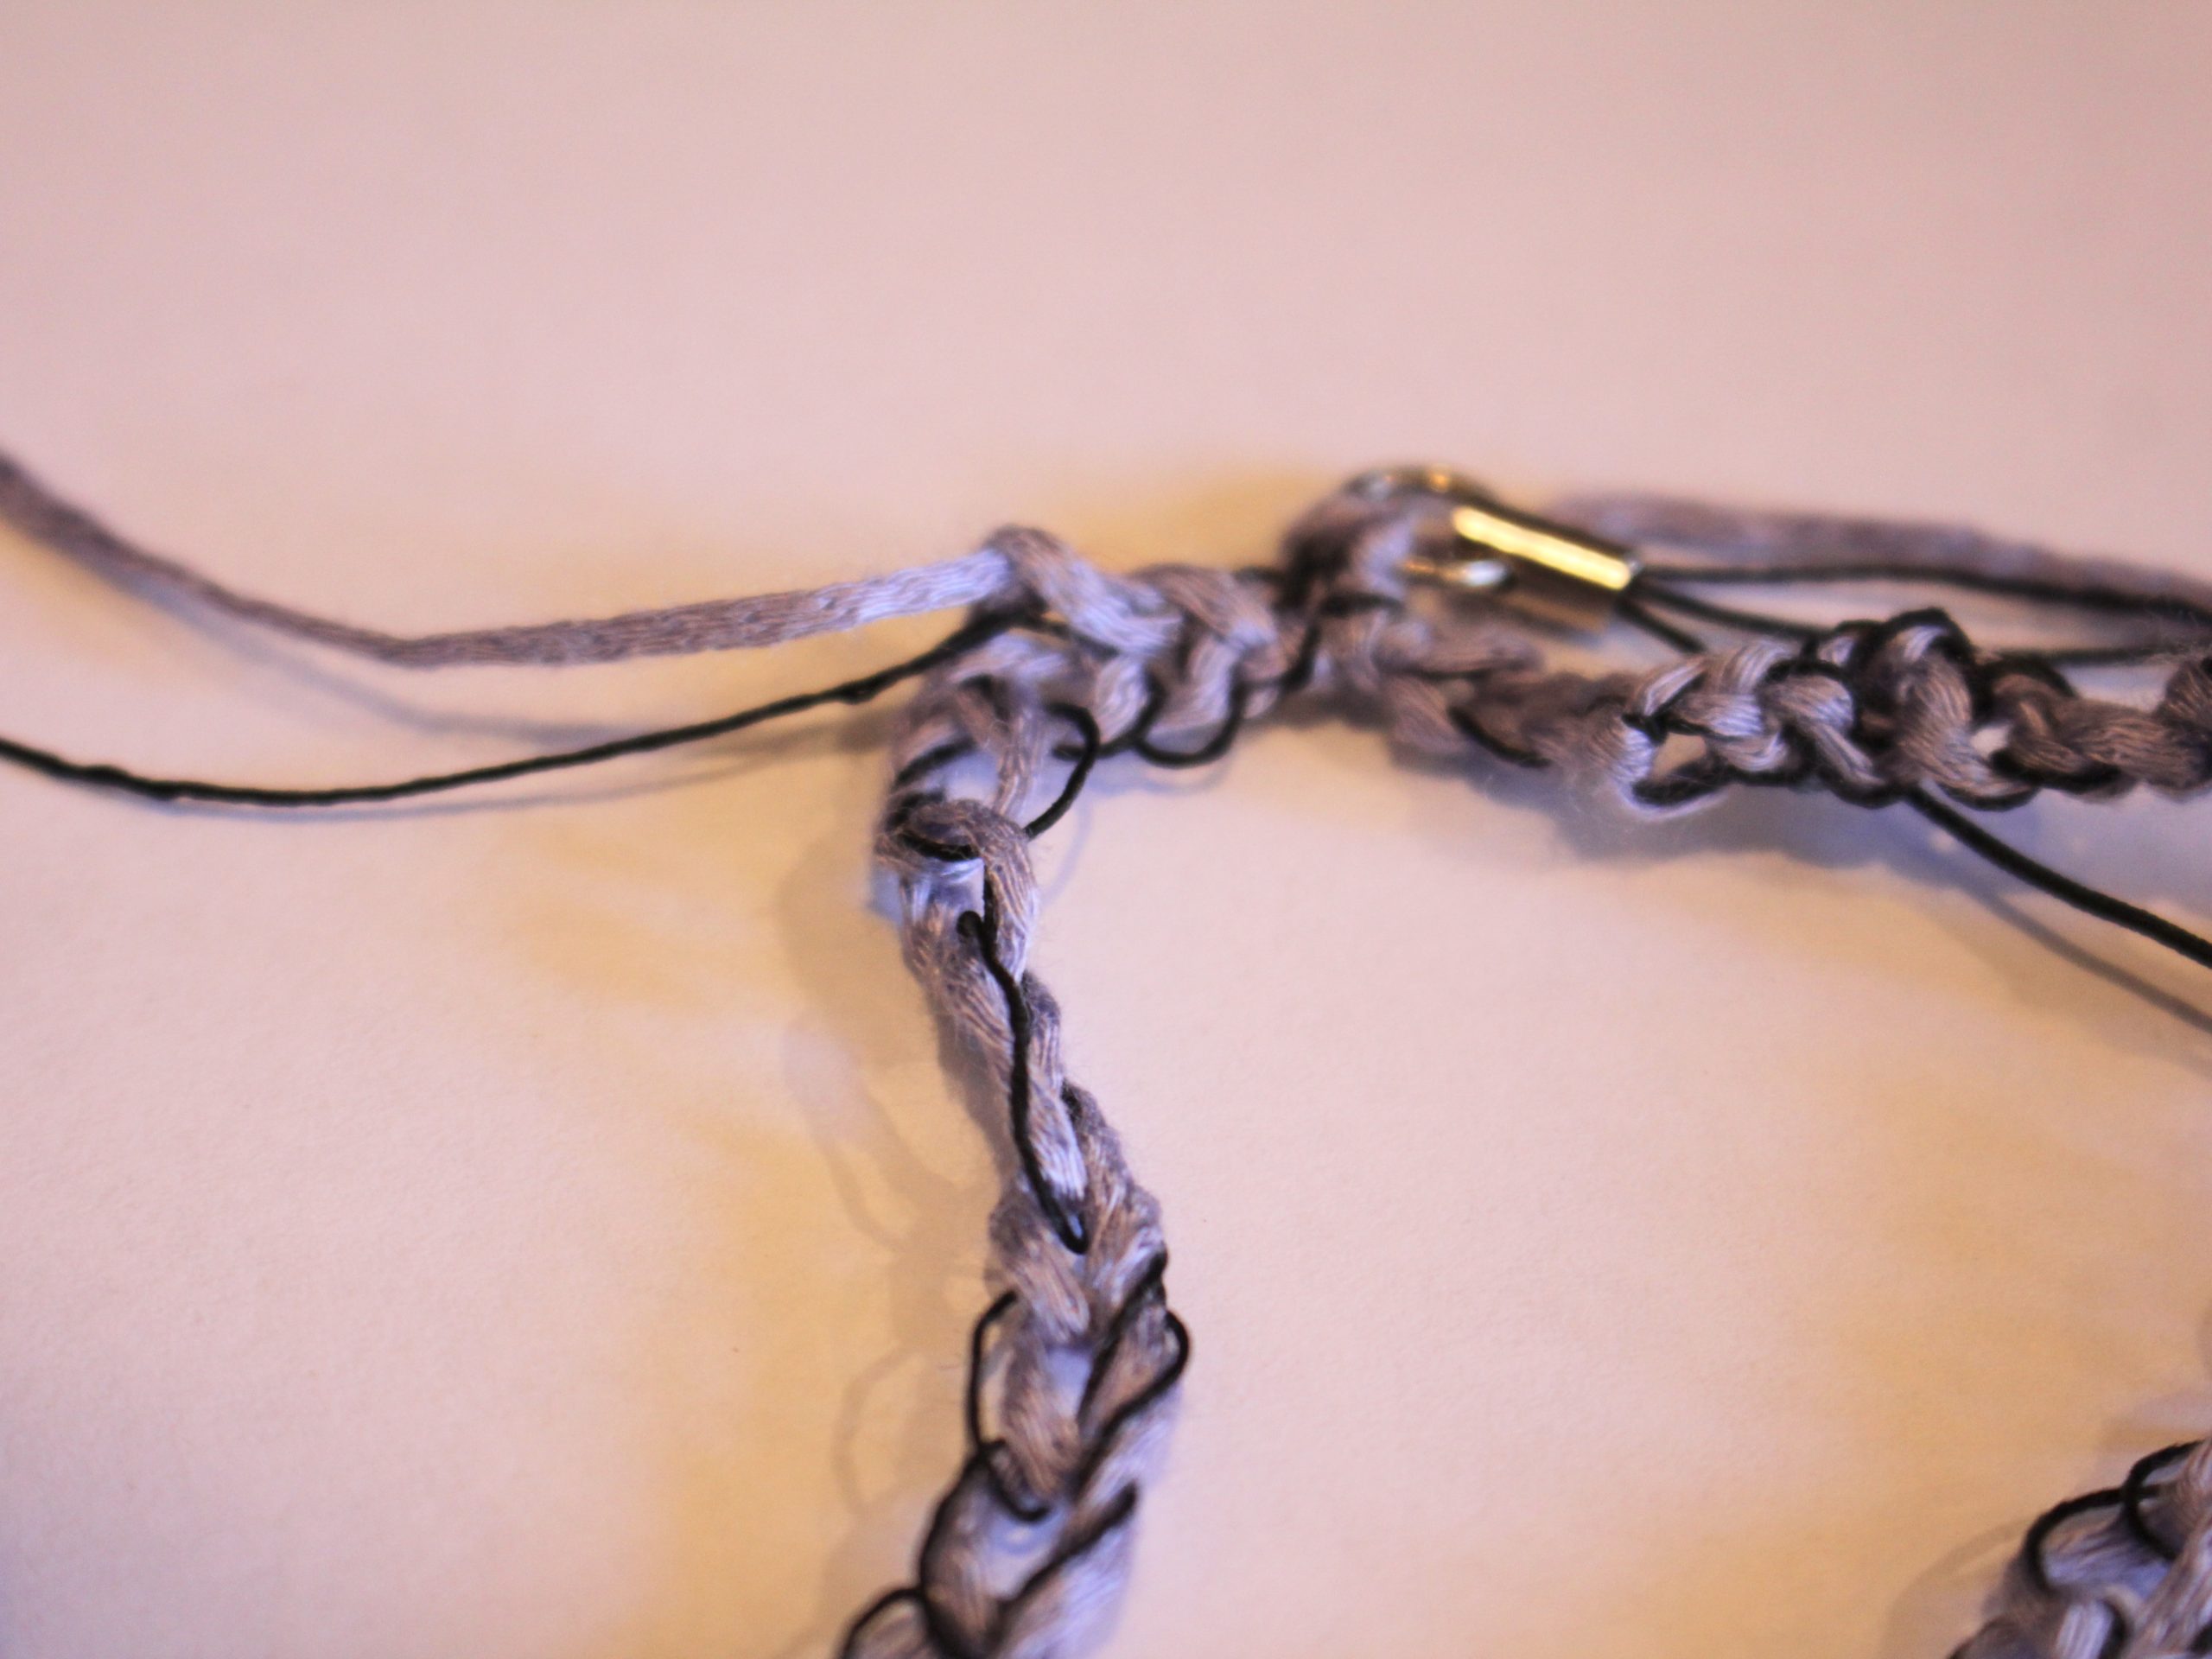
10: Slide the excess yarn through the jump ring at the end of the phone loop and then create a couple of knots.


11: Use the needle to weave the ends of the yarn into the crochet chain. Trim any excess.


Now your crochet phone lanyard is finished and ready to use! Make one to protect your phone during your travels, or to keep it safe at home! I’ll be wearing mine across my body to protect my neck and help keep track of my phone.

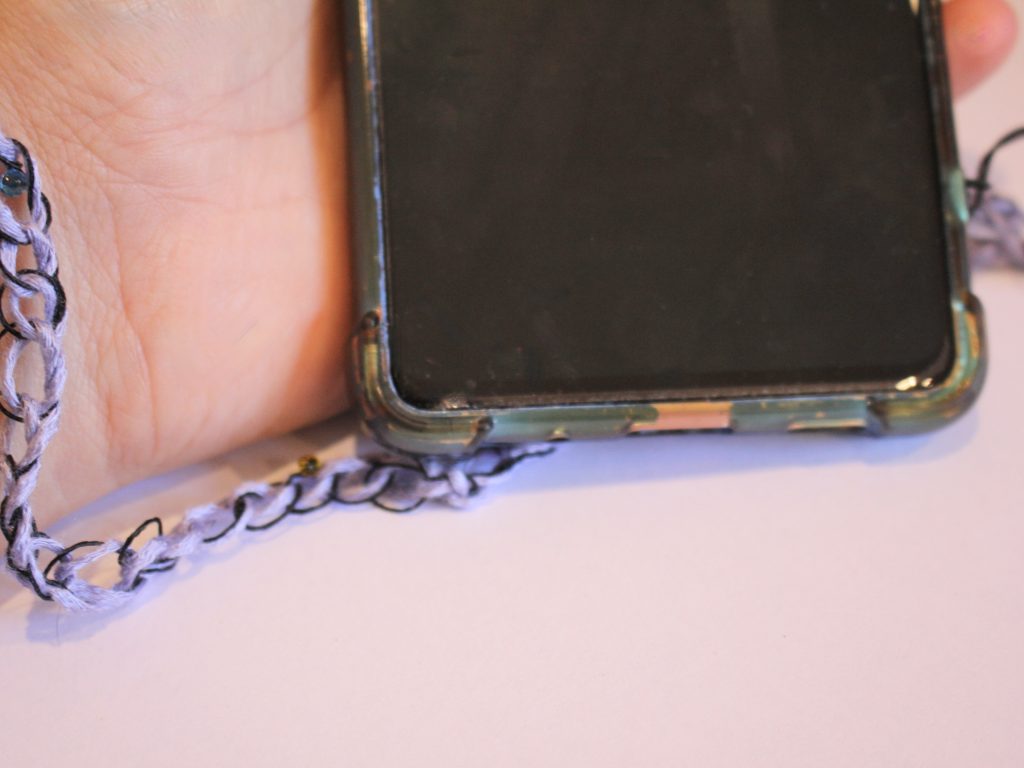
If you want some other phone strap tutorials, you can find some here:
1: Turn a chain necklace into a phone wrist strap.
2: Transform some string into an amazing beaded phone strap.
3: Make your own sparkly rhinestone wrist strap for your phone.
4: Construct a simple chain phone strap.
And if you want some lanyard inspiration, here are some additional tutorials you can try:
- Uncategorized
Here’s how to make a braided mask chain with beaded details!
If you’re like me, masks have become a long-term part of life. It can be annoying to keep track of your mask as you take it on and off during the day, so here’s piece you can make that helps you keep track of your mask! This mask chain features braid with beaded details for a cool, hippie look! Please note that this tutorial contains affiliate links.
You’ll need the following tools and materials to make your braided mask chain with bead details:
1: Scissors
2: Three pieces of hemp cord. I cut mine to be about a 1m long but didn’t use all of it, so I suggest cutting a bit shorter.

3: Beads with holes large enough to fit the cord. I used these painted red timber beads.

4: Two large lobster clasps.

5: Super glue
Follow these steps to make your braided bead mask chain.
1: Thread the three pieces of cord through the end of one of the lobster clasps.
2: Tie a knot to secure the clasp.


3: Tie a second knot for extra security and trim the excess.

4: Start braiding the cord. It can be useful to clip the end of the piece to something so that you can pull the strings taught and make braiding easier.

5: Once you have braided a small section, approx. 4cm, add one of the beads to the centre cord.

6: Continue braiding, wrapping the next two strings around the bead and then continue braiding as usual.

7: Repeat steps 5 and 6 for the next bead and then the rest of the chain until it is the length you like.
8: Add the second clasp to the other end of the chain and knot it to secure it in place.


9: Knot the end again and trim the cord.
10: Add a dab of superglue to each end of the beaded chain and set it aside to dry.

Now your mask chain is finished and ready to use!


If you love braided designs, here are some other pieces you can make at home:
-
Like to keep track of your phone? Here’s how to make a handy chain phone strap.
This phone strap is minimalist in design and fairly easy to put together. Phone straps seem to be increasingly popular at the moment, so here’s how you can make one of your own. Please note that this tutorial contains affiliate links.
Grab these tools and materials to make your own chain phone strap:
1: Your jewellery pliers. I used my flat nose and round nose pliers.


2: Some chunky chain, I used about 42cm of chain but you could use less or more depending on the size you want your strap.

3: A sturdy jump ring.

4: A keychain with a phone loop.

Follow these steps to make your chunky chain phone strap:
1: Add both ends of the chain to the jump ring.

2: Add the keychain to the jump ring.

3: Close the jump ring using your pliers.

And that’s it, done in three steps! Now you can attach it to your phone case by looping the little loop around a hole in your phone case, pulling the strap through and then pulling it tight.


Here is another phone strap tutorial in case you like some variety when it comes to your phone accessories!
-
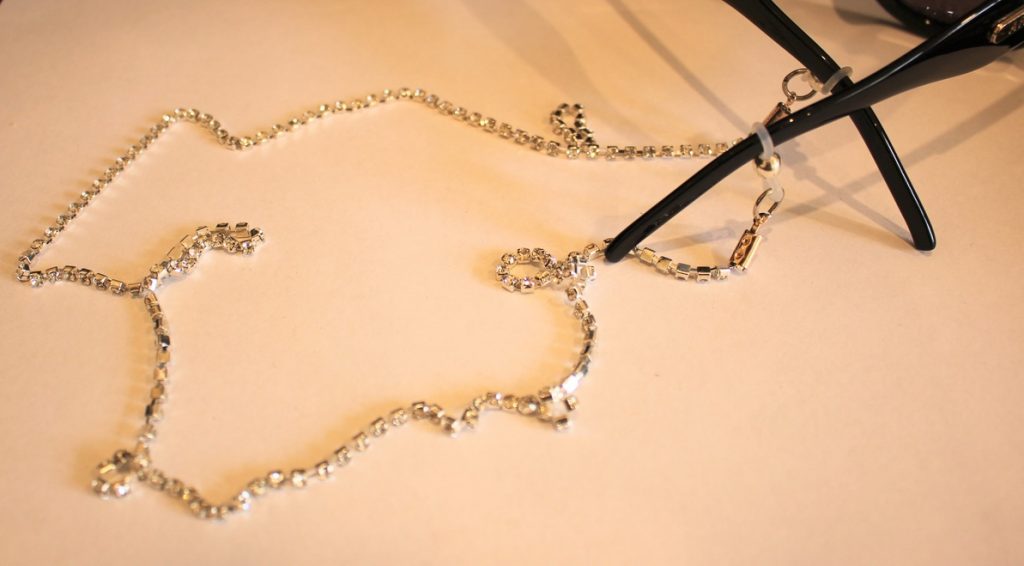
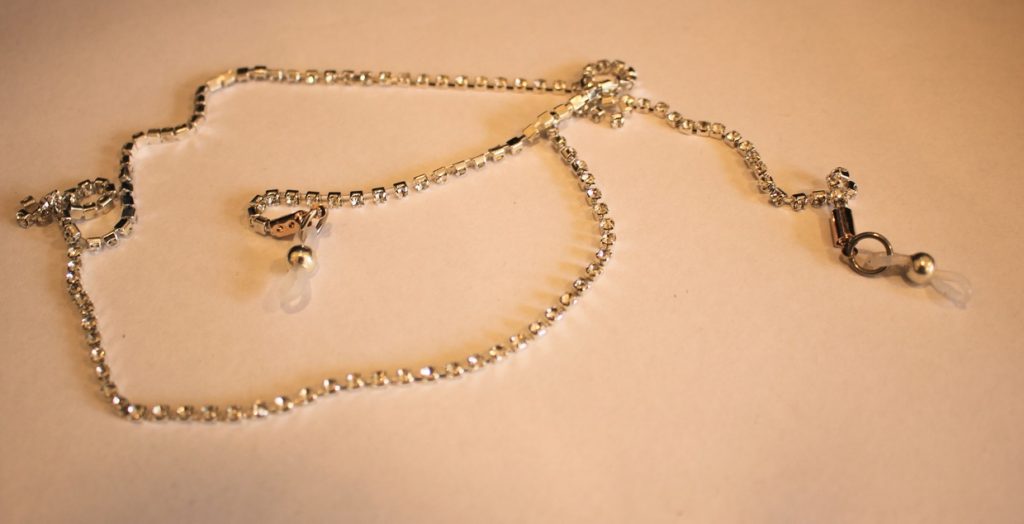
How to make a rhinestone glasses chain!
I think glasses chains are so cool! This glasses chain design is super glam, made from a sparkly rhinestone string for some practical glamour! Please note that this tutorial contains affiliate links.
You’ll need these tools and materials to do this DIY:
1: A length of rhinestone chain at a length you like. Check this by wrapping it around the back of your neck and seeing where it falls against your chest.

2: Pliers. I used my cutting pliers to cut the rhinestone chain. I also used my flat nose pliers and round nose pliers.

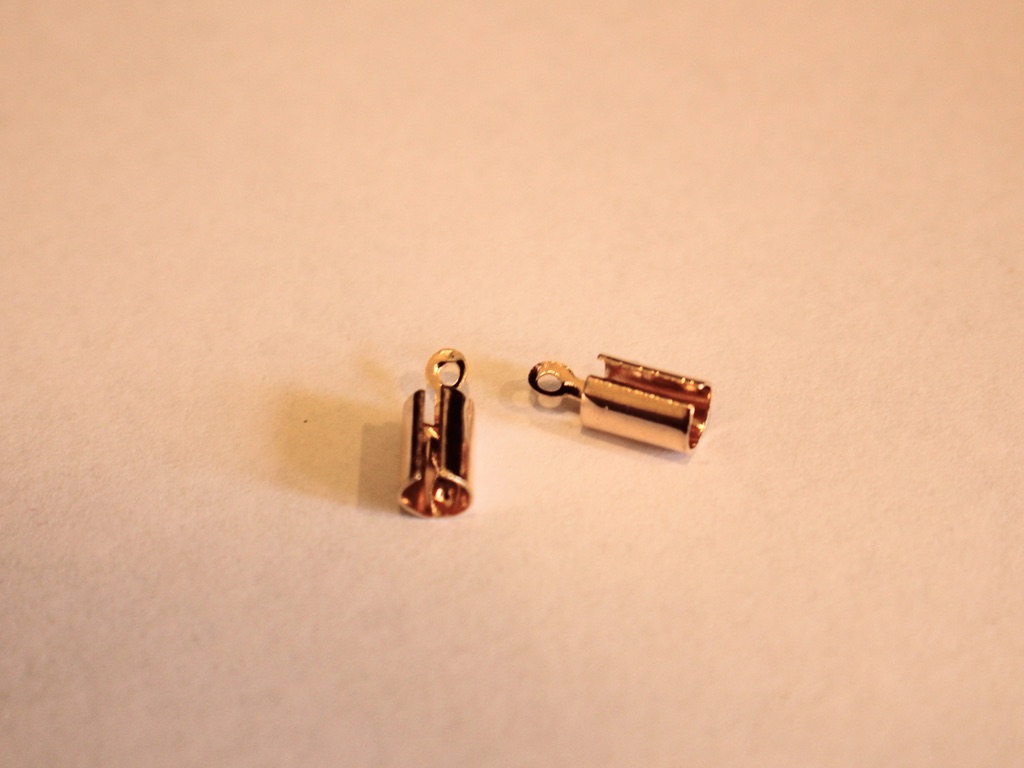
3: Crimp ends that fit around the rhinestones. I used these rose gold coloured ones.
4: Two jump rings.
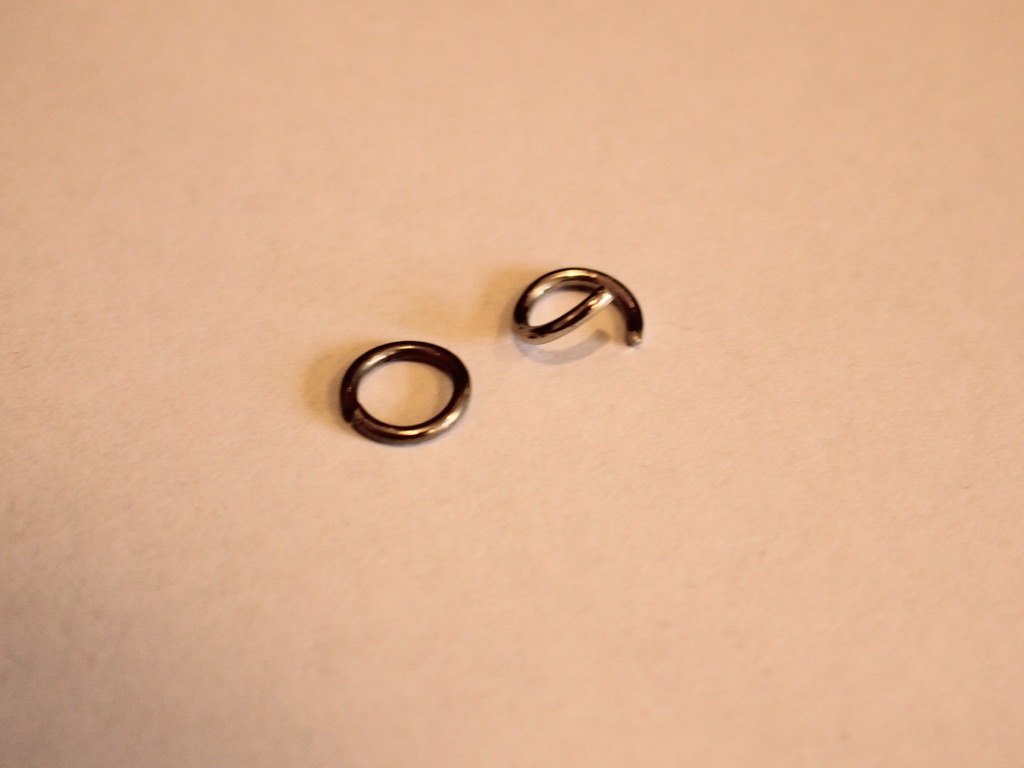
5: Two rubber glassses holders.
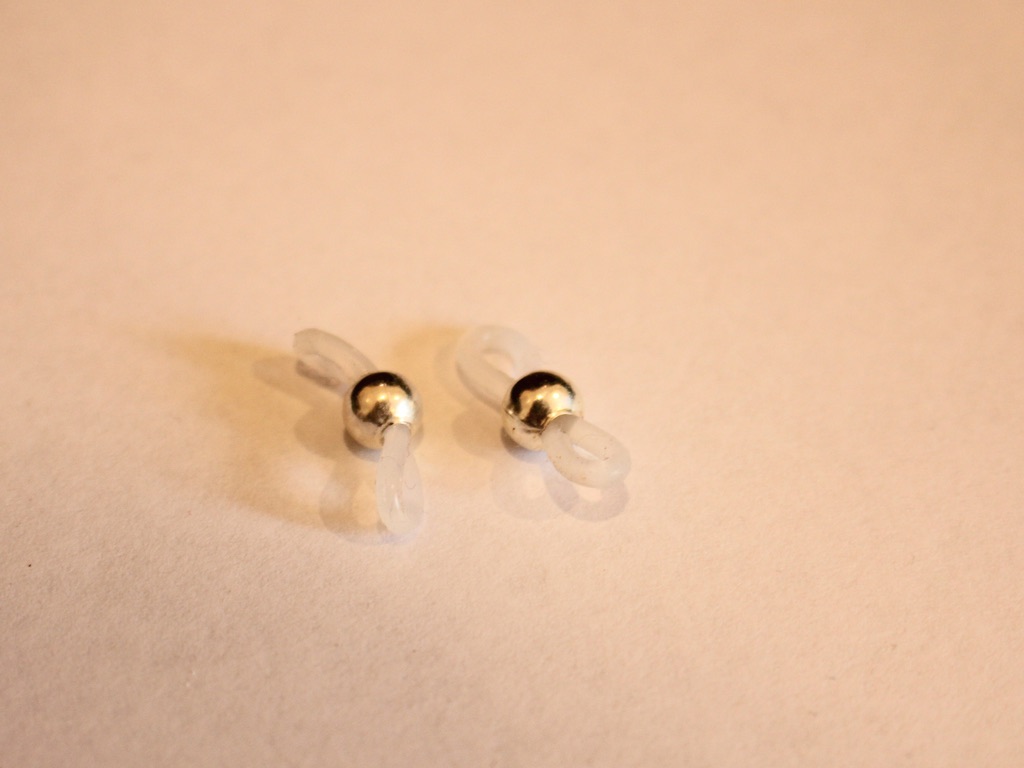
Follow these steps to make your cute rhinestone glasses chain:
1: Take one end of the rhinestone chain and place it inside one of the crimp ends.
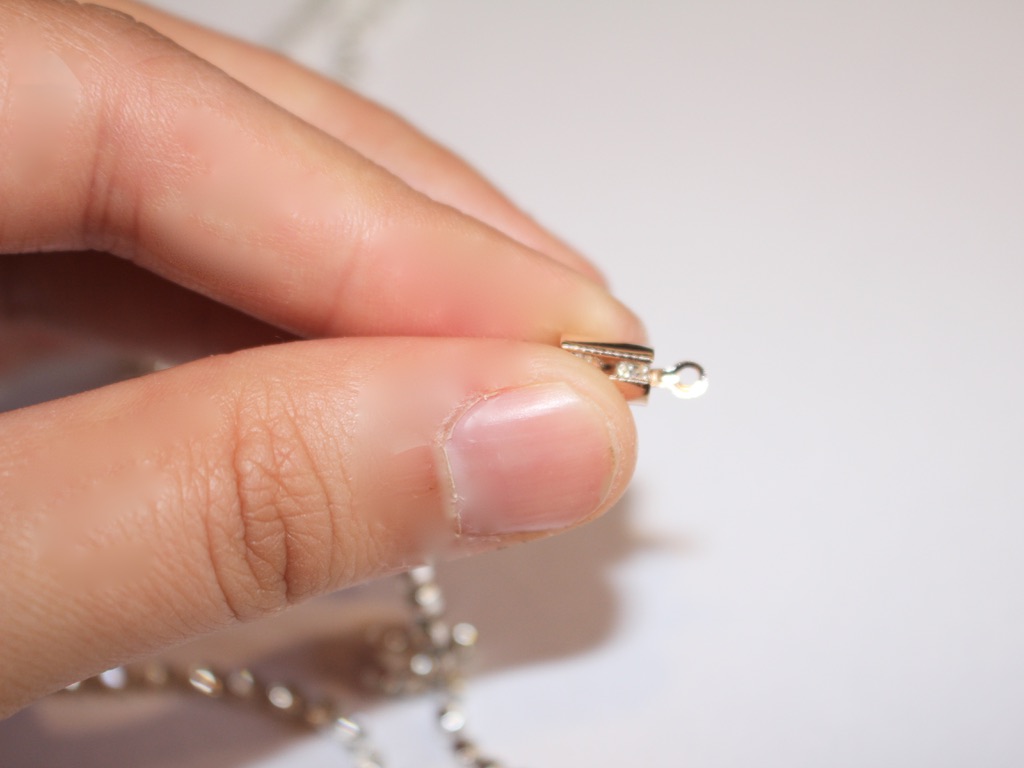
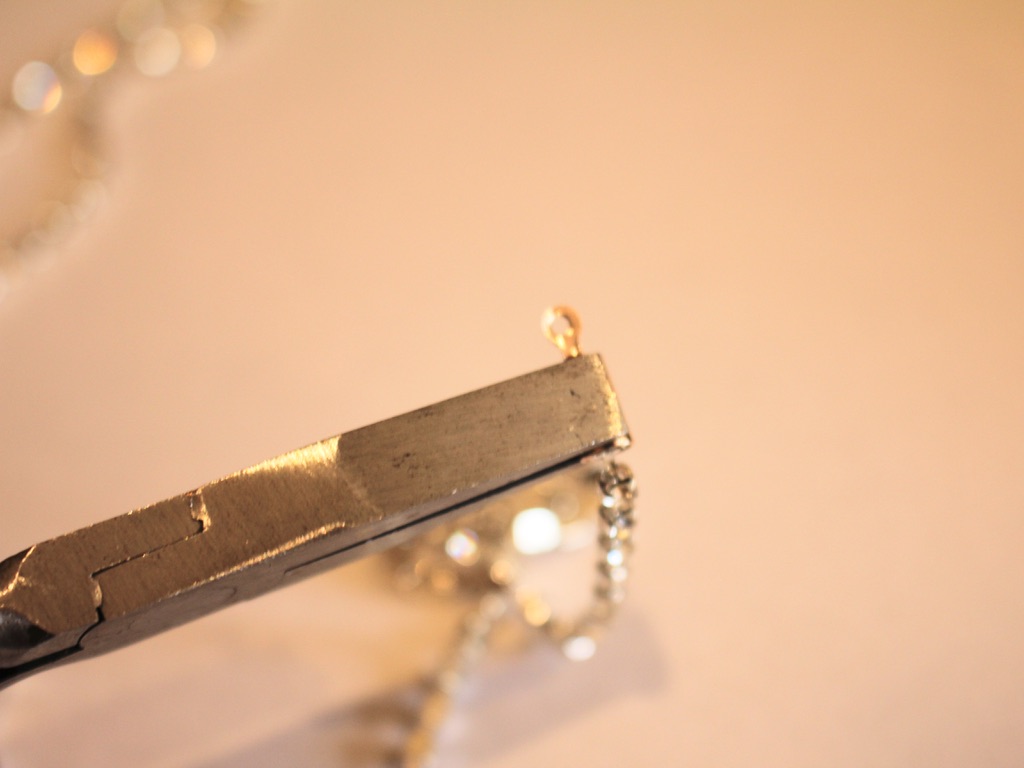
2: Squash one side of the crimp end around the rhinestone strand using the flat nose pliers. Be careful here because the rhinestones like to pop out.
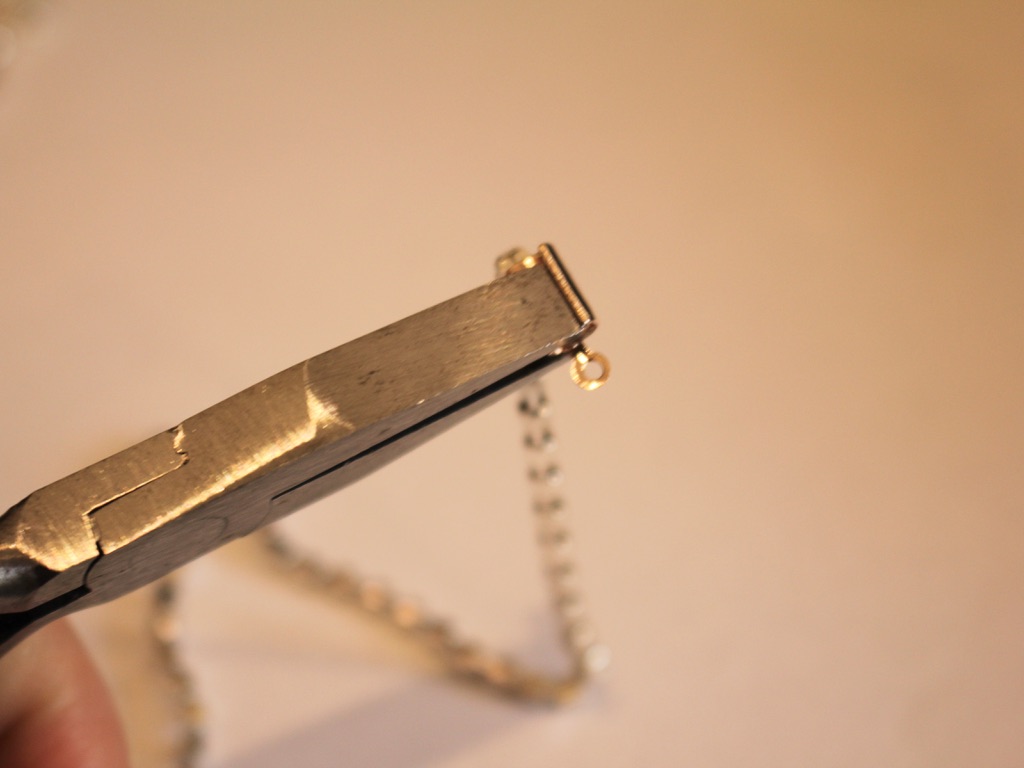
3: Squash the other side of the crimp around the rhinestones and the first side using the flat nose pliers again. Now your crimp end should be secured onto the strand.
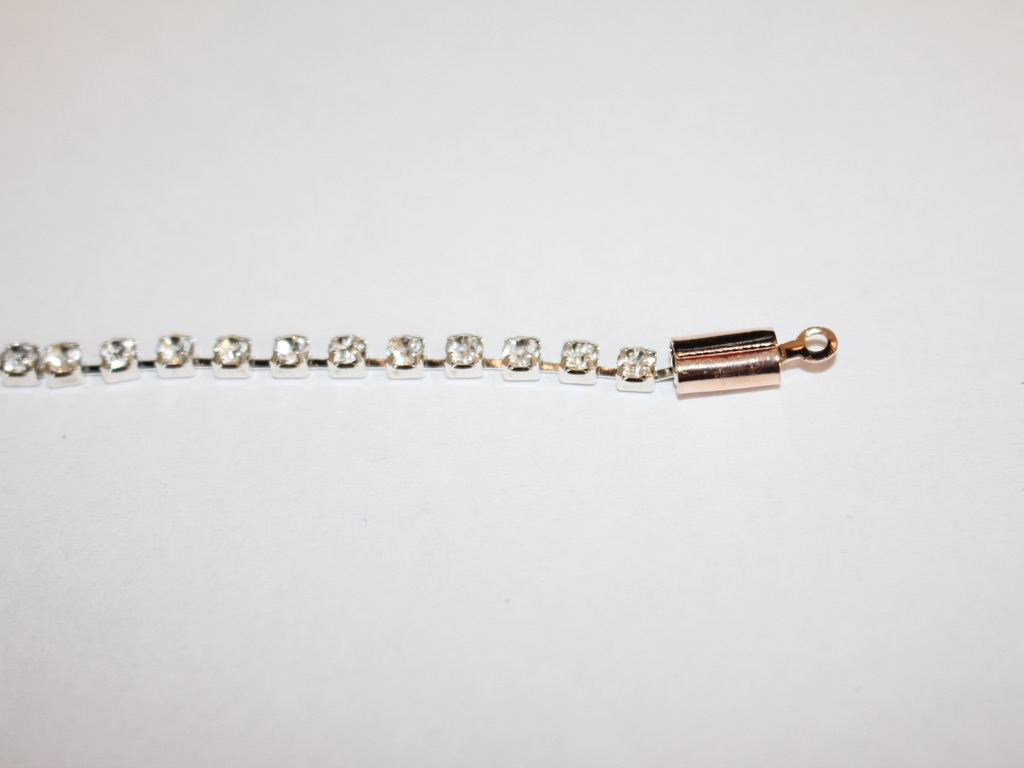
4: Repeat step 3 for the second crimp end on the other side of the rhinestone chain.
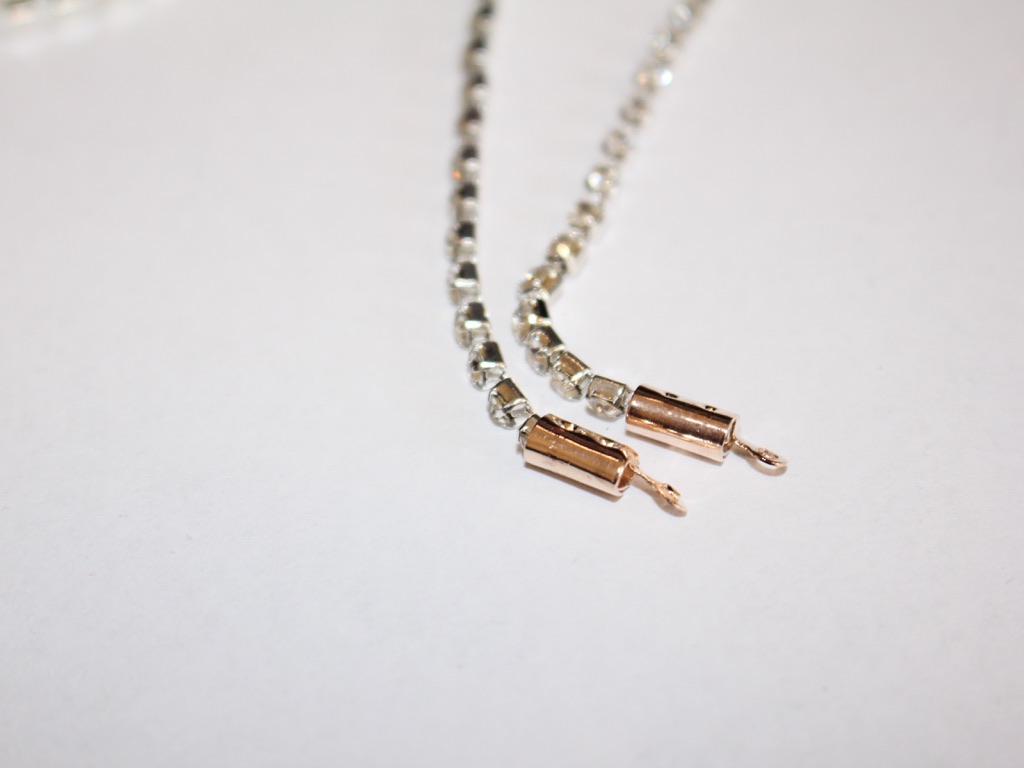
5: Add a jump ring to one end of the chain and use it to secure the rubber glasses holder in place. Repeat this for the other end of the chain to finish your DIY off.
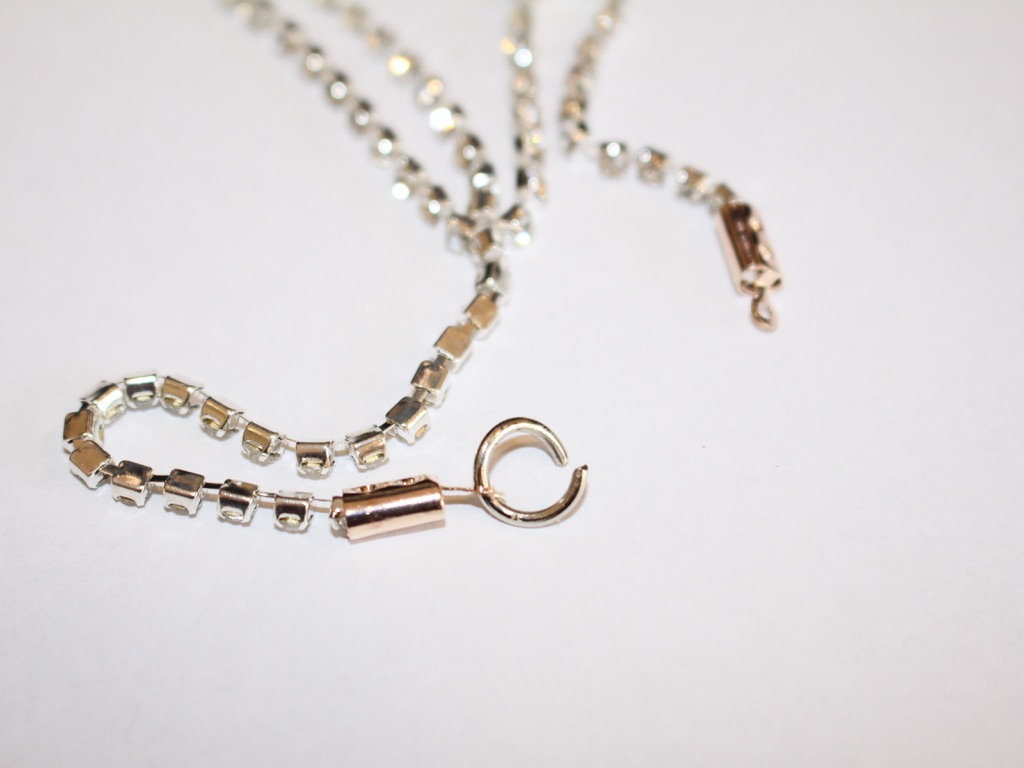
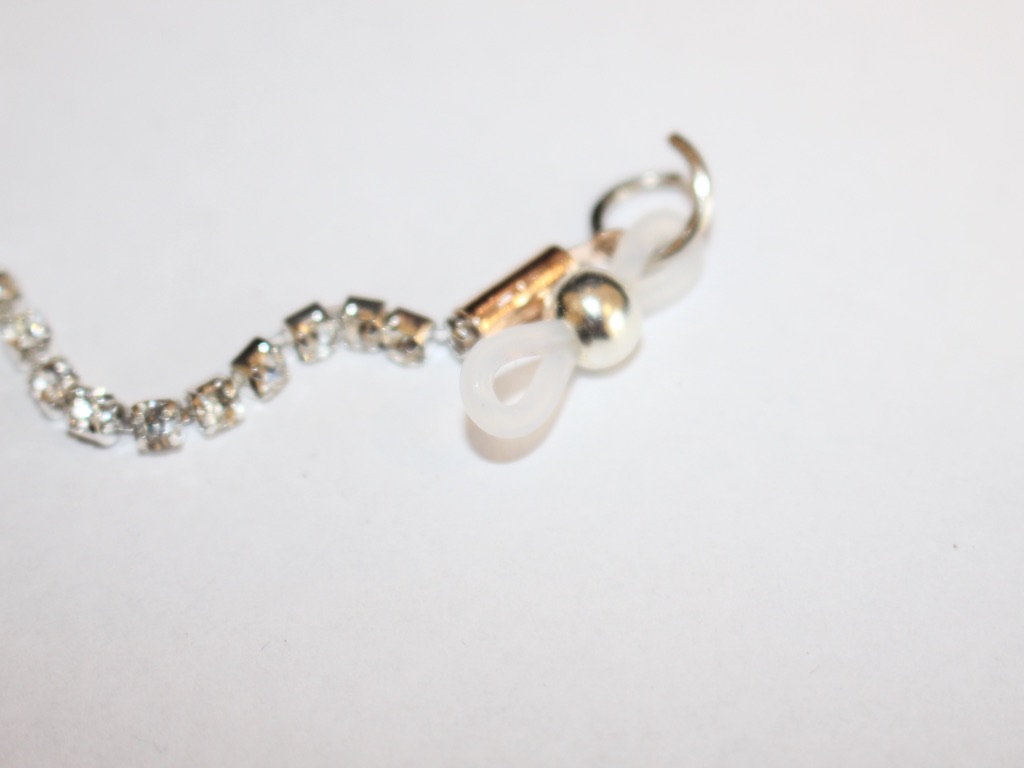
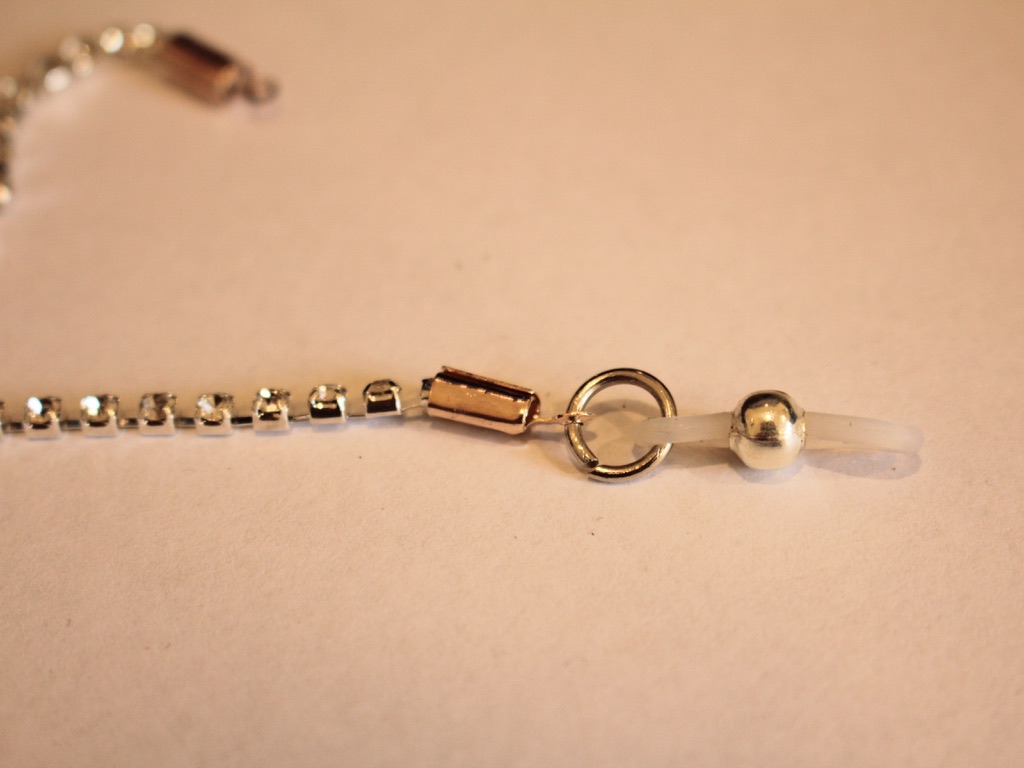
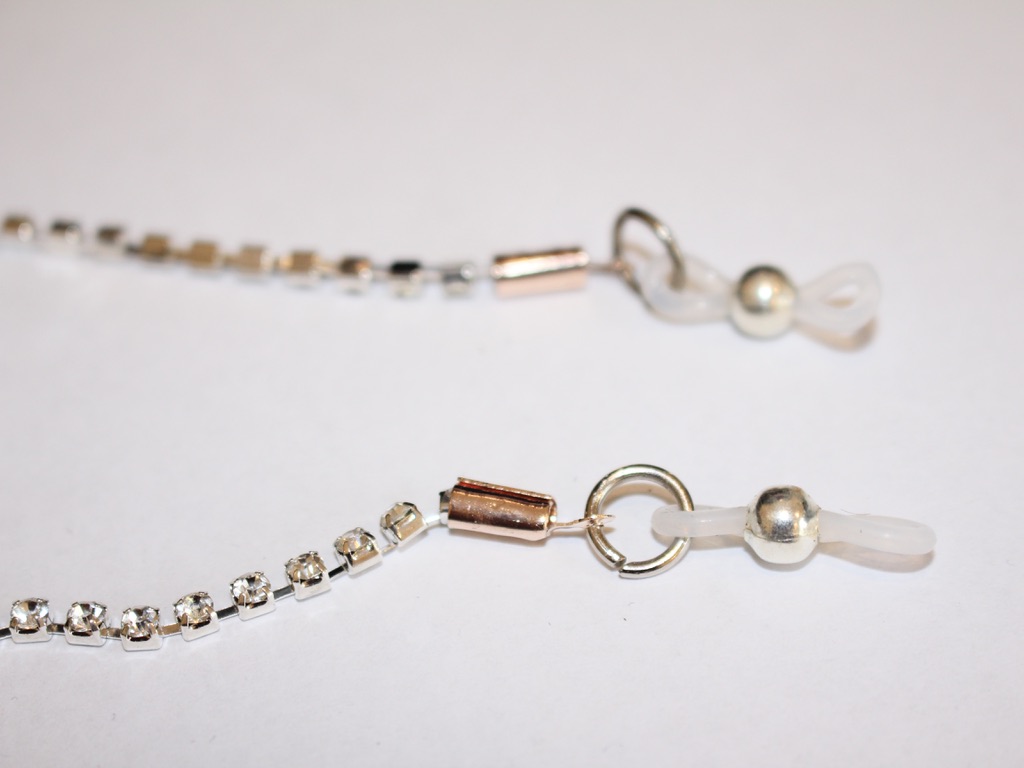
Now your rhinestone glasses chain is ready to use! Pop them onto your favorite spectacles or sunnies and shine on.
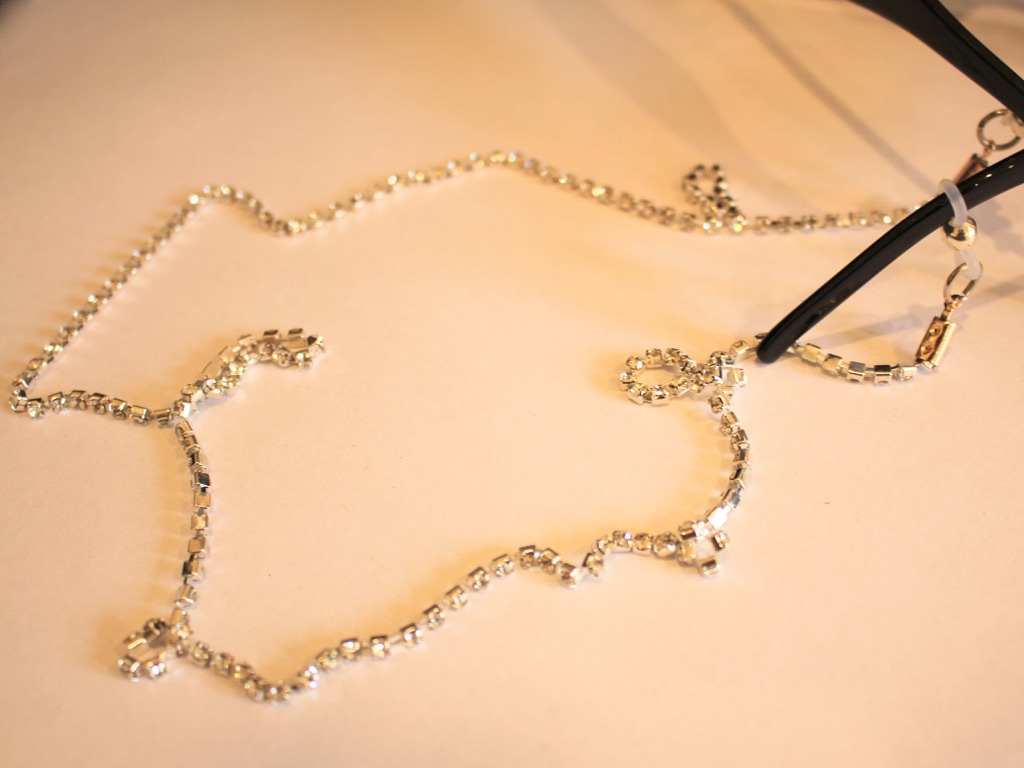

Here are some other rhinestone DIY’s you can make:
- A rhinestone embellished hair comb
- This cute pair of rhinestone alligator hair clips
- These two different rhinestone headbands
- Some crazy rhinestone statement earrings, check them out here and here
- An amazing rhinestone brooch
-
Here’s how to incorporate recycled materials into a glasses chain DIY

Are you interested in incorporating recycled materials in to your DIY jewelry designs? Here’s an idea for you… a glasses chain made with a recycled headphone cord.
You will need the following tools and materials to make your glasses chain:
1: Pliers. You will need your round nose pliers, flat nose pliers and cutting pliers.
2: A piece of cord from an old broken pair of headphones. I used this cord leftover from another project.

3: Beads with holes big enough to fit your cord. I used 10 of these painted wooden beads.

4: Two crimp ends.

5: Two jump rings.

6: Two rubber glasses holders.

Follow these steps to make your glasses chain:
1: Trim excess material from your cord using the cutting pliers.


2: Add the beads to the cord.


3: Fold one of the crimp ends around one end of the cord using the flat nose pliers.


4: Add the second crimp end to the other end of the cord.

5: Attach the glasses holders to each end of the cord using the jump rings.


Now your glasses chain is finished and ready to use. Perfect for windy spring days or for when you’re getting active outside!

Here’s another version I made using some broken apple headphones and some plastic heart shaped beads.