
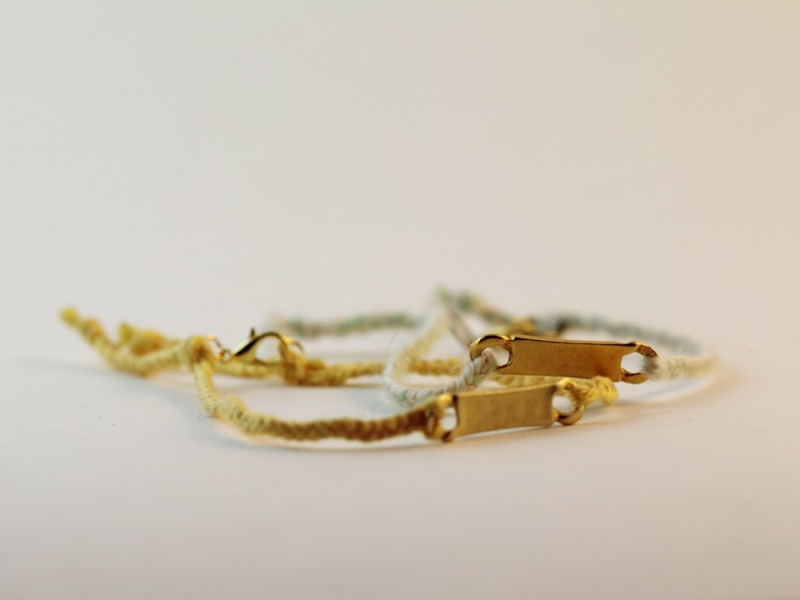
Braiding the Night Away… How to Make A Braided Charm Bracelet
This braided charm bracelet is really simple to make. I think that mixing cotton thread with metal findings makes for some sweet and wearable accessories. You could use a pre-fabricated charm connector, or maybe try making your own beaded charm bar to wear across your wrist! Get experimental and make lots to stack up your arms.
You will need the following tools and materials to make this bracelet:
1: Scissors.

2: Flat nose pliers.

2: Colorful cotton thread cut to length. I used three long pieces of yellow cotton so that I could create a double thickness braid. Make sure you add a little extra length before you cut your thread to make sure that your bracelet fits.

3: One charm connector.

4: One Lobster Clasp.

5: Two Jump Rings.

The Steps:
1: Thread the cotton yarn through each end of the charm connector.


2: Separate the thread into three sections and begin braiding. Try to keep the braiding tight at the start to make sure that the braid is consistent. Continue braiding until the braid is long enough to wrap halfway around your wrist.

3: Once the braid is long enough, secure the end with a knot.


4: Repeat steps 2 and 3 for the other side of the bracelet.

5: Open each jump ring and carefully slide it into the knot at each end of the bracelet.


6: Slide the lobster clasp onto one jump ring and secure them both closed using your flat nose pliers.

7: Once the clasp has been secured, begin braiding again starting from the end knot. Braid for approximately 1.5cm (0.6 inches) and then secure again with a knot.

8: Trim the excess cotton thread using the scissors.

9: Once the ends have been trimmed your bracelet is complete!
Click here to buy this yellow braided beauty!


DIY Jewelry Hub
Welcome to DIY Jewelry Hub. If you’ve ever wanted to learn how to make your own jewelry this is the place to start! Jewelry is a great way to show off your individuality and style. You’ll be surprised at how easy it is to create your own unique pieces! DIY Jewelry Hub will equip you with all the knowledge and inspiration you need to make your own jewelry.

You May Also Like

Make your jewellery work for you, this necklace is also a bracelet!
Here’s how to turn those shopping bag cords into cool wrap bracelets!