-
Here’s how to make a bead chain lariat
Bead chains are pretty cool, and a fun way to use any random beads you have lying around. I recently made this kitschy hodgepodge lariat necklace using the bead chain technique. This tutorial features affiliate links.
Here are the tools and materials you need to make your bead chain lariat:
1: Pliers. I used by round nose and flat nose pliers for this design.


2: An assortment of beads. I used a random assortment of plastic, timber and glass beads.

3: A bunch of eye pins.

4: Two head pins.

5: A lobster clasp.

6: Two medium jump rings.

7: Two smaller jump rings.

Follow these steps to make your bead chain lariat:
1: Add some feature beads to one of the head pins. I used this silver plastic heart bead and some glass seed beads.

2: Bend the pin at a right angle and use the round nose pliers to form the top into a loop.


3: Set this pin aside.
4: Begin adding beads to the eye pins.

5: Once each pin is beaded, bend the top to form a loop using round nose pliers. This will secure the beads in place.

6: Repeat this step for the other pins, attaching the pins together by opening one of the loops and sliding it through another to form the chain.


7: Once you have a chain long enough to fit your neck, attach the two ends together using one of the larger jump rings.


8: Create a few extra links and attach them to the middle of the necklace, finishing with the first head pin you beaded.


9: Split the top of the chain opposite the lariat chain you just attached.

10: Attach the clasp to the chain using one of the smaller jump rings and add another jump ring to the other side.


11: Bead the other head pin, looping it at the top as you did the others. Attach this pin to the chain behind the clasp using the other larger jump ring.


Now your necklace is finished! So fun!


This tutorial contains affiliate links.
-
Half and Half for the best of both worlds? Here’s how to make a half bead half chain necklace!
This necklace is really cool! It is made using different materials for a half-half look. One side of the necklace is made with delicate chain while the other half features a rainbow of glass seed beads.
The Materials
You’ll need the following tools and materials to make your half and half necklace:
1: Pliers. I used my cutting pliers, round nose pliers and flat nose pliers.

2: A piece of tiger-tail wire.

3: Four crimp beads.

4: Three jump rings.

5: A lobster clasp.

6: Some chain. I used gold-tone rolo chain.

7: Beads. I used some mixed glass seed beads in different colors.

The steps
Follow these steps to make your half and half necklace:
1: Add two of the crimp beads and a jump ring to one end of the wire.

2: Fold the short end of the wire around it and back through the crimp beads.

3: Squash the crimp beads using the flat nose pliers.

4: Add beads and continue beading until you have a beaded section that is around half the length you want your necklace. I checked my length by measuring it against my neck, holding the secured end at the back of my neck and wrapping it loosely around the font of my neck.


5: Add two more crimp beads to the wire and a second jump ring.

6: Bend the wire around the jump ring and pull it tightly back through the crimps and a few of the beads.

7: Squash the crimp beads using the flat nose pliers again.

8: Trim the excess tiger tail wire using the cutting pliers.

9: Open a jump ring on one side of the beaded strand and attach one end of the chain.

10: Measure the chain so that it is the same length as the beaded strand and trim it.

11. Add the remaining jump ring to the other end of the chain, using it to secure the lobster clasp in place.

Now your half and half necklace is finished!


You can even add a charm to the middle to add some extra interest. I added this yellow clay and resin charm to mine.


This tutorial contains affiliate links.
-
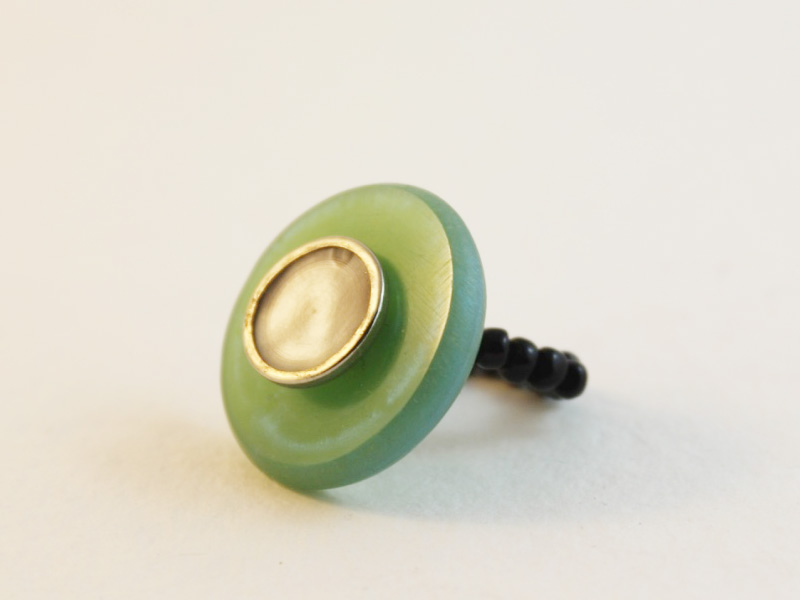
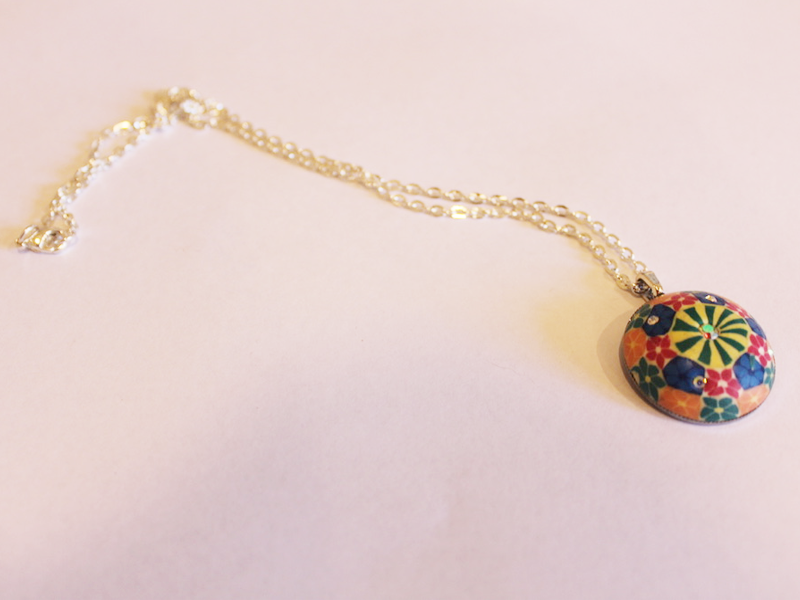
How to transform an old ring into a pendant.

If you are like me you might have some old costume jewelry lying around that isn’t really your style any more. Instead of throwing it away here’s a way that you can transform an old ring into a wearable pendant.
You will need the following tools and materials to make your pendant:
1: An old ring. I used this ring with a soldered on ring shank.

2: Flat nose pliers for pulling the ring apart.
3: A glue on bail.

4: Araldite glue.

5: A skewer.

6: Scrap paper.

8: A necklace chain.

Follow these steps to transform your old ring into a necklace pendant:
1: Remove the ring shank from the top of the ring, gently pulling it off with your flat nose pliers.


2: If there is excess metal use a file to remove it. I didn’t have to do this for this project.
3: Squeeze out the Araldite glue in equal parts onto the scrap paper.


2: Mix the glue using the skewer.

3: Add the glue to the bail and the back of the ring.


4: Place the bail onto the glued part of the ring and set aside to dry.

5: Add the dry pendant to the necklace to finish it off!
Now your new pendant is ready to wear! Such an easy way to upcycle old jewelry.
-
How to make a rainbow beaded pearl necklace

I’ve seen a lot of pearl and glass bead jewelry online lately so I thought it would be a good time to share a rainbow pearl necklace tutorial so you can DIY these expensive jewels at home. Contains affiliate links.
You will need the following tools and materials to make your rainbow pearl necklace:
1: Pliers. You’ll need your cutting pliers, round nose pliers and flat nose pliers.
2: Tiger tail wire.
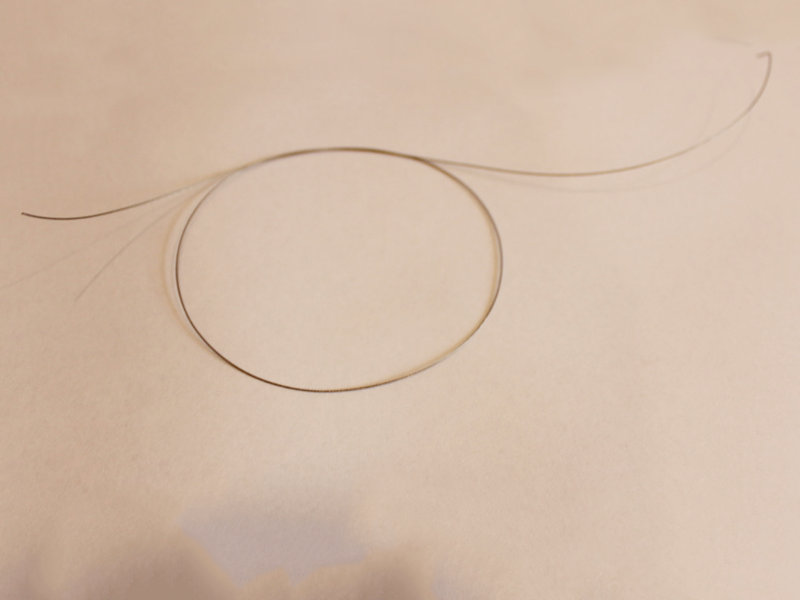
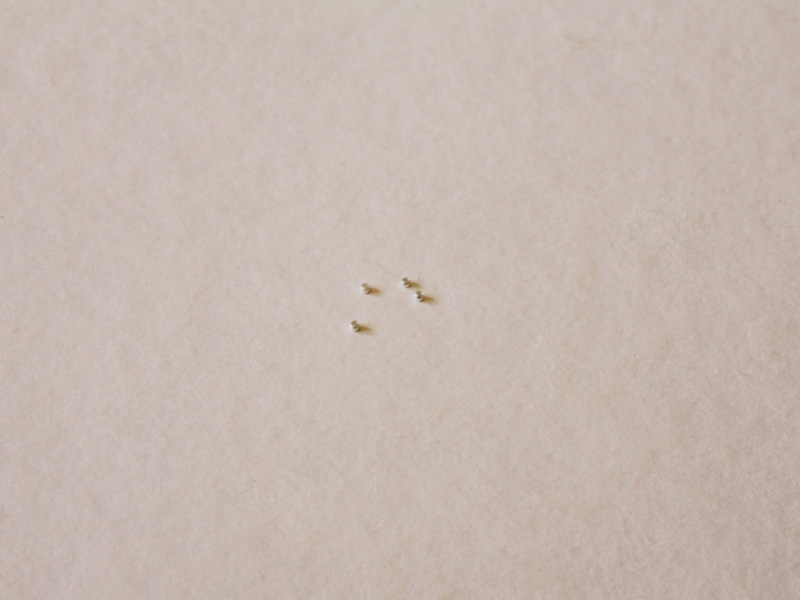
3: Four crimp beads.
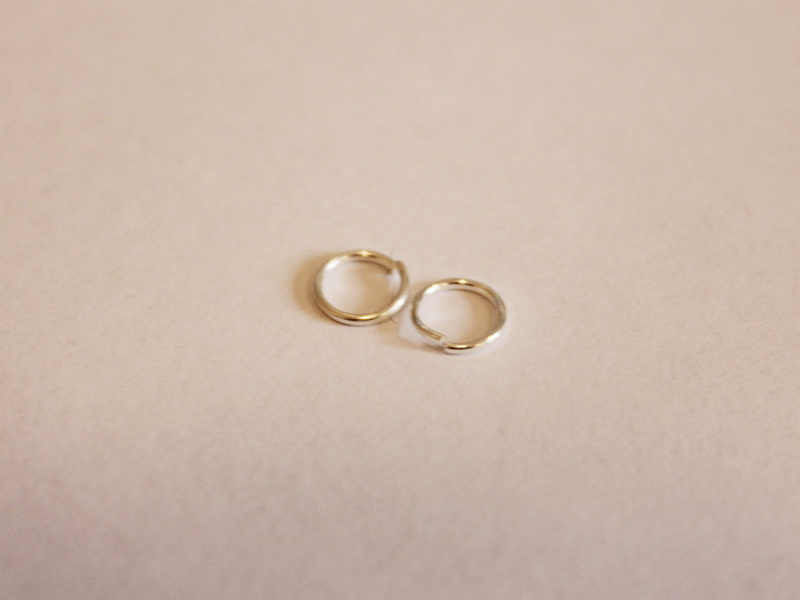
4: Two jump rings.
5: A lobster clasp.

6: Multicolored glass beads. I used these mixed glass beads.

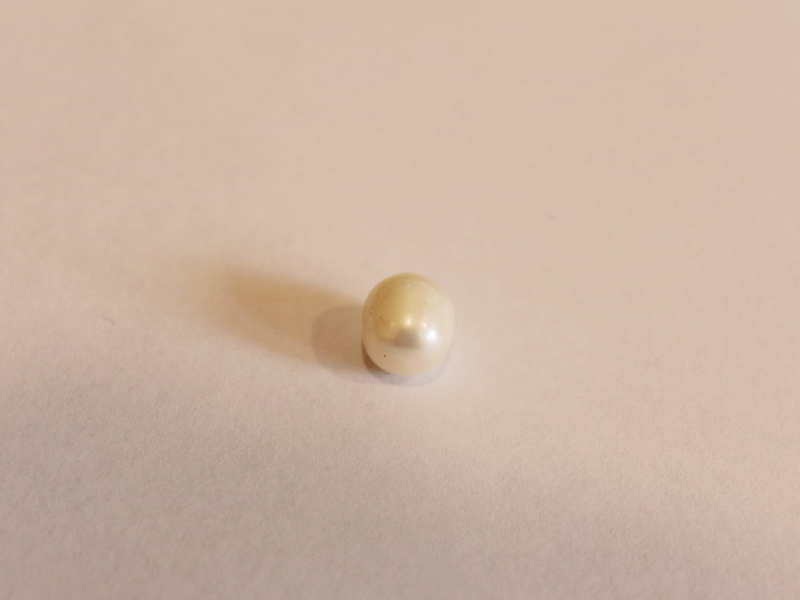
7: A pearl bead. I used this white pearl bead.
Follow these steps to make your rainbow pearl necklace:
1: Add two of the crimp beads to the tiger tail wire.
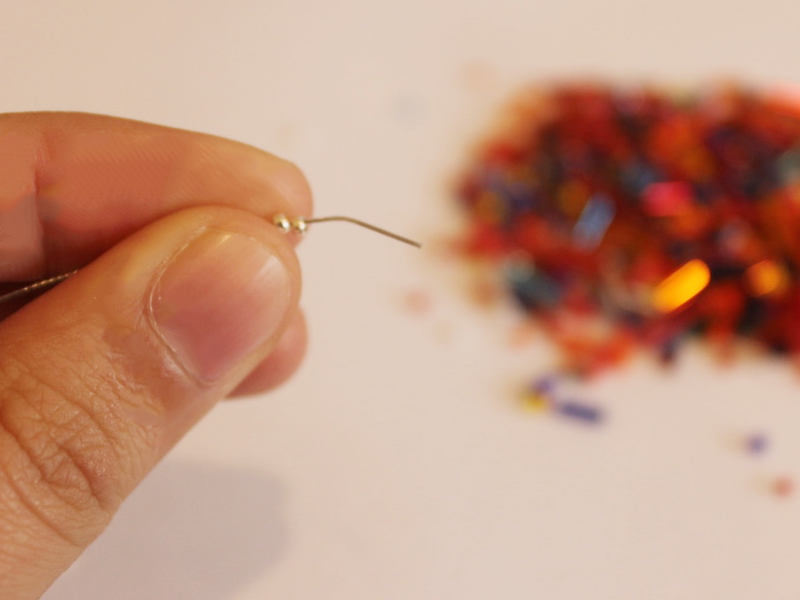
2: Add a jump ring to the wire.
3: Fold the end of the wire around the jump ring and through the crimp beads.
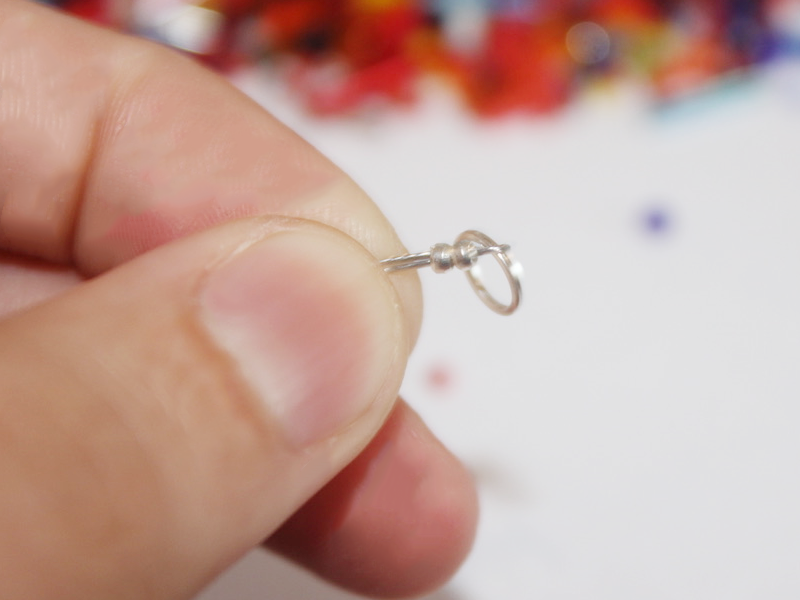
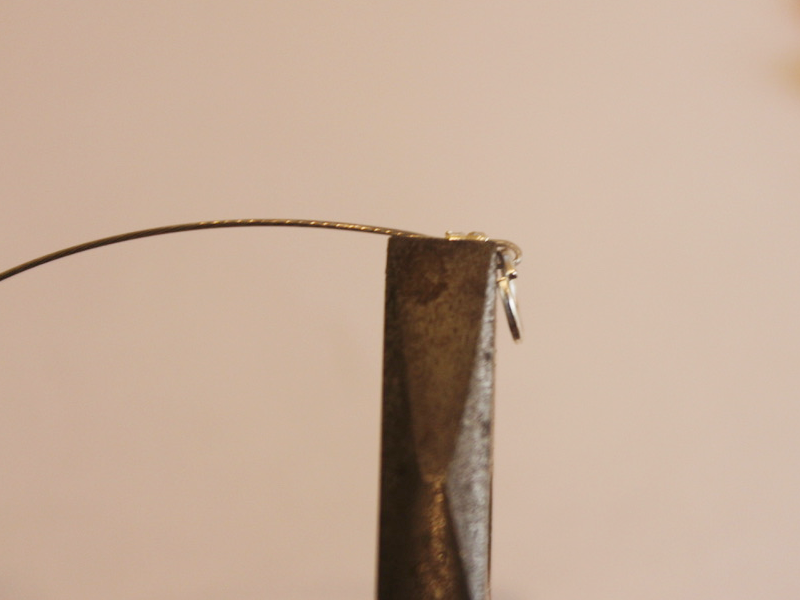
4: Squash the jump rings using the flat nose pliers.
5: Start adding the glass beads to the wire.
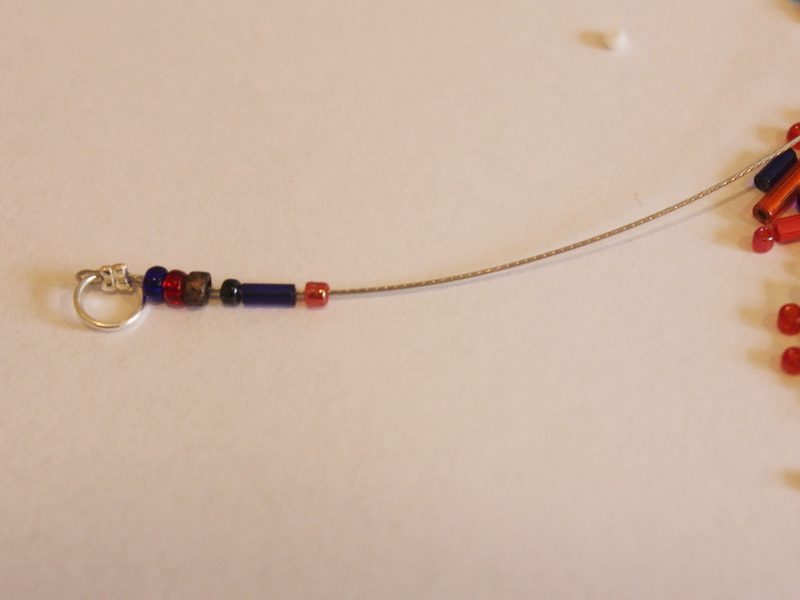
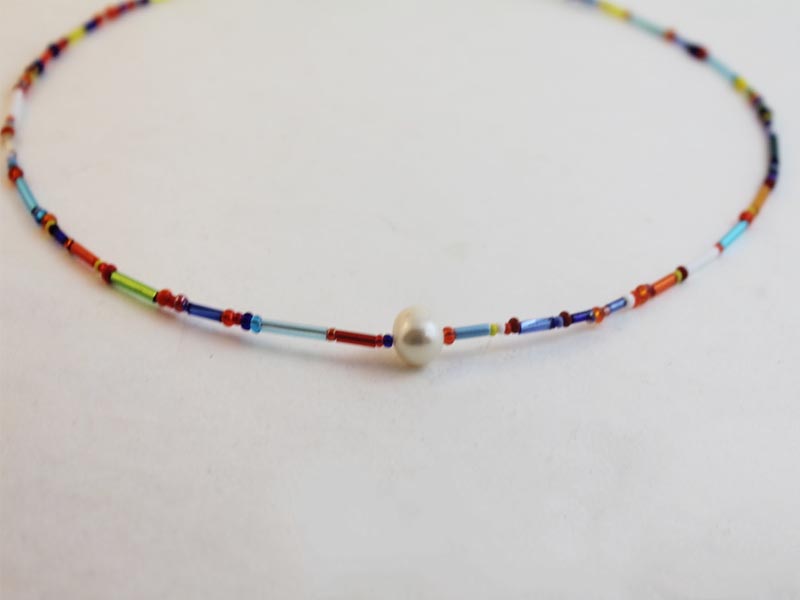
6: Add beads to half of the length you want your necklace and add the pearl. beads.
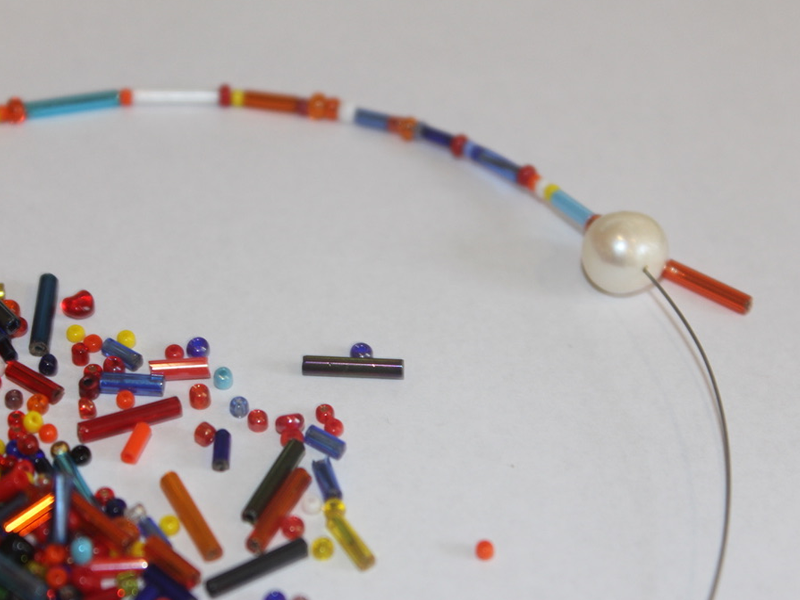
7: Add the glass beads to the rest of the wire so that the pearl sits in the middle.
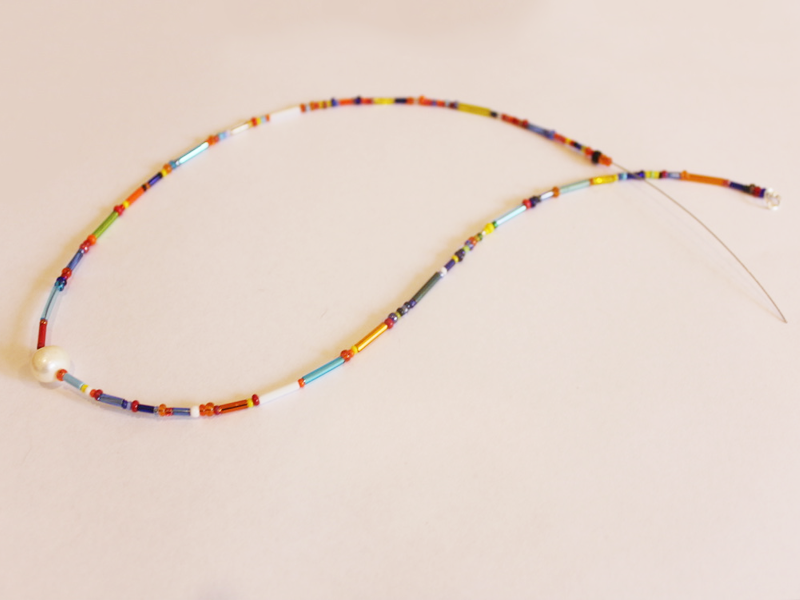
8: Add the remaining crimp beads and the other jump ring to the wire.

9: Fold the end of the wire around the jump ring and through the crimp beads and the last few glass beads.
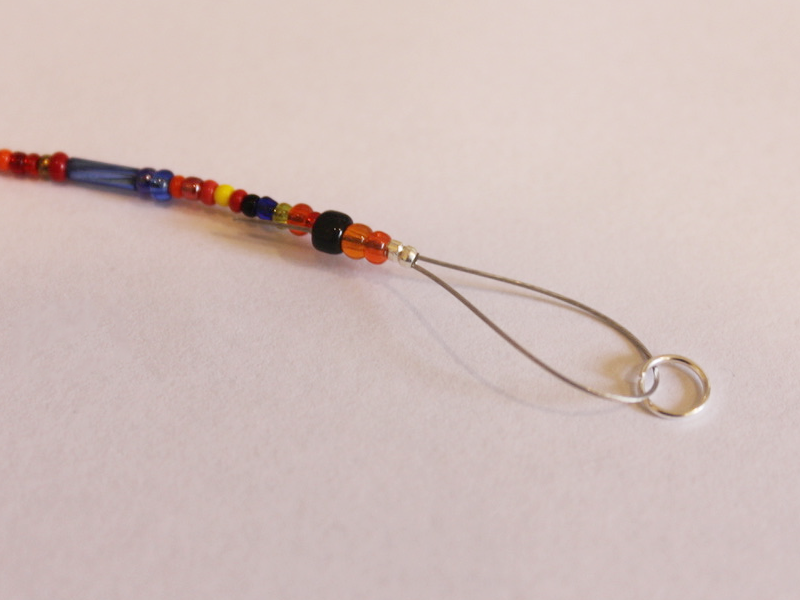
10: Pull the wire tight.
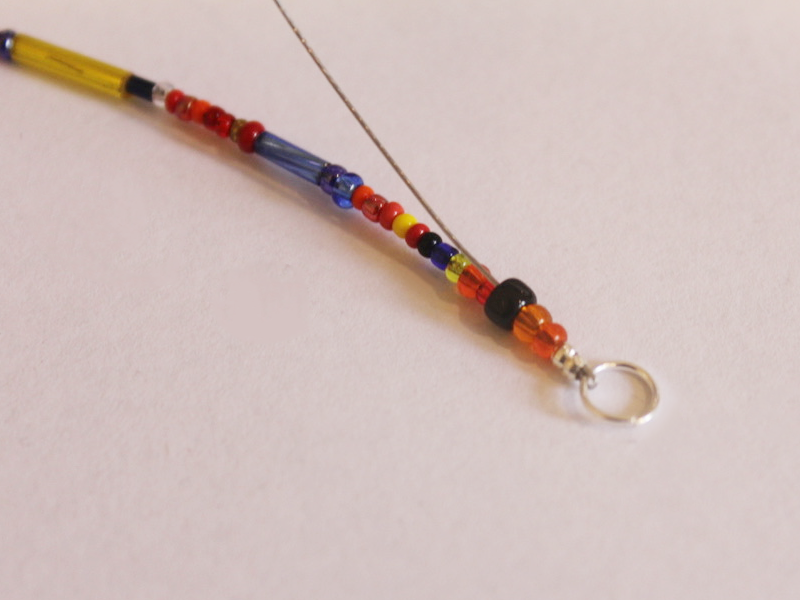
11: Squash the jump rings using the flat nose pliers.

12: Trim the excess wire using the cutting pliers.
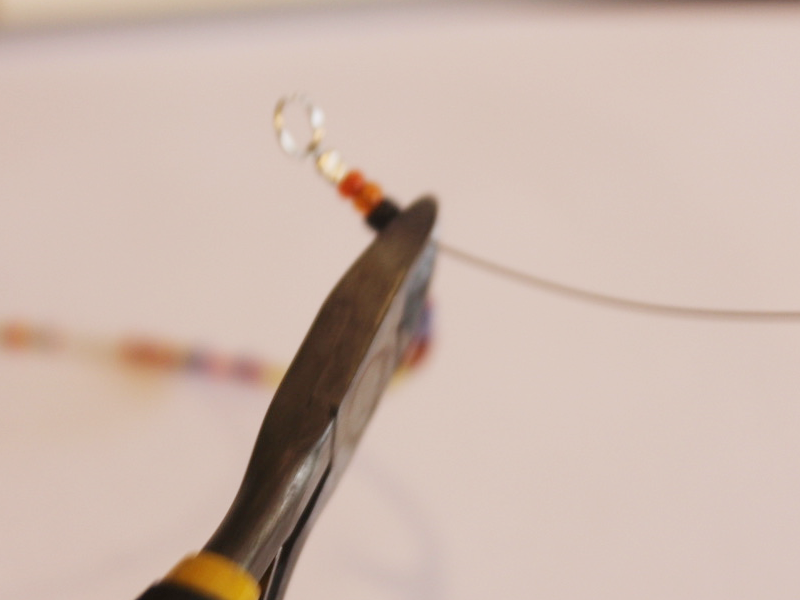
13: Attach the lobster clasp to one side of the necklace onto one of the jump rings.
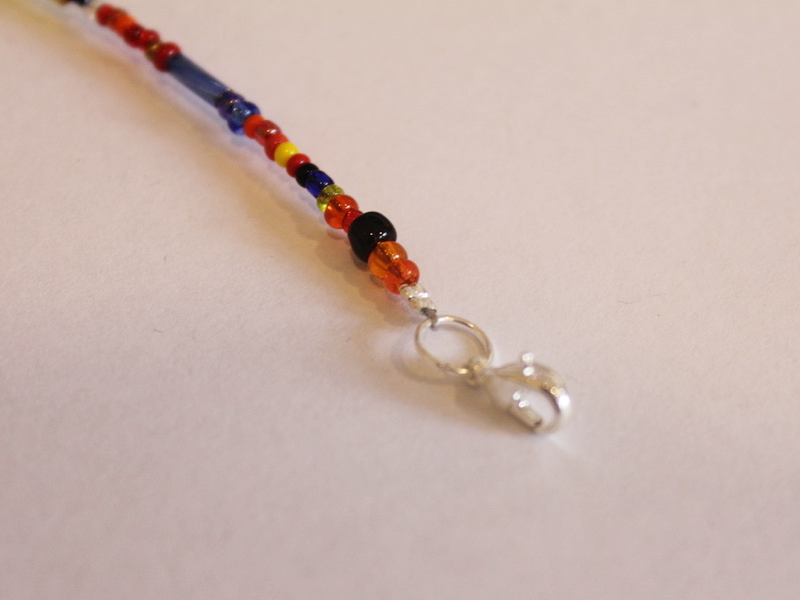
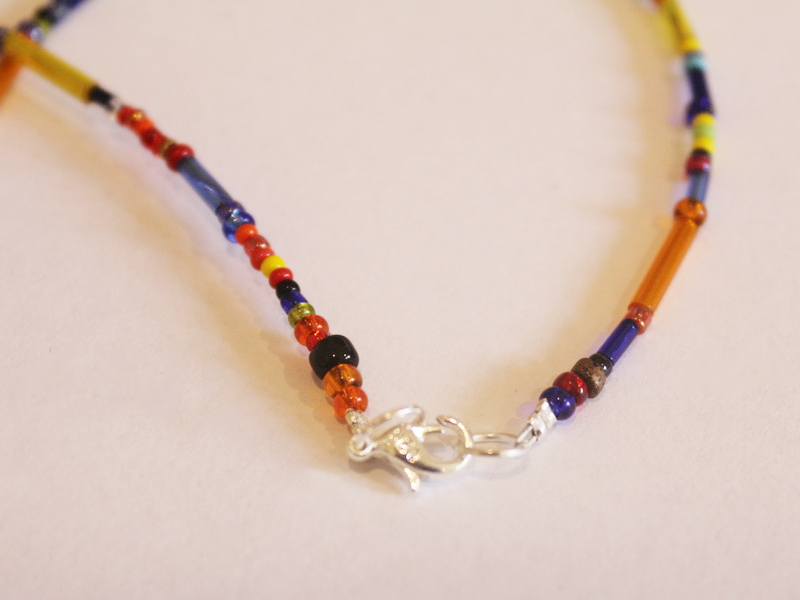
Now your rainbow pearl necklace is finished! How satisfying to get the look for less by making it yourself?
-
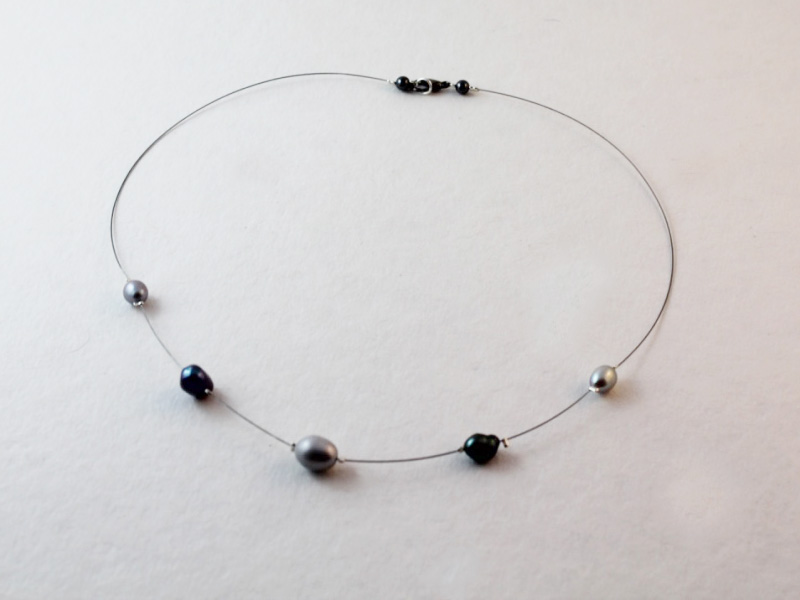
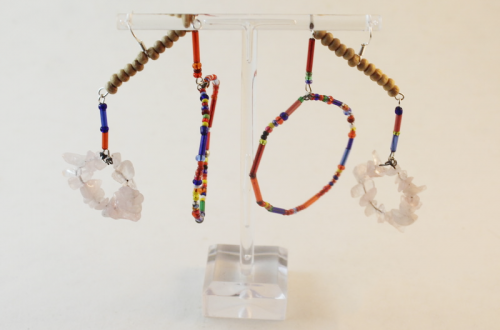
Hop on the pearl trend with these beaded pearl hoop earrings!
I am loving the pearl jewelry trend right now! Here’s how you can DIY your way into unconventional pearl earrings. Contains affiliate links.
You will need the following tools and materials to make your beaded pearl hoops:
1: Pliers. I used cutting pliers to cut my wire, round nose pliers and flat nose pliers.
2: Some wire. I used this wire that I reclaimed from an old jewelry project.

3: Charm connector stud earrings.

4: Two small jump rings.

5: Two medium jump rings.

6: Two larger jump rings.

7: Two small head pins.

8: Two pearl beads. I used these freshwater pearl beads.

9: Seed beads. I used these mixed glass seed beads.
Follow these steps to make your beaded pearl hoops:
1: Curl the end of the wire to form a loop using the round nose pliers.

2: Add the seed beads to the wire.

3: Once the wire is beaded and there is only about 1cm left of the wire left use the round nose pliers again to curl the end into a loop.

4: Repeat steps one to three for the second piece of wire.

5: Form the beaded wires into circle shapes.

6: Join the ends of the wires using the two small jump rings and then set the hoops aside.


7: Add the pearls to each of the head pins.

8: Create a loop at the top of each pin using the round nose pliers. This will secure the pearls on the pins.

9: Attach each of the pearl charms to the beaded hoops using the medium sized jump rings.


10: Attach the earring posts to the top of the hoops using the largest jump rings.

Once the earring posts are in place they are ready to wear! How cute are they?!

Here’s another pair I made with some green pearls.


-
Stuck In A Rut? Here Are Some DIY Jewelry Design Tips
Sometimes you need a little bit of extra help when it comes to designing your own DIY jewelry, so here are some of my favorite tips and tricks that I use to design and make my jewelry.
My number one rule when it comes to designing jewelry is to go with your gut, I usually find that too much planning stifles creativity. My personal DIY jewelry design process is quite intuitive; I might choose a feature bead or a particular material and then select my colors and materials accordingly.
Choosing a color scheme can also be an interesting starting point for your designs. Selecting colors that are complimentary, contrasting or using a monochrome color scheme can lead to some stunning results. Color blocking your beads can also be a fun way to use different colors in your designs.

This bracelet design uses color blocking and texture blocking. Or you can just throw caution to the wind and a random assortment of multicolor beads like I have in this charm bracelet design.

This cute charm bracelet was made using a random assortment of colored seed beads. Check out my tutorial on how to make a beaded necklace for an example of a monochrome color scheme. I used mostly white and clear glass beads to create a monochrome background for the turquoise feature beads at the center of the necklace.
The fundamental steps for making your own jewelry are easy, once you’ve got them mastered you can start to explore, experiment and inevitably create your own incredible and unique DIY jewelry designs.
Go on, get making!