-
Having Trouble deciding what to make? Here are my top 10 fave tutorials!
Here is a count down of my top 10 favorite tutorials on DIY Jewelry hub so far. I hope some of your faves are in here too!
10.
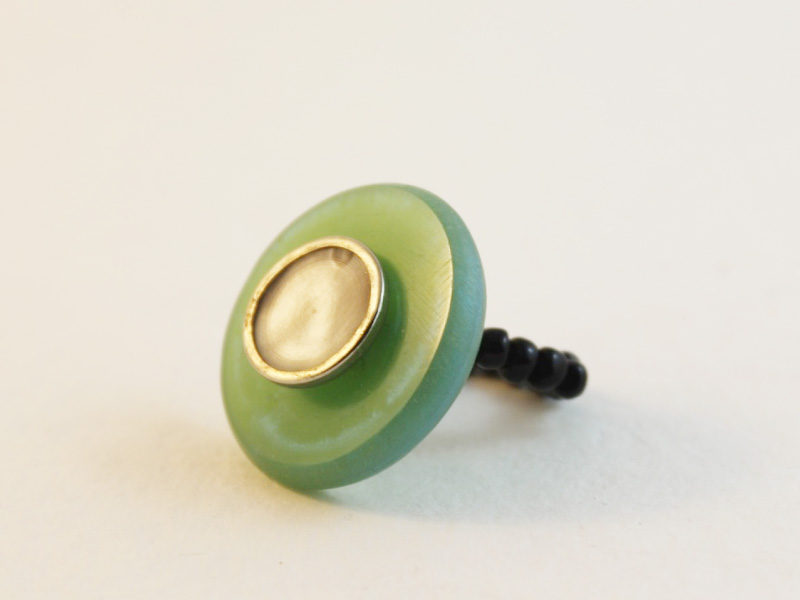
Transform beautiful buttons into stunning and unique earrings. This tutorial is a personal favorite of mine and I wear my button earrings all the time!
Check out the button earring tutorial out here!


9.
This one is for the fellas! A quick DIY that leaves you with some incredible and unique cufflinks. I gave a special pair to my Dad.
Click here to make your own unique cufflinks.


8.
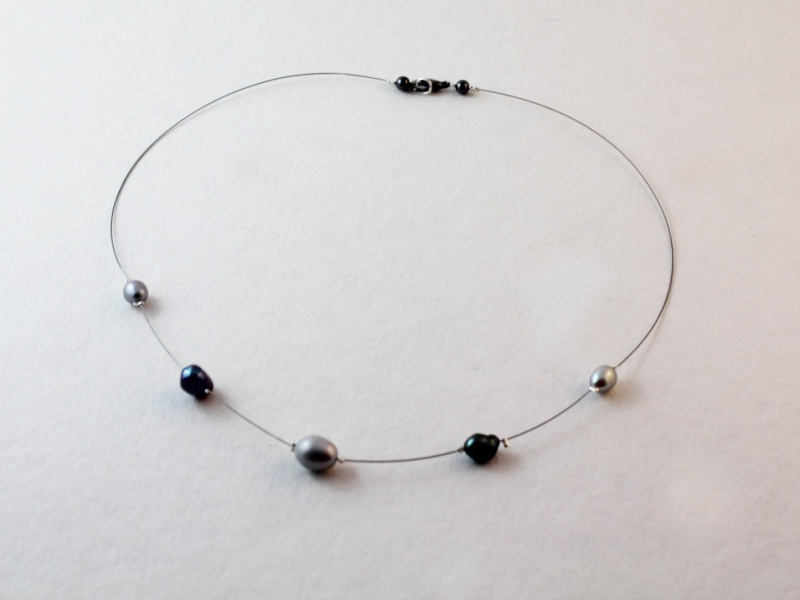
This design is pretty cool! Using memory wire and some crimp beads you can make your beads float across your chest.
Here are all the steps to make your own floating bead necklace.

7.
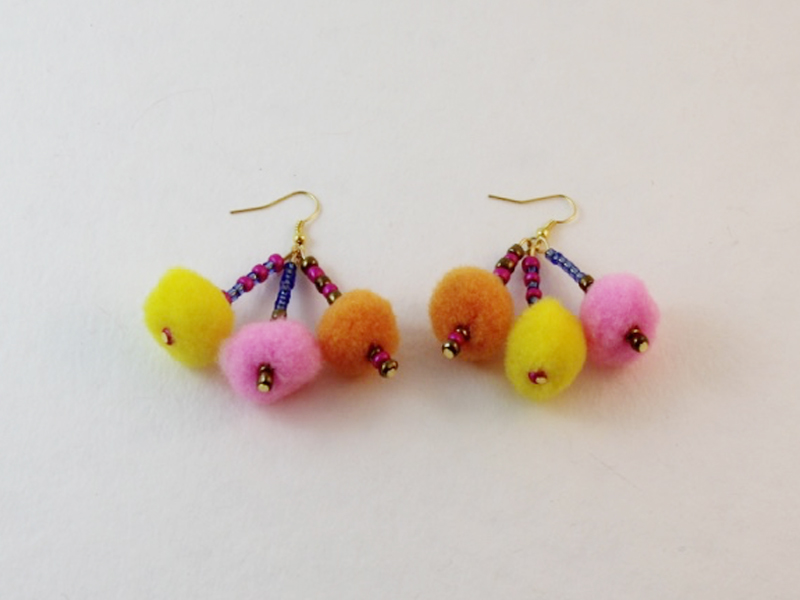
How cute are these? I love these festive pom pom earrings, especially as the silly season is coming up soon!
Make your own pom pom earrings, follow these steps.
6.
Recycling doesn’t have to be messy! I love upcycling old cardboard tubes and and plastic rings into jewelry.
Make yourself some recycled ribbon bangles!


5.
This beaded triangle pendant is one of my favorite designs! All you need are some awesome beads and three eye pins and you’re on your way.
Check out the triangle pendant tutorial video for some DIY inspiration!

4.
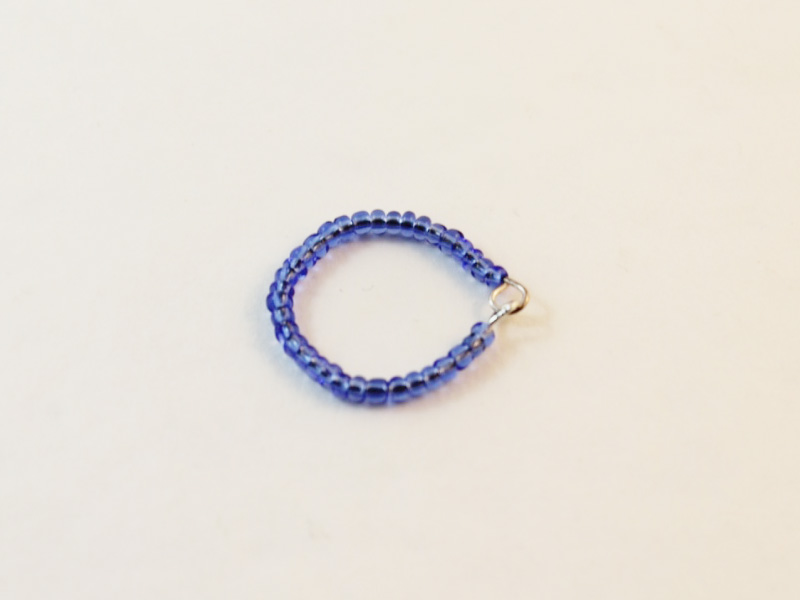
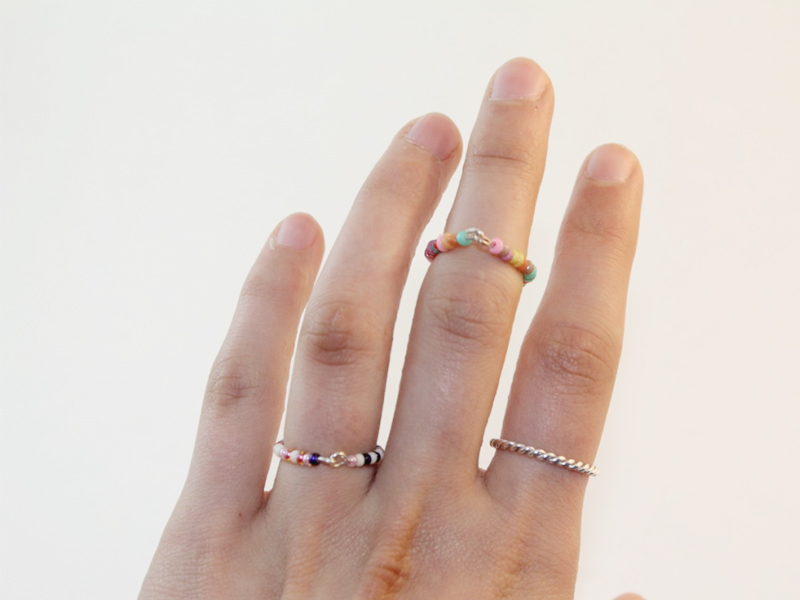
Want to make your own beaded rings without using a ring finding? Here’s how! You’ll be decorating your fingers with these delicate beauties.
All the steps to make beaded rings are right here.
3.
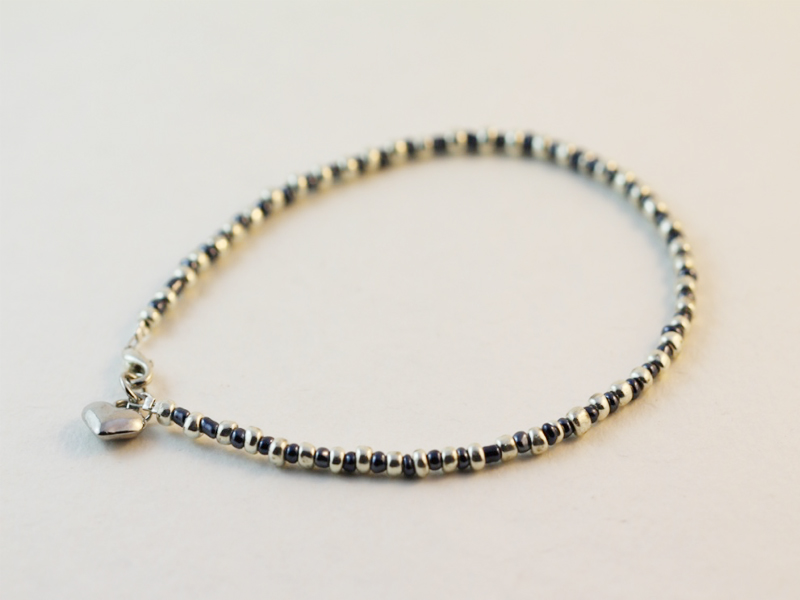
Anklets are great, especially in summer. This video tutorial shows you how to make a simple beaded anklet to make that ankle shine!
Follow the anklet making steps right here.
2.
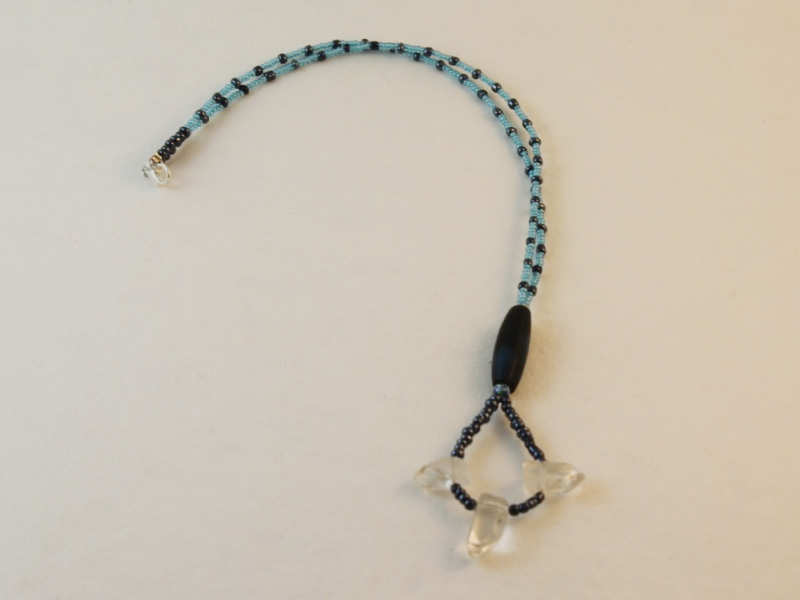
This looping technique is super easy to do and gives a great effect! I bet every necklace you make using this technique will look completely different. This tutorial is also perfect for making gifts.
Check the beaded loop necklace tutorial out right here!
1.
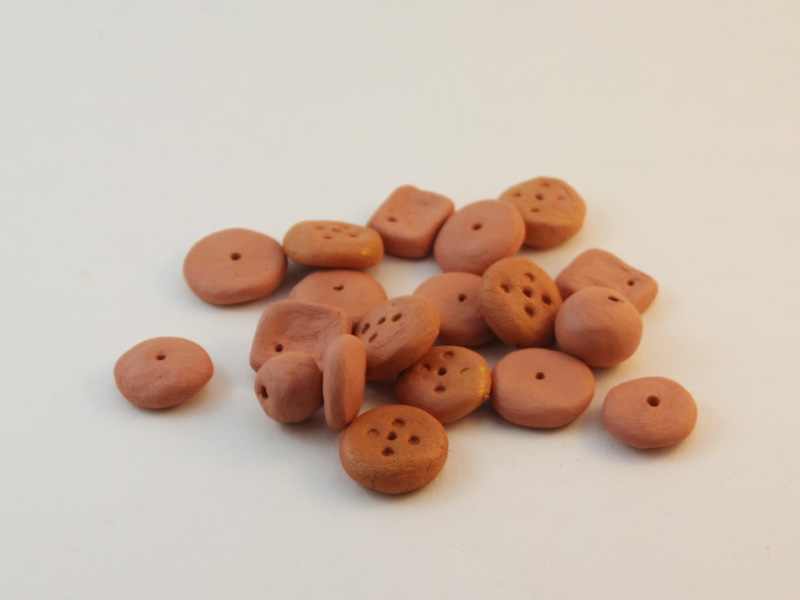
What’s more exciting than making your own bead jewelry? Making your own beads! Using air dry clay to make your own beads is easy, fun (and just the right amount of messy).
Get stuck into the bead making, all the steps are right here!


-
Keep Your Rocks On Display, Make Your Own Clay Ring Holders!
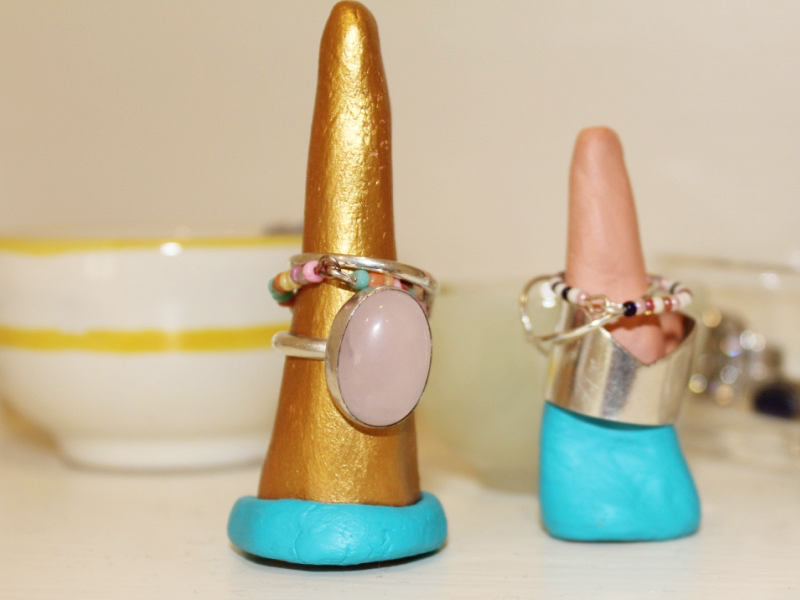
I love rings, and I have many more rings then I could ever wear at once. If you’re like me and you want your ring collection to stay on display so you can admire them all the time why not make yourself some ring holders? These ring holders are made out of air dry clay. Using clay gives you lots of scope for creativity, make your holders in any shape you like. This tutorial shows you the steps to make a simple ring holder.
You will need the following tools and materials to make a clay ring holder:
1: Air dry modelling clay.
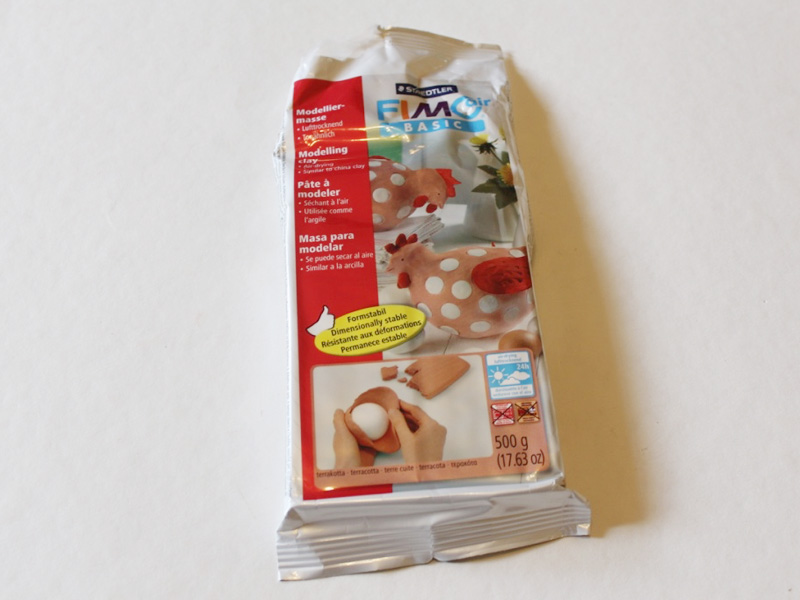
I used this terracotta colored Fimo air dry clay; however this DAS terracotta air dry clay will give a similar effect!
2: Some scrap paper or baking paper to work on (this clay can get a little messy).
Here are the steps for making a simple clay ring holder:
1: Take a portion of clay out of the package to work with.
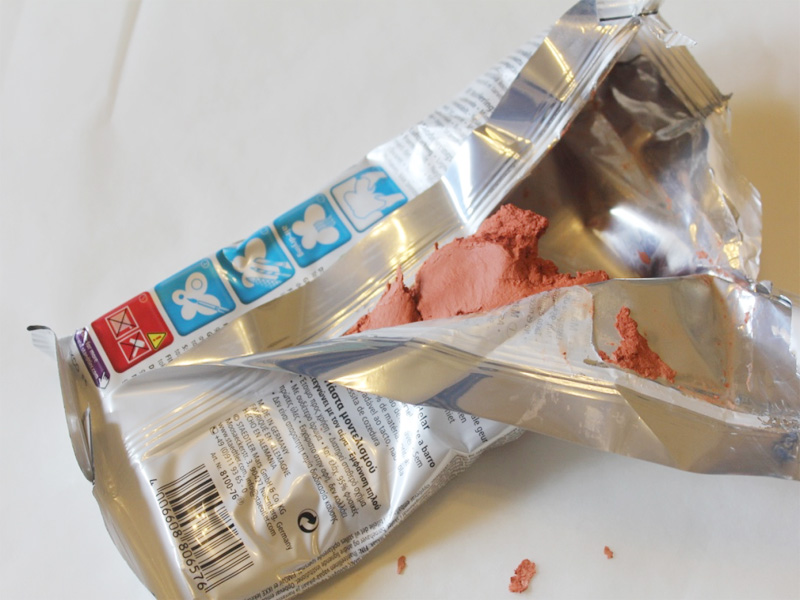

2: Work the clay with your hands for a while so that it become easier to form into shape without any cracks.


3: Once your clay has become more pliable, roll it between your hands to form a slight cone shape. Make sure the cone is thin enough at the for you to fit your rings on. Make sure that the bottom of the cone is wide enough to stop your rings from falling off completely!

4: Make the base of your ring holder flat by carefully pressing it against your work surface so that it can stand on its own. Once you’ve got the basic shape you can add some decorative elements to your ring holders. I decided to keep these ones quite plain.


5: That’s it! How easy was that? Once you have formed all the shapes that you want, place the holders in a safe place, maybe out in the sun so they can dry.

6: Once your ring holder is dry (it may take a couple of days for your clay to dry completely) it is ready to use! You can also paint your ring holders with acrylic paint to add an extra element of style. I painted these holders using turquoise and gold colored acrylic paint.

-
How to Measure Your Ring Size So You Can Make Sure Those Sparkler’s Fit Perfectly.
There are many complicated ways to measure your fingers for DIY ring making, but when you are just working on rings for yourself, these simple methods will do the trick!
Method 1.
All you need for this measuring method is a soft measuring tape and your hands!

Wrap the measuring tape snugly around your chosen finger, make a note of the length by looking at where the end meets the tape again.


You can then use this measurement to cut your ring wire to length. When you cut your wire, make sure you add a little extra to account for the thickness of both the wire and the beads you are using. This is more important when using thicker gauge wire.
Method 2.
This method is a little more involved but comes in handy when you don’t have a flexible measuring tape available. For this method you will need some scrap paper, some scissors and a pen.


Step 1:
Using the scissors, cut a thin strip of paper that will be long enough to wrap around your finger.


Step 2:
Wrap the piece of paper around your chosen finger, folding at the point where the end meets the paper again.


Step 3:
Mark the fold using the pen.

Step 4:
You can check the length using a ruler or cut your ring wire against the paper. You will need to make sure you add a little extra length to your wire to account for the thickness of your beads and wire.

And there you have it, two easy methods for measuring your ring size!
If you want to be more accurate here are some ring measurement tools:
This tutorial contains affiliate links.