-
Here’s how to make an amazing wire-wrapped fish charm. Such a cute little pendant.
Do you love the sea? I sure do. This wire-wrapped fish charm is easier to make than it looks and is so adorable. I am excited to wear mine on a gemstone beaded necklace. So cool! All you need is a carved fish bead and some thin silver wire (and some pliers and pizzaz!).
Please note that this tutorial contains affiliate links for which we may receive a commission.
You’ll need the following tools and materials to make your fish charm:
1: A carved gemstone fish charm with a hole drilled into the tail. I used a pink rose quartz fish.

You can get a similar fish charm here:
Or these ones which are more simple and drilled at the head:
2: Some wire. The hole in my charm was quite small so I used 26 gauge (0.4mm) round wire made from silver.

You can get silver wire here:
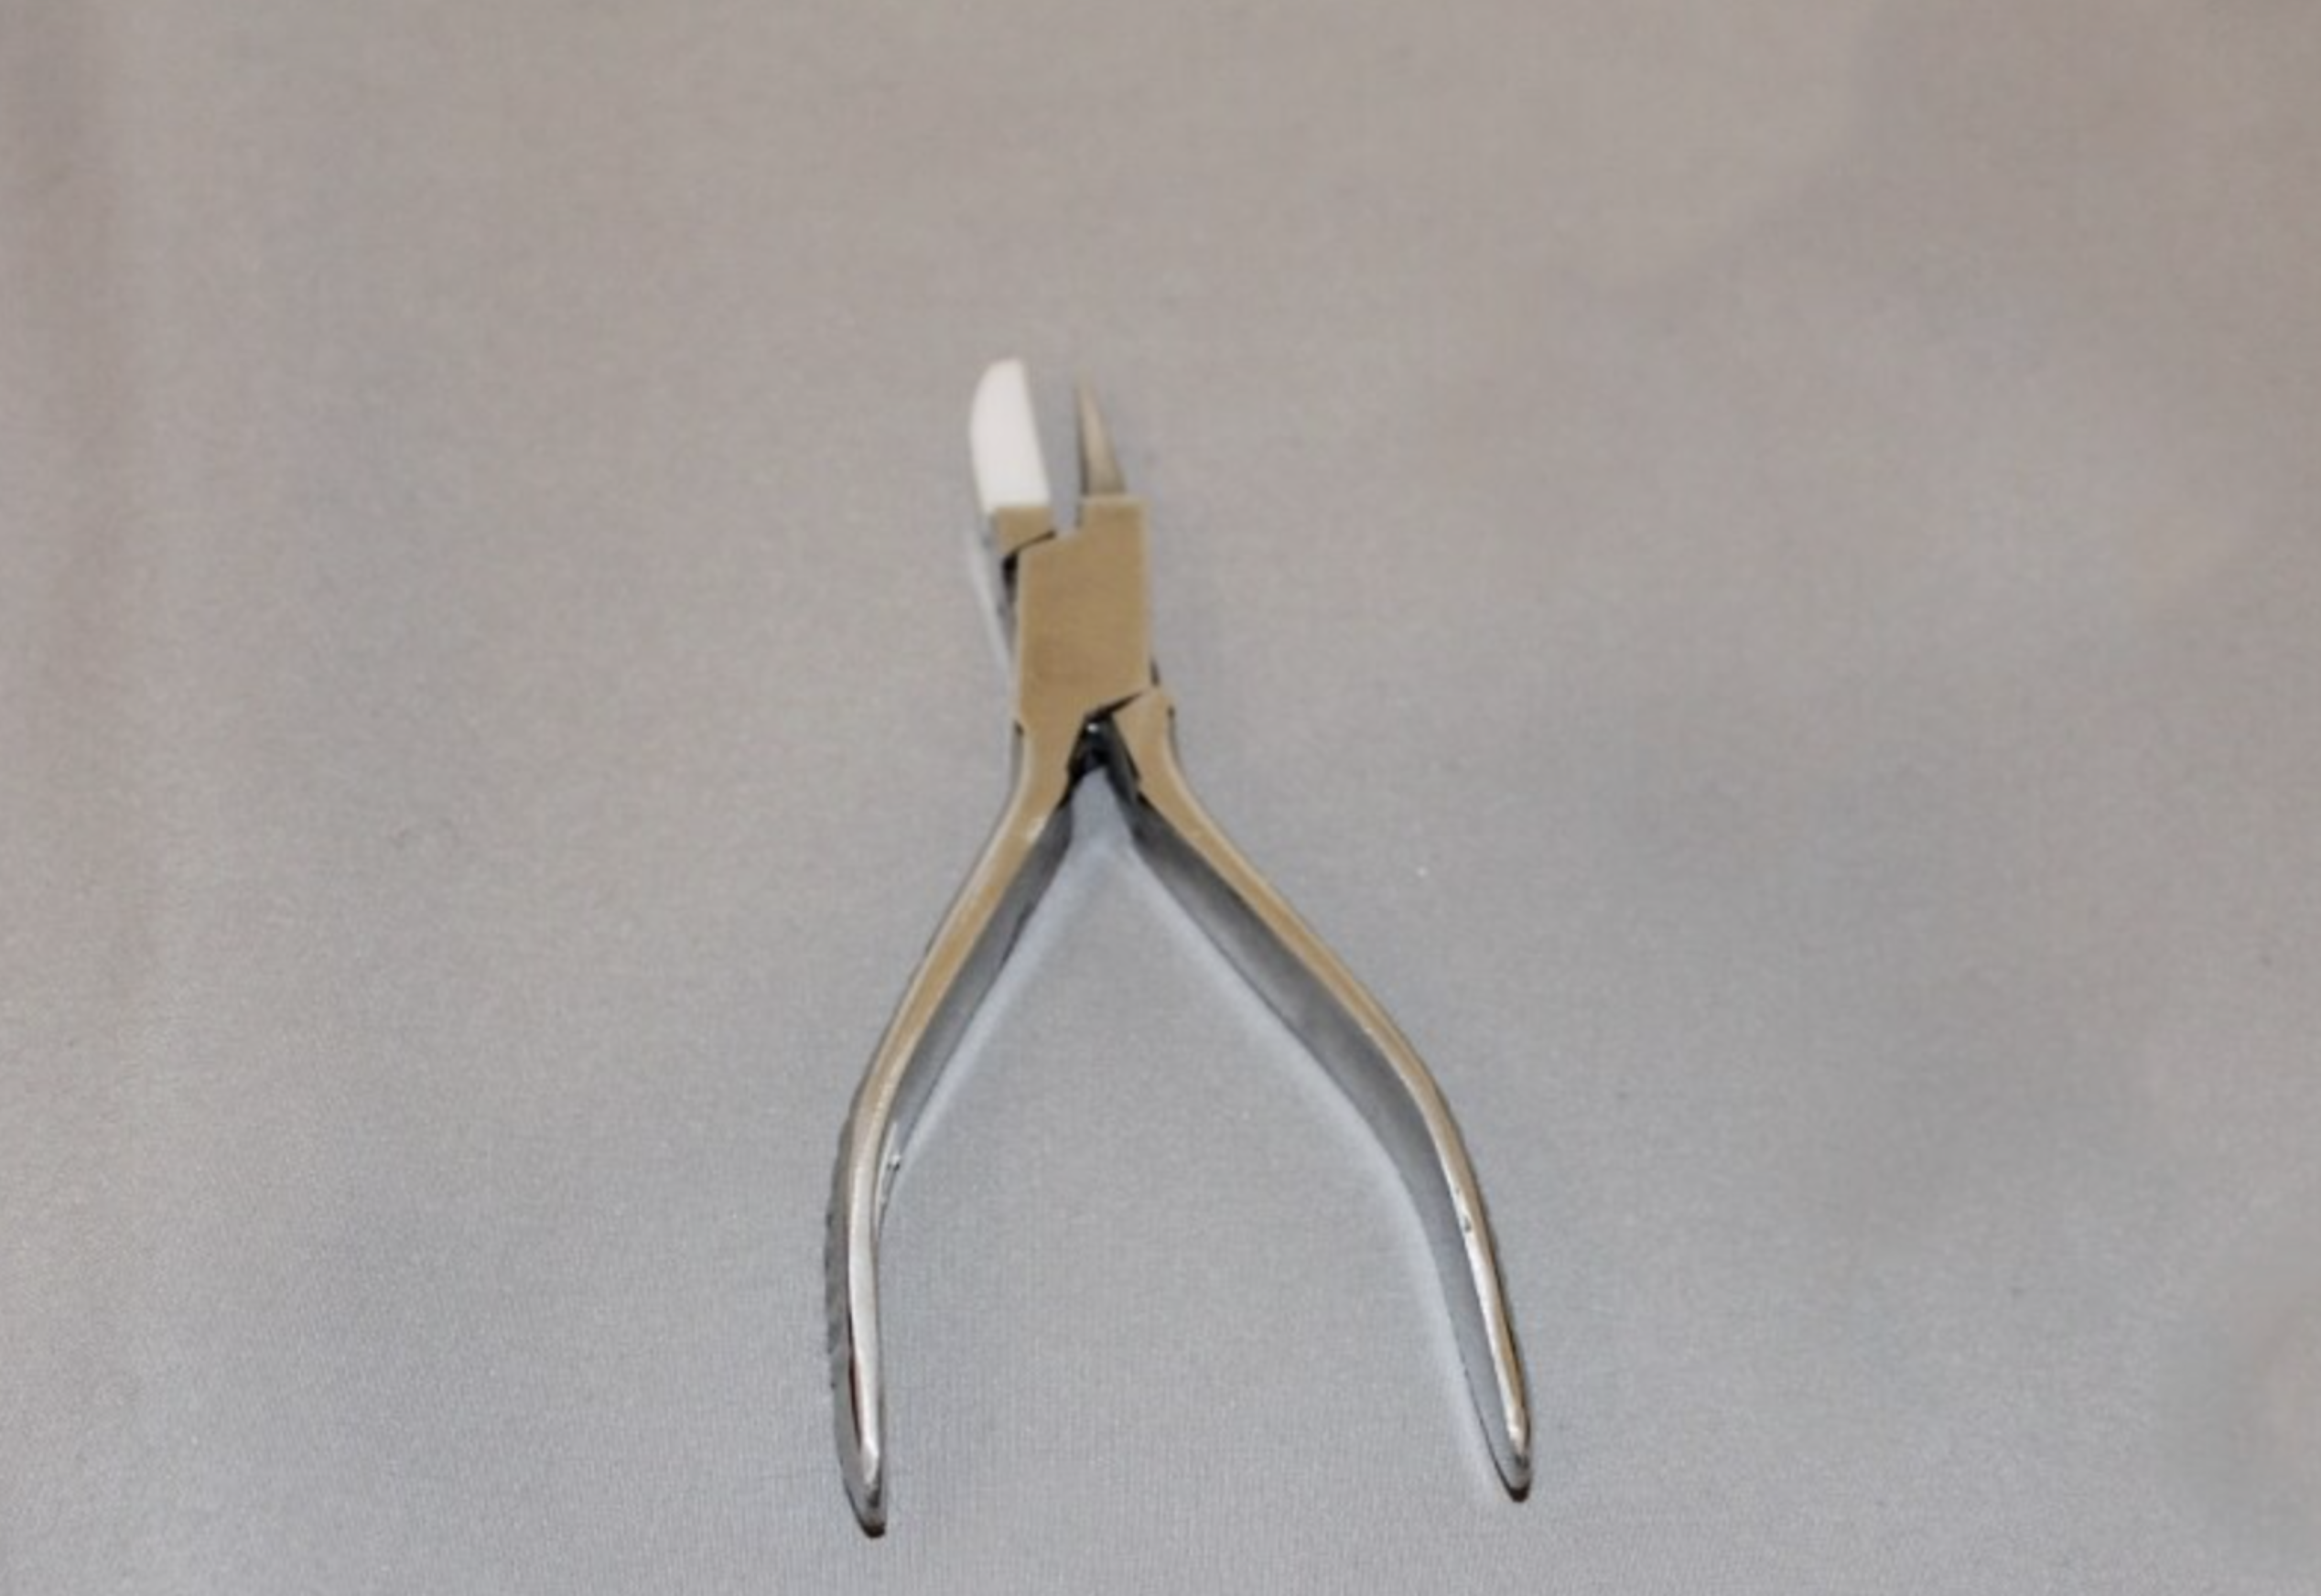
3: Pliers. For this charm I used my round flat pliers, cutting pliers and flat nose pliers.
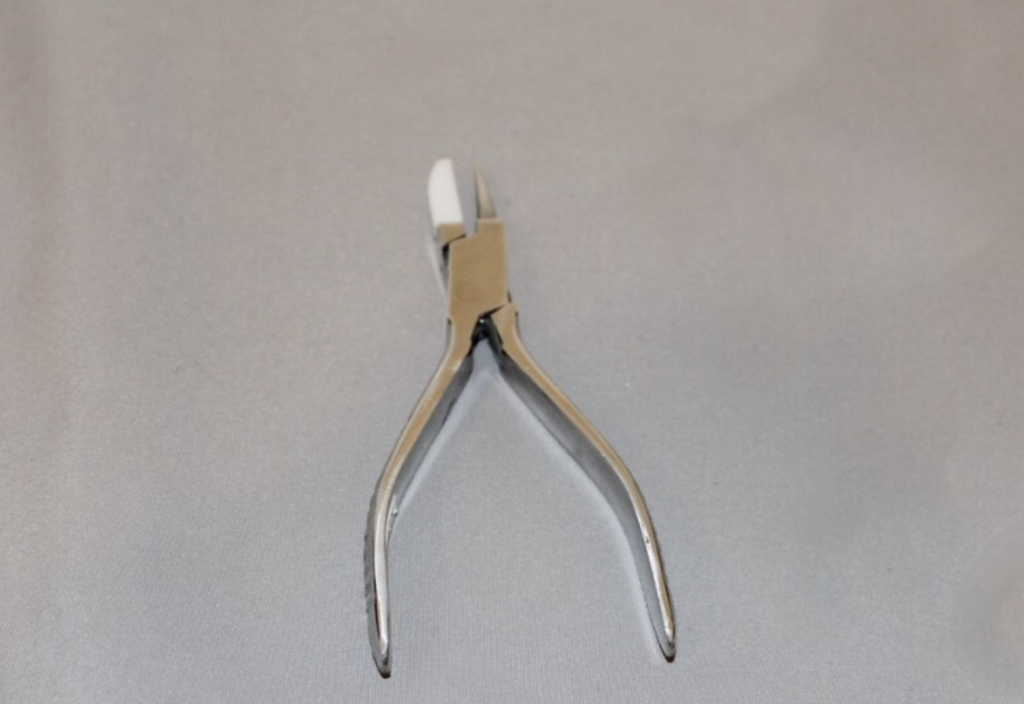
You can get a pair here:

You can get cutting pliers here:
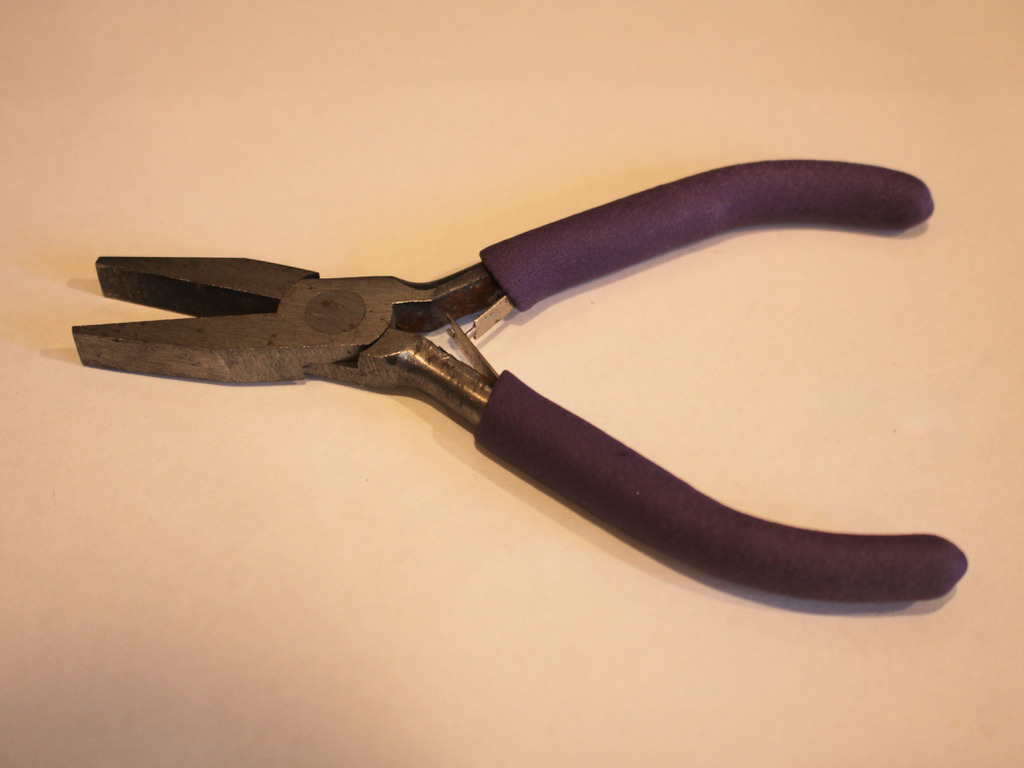
You can get flat nose pliers here:
Here are the steps to follow to make your own adorable fish charm:
1: Take one end of the wire and loop it around the round side of your round flat pliers. If you don’t have any, you can use something small and round like the barrel of a pen or chopstick.

2: Wrap the short end of the wire around the longer end to secure the loop.

3: Thread the charm onto the long end of the wire so that the loop sits between the split of the tail. I forgot to photograph this step… sorry!
4: Wrap the wire around the thinnest part of the fish tail tightly

5: Bring the wire back up to the base of the loop you first made and wrap the long end around it to secure the wire in place.


6: Trim the end of the wire using cutting pliers and squash it down using flat nose pliers to secure the end and finish your charm.


Now your adorable fish charm is finished and ready to string onto your favourite chain or beaded necklace. So cool! I love this DIY so much.

Here’s another one I made using a labradorite carved fish.

-
Do you like triangle-shaped jewelry? Here’s a way to make some triangle earrings.
I’m pretty into geometric triangle-shaped jewelry, these earrings use eye pins and chain to form a cool dynamic triangle shaped pair of dangly earrings. This design is pretty much the reverse of these earrings and this pendant that we published previously.
Here are the tools and materials you need to make these earrings:
1: Pliers. I used my round and flat nose pliers for these earrings.


2: Two long eye pins.

3: Two head pins.

4: Two short chains, around 8-10cm long

5: Four jump rings.
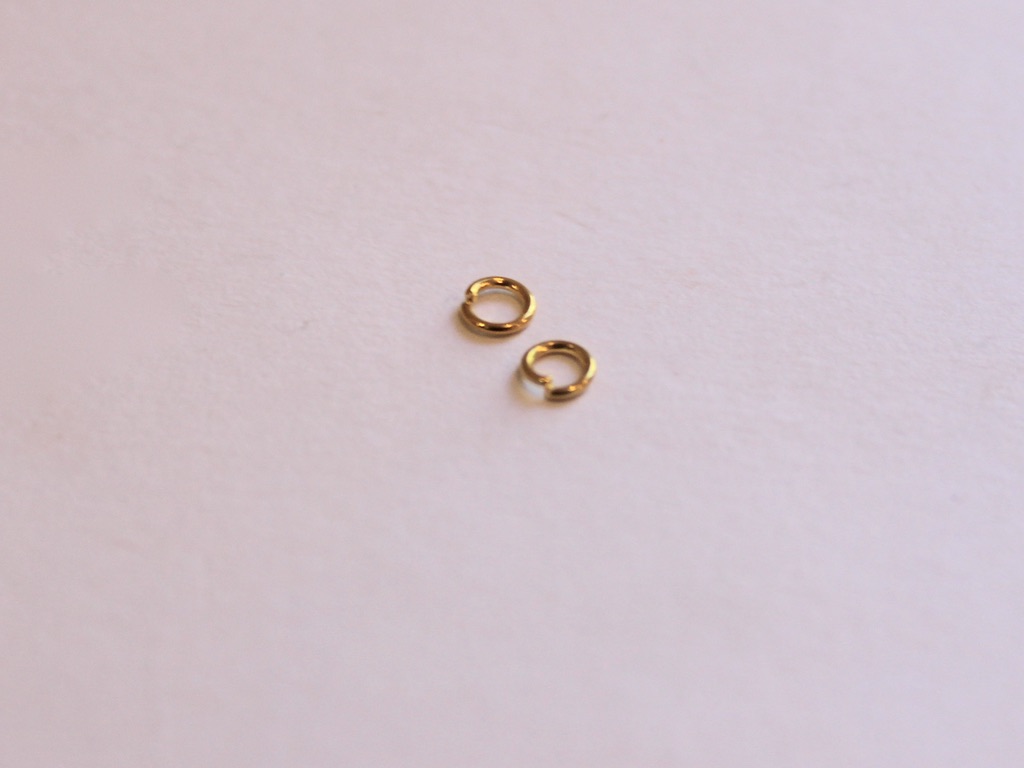

6: Earring findings. I used gold-tone post earrings.

7: Beads. I used some rose-quartz chip beads and some purple glass seed beads.


Follow these steps to make your triangle earrings:
1: Add beads to the eye pins in your pattern of choice.


2: Loop the end of the pins using the round nose pliers once you have finished beading them.


3: Add each of the chains to either end of the eye pins to form a loop on earring earring.


4: Add beads to the head pins and curl the tops of the pin to secure the beads in place.


5: Attach the head pin charms to the chains using two of the jump rings.


6: Attach the earring findings to the middle of each beaded eye pin using the last couple of large jump rings.


Now your triangle earrings are finished and ready to wear!
This tutorial contains affiliate links.
-
Here’s how to make some cool chandelier earrings!

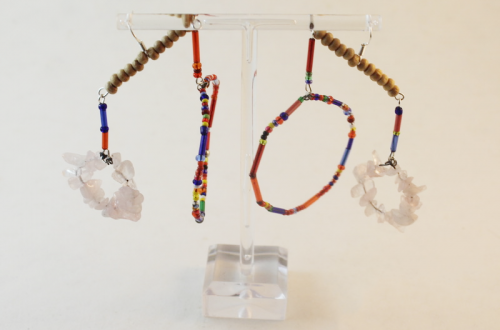
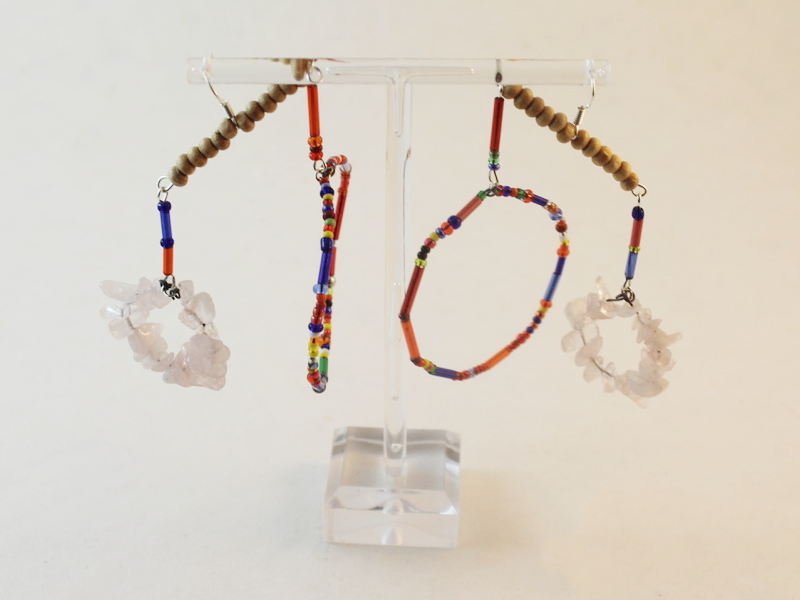
These earrings are pretty cool! They feature some differently sized hoops that hang from a beaded bar for a stunning statement.
You will need the following tools and materials to make your earrings:
1: Pliers. You’ll need flat nose pliers and round nose pliers. Keep your cutting pliers around just in case.

2: Some thin wire. I used some wire recycled from an old design and cut it into four pieces, two long and two short.

3: Two long eye pins.
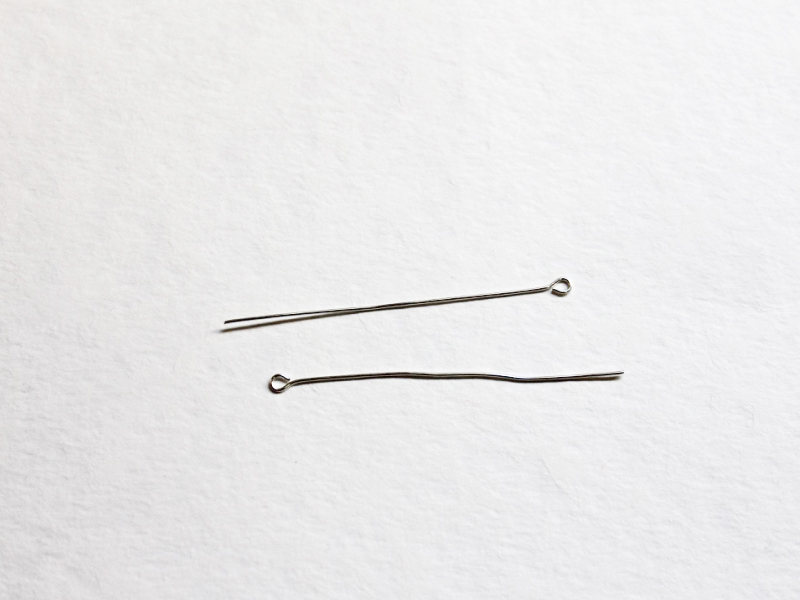
4: Four smaller eye pins.

5: Earring hooks.
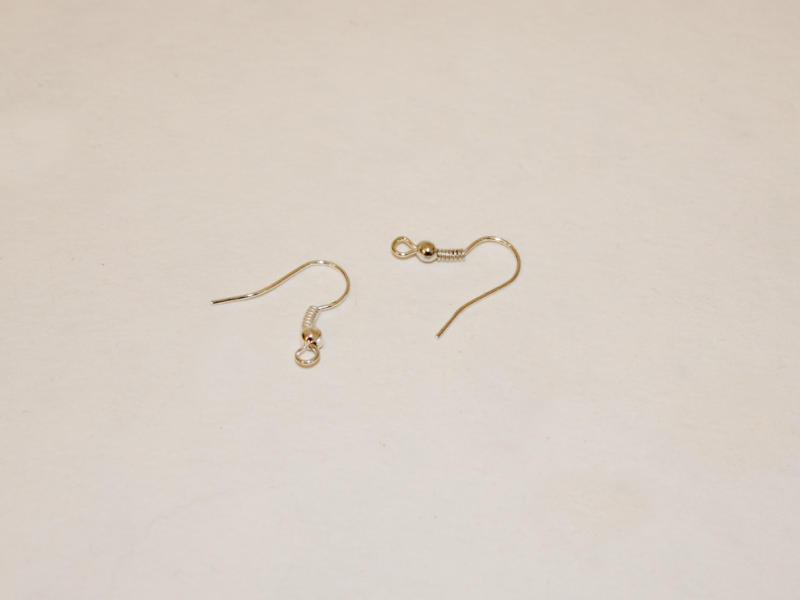
6: Four small jump rings.

7: Beads. I used some timber beads, rose quartz beads and mixed glass beads.


Follow these steps to make your chandelier earrings:
1: Curl the end of one of the long thin wires using the round nose pliers.

2: Bead the wire using the mixed glass beads.

3: Curl the other end of the wire to secure the beads in place. Then form the wire into a circle shape.

4: Repeat steps 1 to 3 for the other thin wires. I used the rose quartz beads on the shorter pieces of wire.


5: Link the ends of each circle using the jump rings.
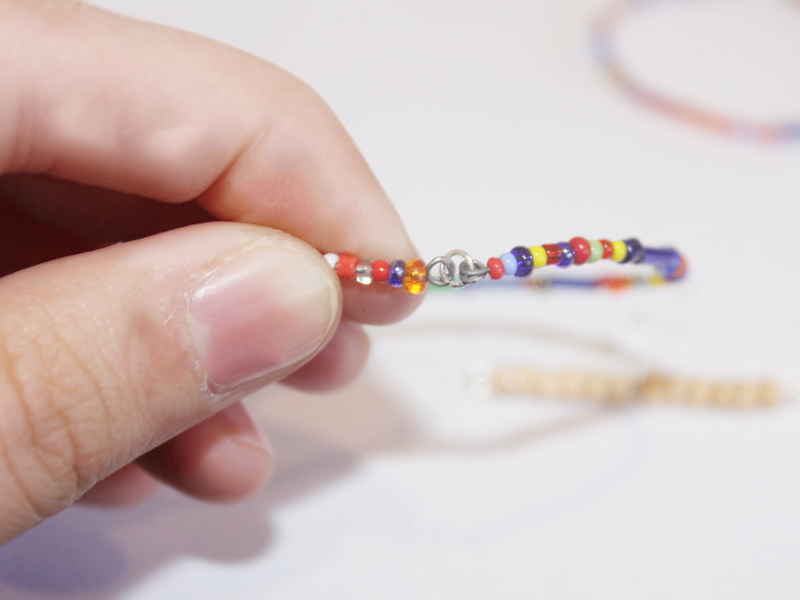
6: Add more of the coloured beads to the four small eye pins.

7: Loop the end of each eye pin and set them aside.


8: Add some of the wooden beads to one of the longer eye pins. I added six to meet the middle of the pin (but leaving room for the end to be looped later). The add one of the earring hooks to the pin.

9: Add another set of beads so that there is an even amount either side of the earring hooks. Repeat this for the second pin.

10: Loop the ends of the pins to secure the beads and earring hook in place.

12: Attach each of the smaller eye pins to the top of each of the circle charms.

13: Attach the charms to either side of the long pins with the earring hooks, make sure that each earring has one large and one small circle charm.


Now your earrings are finished and ready to wear! How special are these?
-
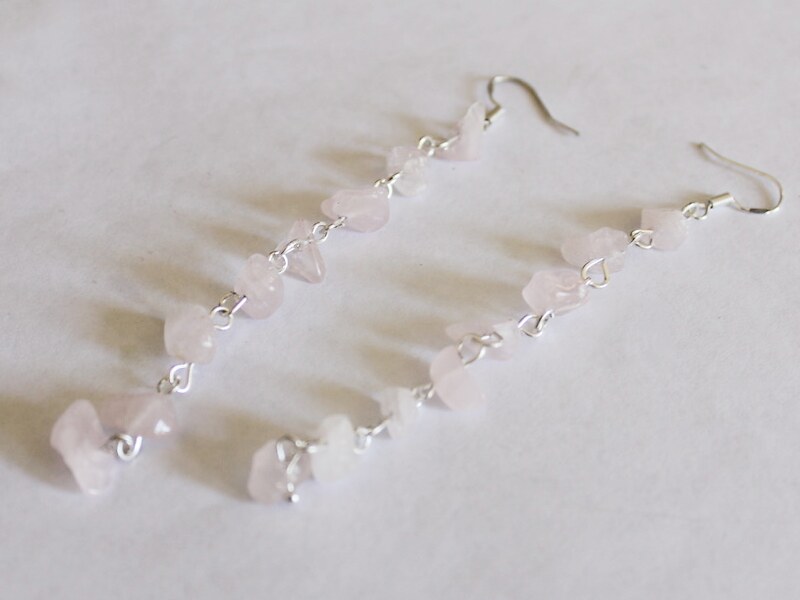
Rose Quartz Earrings… Perfect for Valentine’s Day.
These rose quartz earrings are simple but lovely and as rose quartz is the stone of love, they’ll be the perfect accessory to wear during the season for celebrating love! This tutorial contains affiliate links.
You will need the following tools and materials to make your rose quartz earrings:
1: Pliers. You’ll need your round nose pliers and flat nose pliers to make your earrings.
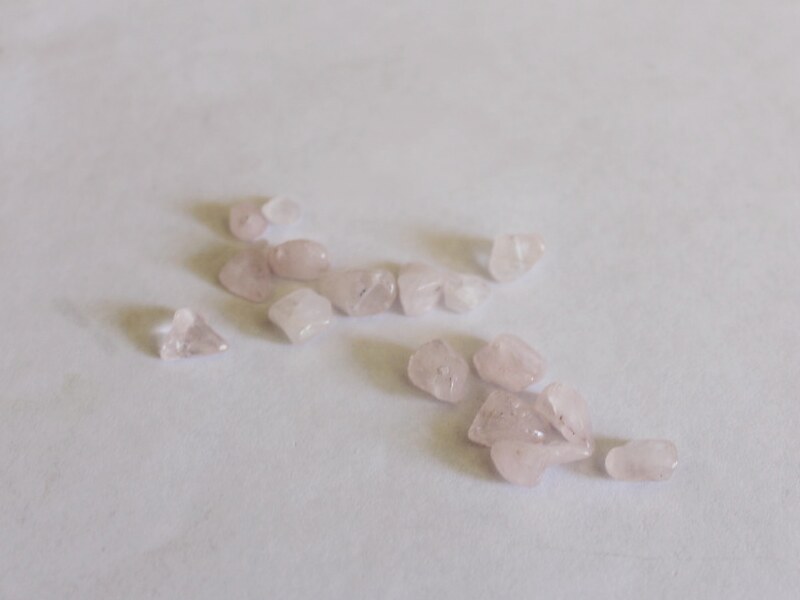
2: 16 rose quartz chip beads.
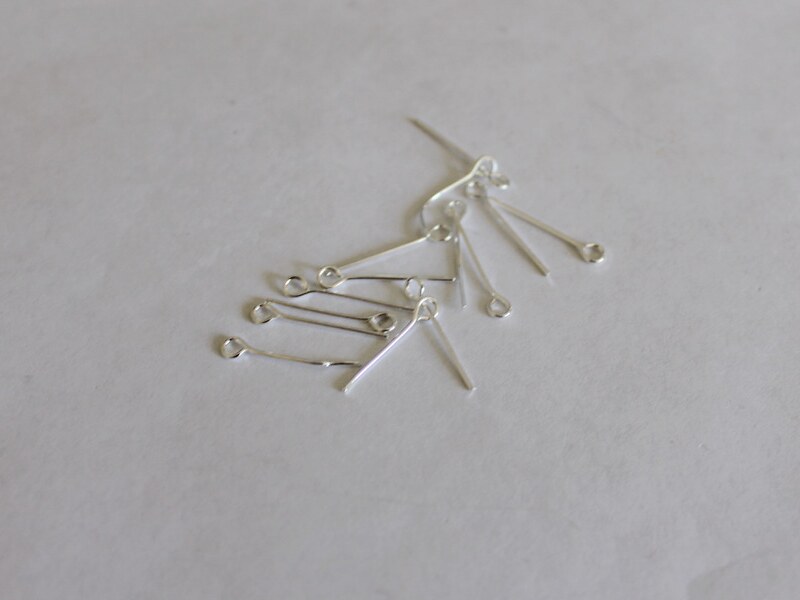
3: 14 short eye pins.
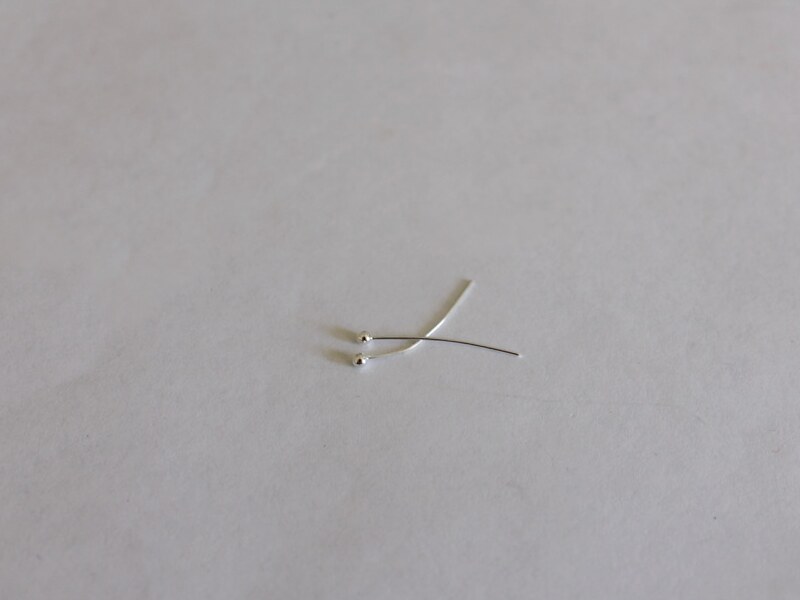
4: Two head pins.
5: Two earring hooks.
Follow these steps to make your romantic rose quartz earrings:
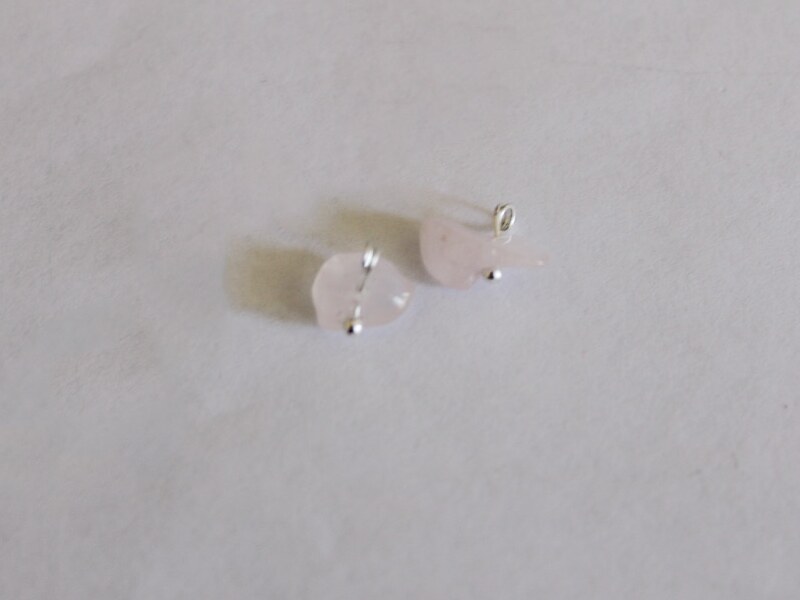
1: Add two of the beads to the head pins.
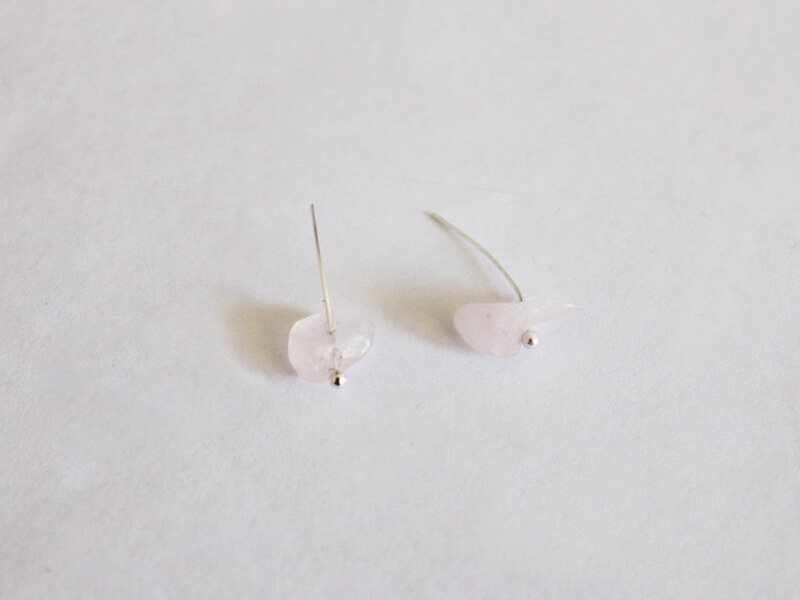
2: Create loops at the top of each pin using the round nose pliers to secure the beads in place.

3: Put the rest of the beads on to the eye pins.
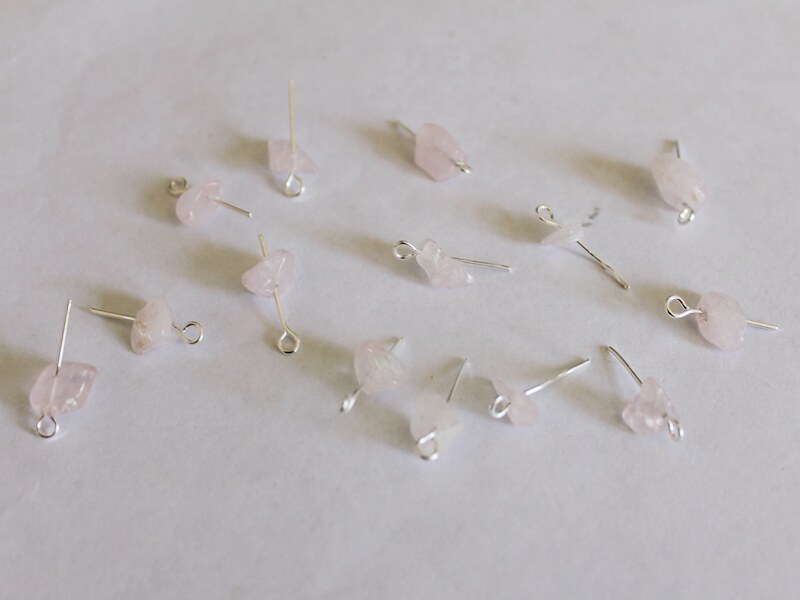
4: create loops at the end of each pin to secure the beads in place.

5: Start forming a chain by attaching one of the end beads (the ones on the head pins) to the eye pin charms. Continue attaching beads until you have a chain with eight beads on it.
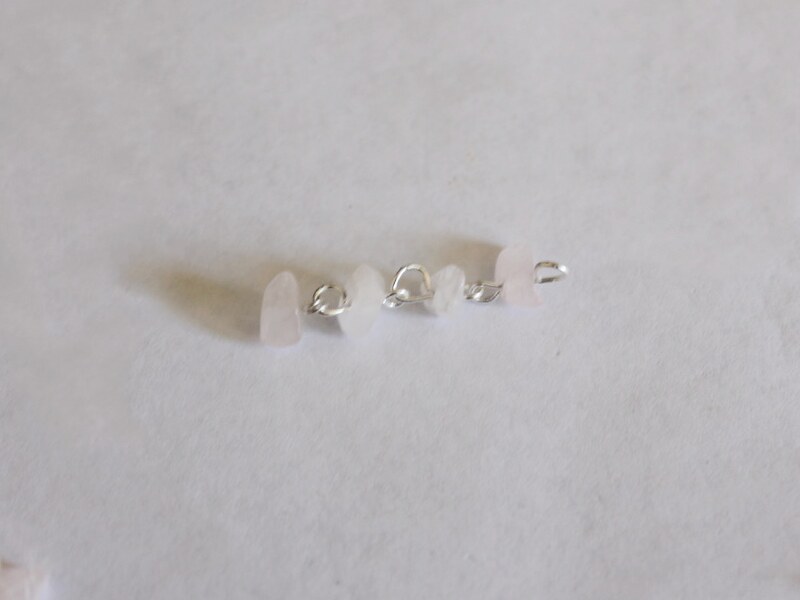
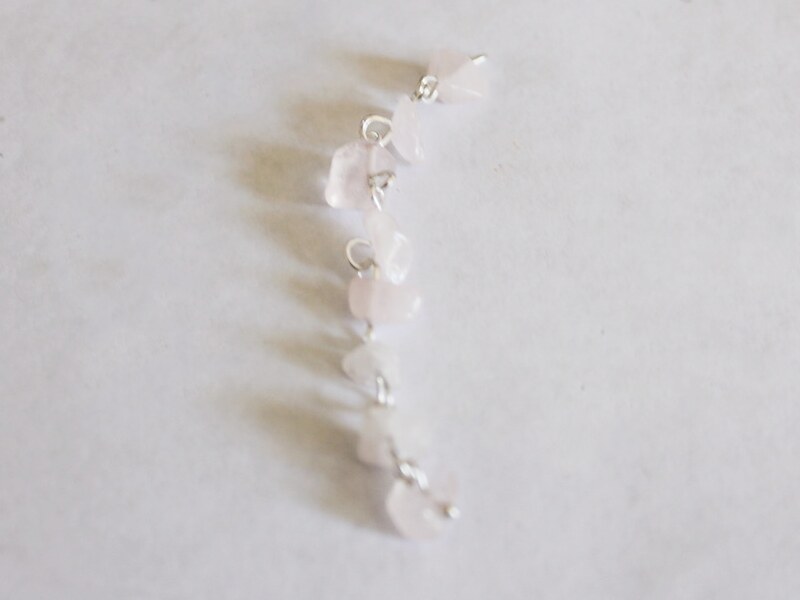
6: Repeat this for the other earrings using the remaining bead charms.

7: Add an earring hook to the top of each chain to finish your earrings.
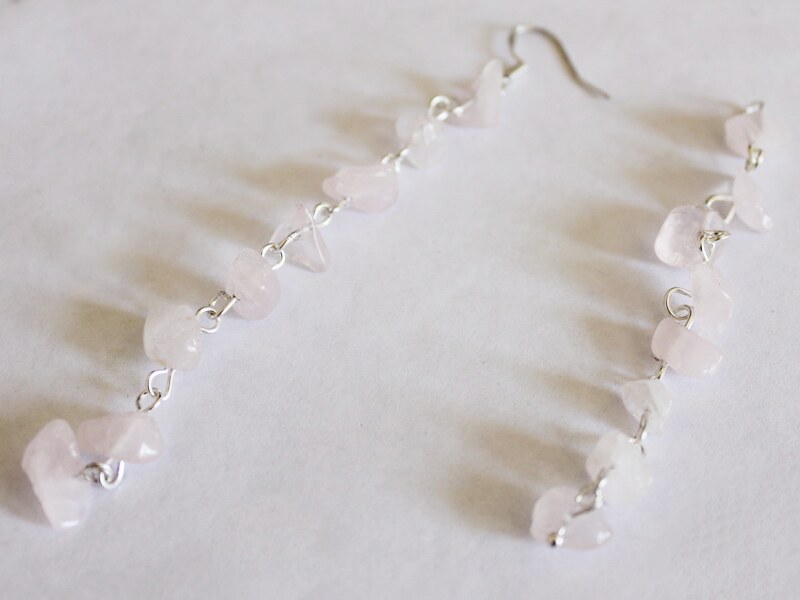
Now they’re ready to wear! Perfect for a friend date, or a romantic one!
-
Need Some Valentine’s Day Inspiration? Make Your Honey This Sweet Bracelet
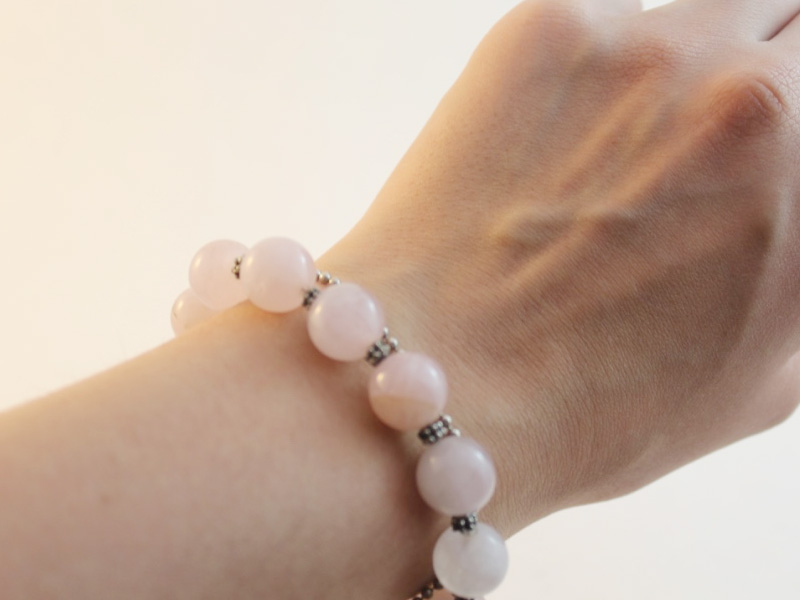
Valentine’s Day is fast approaching and if you are stuck for ideas as to what to get your someone special you might want to give this tutorial a go. This bracelet is super special and easy to make, I made mine using some beautiful rose quartz (the gemstone that is meant to represent unconditional love) but you can use any bead or stone that is special to you and your loved one. Cue the love heart eyes and adorable smiles, this is bracelet a beauty.
You will need the following tools and materials to make this stunning Valentine’s bracelet:
1: Pliers. You will need your round nose, flat nose and cutting pliers to make this bracelet.
Don’t have any pliers yet? Get some here.2: A piece of chain long enough to fit comfortably around your wrist.

3: One lobster clasp.

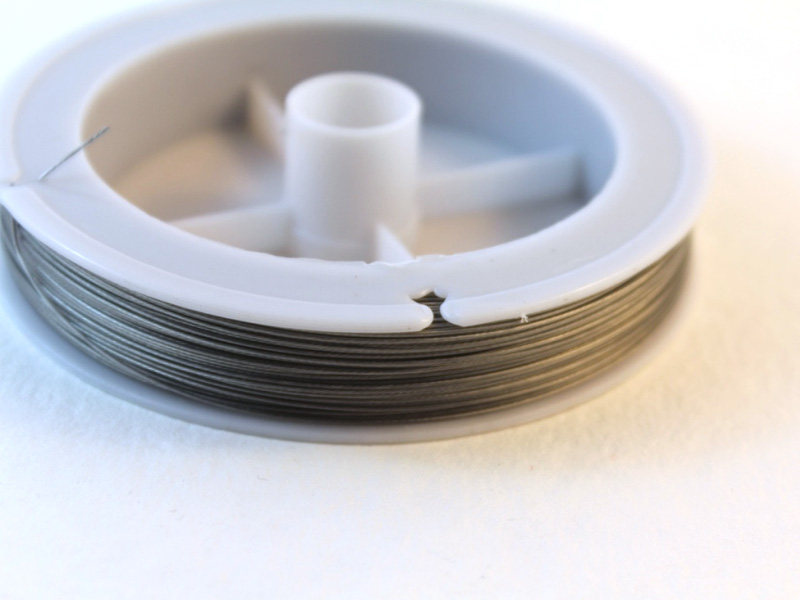
4: Tiger tail wire.
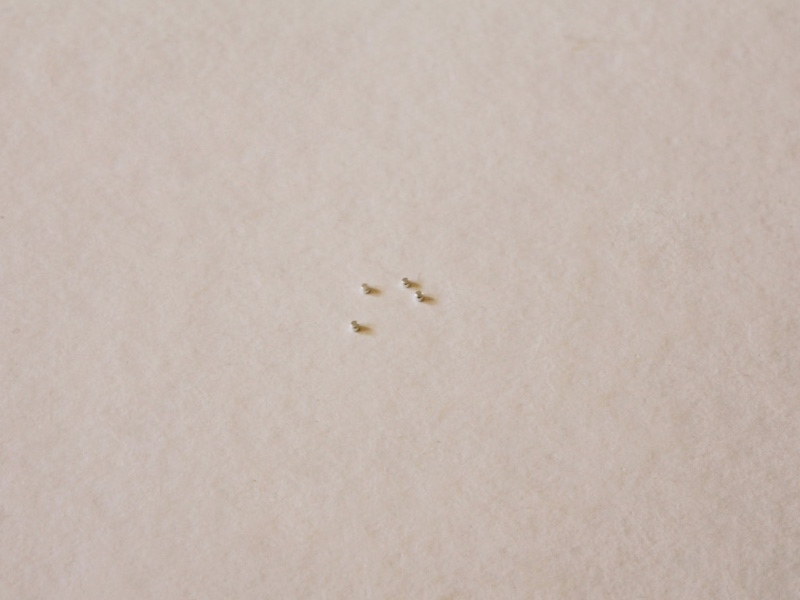
5: Four crimp beads.
6: Beads of your choice. I used these round rose quartz beads and some silver colored spacer beads.


Want to use Rose Quartz too? Get some pretty pink beads here:
The Steps:
1: Attach the lobster clasp to the piece of chain.


2: Measure out a length of tiger tail wire slightly longer than the length of your chain. (This will ensure that your bracelet fits comfortably).

3: Cut the tiger tail wire to length using the cutting pliers.

4: Add two crimp beads to the wire and thread the wire through the end of the bracelet chain.

5: bend the wire and thread the end through the crimp beads.


6: Use the flat nose pliers to squash the crimp beads and secure the wire in place.

7: Begin adding beads to the wire.


8: Continue adding beads until you reach your desired length, then add two more crimp beads.

9: Thread the end of the wire through the end of the bracelet chain and back through the crimp beads.

10: Use the pliers to squash the crimp beads and secure the strand in place.


11: Trim the excess wire using the cutting pliers.

12: Once you have trimmed the excess wire your sweet Valentine’s day bracelet is complete! Make this adorable bracelet and you will be sure to impress, what could be sweeter than a handmade Valentine’s day gift for that special person in your life?