-
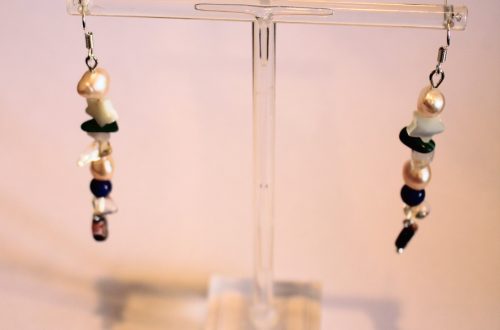
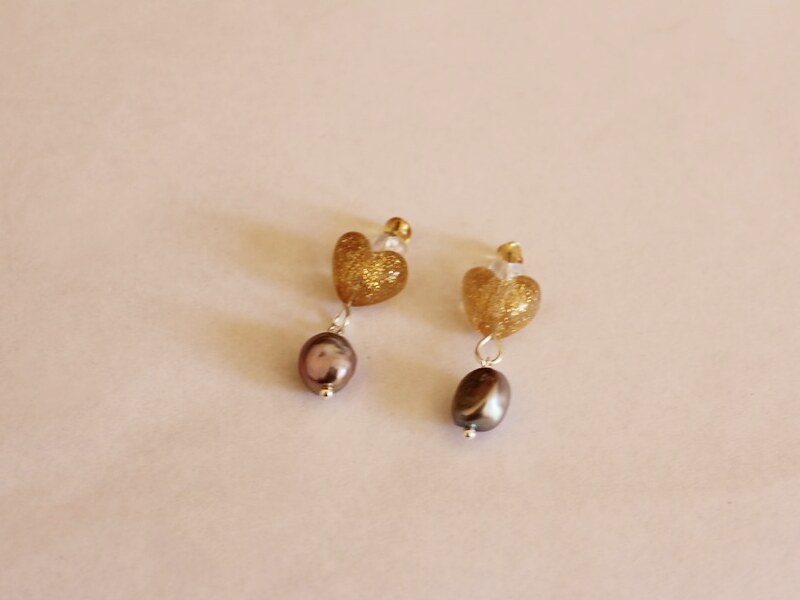
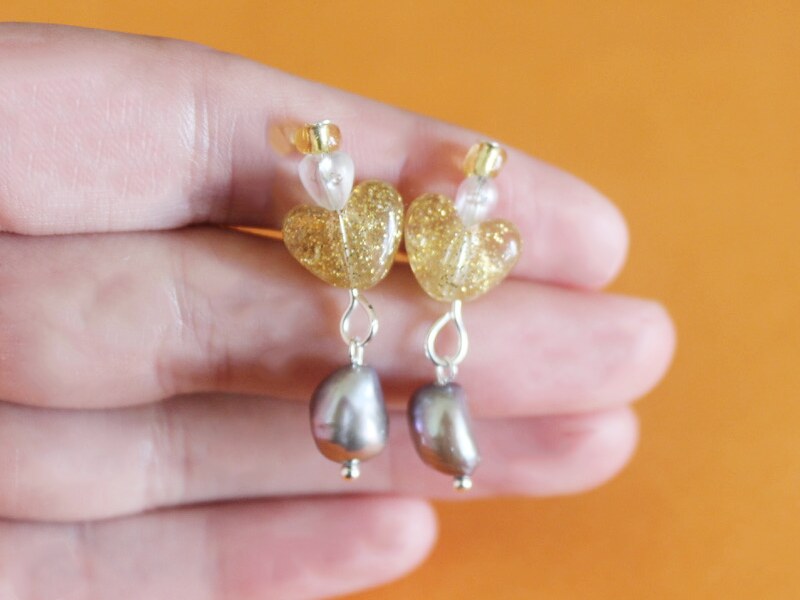
Here’s how to combine pearls and plastic to make some amazing earrings!
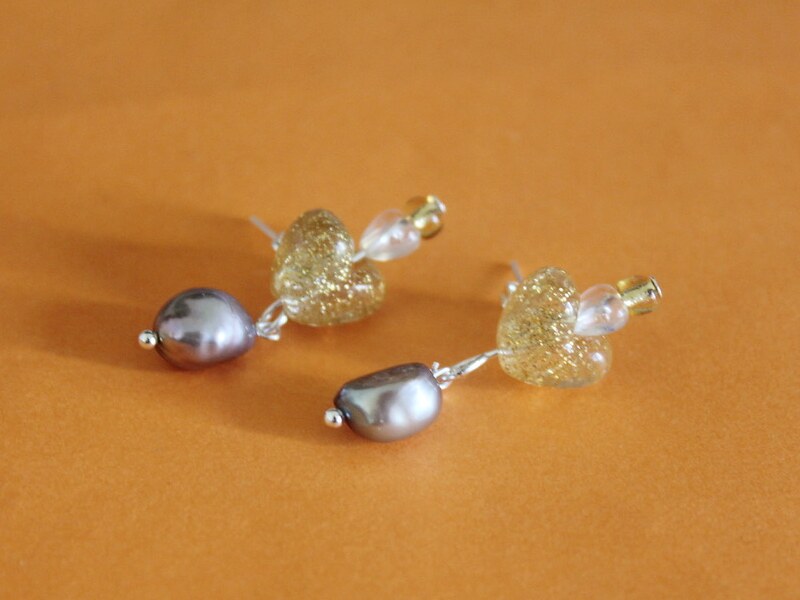
Pearls and plastic are a surprisingly awesome combination. I’ve been making lots of different variations. Here’s one way you can make your own pair of pearl earrings using some kitsch plastic beads. Contains affiliate links.
You will need the following tools and materials to make your pearl earrings:
1: Pliers. You’ll need your round nose pliers and flat nose pliers.


2: Two long head pins.
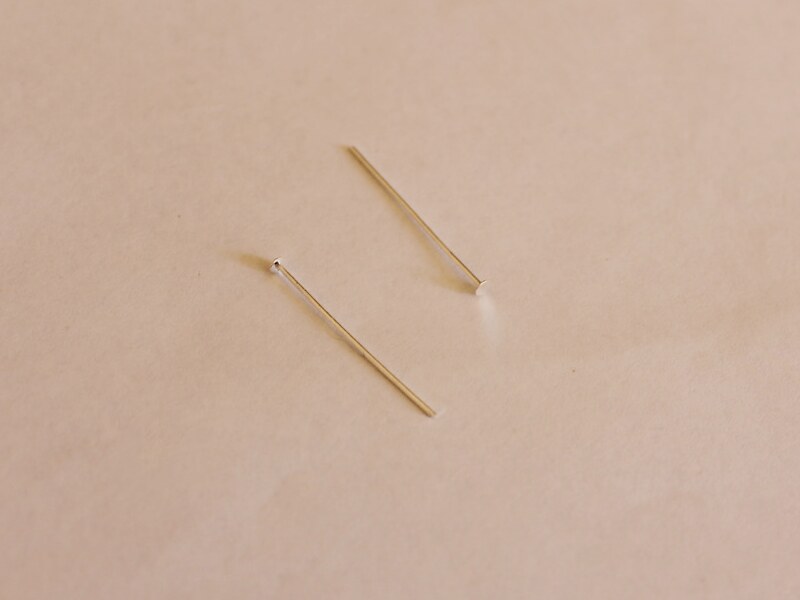
3: Two small head pins.

4: Two flat bed earring posts and earring backs.

5: Araldite glue.

6: A skewer.

7: A scrap piece of paper.

8: Two freshwater pearl beads.

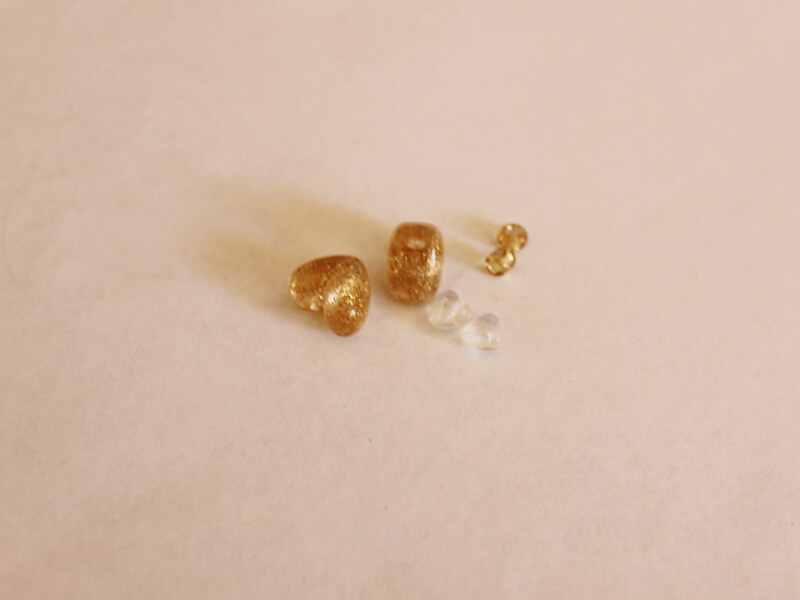
9: An assortment of plastic beads (make sure you have two of each so your earrings match). I used these gold heart beads, small white heart beads and two glass yellow e-beads.
Follow these steps to make your pearl earrings:
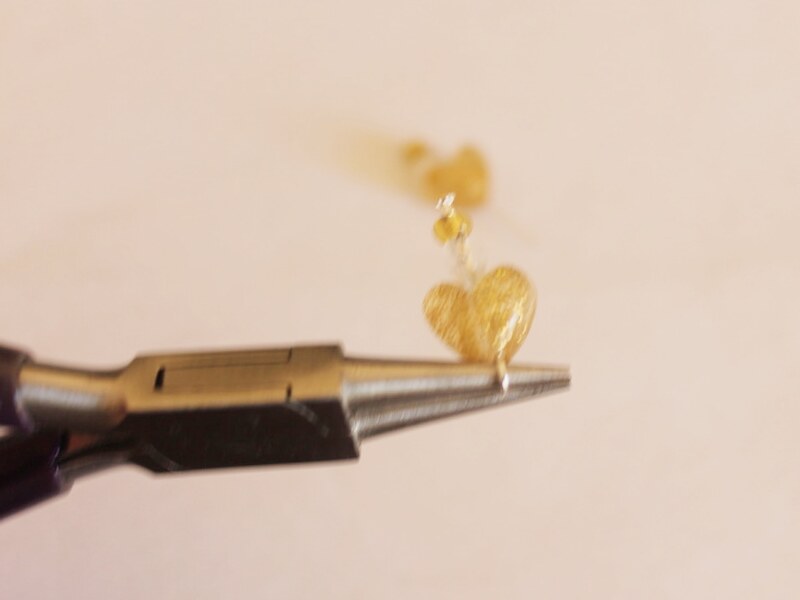
1: Add the beads to each of the head pins.
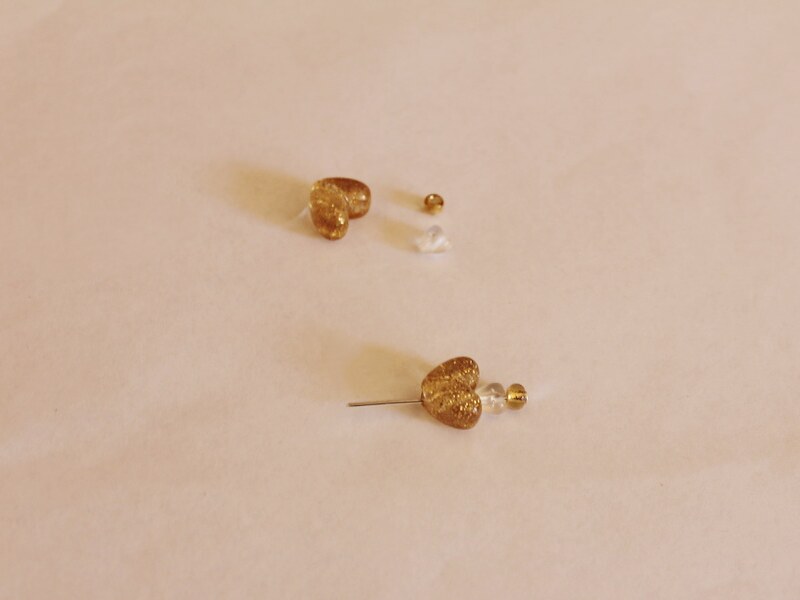
2: Bend each pin to form a right angle and then form a loop to secure the beads in place using the round nose pliers.

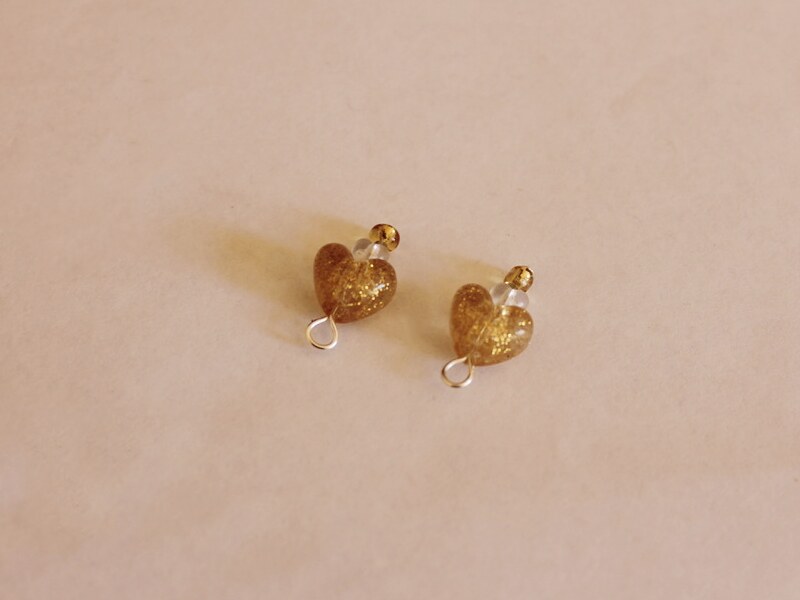
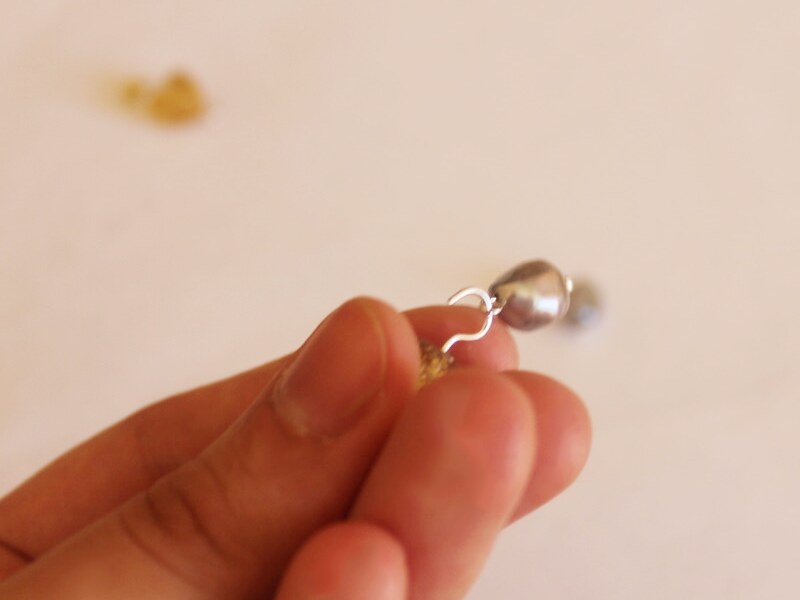
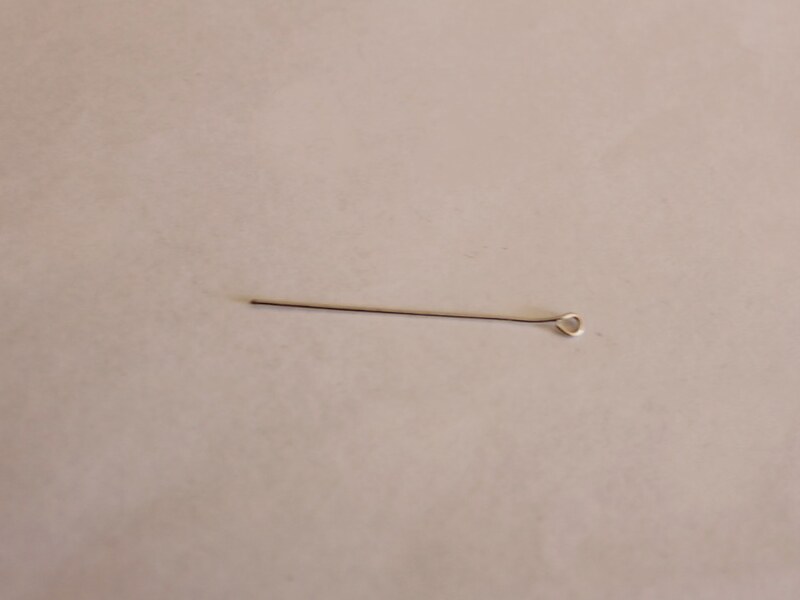
3: Add the pearl beads to the small head pins.

4: Create a loop at the end of each pearl pin using the round nose pliers.

5: Attach the pearl charms to the loops at the bottom of each plastic charm pin.
6: Squeeze out the Araldite in equal parts and mix with a skewer.


7: Add the glue to the earrings and the backs of the large hearts.
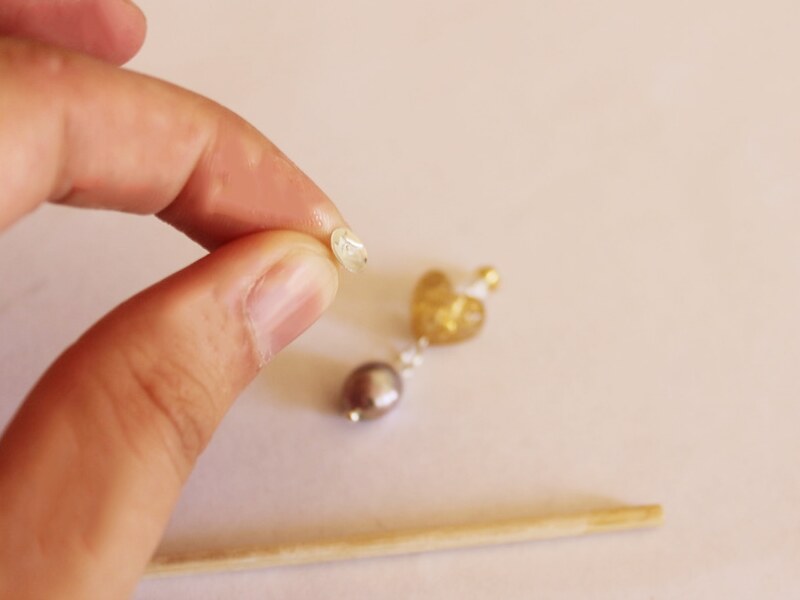
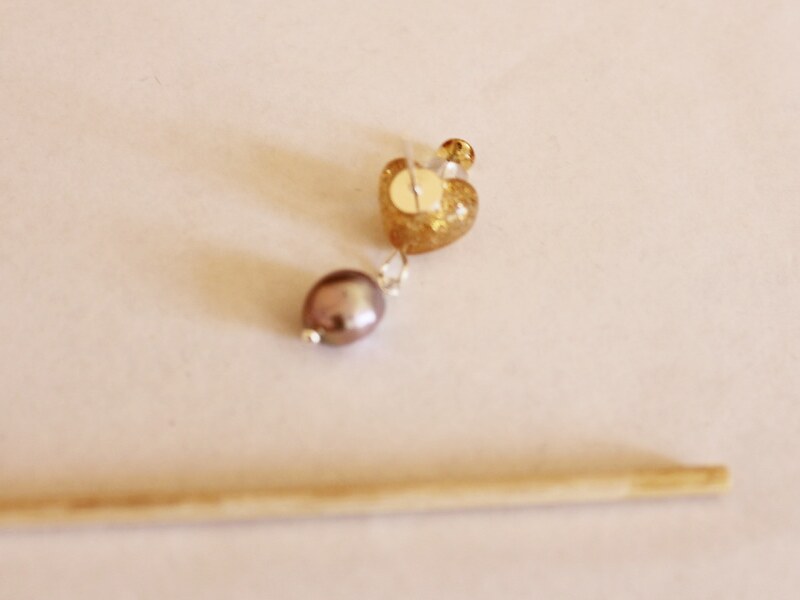
8: Place the earrings onto the heart beads and set aside to dry.
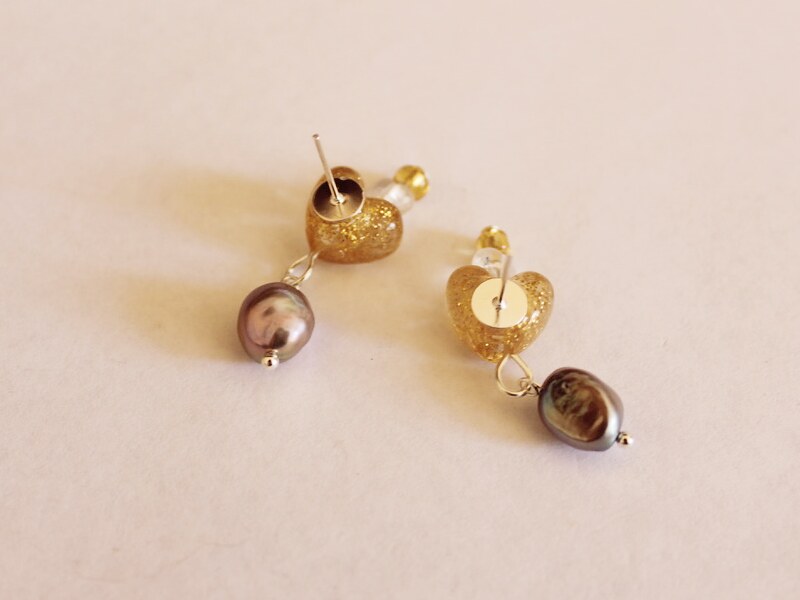
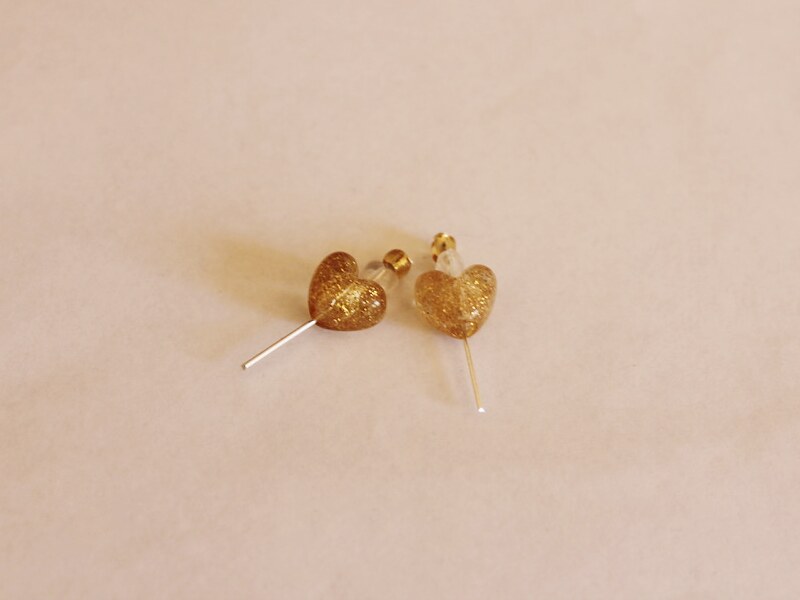
Once your earrings are dry they’re ready to wear!
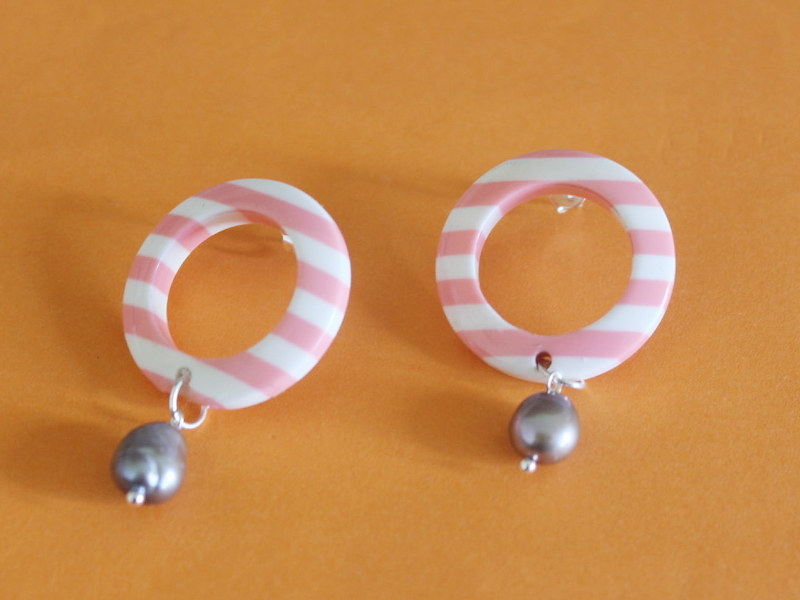
Here are some other pearl and plastic earrings I have made for some extra inspiration.
-
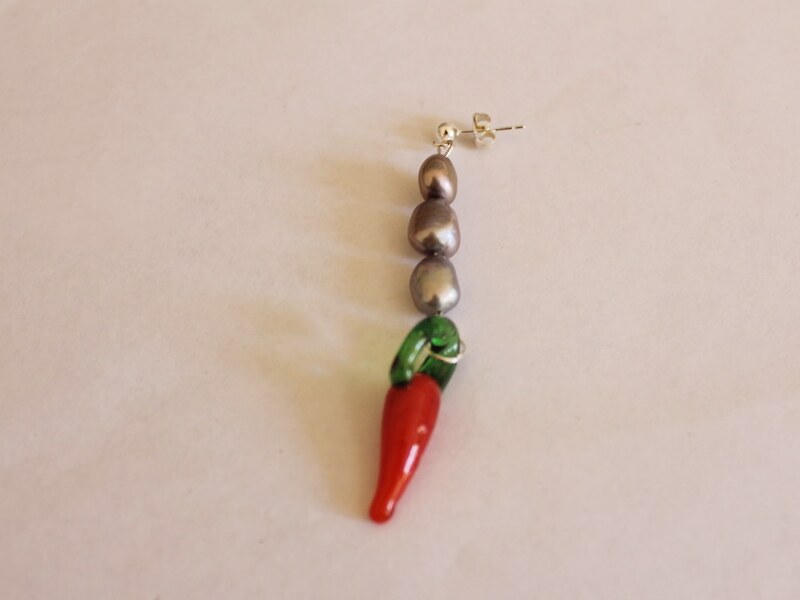
This earring is HOT! Combine pearls and glass charms to make a cool statement earring

I can’t get enough of glass food charms. Here’s another idea for how you can use them in your jewelry designs. This earring uses pearls and a glass chilli charm to make something very sexy!
You will need the following tools and materials to make your pearl chilli earring:
1: Pliers. You’ll need your round nose and flat nose pliers.
2: An eye pin.
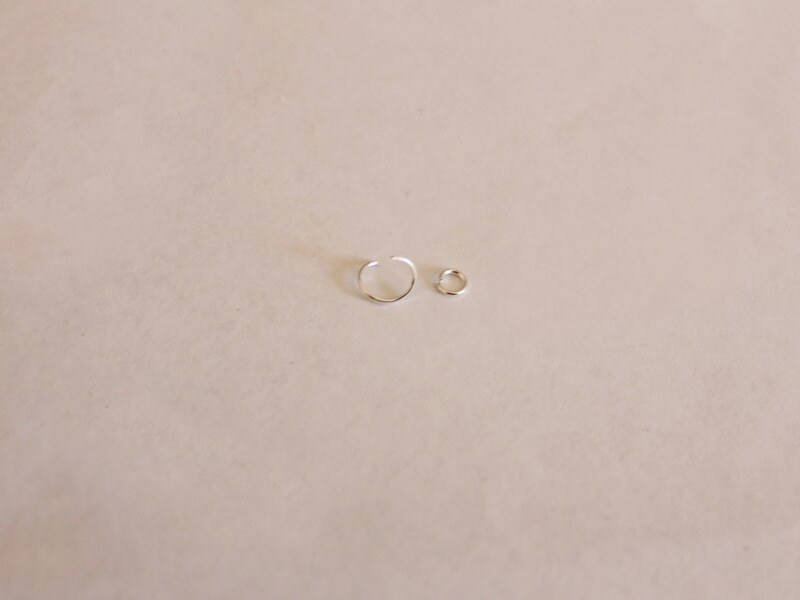
3: A charm loop earring finding.

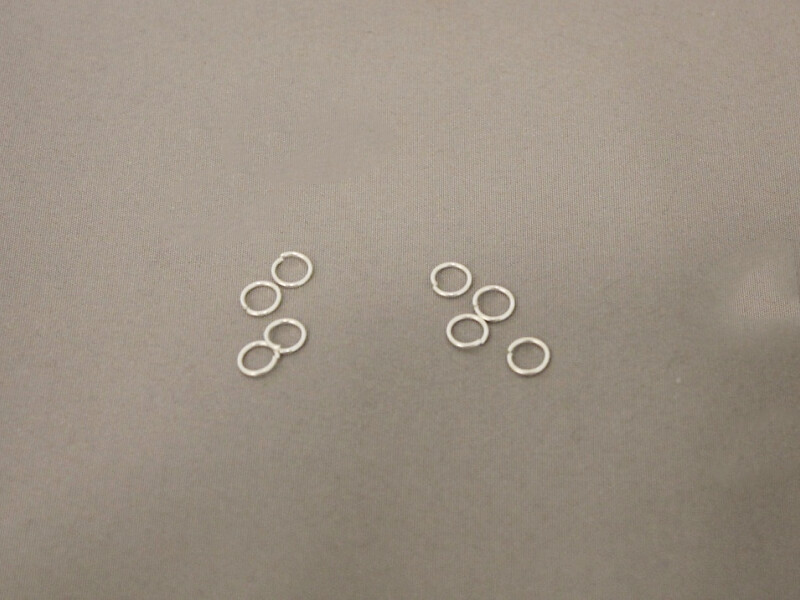
4: Two jump rings. One larger and one small.
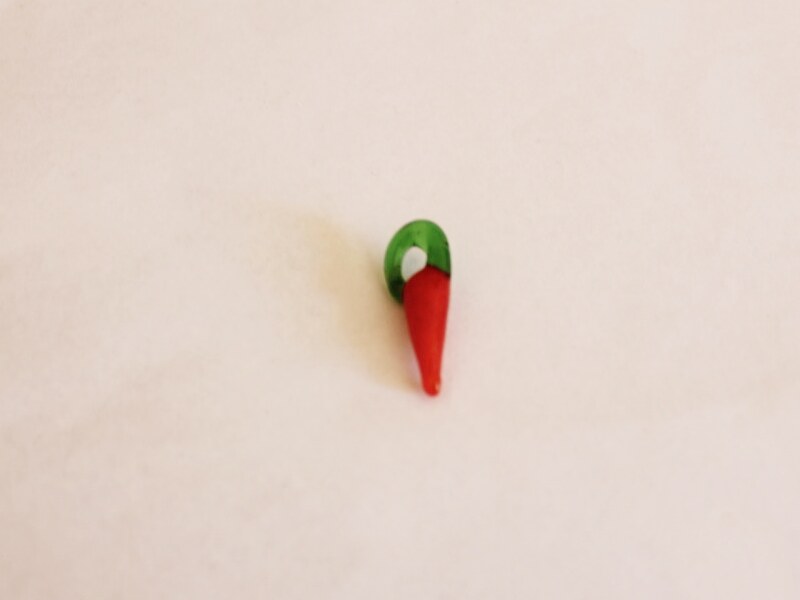
5: A glass chilli charm.
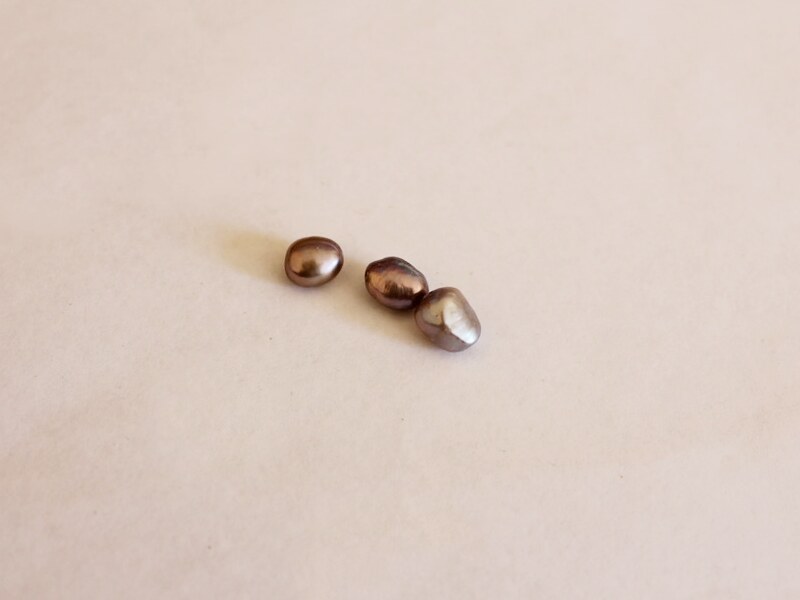
6: Three freshwater pearl beads.
Follow these steps to make your pearl chilli earring:
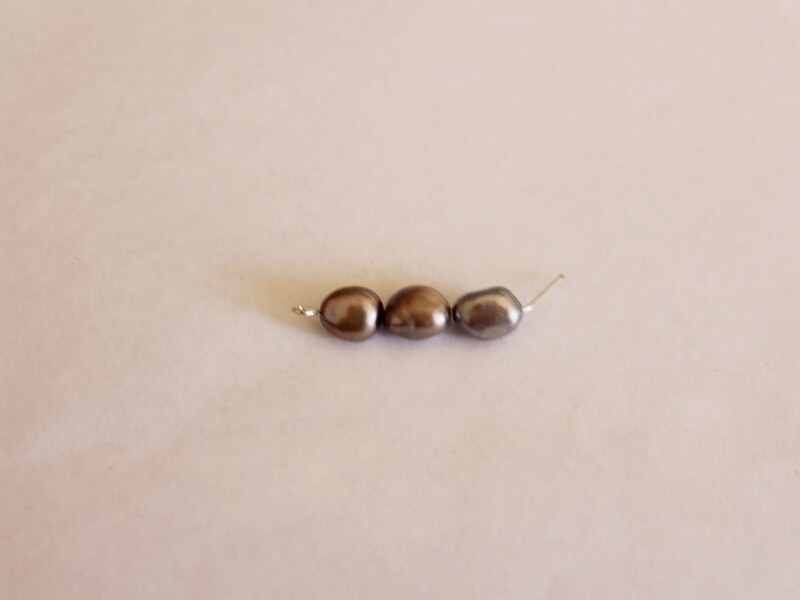
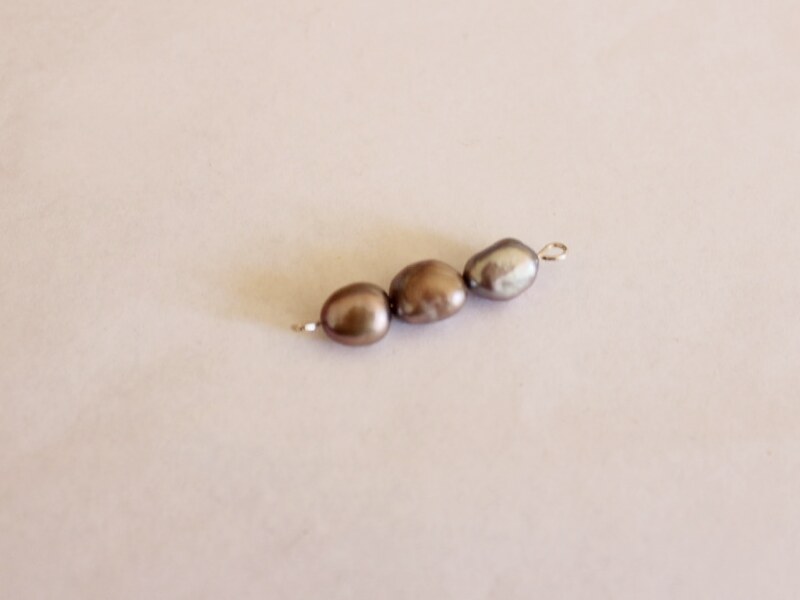
1: Add the pearls to the eye pin.
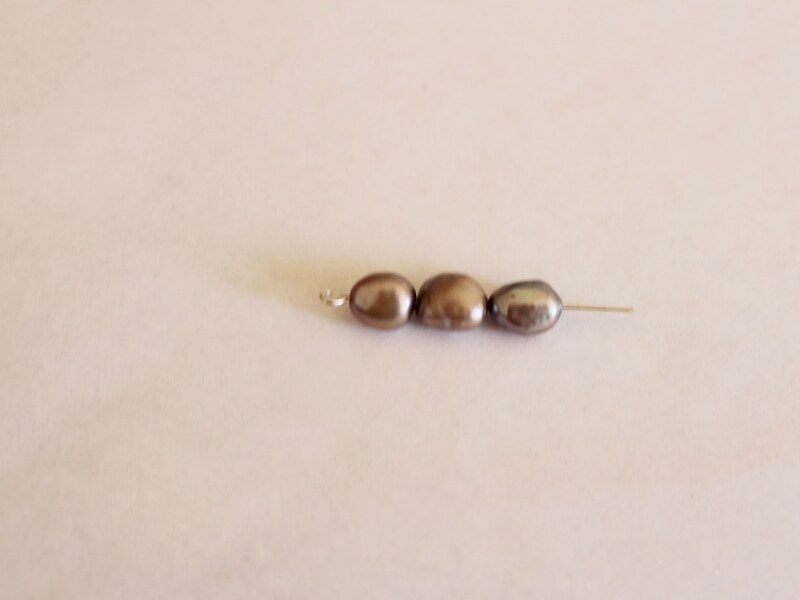
2: Create a loop at the end of the pin to secure the pearls in place.
3: Add the chilli charm to one end of the pearl pin using the large jump ring.
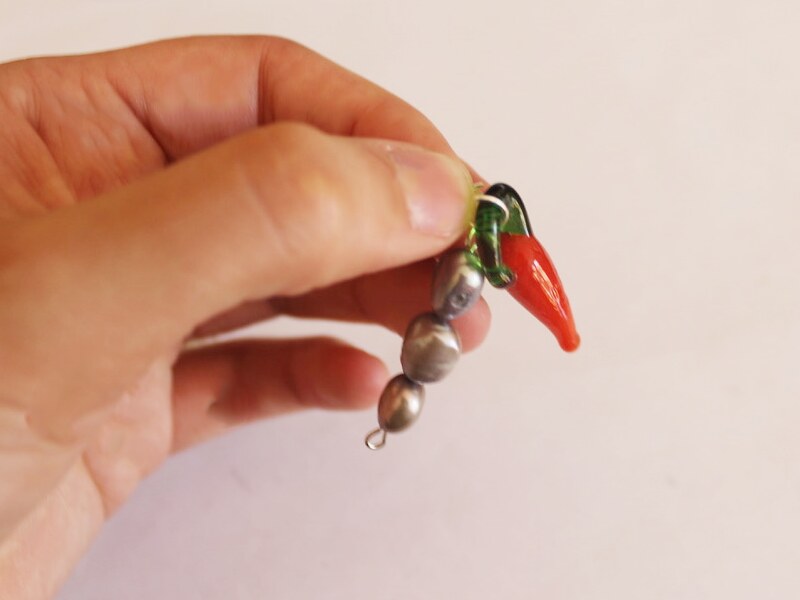
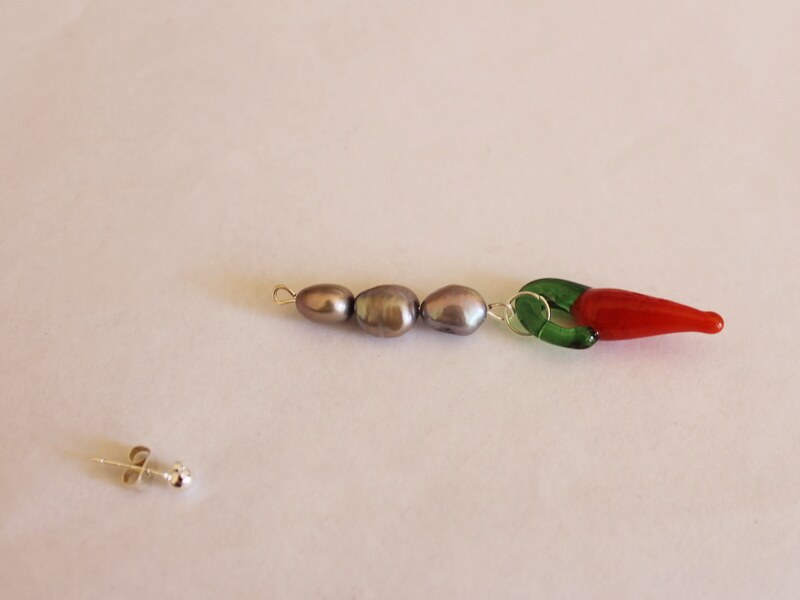
4: Add the earring to the other end of the pearl pin using the smaller jump ring.
Now your earring is finished and ready to wear! How cool?!
-
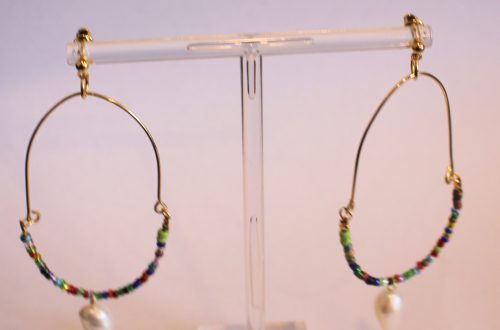
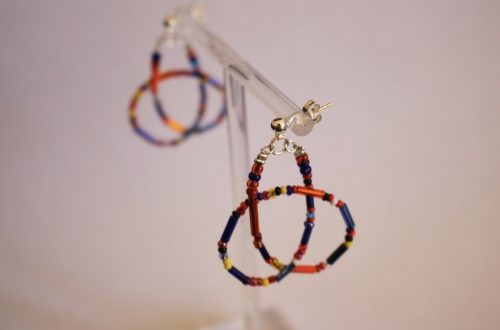
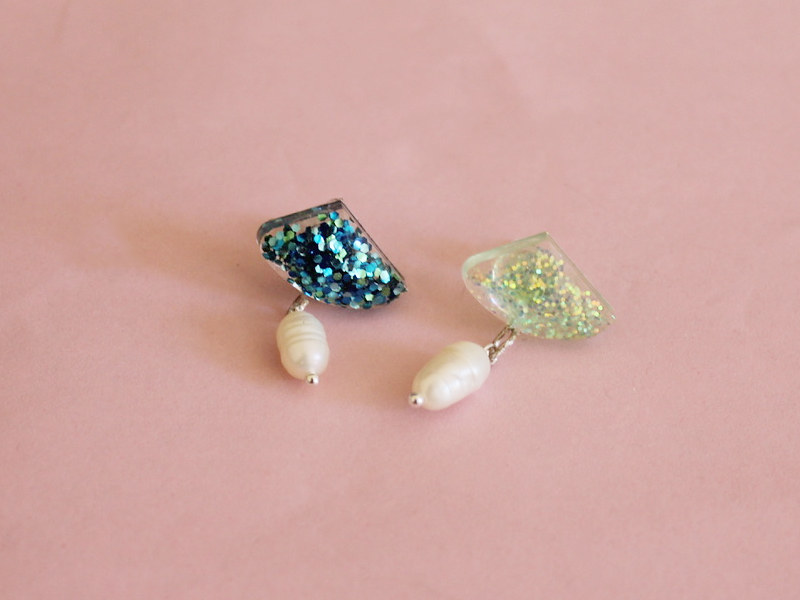
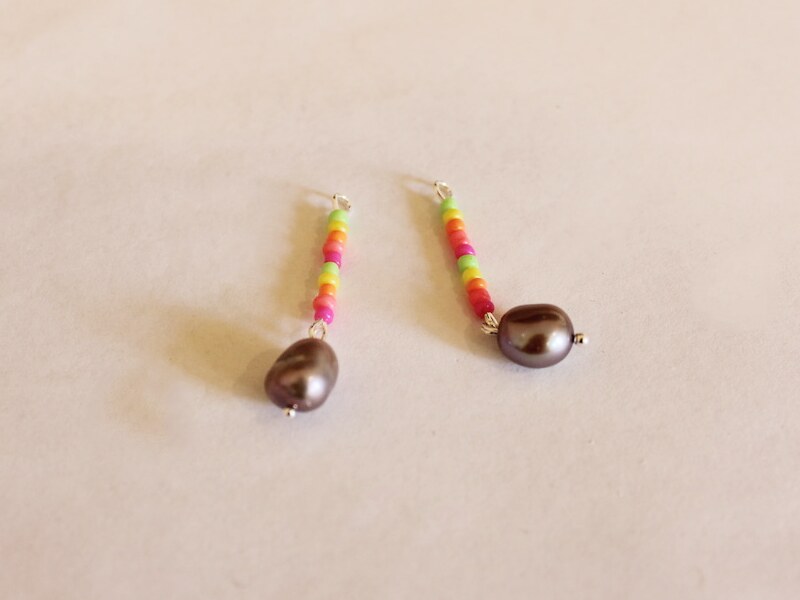
Here’s how to get on the cool bead jewelry trend: with some rainbow pearl drop earrings!
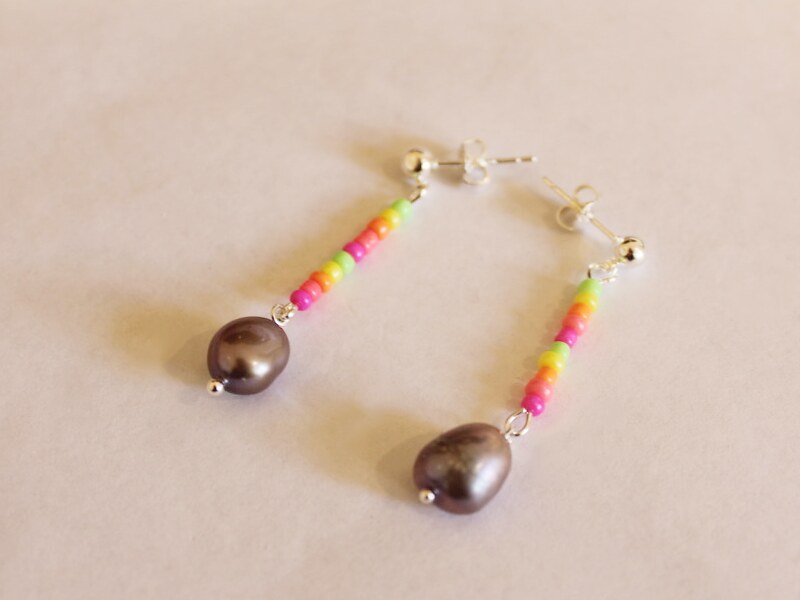
Do you love pearls but hate their traditional look? Here’s how to make some amazing rainbow pearl drop earrings and get in on the handmade bead jewelry trend.
You will need the following tools and materials to make your rainbow pearl drop earrings:
1: Pliers. You will need your flat nose pliers and round nose pliers to make your earrings.
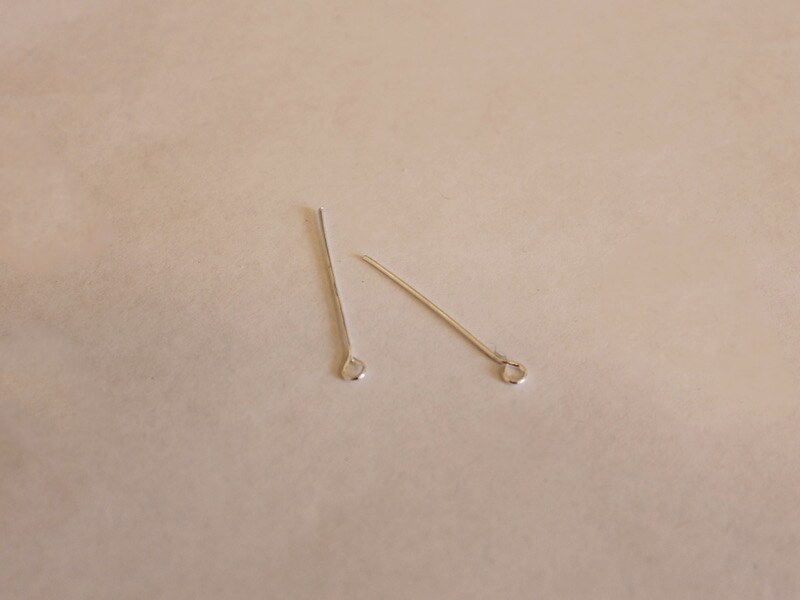
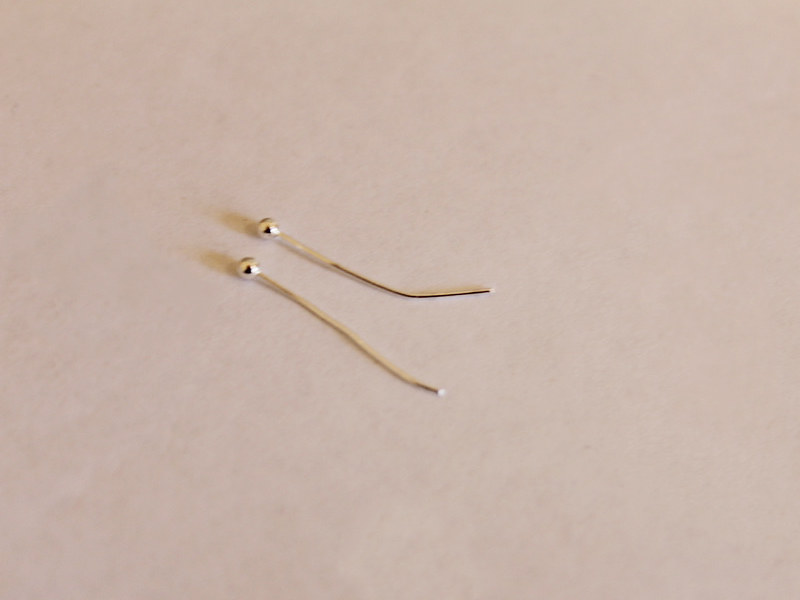
2: Two eye pins.
3: Two stud earring findings with charm loops and earring backs.
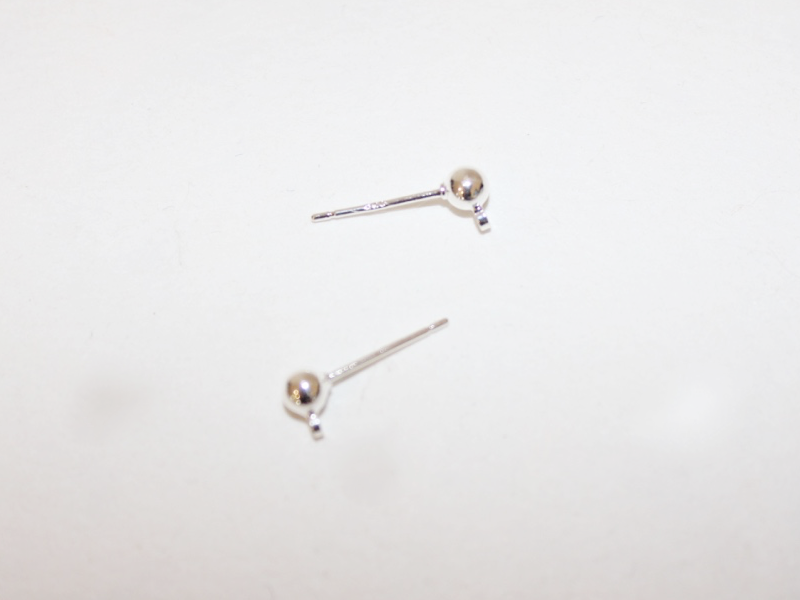
4: Two small head pins.
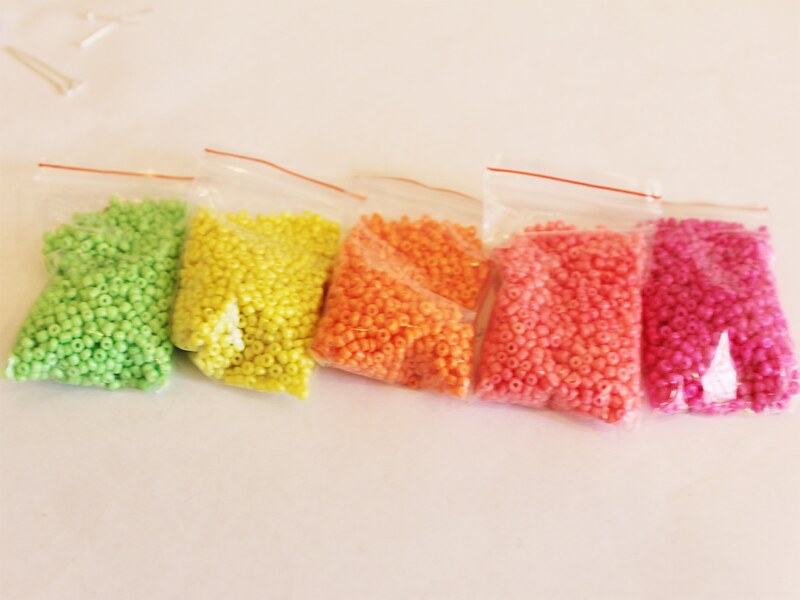
5: Colorful glass beads. I used these bright glass seed beads.
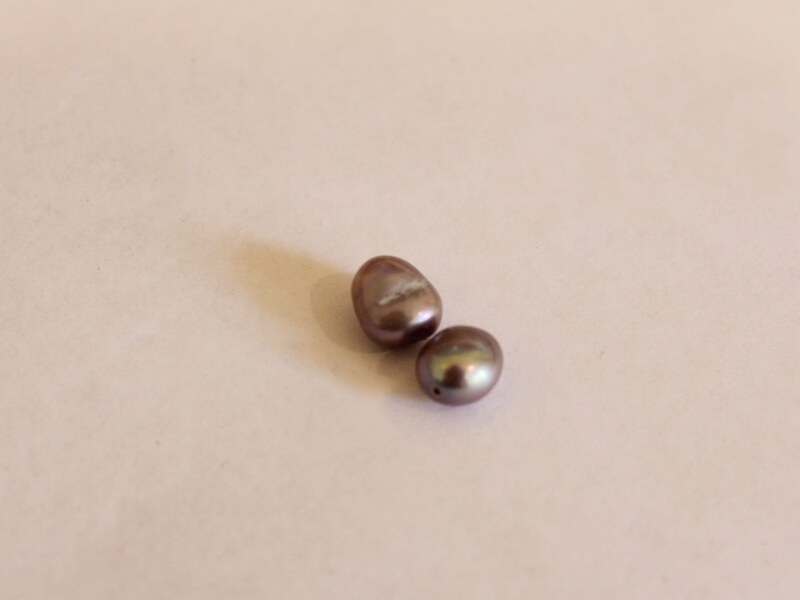
6: Two pearl beads. I used these grey freshwater pearls.
Follow these steps to make your rainbow pearl drop earrings:
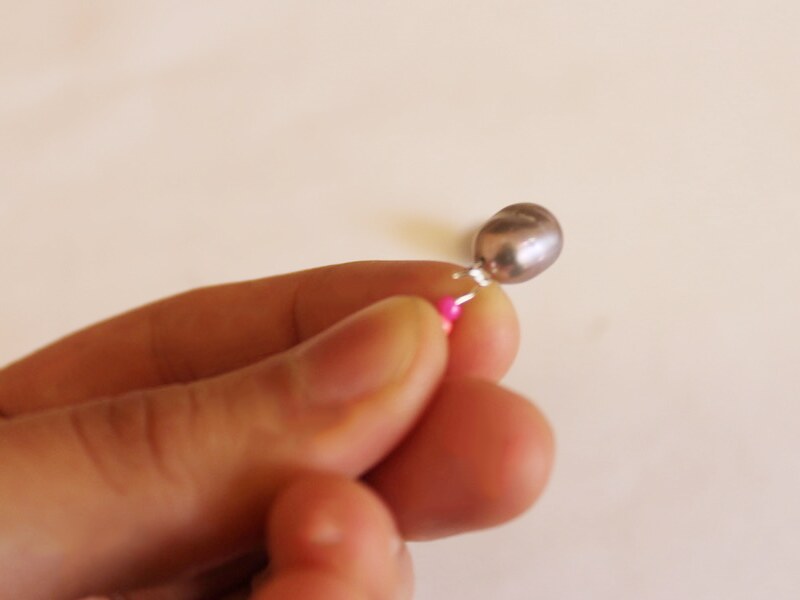
1: Add the pearls to the small head pins.

2: Create a loop at the top of each pin using the round nose pliers to secure the pearls in place.
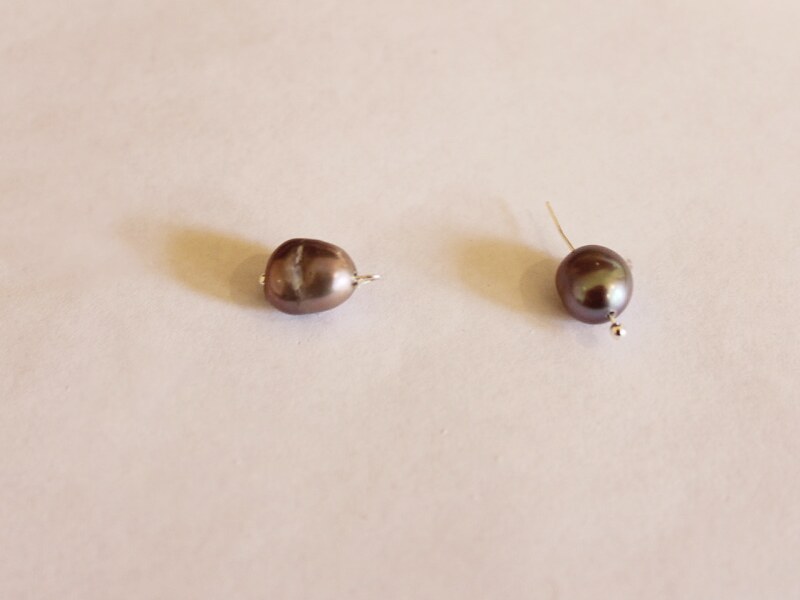
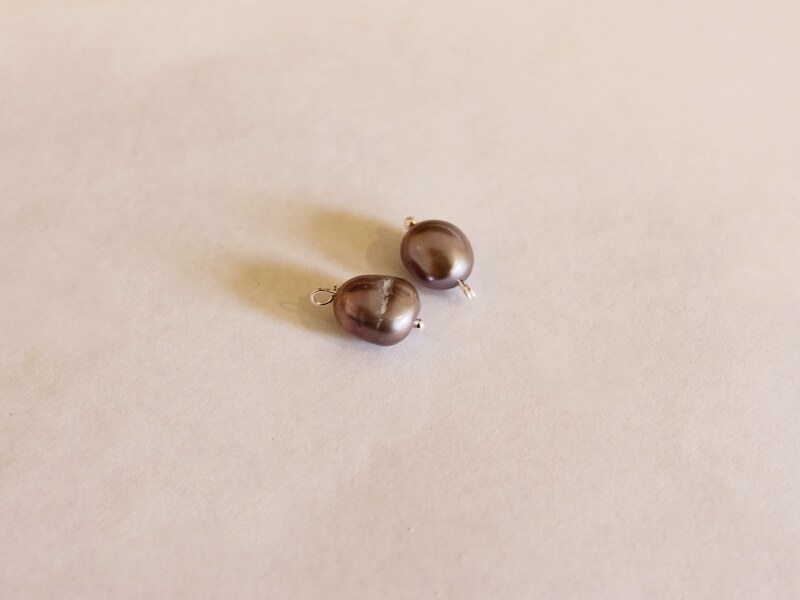
3: Set the pearl charms aside.
4: Add the glass beads to the eye pin in a pattern of your choice. I made a rainbow with mine.
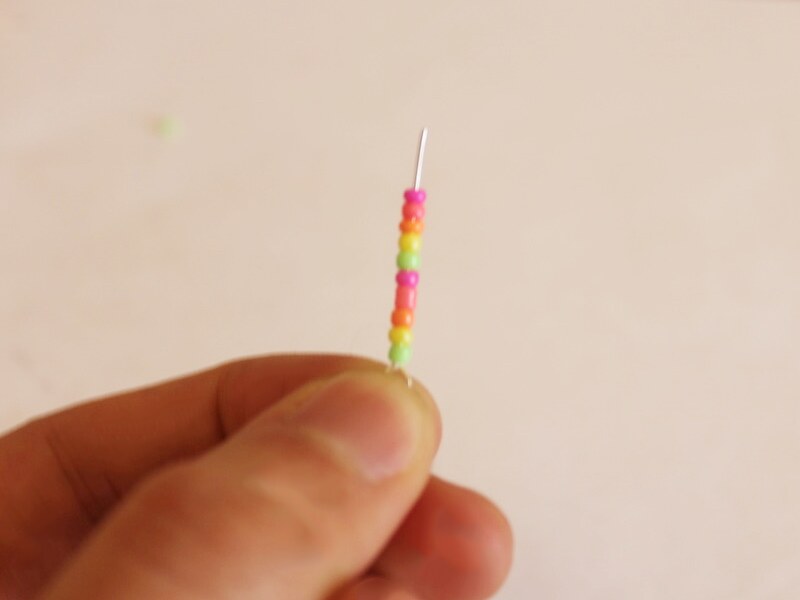
5: Create a loop at the end of the eye pin using the round nose pliers to secure the beads on the pin.

6: Repeat steps 4 and 5 for the second eye pin.
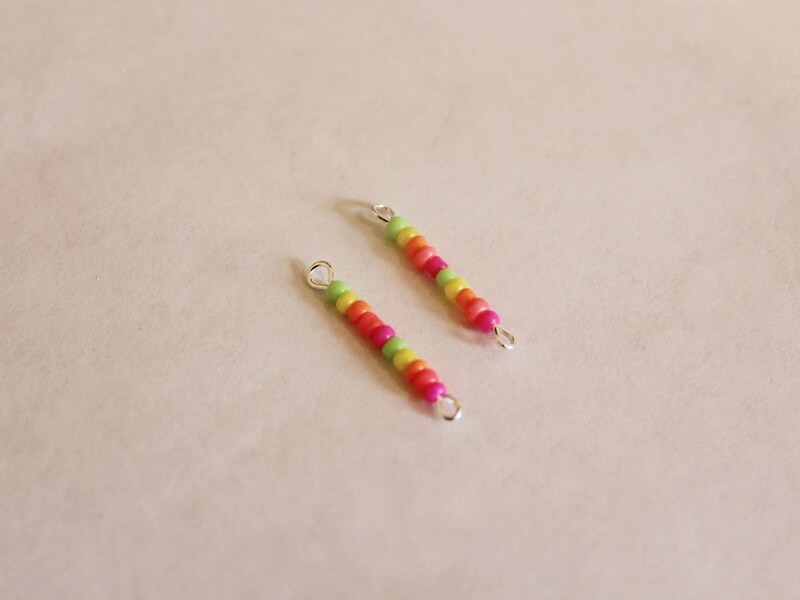
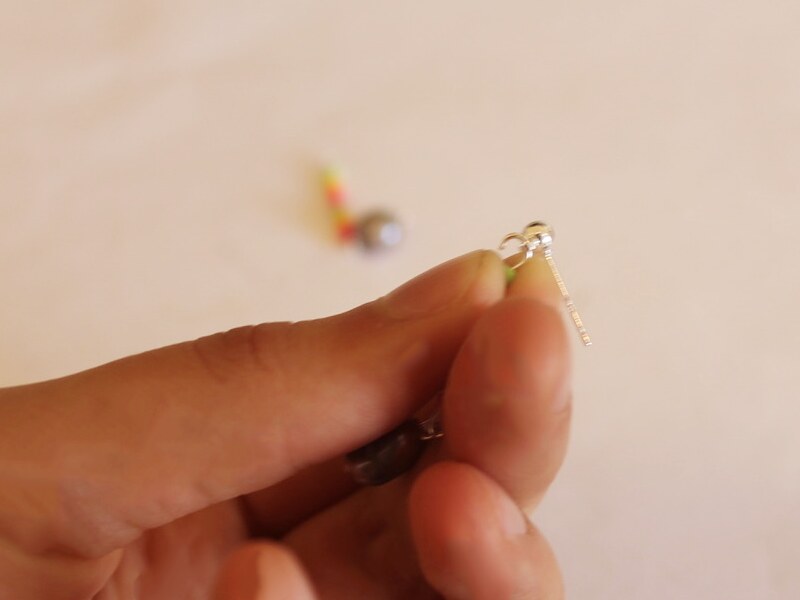
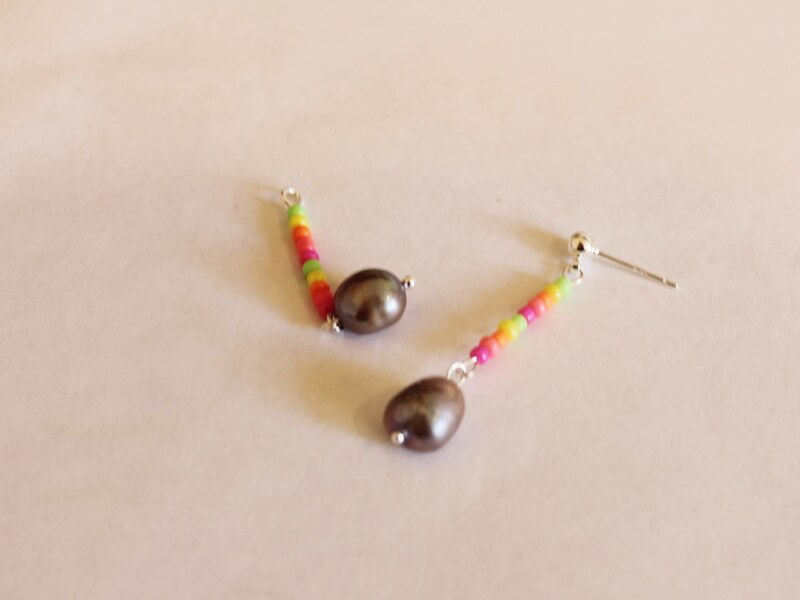
7: Attach a pearl to one end of each of the eye pins.
8: Attach the other end of the pins to each of the earrings. Now they’re finished and ready to wear!
-
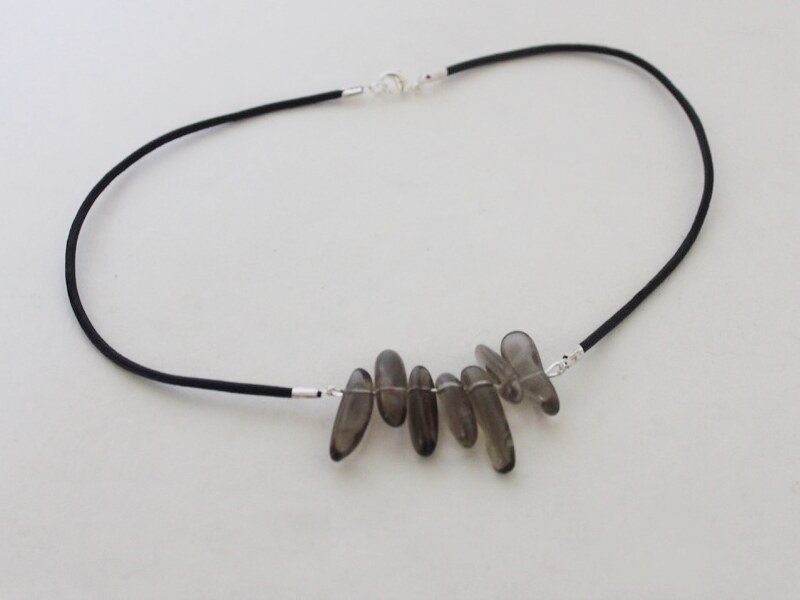
Need something tough but healing? Make this crystal choker necklace!
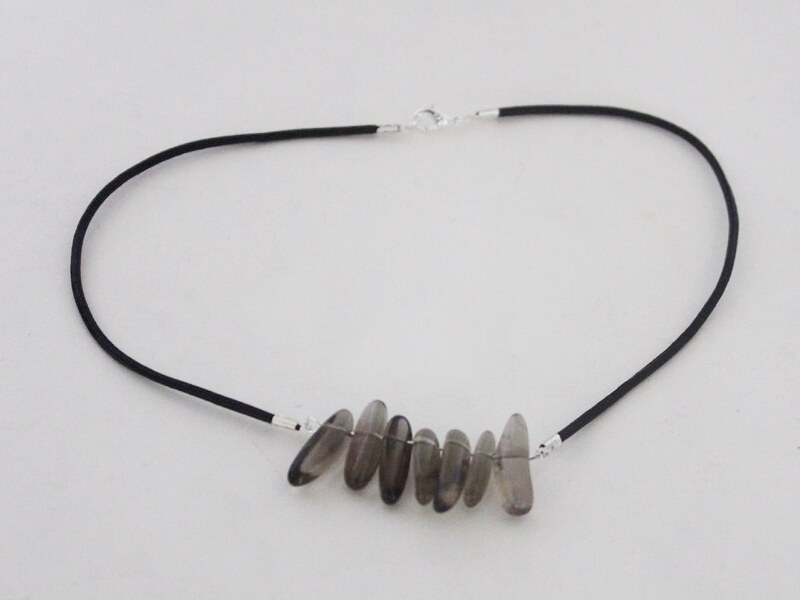
Do you need a cute new accessory to jazz up your jewelry collection? Make this awesome crystal choker necklace.
You will need the following tools and materials to make your crystal choker necklace:
1: Pliers. You will need your cutting pliers, flat nose pliers and round nose pliers.
 2: A long eye pin.
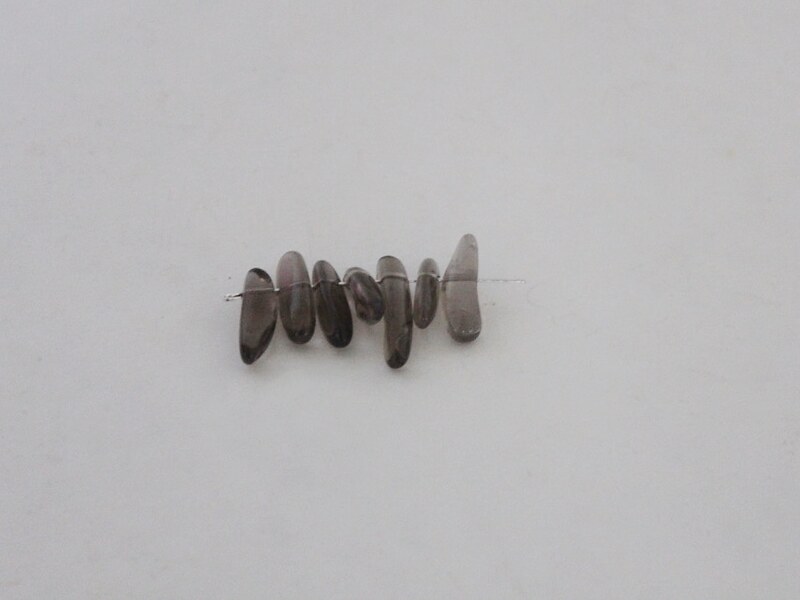
3: Gemstone beads. I used these smoky quartz beads.

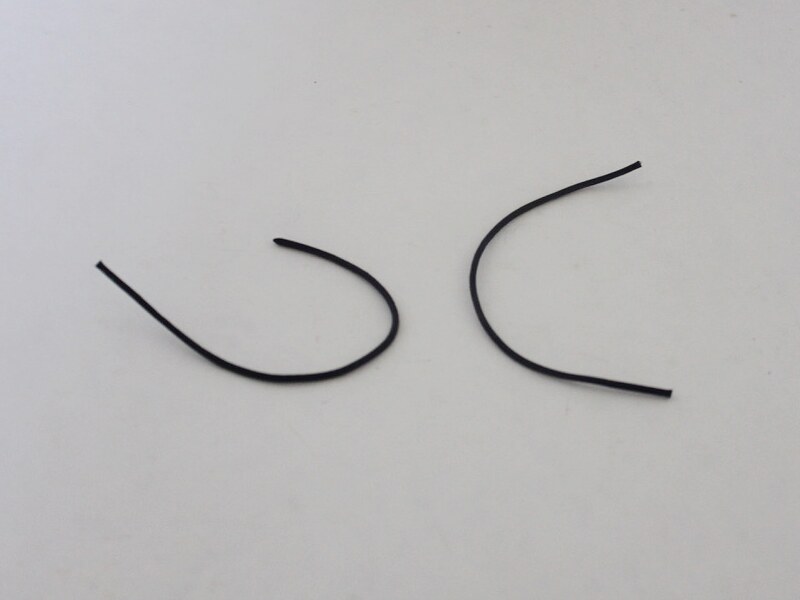
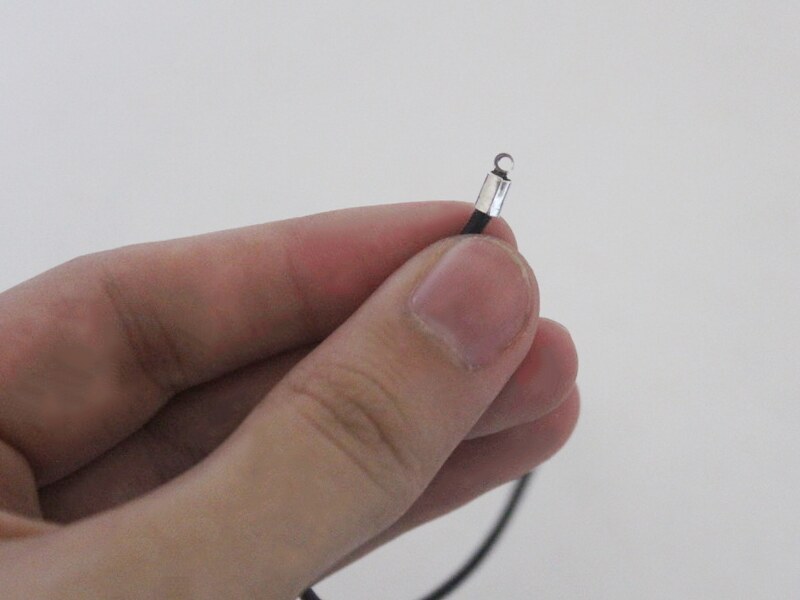
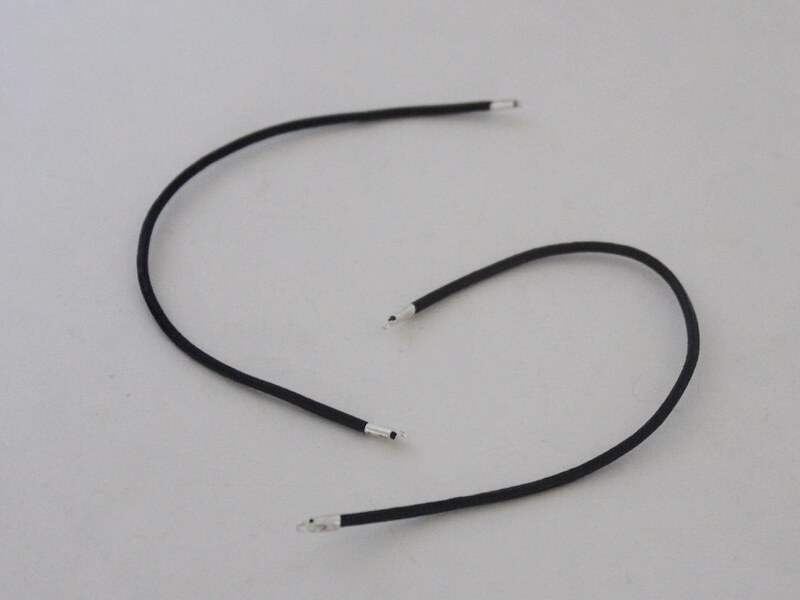
4: Two pieces of leather cord. Approximately 15.5 cm long.
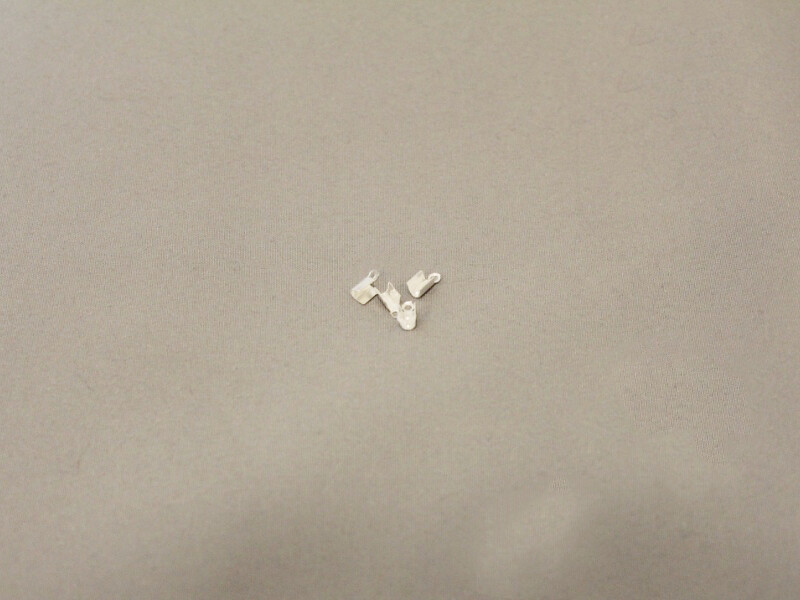
5: Four leather crimp ends.

6: Two jump rings.

7: A lobster clasp.

Follow these steps to make your crystal choker:
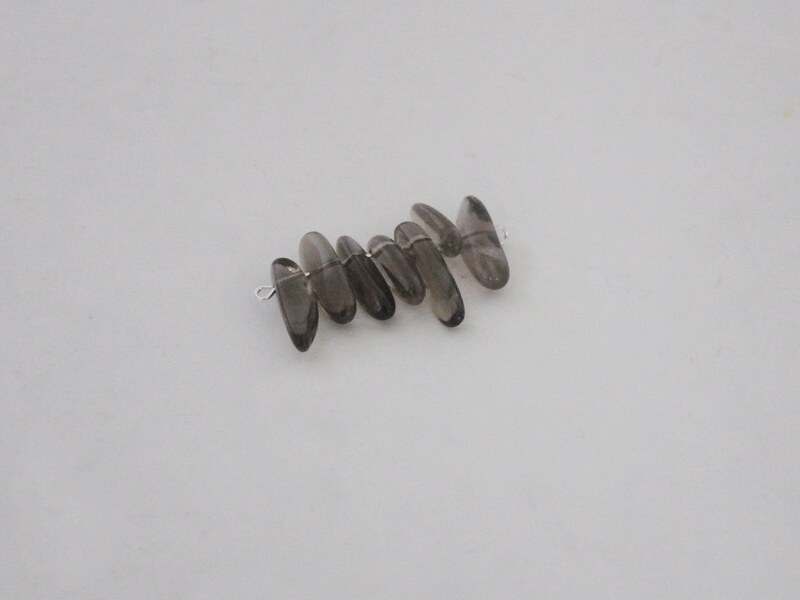
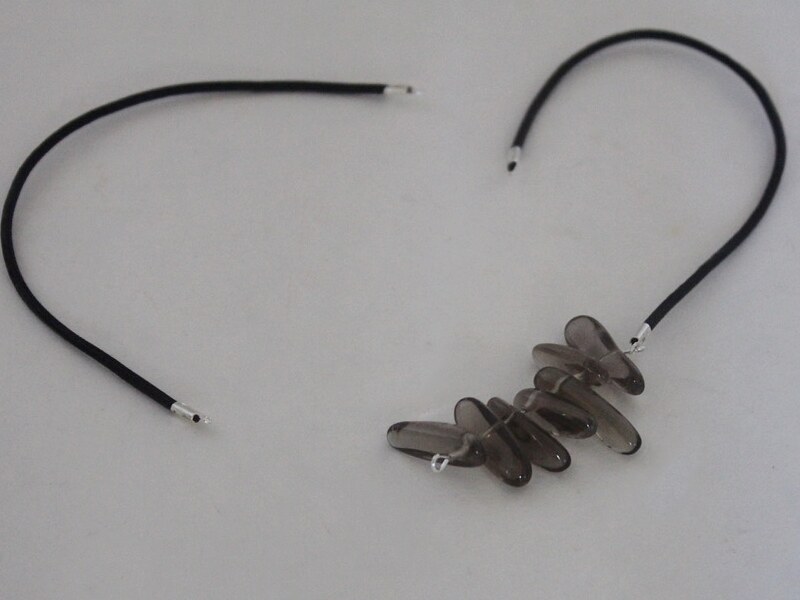
1: Add the beads to the eye pin.
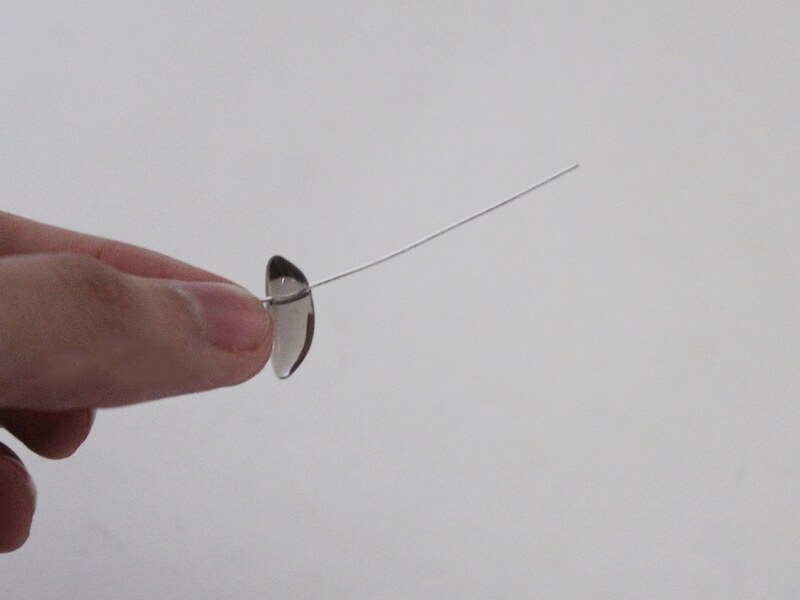
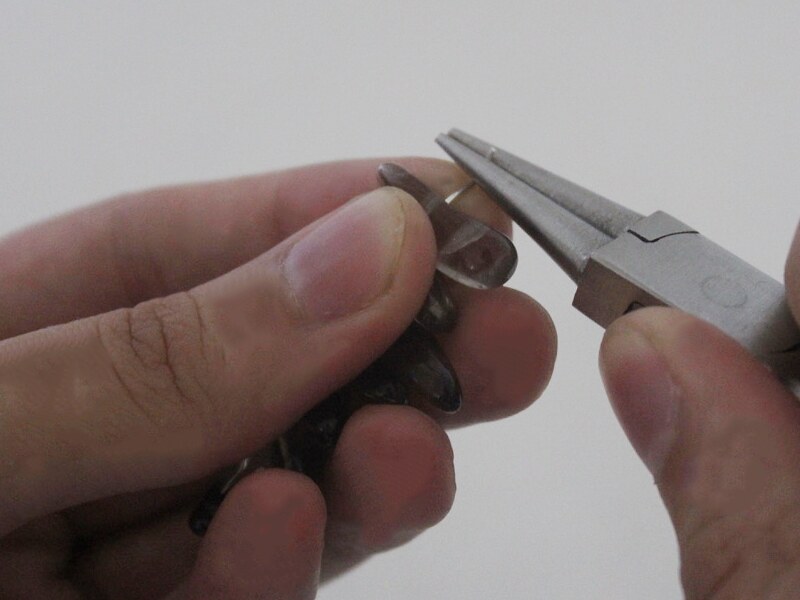
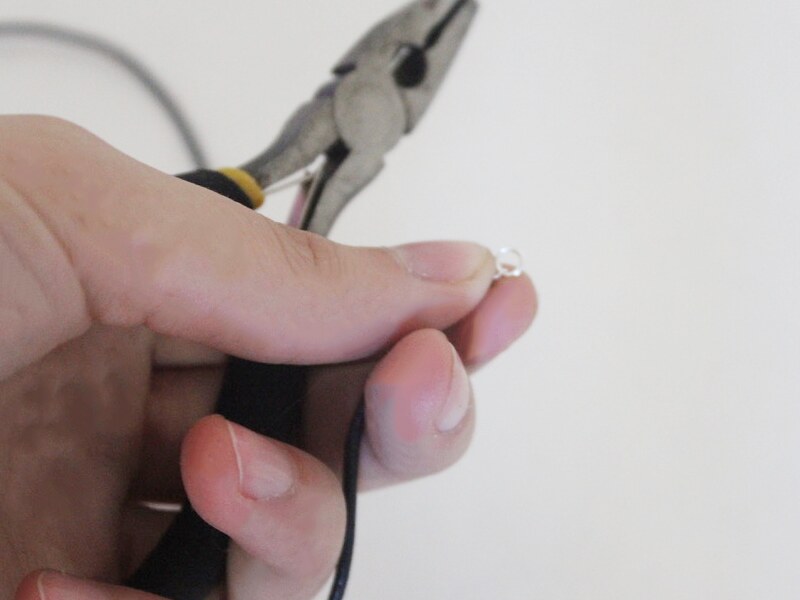
2: Bend the end of the pin to form a right angle using the round nose pliers.
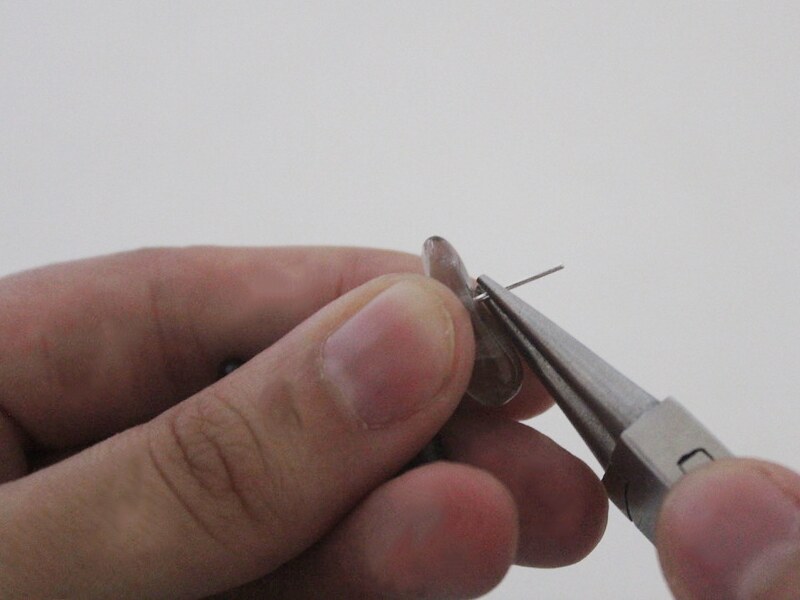
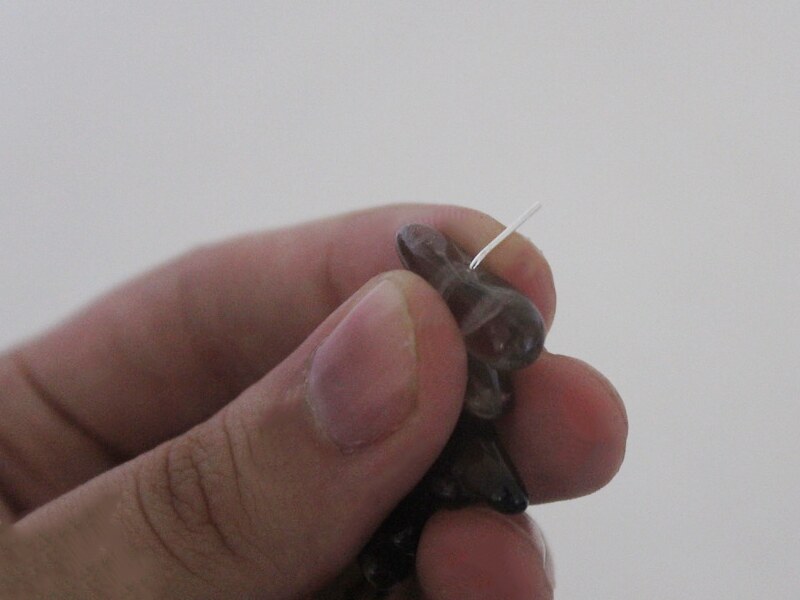
3: Create a loop at the end of the pin using the round nose pliers. This will secure the beads on the pin.
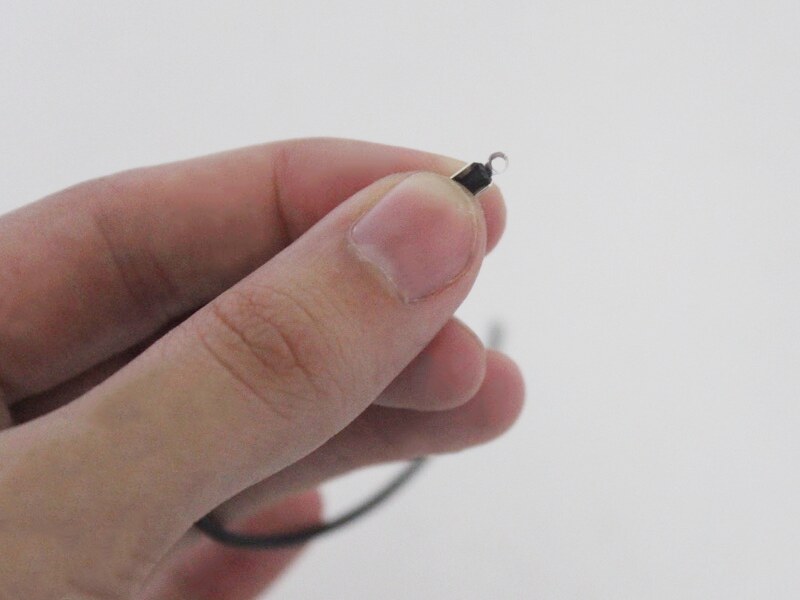
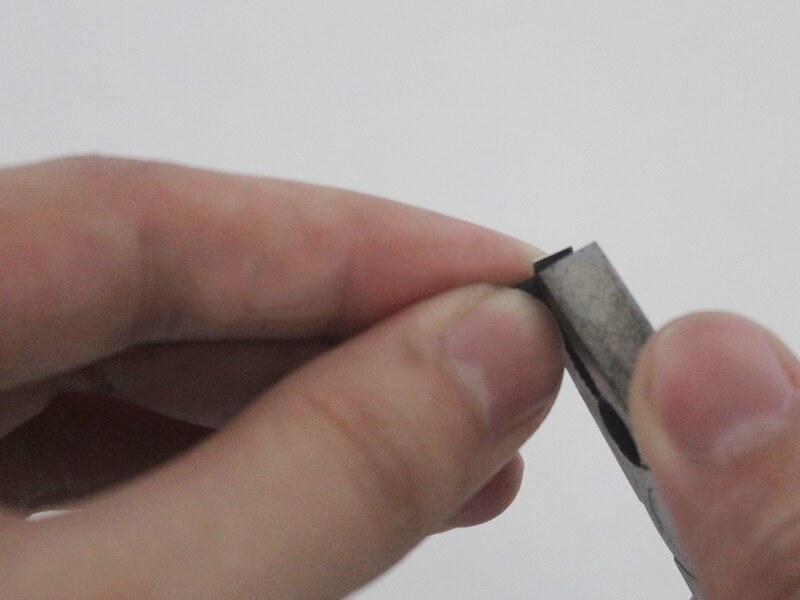
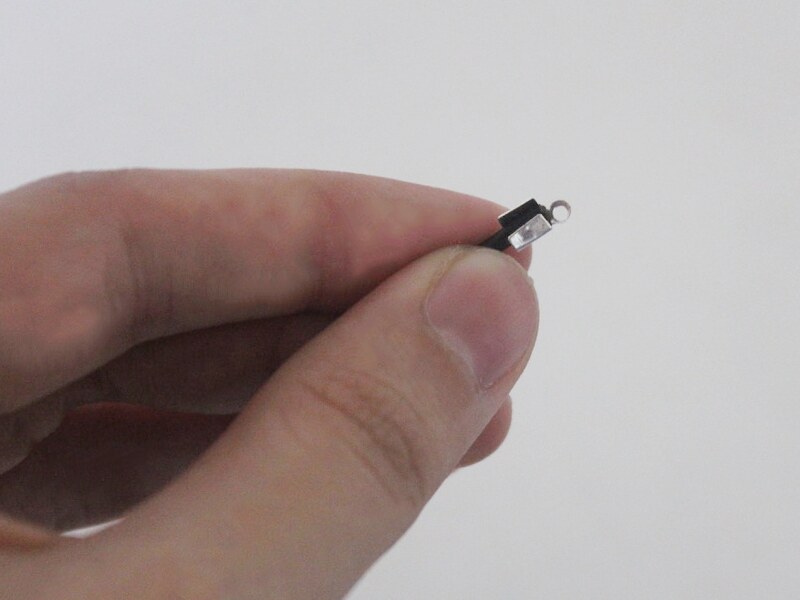
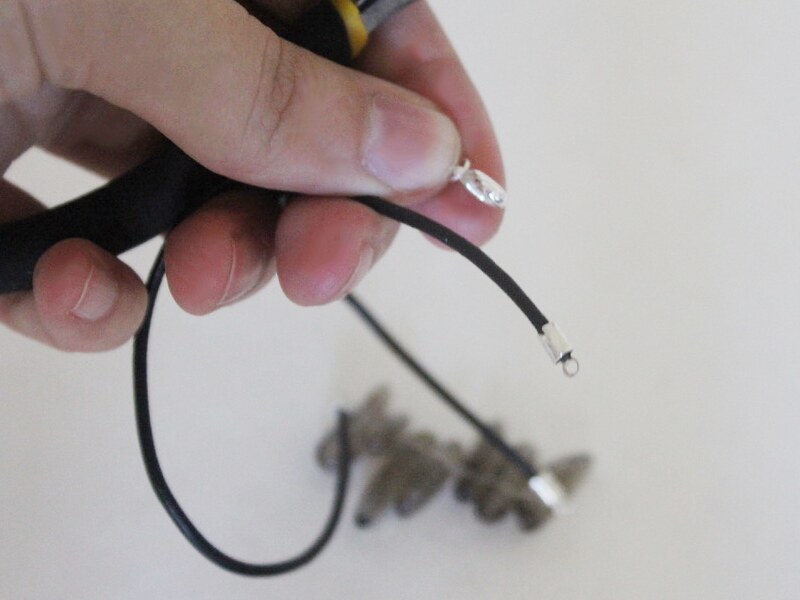
4: Add each of the crimp ends to the ends of the leather. Fold each side of the crimps around the leather using the flat nose pliers.
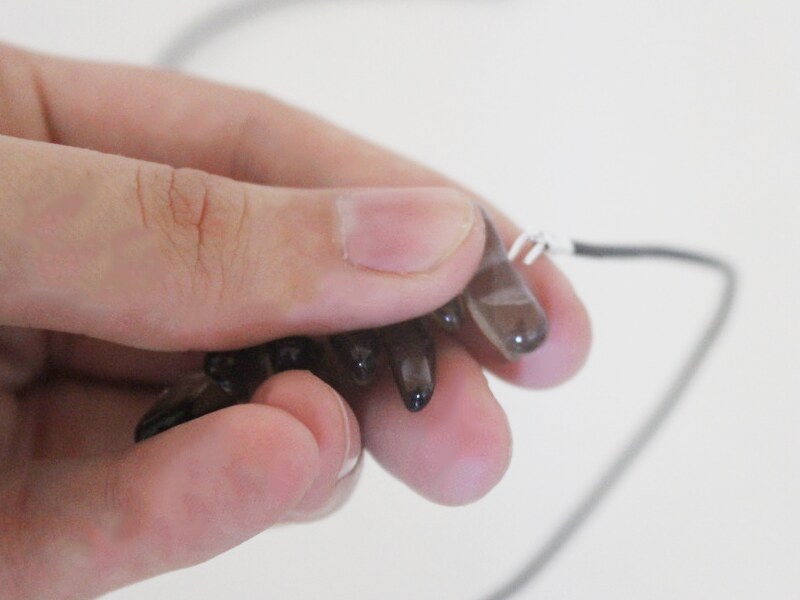
5: Attach a piece of leather to each side of the crystal beaded pin.


6: Add a lobster clasp to one side of the necklace using one of the jump rings.
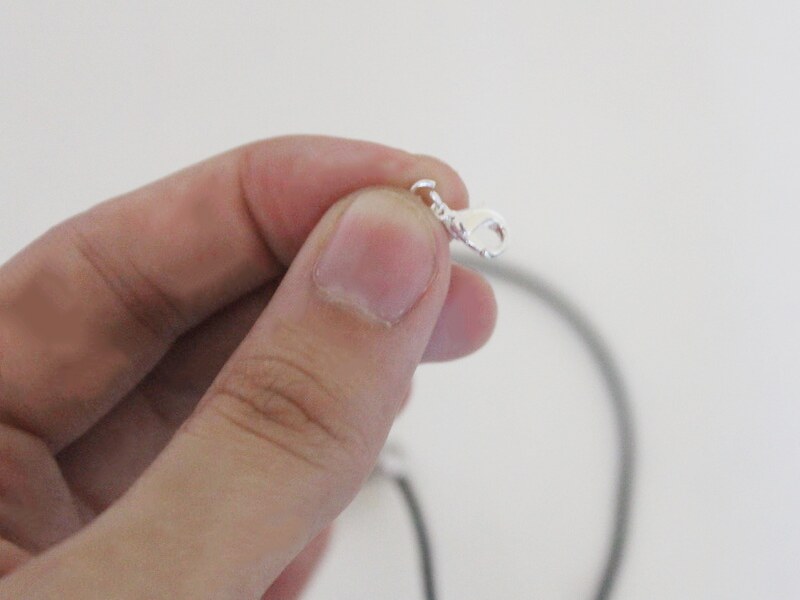
7: Add the remaining jump ring to the other side of the necklace to finish your necklace.
Now it’s ready to wear… a perfect combination of tough and whimsical!
-
Need Some Ideas for a Special Valentine’s Day Gift? Why Not Make One of these special pieces?
Nothing’s more romantic than a handmade gift for your loved one on a special occasion! Here are some DIY gift ideas for this Valentine’s Day.
1: Handmade Cufflinks
Use some special charms or some vintage buttons to make some one of a kind cufflinks for that special someone in your life. Click here for the the full tutorial.


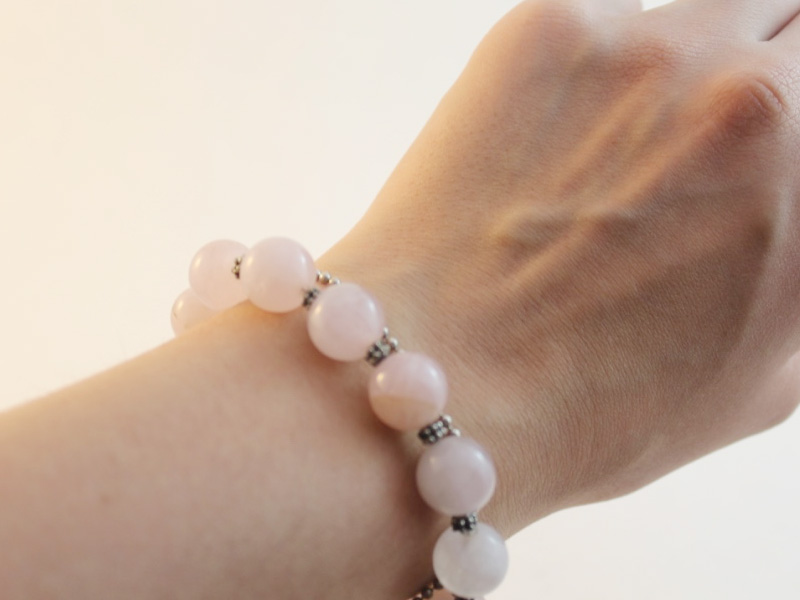
2: A Rose Quartz Bracelet.
Rose Quartz is a crystal synonymous with love, which makes it perfect for a Valentine’s gift! Here’s the full tutorial.
3: A Custom Charm Bracelet.
Is there anything more sentimental and romantic than a charm bracelet full of special and meaningful charms? Here’s how to make an adorable charm bracelet.

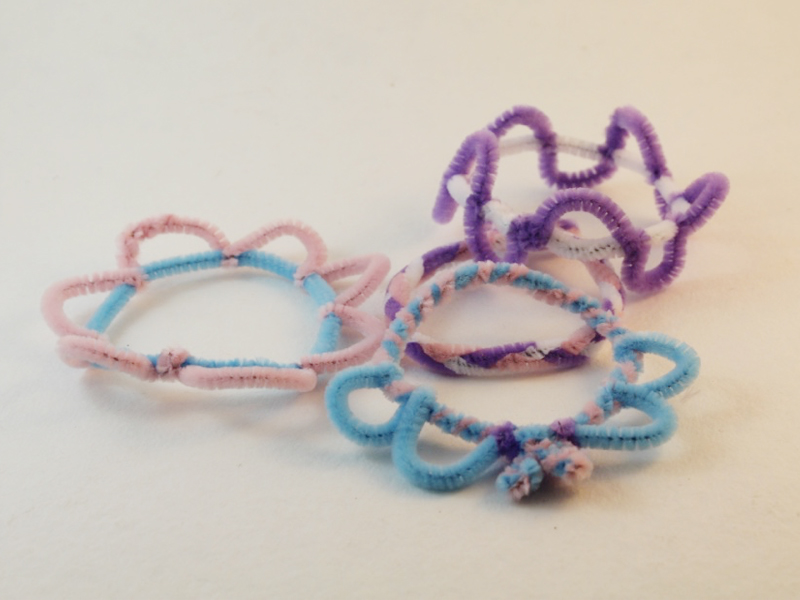
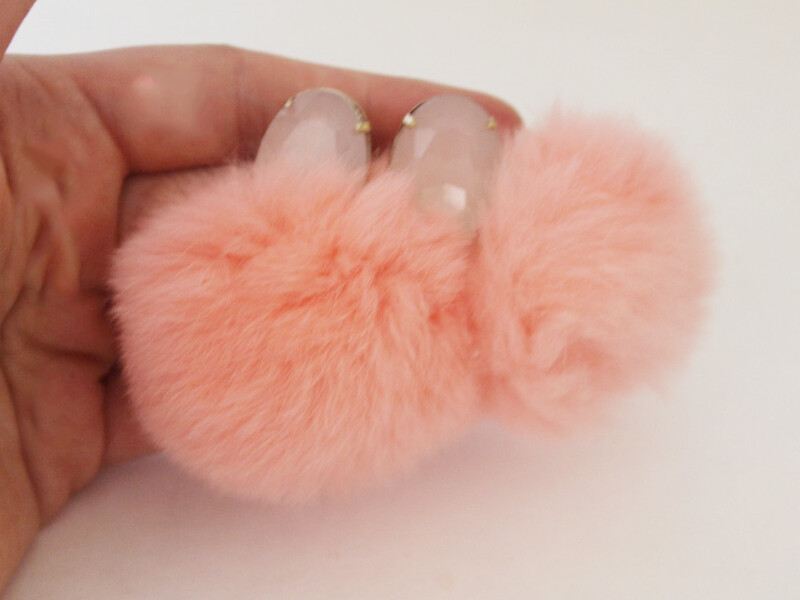
4: Some Pink Pom Pom Earrings.
These earrings are fuzzy, flirty and the perfect Valentine’s gift for a fun loving pal. Here’s the full tutorial.
So there you go! Four ideas for special and sentimental Valentine’s gifts. Which one will you make?
-
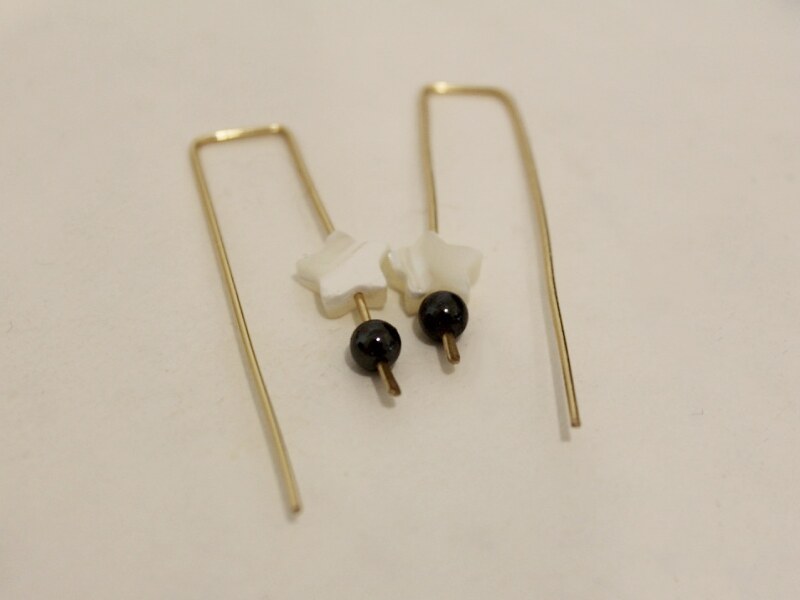
Here’s how to make some beaded wire threader earrings!
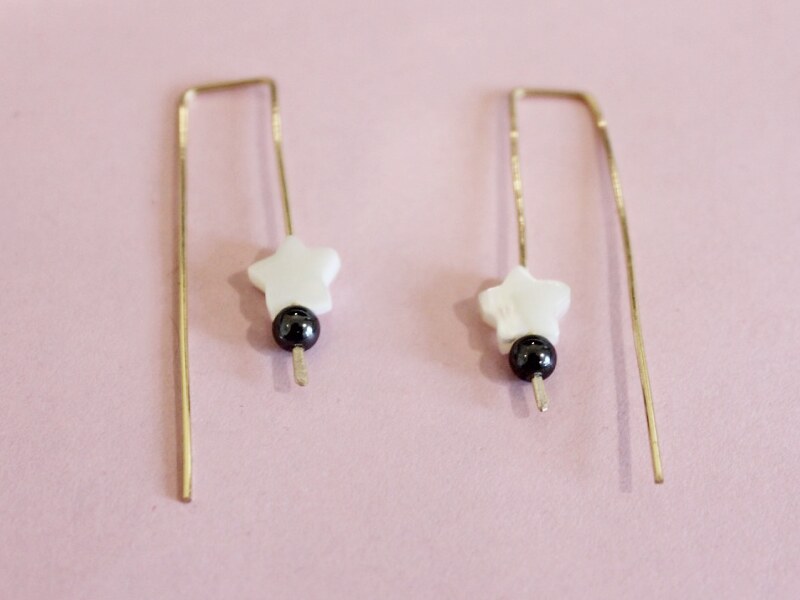
These wire threader earrings feature delicate beads, kept in place by hammering some wire flat. Contains affiliate links.
You will need the following tools and materials to make these earrings:
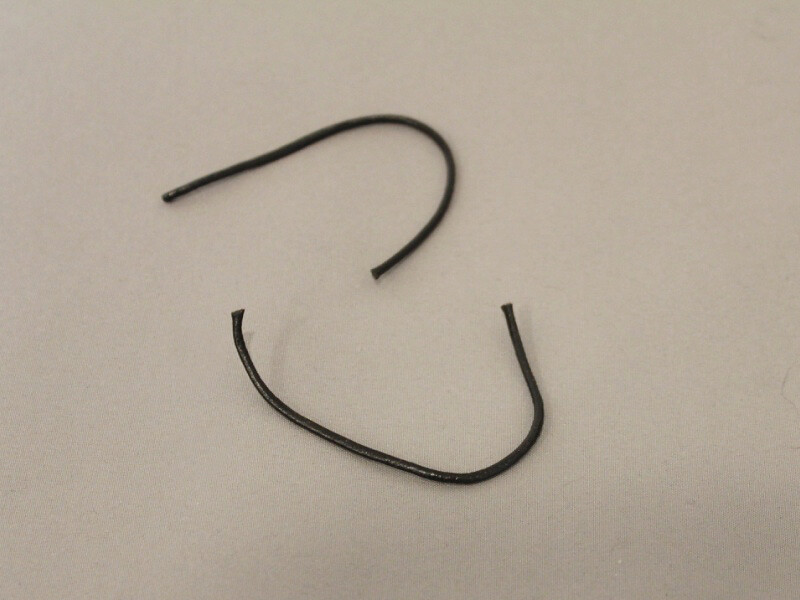
1: Pliers. You will need wires with a square bending nose without ridges so that you don’t mark the wire. You will also need your cutting pliers to cut the pieces of wire.

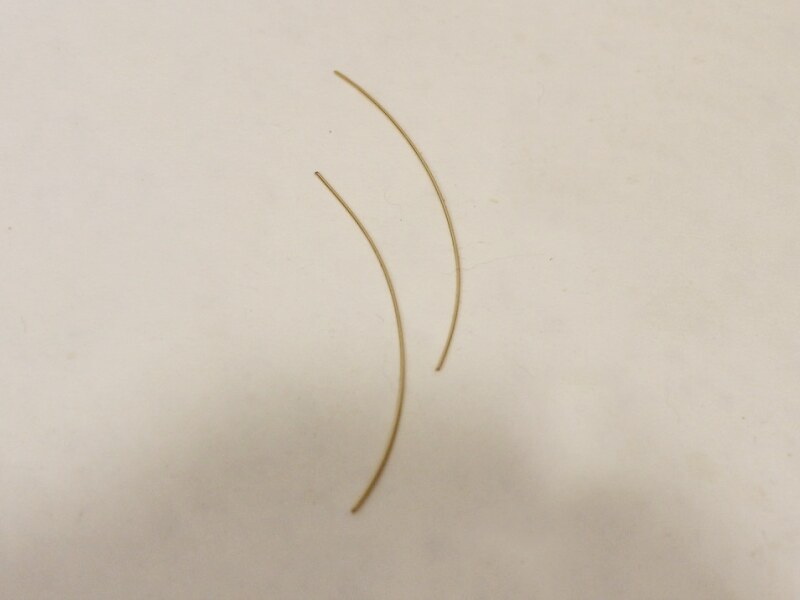
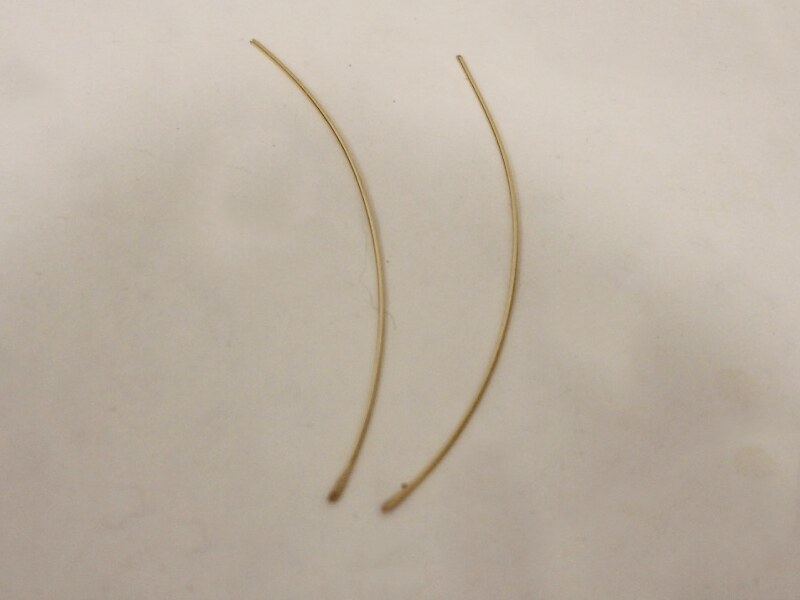
2: Two pieces of wire. Approximately 8cm long. I used some gold-fill wire.
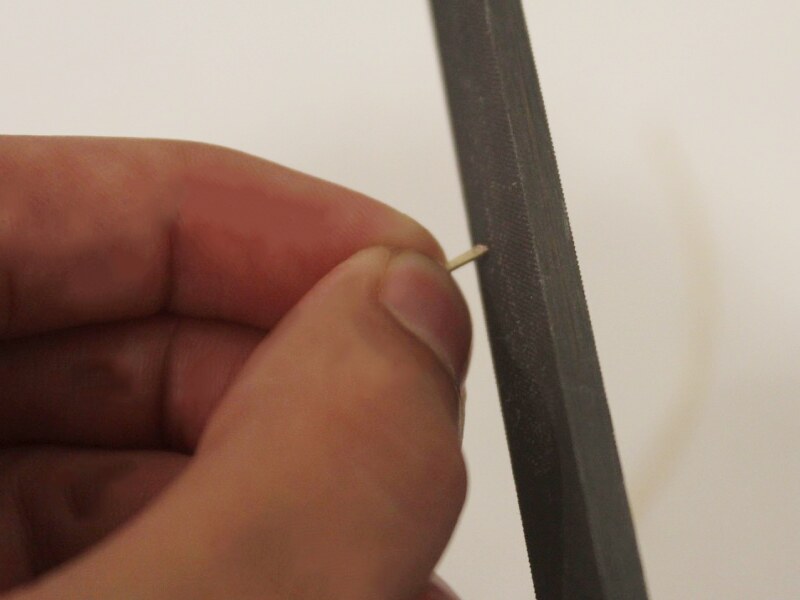
3: A file.

4: A steel block.

5: A hammer.

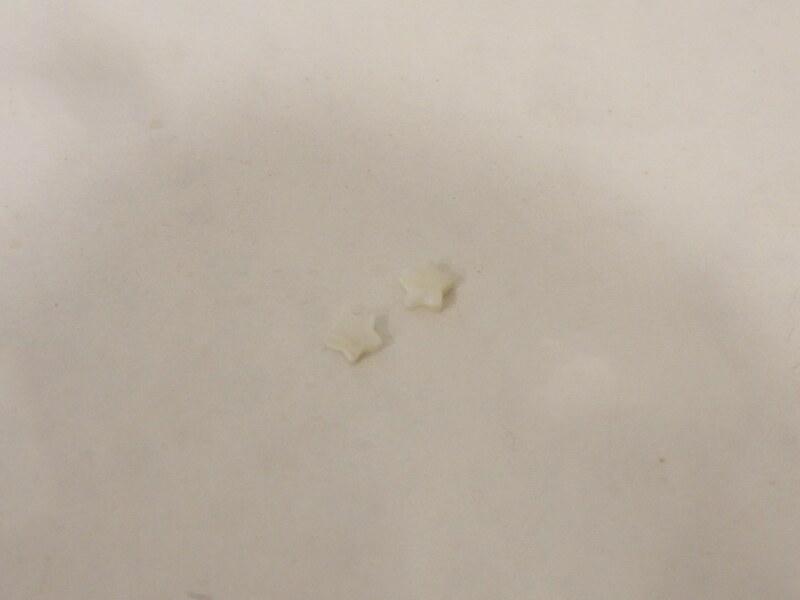
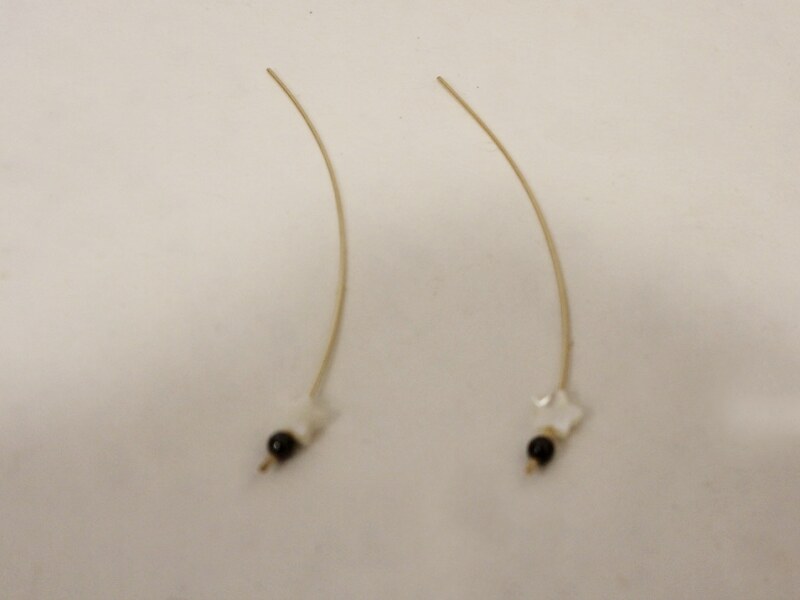
6: Beads of your choice. I used these star shaped shell beads and these round hematite beads.

Follow these steps to make your earrings:
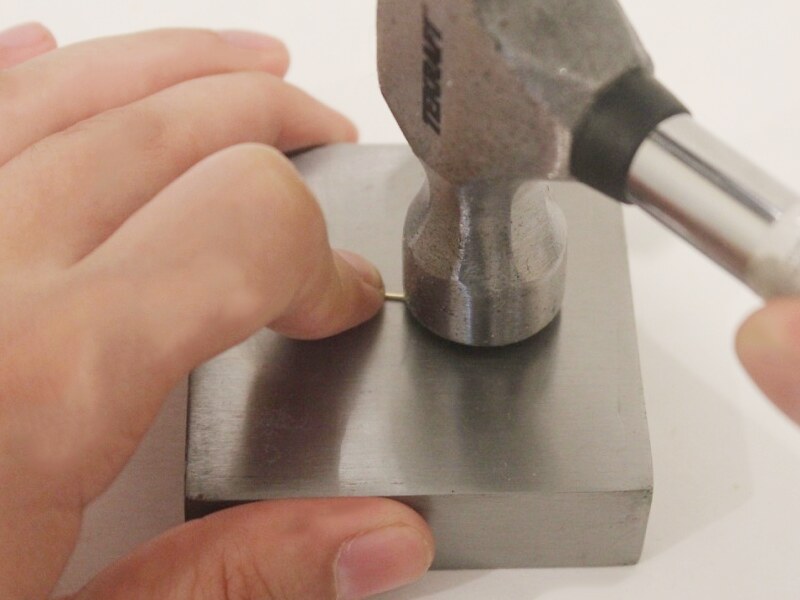
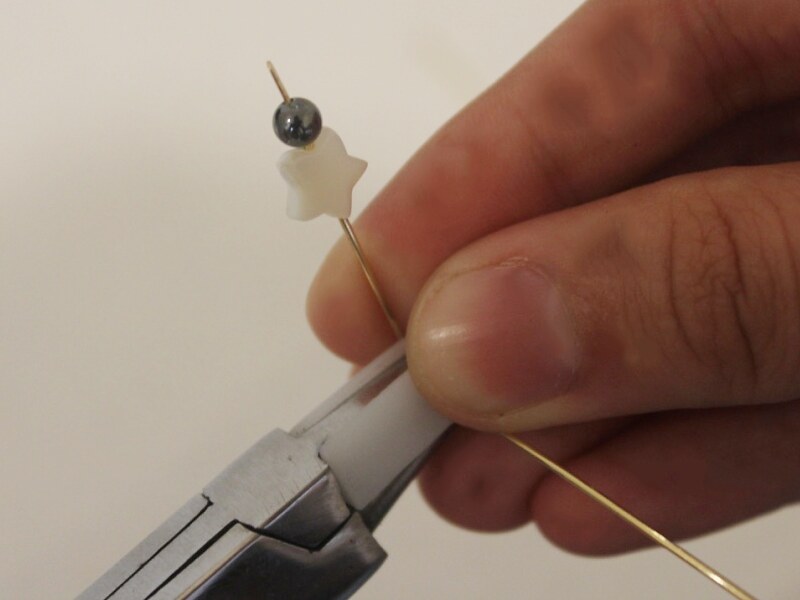
1: Hammer one end of each piece of wire. Hammer on the steel block and continue to flatten the wire until it is wide enough to stop your beads from sliding off. Repeat this step for the second piece of wire so that both pieces have one flattened end.
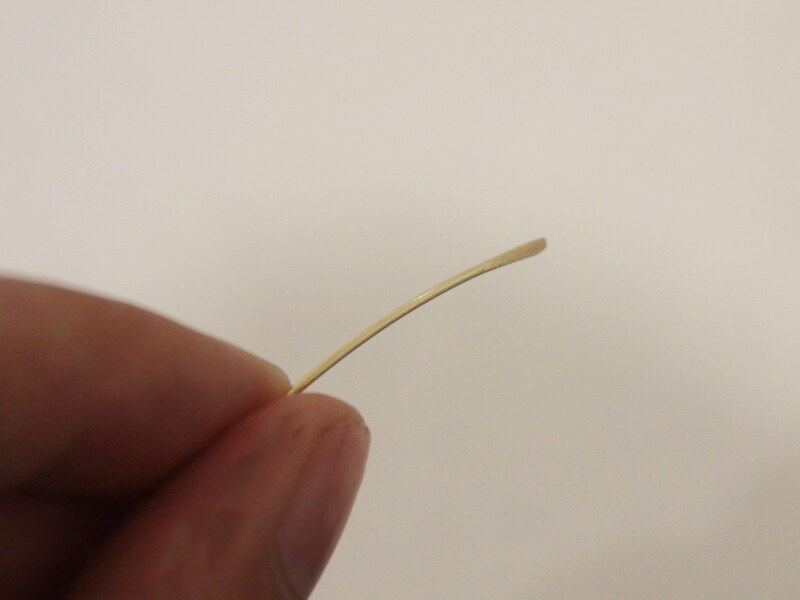
2: File each of the wire ends so that none are sharp or rough.
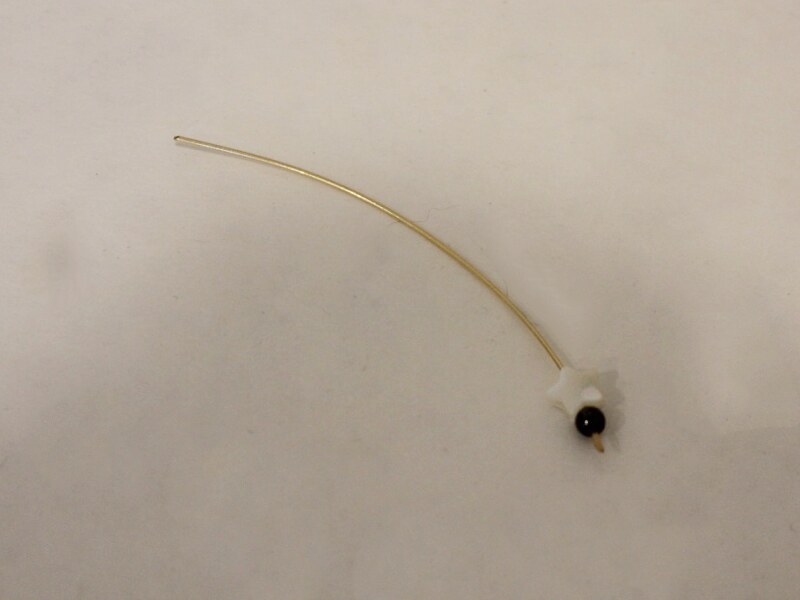
3: Add the beads to each of the wires.
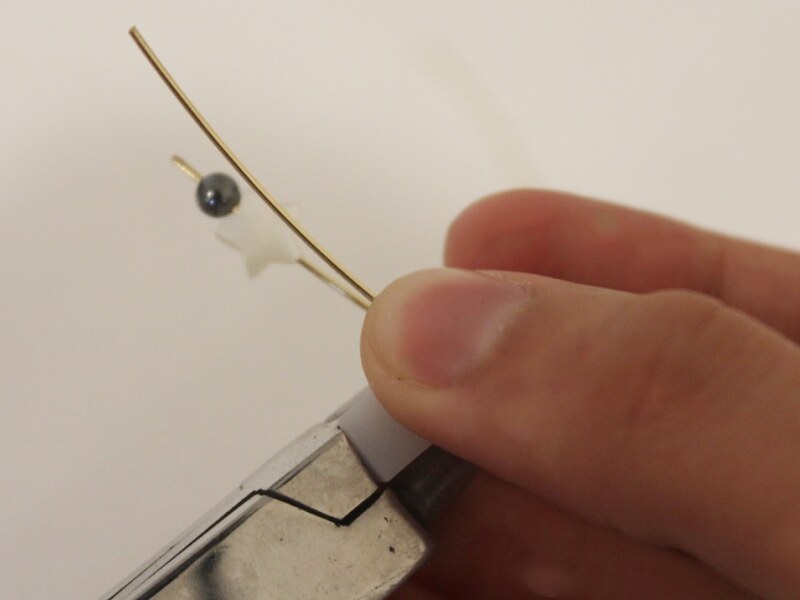
4: Hold one of the wires with the plastic nose pliers.
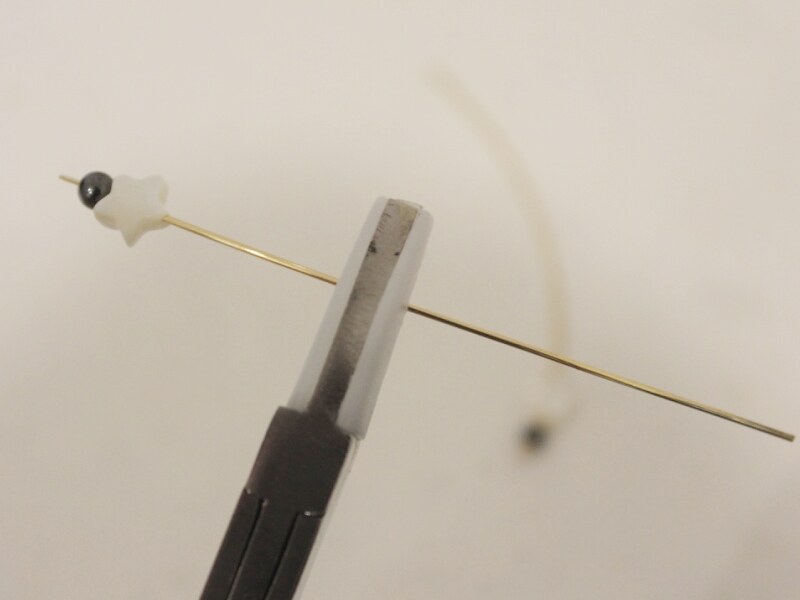
5: Bend one side of the wire around the angle of the pliers to form a right angle.
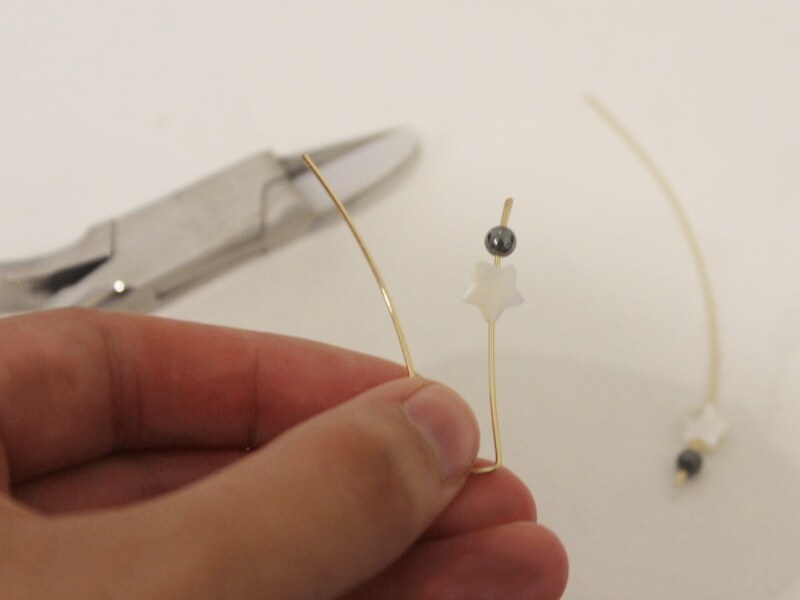
6: Bend the other side around the pliers to form another right angle. This will form a square shape that makes the top of your earring.
7: Repeat steps 4-6 for the second earring.
8: If your wire had some curve to it like mine did you can straighten it out gently using your pliers and fingers.
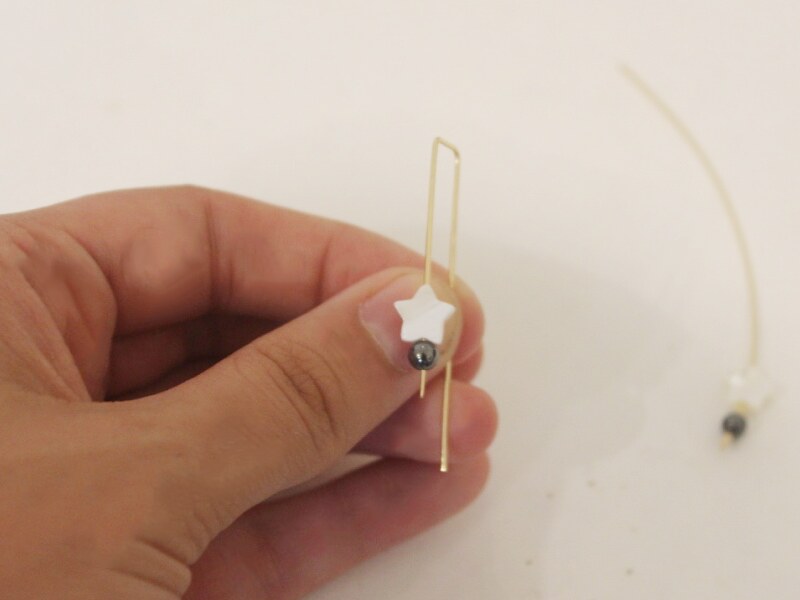
Once your earrings are straight then they are finished and ready to wear! How amazing are they? So delicate and simple.
-
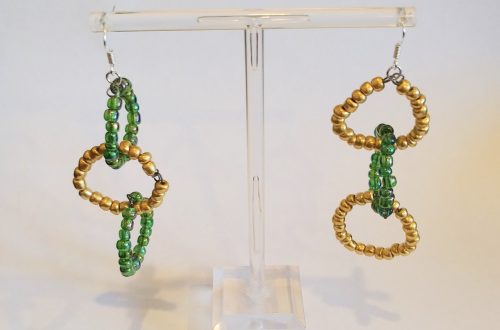
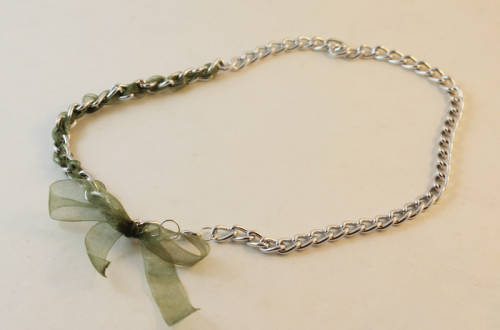
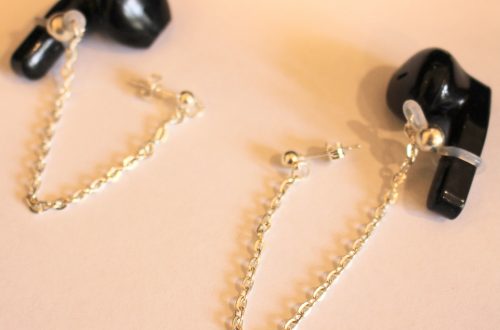
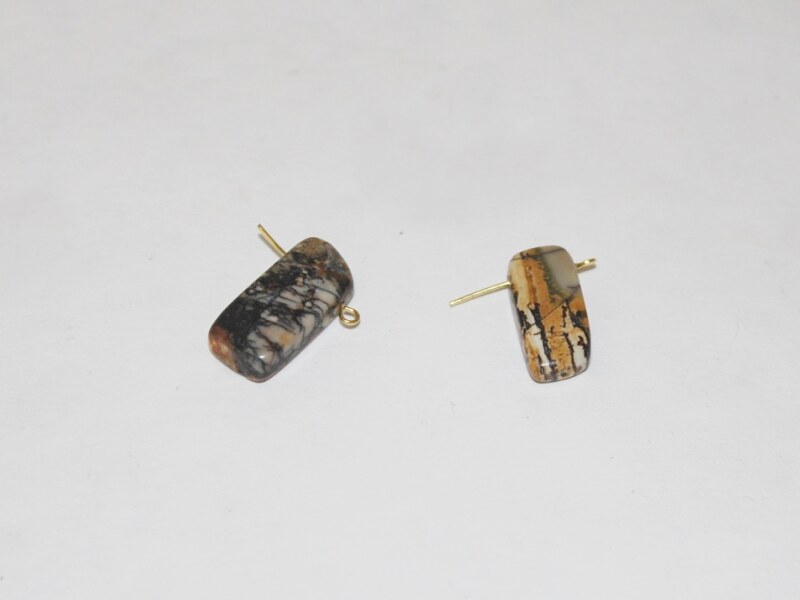
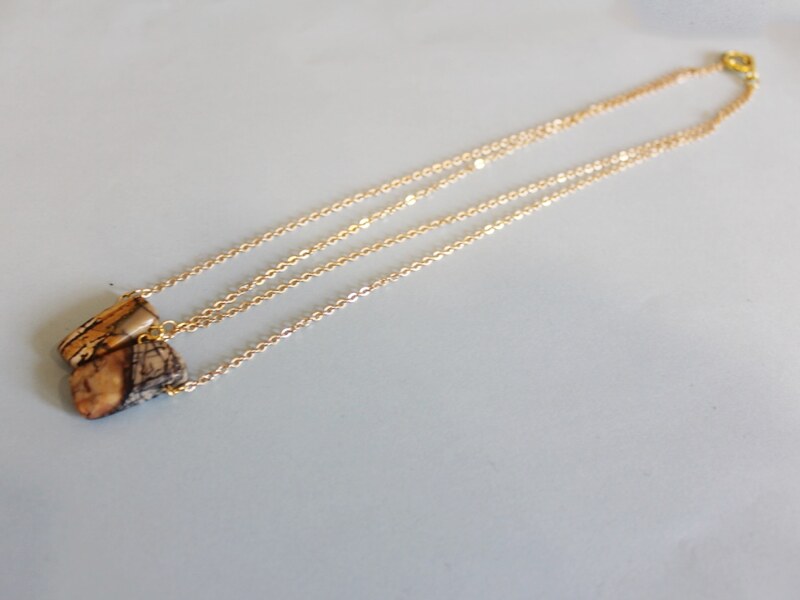
Easy Layers with this Double Chain Necklace

This double chain layered necklace gives the effect of layered pendants for a cool look.
You will need the following tools and materials to make this chain layered necklace:
1: Pliers. You will need your round nose pliers, flat nose pliers and cutting pliers to make this necklace.
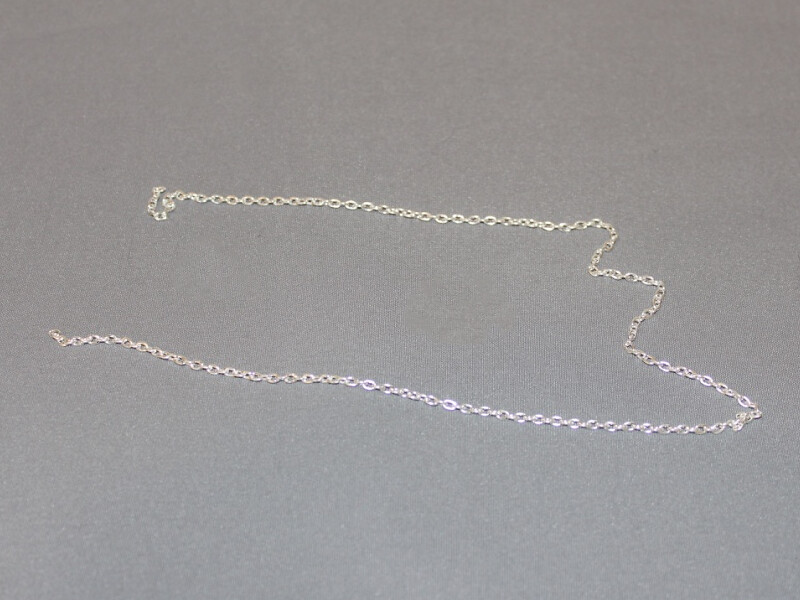
2: Two pieces of chain, one longer than the other.

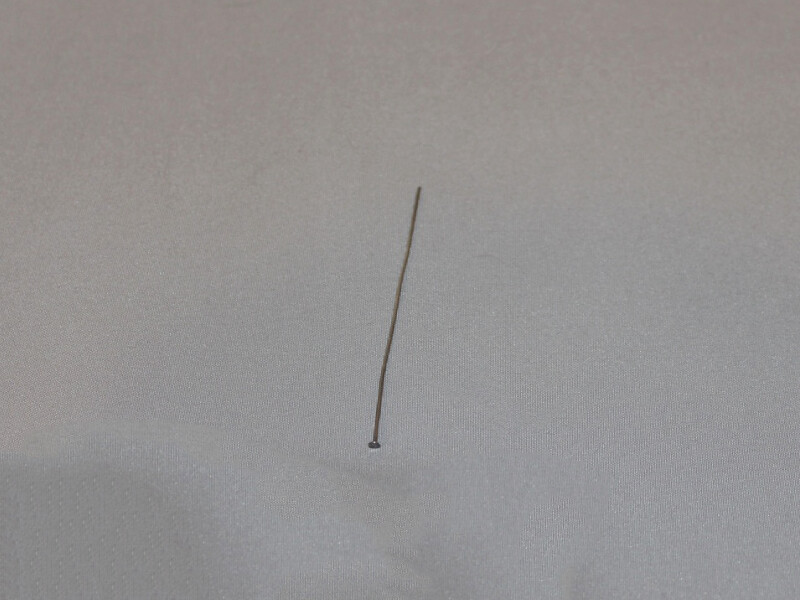
3: Two eye pins.

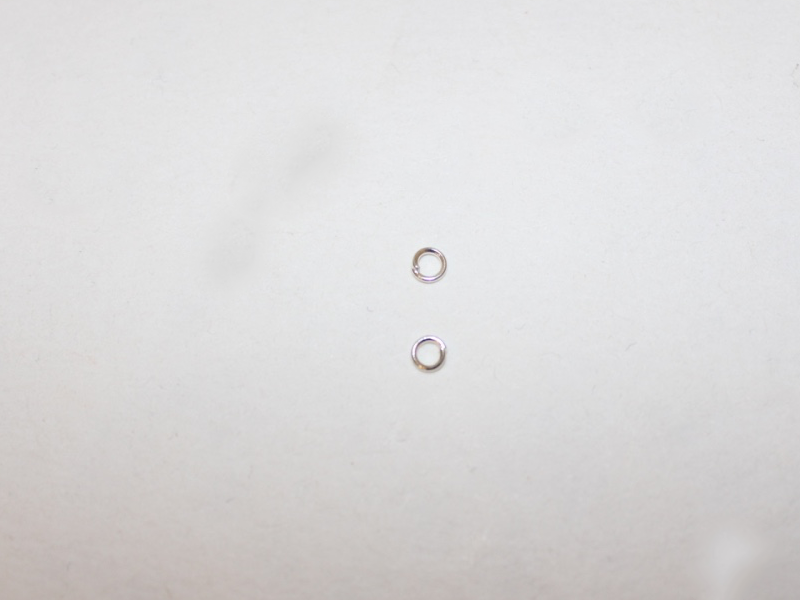
4: Four small jump rings.

5: Two larger jump rings.

6: A clasp.

7: Beads of your choice. I used these stone beads.
Follow these steps to make your necklace:
1: Place both the beads on each of the eye pins.

2: Bend each eye pin at an angle to the bead.


3: Create a loop to secure the beads on the pins.


4: Attach the ends of the chains to each side of the charms using the smaller jump rings.


5: Separate the chains at the center of the chain.

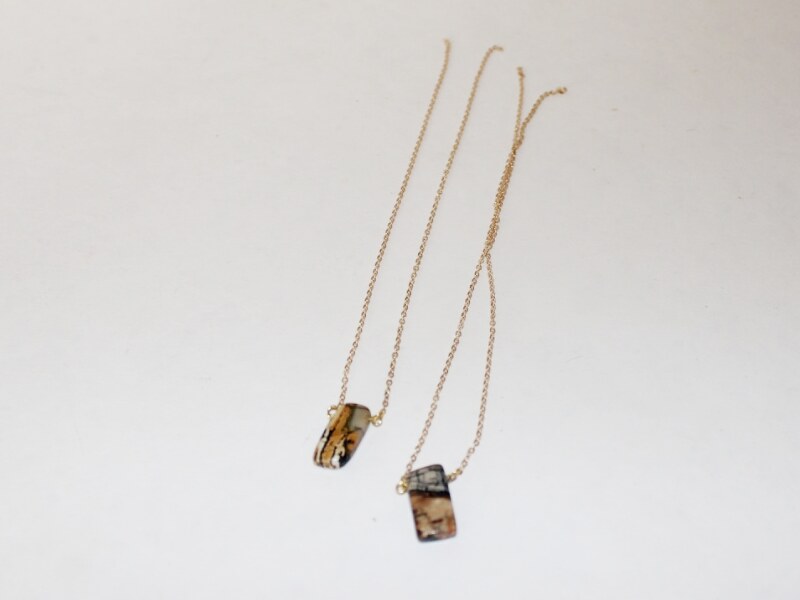
6: Attach one end of each chain to one of the larger jump rings.

7: Attach the other side of the necklace chains to the other jump ring and attach the clasp. Close the jump ring to complete the necklace.
Now your chain layered necklace is finished and ready to wear!
Here are some more layered necklace designs you can make:
- This delicate bead and chain 2 tier necklace
- A statement necklace made with memory wire
- A super cute double layer beaded necklace
This tutorial contains affiliate links.
-
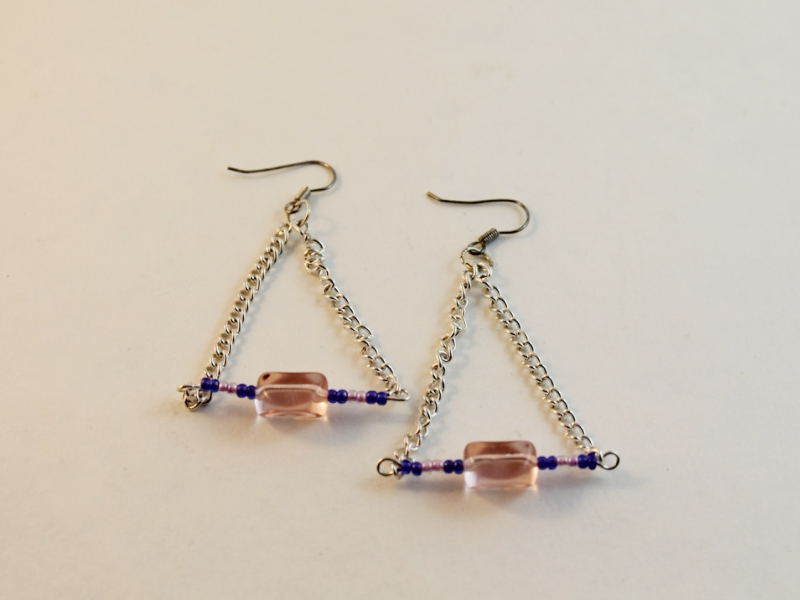
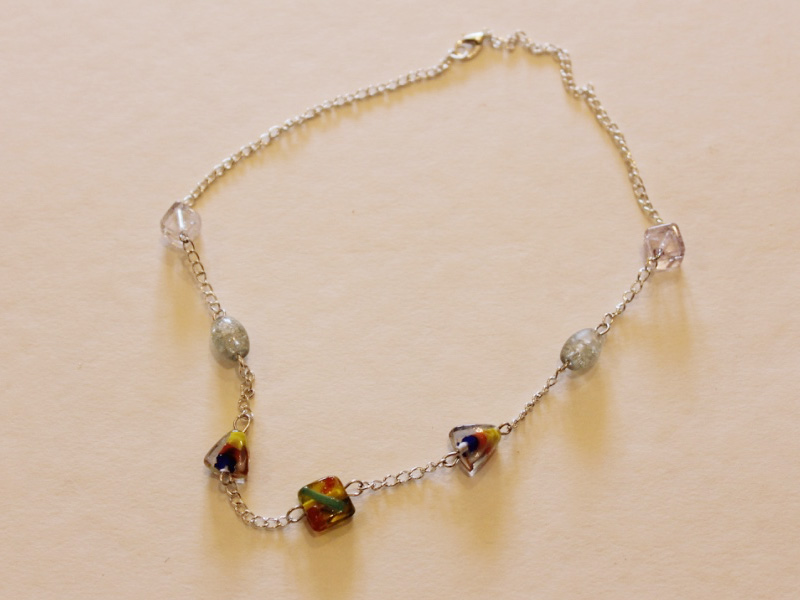
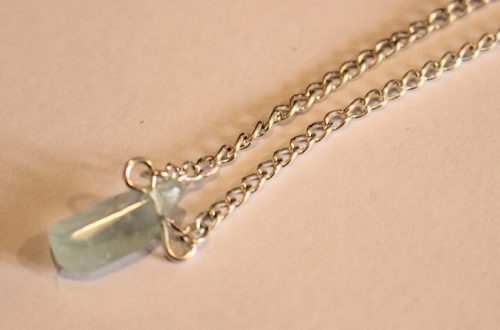
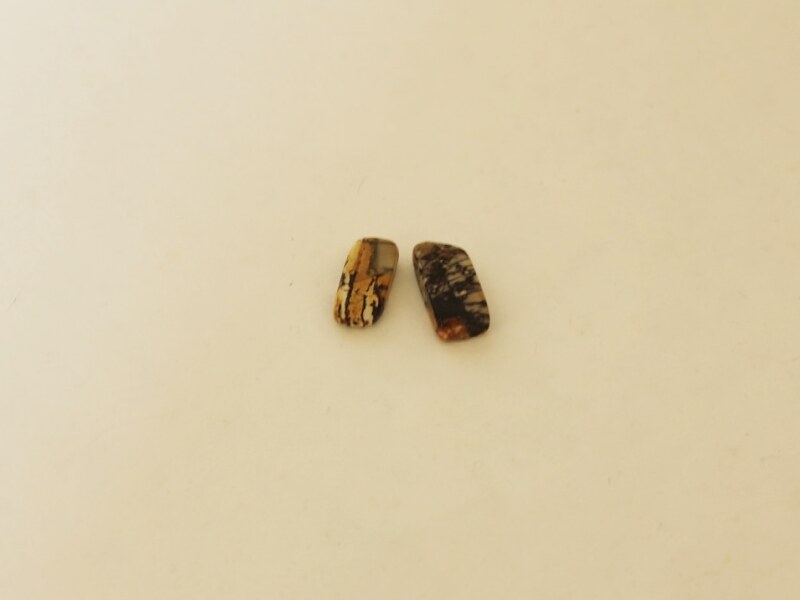
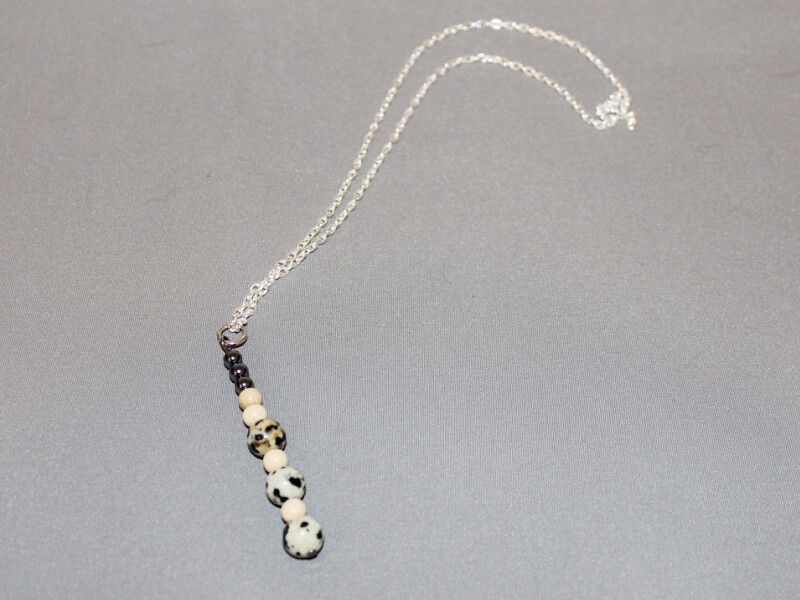
Here’s how to make a simple pendant necklace!
This necklace is a simple but beautiful way to use your favorite beads.
You will need the following tools and materials to make your necklace:
1: Pliers. You will need your flat nose pliers and round nose pliers to make this necklace.
2: A piece of chain at the length you would like your necklace to fall.
3: A long head pin.
4: A lobster clasp.

5: Two jump rings.
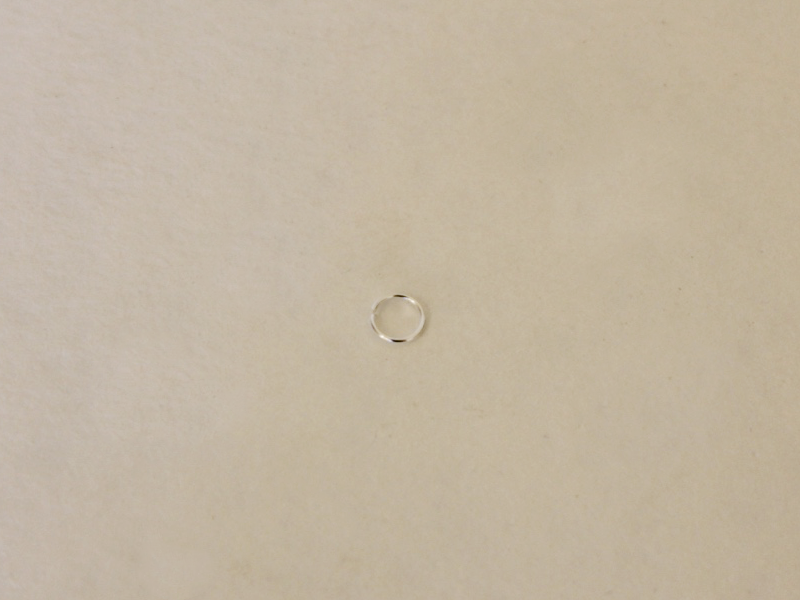
6: One large jump ring.
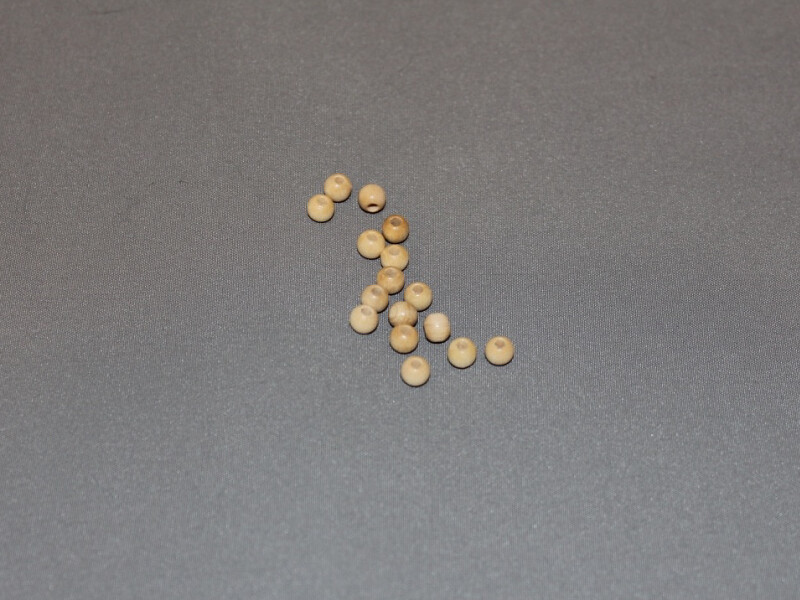
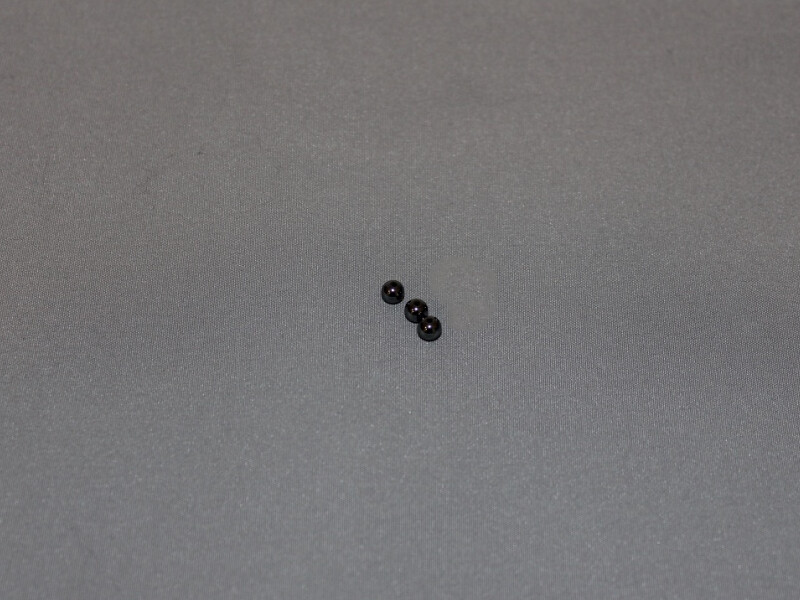
7: Beads of your choice. I used these dalmatian jasper beads, wooden beads and hematite beads.

Follow these steps to make your necklace:
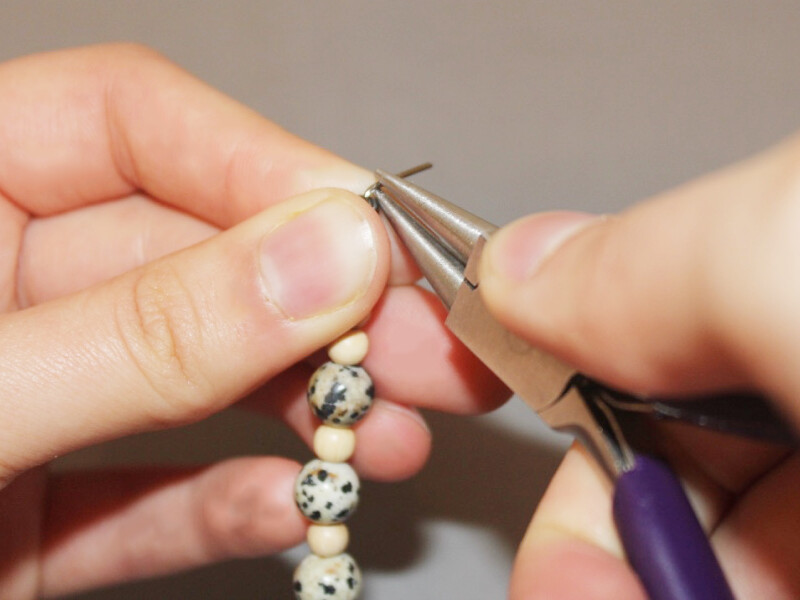
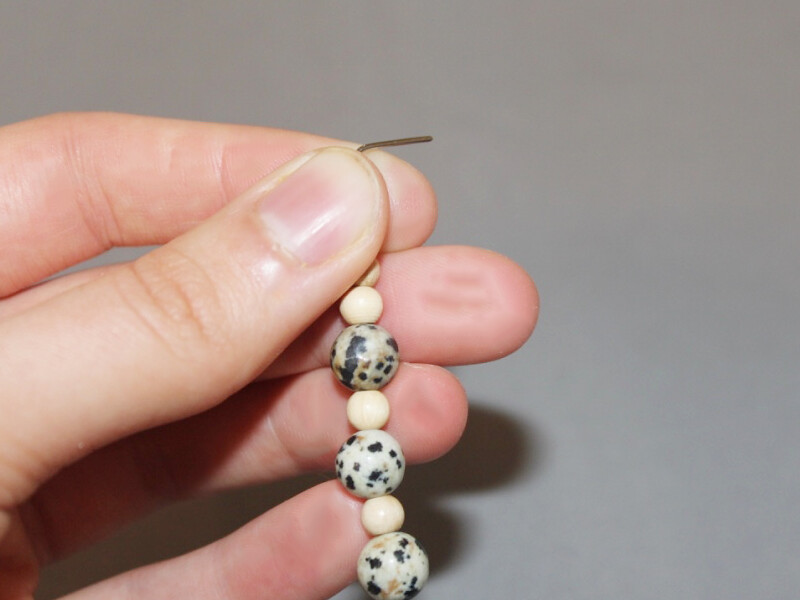
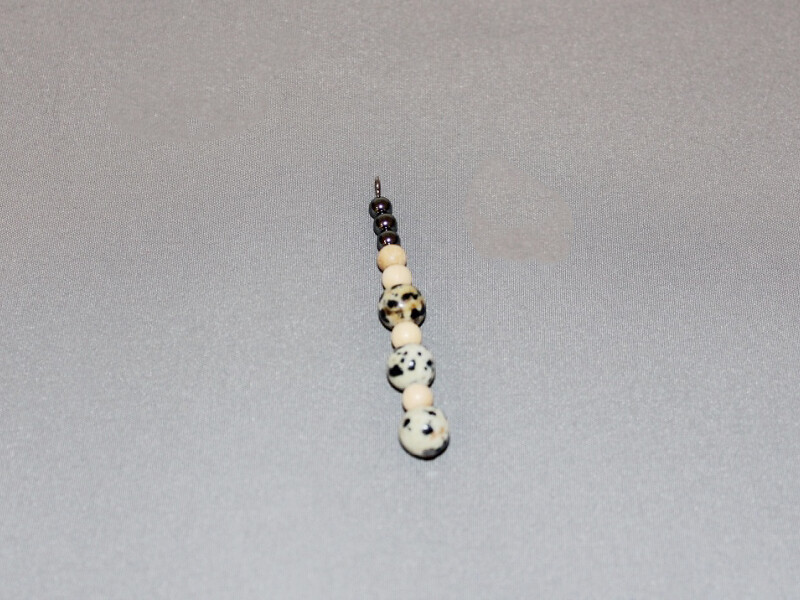
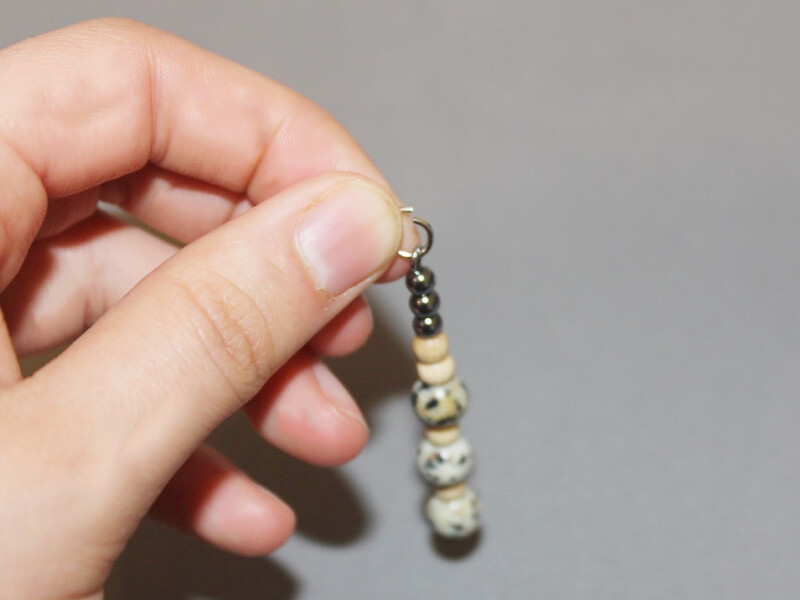
1: Add the beads to the head pin in your chosen pattern.
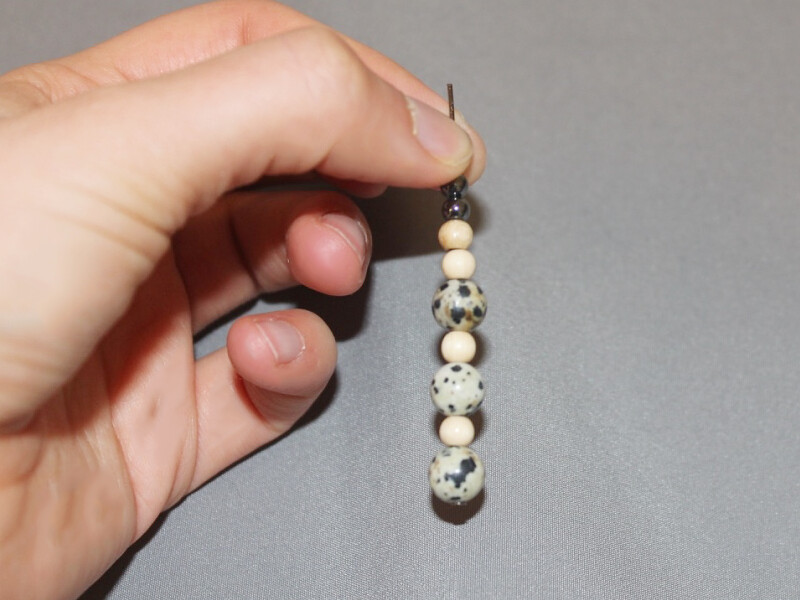
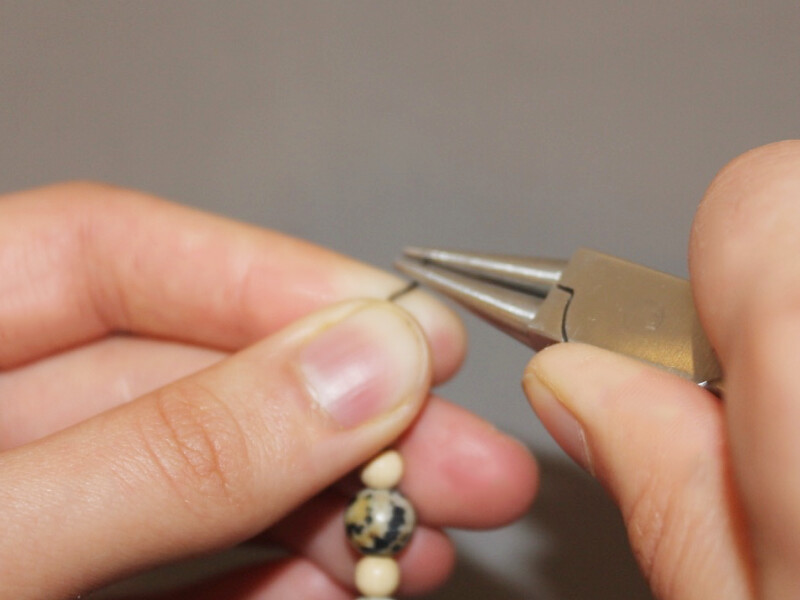
2: Create a loop at the top of the pin using the round nose pliers to secure the beads in place.
3: Add the large jump ring to the top of the beaded charm and add it to the chain.
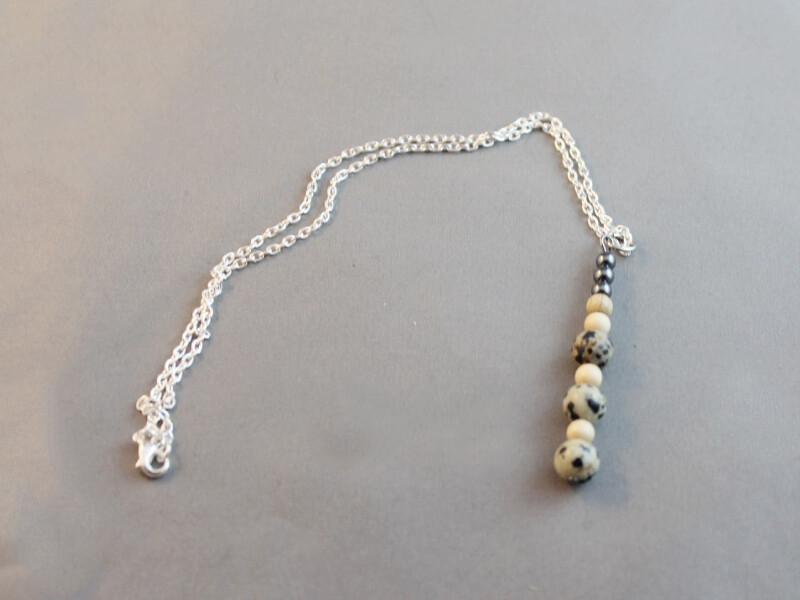
4: Add a jump ring to one side of the necklace chain, slide the lobster clasp onto the open jump ring and close it to secure the clasp in place.
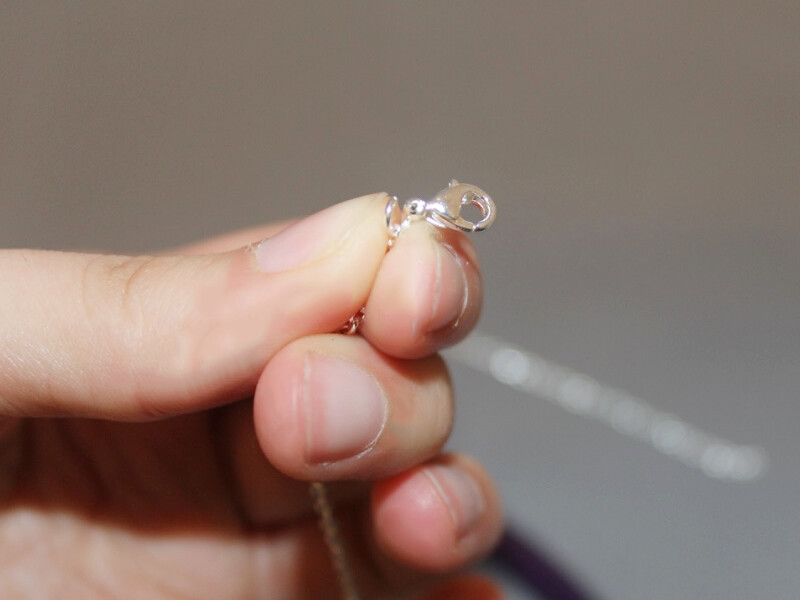
4: Add the other small jump ring to the other end of the chain. And now your necklace is finished!
-
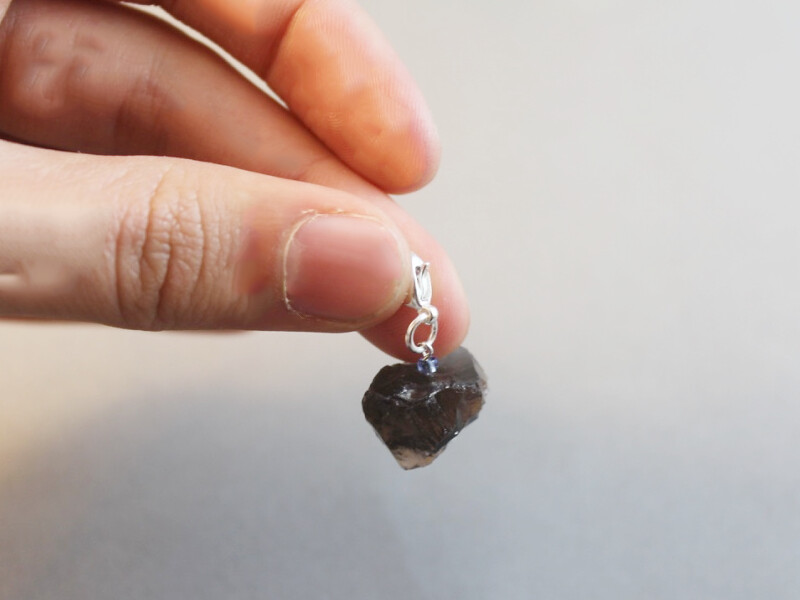
This Tutorial Will Let You Take Your Most Sentimental Gems and Charms With You Everywhere
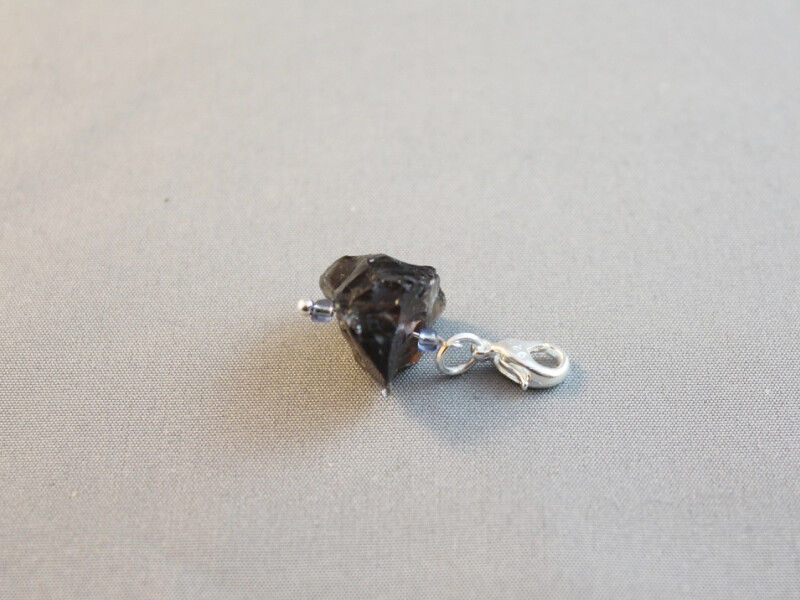
Do you have a favorite bead or a special gemstone that you want to add to your favorite piece of jewelry? You should try making this detachable charm! Please note that this tutorial contains affiliate links for which the website may receive a commission.
You will need the following tools and materials to make this charm:
1: Pliers. You will need your round nose pliers and flat nose pliers to make this charm.
2: One small head pin.
These ones have hearts on the end! https://ebay.us/8hzGNJ
3: One lobster clasp.
4: One jump ring.

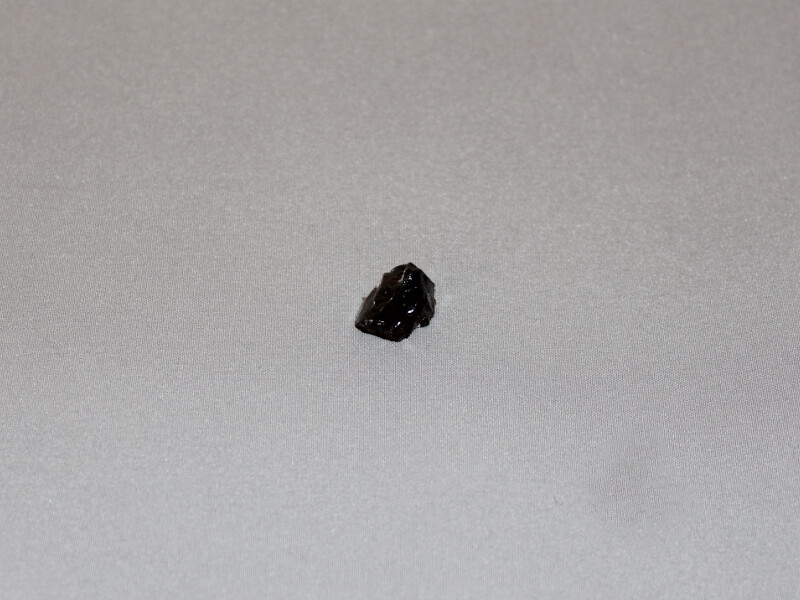
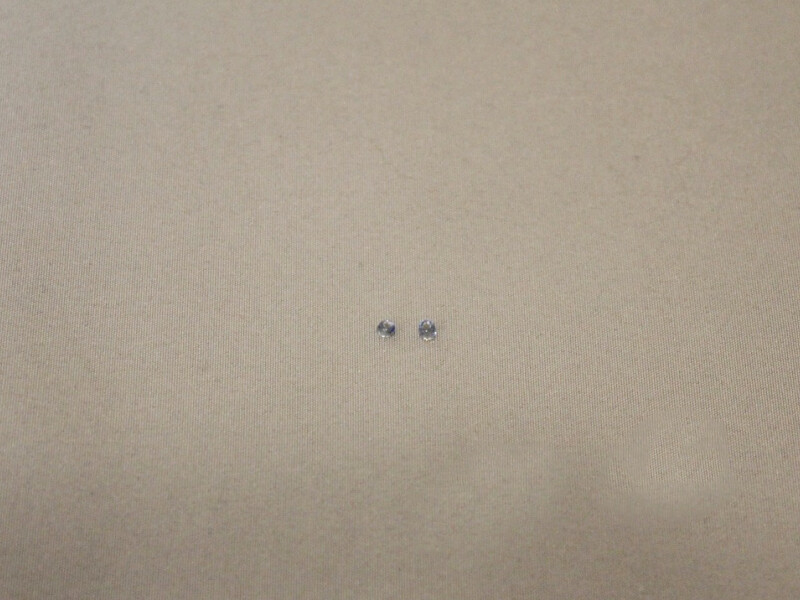
5: Beads of your choice. I used this rough smoky quartz bead and two blue glass seed beads.
Follow these steps to make your detachable charm:
1: Add the beads to the head pin. I put a seed bead either side of the quartz feature bead.
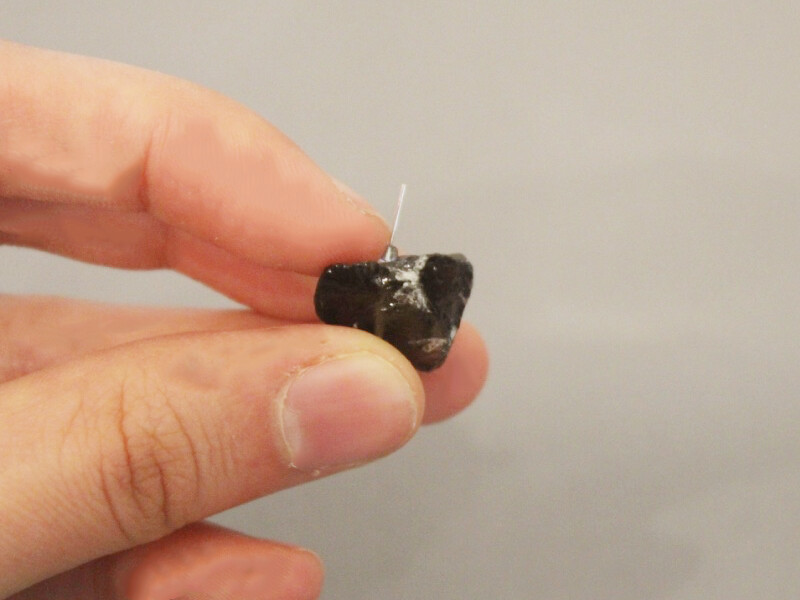
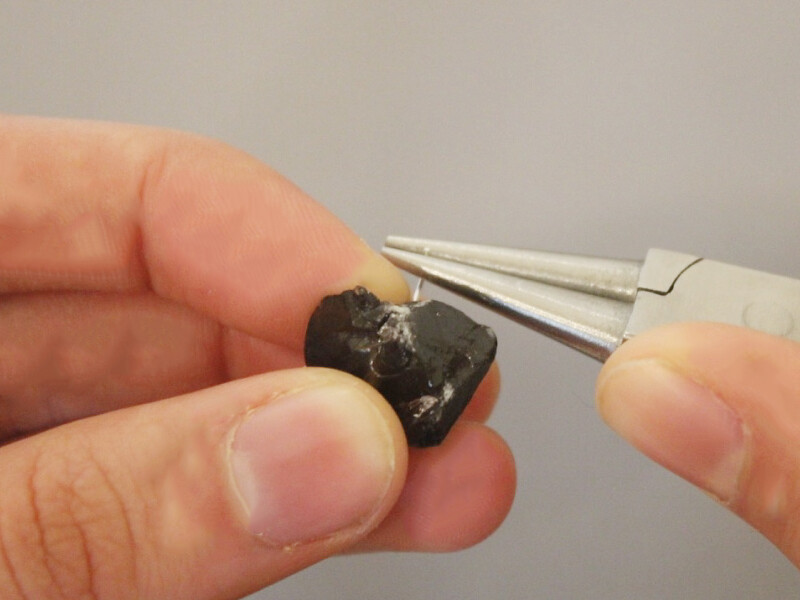
2: Create a loop at the top of the pin using the round nose pliers to secure the beads in place.
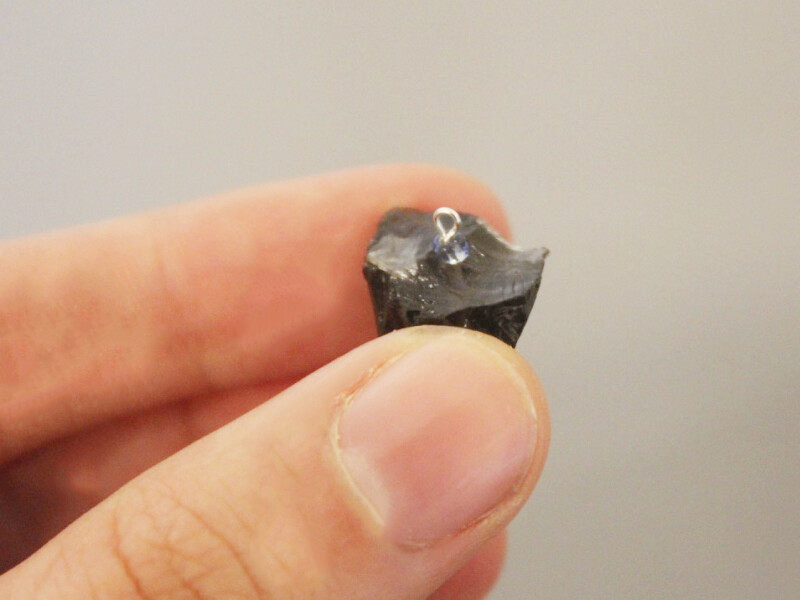
3: Add a jump ring to the top of the charm.
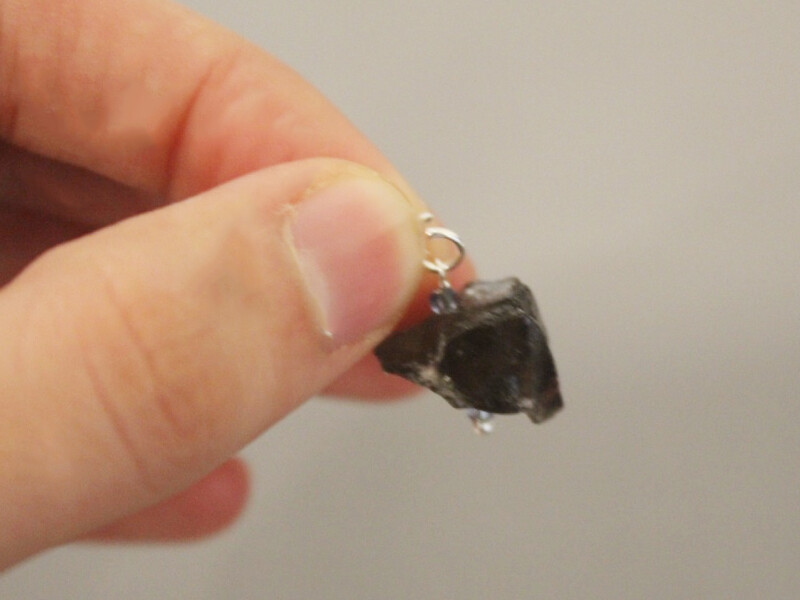
4: Add the lobster clasp to the open jump ring. Close the ring to secure the clasp in place.
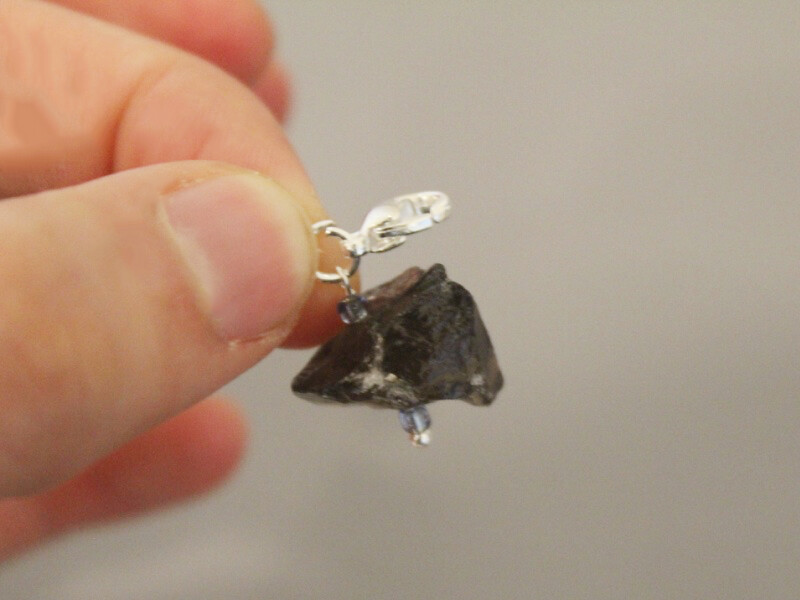
Once the clasp is attached the charm is finished! What piece of jewelry will you attach your charm to?
-
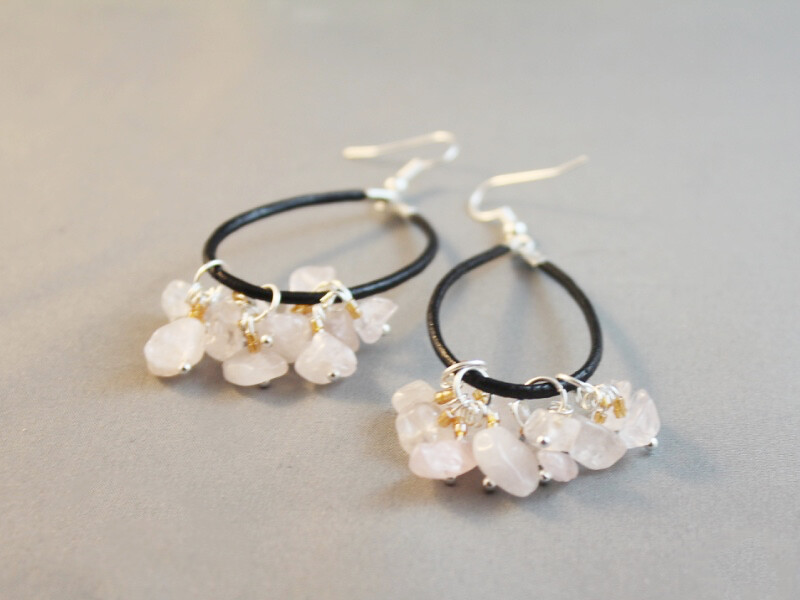
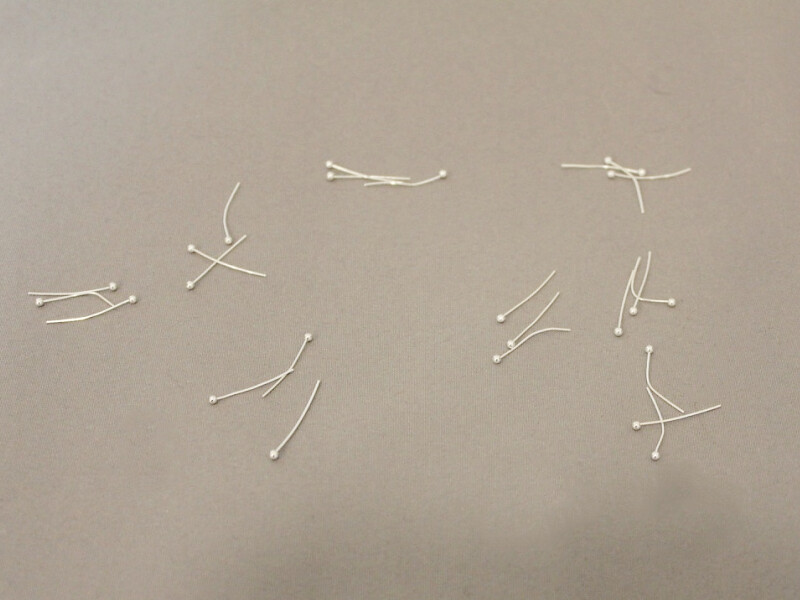
Leather Earrings? Here’s How to Make Some…
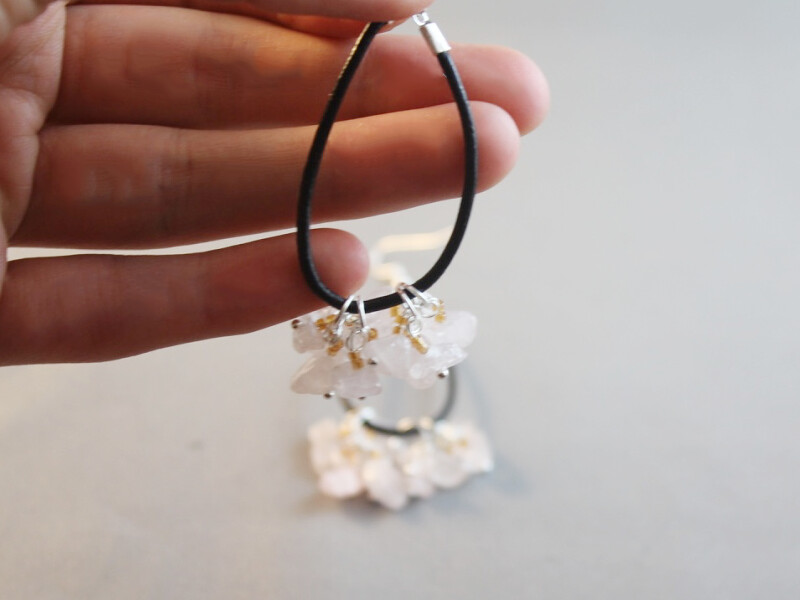
These leather earrings look so lovely and elegant!
You will need the following tools and materials to make these earrings:
1: Pliers. You will need your round nose pliers, flat nose pliers and cutting pliers.
2: Twenty four head pins.
3: Eight jump rings.
4: Four leather crimp ends.
5: Two pieces of leather each about 10cm long.
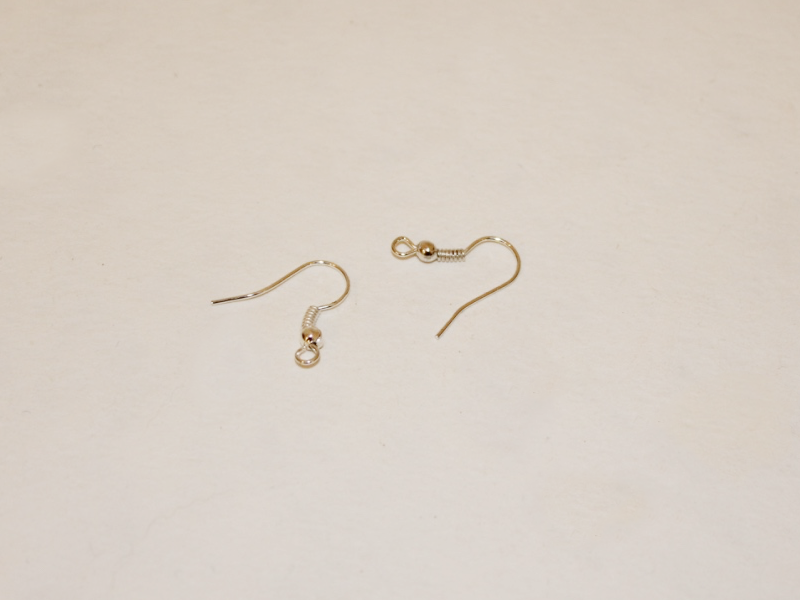
6: Two earring hooks.
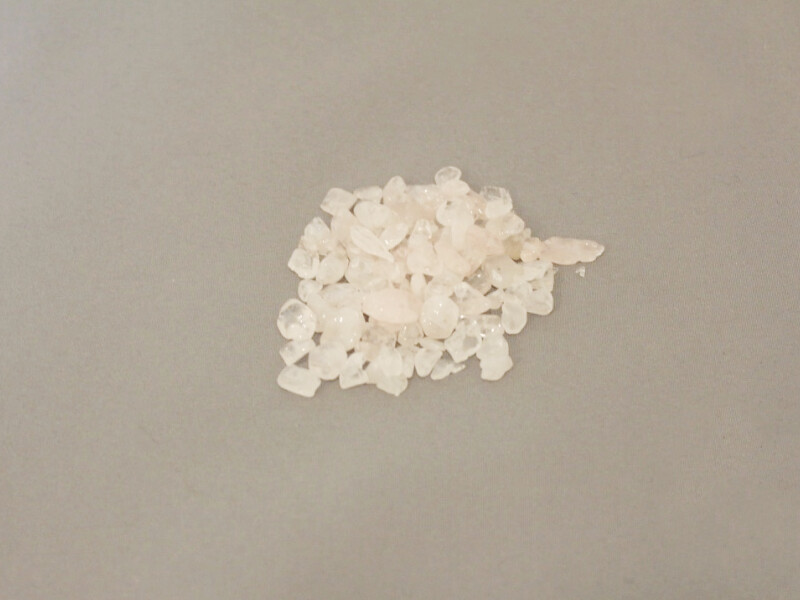
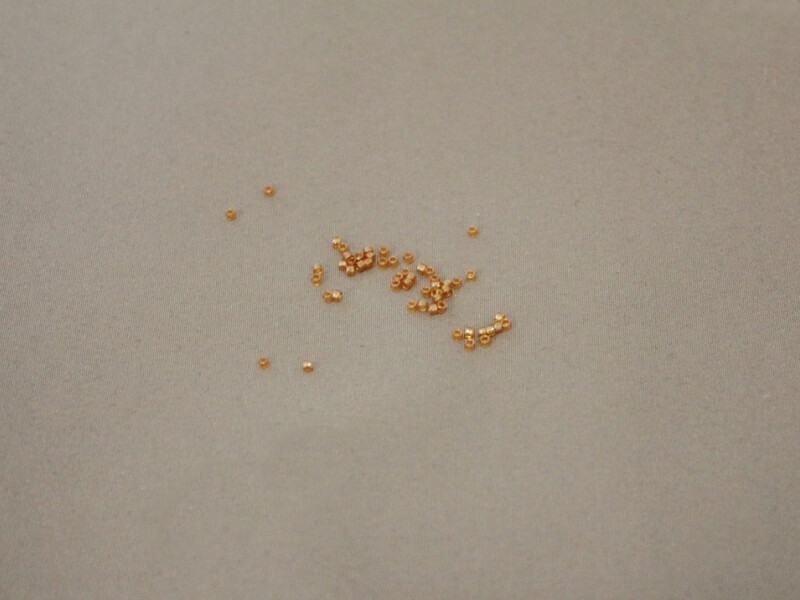
7: Beads of your choice. I used these rose quartz chip beads and some orange colored seed beads.
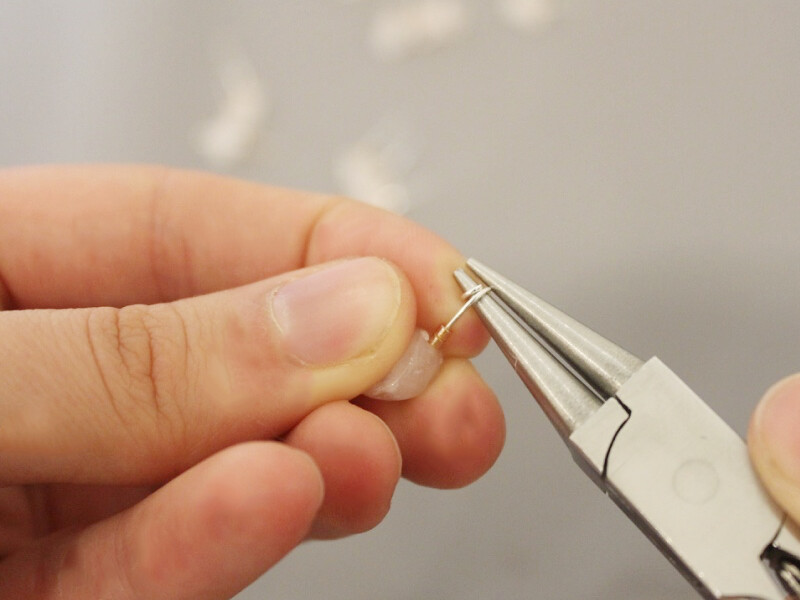
Follow these steps to make your leather earrings:
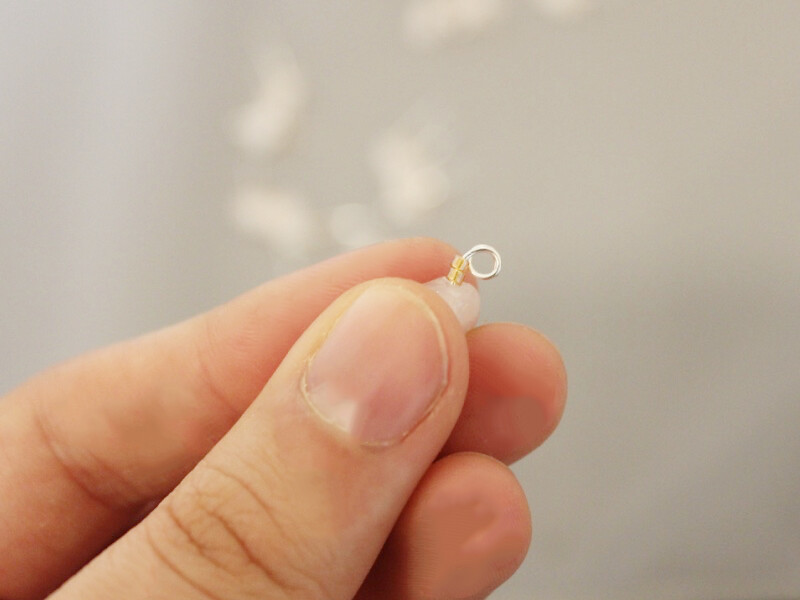
1: Add beads to each of the pins.
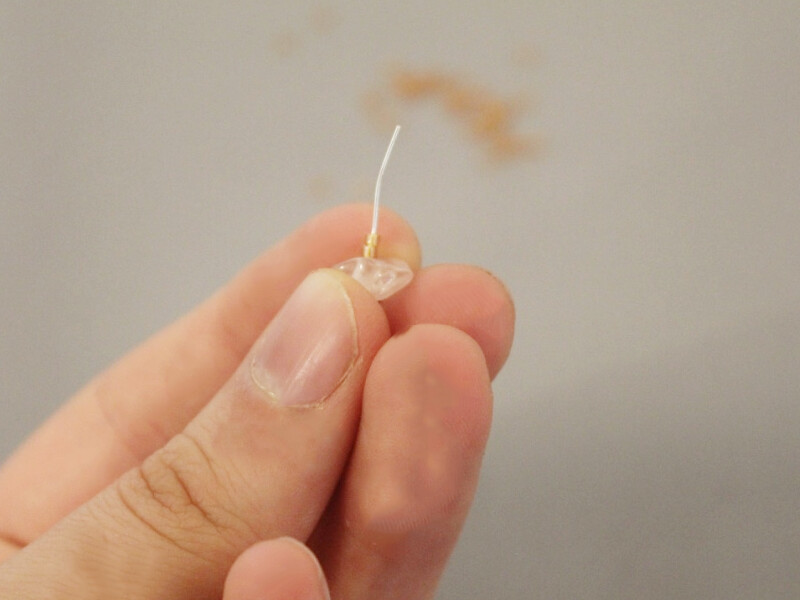
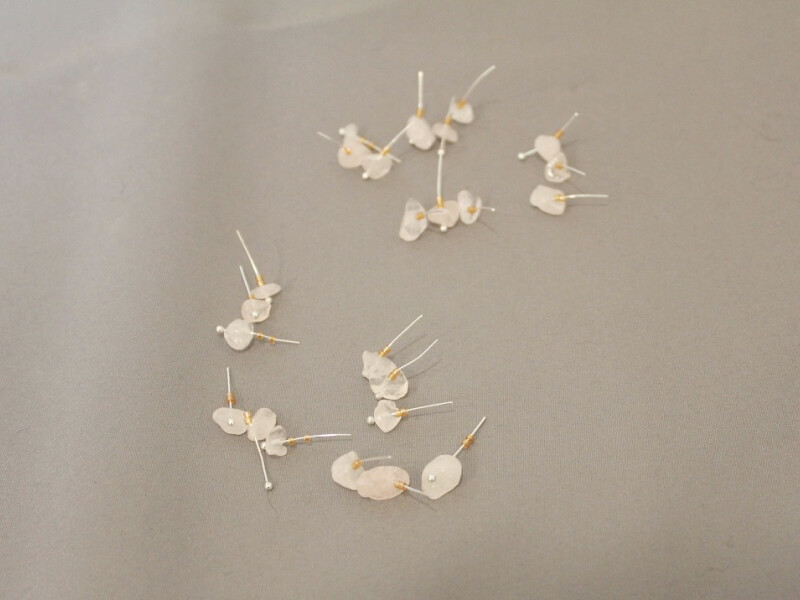
2: Create a loop at the top of each pin using the round nose pliers.
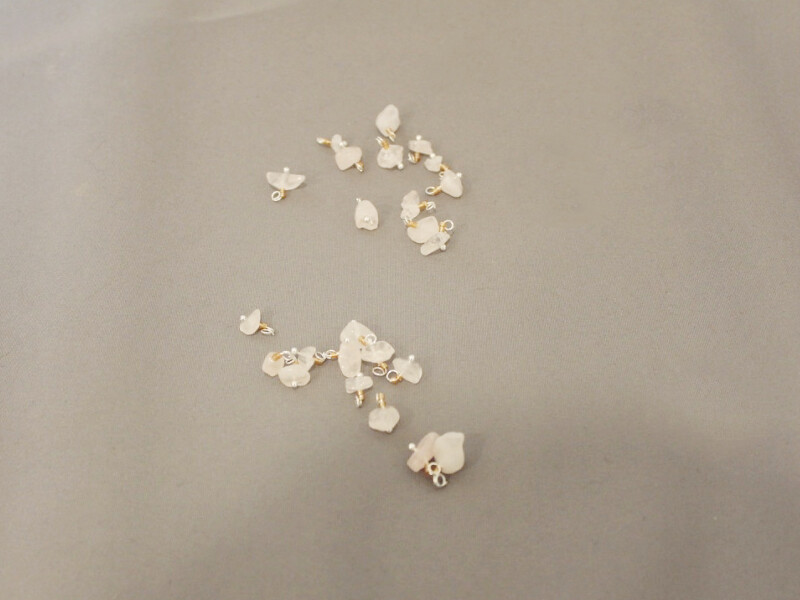
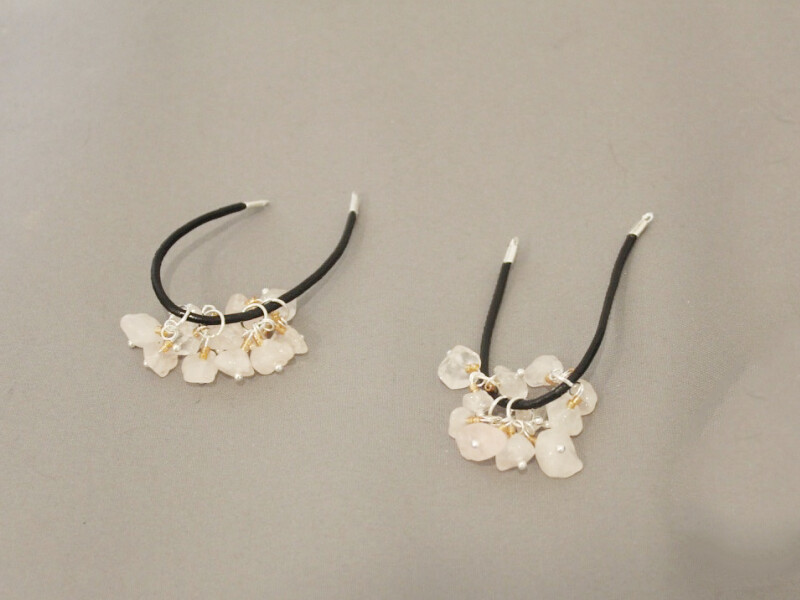
3: Add three bead charms to each jump ring. Close the jump rings to secure the charms in place.

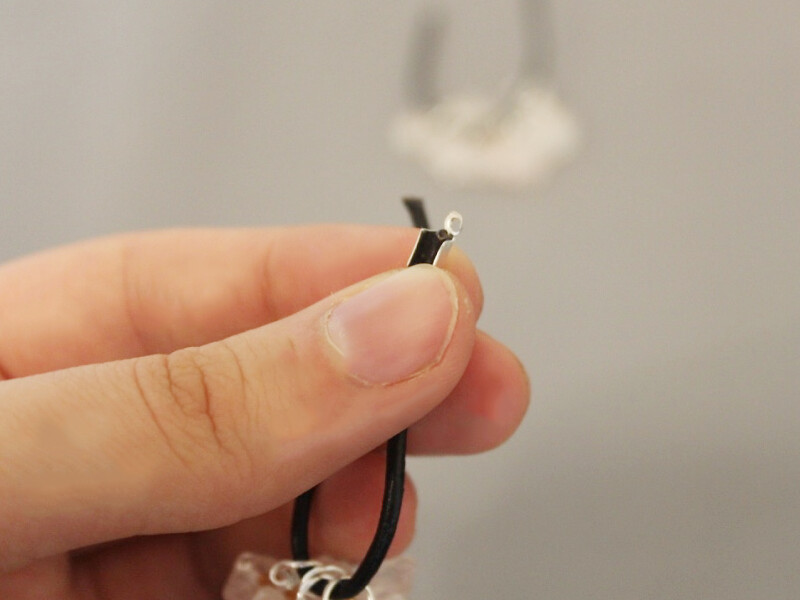
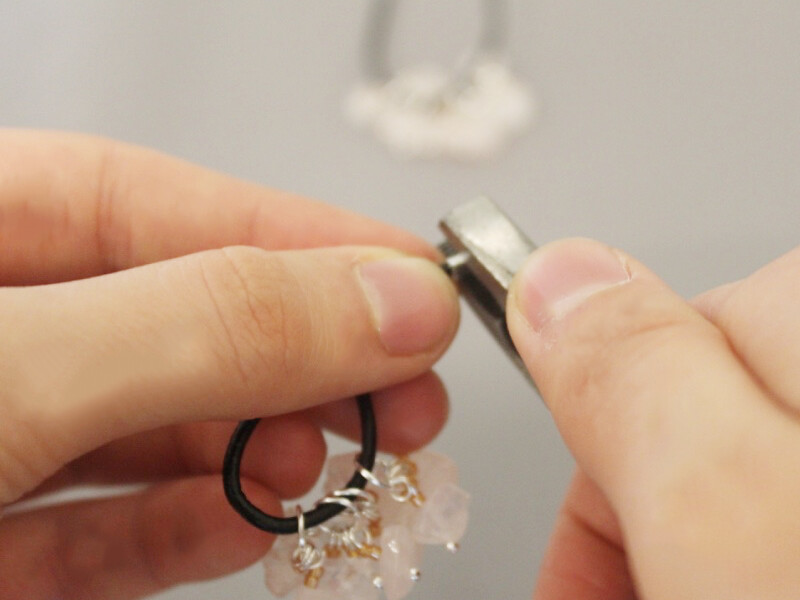
4: Add four beaded jump rings to each of the pieces of leather.
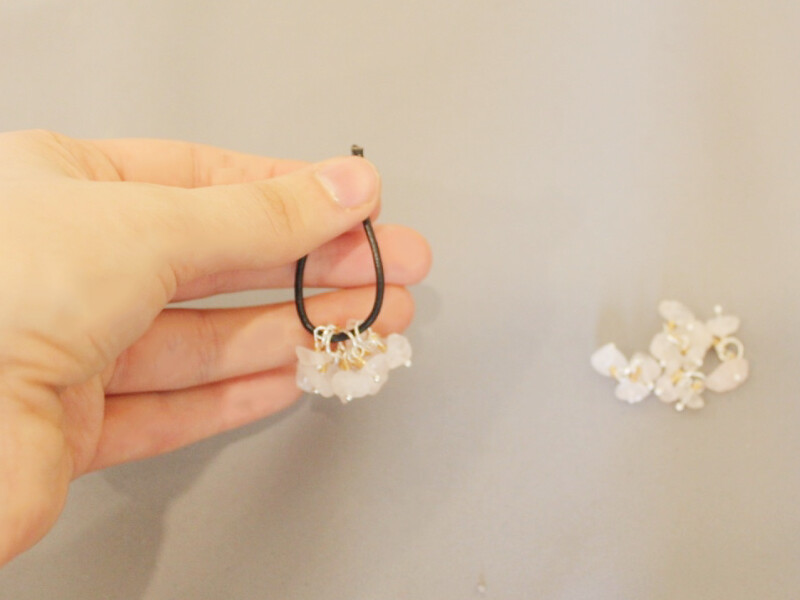
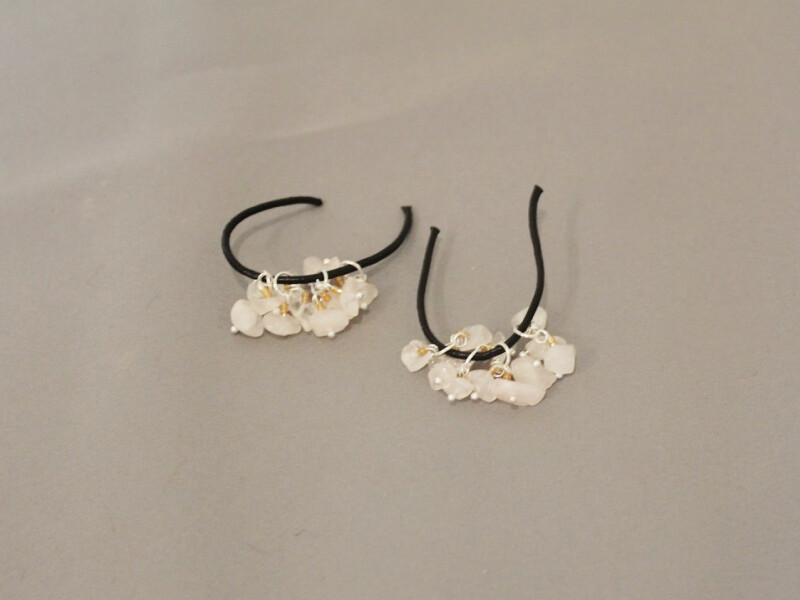
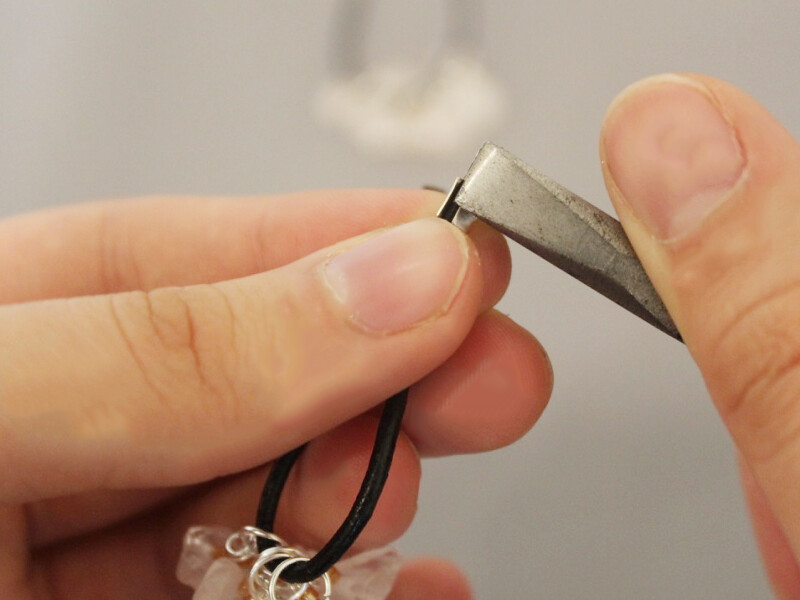
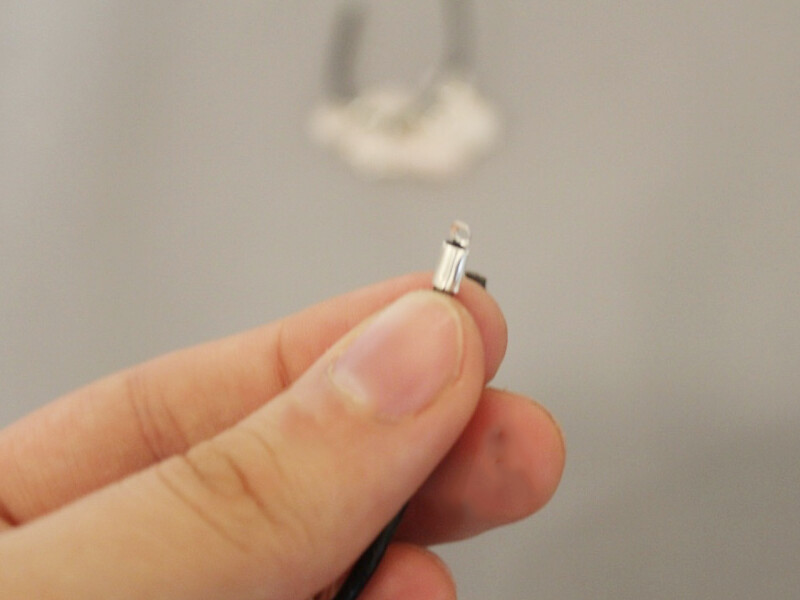
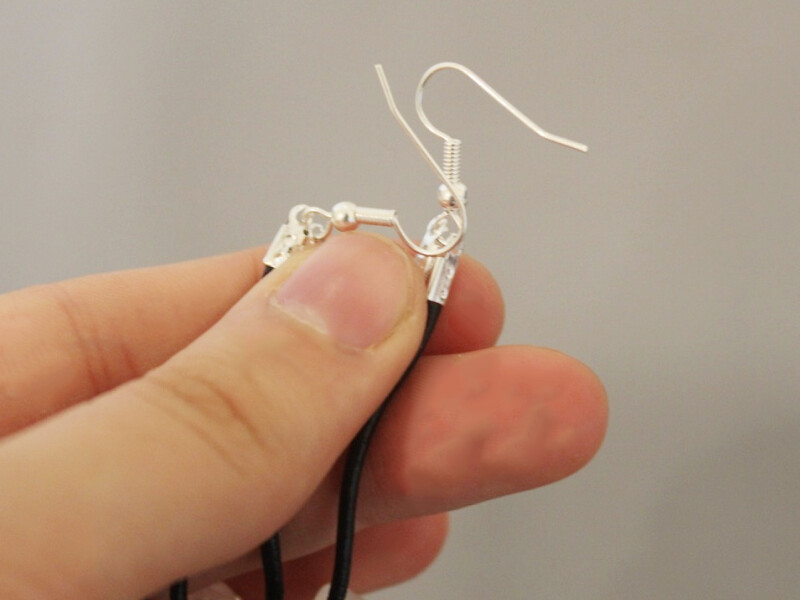
5: Add a leather crimp to each end of the pieces of leather. Squashing down one side and then the other using the flat nose pliers.
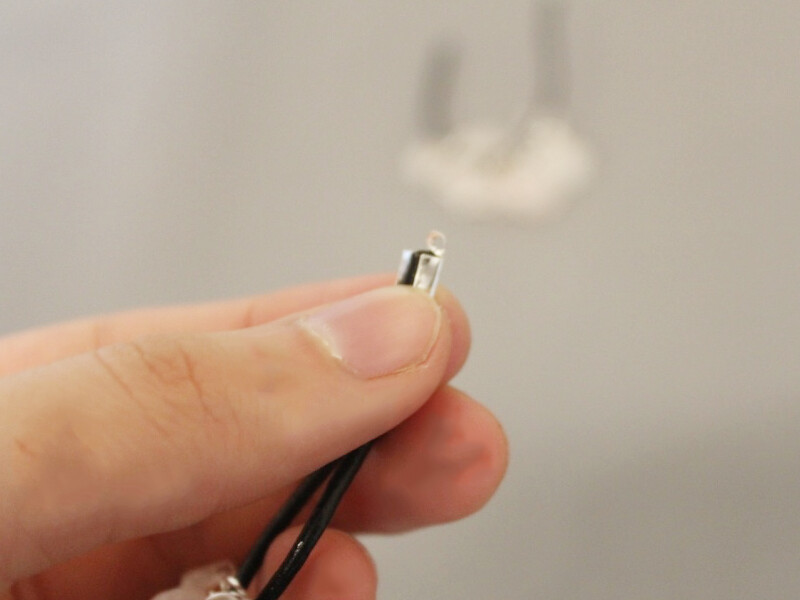
6: Attach both ends of the leather to the earring hook and close it to secure the leather in place.
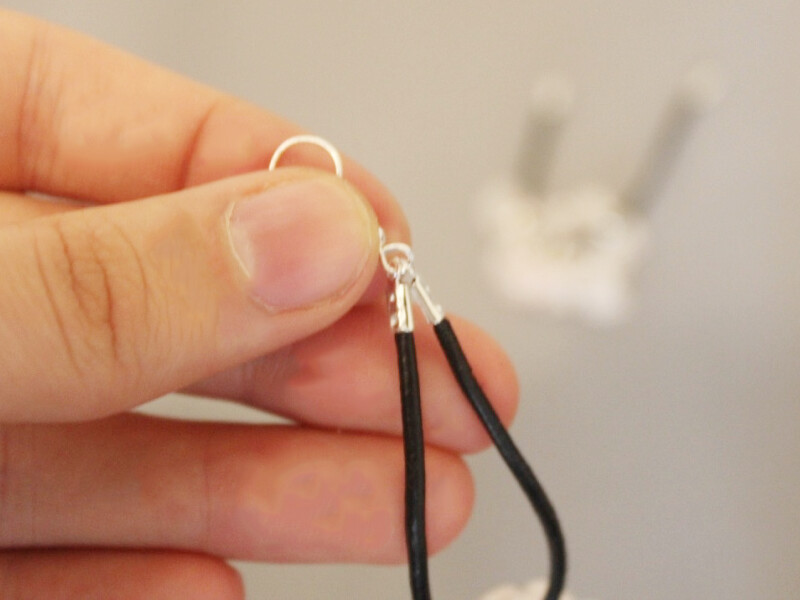
7: Repeat step 6 for the other earring, securing the leather to the second earring.
Now you’re done!