-
Need a new decoration for your handbag or keys? Here’s how to make a custom key chain!
This custom key chain is super easy to make and will make a great addition to your handbag! If you’ve got a favorite charm or trinket this is a great way to use it.
You will need the following tools and materials to make your key chain:
1: Pliers. You will need your flat nose pliers and round nose pliers.


2: Scissors. To cut your ribbon.

3: A piece of ribbon, approximately 10cm (approx 3.9 inches) long.

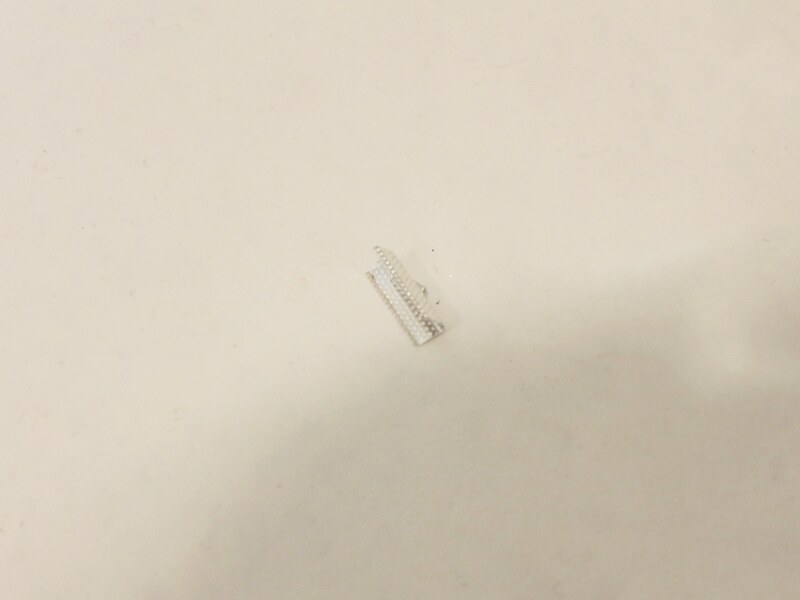
4: A flat ribbon crimp end.
5: A large jump ring.

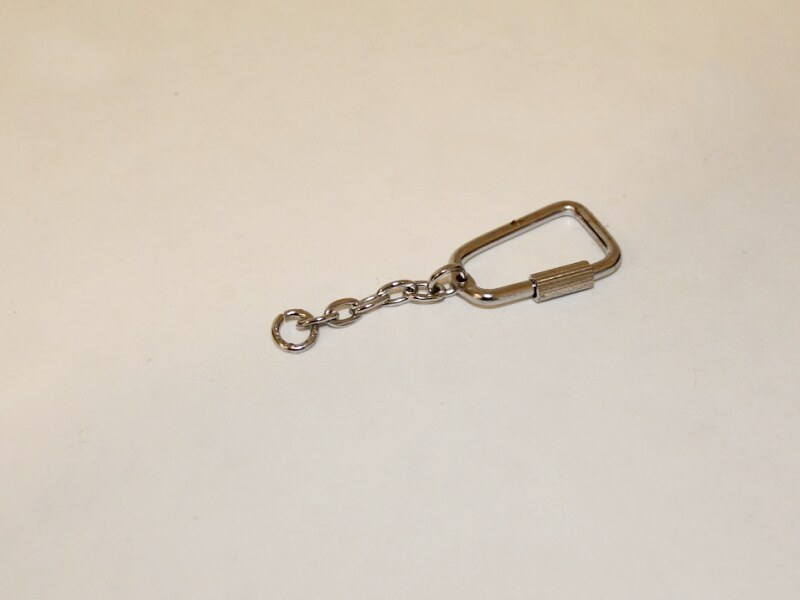
6: A key chain.
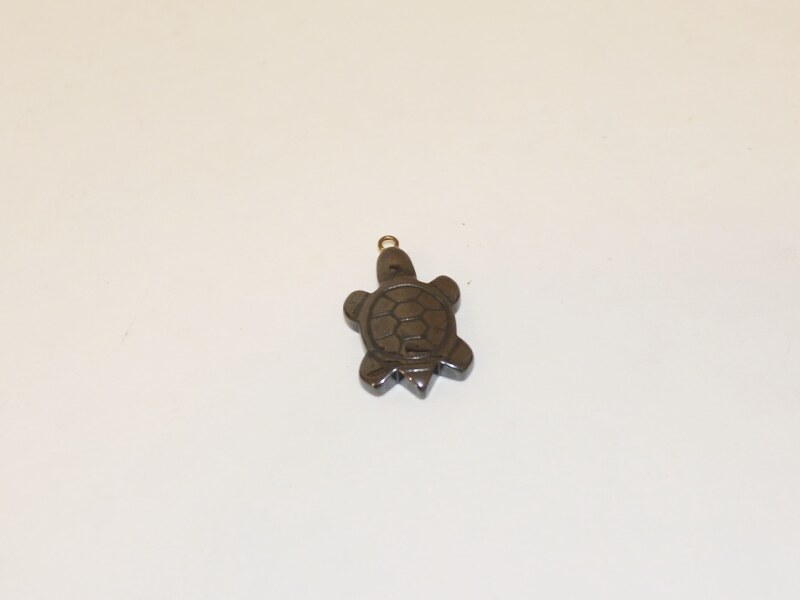
7: A charm of your choice. I used this hematite turtle charm.
Follow these steps to make your key chain:
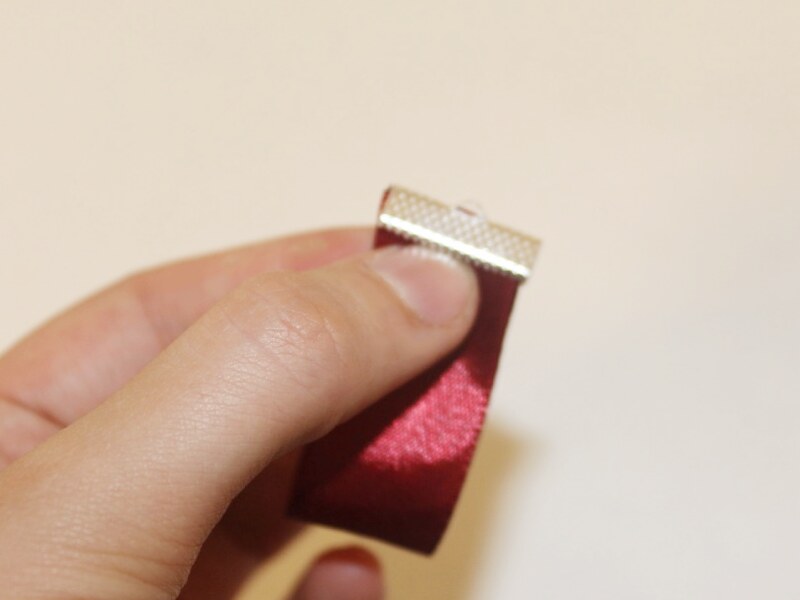
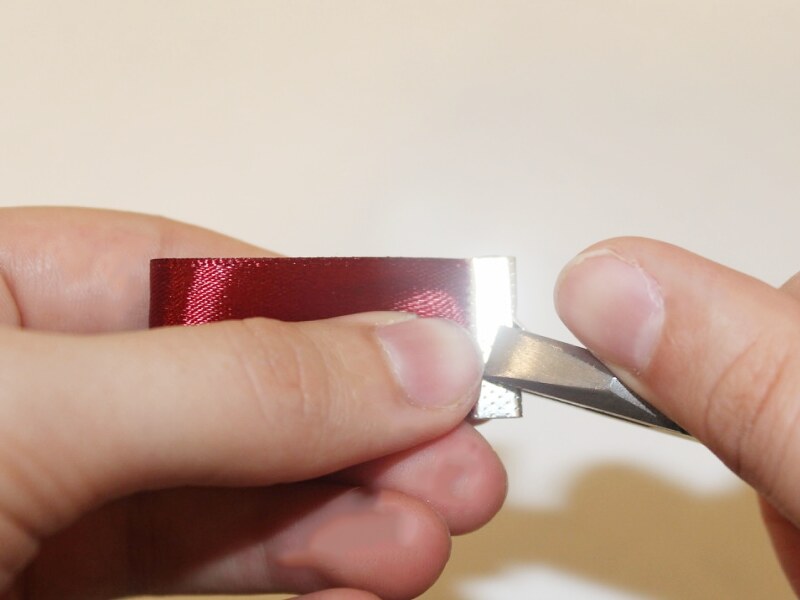
1: After cutting your ribbon, fold it in half and use the flat nose pliers to squash the crimp end around the ends of the ribbon.
2: Add a jump ring to the top of the ribbon charm and add the charm to the open jump ring.
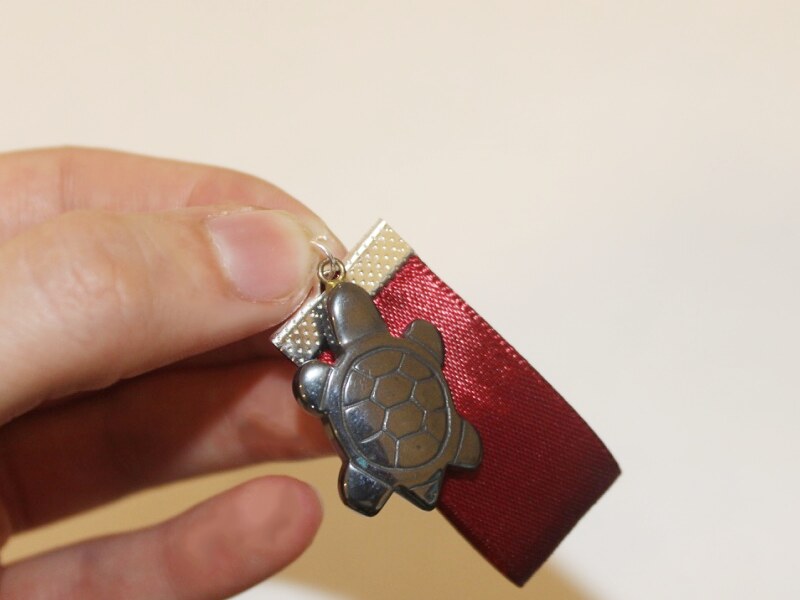
3: Attach the key chain to the jump ring.
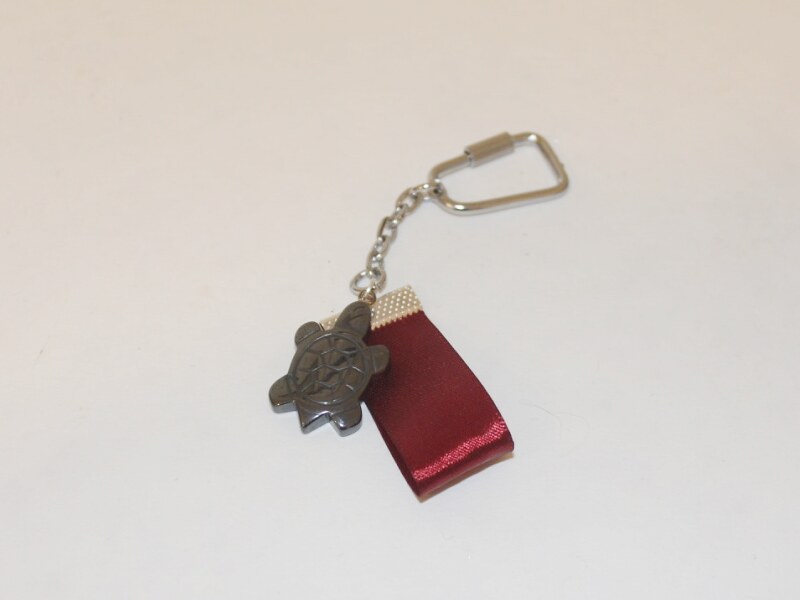
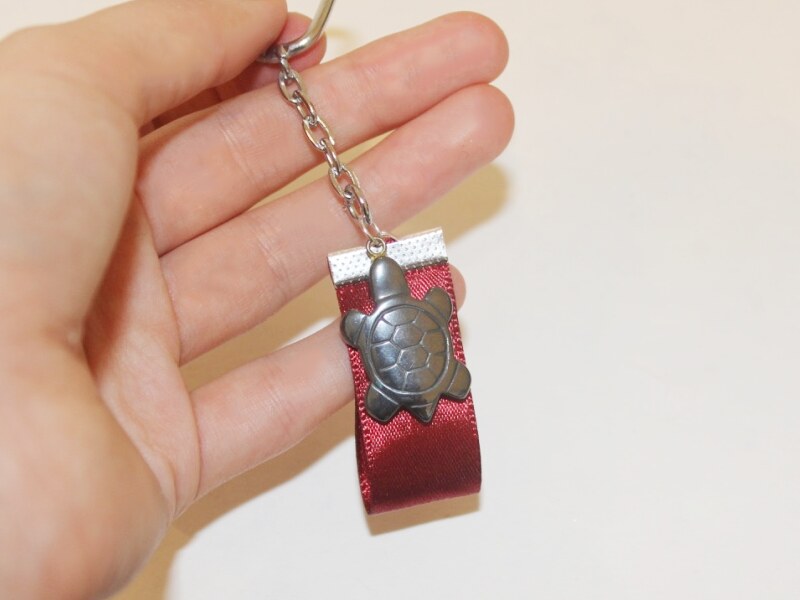
4: Now your key chain is finished and ready to use! Where will you attach it?!
-
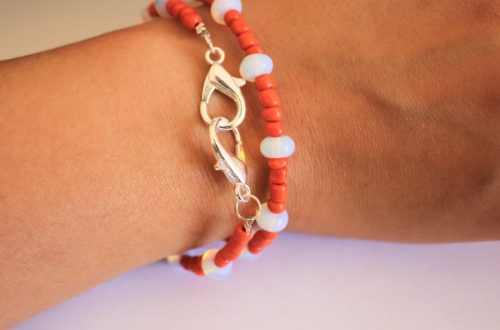
A Double Chain Bracelet, Because Two is Better Than One!

Chain jewelry looks both delicate and cool, so what could be better than a bracelet that features a double chain detail? Note: features affiliate links
You will need the following tools and materials to make this bracelet:
1: Pliers. You will need your round nose pliers, flat nose pliers and cutting pliers.

2: Two pieces of chain that fit around your wrist.

3: Two smaller jump rings.

4: One large jump ring.

5: A toggle clasp.

6: Two head pins.

7: Beads of your choice. I used this rough smoky quartz and a pair of opalite beads.

Follow these steps to make your own double chain bracelet:
1: Add both chains to one of the smaller jump rings. Add one part of the toggle clasp to the jump ring before closing it to secure the parts in place.


2: Repeat this for the other end of the bracelet using the other small jump ring and the remaining part of the toggle clasp.


3: Add the beads to the head pins.

4: Bend each pin to a right angle using the round nose pliers.


5: Create a loop at the top of each bead using the round nose pliers to secure the bead on the pin.


6: Add both bead charms to the larger jump ring and attach it to one side of the bracelet.


7: once the charms are in place your bracelet is finished and ready to wear!!

-
You can never have enough chokers! Make this cool lace charm choker.

Do you find yourself reaching for a choker every time you leave the house? Why not add this stunner to your collection? This choker is made using some elegant black lace and a beautiful charm of your choice. This tutorial features affiliate links.
You will need the following tools and materials to make this choker:
1: Pliers. You will need your flat nose pliers and round nose pliers to make this choker.

2: Scissors (for cutting your lace).
3: Two flat ribbon crimp ends.

4: Two jump rings.
5: One larger jump ring.
6: A lobster clasp.

7: Some lace ribbon cut to a length that fits closely around your neck.

8: A pendant or charm of your choice. I used this resin charm that has carnelian stones embedded in it.

Follow these steps to make your lace charm choker:
1: Add a jump ring to the charm (if it doesn’t already have one).

2: Fold the piece of lace in half and add the pendant to the center of the lace. Secure it in place by closing the jump ring.


3: Once the pendant is in place take one of the crimp ends and add it to one end of the lace. Use the flat nose pliers to squash and secure it in place.


4: Repeat step 4 for the other side of the choker using the remaining crimp end.

5: Add a jump ring to one end of the choker and slide on the lobster clasp. Secure the clasp in place by closing the jump ring using your pliers.


6: Add the remaining jump ring to the other end of the choker.


Now your choker is finished and ready to wear!!

-
Love feathers? Here’s how to make a bead and feather pendant

Feathers can look so carefree and fun, and they’re easy to find when you are out and about outside. Here’s how to turn your foraged feathers into a unique pendant.
You will need the following tools and materials to make this pendant:
1: Pliers. You will need your cutting pliers, round nose pliers and flat nose pliers.
2: Four head pins.
3: Three feathers.

4: Beads of your choice. I used a selection of glass and wood beads.

5: Three leather crimp ends.

6: One large jump ring.

Follow these steps to make your feather pendant:
1: Trim the ends of your feathers using the cutting pliers.


2: Add a leather crimp end to each of the trimmed feathers. Squash each side of the crimp using the flat nose pliers.


3: Add 4-5 beads to each of the head pins.


4: Bend the pins at a right angle to the beaded section using your round nose pliers.


5: Create a loop at the top of each pin to secure the beads in place.


6: Once all your charms are complete add them to the large jump ring and close it to secure the charms in place.


7: Now your charm is complete, add it to a chain or cord of your choice and wear it out!

-
Jewels for those little ear lobes. Make these gemstone cluster earrings!

Add these stunning gemstone cluster earrings to your jewelry box. These babies are sweet, elegant and easy to make, perfect for work and play.
You will need the following tools and materials to make these earrings:
1: Pliers. You will need your flat nose pliers and round nose pliers to make these earrings.
2: Two large jump rings.

3: Eight small head pins (If you use smaller beads you can add more to your clusters).

4: Two charm connector stud earrings.

5: Eight gemstone beads. I used these coral beads in two different sizes.
https://flic.kr/p/QeAPCP
Follow these instructions to make these amazing gemstone cluster earrings:
1: Add the beads to the head pins.

2: Curl the pins into a loop around the barrel of the round nose pliers to secure the beads in place.


3: Add 4 bead charms onto each jump ring.

4: Add an earring to each of the jump rings and then close the rings to secure them in place.

Once your stud posts are added your earrings are finished! How perfect are these earrings for taking you from day to night?!

-
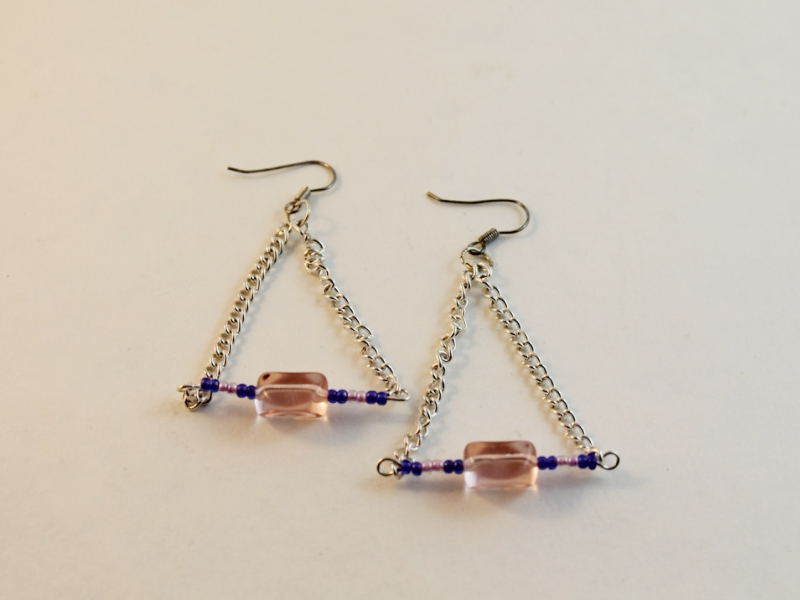
Here’s How to Make Some Simple Stud Drop Earrings.
Do you crave simple elegance? The this DIY is for you. These earrings are made using stud charm connector earring findings and are very quick to make.
You will need the following tools and materials to make these earrings:
1: Pliers. You will need your cutting pliers and round nose pliers to make these earrings.
2: Two stud connector earrings.
3: Two long head pins.

4: Beads of your choice. I used some citrine gemstone beads, moonstone beads and these long glass tube beads.


Follow these steps to make your earrings:
1: Add the beads to each of the head pins.

2: Using the round nose pliers, bend each pin at a right angle to the beaded section.


3: Trim each pin so that the bent section is approximately 1cm long (o.4 inches) using the cutting pliers.


4: Curl the top of each pin into a loop using the round nose pliers.


5: Add each of the bead charms to the stud connector earrings. Close the loop to secure each charm in place.


Once you’ve got your charms connected your earrings are finished and ready to wear!


-
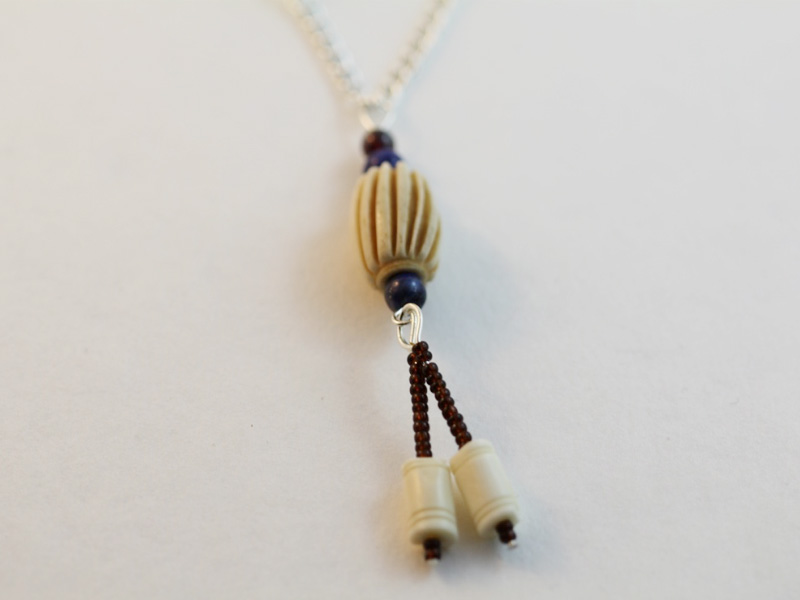
Want Something Simple and Delicate for Your Ear Lobes? Make Some Dainty Threader Earrings!
Threader earrings are simple to make and stunning to wear, these simple earrings thread right through your piercings and dangle delicately. Add your favorite gemstones to the end of your earrings for a unique and edgy look.
You will need the following tools and materials to make your earrings:
1: Pliers. You will need your round nose pliers for these earrings.
2: Two threader earrings with jump rings attached.

3: Two small head pins.

4: Beads of your choice. I used these grey freshwater pearls.

Follow these steps to make your threader earrings:
1: Add each bead to each of the head pins.


2: Bend each pin at a right angle to the bead using the round nose pliers.

3: Loop each head pin around the barrel of the round nose pliers to form a closed loop.


4: Open the jump ring at the end of the earring.

5: Add a bead charm to each of the threader earrings and close the jump ring to secure it in place.


Once your charms are in place your earrings are ready to go, thread them in and head on your way!


These threader earrings have multiple bead charms made with moonstone and garnet beads.


If you LOVE these threader earrings I have some more threader earring tutorials for you, check them out by clicking on the links below. I’ve got six more threaders waiting for you!
- Delicate shell threaders
- Silver textured wire arch threaders
- Rose gold curved threaders
- Beaded wire threaders
- Glass fruit threaders
- Minimalist silver wire threaders
This DIY jewelry tutorial contains affiliate links.
-
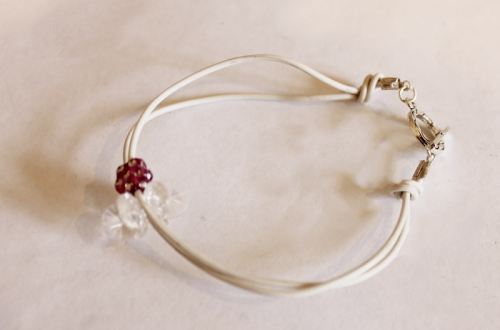
Fling this stunner around your wrist. Here’s how to make a ladder bracelet!

Remember our beaded ladder necklace tutorial? Here the ladder technique gets used to make a stunning gemstone bracelet. Using some delicate chain, some eye pins and the gemstones of your choice you’ll be sporting a bracelet that everyone will envy.
You will need the following tools and materials to make this bracelet:
1: Pliers. You will need all your pliers on hand to make this bracelet. The round nose pliers, flat nose pliers and cutting pliers.
2: Two pieces of chain that fit comfortably around your wrist.

3: Three eye pins.
https://flic.kr/p/NYhza3
4: Two jump rings.

5: A toggle clasp.
6: Three gemstone beads. I used these Dalmatian jasper beads.

Follow these steps to make your own incredible ladder bracelet:
1: Attach the end of both chains to one of the jump rings and add one side of the toggle clasp. Close the jump ring to secure the ends in place.

2: Repeat step one for the other side of the bracelet adding the other part of the toggle clasp.


3: Once both ends are secure you can move on to the eye pins. Add a bead to each of the eye pins.

4: Bend each of the pins at a right angle to the bead using the round nose pliers.

5: Create a loop using the round nose pliers to secure the beads in place.


6: Find the middle of both the chains. This is where your first pin will be added. Open one of the pin loops and attach the pin to the middle of one of the chains.

7: Close the loop to secure the pin in place.

8: Repeat steps 6 and 7 for the other side of the pin, making sure you line up the middle of the chain again.

9: Count chain links to determine how far away you want to place your next pin from the one in the middle. Add the second pin in the same way as the first one.


10: Add the remaining pin to the other side of the center pin, counting out the same number of links as you did in step 9. Add the final pin using the same method as the first two.


Once all your beads are in place your bracelet is finished! Wear it out and watch the compliments fly in!

-
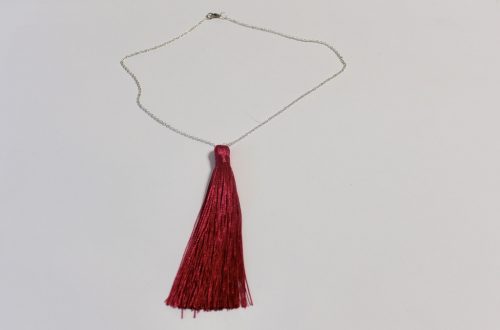
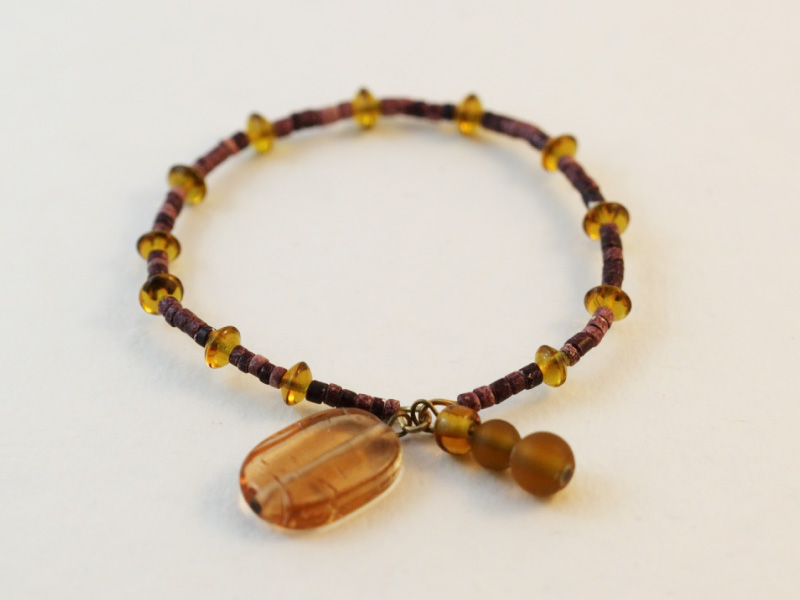
This Tassel Necklace Design Is A Chain-Laden Delight!

Want to add some drama to your delicate chain jewelry? Why not try making this pretty chain tassel necklace?
You will need the following tools and materials to make this necklace:
1: Pliers. You will need your cutting pliers, flat nose pliers and round nose pliers.
2: a feature bead of your choice. I used this rough smoky quartz bead.


4: A piece of chain long enough for a necklace.

5: Six short pieces of chain.

6: One large jump ring.
7: Three small jump rings.

8: One lobster clasp.
Follow these steps to make your chain tassel necklace:
1: Add the feature bead to the eye pin.

2: Bend the pin at a right angle to the bead using the round nose pliers.

3: Trim the pin using the cutting pliers.

4: Create a loop with the round nose pliers.


5: Add a jump ring to the closed loop.

6: Add one side of the necklace chain to the open jump ring.

7: Add the other side of the chain to the same jump ring and then close the ring to secure the chain in place.


8: Add all of the smaller chains onto the large jump ring.

9: Add the jump ring with the chains to the bottom of the bead charm.


10: Split the middle of the necklace chain and add a jump ring to one side.

11: Add a lobster clasp to the open jump ring and close the jump ring to secure the clasp in place.


12: Add another jump ring to the other side of the necklace to complete it.

Once that last jump ring is in place your necklace is complete! How cute is this chain tassel necklace? Use this design to show off your favorite gemstones.


Here is another one I made using gold chain and a jasper gemstone bead.

-
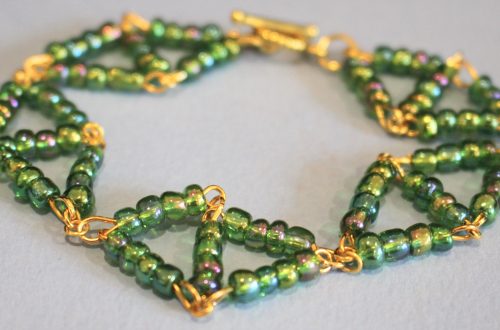
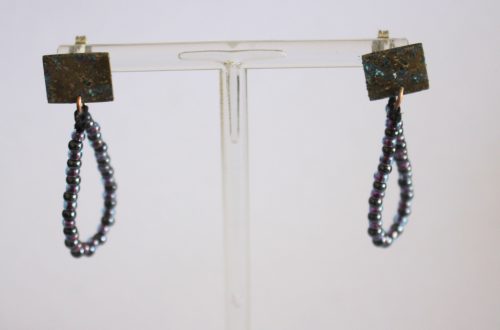
Give your lobes some love with these chain loop earrings!

These earrings are a hybrid of two past tutorials. The chain loop necklace tutorial and the triangle earring tutorial. I think they fuse together to make something pretty special!
You will need the following tools and materials to make these chain loop earrings:
1: Pliers. You will need your flat nose pliers and round nose pliers to make these earrings.
2: Two eye pins.

3: Two longer pieces of chain. These will be the top part of the earrings.

4: Two shorter pieces of chain. These will form the loop at the bottom of the earrings.

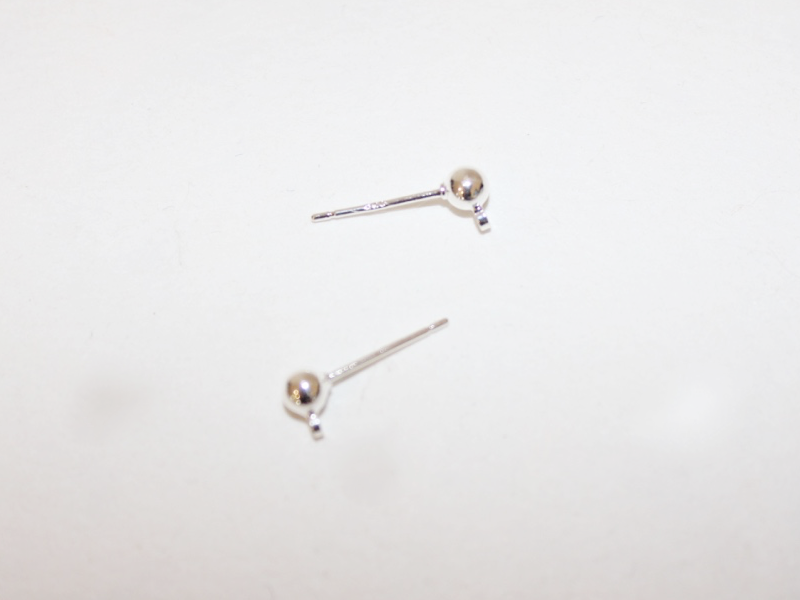
5: Two earring hooks.

6: Beads of your choice. I used these malachite chip beads.

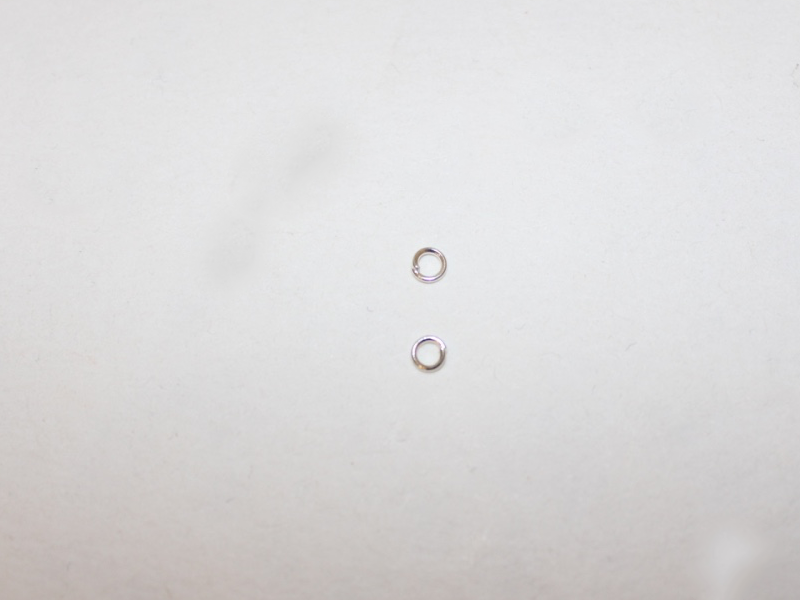
7: Two large jump rings.

Follow these steps to make your chain loop earrings:
1: Add the beads to each of the eye pins.

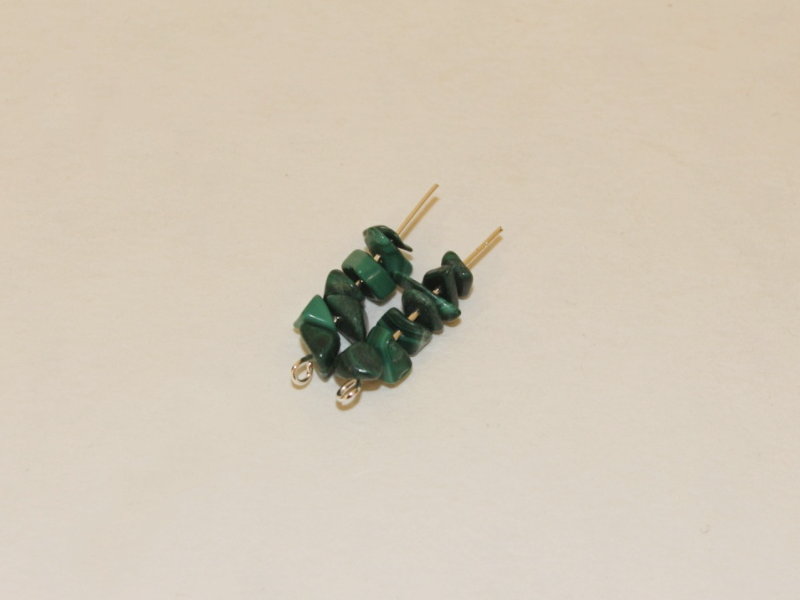
2: Use the round nose pliers to bend each pin at a right angle to the beaded section.


3: Then create a loop at the end of each pin to secure the beads in place.


4: Take one of the pins and open a loop on one side.

5: Add the shorter piece of chain to the open loop.

6: Add a longer piece of chain to the same open loop and then close the loop to secure the chains in place.


7: Open the loop on the other side of the pin and loop both pieces of chain around and slide them onto the other side. Make sure that you don’t cross them over. You want the shorter chain to fall on one side and the longer chain to fall on the other without the chains overlapping.

8: Close the loop again to secure the chains in place.

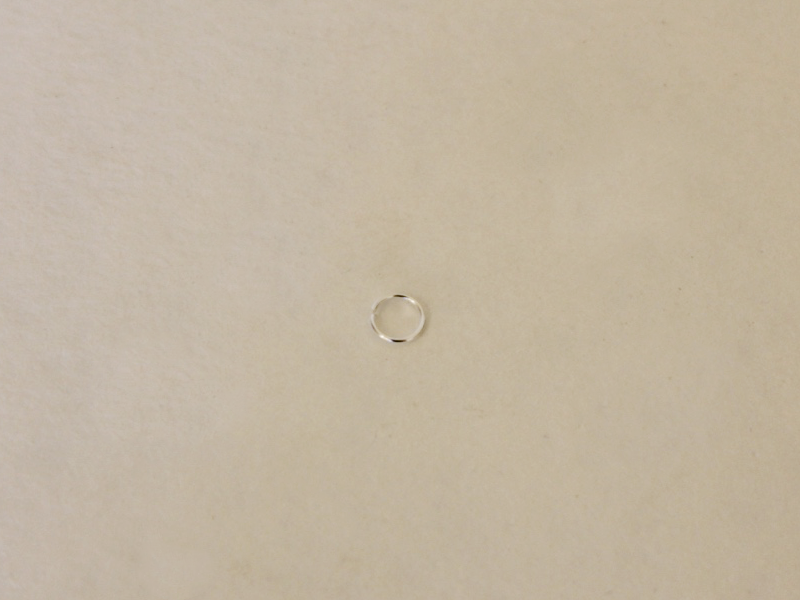
9: Open one of the large jump rings and slide it through a chain link at the center of the longer chain.

10: Add the earring hook to the open jump ring. Secure the earring in place by closing the jump ring with your pliers.


11: Repeat steps 4 to 10 for the second earring.

12: Once both your earrings are complete all that’s left to do is pop them on your lobes!
Here’s another pair made with gold findings and some round smoky quartz beads.