-
How to Make Pearl Tassels for Your Hoop Earrings

These pearl tassel hoops are a fun way to get on the pearl jewelry trend! Contains affiliate links.
You’ll need the following tools and materials to make your pearl tassel earrings:
1: Pliers. You will need round nose pliers and flat nose pliers to make these earrings.


2: A pair of small hoop earrings. I used these skinny silver hoops.

3: Two eye pins.

4: Six head pins.

5: Two jump rings.

6: Two pearl beads.

7: Mixed beads for the tassels.


Follow these steps to make your pearl tassel earrings:
1: Add the pearls to each of the eye pins.

2: Loop the ends of the eye pins using the round nose pliers to secure the beads on the pin.

3: Add beads to each of the head pins in your chosen design. Make two of each tassel so that your earrings match.

4: Loop the ends of each head pin with the round nose pliers to secure the beads in place.


5: Add three head pins to one of the jump rings and attach the tassel to the bottom of the pearl charm.

6: Repeat step five for the remaining head pins attaching them to the other pearl charm.

7: Slide a tassel on each hoop earring to finish them off.

How cute are these little hoops? Pop them on and turn heads!
-
This necklace is special… gems and ribbons!
I really love the combo of gemstone beads on a ribbon to make a cool necklace. I made this one a statement using a bright orange ribbon. This tutorial contains affiliate links.
You will need the following tools and materials to make your ribbon gemstone necklace:
1: Pliers. You’ll need your flat nose pliers and round nose pliers to make your ribbon gemstone necklace.
2: A piece of ribbon long enough to be a necklace.

3: Two flat crimp ends.

4: A large jump ring.

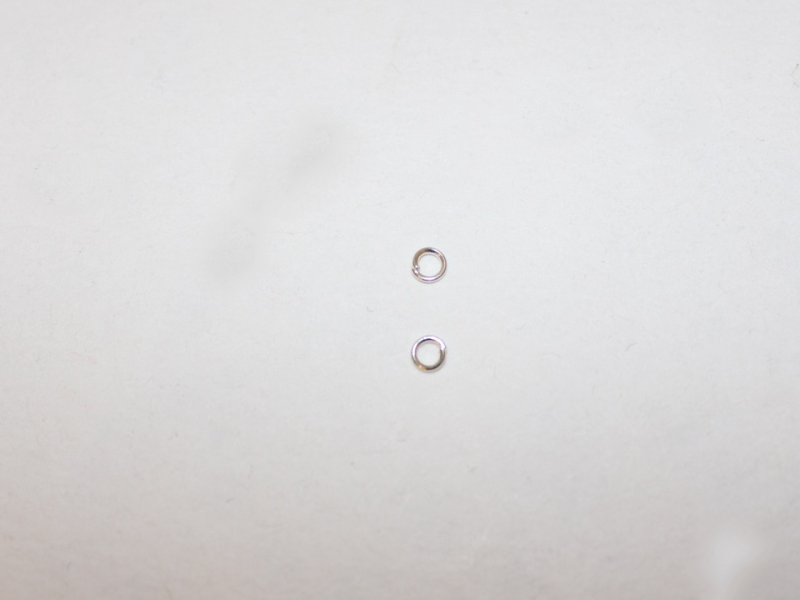
5: Two small jump rings.
6: Three head pins.

7: A lobster clasp.

8: Gemstone beads. I used this selection of beads including a shell bead and a coral bead.

Follow these steps to make your gemstone ribbon necklace:
1: Place each of the beads on the head pins.

2: Create a loop at the end of each pin using the round nose pliers to secure the beads in place.


3: Add the beads onto the large jump ring and close it.


4: Add the bead charm to the ribbon and tie a knot to secure it in the middle of the ribbon.


5: Add a crimp to either side of the ribbon ends using the flat nose pliers to squash it in place. I had to fold my ribbon a little to make sure it fit.


6: Add a jump ring to one side of the ribbon end and add the lobster clasp to the end.

7: Add the other jump ring to the other side of the necklace to finish it off.


Now your gemstone ribbon necklace is ready to wear! So cool!
-
Here’s how to make delicate shell threader earrings.

These shell earrings are a subtle way to get in on the shell jewelry trend. They’re simple, delicate and beautiful.
You will need the following tools and materials to make these earrings:
1: Pliers. You’ll need your flat nose and round nose pliers for these earrings.
2: Two threader earring findings.

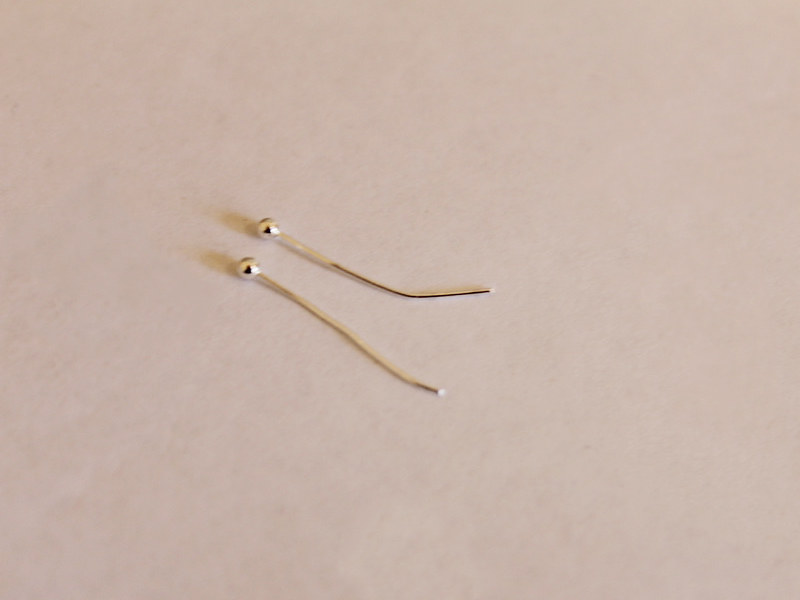
4: Shells and beads of your choice. I used these small shell beads and two blue glass seed beads.


Follow these steps to make your shell threader earrings:
1: Add the beads and the shells to each of the head pins.

2: Create loops at the top of each pin using the round nose pliers to secure the beads in place.


3: Attach each bead charm to the loops at the ends of the threader earring findings.


Now your shell threader earrings are finished! So cute!
-
Here’s another way to make an awesome shell anklet.

Are you digging the current trend for shell jewelry as much as I am? This current trend is perfect for DIY projects! Here’s all the steps you need to follow to make a rustic finger knit shell anklet. Here’s a little video on how to finger knit… just in case you need a reminder!
You’ll need the following tools and materials to make your anklet:
1: Scissors or cutting pliers to cut the string.


2: Flat nose pliers and round nose pliers.
3: Some cotton string.

4: Shells. I used these shells that I found with natural holes in them.

5: Two leather crimp ends.

6: Two jump rings.
7: A lobster clasp.

Follow these steps to make your amazing finger knit shell anklet:
1: Add the shells to the string.

2: Make a slip knot and tighten it a little bit around your finger.

3: Make another loop around your finger.

4: Pull the first loop over the second one and off your finger.
5: Repeat steps 3 and 4 a few more times.

6: Place the first shell against your finger as you make the next loop. Pull the first loop over the shell to secure it to the knitted strand.

7: Continue this until all the shells are in place and the knitted string is long enough to fit around your ankle.


8: Tie a knot at the other end of the anklet.

9: Trim the ends of the string.

10: Add a crimp end to both ends of the anklet, securing them around each knot.

11: Add a jump ring to one side of the anklet and secure the clasp in place.

12: Add the remaining jump ring to the other side of the anklet to finish it off! So cute!

-
Shell Beads

Shell beads often come in beautiful mother of pearl finishes, they can also be made when small holes are drilled into whole shells. Using shell beads in your DIY jewelry designs gives them an extra unique quality.

These earrings have been made using polished Paua shell attached to earring posts. 
These pretty shell beads make for simple but stunning drop earrings. 
This star shaped charm is made from colored shell. Here are some tutorials that show you how to use shell beads in your DIY jewelry: