-
Bohemian Hoop Earrings for Summer… Here’s the tutorial!

Do you rock linen all summer long and want your accessories to match your summer vibe? Here’s the tutorial for you, ribbon wrapped hoops with dangling charms!
You will need the following tools and materials to make your wrapped earrings:
1: Ribbon. I used some beige cotton ribbon.

2: Scissors for cutting the ribbon to length.

3: Two shells with holes in them. I used these shells that I collected myself a while ago.

4: Superglue.
5: Two hoop earrings. I used these small silver hoops with lever backs.

Follow these steps to make your boho wrapped hoop earrings:
1: Add some superglue to one side of the earring and attach the ribbon.

2: Wrap the ribbon tightly around the hoop so that it is fully covered (leave the earring post exposed).

3: Trim the end of the ribbon.

4: Add glue to the other end of the earring to secure the ribbon end in place.

5: Repeat steps 1-4 for the second earring.

6: Add the shells to each earring to finish them off!


Here’s some inspiration for you, some other pairs I made with satin ribbon.


Note: This article contains affiliate links
-
Stuck for Mother’s Day gift ideas? Here’s our DIY jewelry gift guide!
If you need some ideas for Mother’s Day, here are some tutorials that might inspire you to make the mother figure in your life something special and sentimental.
Gift idea one: A necklace made out of an upcycled brooch.
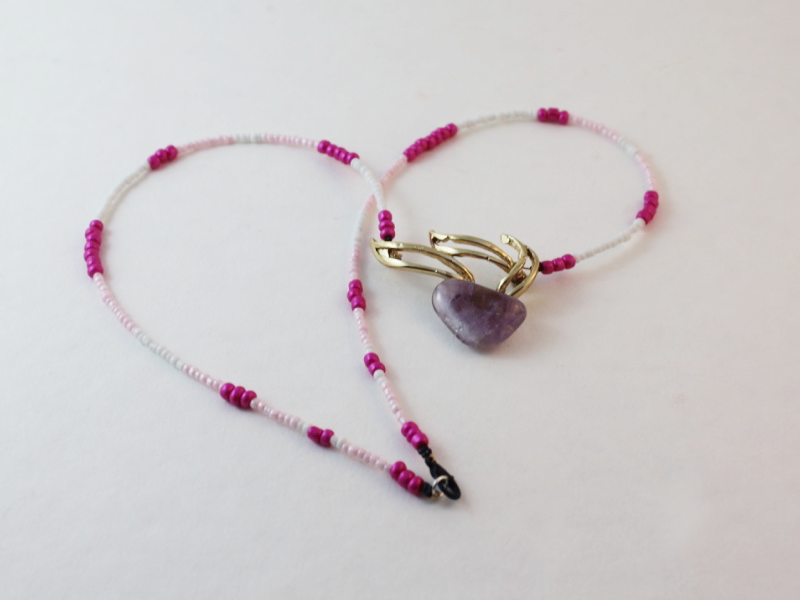
Find all the steps to make a brooch necklace here.
Gift idea two: A lock and key jewelry set.

This is such a cute idea, turn your childhood diary lock and key into a sweet jewellery set! Find the steps here.
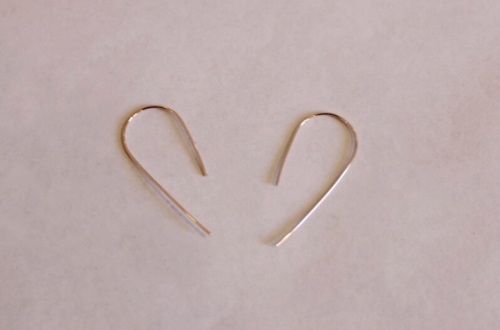
Gift idea three: Some delicate wire threader earrings.

These are for the Mother who loves the simple things. The full threader earring tutorial can be found right here.
Gift idea four: An elegant floating pearl necklace.

This necklace is so cool! Find the tutorial here.
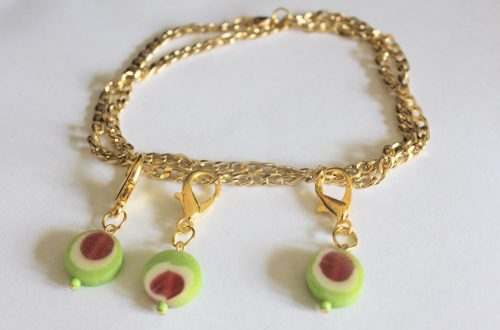
Gift idea five: A custom made charm.

Use a special bead or a handmade one and transform it into a one of a kind charm. All the steps to create this special charm are right here.
Gift idea six: A beachy pendant.

Fill this pendant with reminders of the beach or the bush. All the steps to make this sentimental pendant right here.
-
Two trends in one! Shells and Hair clips

Are you keen on the hair clip trend and the shell trend? Why not make a shell embellished hair clip? Contains affiliate links.
You will need the following tools and materials to make your shell hair clip:
1: A hair clip finding

2: Araldite glue

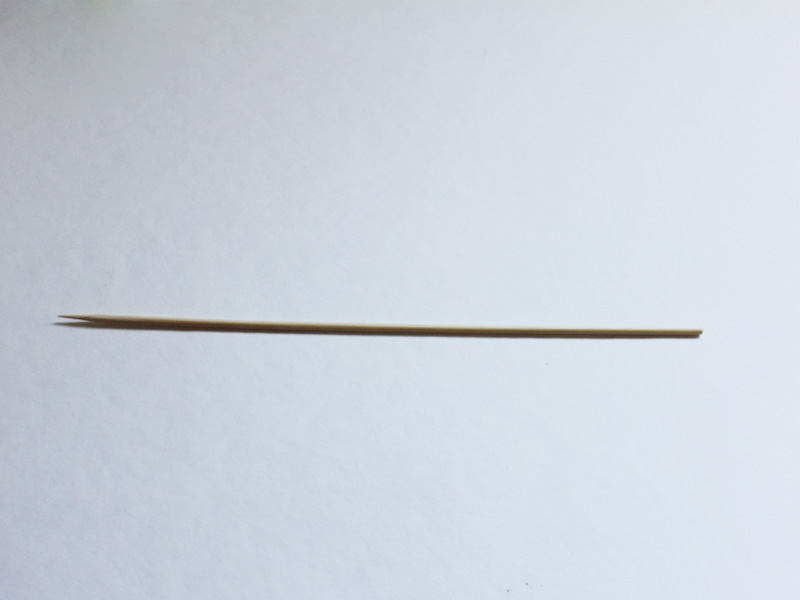
3: Skewer
4: Scrap paper

5: Shells

Follow these steps to make your shell hair clip:
1: Squeeze out the glue in equal parts and mix it using the skewer.

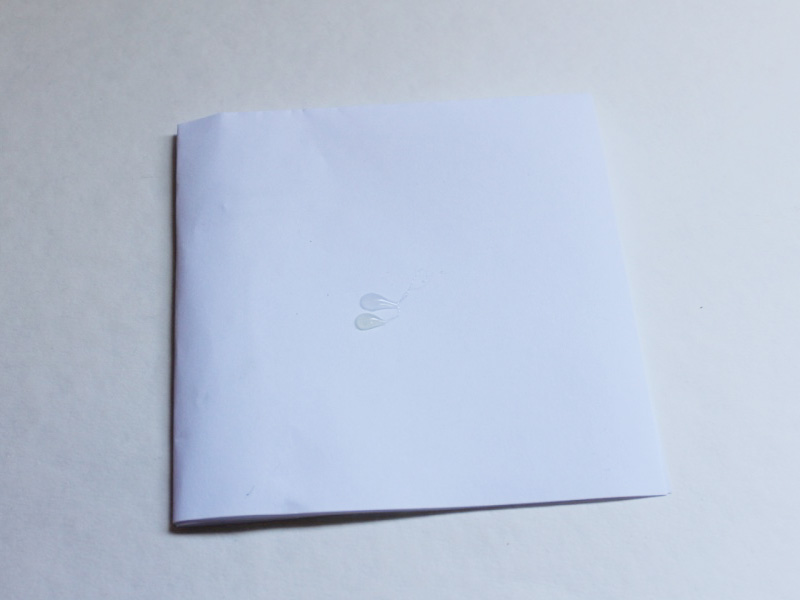

2: Add the glue to the clip.

3: Add glue to the underside of each shell and place them on the clip.


4: Set the clip aside to dry. You might need to add a prop to each end to stop the shells from sliding off while the glue is still wet.
Now your shell hair clip is finished and ready to wear!
Here are some other DIY tutorials that use beautiful shells:
-
How to Make Pearl Tassels for Your Hoop Earrings

These pearl tassel hoops are a fun way to get on the pearl jewelry trend! Contains affiliate links.
You’ll need the following tools and materials to make your pearl tassel earrings:
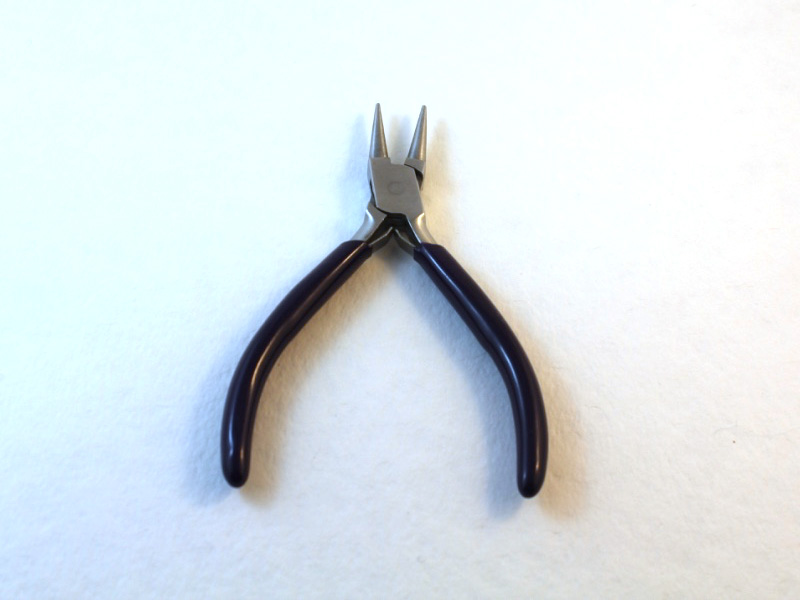
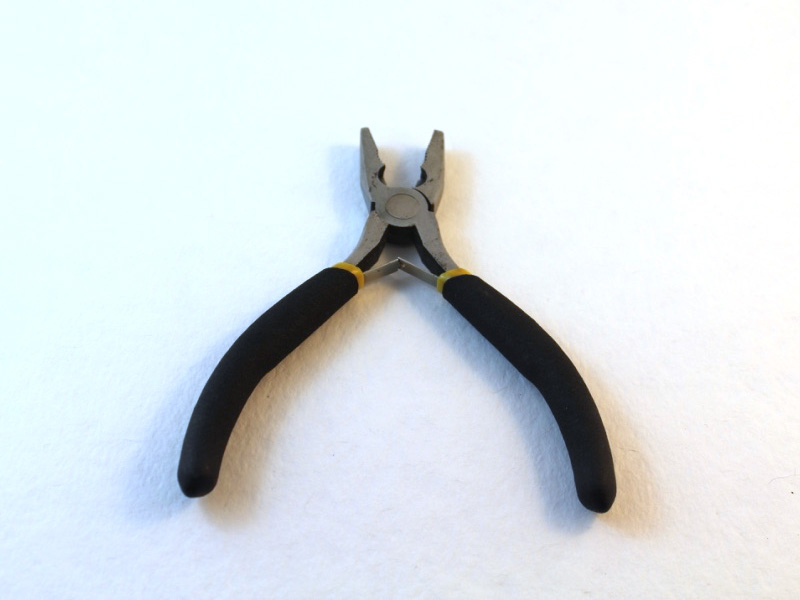
1: Pliers. You will need round nose pliers and flat nose pliers to make these earrings.
2: A pair of small hoop earrings. I used these skinny silver hoops.

3: Two eye pins.

4: Six head pins.

5: Two jump rings.

6: Two pearl beads.

7: Mixed beads for the tassels.


Follow these steps to make your pearl tassel earrings:
1: Add the pearls to each of the eye pins.

2: Loop the ends of the eye pins using the round nose pliers to secure the beads on the pin.

3: Add beads to each of the head pins in your chosen design. Make two of each tassel so that your earrings match.

4: Loop the ends of each head pin with the round nose pliers to secure the beads in place.


5: Add three head pins to one of the jump rings and attach the tassel to the bottom of the pearl charm.

6: Repeat step five for the remaining head pins attaching them to the other pearl charm.

7: Slide a tassel on each hoop earring to finish them off.

How cute are these little hoops? Pop them on and turn heads!
-
Here’s another way to make an awesome shell anklet.

Are you digging the current trend for shell jewelry as much as I am? This current trend is perfect for DIY projects! Here’s all the steps you need to follow to make a rustic finger knit shell anklet. Here’s a little video on how to finger knit… just in case you need a reminder!
You’ll need the following tools and materials to make your anklet:
1: Scissors or cutting pliers to cut the string.

2: Flat nose pliers and round nose pliers.
3: Some cotton string.

4: Shells. I used these shells that I found with natural holes in them.

5: Two leather crimp ends.

6: Two jump rings.
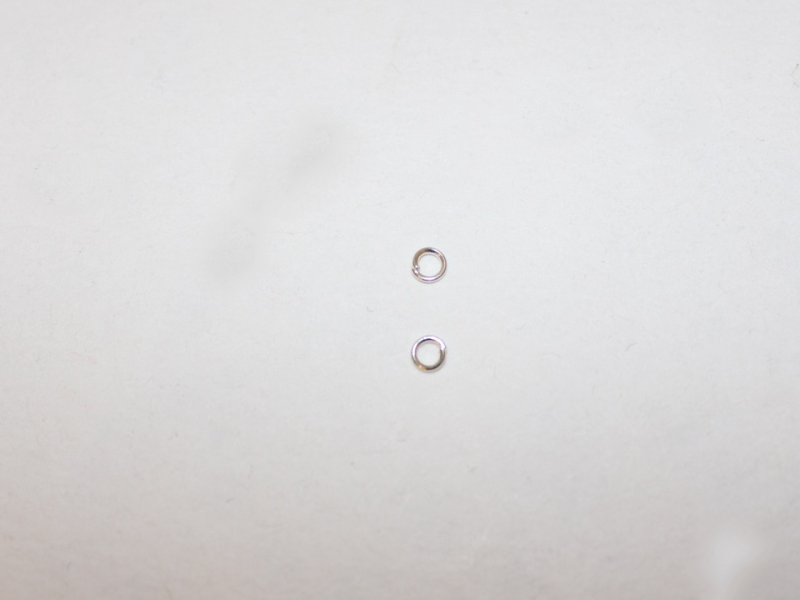
7: A lobster clasp.

Follow these steps to make your amazing finger knit shell anklet:
1: Add the shells to the string.

2: Make a slip knot and tighten it a little bit around your finger.

3: Make another loop around your finger.

4: Pull the first loop over the second one and off your finger.
5: Repeat steps 3 and 4 a few more times.

6: Place the first shell against your finger as you make the next loop. Pull the first loop over the shell to secure it to the knitted strand.

7: Continue this until all the shells are in place and the knitted string is long enough to fit around your ankle.


8: Tie a knot at the other end of the anklet.

9: Trim the ends of the string.

10: Add a crimp end to both ends of the anklet, securing them around each knot.

11: Add a jump ring to one side of the anklet and secure the clasp in place.

12: Add the remaining jump ring to the other side of the anklet to finish it off! So cute!

-
Love shell jewelry? I do! Why not make this shell charm anklet?!
Note, this tutorial contains affiliate links.
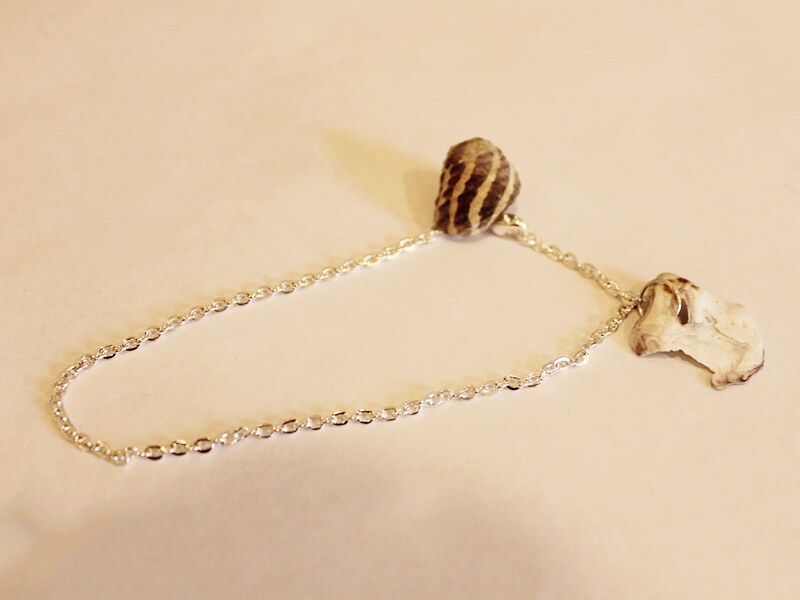
If you love shell jewelry as much as I do you’ll need to make this shell charm anklet!
You’ll need the following tools and materials to make your shell charm anklet:
1: Pliers. You’ll need your flat nose pliers and round nose pliers.
2: One medium jump ring.

3: One large jump ring.
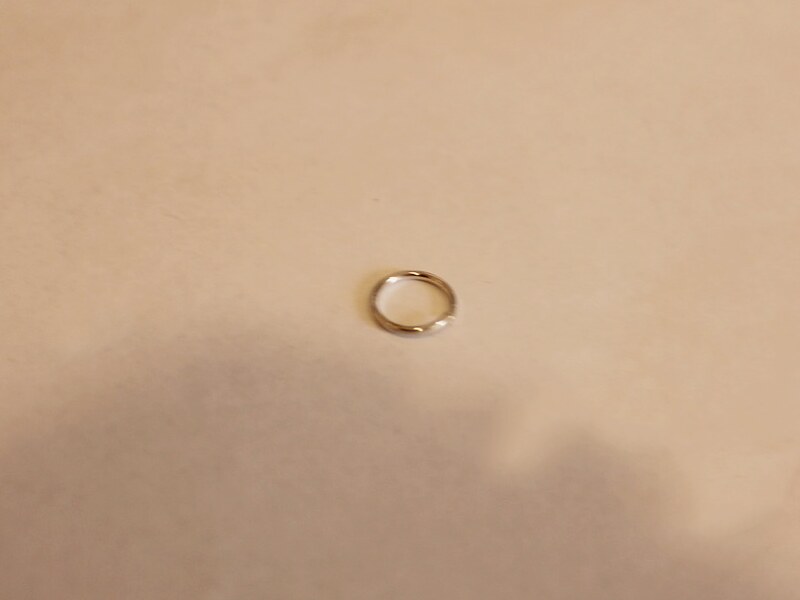
4: Two small jump rings.
5: A lobster clasp.
6: A piece of chain long enough to fit around your ankle.

7: Two shells. I used these shells that had natural holes in them.

Follow these steps to make your shell charm anklet:
1: Add the small jump rings and lobster clasp to the ends of the chain to form the anklet.

2: Add the medium jump ring to the first shell and attach it to a chain link.
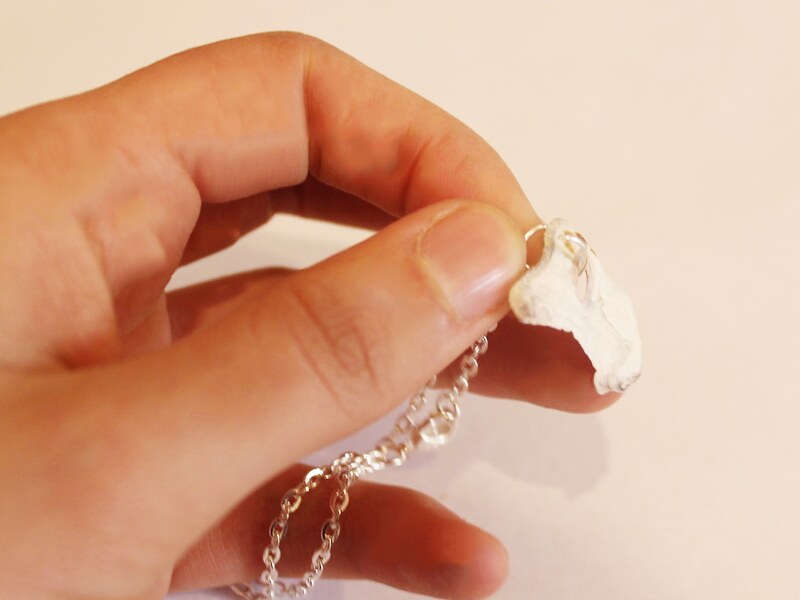
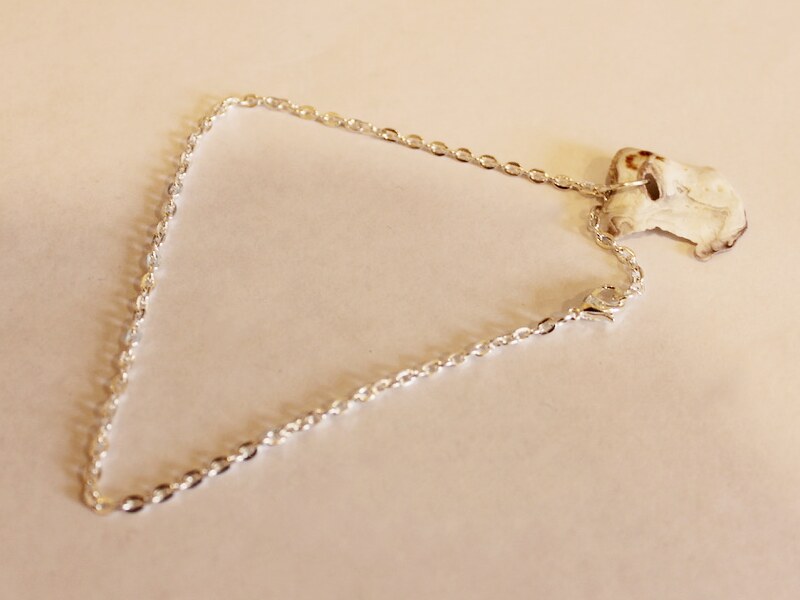
3: Add the larger jump ring to the other shell and attach it to the jump ring that is being used to secure the clasp to the chain.
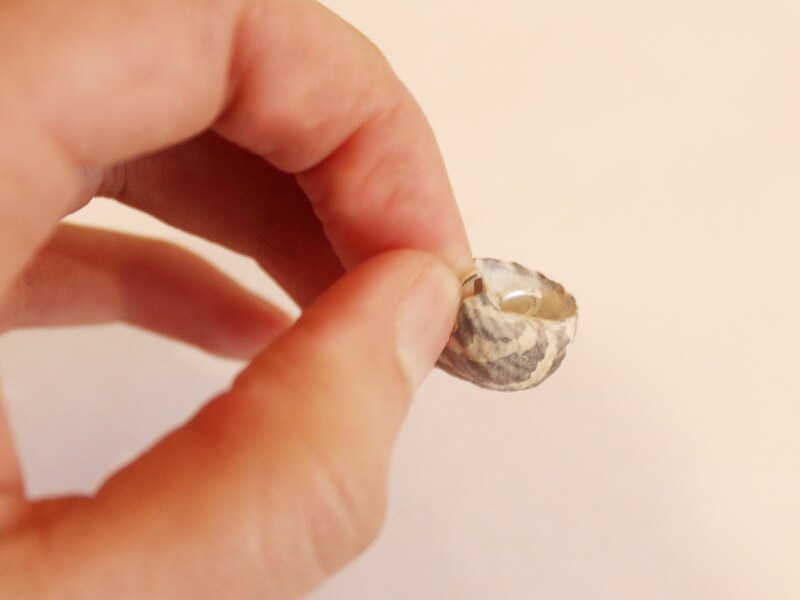

Now your anklet is finished! How many shells will you add to yours?
-
Here’s how to make your own shell stud earrings! So cute for summer!!!
These shell studs are simple to make and will defs be your summer staple (or perfect for bringing some summer vibes to the winter months).
You’ll need the following tools and materials to make your shell stud earrings:
1: Two shells. Look for shells that have a flatish base to glue your stud onto. I used these mismatched shells that I found a while ago (If you can’t find any try buying some, but I think that making earrings with shells you have found yourself is more special!).

2: Blu tack. You’ll need this to keep your shells still while the glue is drying.

3: Two earring posts (and earring backs).

4: Araldite Glue.
5: A Skewer.
6: A piece of scrap paper for mixing glue on.
Follow these steps to make your earrings:
1: Pop your shells onto the blu tack with the underside exposed.

2: Squeeze out the glue in equal parts and mix it using the skewer.
3: Add glue to each of the shells and the tops of the earring posts. Place the posts onto the shells and leave them to dry.


4: Once the earrings are dry they are ready to wear! How easy was that?!

Here’s another pair I made using a matching pair of shells (as matching as unique shells can be).

Another tip: If your shells are looking a bit dull and dusty rub them with a soft cloth and a little bit of cooking oil (I used peanut oil because it was in the kitchen) to give them back their lustre!
-
Do you want to keep the ocean close? Here’s how to make a bottle charm filled with shells and sea glass

This pendant is so cute, fill it with your fave beach combing finds, or perhaps with some other special pieces. Affiliate links included
You will need the following tools and materials to make your own sea bottle charm:
1: A small glass bottle with a cork top.

2: Shells and sea glass to fill the bottle.

3: A small eye pin.

4: A large jump ring.

5: A wire collar necklace.

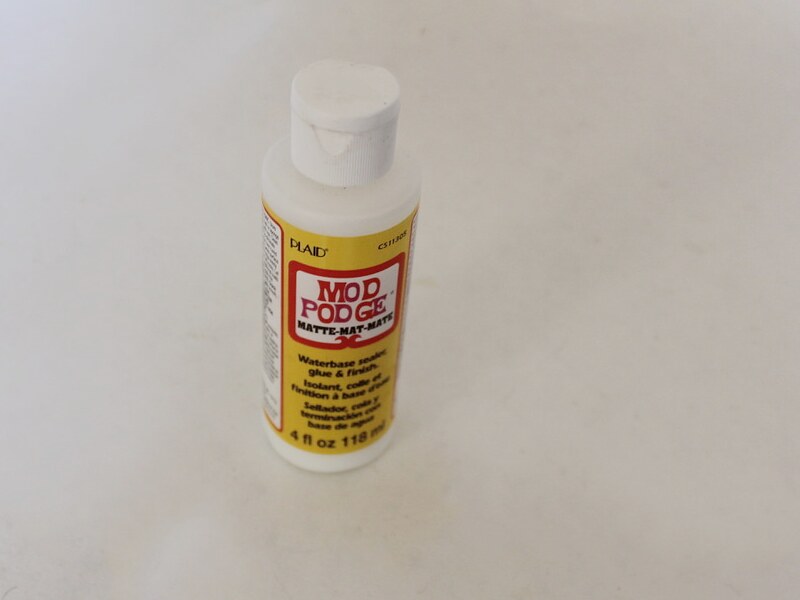
6: Water based glue, I used Mod Podge.
7: A skewer.
Follow your steps to make a sea bottle charm:
1: Take the cork out of the bottle.

2: Fill the bottle with sea glass and small shells.

3: Add some glue to the cork using the skewer.

4: Put the cork back in the bottle and wipe off excess glue.

5: Push the eye pin into the middle of the cork.


6: Add some glue around the eye pin to secure it to the cork.

7: Add the large jump ring to the eye pin.


8: Add the charm to the collar necklace to finish the design off!

Now your charm is ready to wear!
-
Shell earrings two different ways… perfect for summer!
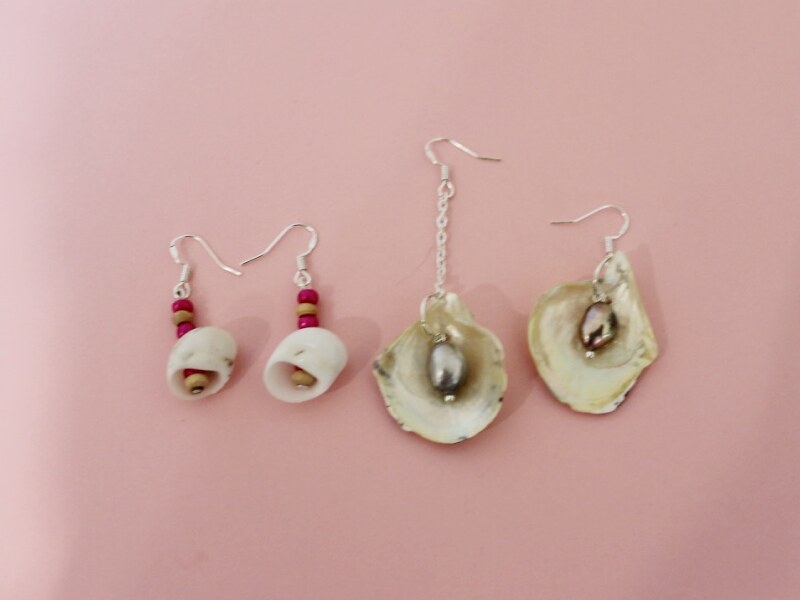
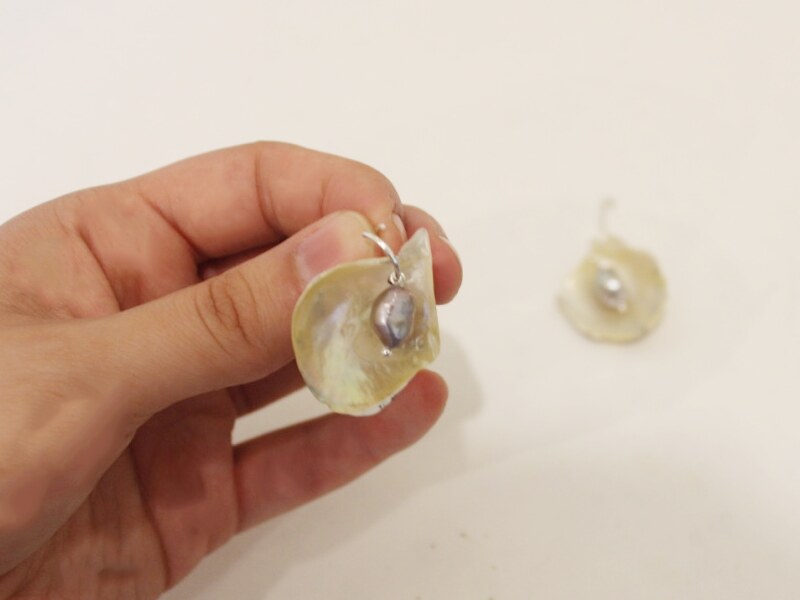
This is two tutorials in one! Here’s two ideas for incorporating shells into your DIY earring designs. These shell earrings look awesome and are easy to make.
To make some mismatched pearl and shell earrings you will need the following materials:
1: Pliers. You will need your round nose pliers and flat nose pliers to make these earrings.
2: Earring hooks.
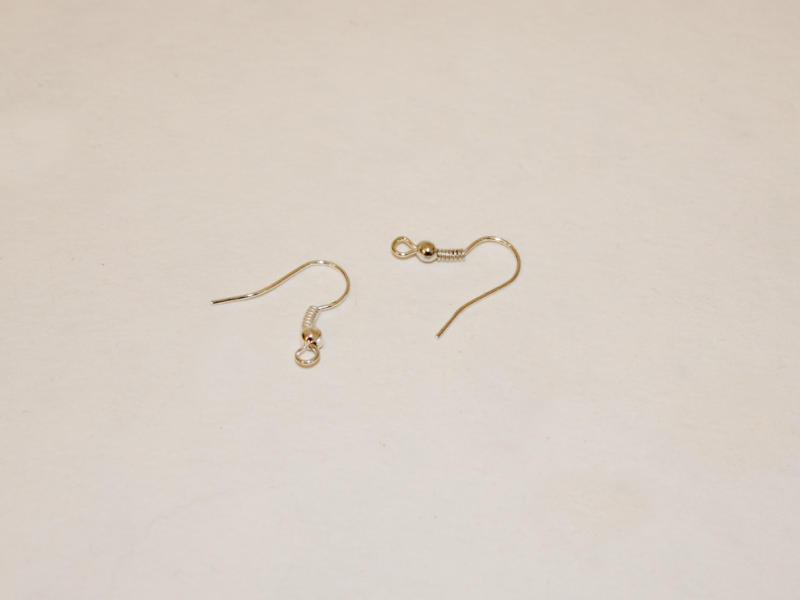
3: One small piece of chain.

4: Two large jump rings.

5: One small jump ring.

6: Two small head pins.

7: Two pearl beads. I used these freshwater pearls.

8: Two open shells with holes drilled in them. I used these shells recycled from some old jewelry.

Follow these steps to make your mismatched shell and pearl earrings:
1: Add each of the pearl beads to the head pins.

2: Use the round nose pliers to create a loop at the top of each pin to secure the beads in place.

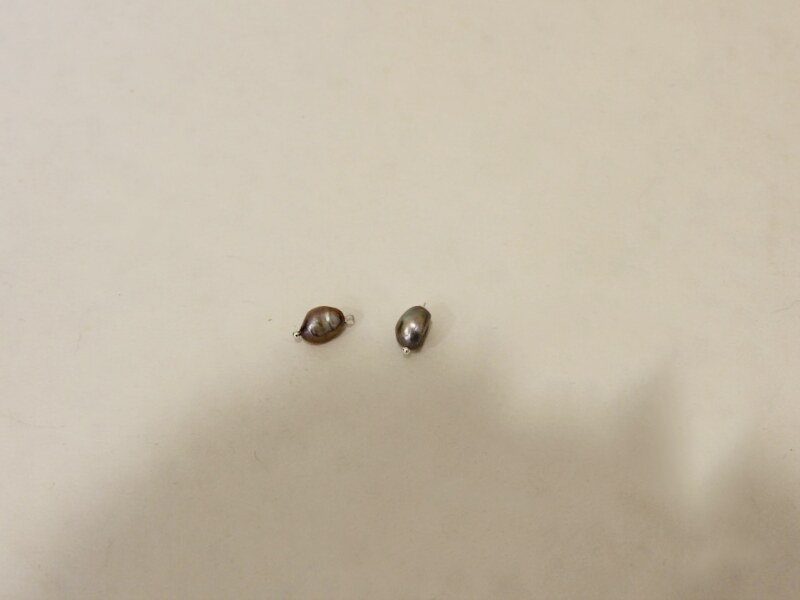
3: Attach the pearl to the shell using the large jump rings.

4: On one of the shells, attach the piece of chain to the open jump ring.
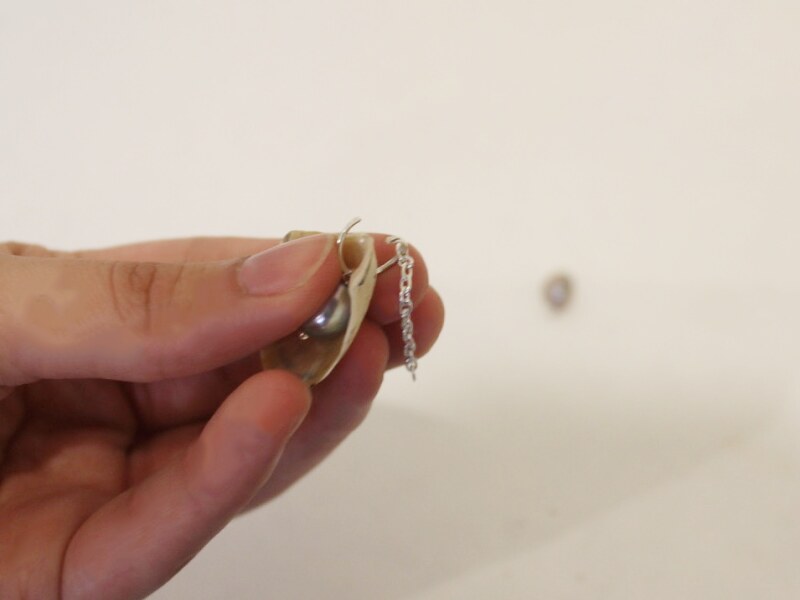
5: close the jump ring to secure the chain to the shell charm.
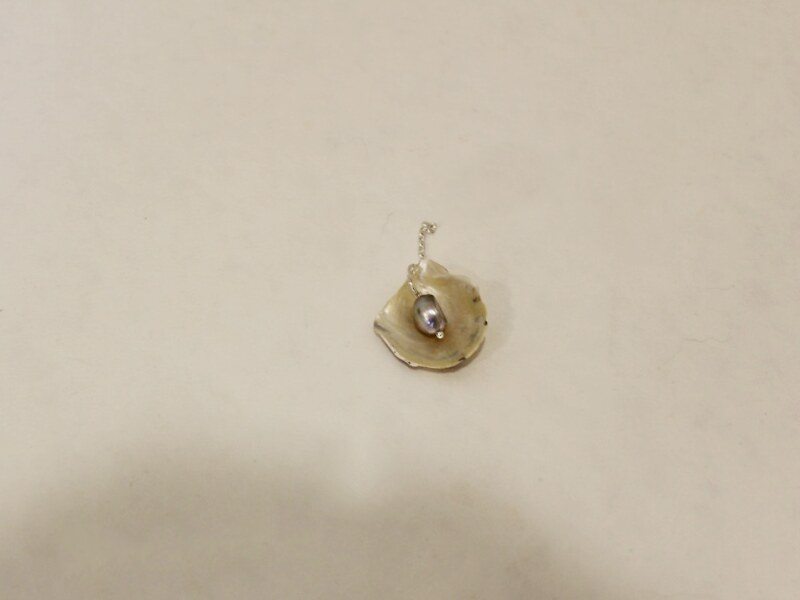
6: Close the jump ring on the other shell charm.

7: Attach an earring hook to the end of the chain.

8: Add the other other hook to to the second shell charm using the remaining small jump ring.


Once your earring hooks are attached your earrings are finished! If you’ve got double piercings in one ear you can wear these together for a fun layered look.

This next set of earrings uses drilled shells to add some summer flair to simple drop earrings. note: contains affiliate links
You will need the following tools and materials to make your shell drop earrings:
1: Pliers. You will need your round nose pliers and flat nose pliers to make these earrings.
2: Two head pins.
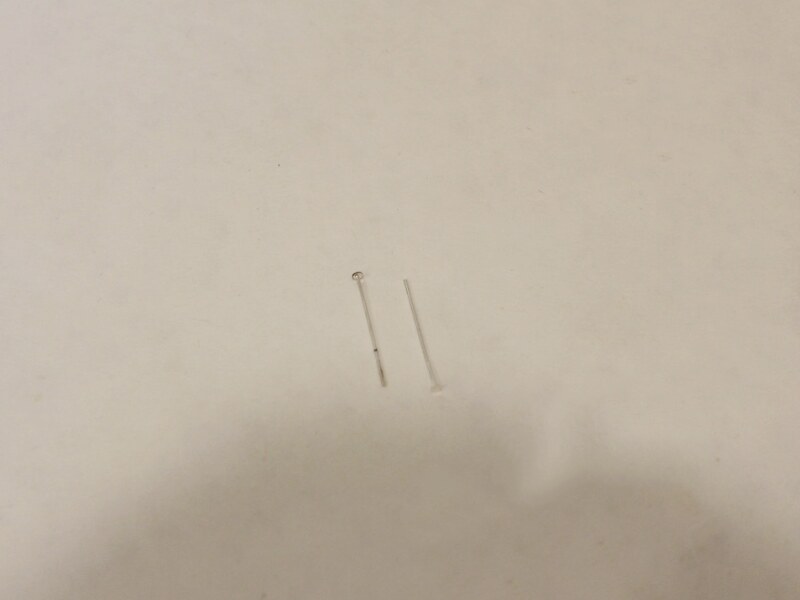
3: Two earring hooks.
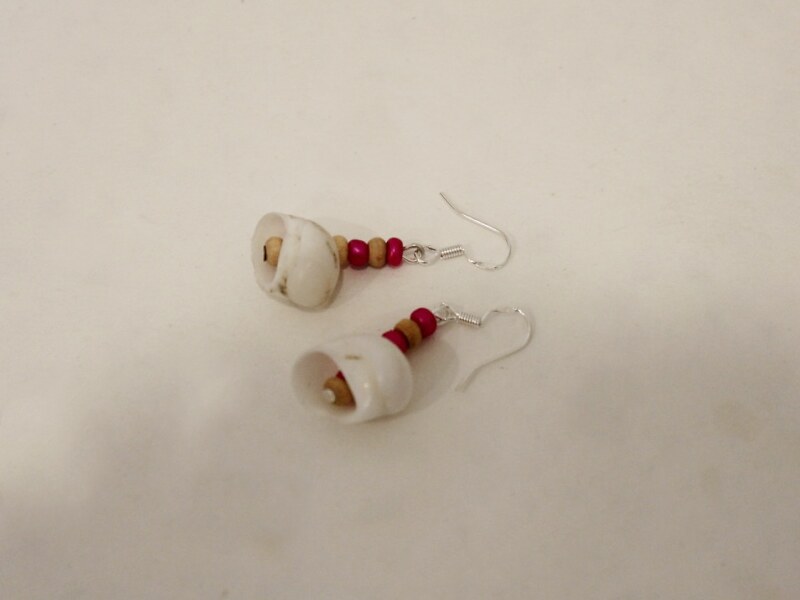
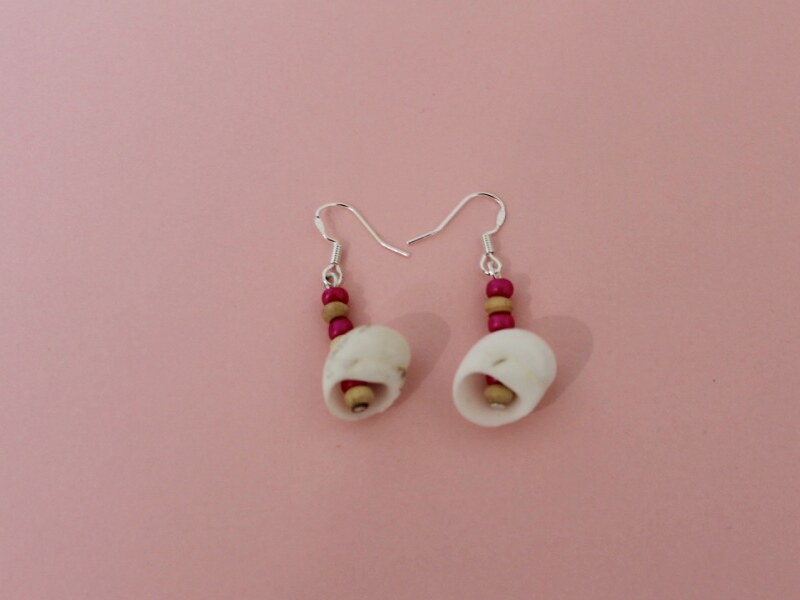
4: Two drilled shells. I used these shells that came in a mixed bag of beads.

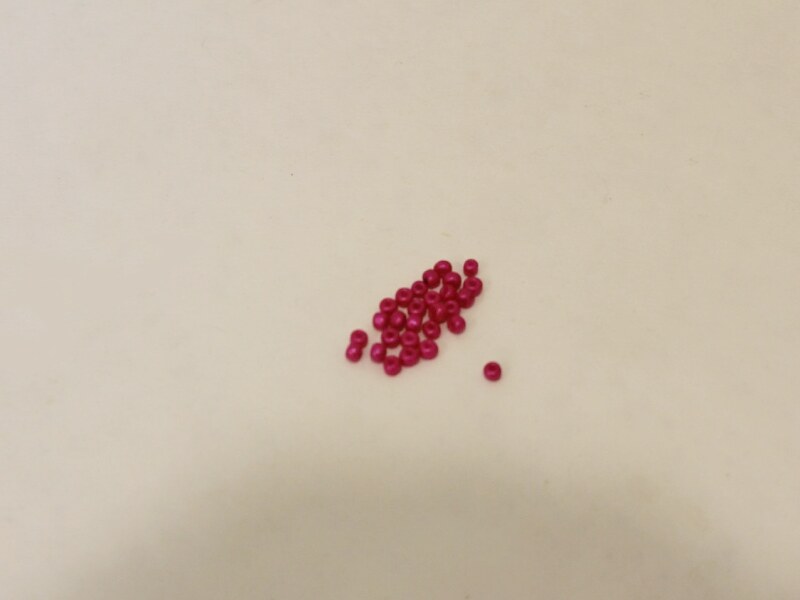
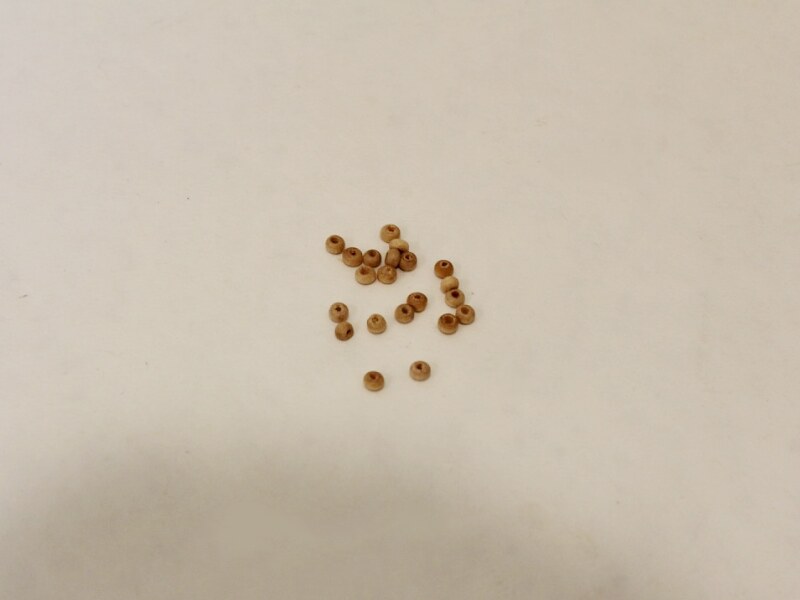
5: Beads of your choice. I used these pink e-beads and natural colored wooden beads.
Follow these steps to make your shell drop earrings:
1: Add three beads to each of the pins in your chosen pattern.
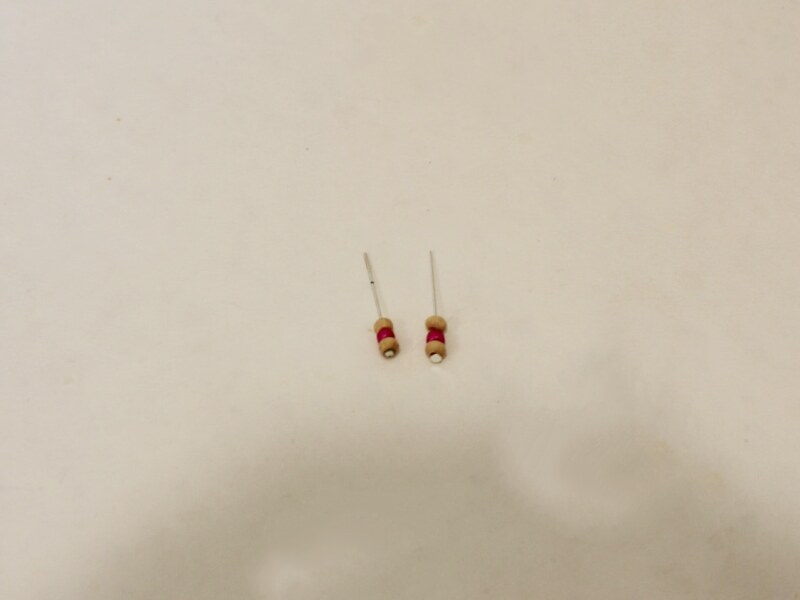
2: Add a shell to each pin.

3: Add another four beads in your chosen pattern to the pins on top of the beads.

4: Bend each pin at a right angle to the beaded section using the round nose pliers.
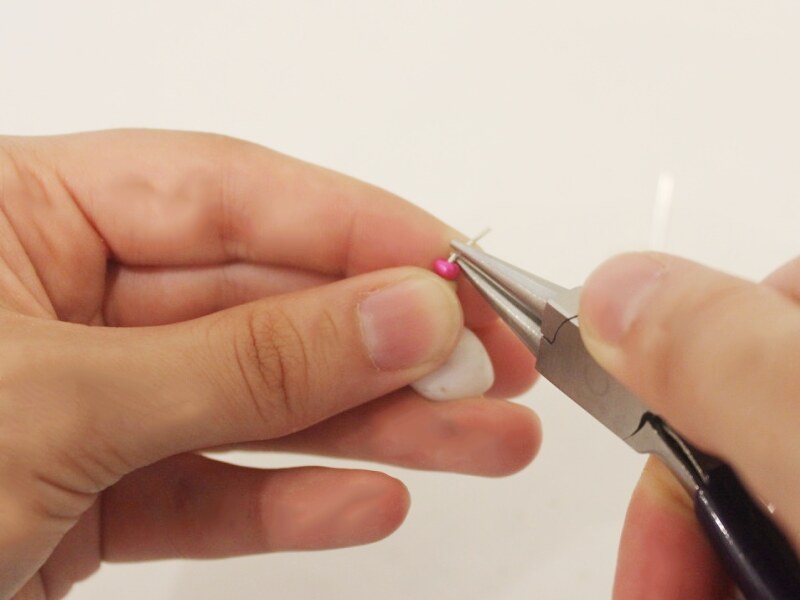
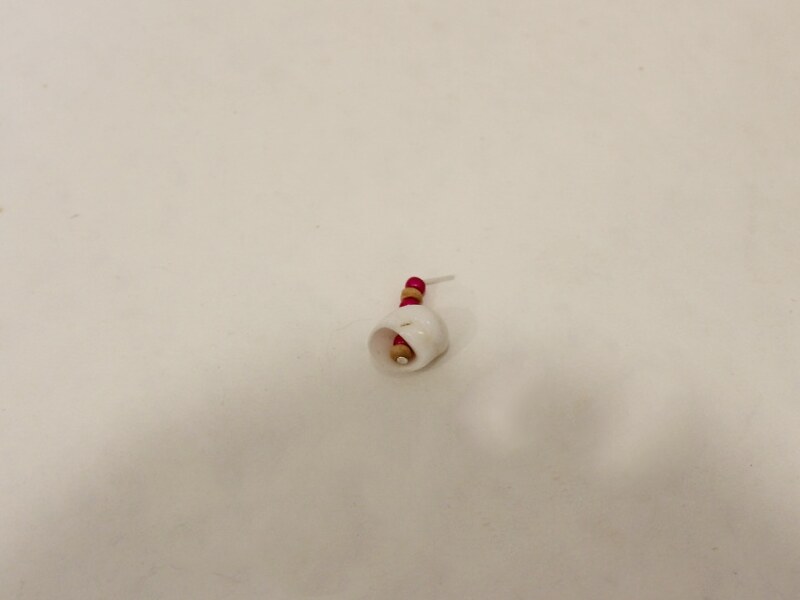
5: Create a loop at the top of each pin using the round nose pliers to secure the beads in place.
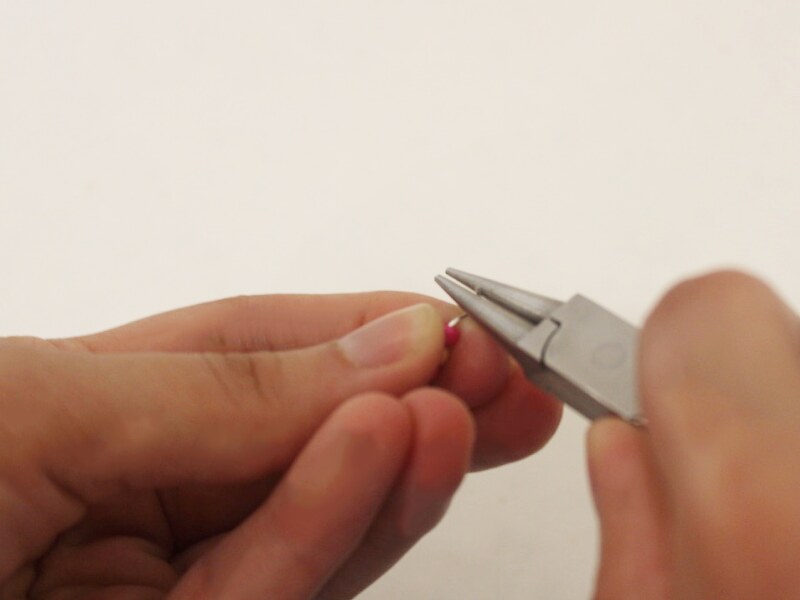
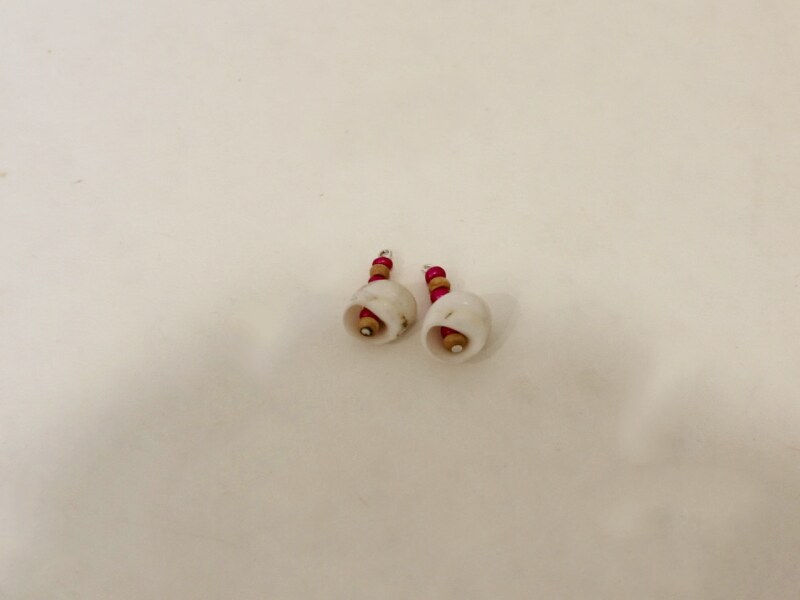
6: Add an earring hook to the top loop of each head pin. Once your earring hooks are secured in place your earrings are finished and ready to wear!

-
Sick of those delicate chains? Try making this cute cord necklace!
Sometimes you don’t feel like adorning yourself with delicate chains and dainty necklaces. Instead, sometimes you found yourself in the mood for a bolder choice. This cord necklace is simple to make but to great effect! Using some recycled cord and a couple of crimp ends you can make this great (and comfortable) necklace.
You will need the following tools and materials to make this cord necklace:
1: Pliers. You will need your flat nose and round nose pliers to make this necklace.
2: A piece of cord. I used this white cord recycled from a paper shopping bag.

3: Two flat crimp ends.

4: One large jump ring.

5: Two small jump rings.

6: Two small head pins.
7: One lobster clasp.
8: Beads of your choice. I used these glass beads (you’ll see that I had to swap my beads around because the first one I chose was too large)

Like the orange? Grab some orange beads here:
9: A charm of your choice. I used this blue shell star charm recycled from an old pair of earrings.

Follow these instructions to make your stunning cord necklace:
1: Add your chosen beads to each of the head pins.

2: Bend each pin at a right angle to the beaded section using the round nose pliers.

3: Once each pin has been bent, use the round nose pliers to form a loop at the top of each pin.

4: Open the jump ring at the top of your chosen charm. Add each of the bead charms and close the jump ring to secure in place (You’ll see here that I ended up swapping my beads around here).


5: Add all the charms to the large jump ring and close it to secure it in place.

6: Slide the large jump ring with the charms onto the piece of cord.

7: Once the charm is in place, take one of the flat crimp ends and place it carefully on one of the cord ends.

8: Use the flat nose pliers to secure the first flat crimp in place.


9: Repeat steps 7 and 8 for the second crimp at the other end of the cord.

10: Add a jump ring to both ends of the necklace on each of the crimps.
11: Keeping on of the jump rings open, slide on the lobster clasp and close the ring again to secure it in place.

12: Once the clasp is in place your necklace is finished! How easy was that?


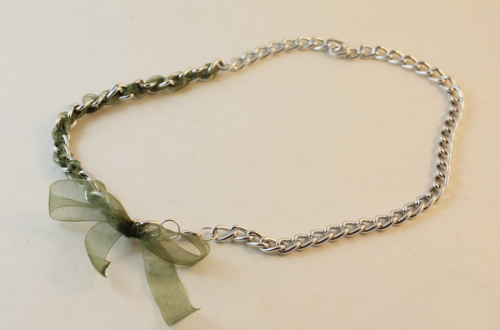
Here are some other examples of necklaces made using cords and ribbons secured with flat crimp ends.