-
Do you love the look of knit accessories? Why not try knitting your own bangle?
I’ve previously written an i-cord knitted bracelet tutorial, and this one is kind of similar, but the special twist here is the addition of a wire to give the knit structure so it wears more like a bangle than a bracelet! This simple tutorial requires some basic knitting skills, but I think the results are worth it. Please note that this tutorial contains affiliate links.
You’ll need the following tools and materials to make your knitted bangle:
1: Yarn. I used two leftover yarns, a sliver sparkly mohair and a pink boucle style yarn.

Hot pink yarn:
Sparkly black yarn:
2: A piece of wire. I used some recycled copper wire.

3: Pliers. I used my cutting pliers, flat nose pliers and round nose pliers.

4: Scissors.

5: A darning needle.

6: Two double pointed knitting needles. I used some 8mm needles to give myself a chunky i-cord. The width of your i-cord will depend on the size of your yarn and your needles. I recommend using a thick yarn and needles for a bold bangle. Alternatively, if you don’t like knitting, you can use an i-cord knitting machine.

Alternatively, you can try an i-cord knitting machine
Follow these steps to make your own amazing knitted bangle:
1: Hold the two yarns together.

2: Create a slip knot and add it to the needle, pull the yarn to tighten it around the needle.


3: Cast on two more stitches. After casting on the three stitches, slide them to the other end of the needle and begin knitting the first stitch. Knit the next two stitches. This will start to form a tube. You can see this process a bit in this video.
4: After finishing the first row, slide the stitches to the other end of the needle and repeat the knit pattern you did in step 3.

5: Once you have your desired length, it is time to cast off. To cast off, knit the first stitch onto the second needle, then knit the second stitch, after you slide it onto the next needle, take the first stitch and pull it over the second one, you will now have one stitch on each needle. Repeat this again until you only have one stitch left on the second needle.
6: Leaving the final stitch on the needle, trim the end of the yarn leaving a tail.

7: Remove the needle and then thread the tail through the loop and pull it tight. Now your cast off is complete.


8: Take the wire and start pushing it into the middle of the i-cord.


9: Create a loop on one end of the wire.


9: Form the wire into a large circle shape, this will be the form of your bangle.

10: Trim the excess wire using your cutting pliers, leaving a little excess on the end to allow for the loop.

11: Put the second end through the loop you made at the first end, then loop them together using your round nose pliers.


12: Push the knitted i-cord tube around to cover the loops you made. and then tie the two ends together using the tails you left.

13: Use the needle to weave the tails in and further cover the wire. Trim any excess yarn.


Now your knit bangle is finished and ready to wear! How cute is this design? I love it. I’m planning to make a whole stack to add some fun colourful accessories to my wardrobe.


Here are some other fibre focused jewelry tutorials you can follow:
-
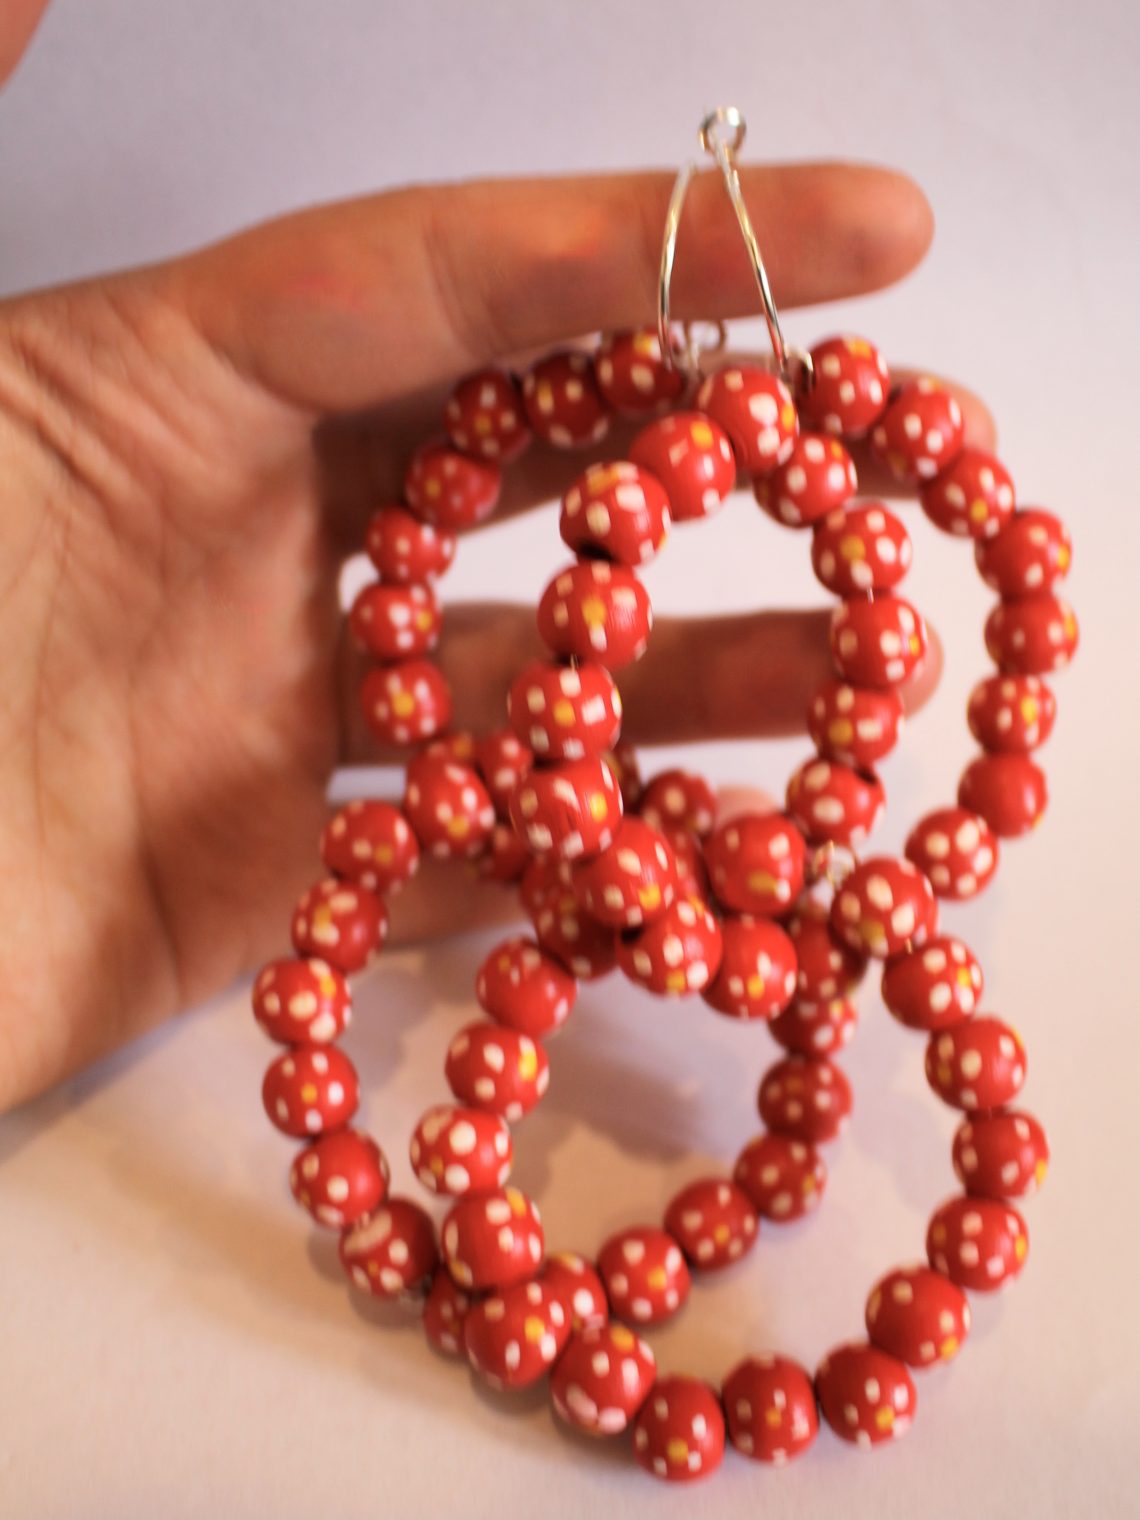
Here’s how to make some fun earrings… these mega hoops are super cute!
I think these earrings are pretty fun! You make some beaded mega hoops, link them together, and then thread them onto some hoop findings for a funky statement look. These earrings are such a statement they’ll add some fun to your next zoom outfit or real life party! please note that this tutorial contains affiliate links.
You’ll need these tools and materials to make your mega hoops:
1: Pliers. I used round nose pliers and cutting pliers.


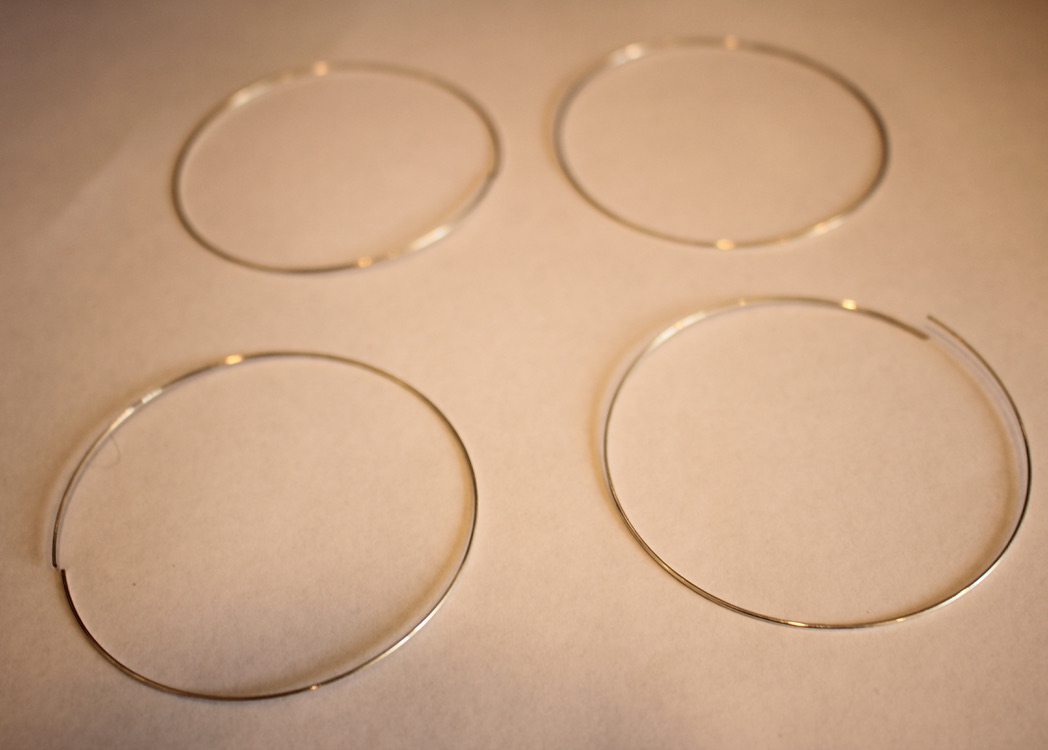
2: Bracelet sized memory wire cut into four pieces.

3: Beads. I used these red painted wooden beads.

4: Two earring hoop findings. these ones have lever backs so they stay on securely.

Follow these steps to make your mega hoop earrings:
1: Take one of the pieces of memory wire and create a loop at one end using the round nose pliers.


2: Add beads to the wire until you’ve got about 1cm left of the wire without beads.


3: Loop the other end of the wire using the round nose pliers but don’t close the loop.

4:Thread the open loop through the first loop you made and then close it. This will secure the beads onto the wire and create a circle shape.


5: Repeat steps 1-3, before you attach the end loops together, thread the new circle through the first one.

6: Close the second beaded circle and set it aside.

7: Repeat steps 1-6 for the second set of hoops.


8: Add each of the beaded hoops you just made to each of the hoop earring findings.


Now your fun mega hoop statement earrings are ready to wear! So fun and eye catching!
Click here to find some other fun earring tutorials to make at home!
-
Need something new in your jewelry box? Make this pair of D-Shaped statement earrings.
These earrings are made using some hard memory wire and some cool statement beads. Dangly and unique, these earrings are worth making.
You’ll need these tools and materials to make these earrings:
1: Pliers. Round nose, flat nose and cutting pliers are useful for this design.
2: Memory wire cut into two half circles.

3: Two long eye pins.

4: Two pieces of chain, not too long.

5: Two earrings. I used these silver charm post earrings.

Here is a fancier pair!
6: Two larger jump rings.

7: Four small jump rings.

AliExpress.com Product – Free Shipping! 1 Box SP Open Jump Rings 3mm-8mm(1500 PCs Assorted) (B08915)8: Beads. I used some green glass e-beads.

9: Two statement beads. I used these silver-tone plastic beads.

Follow these steps to make your D-shaped statement earrings:
1: Use the round nose pliers to make a loop at one end of the memory wire half circle.


2: Add the beads to around halfway on the curve.
3: Add the statement bead to the centre of the curve.

4: Bead the remaining part of the curve with the glass beads again until there is about 1cm left un-beaded.
5: Create a loop at the other end of the memory wire curve using the round nose pliers again.

6: Repeat steps 1 to 5 for the second piece of memory wire.

7: Add beads to the long eye pin and leave 1cm un-beaded at the end. Repeat for both pins.

8: Create a loop at the end of both pins using the round nose pliers.


9: Attach each of the beaded eye pins to the top of each memory wire curve. This will create a tighter curve on each piece of memory wire and form the D shape.


10: Attach the chain to each side of the D shape using the small jump rings. Both D shapes will now have a chain loop attached to them.


11: Add one of the larger jump rings to each of the earring posts.

12: Attach the earrings to the charms by threading the chain through each of the open jump rings. Close the jump rings on the earring posts to secure them together.


Now your earrings are finished and ready to wear!


This tutorial contains affiliate links.