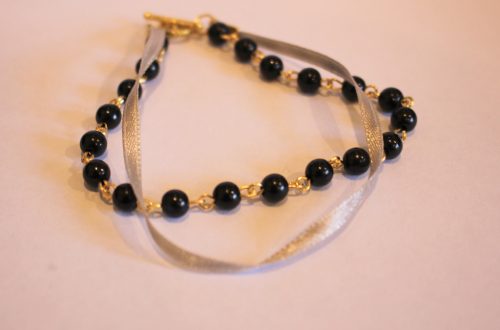
This Cluster Bracelet Design is so Fun and Pretty to Boot!

These cluster bracelets are so fun, to make and to wear! They look great when made with bright and colorful beads.
You will need the following tools and materials to make this bracelet:
1: Pliers. You will need your round nose pliers, flat nose pliers and cutting pliers to make this bracelet.

2: A piece of leather cord long enough to fit closely around your wrist. (Cut it to length using your cutting pliers).

3: Two leather crimp ends.

4: Five large jump rings.

5: Fifteen small head pins.

6: Two small jump rings.

7: A toggle clasp.

8: Beads of your choice. I used small yellow glass e-beads and some small natural colored wooden beads.


Follow these steps to make your beaded cluster bracelet:
1: Add one glass bead and one timber bead to each of the head pins.

3: Create a loop at the top of each pin to secure the beads in place. You can do this by curling the pin slowly around the barrel of the pliers.


4: Add three beaded charms to each of the large jump rings (five in total). Close the jump rings to secure the bead charms in place.


5: Set the cluster charms aside. Add a leather crimp end to one end of the leather. Do so by squashing one side down around the leather using the flat nose pliers, followed by the other side, folding it over the first.


6: Add each of the charms to the leather.

7: Add the other leather crimp end to the other end of the leather cord.

8: Add a jump ring to one side of the bracelet and attach one part of the toggle clasp. Close the jump ring to secure it in place.

9: Repeat this step for the other side of the bracelet, attaching the second part of the clasp using the remaining small jump ring.

Once your clasp is in place your bracelet is finished! What colors will you make yours in?


DIY Jewelry Hub
Welcome to DIY Jewelry Hub. If you’ve ever wanted to learn how to make your own jewelry this is the place to start! Jewelry is a great way to show off your individuality and style. You’ll be surprised at how easy it is to create your own unique pieces! DIY Jewelry Hub will equip you with all the knowledge and inspiration you need to make your own jewelry.
You May Also Like

The double hole bead is back! This bracelet is delicate and adorable.

Here’s a fun simple design to make! All you need is some brightly coloured string and a fun bead!