-
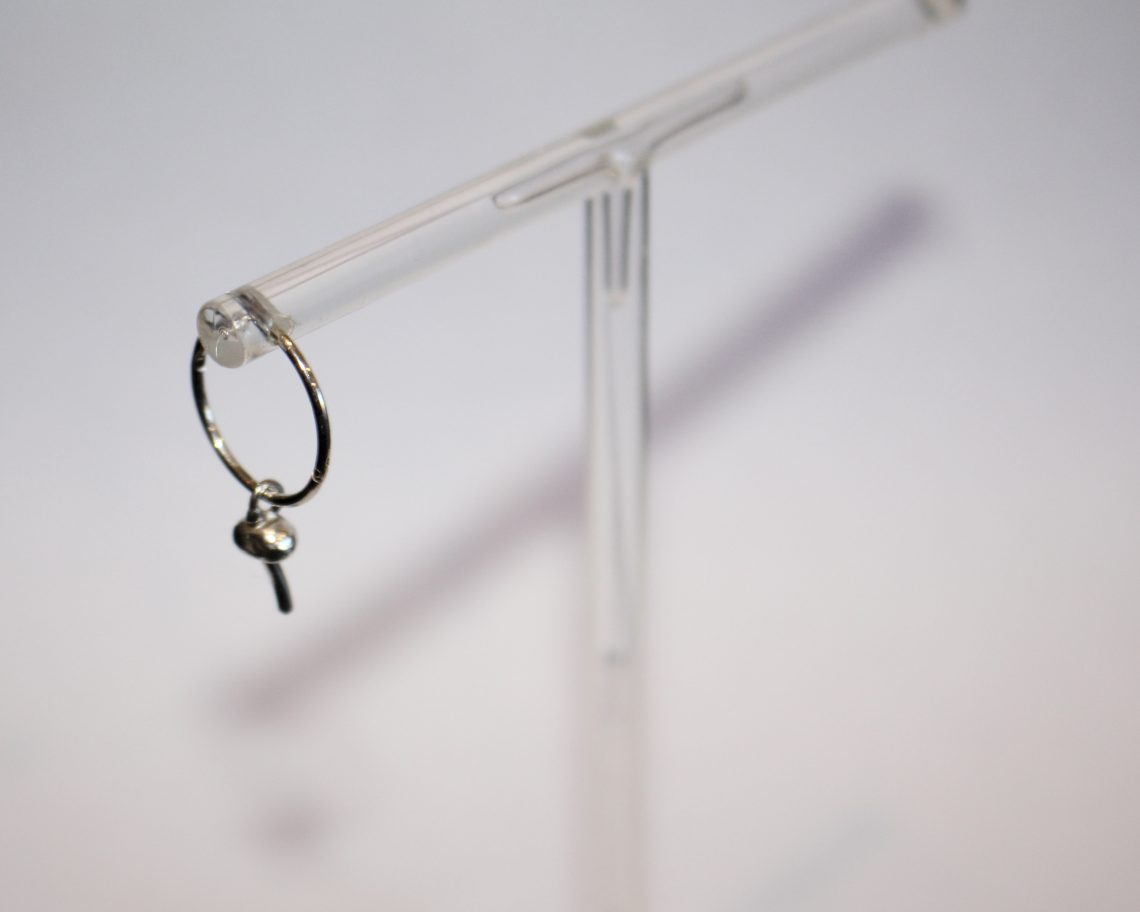
Sleeper earring charms?! Here’s how to add a cute charm to your sleeper earrings.
I love adding a little glamour to my causal sleeper earrings with charms! This super simple tutorial that doesn’t require any tools at all shows you how to add cute tiny charms to your everyday earrings. You can even mix and match your favourite little charms.
Please note that this tutorial contains affiliate links for which we may receive a commission.
You’ll need the following materials to update your sleeper earrings with charms:
1: A sleeper earring. You can use gold or silver. I used a sterling silver sleeper.

You can get silver sleepers here:
Or you can get gold sleepers here:
2: A charm. I used this sterling silver mushroom charm. You can mix metals and add a gold charm, or add something that matches instead.

You can get something similar here:
Or try these gorgeous charms:
Follow these steps to add your charm to your earring:
1: Open the earring.

2: Put the charm on the earring and close it to secure.


Now you’re charm filled sleeper is ready to wear! What charms will you add to yours?


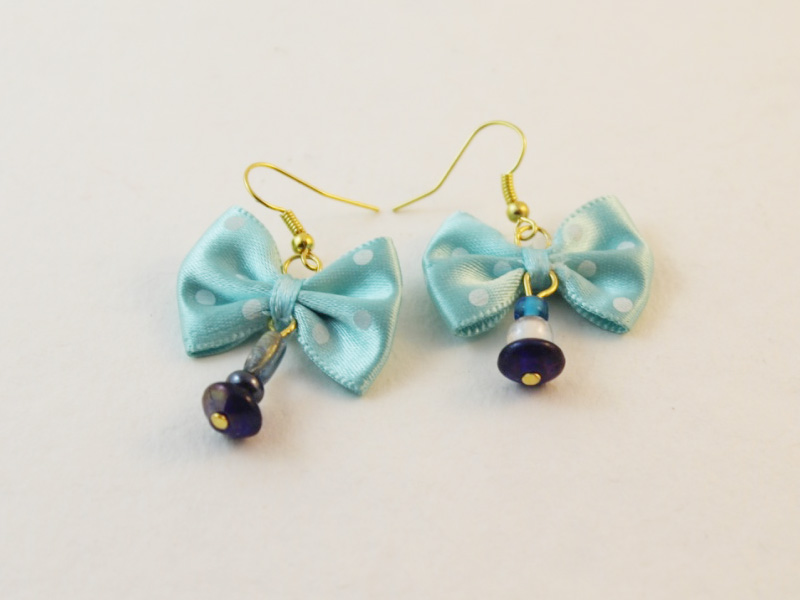
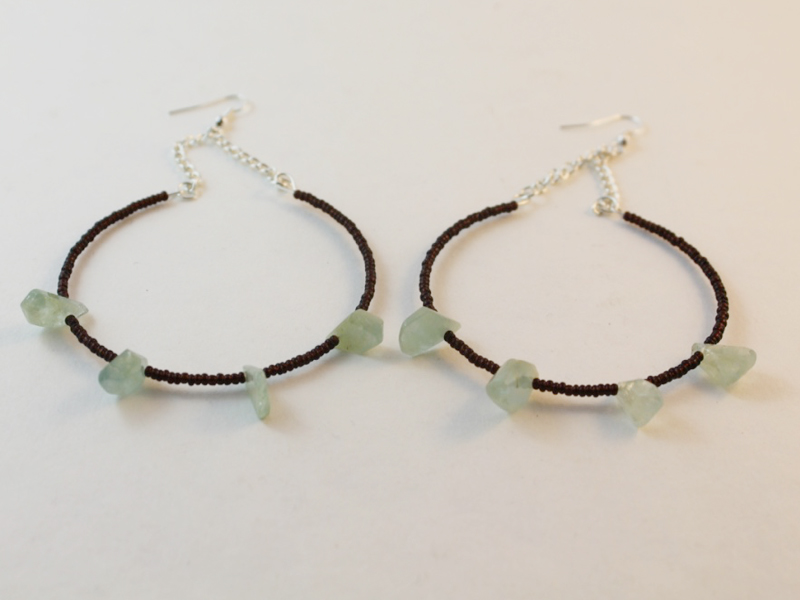
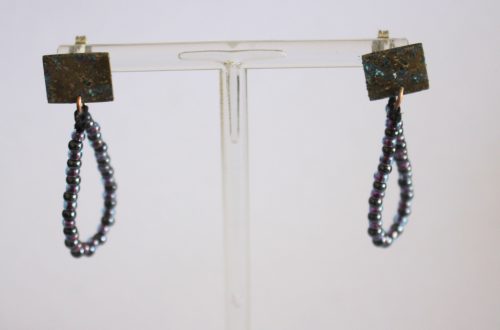
Here are some other charm sleepers I have put together!


If you love this tutorial here are some similar earrings you can make:
- Make clip on charms for your hoop earrings.
- Beaded square charms to add to your hoops.
- How to add mini star bead charms to your hoop earrings.
- How to make your own hoop earrings out of wire.
- How to embellish your hoops with letter beads.
- How to make pearl charms for your hoops.
- How to make bohemian hoops with ribbon and shells.
- How to make pearl tassel hoops.
- How to make fruit charm hoops.
-
Here’s how to make some pearl wiggle charms to add to some charm connector earrings.
I love charm connector earring findings, because you can make your own unique charms to create a one of a kind pair of earrings. This tutorial shows you how to transform some silver wire into some playful pearl charms that add some personality to your earlobes!
Please note that this tutorial contains affiliate links for which we may receive a commission.
You’ll need the following tools and materials to make these earrings:
1: Two pieces of sterling silver wire with the ends filed, about 4cm long.

I used wire recycled from a previous project, but you can get some here:
2: Two half drilled pearls.

You can get pearls here:
3: A pair of charm connector earrings. I used some peridot ones I made some time ago.

You can get some charm connector studs here:
4: A pair of flat nose pliers.

You can get some here:
5: A pair of parallel pliers.

You can get a pair of parallel pliers here:
6: A pair of round-flat pliers.

You can get a pair of flat-round pliers here:
7: Two part epoxy glue like Araldite or similar.

You can get some glue here:
8: A piece of scrap paper.

9: A skewer or toothpick for mixing the glue.

You can get some here:
10: A piece of scrap wire or something small to apply glue to the wire and pearl.

With all your tools and materials gathered, you can follow these steps to make your wiggly pearl earrings.
1: Use the parallel pliers to bend the tops of the wires to form a right angle.


2: Loop the bent ends of the wires into a circle shape using the round-flat pliers.


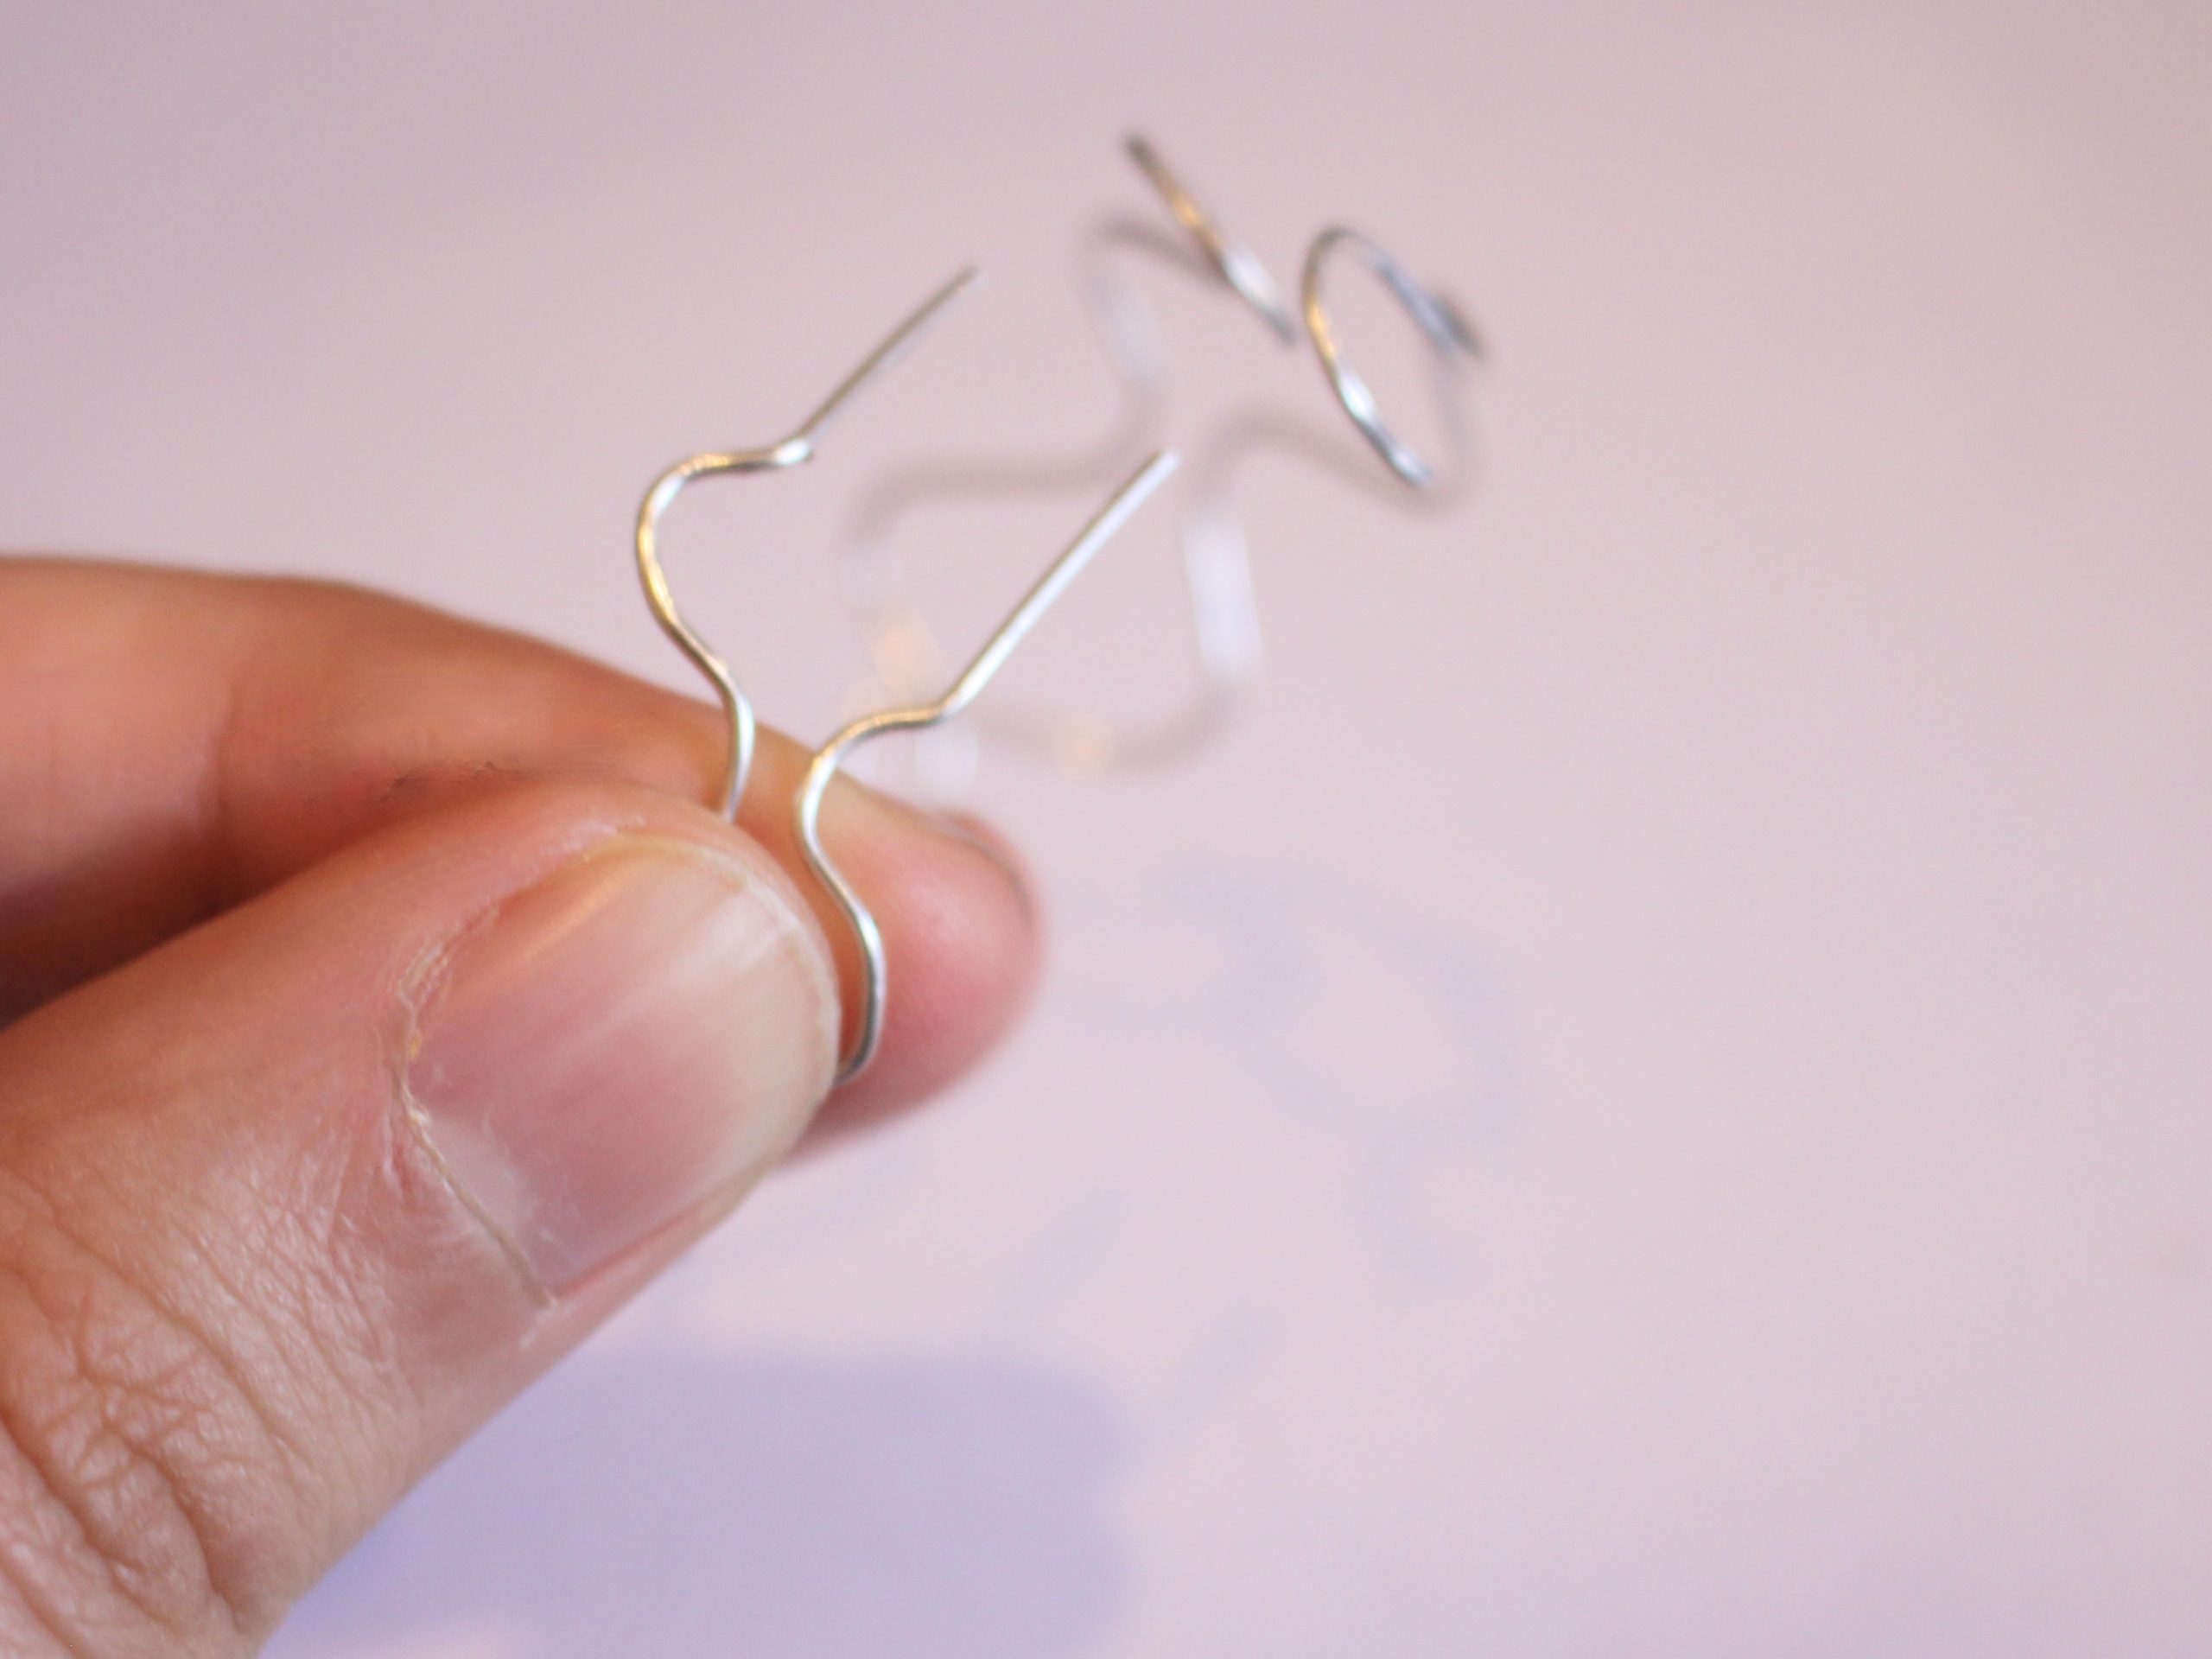
3: Grasp the wire between the jaws of the flat pliers and bend it to form an angle.

4: Then move the pliers down and bend the wire back in the opposite direction to form a zig-zag shape.

5: Continue making the wiggles until there is a little bit of the wire left. This will be the part that is glued into the pearl.


6: Push out some of the glue onto a piece of paper and mix it.


7: Add glue to the end of the wire and the pearl using the piece of scrap wire.


8: Place the wire into the pearl and wipe off any excess glue. Set the charms aside to dry.


9: Once your charms are dry and secure, use your pliers to attach the charms to the loops on the bottom of the charm connector earrings.


Once your charms are connected, your earrings are finished and ready to wear! So cute and unique. I can’t wait to wear these out!


-
Here’s how to make a pair of elegant pearl drop earrings at home, so gorgeous!
These earrings are such a simple, but special DIY. They feature glowing coin pearls attach to a pair of elegant sterling silver shepherd’s hooks for a lovely effect. Perfect for those who love a bit of glamour but don’t want to bother with fussy dangly earrings. Please note that this tutorial contains affiliate links for which we may receive a commission.
You’ll need the following tools and materials to make your pearl drop earrings:
1: A pair of half-drilled pearls. I used these iridescent pink coin pearls.

I used these ones:
But you can also get some similar ones here:
2: A pair of sterling silver pearl post shepherd’s hooks.

You can get some here:
3: Two part epoxy glue. I used araldite.
You can get some here:
4: Scrap paper.
5: A skewer or popsicle stick for mixing the glue.
You can get skewers here:
6: A small piece of thin scrap wire or similar for applying the glue.
Follow these steps to make your new pair of pearl drop earrings:
1: Squeeze the glue out onto the scrap paper and mix it with the skewer.

2: Apply the glue sparingly to both the pearl posts and the holes in the pearls using the piece of thin wire.


3: Place the posts into the hole and set the earrings aside to dry. You may need to prop them up with something like Blu-tac to ensure that the earrings dry in the right position. Make sure you wipe away any excess glue with a tissue.


Once the glue is set, your earrings are ready to wear! Where will you wear yours? I was thinking of wearing mine to an upcoming wedding. So elegant and special.
Here’s how the finished earrings look!


-
Want a new pair of hoops? Here’s how to turn two pieces of wire into a unique pair of wiggle hoop earrings.
Want to work with metal but don’t want to invest in all the equipment? Then this tutorial is for you! Follow along to make a unique pair of wiggle hoop earrings using pliers and some wire. I love how simple but stunning this tutorial is. Please note that this tutorial contains affiliate links from which we may receive a small commission.
You’ll need the following tools and materials to make your wiggle hoop earrings:
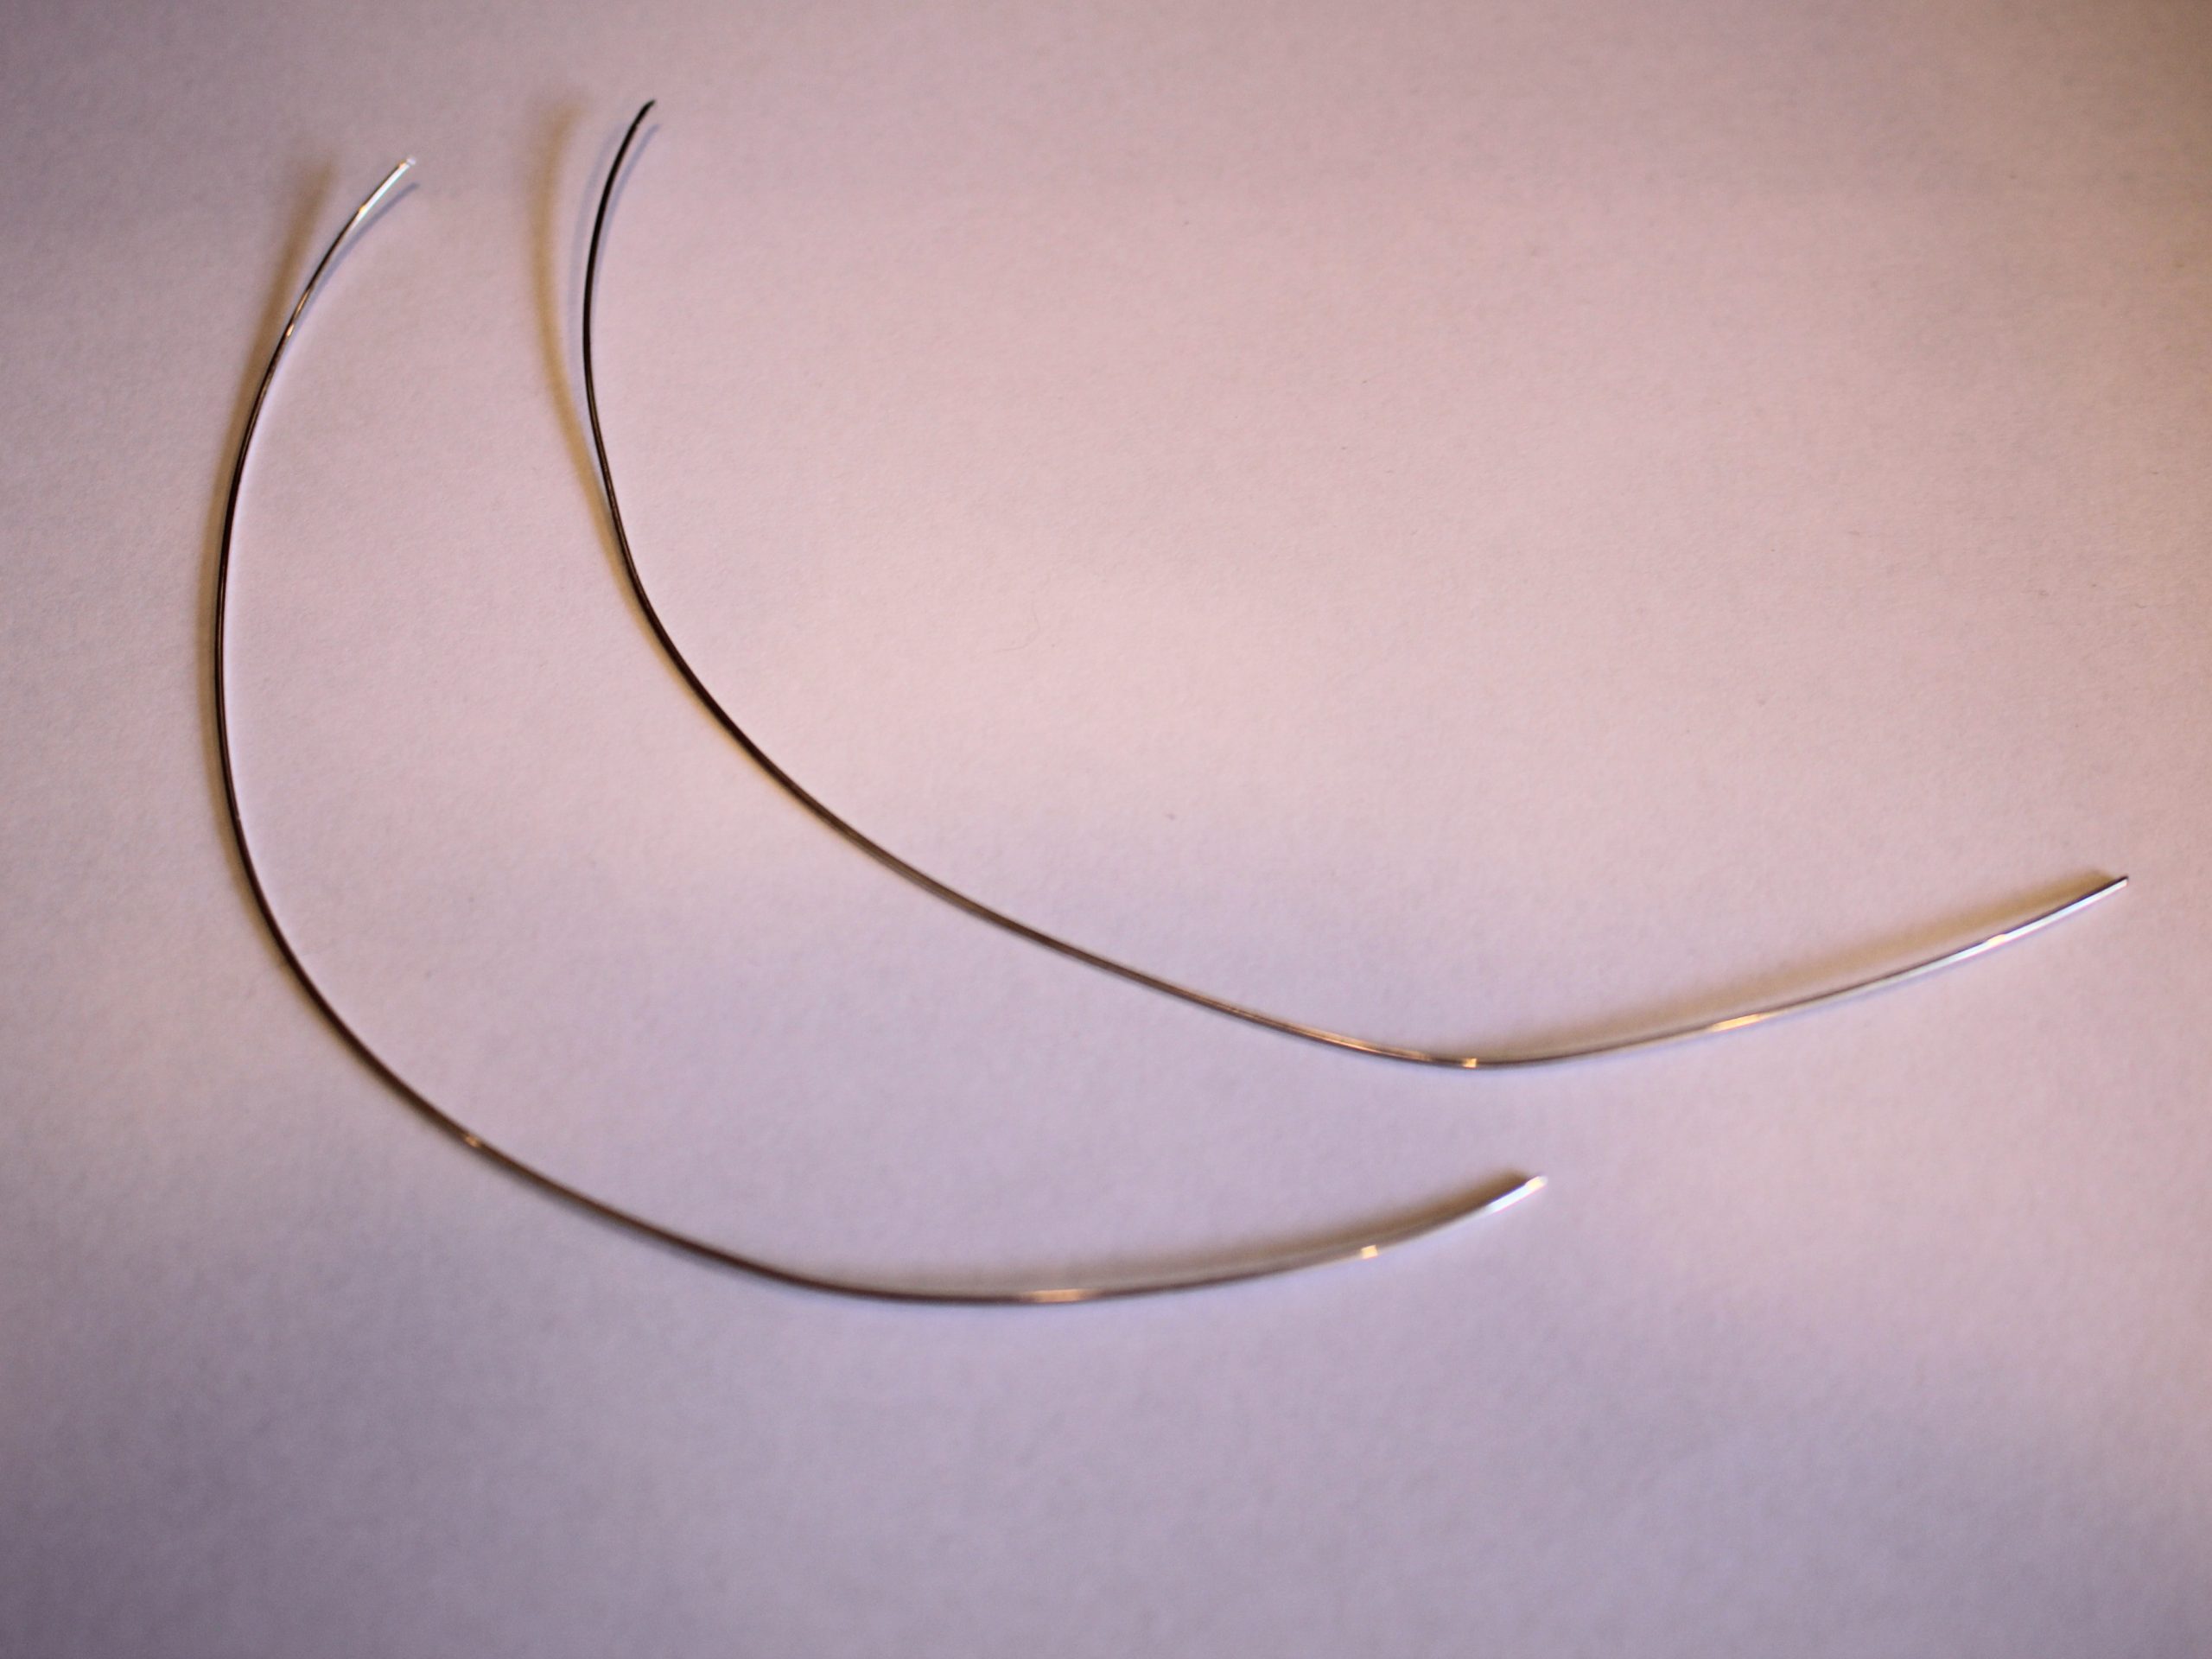
1: Two pieces of wire, I used 0.8mm diameter sterling silver and cut mine to be about 18cm long each.

You can get silver wire here:
If you’re feeling fancy, you can get solid gold wire here:
2: A jewellery file or emery paper to ensure that the ends of the wire aren’t too sharp.

You can get a jewellery file here:

I have my emery paper attached to a stick for more control. You can get some here:
3: Half round-Flat pliers. These pliers have a half-round side and a flat side to make curves.

You can get a pair here:
4: Round-flat pliers.
You can get a pair here:
5: Parallel pliers.
You can get some here:
6: A bangle mandrel or something else that is the right diameter so you can shape your earrings into a circle.

You can get one here:
7: Butterfly backs.

You can get butterfly backs here:
8: A nylon or leather hammer for shaping the earrings against the mandrel (Don’t use this if you are shaping your earrings around something breakable).

You can get a hammer here:
9: Sticky tape. I used plastic tape but masking tape would likely be more suitable.
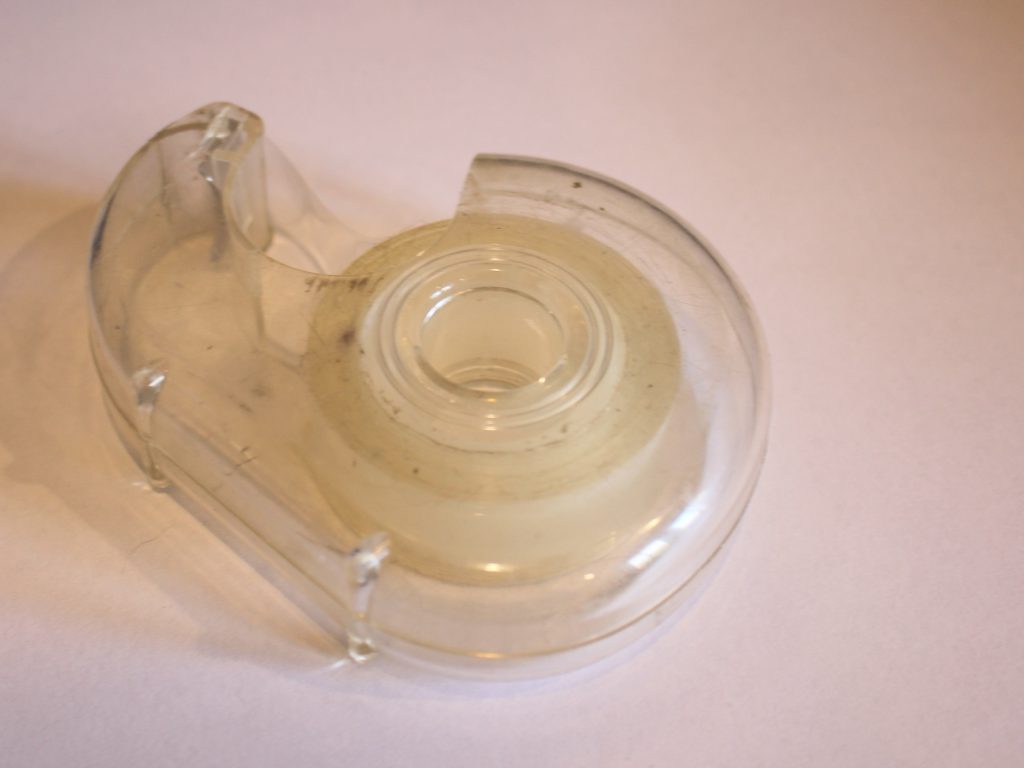
You can get masking tape here:
Follow these steps to make your own pair of hoop earrings:
1: File the ends of the wire so that they are flat and have no sharp edges.

2: If you have emery paper, sand the ends as well to further break down any sharp ends.
3: Tape the two pieces of wire together.

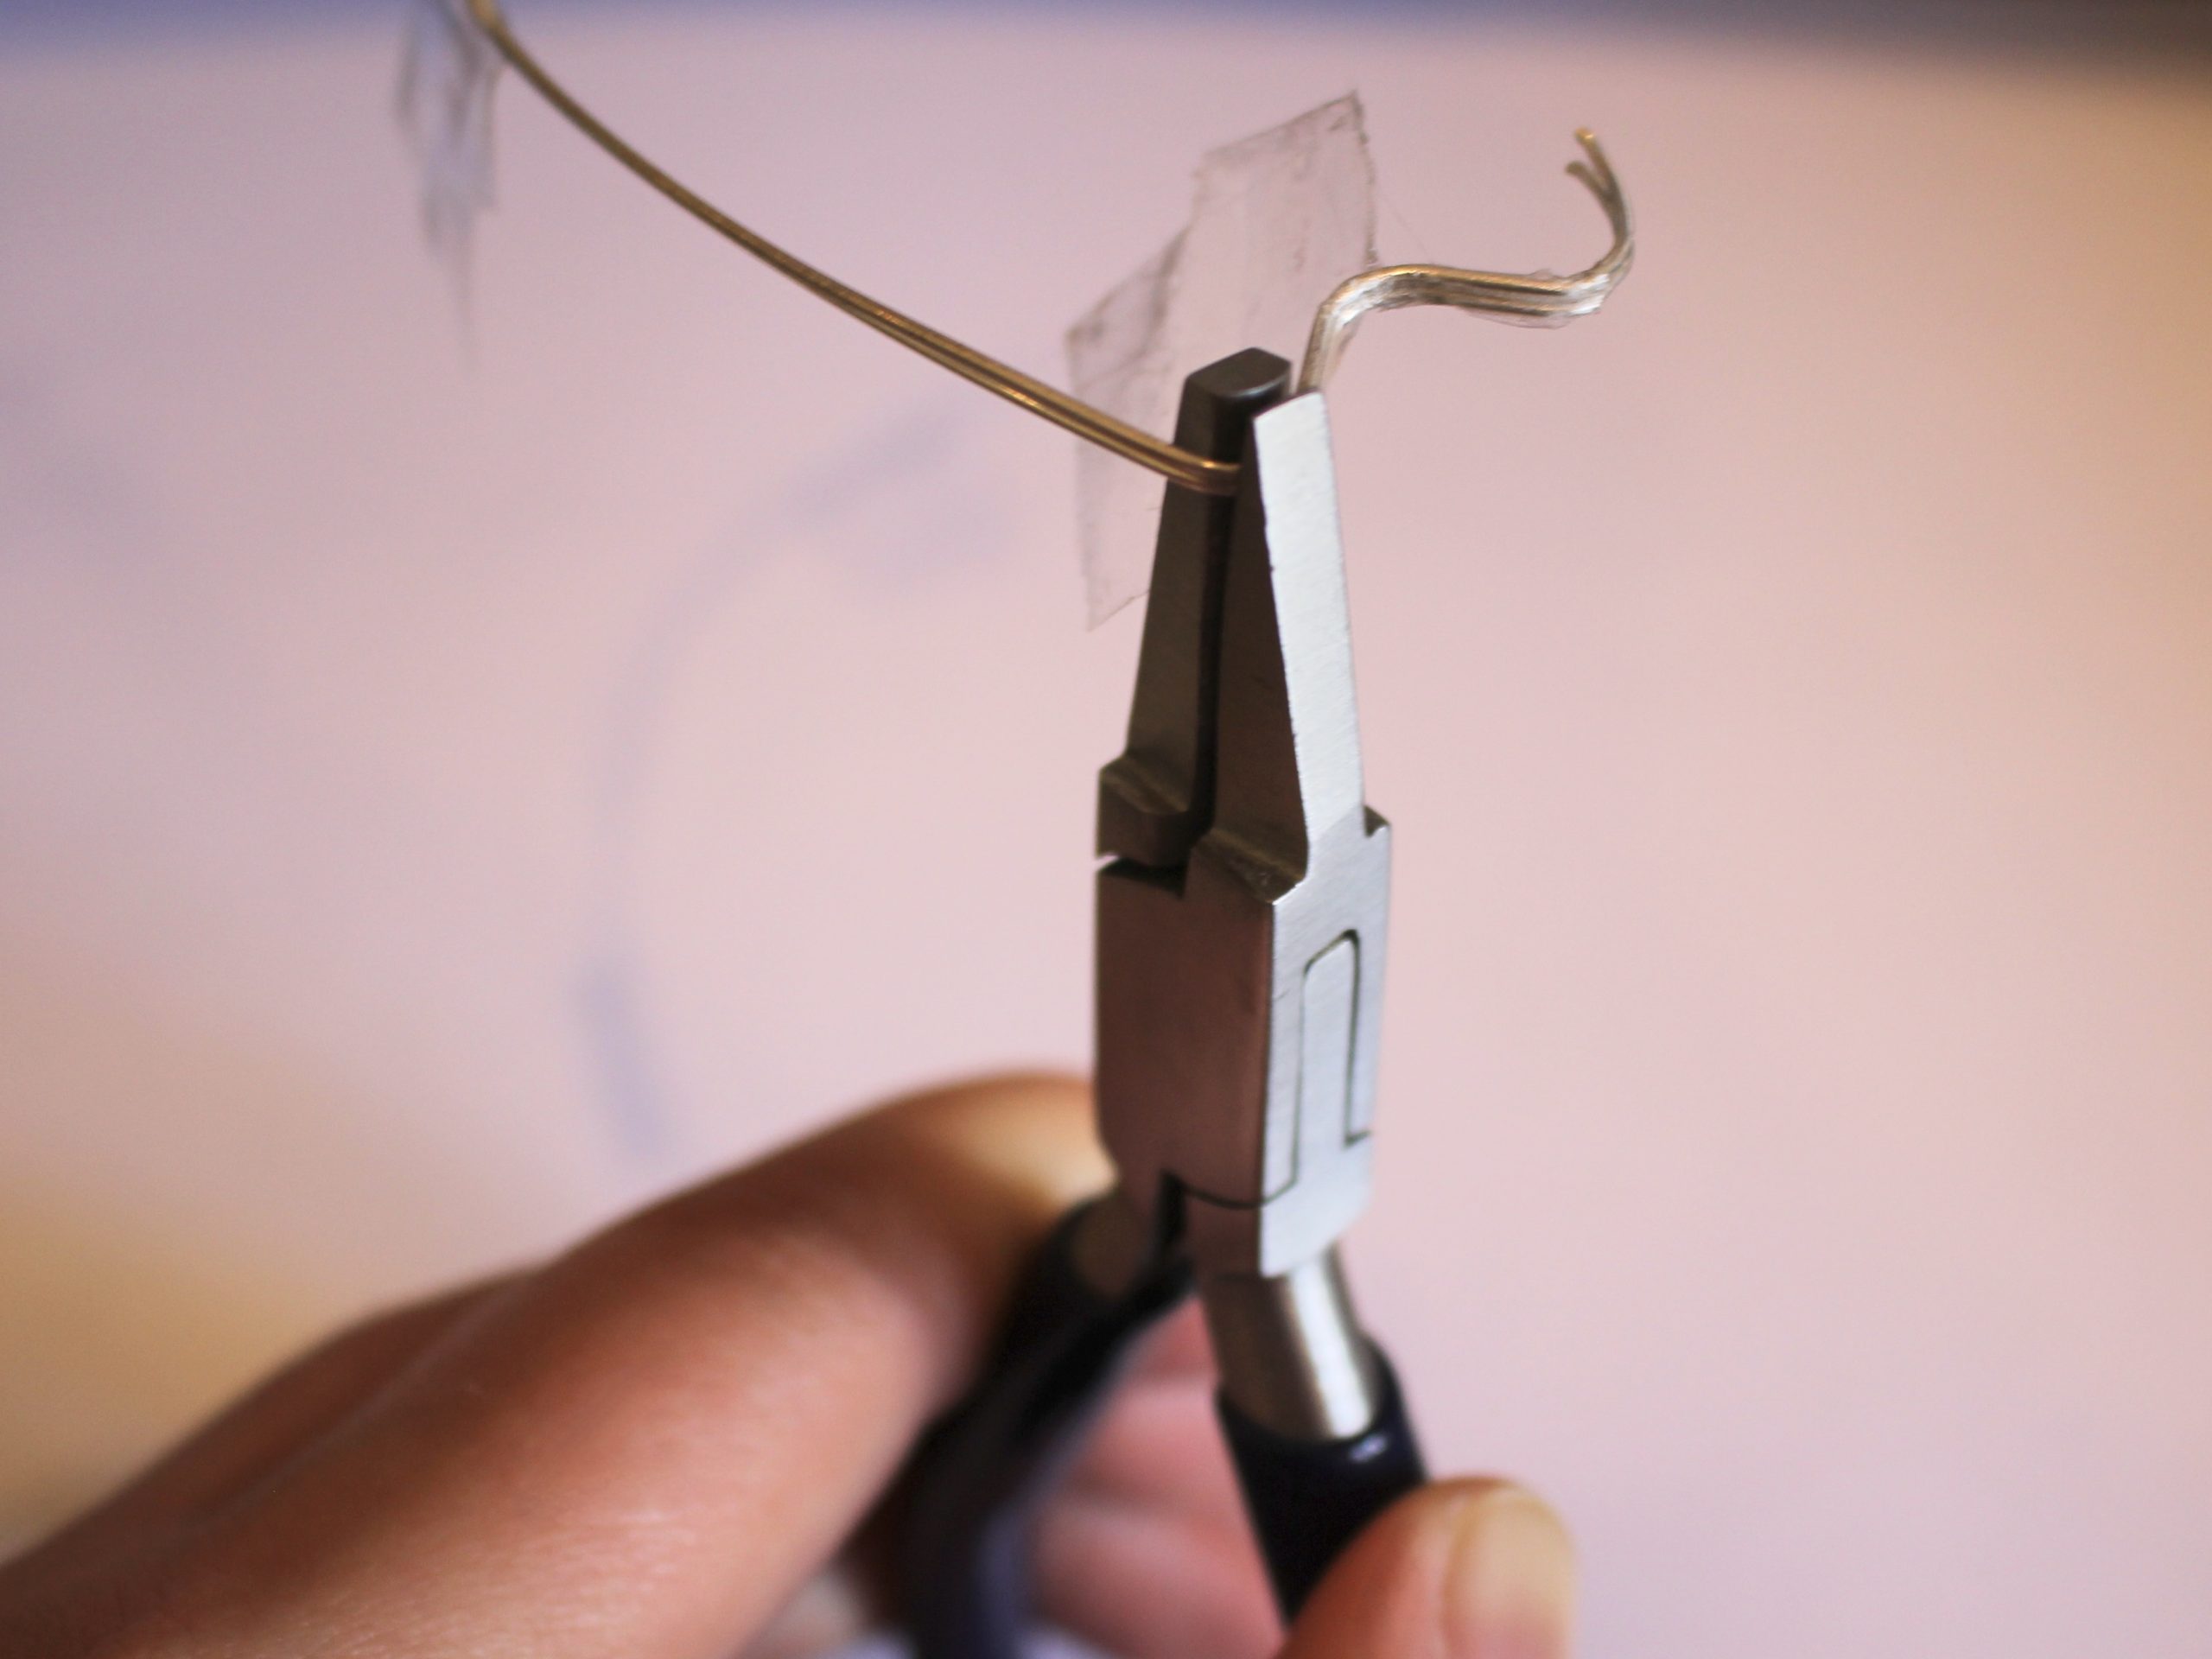
4: Take your half round-flat pliers and create the first bend at the end of the wire by clamping the wire into the jaws of the pliers and pressing them together.

5: Flip the pliers around and place them on the other side of the wire and repeat step 4 to make a curve in the wire in the opposite direction.

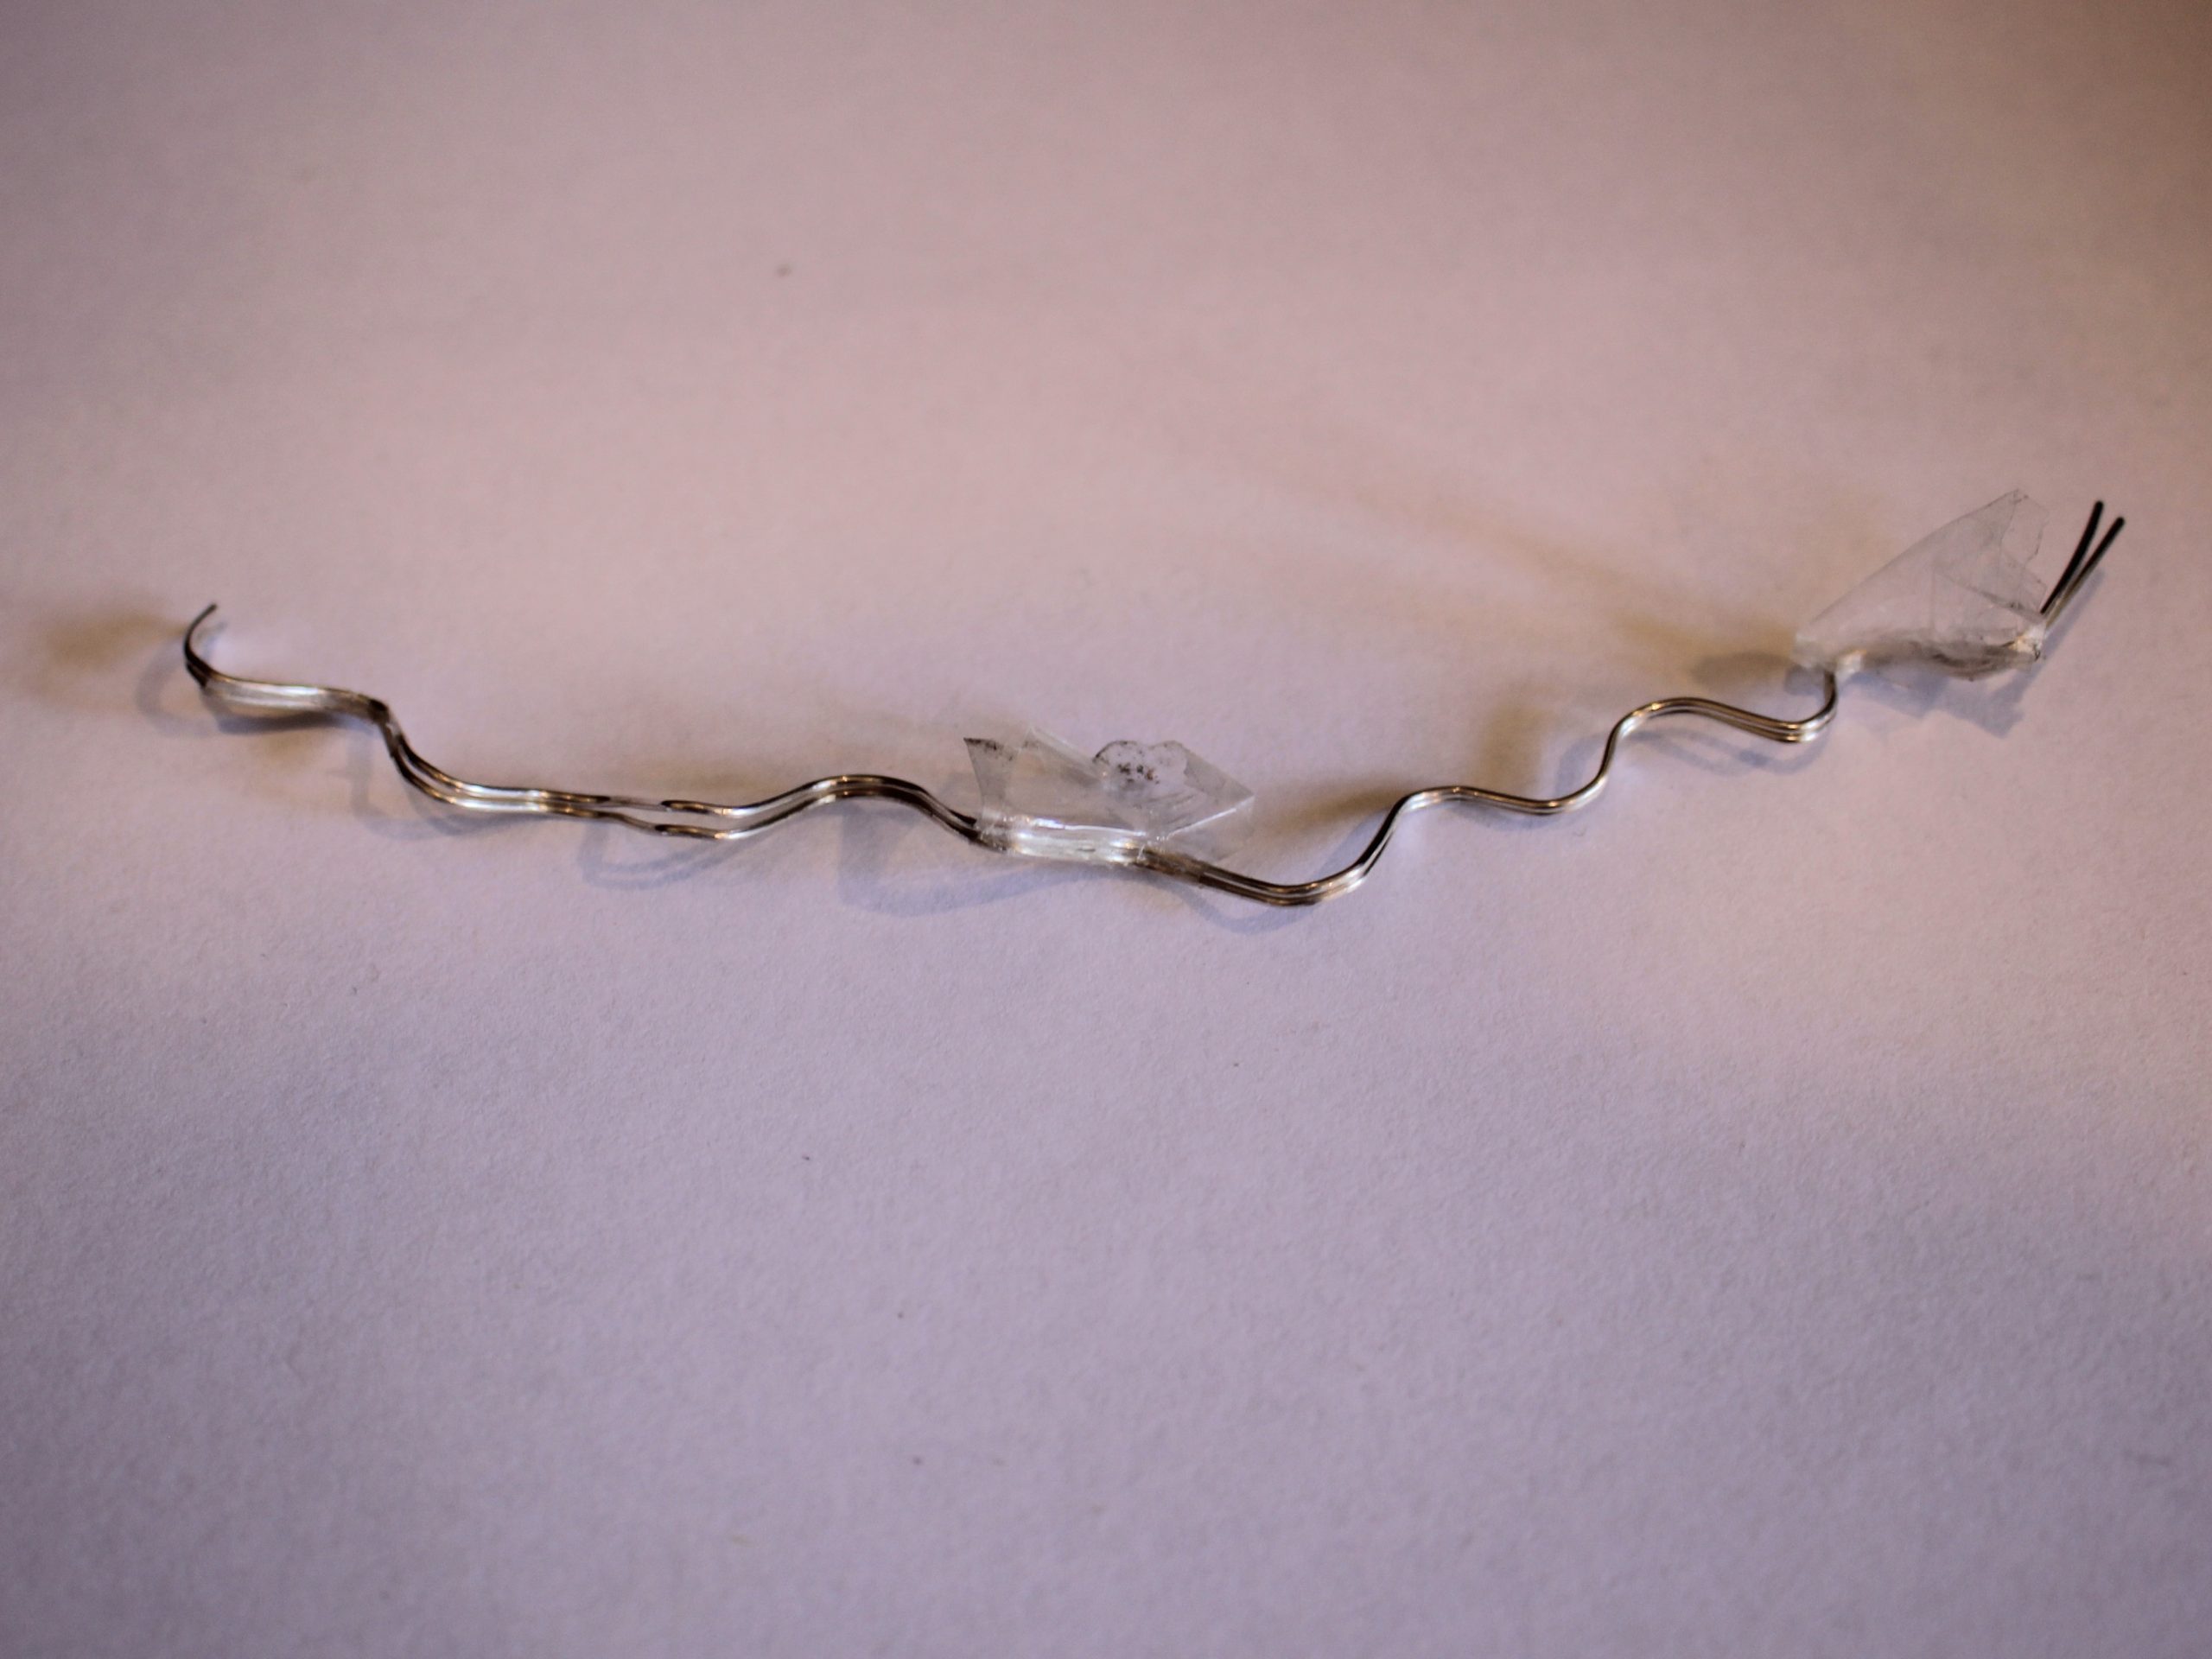
6: Repeat steps 4 and 5 until your pieces of wire are formed into a squiggle shape, but leave about 1cm at the end for the earring post.


7: Remove the tape and separate the wires.
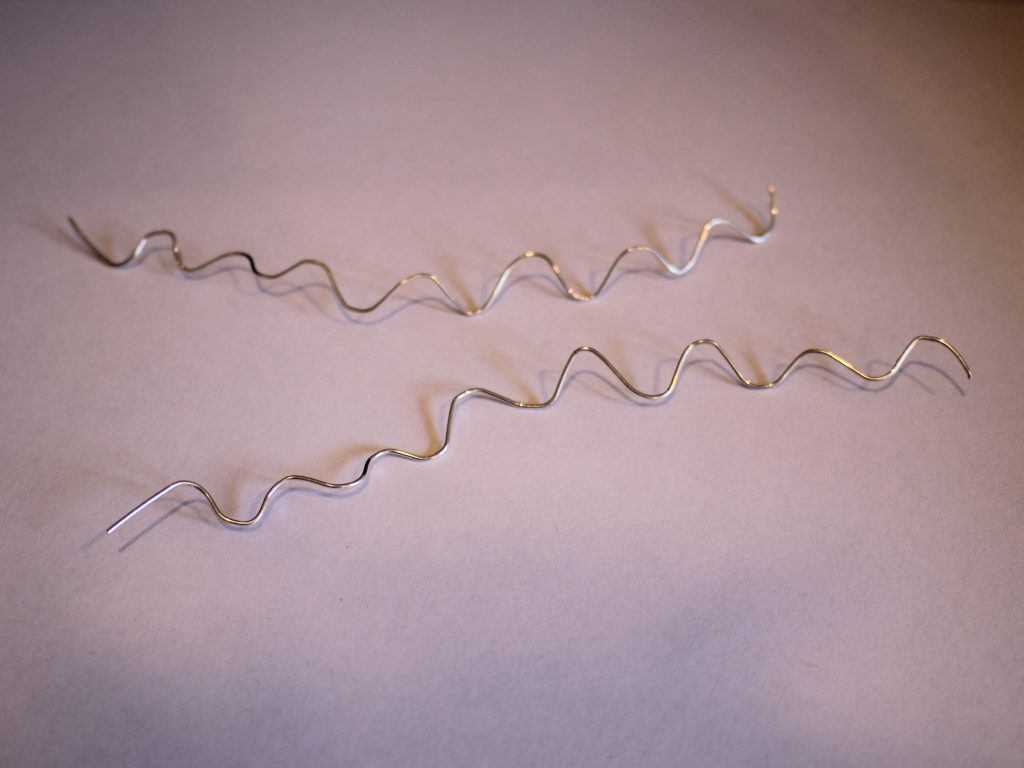
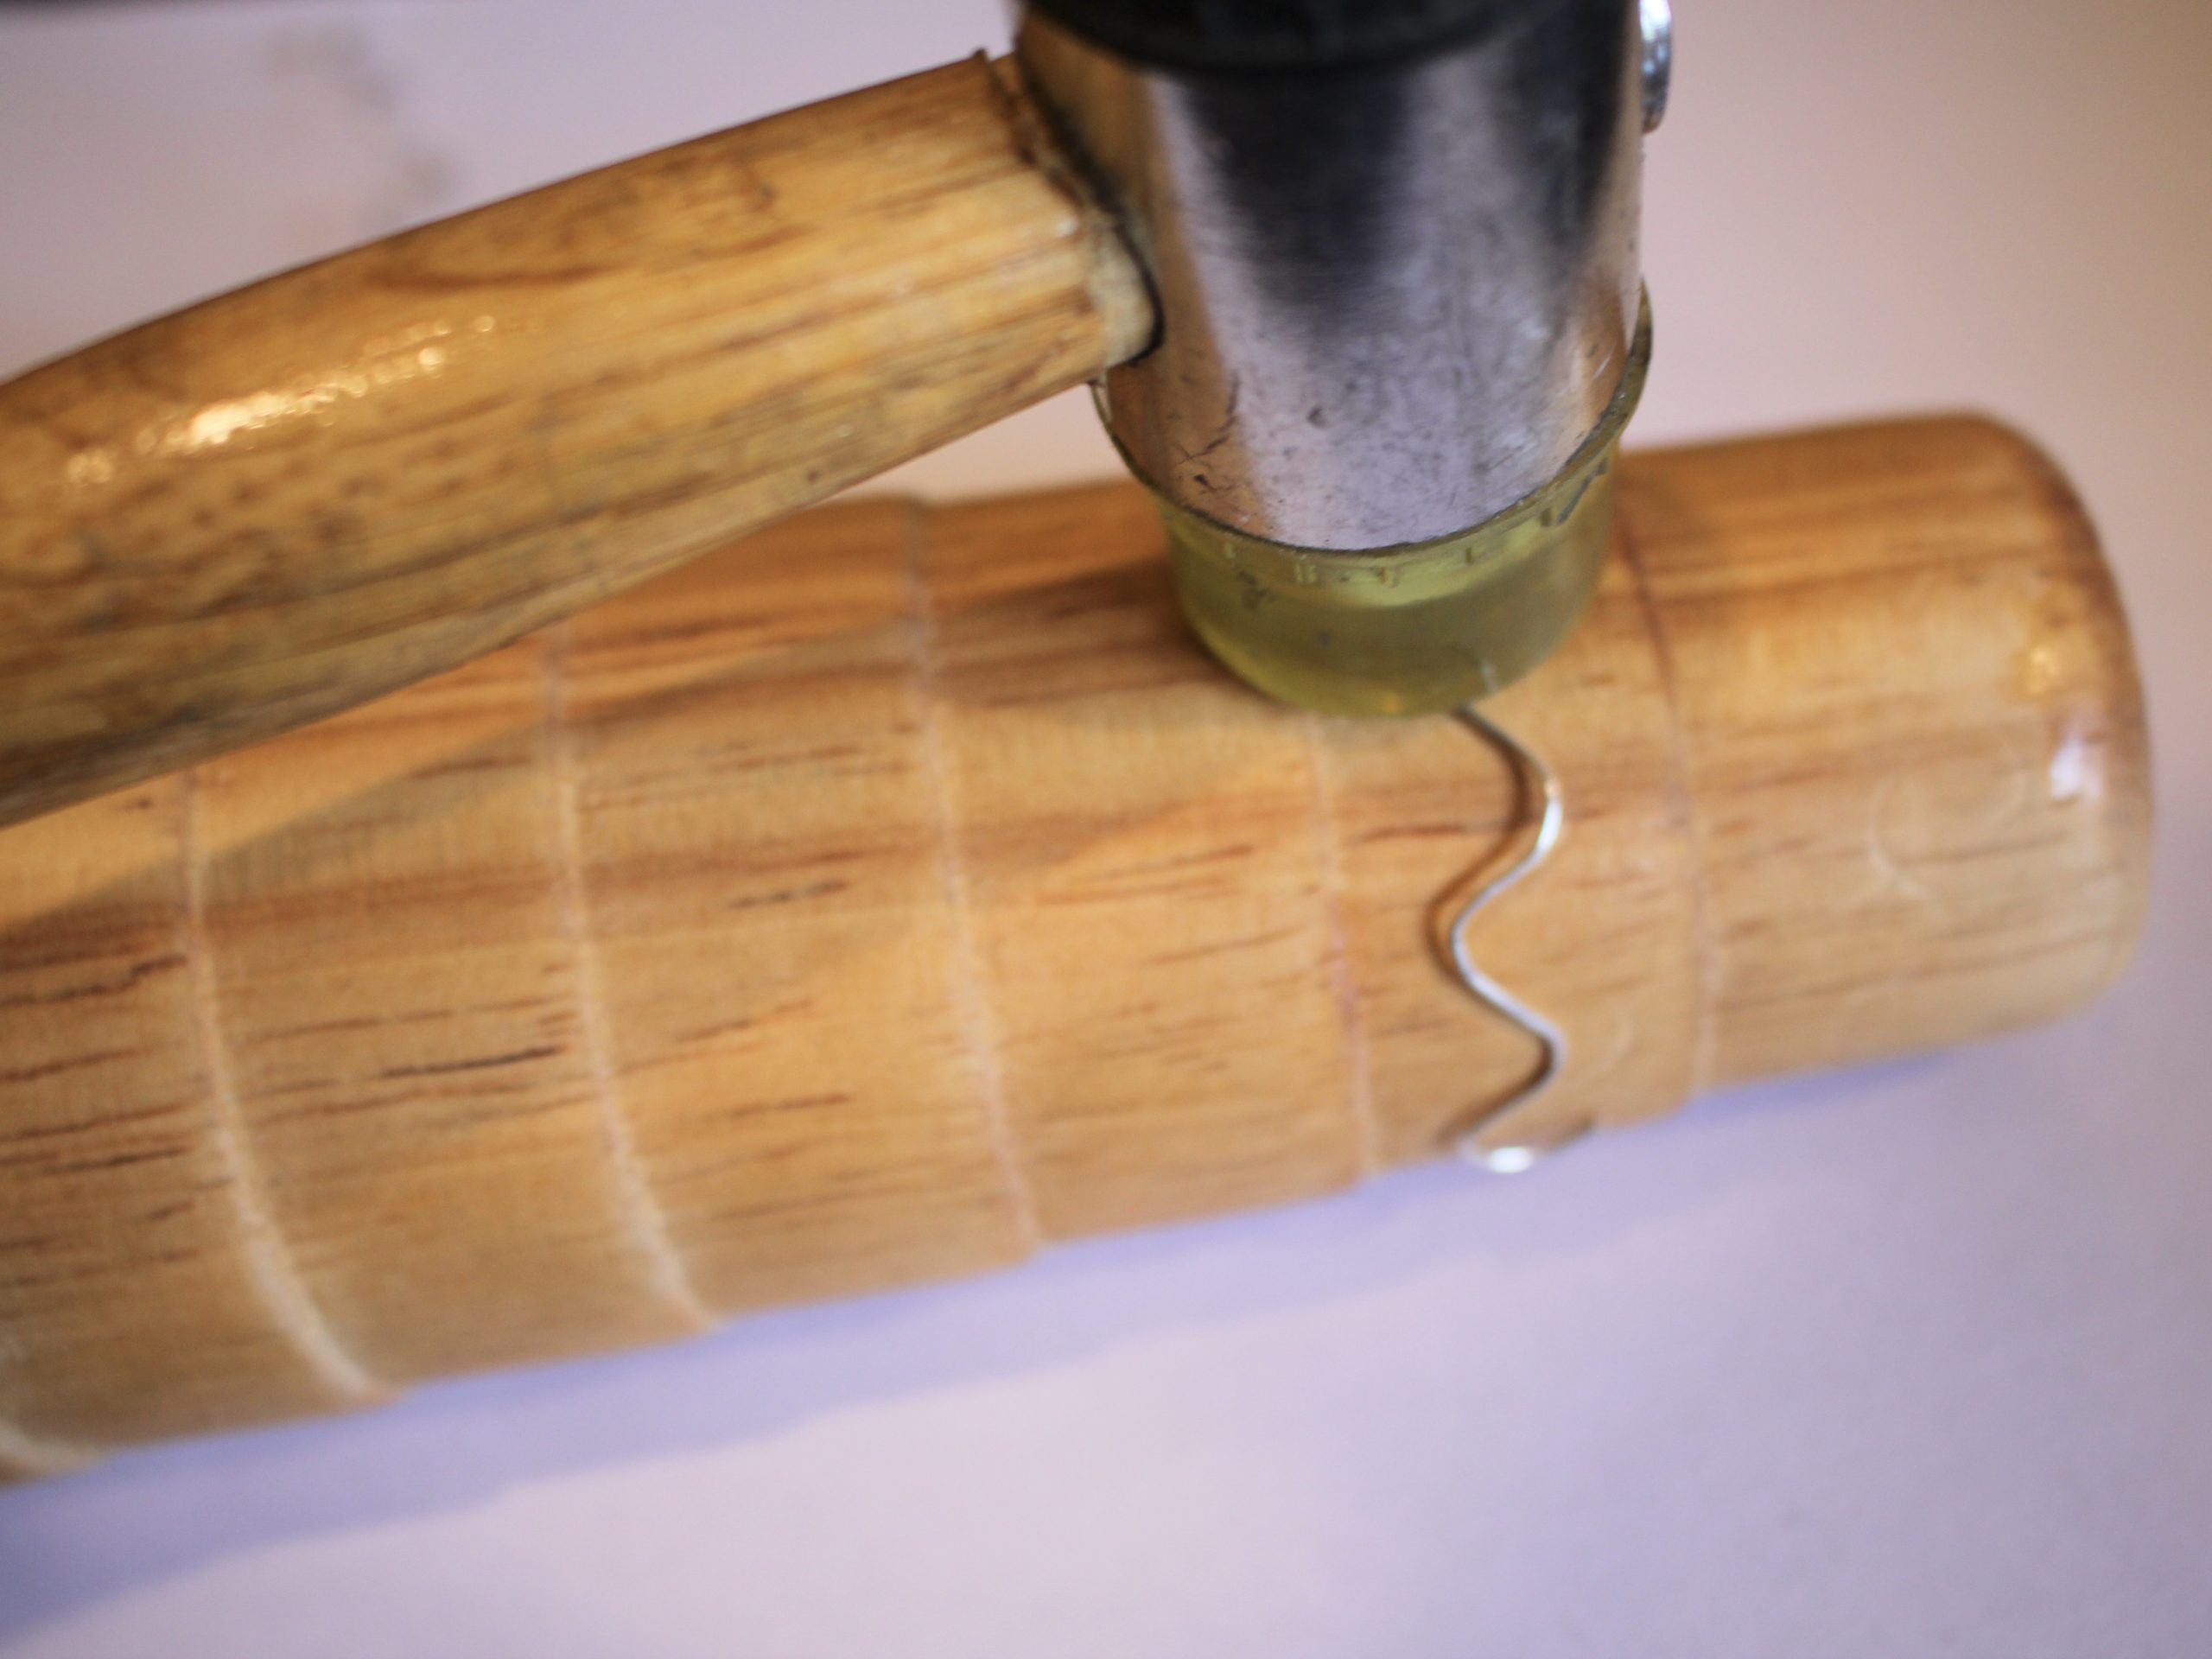
8: Wrap the wire around the bracelet mandrel to form it into the earring shape. Use the nylon hammer to hammer it into shape. Repeat this for both of the earrings.


9: You can further adjust the shape of the earrings by pressing the half round-flat pliers around the earring, making sure to match the curve of the pliers with the inner curve of the earrings. Doing this will add more tension to your earrings to help them hold their shape.
10: When you are happy with the shape of your hoops, Take the round flat pliers and push the straight ends of the wire around so they sit sideways.


11: Then take your parallel pliers and use them to adjust the straight ends of each earring so that they are centered in the middle of the wiggle to sit evenly in your ears.


12: Once you have adjusted the ends, your earrings are finished and ready to wear. Pop the butterfly backs on to secure them on your lobes.

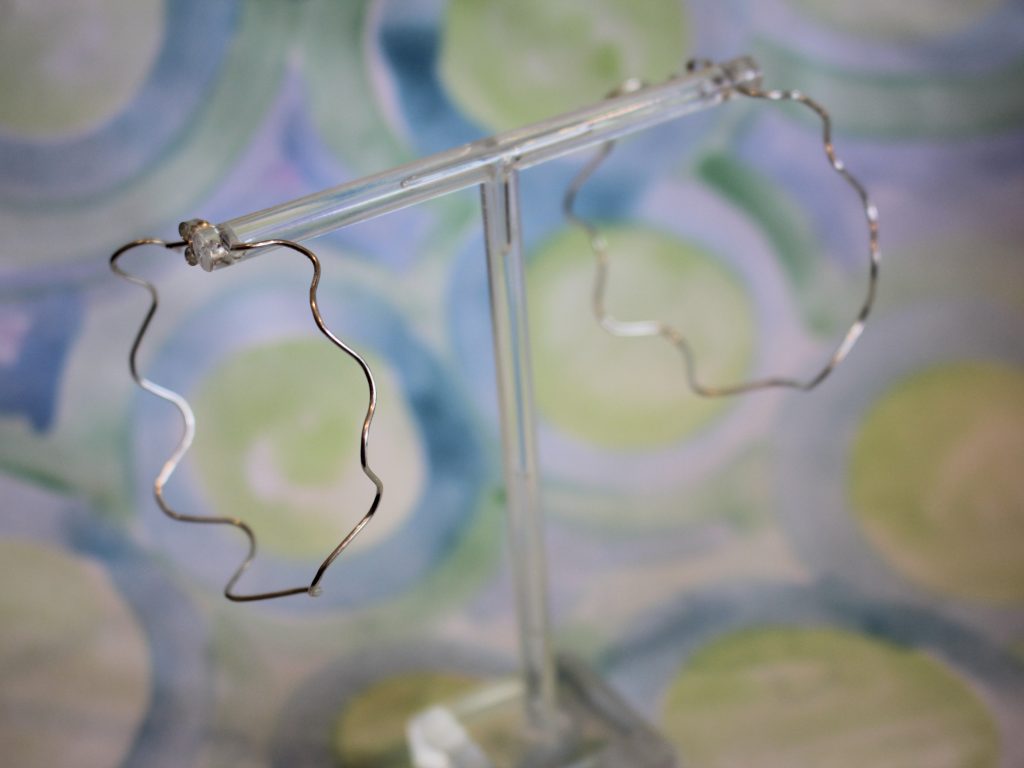
Here’s how the finished product looks! How will you style yours?


-
How to make textured arch threader earrings
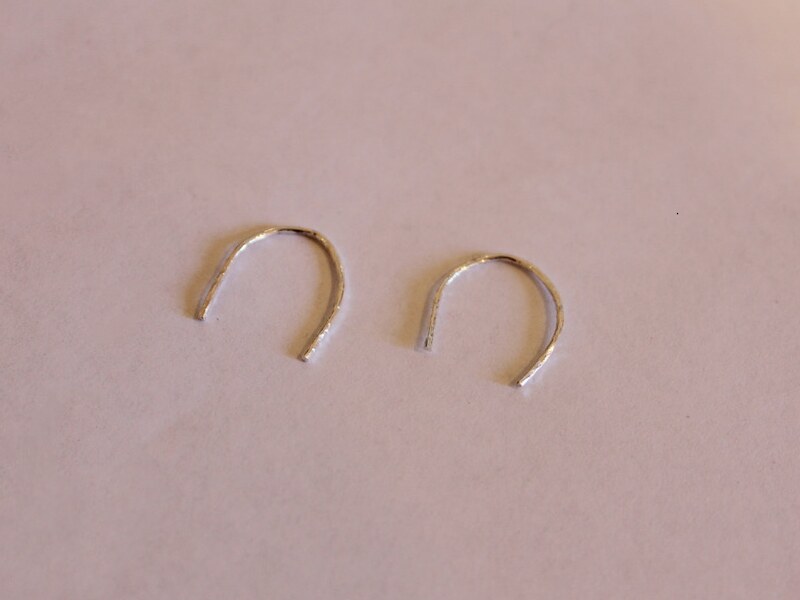
Here’s how to add some extra flare to your threader earrings… add some texture! Use a hammer to add some glittery facets to your wire threader earrings.
You will need the following tools and materials to make your earrings:
1: Cutting pliers to cut your wire to length.

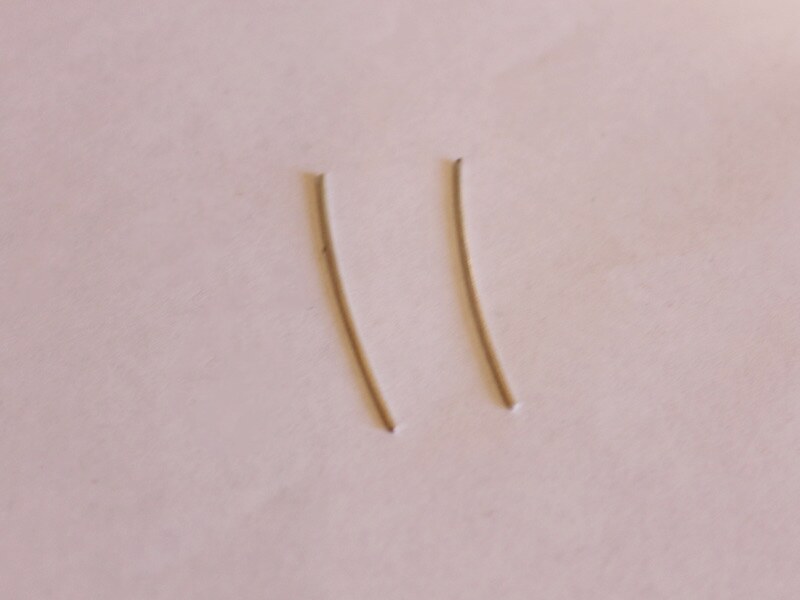
2: Two pieces of wire. I used some sterling silver wire approximately 4.5cm long.
3: A steel block.

4: A hammer.

5: A file.
6: Tape.

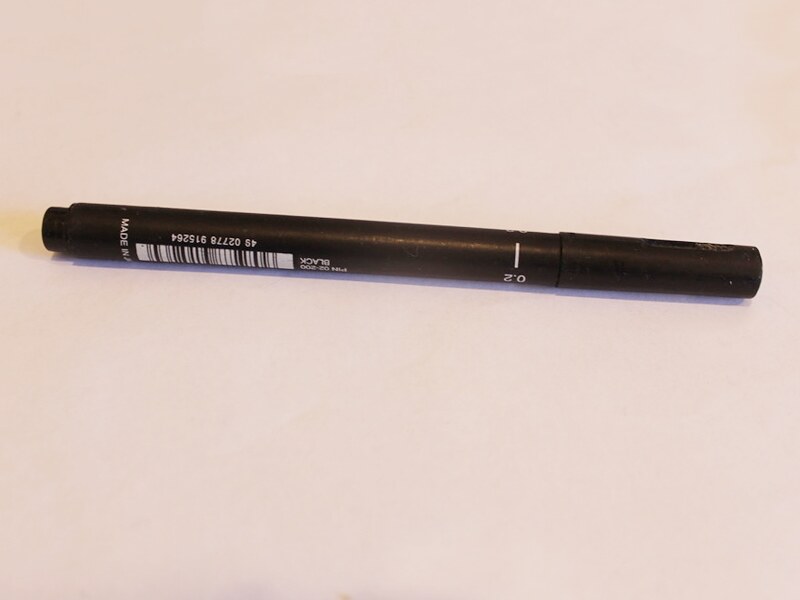
7: A pen or something else that is round to shape your wire around.
Follow these steps to make your textured wire threader earrings:
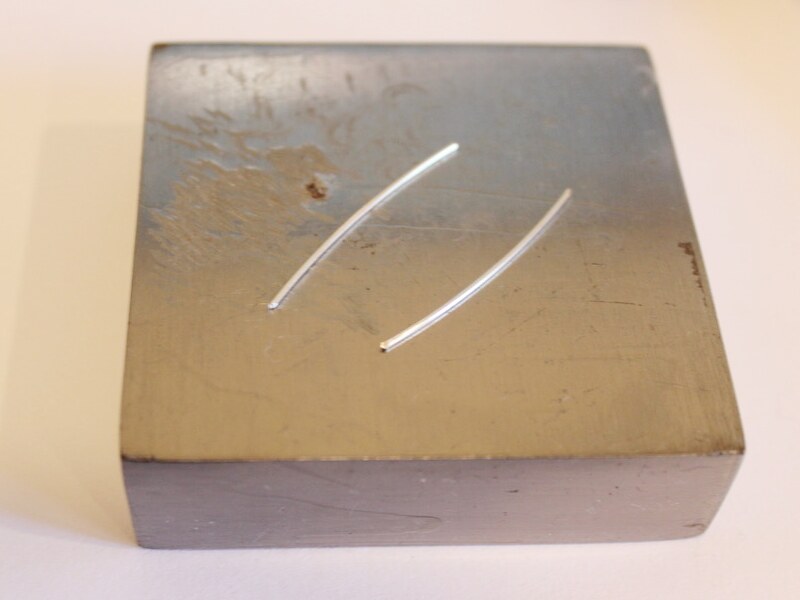
1: Hammer the wire so that it is textured on all surfaces. Do this by hitting the wire lightly with the edge of the hammer.
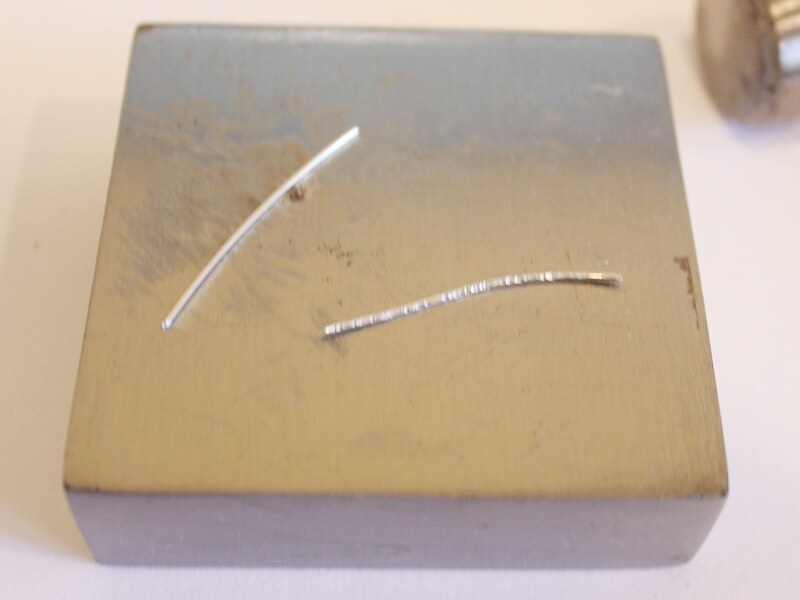
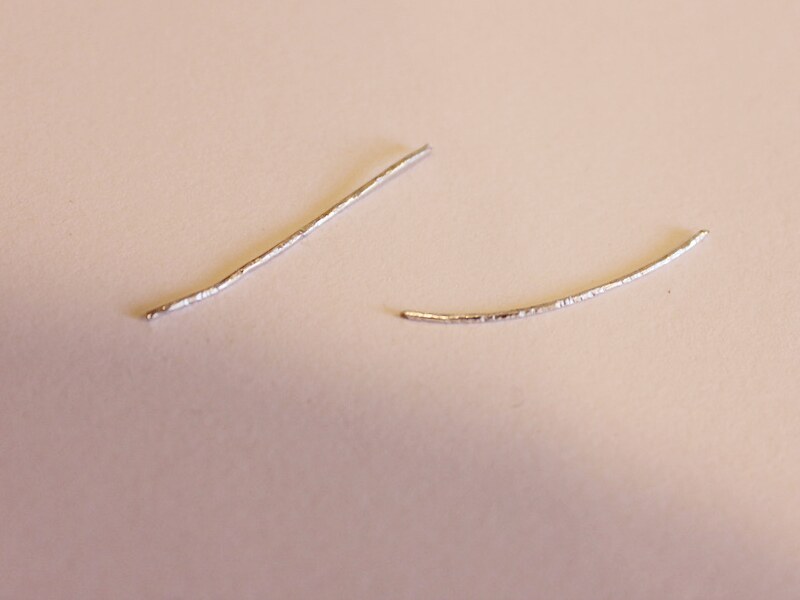
2: Once both pieces are textured line them up and tape them to the pen.
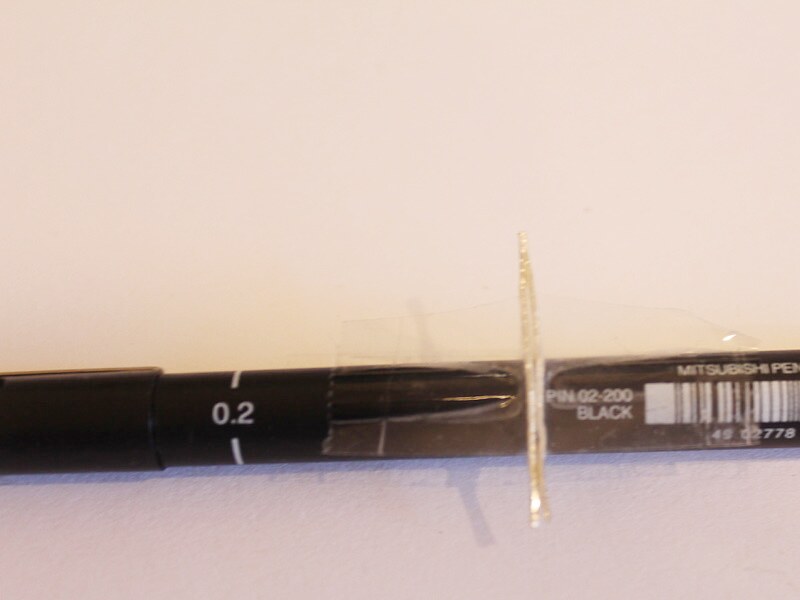
3: Bend the wire around the pen to form a curved arch shape.
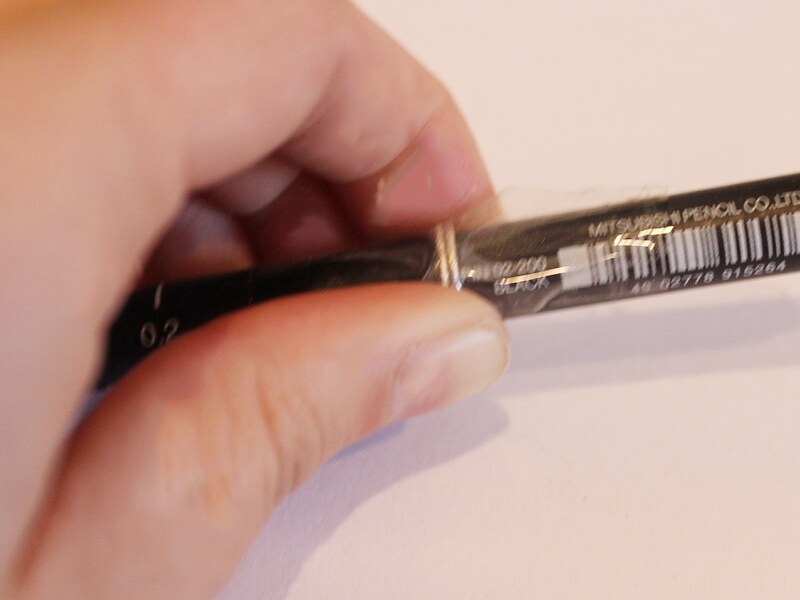
4: Take the wire off the pen.
5: File the ends of the wire until they are smooth.
Once your earrings are filed they are ready to wear! How cute are these little arch threader earrings?!