
Here’s how to make a special pair of earrings using earring findings and beaded thread…
Here are some fun earrings you can construct at home! This is a great way to use the pieces of copper or brass that you created patina on using our salt and vinegar patina tutorials as well as some of your fave beads. Please note that this tutorial contains affiliate links.
You’ll need these tools and materials to make these earrings:
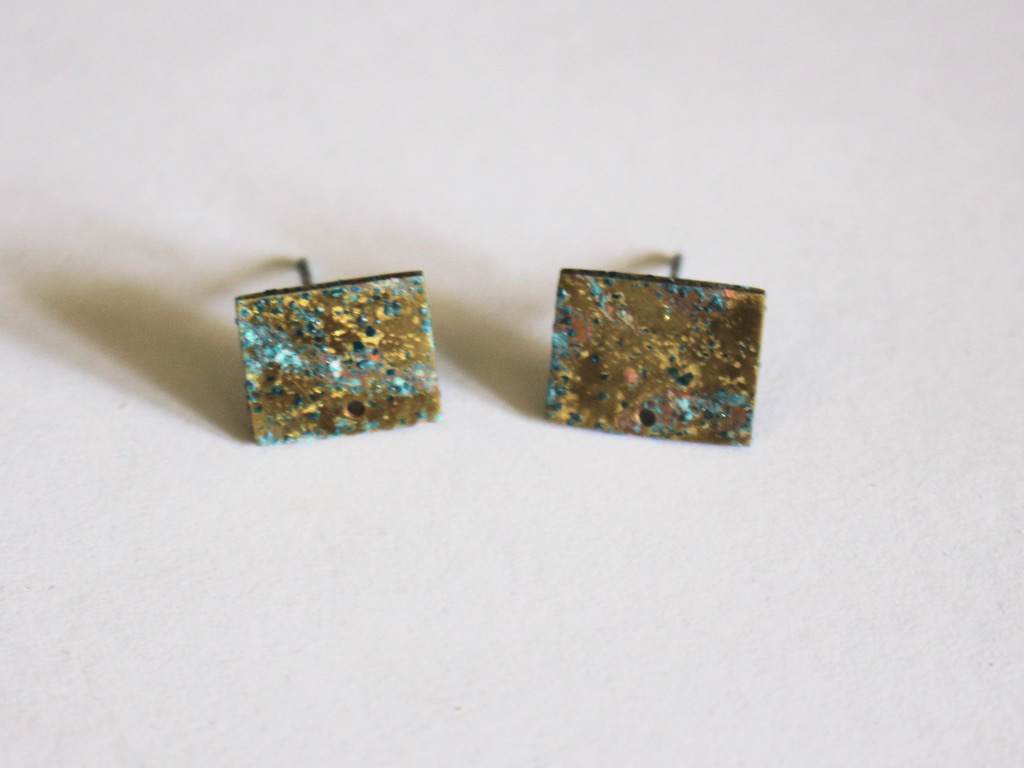
1: A pair of brass earrings with drilled holes or charm loops, I used these ones I made a while ago.
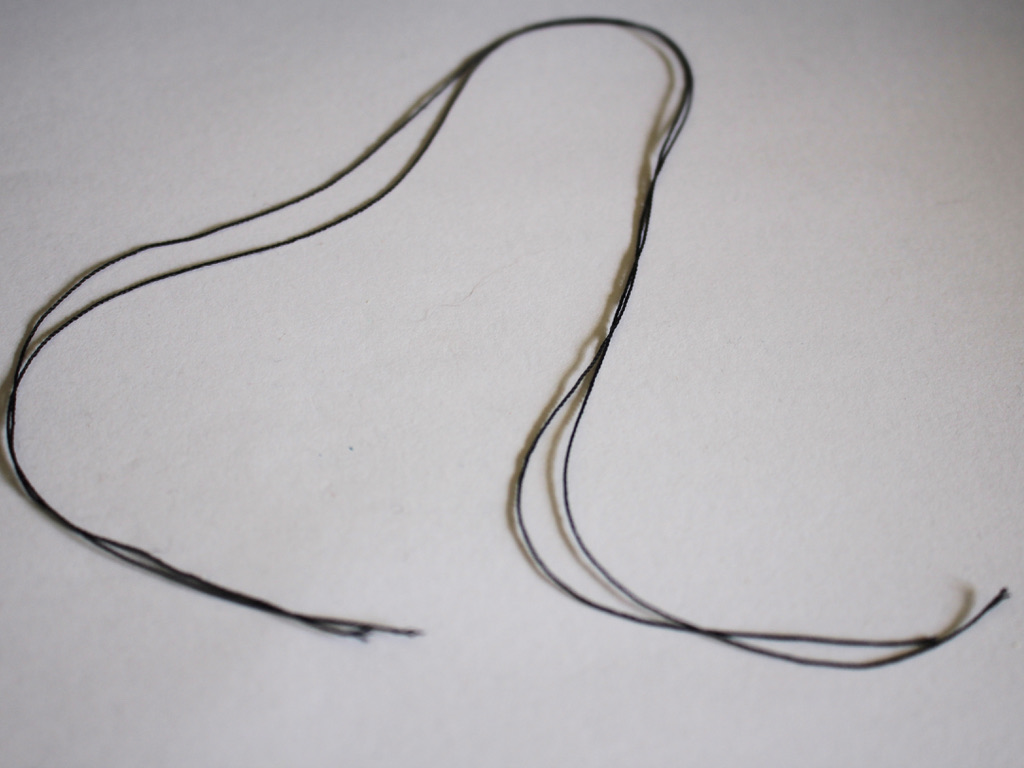
2: Some nylon beading thread. I used two scrap pieces about 30cm long.
3: A beading needle with a thin loop of thread attached to it.

4: Beads. I used these purple and blue glass seed beads.

5: Jump rings. I used two copper jump rings.

6: Scissors.

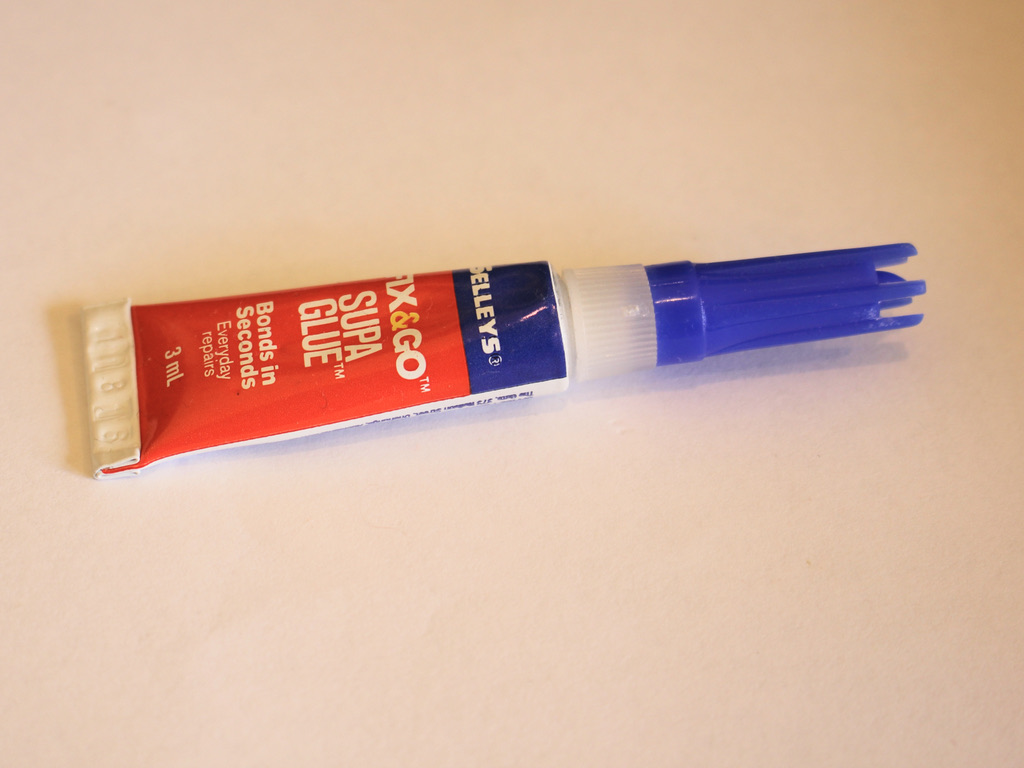
7: Super glue.
8: Pliers.

Follow these steps to make your cute pair of earrings:
1: Close both of the jump rings using your pliers.
2: Fold one of the pieces of thread in half and loop it around the jump ring.

3: Tie some additional knots to secure the thread to the jump ring.

4: Pull the thread through the loop at the bottom of the needle.

5: Begin adding beads to the string in your chosen pattern.


6: Continue adding beads until you have a length you like, I made mine about 7cm long.

7: Tie a knot at the end of the thread to secure the beads onto the thread.

8: Tie the end of the thread onto the jump ring to form a loop, thread it through the jump ring and tie a couple of knots to secure it.

9: Trim the excess thread using scissors.

10: Add a dab of superglue to both knots to secure them.

11: Repeat steps 2-10 for the second beaded loop.

12: Open the jump rings and thread them through the earring findings. Close the jump rings using your pliers to secure them in place.

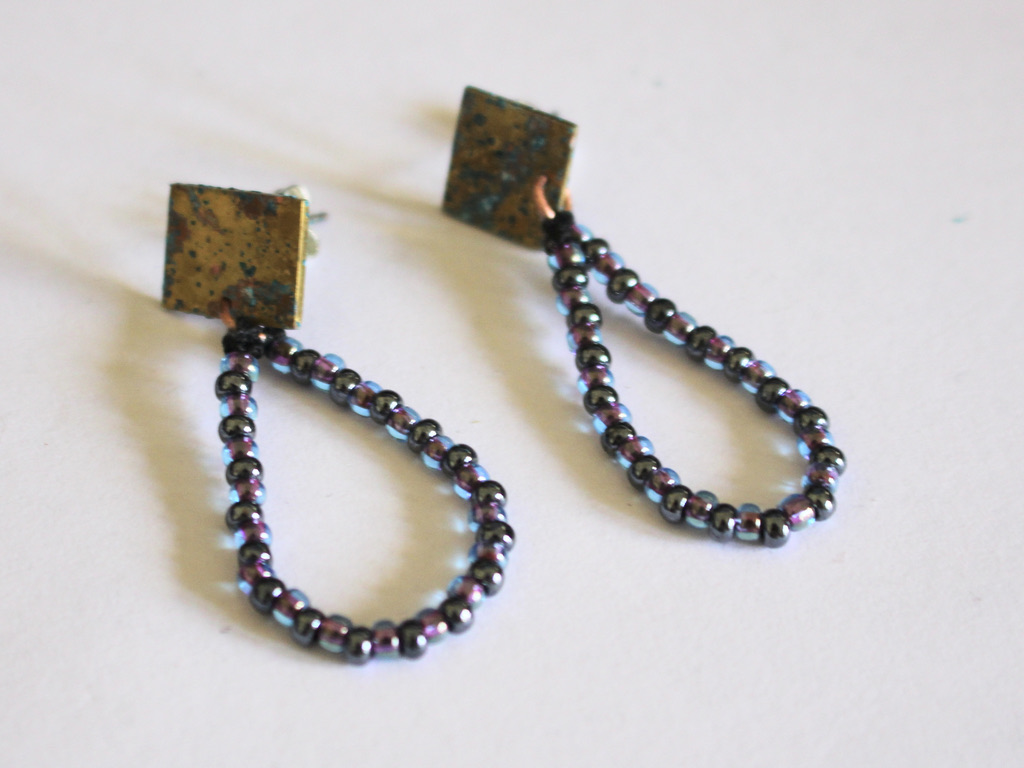
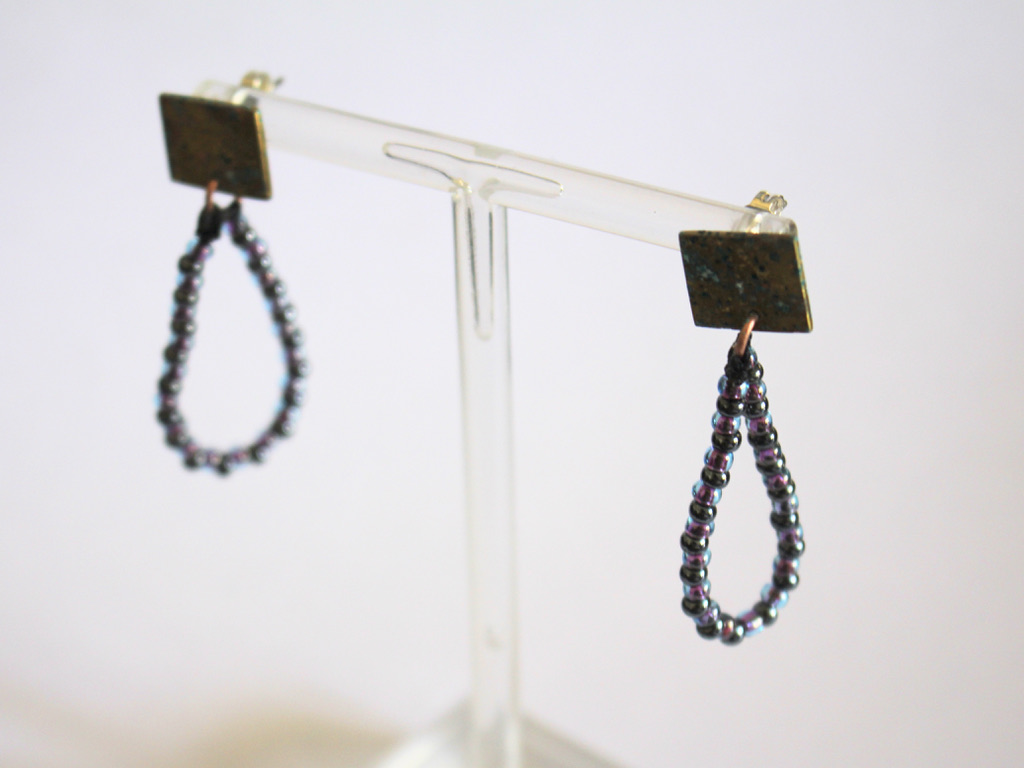
Now your earrings are finished and ready to wear! How fun is this design?


DIY Jewelry Hub
Welcome to DIY Jewelry Hub. If you’ve ever wanted to learn how to make your own jewelry this is the place to start! Jewelry is a great way to show off your individuality and style. You’ll be surprised at how easy it is to create your own unique pieces! DIY Jewelry Hub will equip you with all the knowledge and inspiration you need to make your own jewelry.


You May Also Like

Want to make your own hoop earrings out of wire? Here’s how you can do it!

Rose Quartz Earrings… Perfect for Valentine’s Day.