-
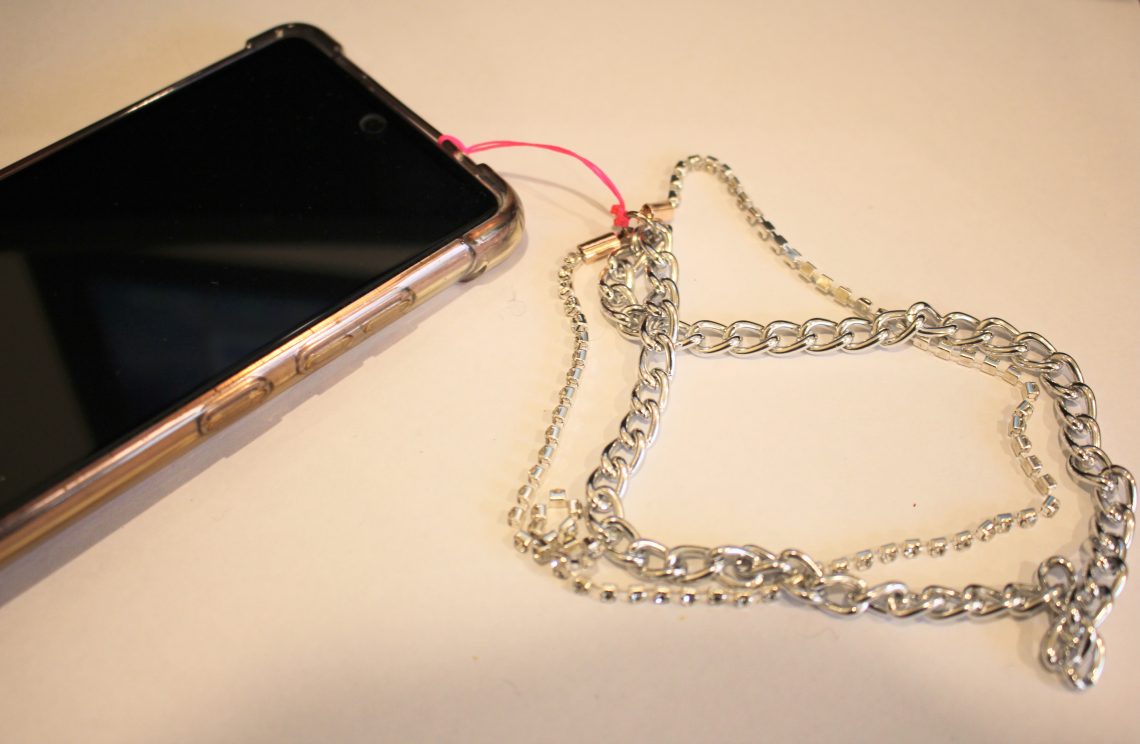
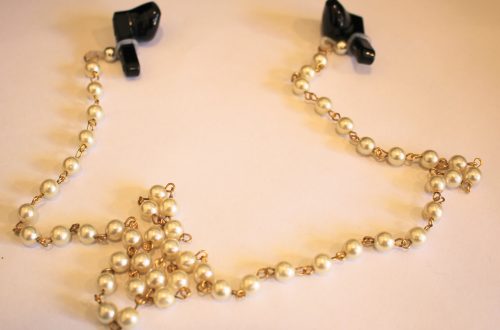
Need help keeping hold of your phone? Here’s how to make a cute chain and rhinestone phone strap so its harder to lose!
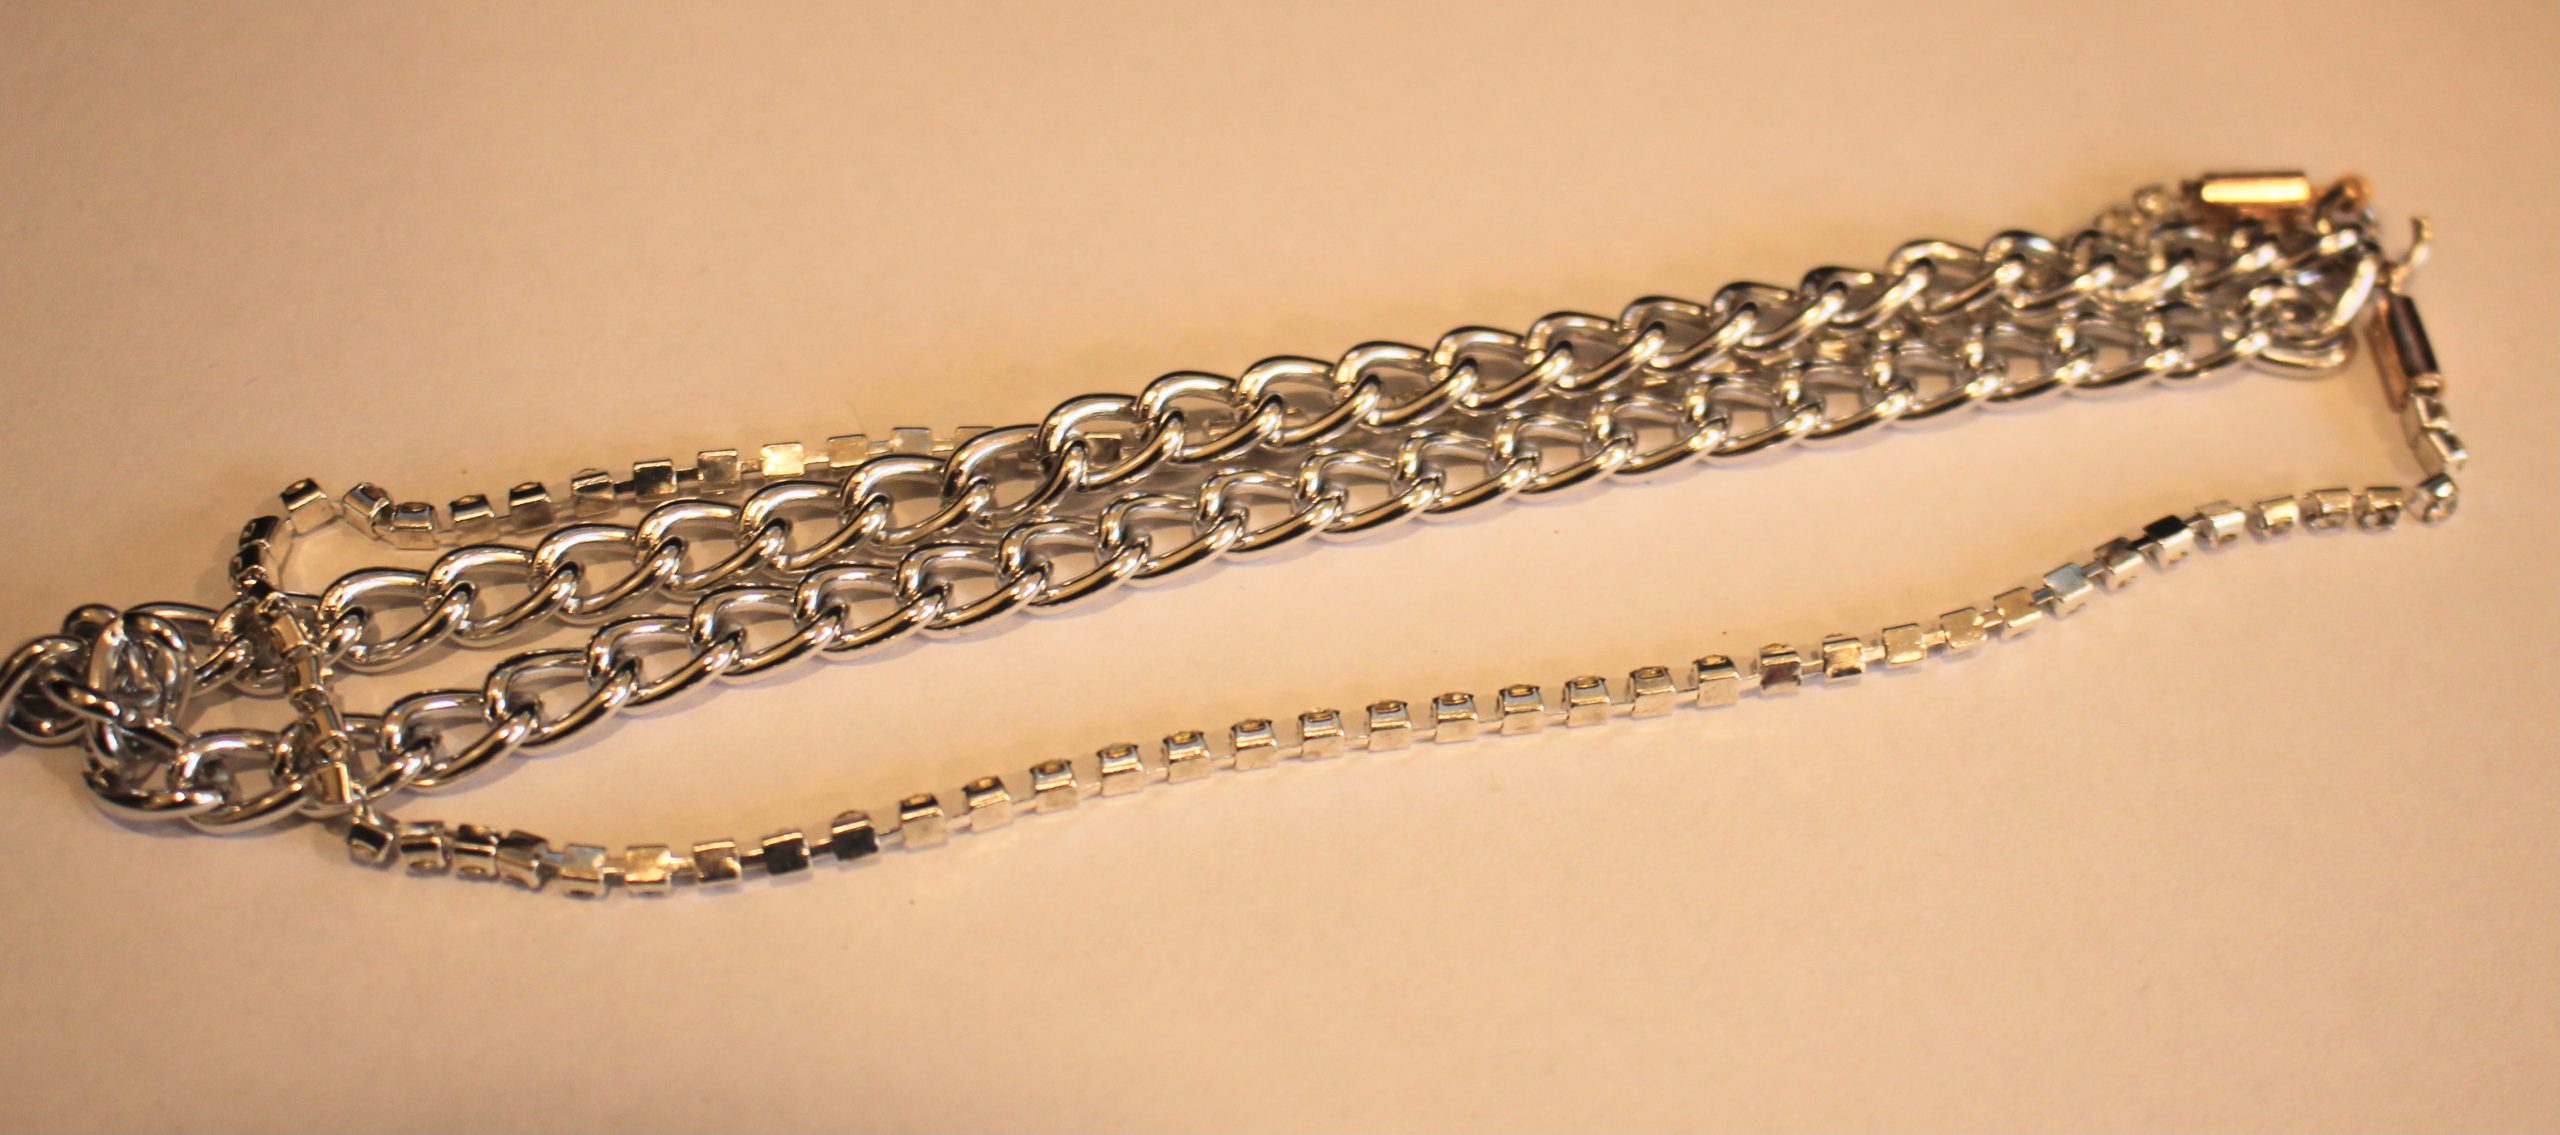
I’m loving making phone straps lately! This one combines a chunky chain with some rhinestone trim to create this double stranded phone strap. I decided to add the extra chain for more strength! Please note that this tutorial contains affiliate links.
You will need the following tools and materials to make this phone strap:
1: Pliers. I used my flat nose pliers, round nose pliers and cutting pliers. I also used scissors to trim my string.




2: A piece of chain about 30cm long. I used this silver tone chunky curb chain.

3: A piece of rhinestone trim about the same length as the chain.

4: Two crimp ends.

5: A large jump ring.

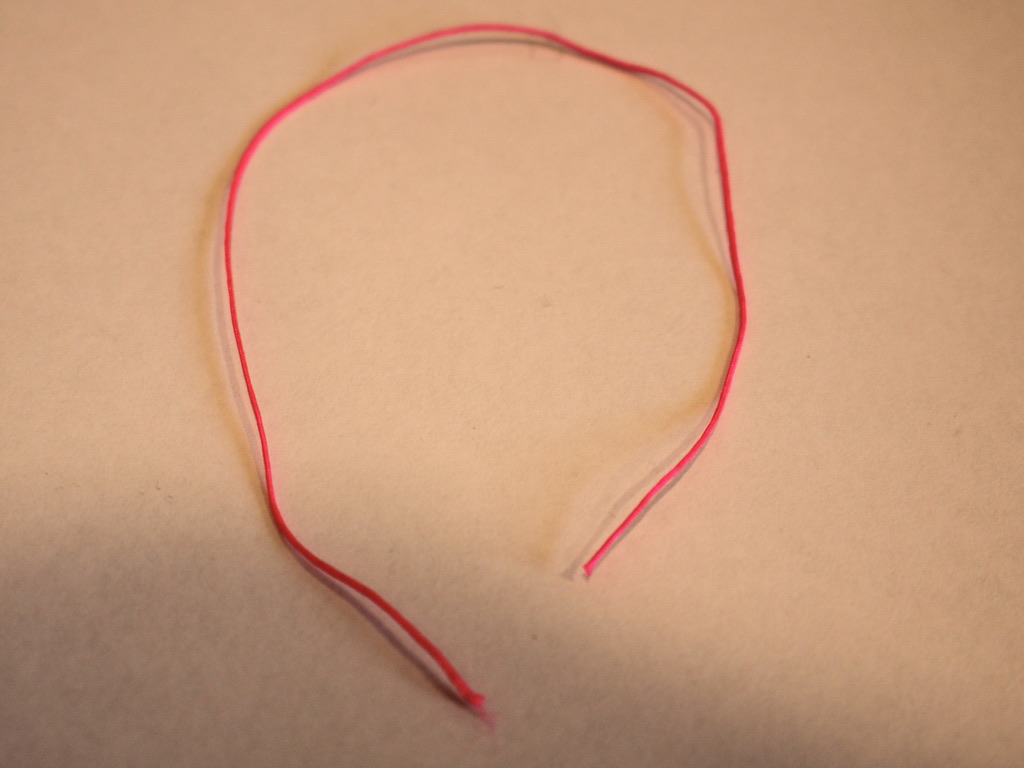
6: A piece of string. I used this hot pink nylon string that I cut to be about 15cm long.
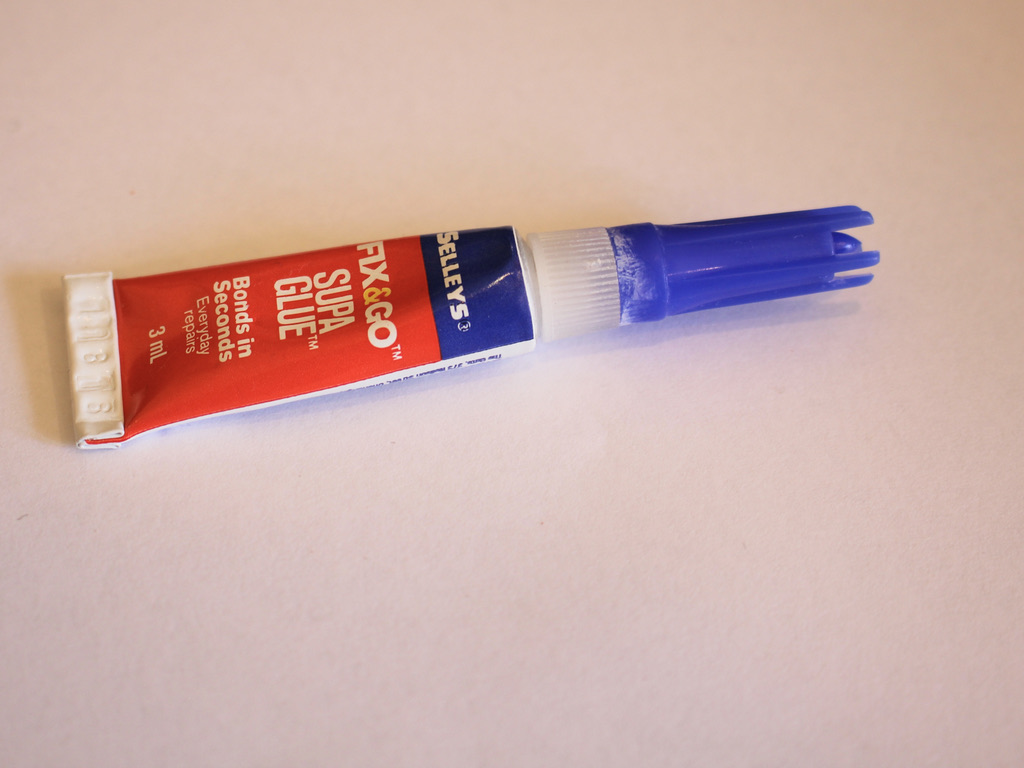
7: Super glue.
Follow these steps to make your rhinestone phone strap:
1: Take one end of the rhinestone strand and place it in one of the crimp ends.

2: Squash one side of the crimp around the end of the rhinestones using the flat nose pliers.

3: Repeat the squeezing of the crimp for the other side, folding it around the end of the rhinestones. Squeeze until the crimp feels securely attached to the rhinestone strand.


4: Repeat steps 2 and 3 for the other end of the rhinestone chain.

5: Add one end of the chain and rhinestone strand to the jump ring.
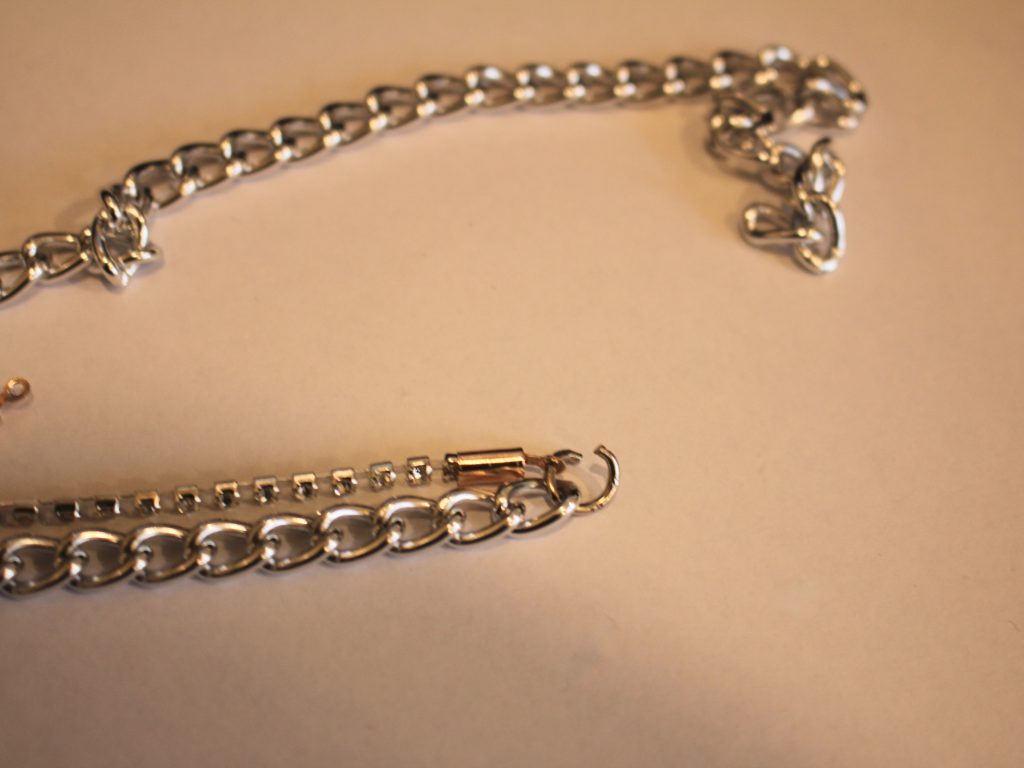
6: Add the other end of the chain and rhinestone strand to the jump ring in the same order.

7: Close the jump ring using your pliers.

8: Fold the string in half and tie the open ends around the jump ring, loop and knot it a few times to secure it.

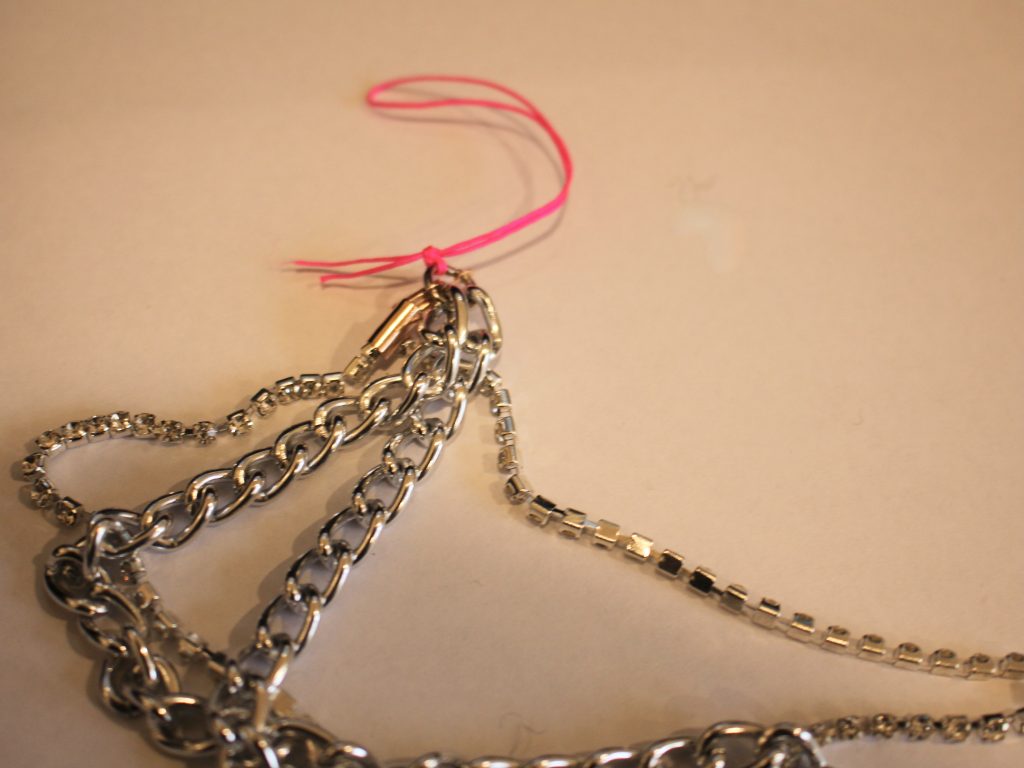

9: Trim the ends of the string.

10: Add a dab of super glue to the ends of the string to secure the knot.

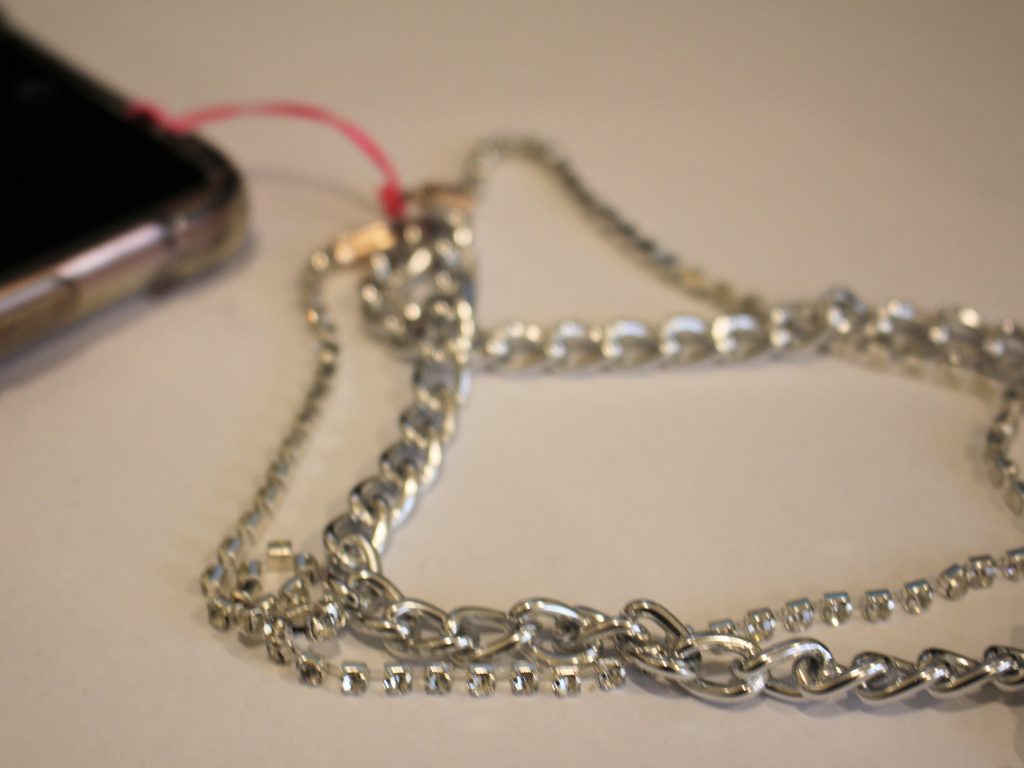
Now your double strand phone strap is finished and ready to pop on your phone. Loop it through on of the holes on your phone case for more phone customisation!


-
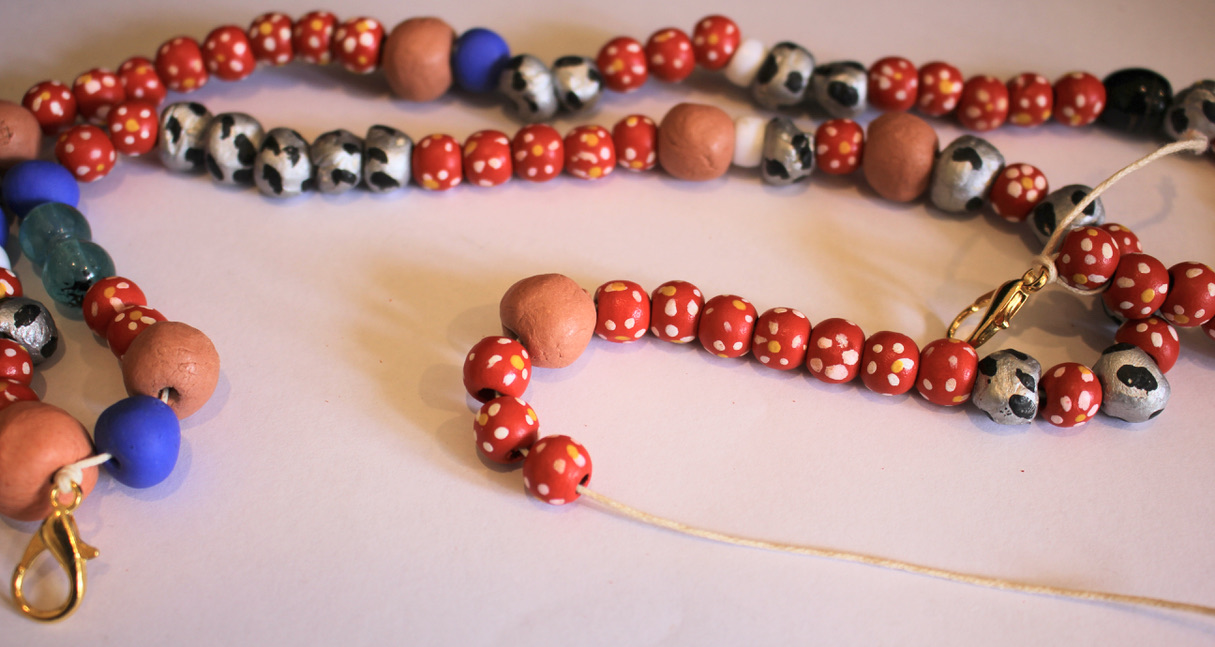
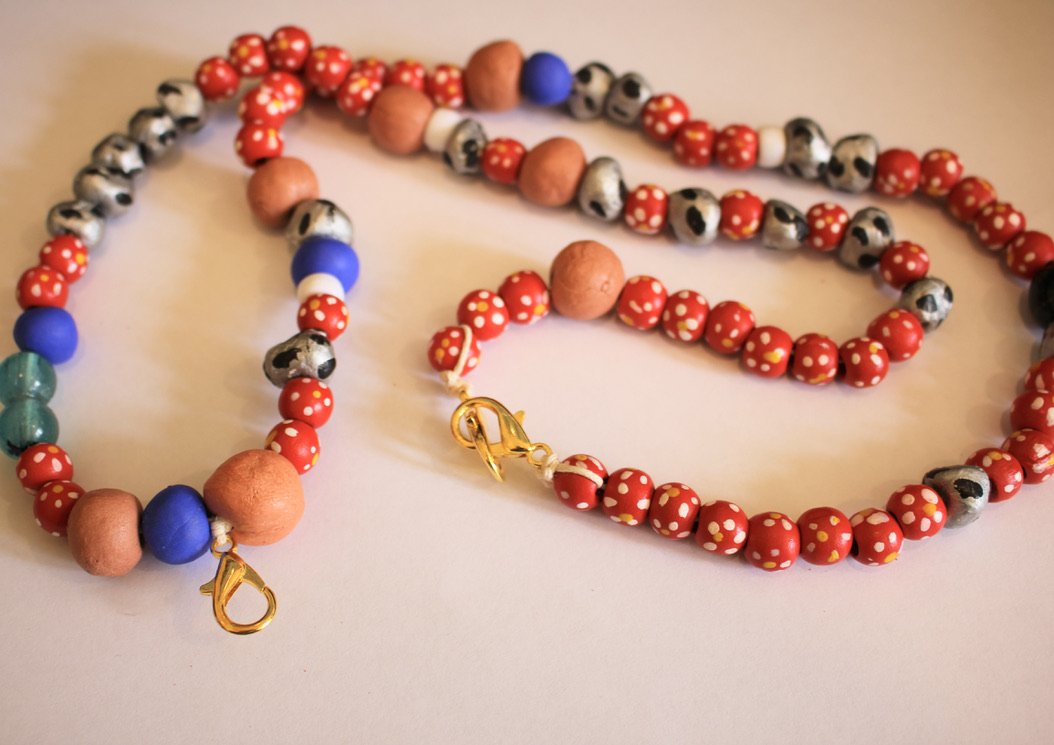
How to make a beaded lanyard using string and funky beads!
I recently caught up with a friend, she’s a teacher and she was really excited that she found some funky beaded lanyards, and it made me think… I could probably make one myself! So here’s the tutorial, here’s how to transform some string, clasps and funky beads into a useful lanyard! Please note that this tutorial contains affiliate links.
You’ll need these tools and materials to make your own beaded lanyard:
1: Scissors
2: Cotton twine, cut about 15cm longer than the length you want your lanyard.

3: Three large lobster clasps.

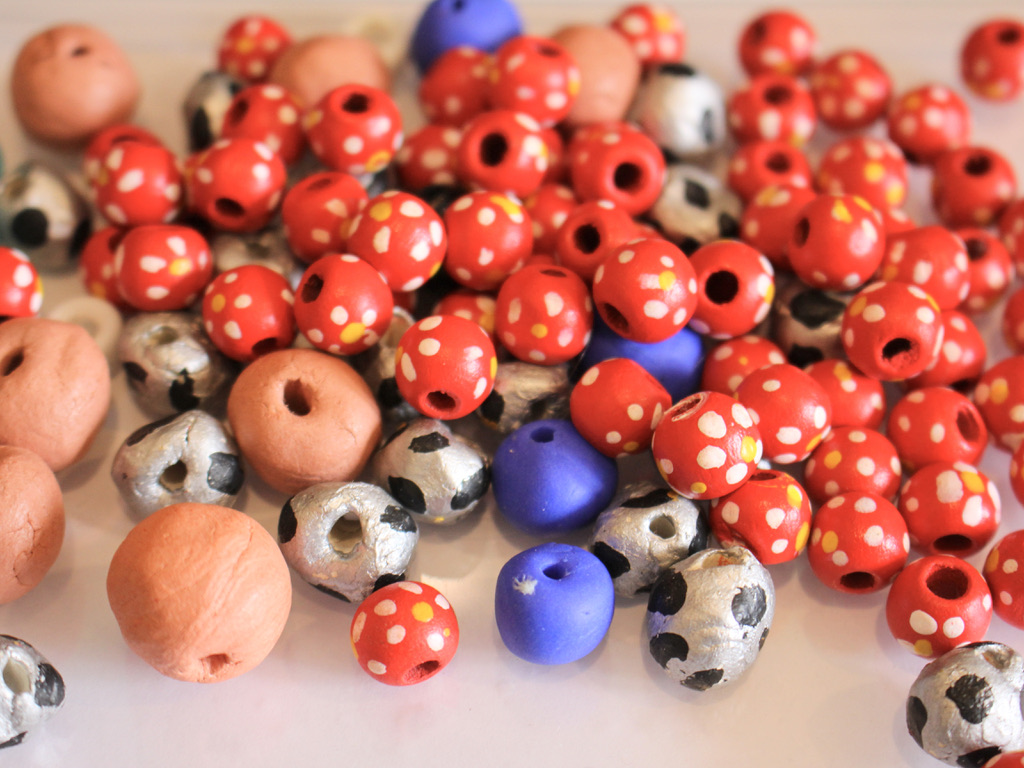
4: A selection of beads with holes large enough to fit on the string. I used some painted timber beads, glass beads, plastic beads, and some beads I made from polymer clay, resin and air dry clay.
5: Superglue
Follow these steps to make your own beaded lanyard:
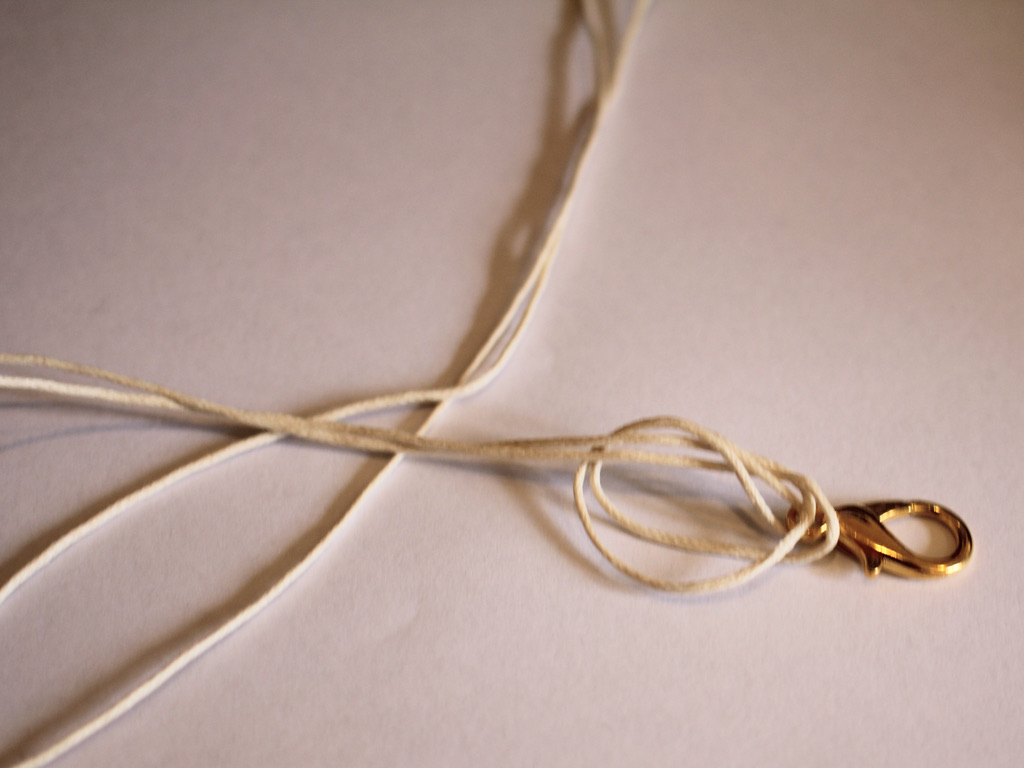
1: Take one of the clasps and add it to the middle of the piece of string.

2: Create a knot at the top of the clasp.

3: Add beads to one side of the lanyard until you get the length you like.


4: Add another clasp to the end of the lanyard and loop the end of the string back through the last bead and pull it tight.
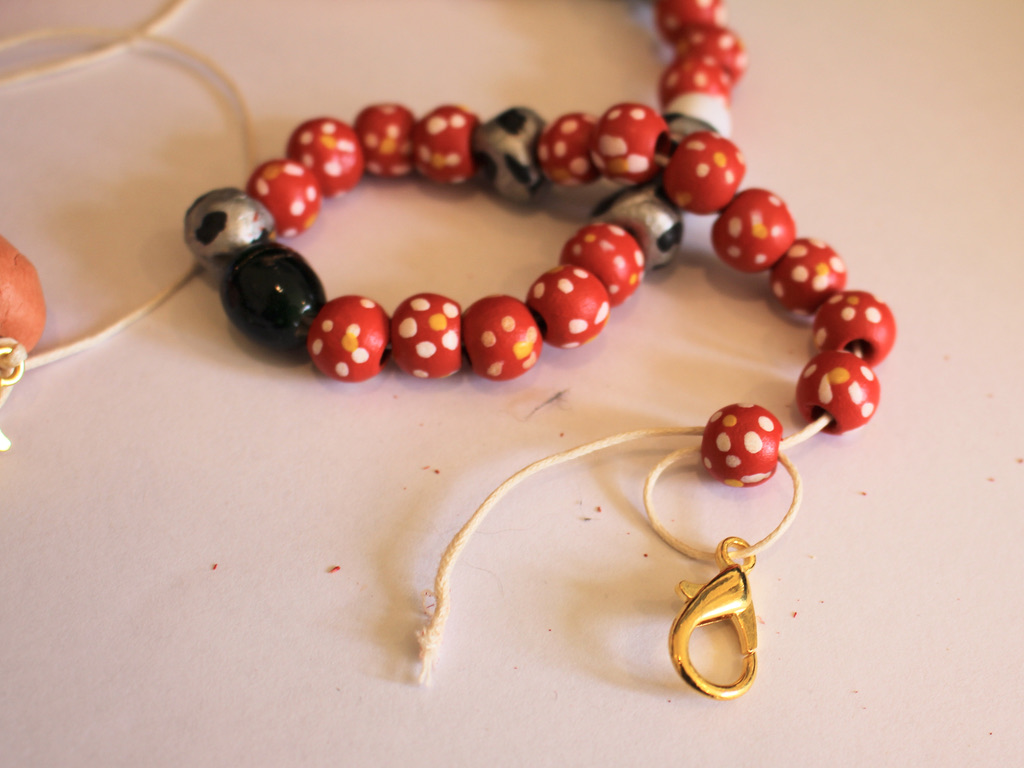

5: Tie a secure knot to the end of the string securing the clasp tightly to the last bead.


6: Repeat steps 3 to 5 for the other side of the lanyard.

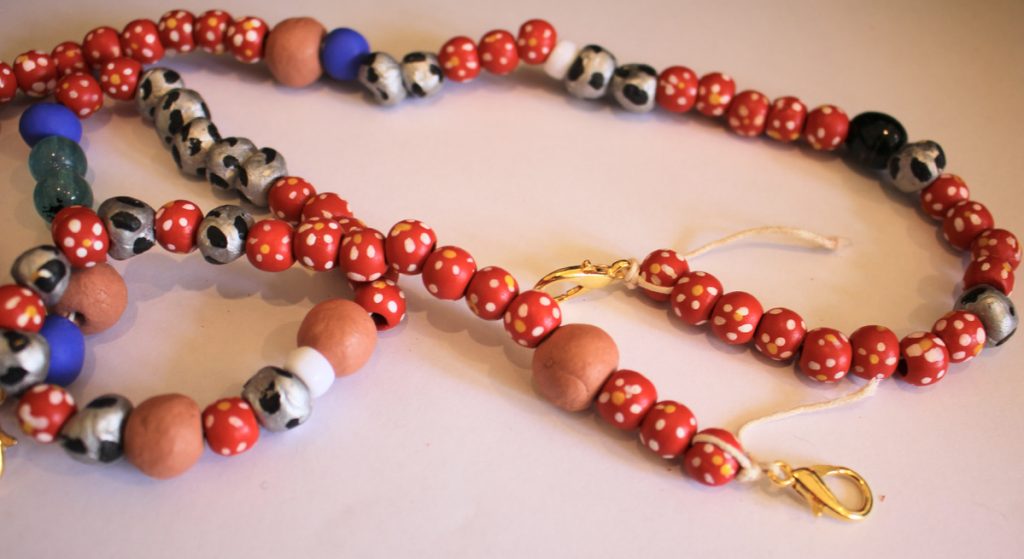
7: Trim the excess string on either end of the lanyard.


8: Add a dab of superglue to each of the knots at the end of the lanyard. Set it aside to dry.

Clip the ends of the lanyard together and now your beaded string lanyard is finished and ready to use!


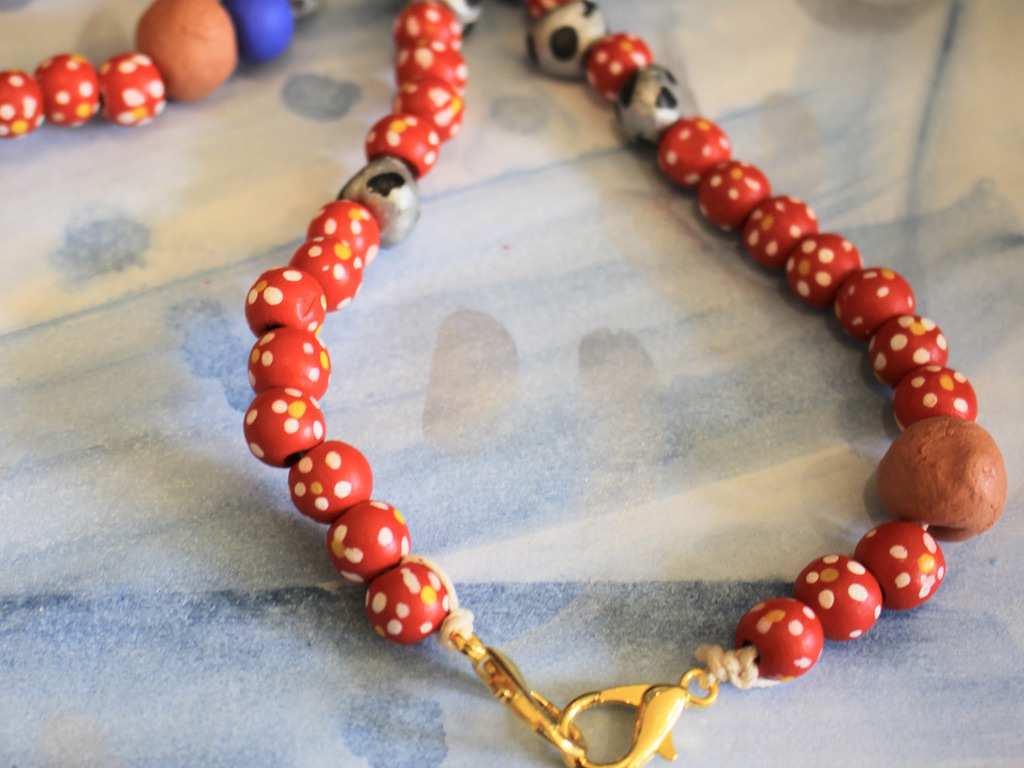
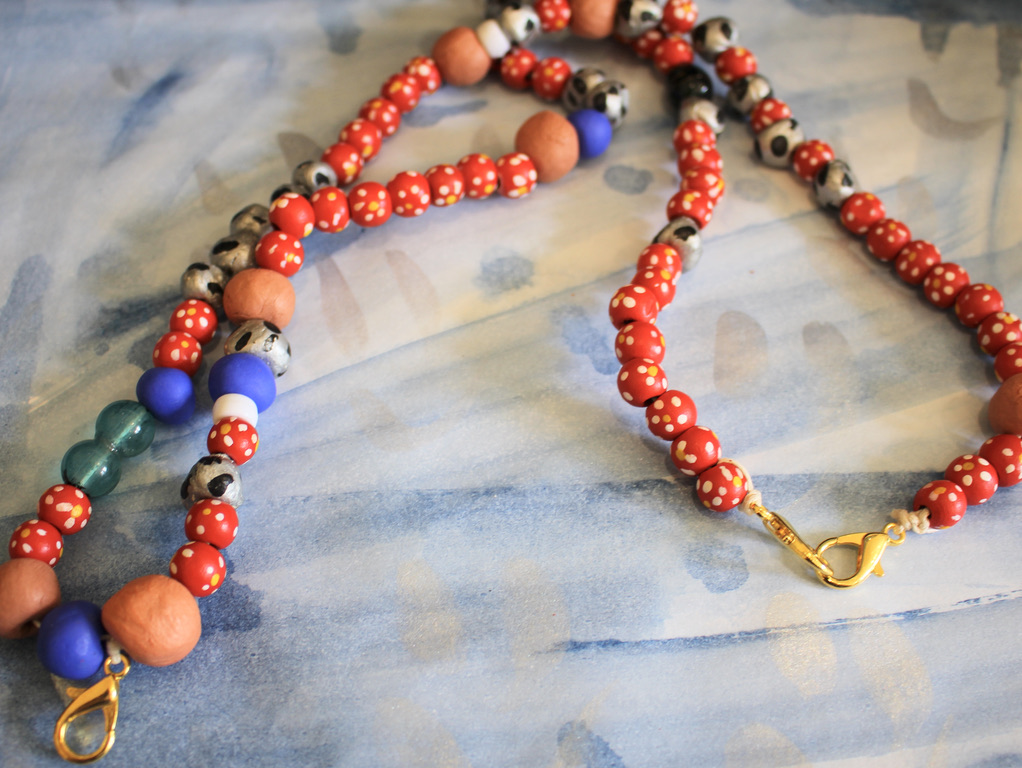
If you want to make your lanyard with handmade beads, here’s a tutorial you can follow to make your own.
-
Here’s how to string beads onto nylon beading thread!
I’ve been experimenting with different stringing materials lately for my beaded designs and I’ve come to like working with nylon beading thread, so I thought I’d make a tutorial to show you all how to use it! In this tutorial I am going to make a simple beaded necklace using glass seed beads and polymer clay fruit beads for a fun and tropical look. Please note that this tutorial contains affiliate links.
You’ll need these tools and materials to make your beaded necklace:
1: Some nylon beading thread. You’ll need to cut a bit over double the length you want your necklace to be.

2: A beading needle with a thin loop of thread tied to it.

3: A sterling silver lobster clasp.

4: A sterling silver jump ring.

5: Superglue.
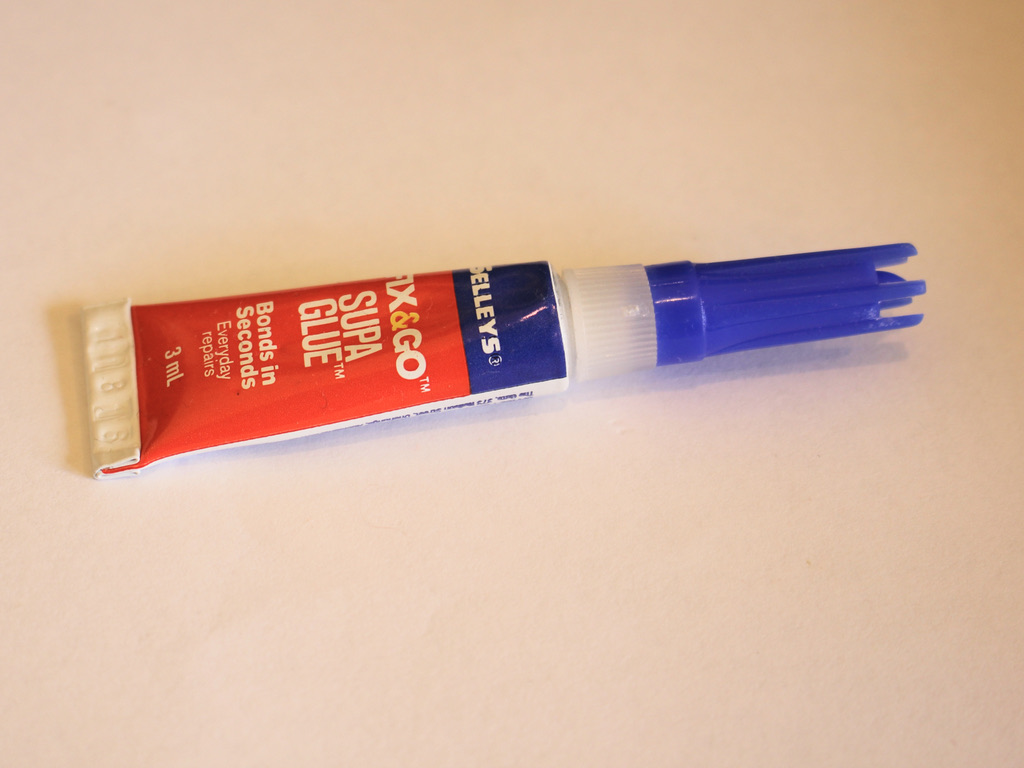
6: Beads. I used some polymer clay fruit beads and some clear silver lined glass seed beads.


7: Scissors to trim the thread.
Follow these steps to create your beaded necklace using nylon thread:
1: Fold the thread in half.

2: Loop the thread through the jump ring on the clasp and pull the ends back through.

3: Pull the loop tight.

4: Create another knot over the one you just made. If the knot is a little high, pull the strings apart carefully, making sure not to break the thread.


5: Loop the ends of the thread through the loop on the end of the needle.

6: Begin adding beads, pulling the beads gently over the thin thread and onto the necklace thread.


7: Add beads in the same manner in your chosen pattern until you have the length you want for your necklace.


8: Tie a knot at the end of the beaded section the same way you knotted the thread in step 4.

9: Slide the jump ring onto the thread.


10: Loop the thread through the ring again and then tie a knot below the jump ring. Do this one more time so that you have a secure knot.


11: Trim the excess thread.

12: If you feel like it, you can melt the extra thread using a lighter or match, but be careful not to break the thread or burn yourself.

13: Add a dab of superglue to the knots at each end of the necklace.


Now your necklace is finished and ready to wear!

If you don’t feel like making your own version of this necklace, you can purchase this one that I made here: https://www.etsy.com/au/listing/891450996/fruit-necklace-fruit-bead-necklace?ref=shop_home_active_30&frs=1
Here are some other polymer clay fruit designs you can make: