-
Here’s how to turn some thick wire into a wiggle bangle!
This bangle is so cute! It is a no-heat way to make a unique bangle that you can wear on its own or stacked with other bracelets. Please note that this tutorial contains affiliate links for which we may receive a small commission.
You’ll need the following tools and materials to make your bangle:
1: A piece of thick wire that is about 30-40 cm long (you might need to trim the end or add extra length depending on how large your bracelet needs to be). I used this copper wire that was 1.7mm in diameter.

You can get some copper wire here:
Or if you like, you can make it out of silver wire, which you can get here:
2: A file and emery paper to smooth the ends of the wire.

You can get a file here:

You can get emery paper here:
3: A pair of parallel pliers.

You can get a pair here:
4: A bracelet mandrel.

You can get one here:
5: A nylon or leather hammer. I used this nylon hammer.

You can get a hammer here:
Follow these steps to make your wiggle bracelet:
1: File and emery the ends of your wire using the jewelry file and emery paper, making sure it is smooth and there are no sharp ends.
2: Use the flat nose pliers to create a triangle shape at one end of the wire.


3: Now grip the wire next to the triangle and push the long end of the wire against the pliers to form an angle.

4: Repeat step 3 again to create a zigzag shape.
5: Repeat steps 3 and 4 for the rest of the wire until you have about 1.5cm left of the wire.

6: Form the shape into a circle and create another triangle at the other end that is slightly open.

7: Slip the open end of the bracelet through the triangle you formed at the start.

8: Using the flat nose pliers again, close the second triangle to close off the bangle.

9: Put the bangle on the mandrel and hammer it into a circular shape, gently adjusting it so that it lies flat.

Once you are happy with the shape, you can take your bracelet off the mandrel and pop it on your wrist! How simple and lovely? I am very fond of this simple bangle design. How will you style yours?

Here’s how the finished bangle looks.


-
Love funky jewellery? Here’s how to make a beaded crochet bracelet!
This bracelet is lots of fun! It is made using a fun selection of beads and vibrant thread. With just a crochet hook you can turn these materials into a lovely bracelet!
Please note that this tutorial contains affiliate links.
You’ll need the following tools and materials to make your bracelet:
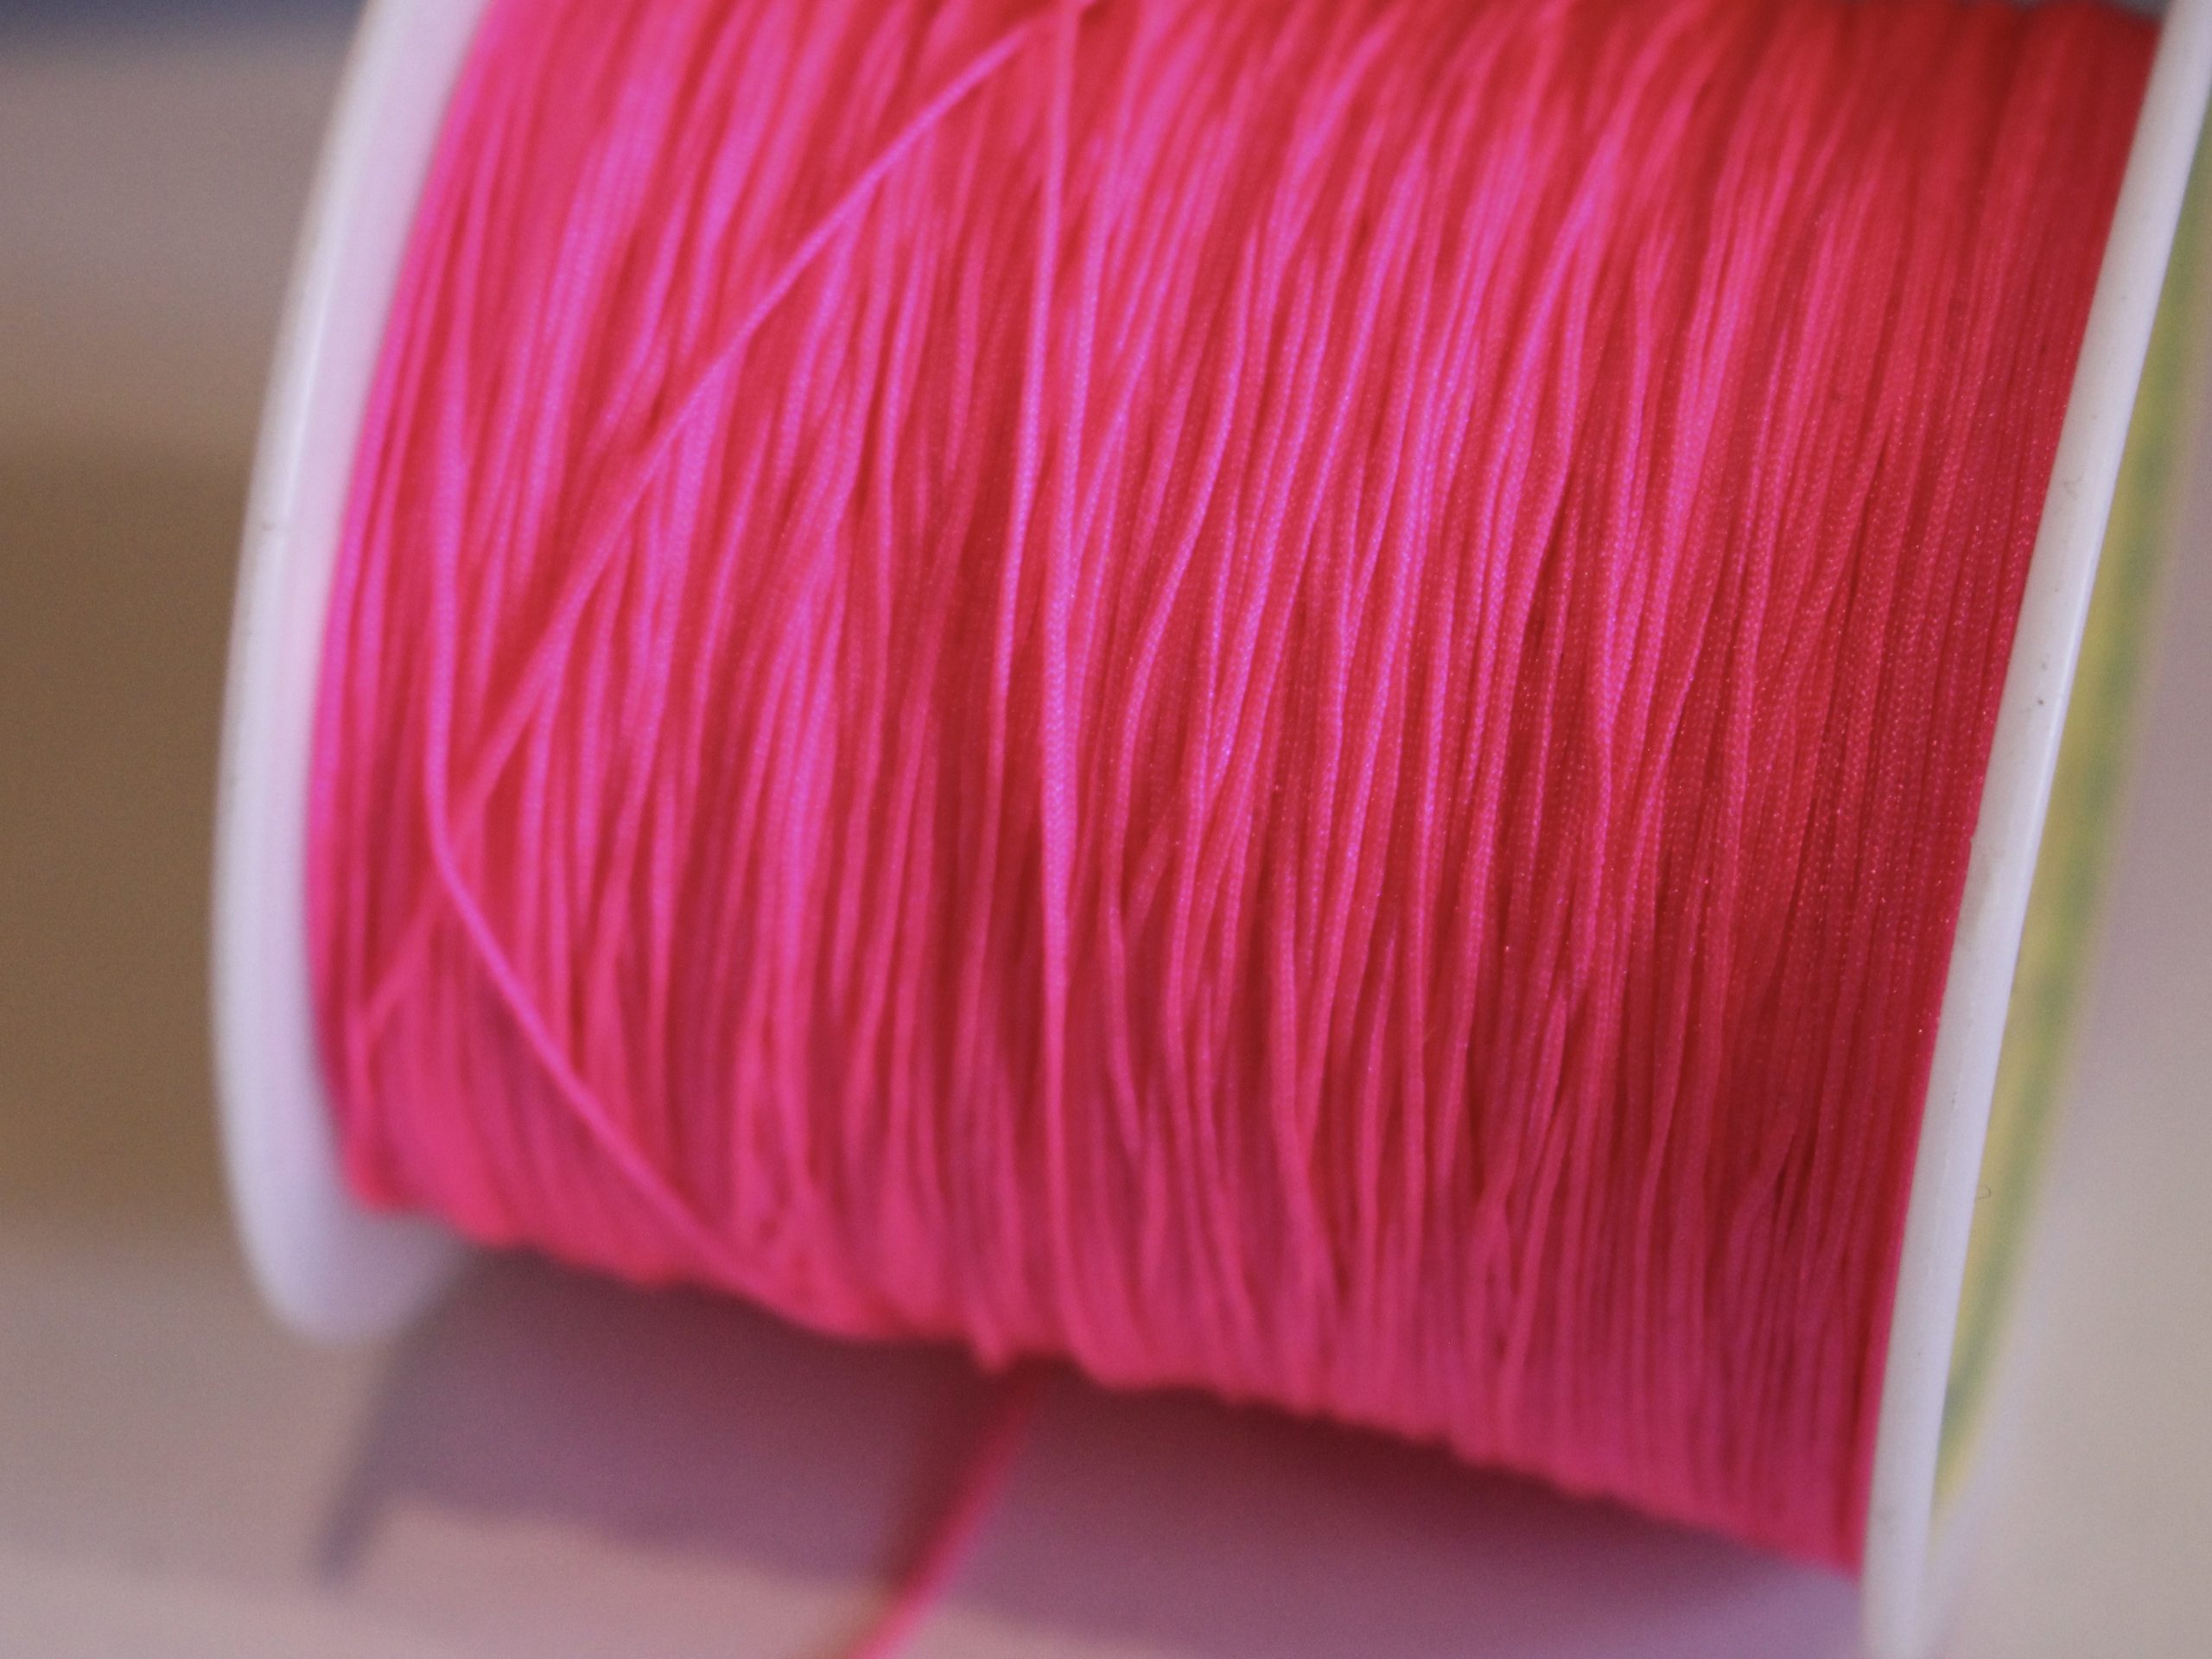
1: Thread. I used this pink thread.
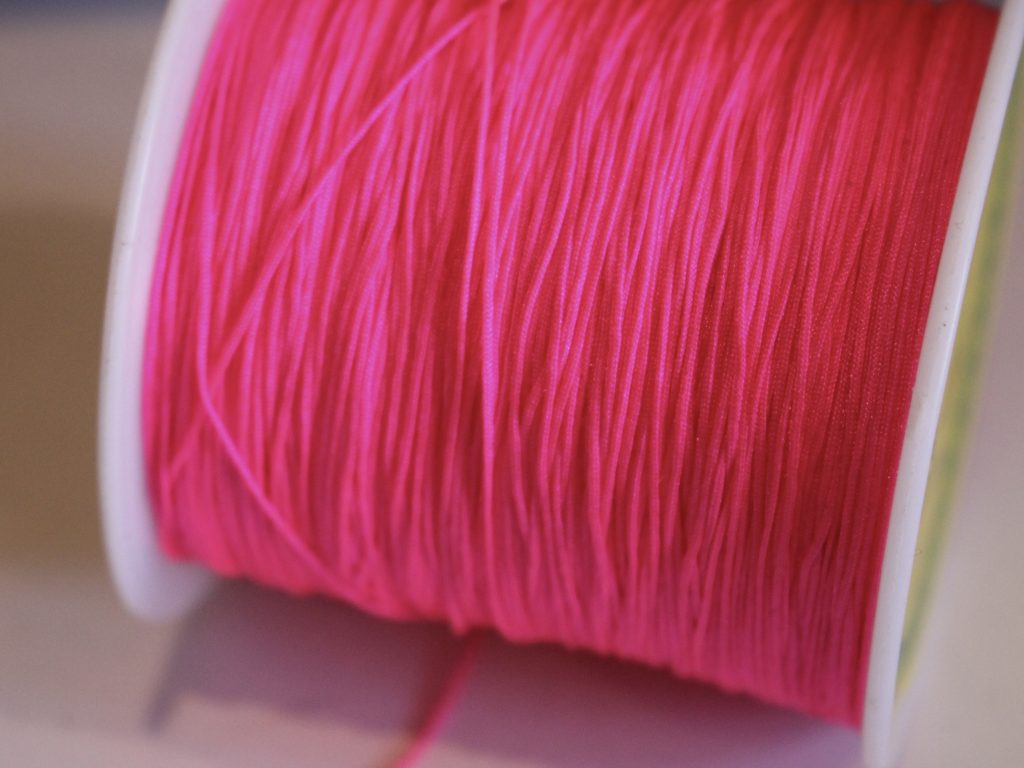
You can get something similar here:
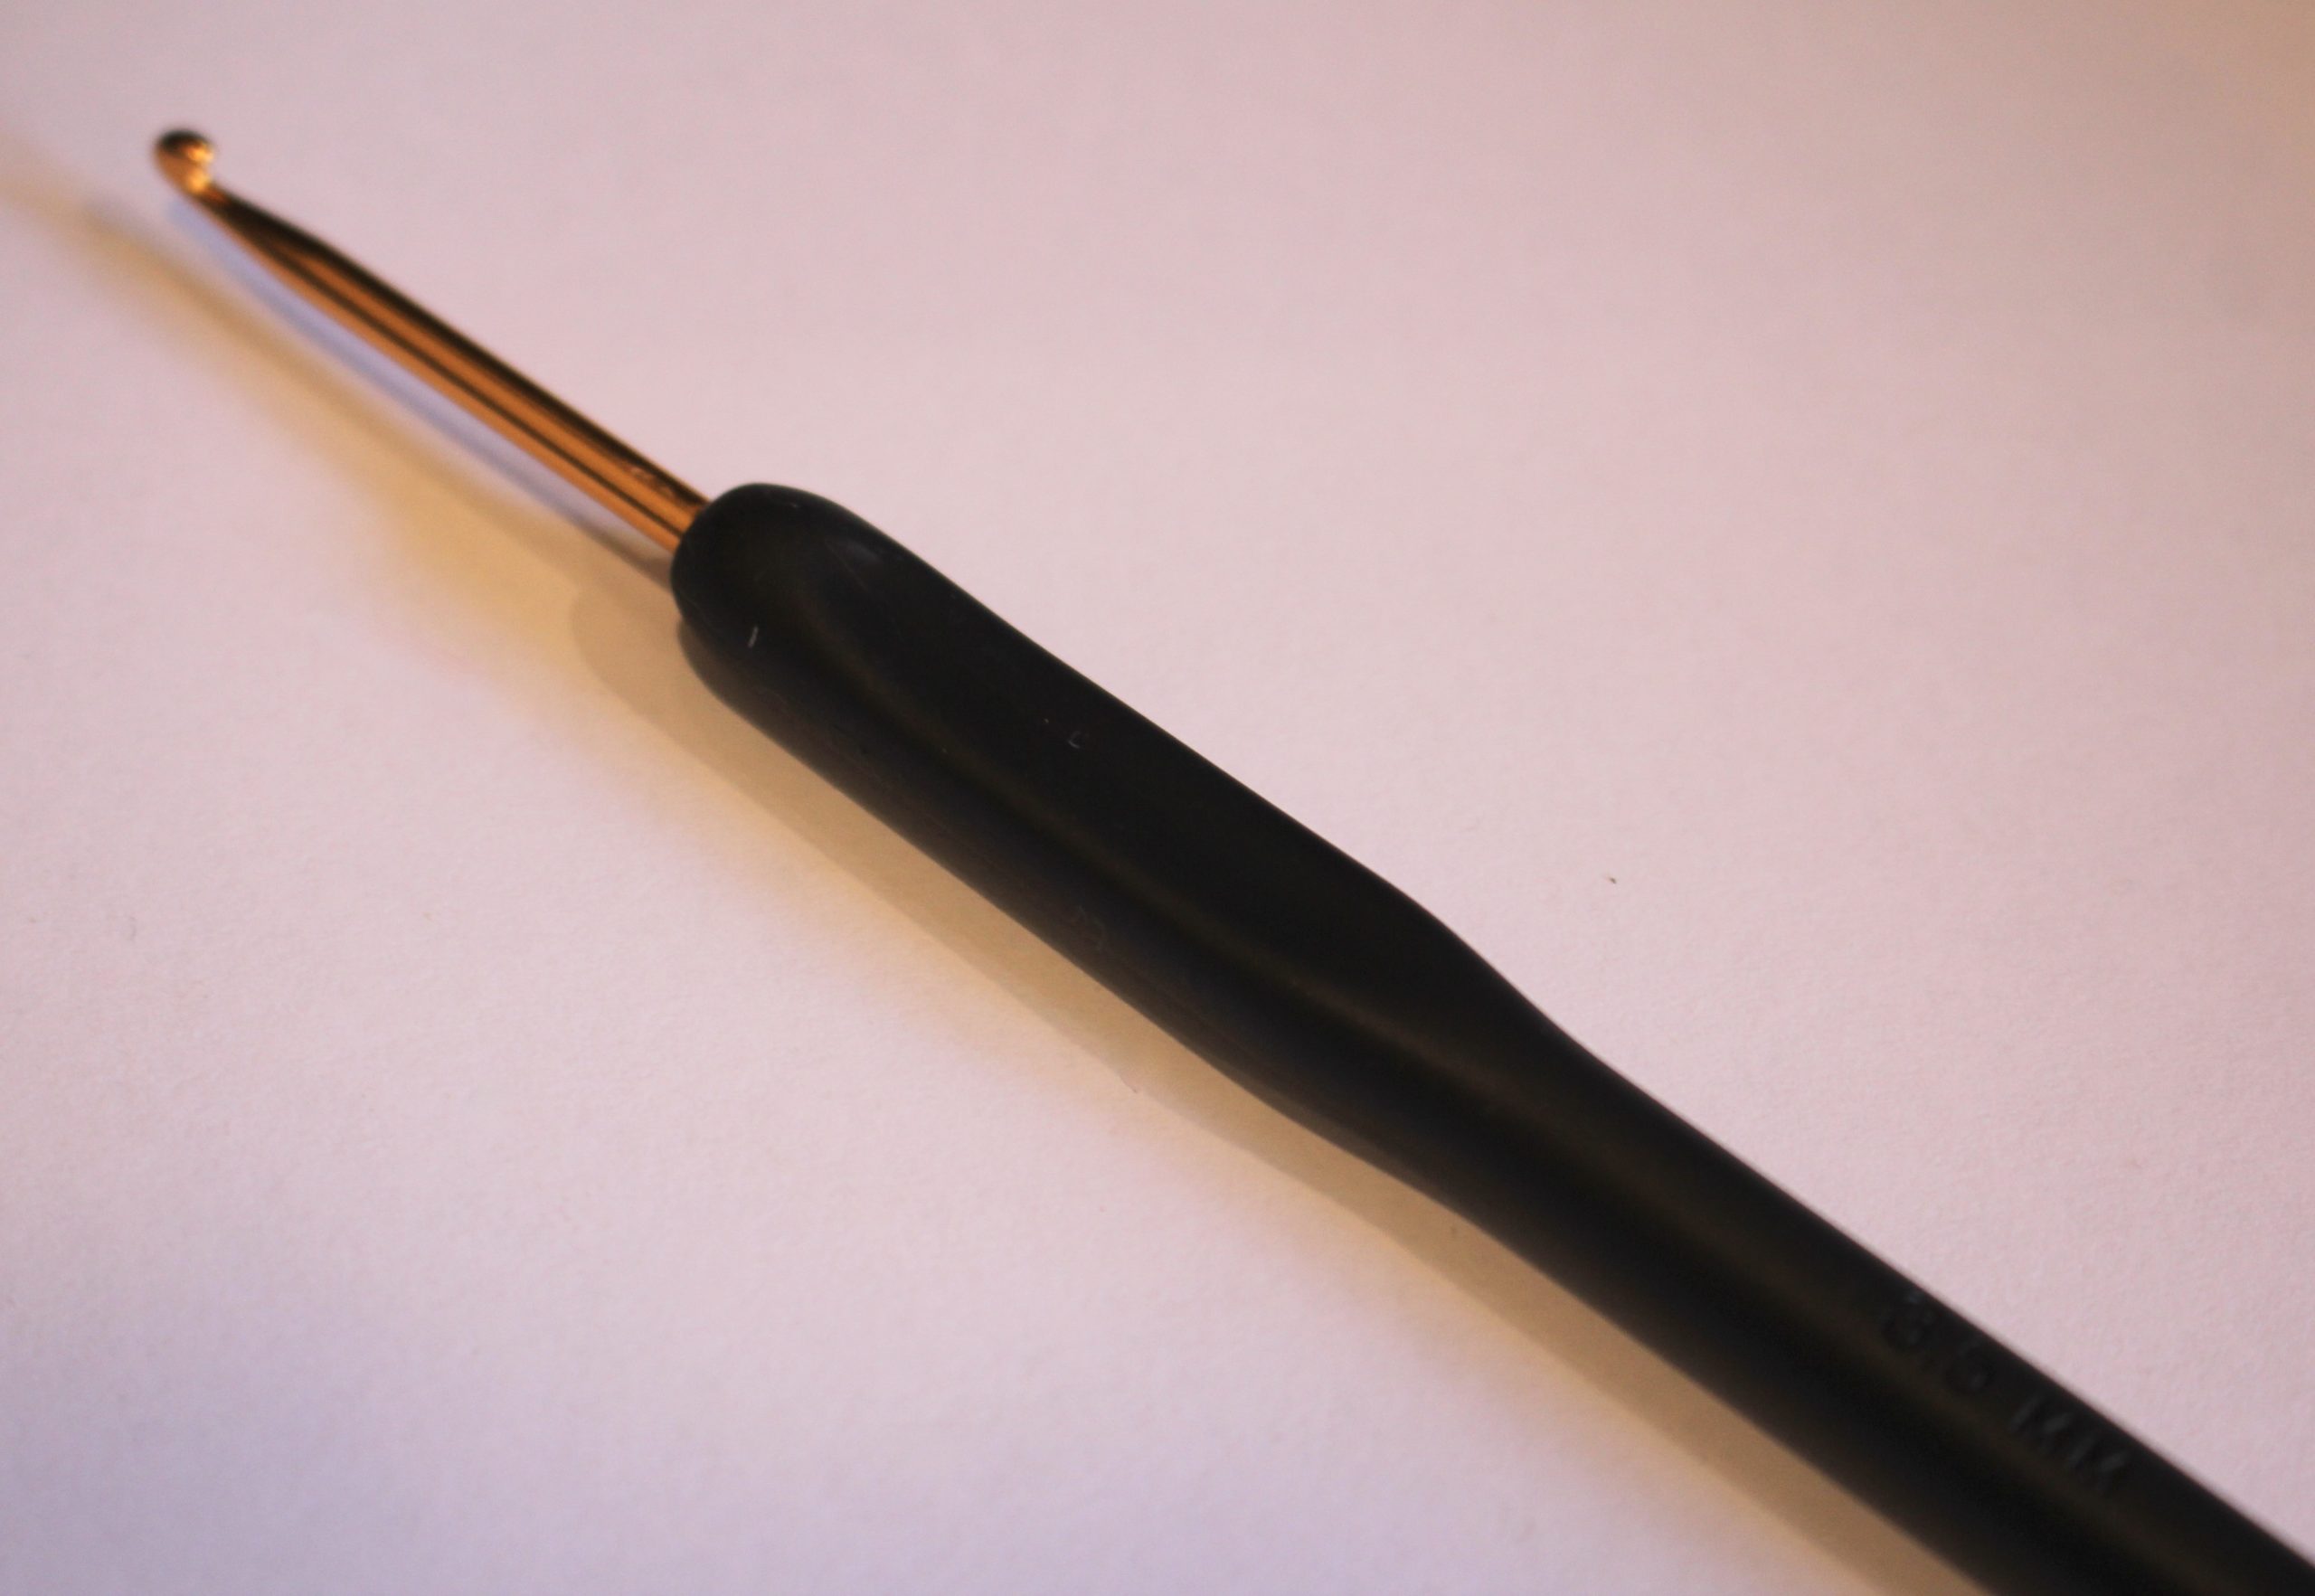
2: A crochet hook. I used a 3.5mm crochet hook.
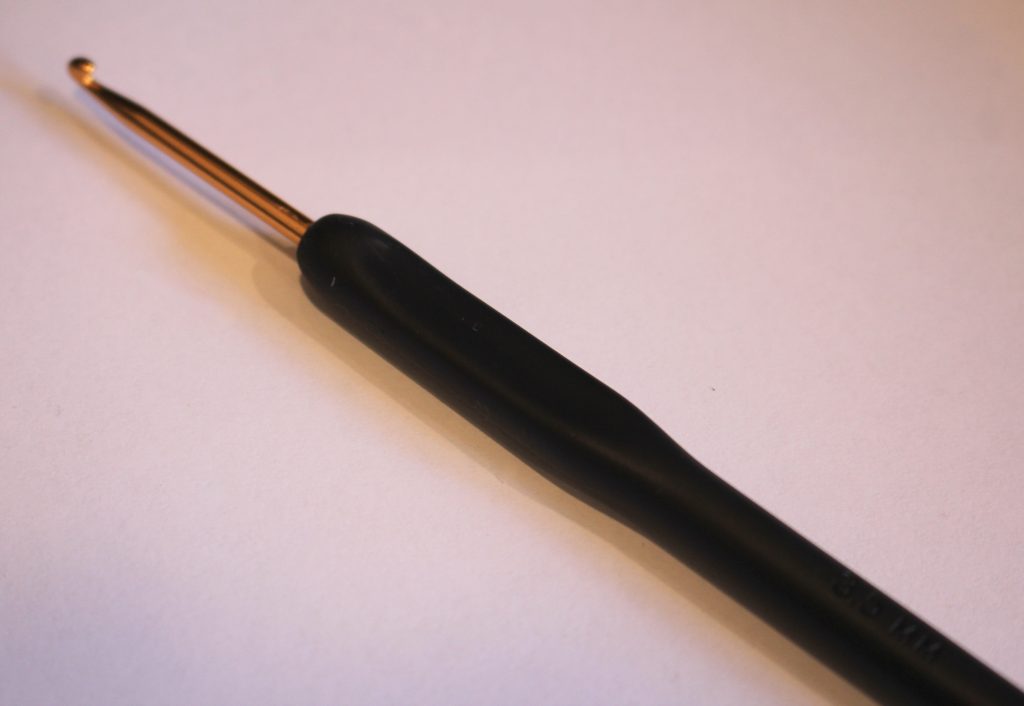
You can get one here:
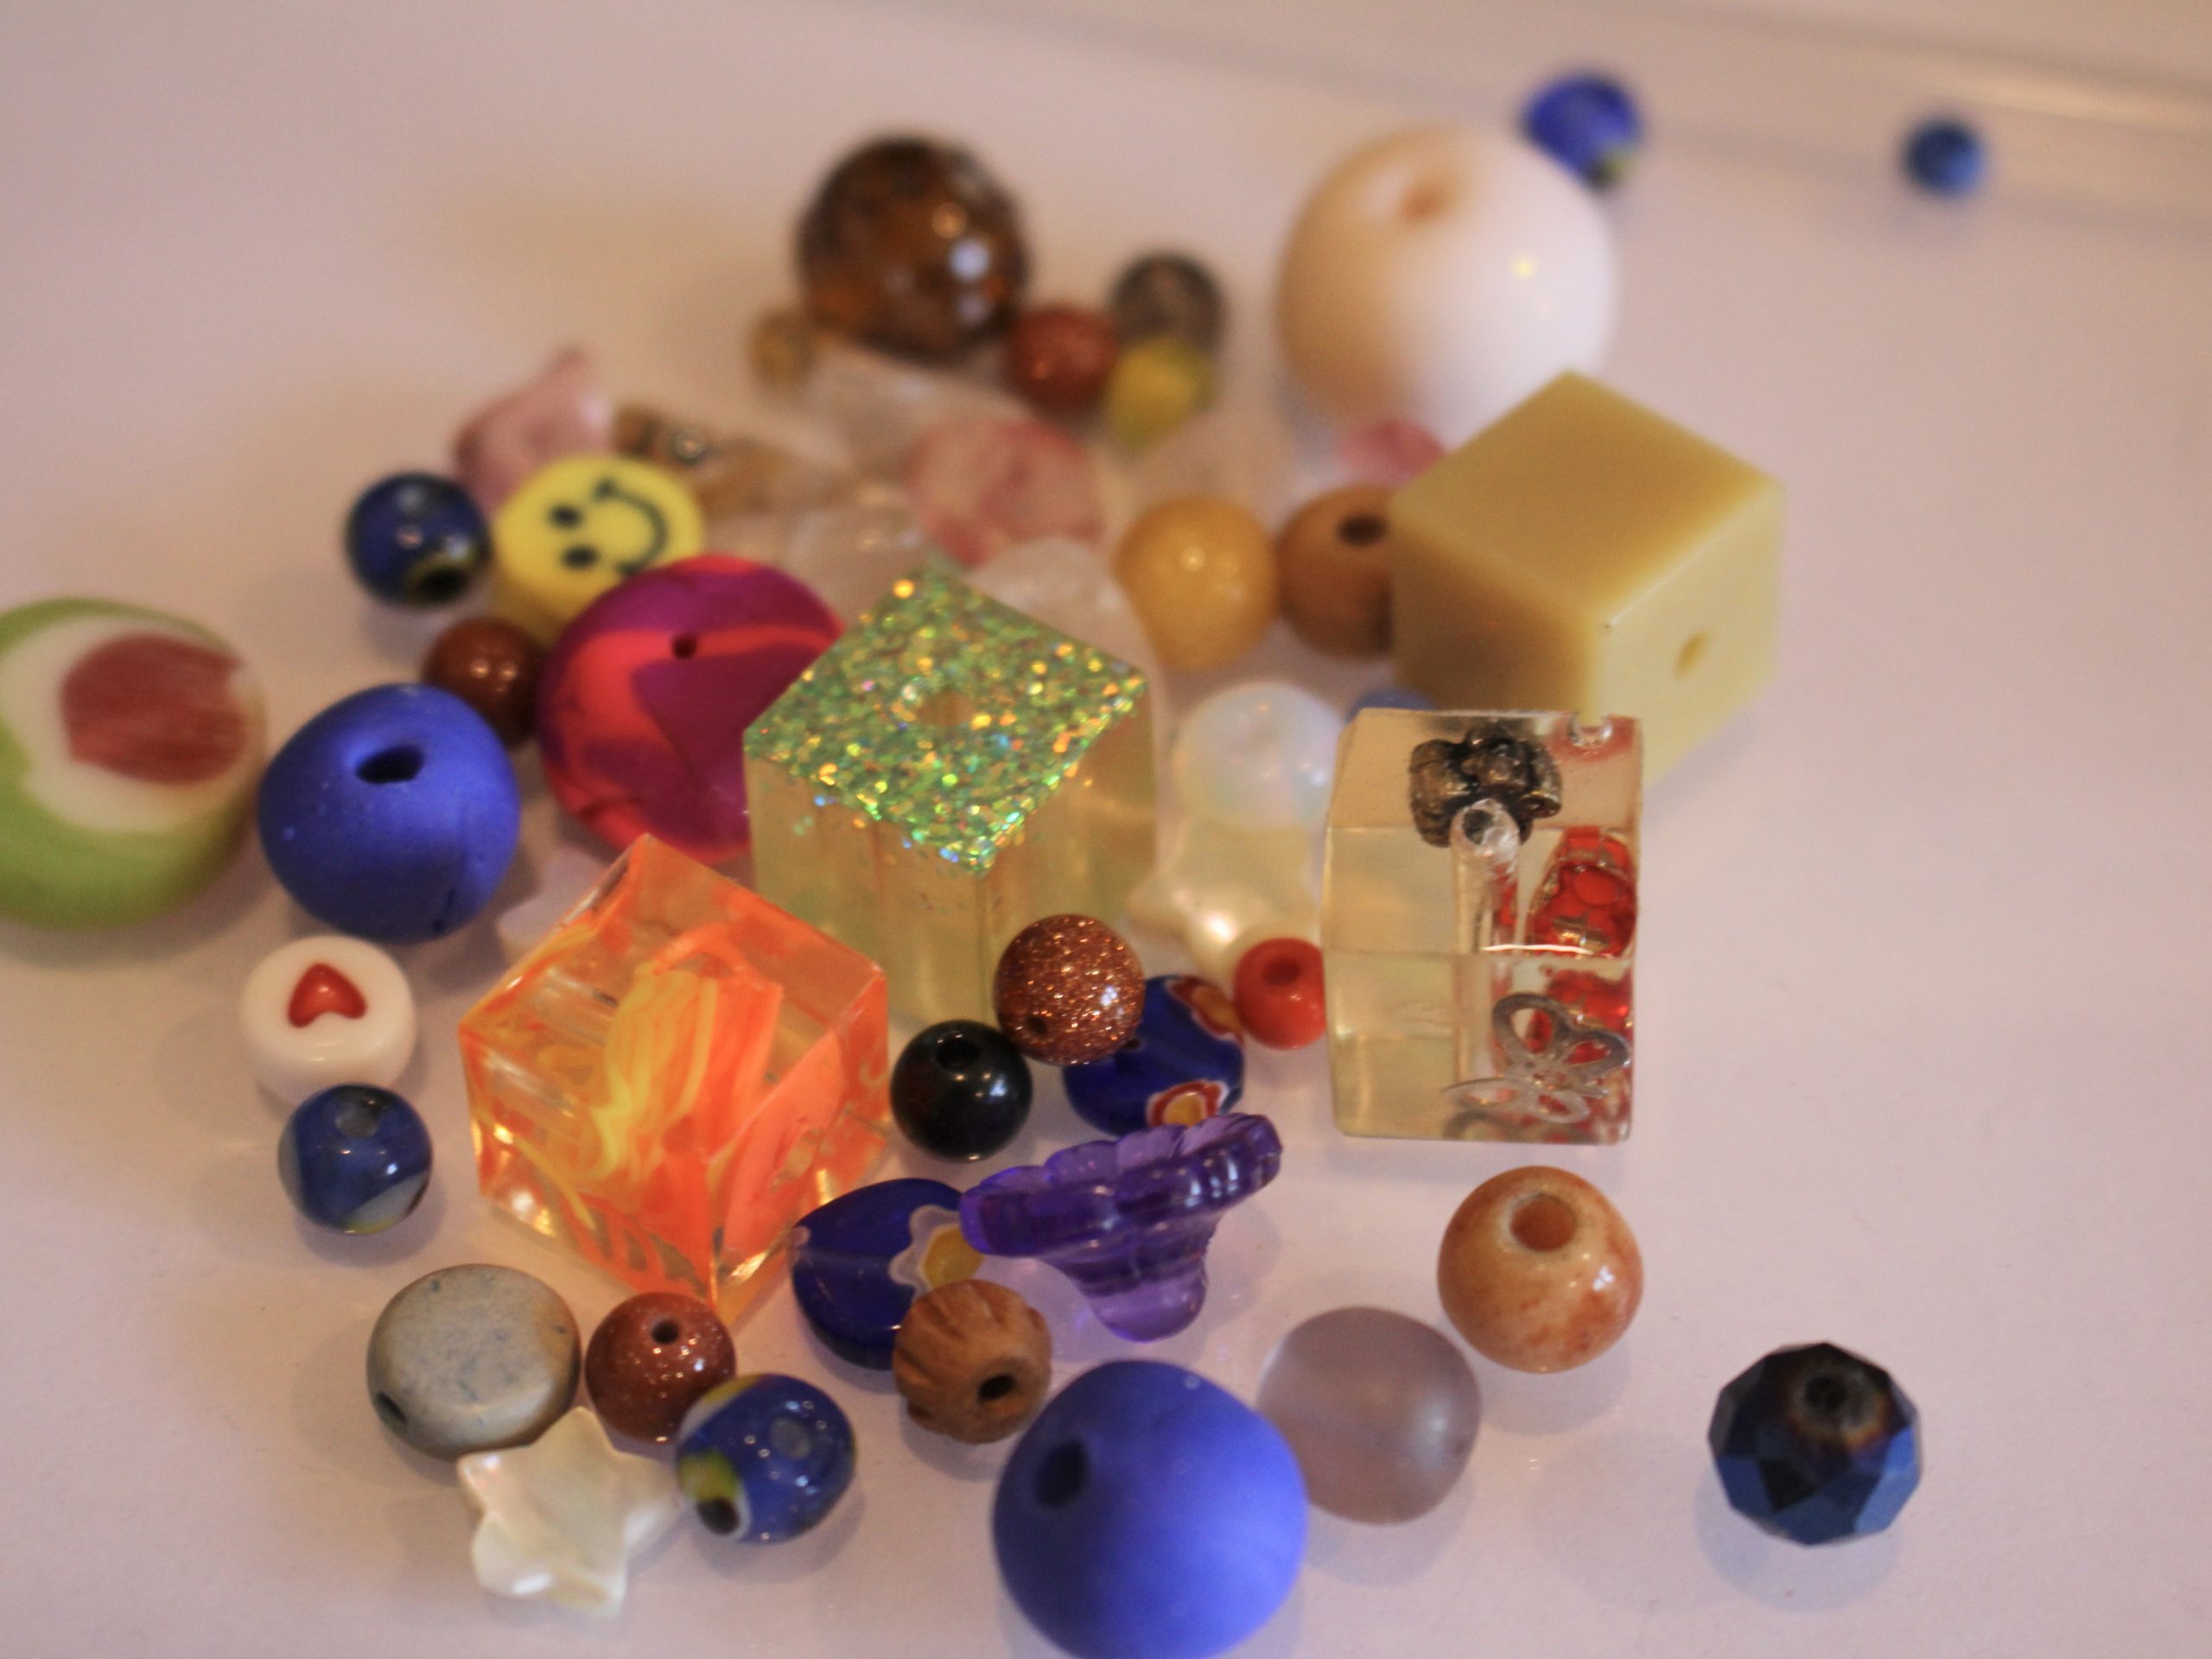
3: A selection of beads. I used this mix of beads from my collection.
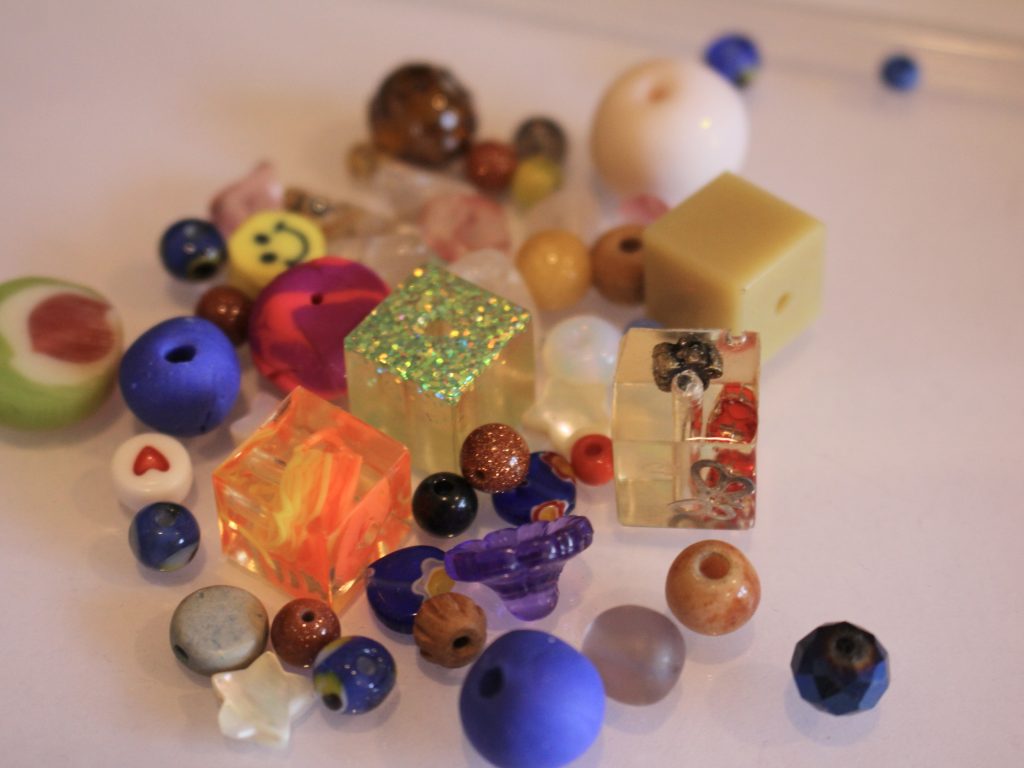
You can get pre-mixed beads here:
4: A lobster clasp and jump ring.

You can get a lobster clasp here:
5: Superglue to secure the ends of the bracelet.
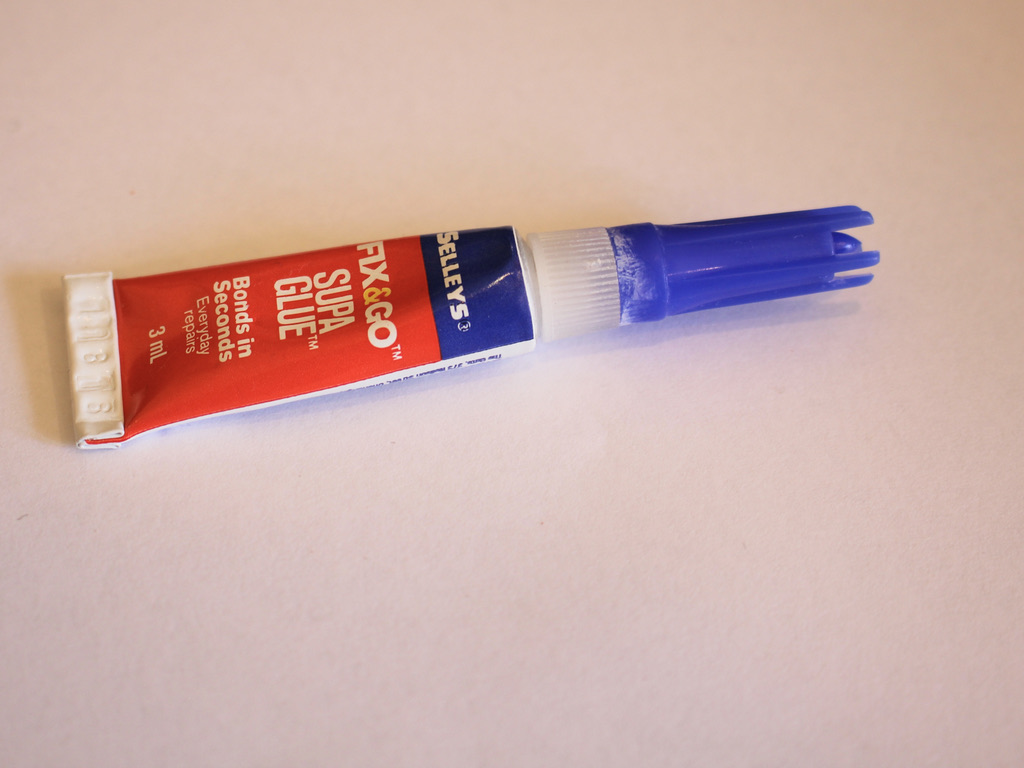
6: Scissors.

You can get some here:
Follow these steps to make this crochet bracelet:
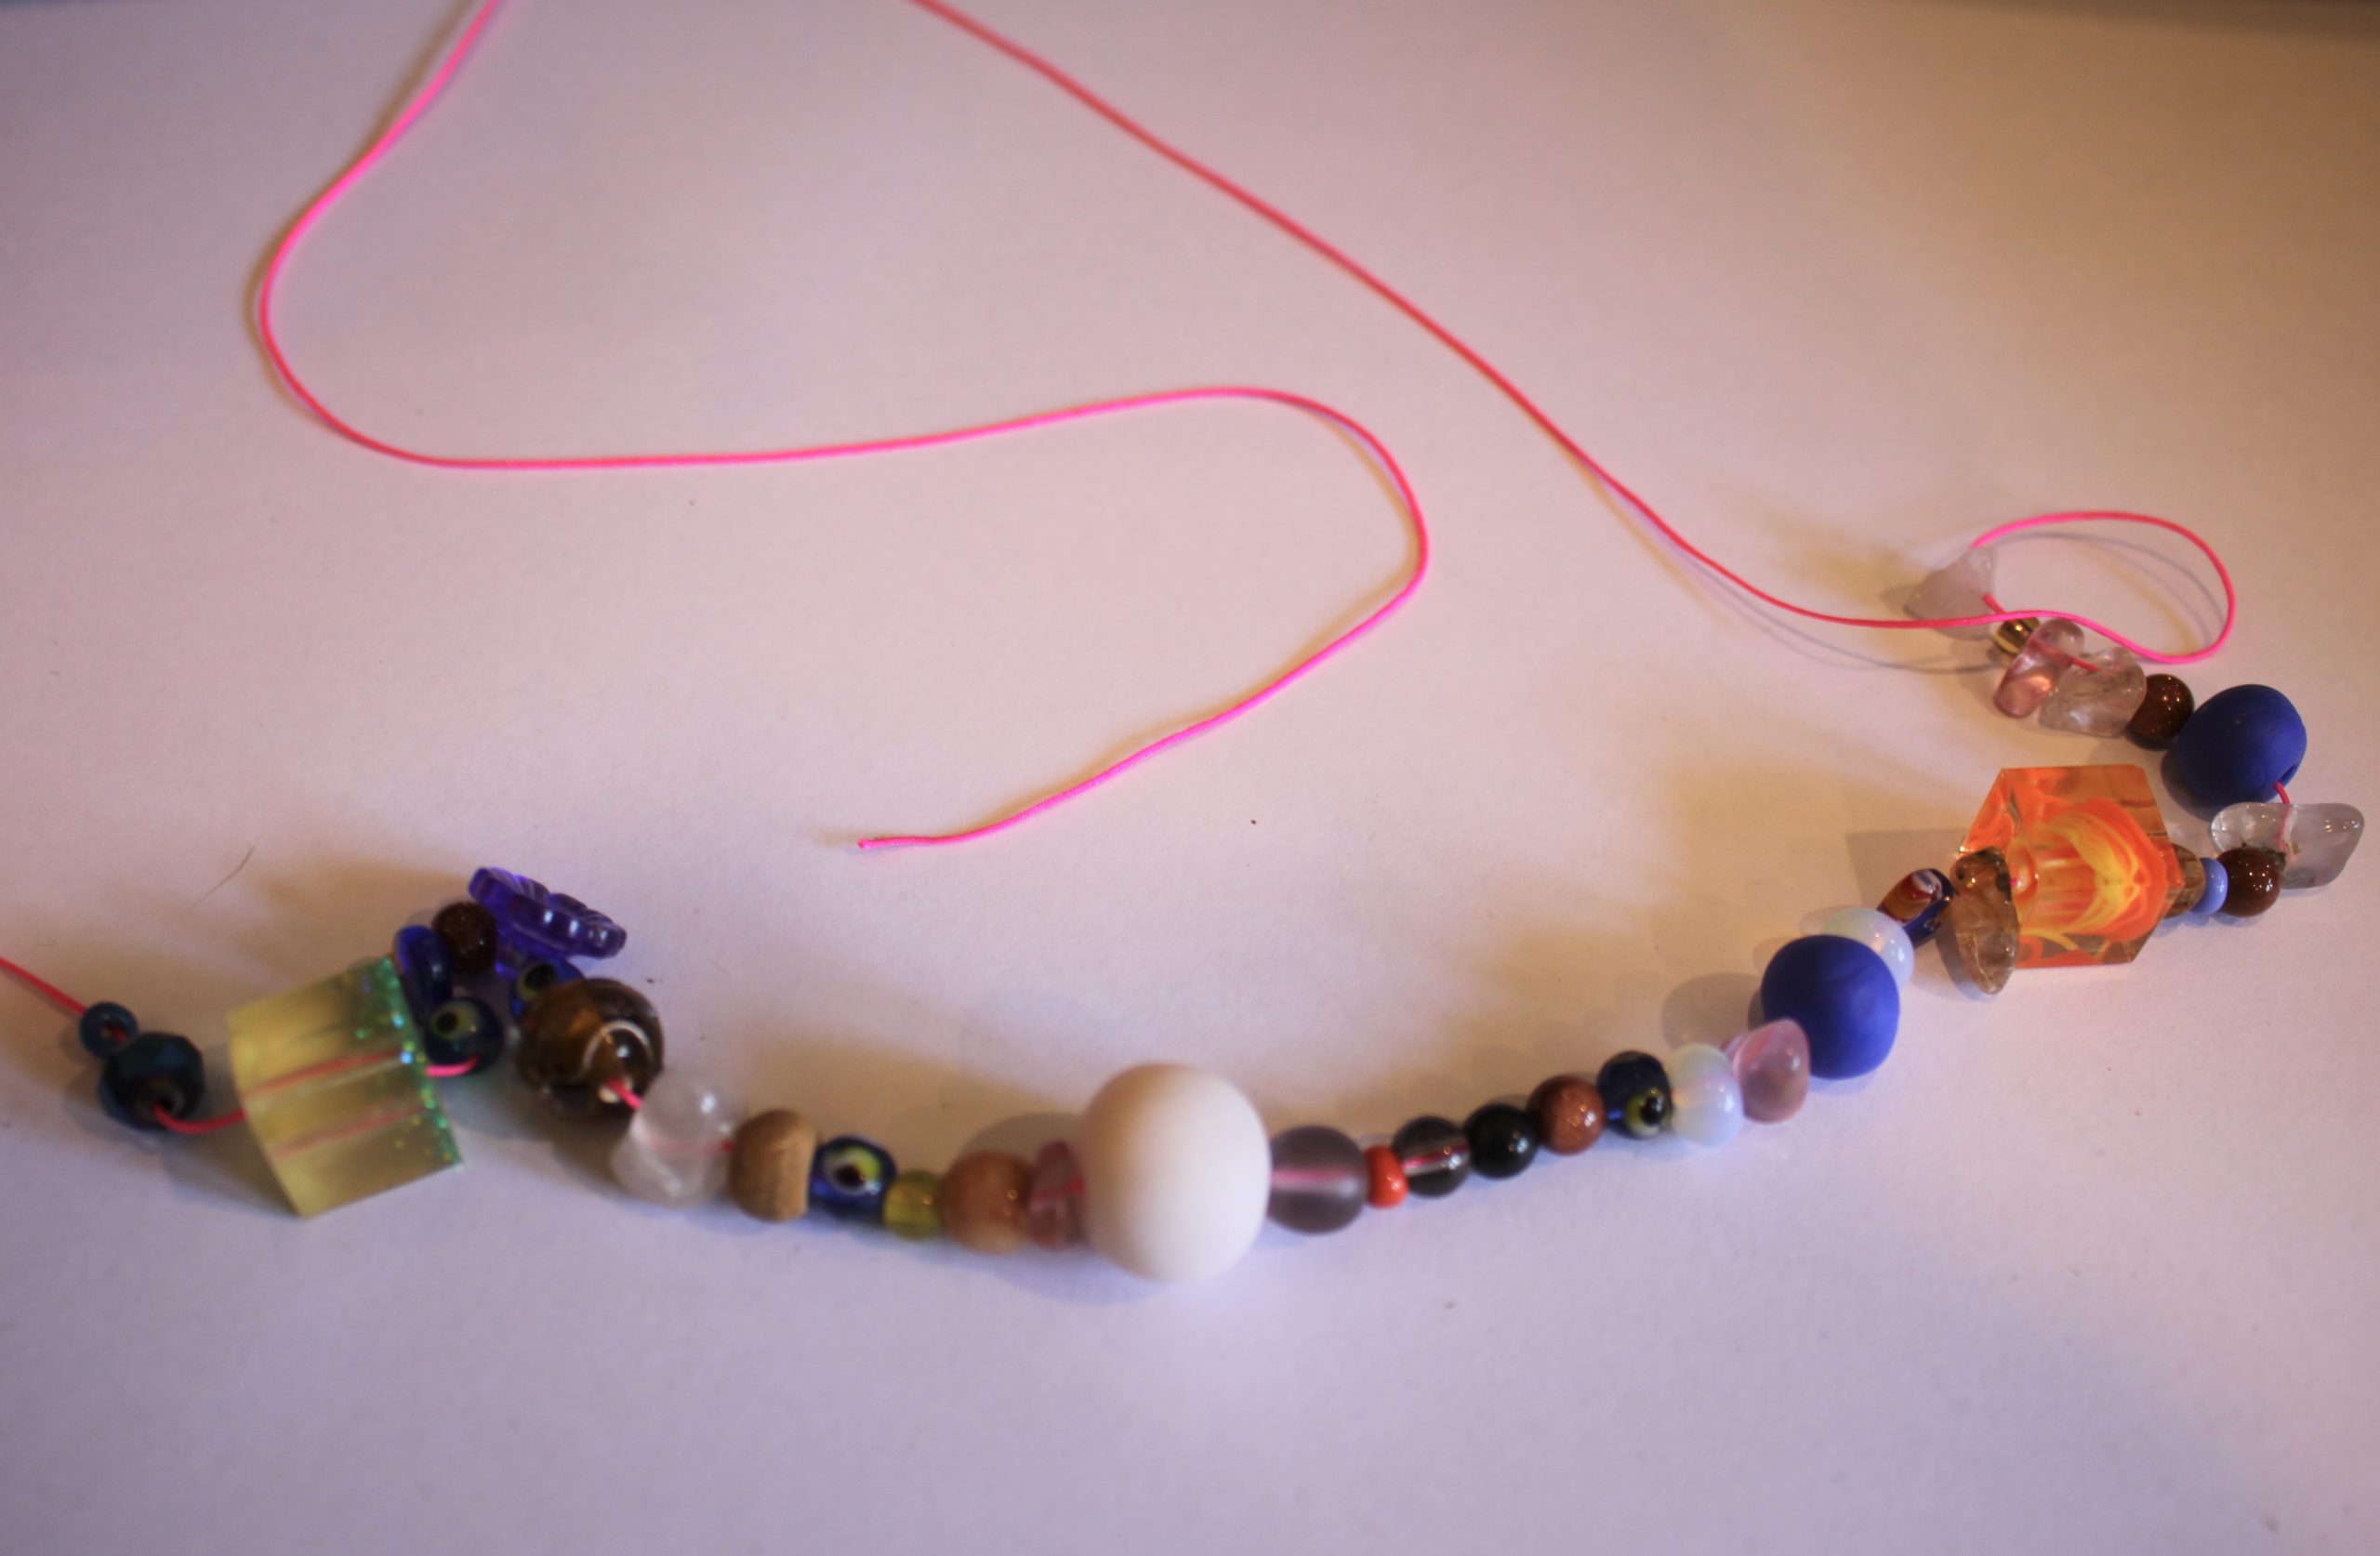
1: Add the beads to the string.
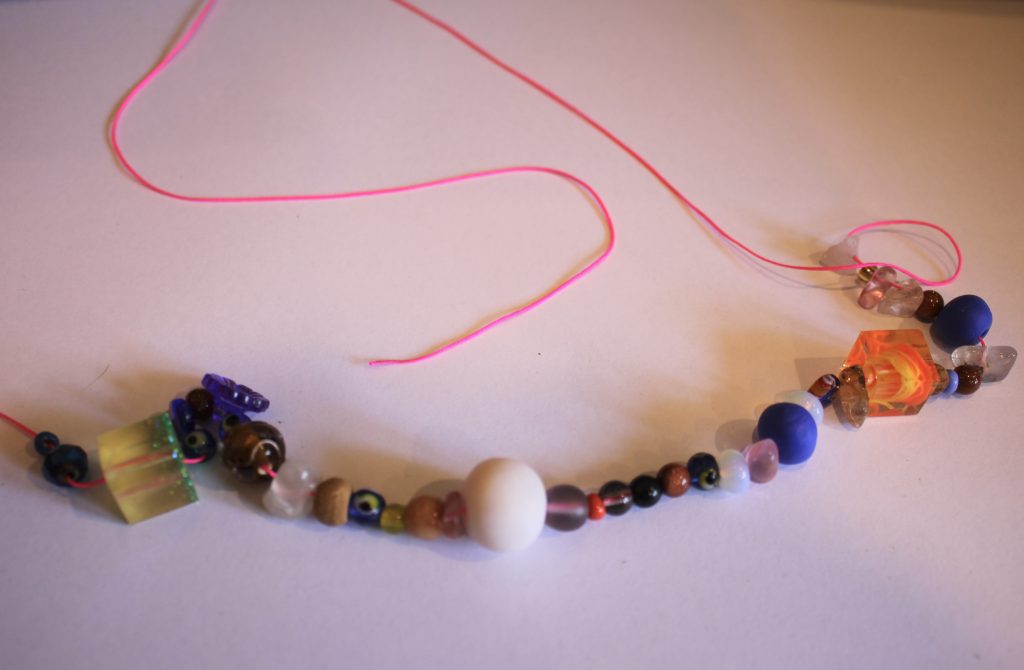
2: Tie the end of the string to the clasp and secure with a knot.


3: Create a slip knot and slide it over the crochet hook. Pull it tight around the hook.

4: Take the longer part of the string and loop it over the hook in front of the first loop. Pull the first loop over the second one to start the chain.
5: Do step 4 a few more times until you have the start of a chain.
6: Add the first bead. Do this by pulling the bead up close to the hook and then looping the thread over the top so that the bead is tight against the left side of the hook.
7: Pull the back loop over the one with the bead to secure it in place.

8: Continue making the chain, adding beads as you see fit until you reach a length you like.

9: Cut the thread and add the end through the last loop to secure the end of the chain.


10: Tie the end of the thread around the jump ring.


11: Trim the excess thread and secure the knots with dabs of superglue.

Now your crochet bracelet is finished! How cool and fun?