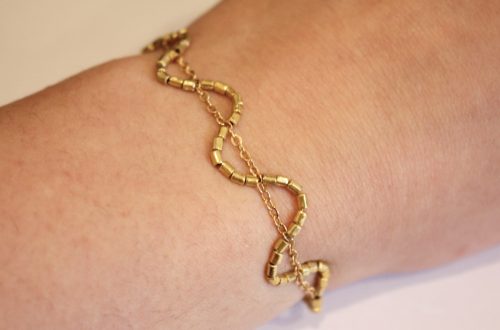
Here’s how to make a double strand bracelet out of memory wire!
This memory wire bracelet is pretty straight forward to make and is a fun way to create a layered look without having to keep track of multiple bracelets! Please note that this tutorial contains affiliate links.
You’ll need the following tools and materials to make this layered memory wire bracelet:
1: Two pieces of bracelet length memory wire cut to the same length. Make sure there’s some overlap at the ends of the wire as this is how it stays on your wrist.

2: Pliers. I used my cutting pliers, round nose pliers and flat nose pliers for this design.

3: Two jump rings.

4: Beads. I used yellow and green glass beads and four green glass decorative beads.

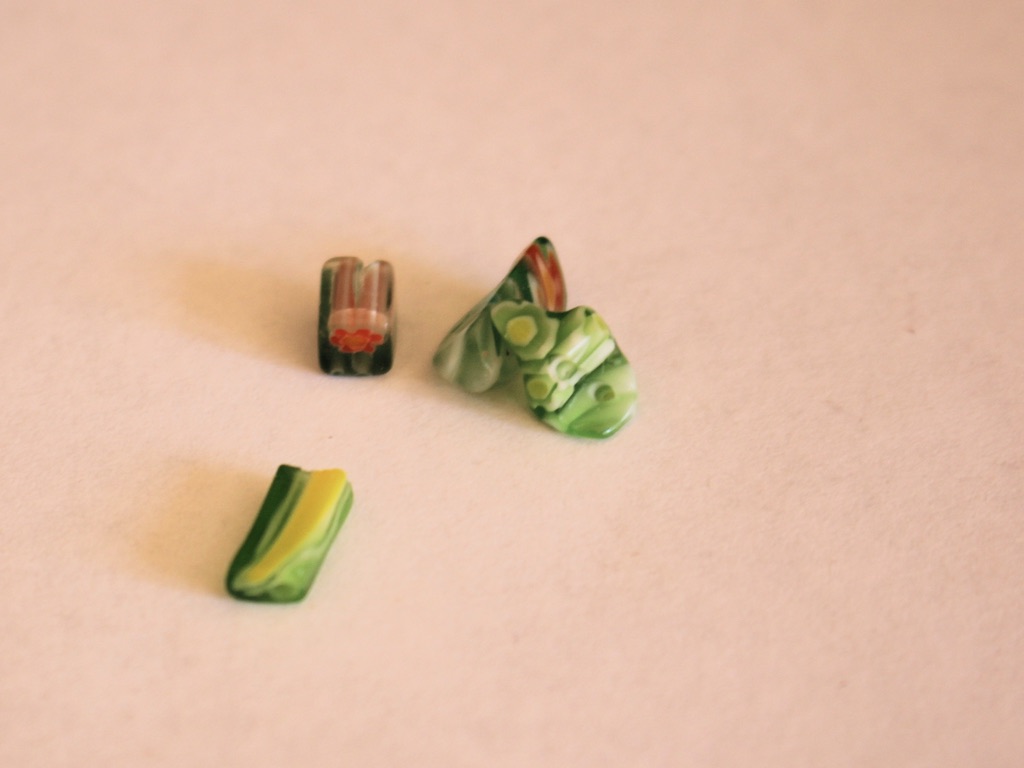
5: Two head pins.

Follow these steps to make your double strand wire bracelet:
1: Take one of the pieces of memory wire and create a loop at one end using the round nose pliers. Do this by curling the wire around the pliers towards the main body of the wire coil.


2: Add beads to the wire in the pattern of your choice.

3: Continue adding beads until there is approximately 1cm of the wire left without beads.

4: Curl the other end of the wire as you did in step 1, this will keep the beads secured on the wire.
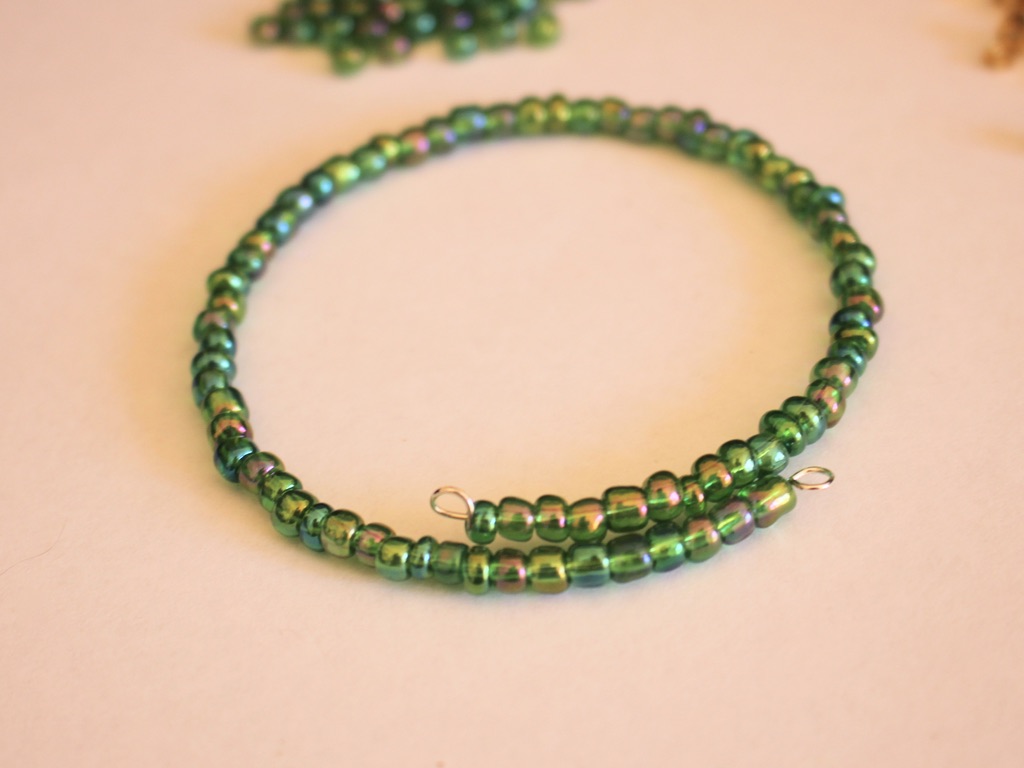
5: Repeat steps 1-4 for the second piece of wire. I changed bead colours for this one.

6: Attach the two beaded wires together at each end by threading a jump ring through the loops you made. Once your beaded wires are attached you should be able to open them at the same time and put them on your wrist!

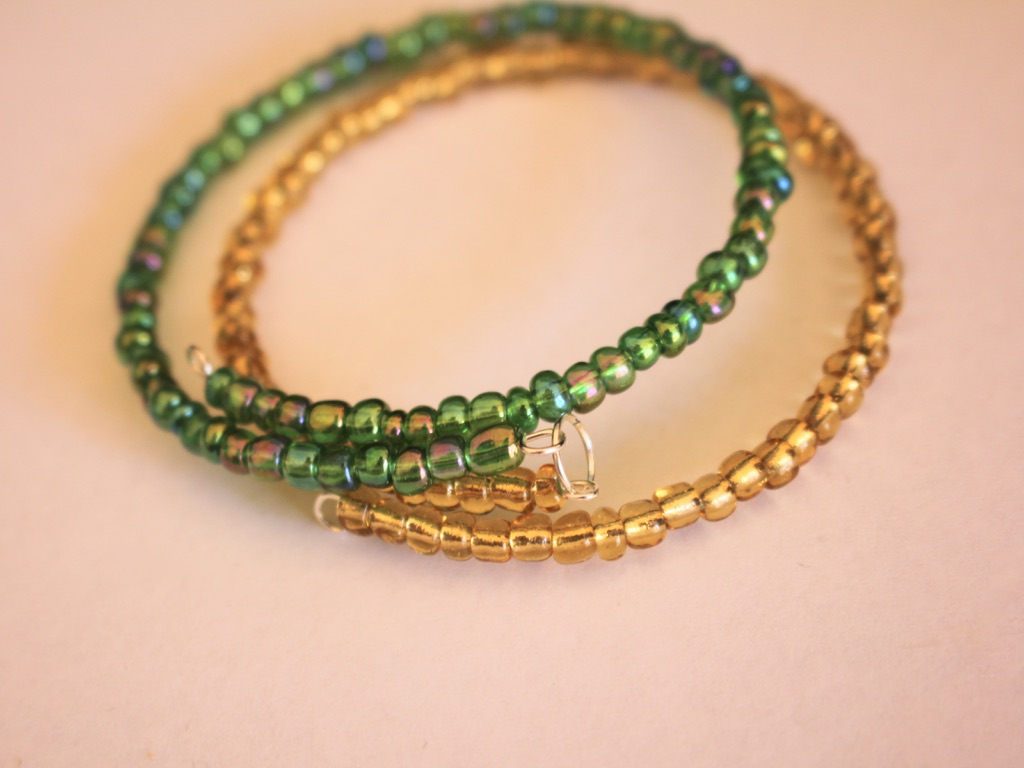

7: As a finishing touch, add two of the decorative beads to each of the head pins.
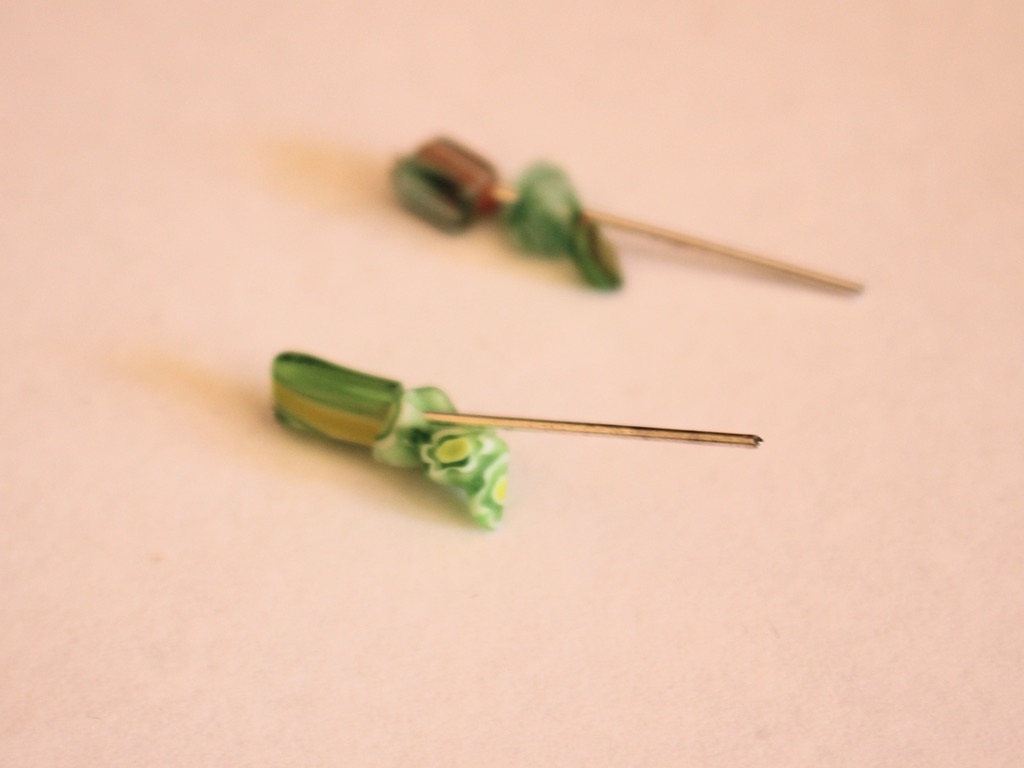
8: Bend each pin to form a right angle and trim off the excess wire so you only have approximately 1cm left unbeaded.

9: Create a loop at the top of each beaded pin using the round nose pliers to secure the beads onto the pin.


10: Attach each bead charm to each of the jump rings that are attaching the two bracelet wires together.

Now your double strand memory wire bracelet is finished! Make one in Christmas colours to feel a bit more festive!


Here are some other multi-strand bracelet tutorials you can follow:
- Make a triple strand bracelet using tiger tail wire.
- or a beaded double strand bracelet.
- Upcycle some broken headphones into a double strand bracelet

DIY Jewelry Hub
Welcome to DIY Jewelry Hub. If you’ve ever wanted to learn how to make your own jewelry this is the place to start! Jewelry is a great way to show off your individuality and style. You’ll be surprised at how easy it is to create your own unique pieces! DIY Jewelry Hub will equip you with all the knowledge and inspiration you need to make your own jewelry.


You May Also Like

Make your jewellery work for you, this necklace is also a bracelet!

Make Your Garbage Glam With This Cute Ribbon Bangle