-
Here’s how to turn some thick wire into a wiggle bangle!
This bangle is so cute! It is a no-heat way to make a unique bangle that you can wear on its own or stacked with other bracelets. Please note that this tutorial contains affiliate links for which we may receive a small commission.
You’ll need the following tools and materials to make your bangle:
1: A piece of thick wire that is about 30-40 cm long (you might need to trim the end or add extra length depending on how large your bracelet needs to be). I used this copper wire that was 1.7mm in diameter.

You can get some copper wire here:
Or if you like, you can make it out of silver wire, which you can get here:
2: A file and emery paper to smooth the ends of the wire.

You can get a file here:

You can get emery paper here:
3: A pair of parallel pliers.

You can get a pair here:
4: A bracelet mandrel.

You can get one here:
5: A nylon or leather hammer. I used this nylon hammer.

You can get a hammer here:
Follow these steps to make your wiggle bracelet:
1: File and emery the ends of your wire using the jewelry file and emery paper, making sure it is smooth and there are no sharp ends.
2: Use the flat nose pliers to create a triangle shape at one end of the wire.


3: Now grip the wire next to the triangle and push the long end of the wire against the pliers to form an angle.

4: Repeat step 3 again to create a zigzag shape.
5: Repeat steps 3 and 4 for the rest of the wire until you have about 1.5cm left of the wire.

6: Form the shape into a circle and create another triangle at the other end that is slightly open.

7: Slip the open end of the bracelet through the triangle you formed at the start.

8: Using the flat nose pliers again, close the second triangle to close off the bangle.

9: Put the bangle on the mandrel and hammer it into a circular shape, gently adjusting it so that it lies flat.

Once you are happy with the shape, you can take your bracelet off the mandrel and pop it on your wrist! How simple and lovely? I am very fond of this simple bangle design. How will you style yours?

Here’s how the finished bangle looks.


-
DIY Beaded Necklace Tutorial: Creating a Stunning Strand for Silver Pendants
I love necklaces, but I don’t always need my pendants to sit on a matching chain, sometimes I love the look of metal pendants on a beaded necklace strand. If you love this look too, here’s a fun tutorial that shows you how to make your own so that you can wear your favourite pendants on bead embellished necklaces! Please note that this tutorial contains affiliate links.
You’ll need the following tools and materials to make your beaded necklace strand for your pendant:
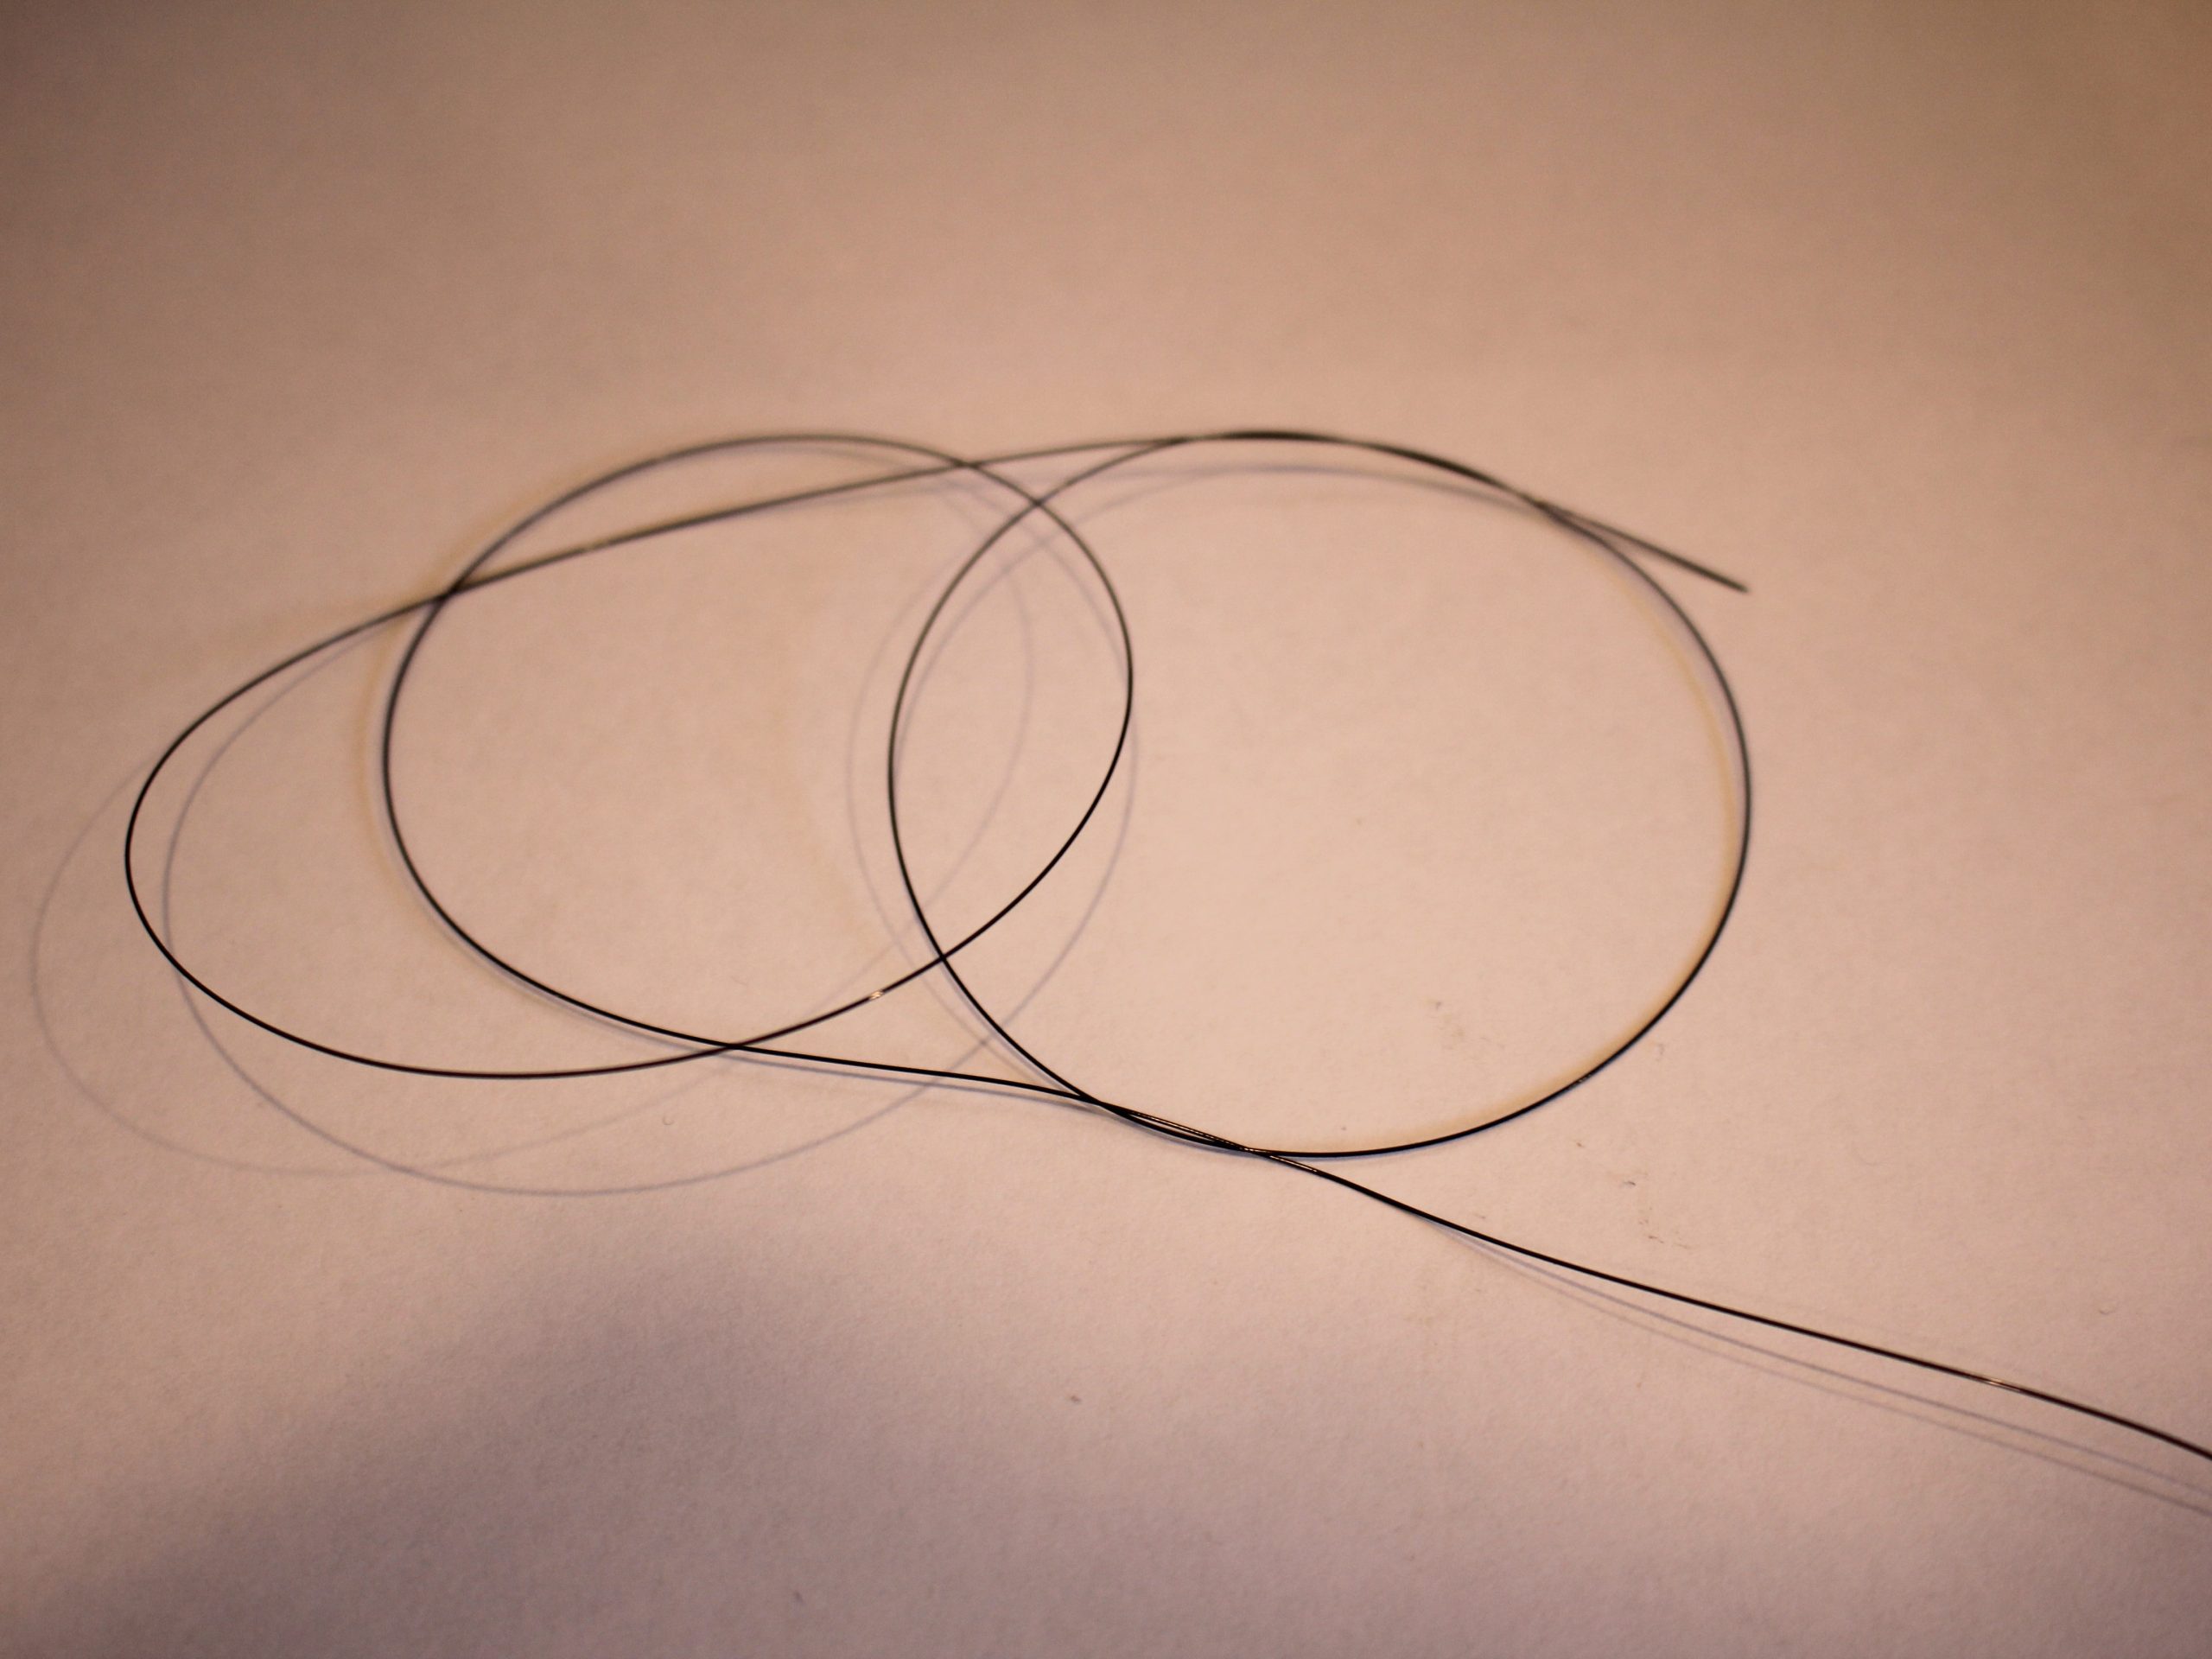
1: Some tiger tail wire. I used some thin tiger tail wire. Cut it to length by measuring out the length you would like your necklace to be, and add around additional 15 centimetres.

You can get wire here:
2: Pliers. I used my cutting pliers and flat nose pliers. I kept my round nose pliers on hand in case I needed them.

You can get plier sets here:
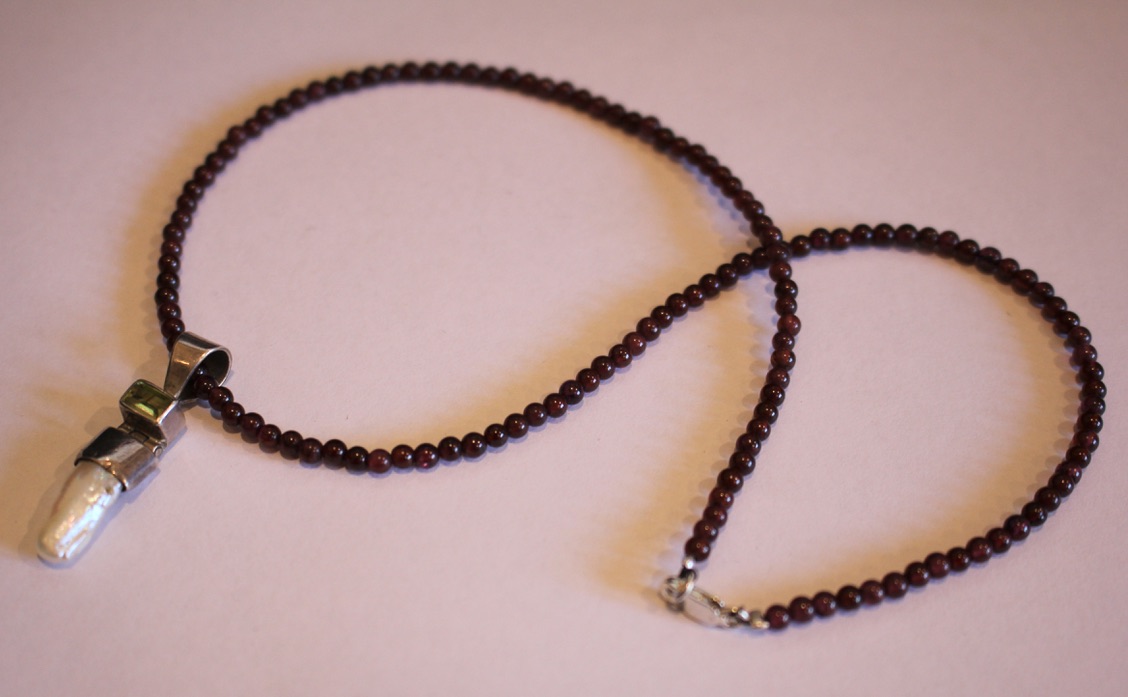
3: Some beads. I used these small round garnet beads. (Choose smaller beads to ensure that your pendant will slide over them easily).

You can get round gemstone beads here:
4: A pendant. I used this silver gemstone pendant. Make sure it has a bail (the loop at the top) that is large enough to fit over the beads you choose. I purchased this one at a local flea market, which can be a place to buy interesting jewellery.
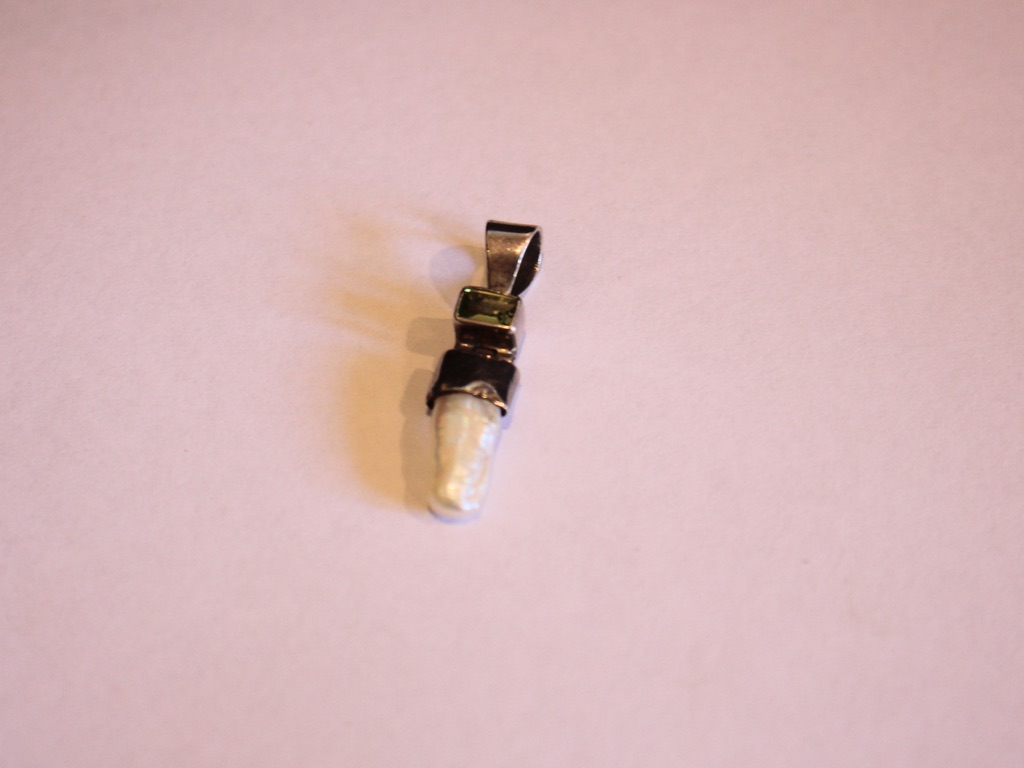
You can get silver and gemstone pendants here:
5: Two sterling silver crimp beads.

You can get sterling silver crimp beads here:
6: A sterling silver clasp and additional jump ring.

You can get silver clasps and jump rings here:
Here are the steps to follow to make your beaded necklace strand to wear your pendant on:
1: Add the crimp bead and clasp to the end of the tiger tail wire.

2: Loop the end of the wire around the jump ring on the clasp twice so that it is secure, then thread it through the crimp bead.


3: Squash the crimp bead using the flat nose pliers.

4: Begin adding beads, continue beading until you have a length you like.


5: Add the second crimp bead to the necklace (excuse my bent wire, it got a little tangled, if this happens to you, continue adding beads and it will smooth out, or try to avoid having kinks in the working section of your necklace).
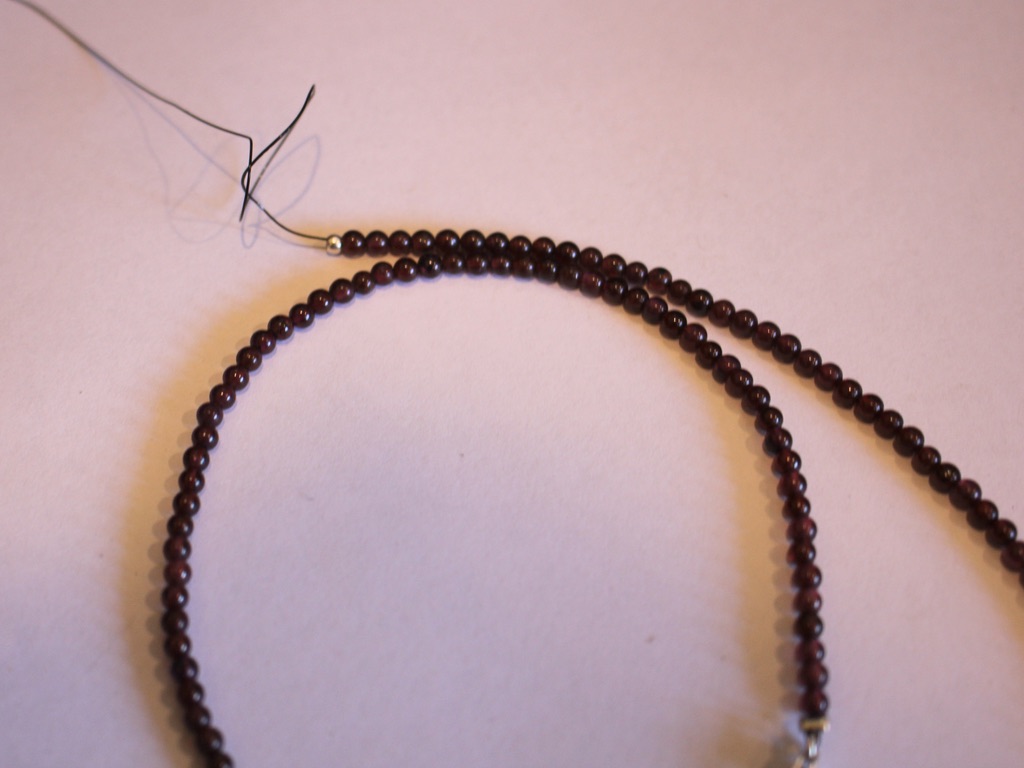
6: Add the second jump ring to the end of the wire.
7: Loop the wire around the jump ring twice like you did in step two.

8: Thread the wire back through the crimp and the first few beads on the wire. Make sure to pull it tight, extra pliers can be useful for getting a tight fit.

9: Squash the crimp using the flat nose pliers again.

10: Trim the excess wire using the cutting pliers.

11: Now you can add your pendant!

12: Once your pendant has been added, your necklace is complete!


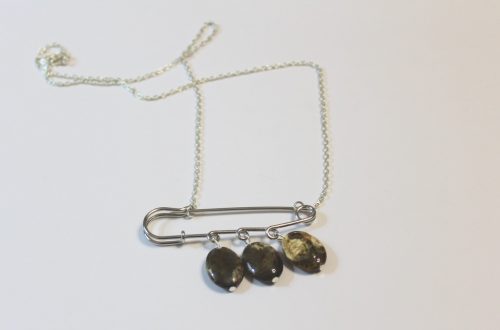
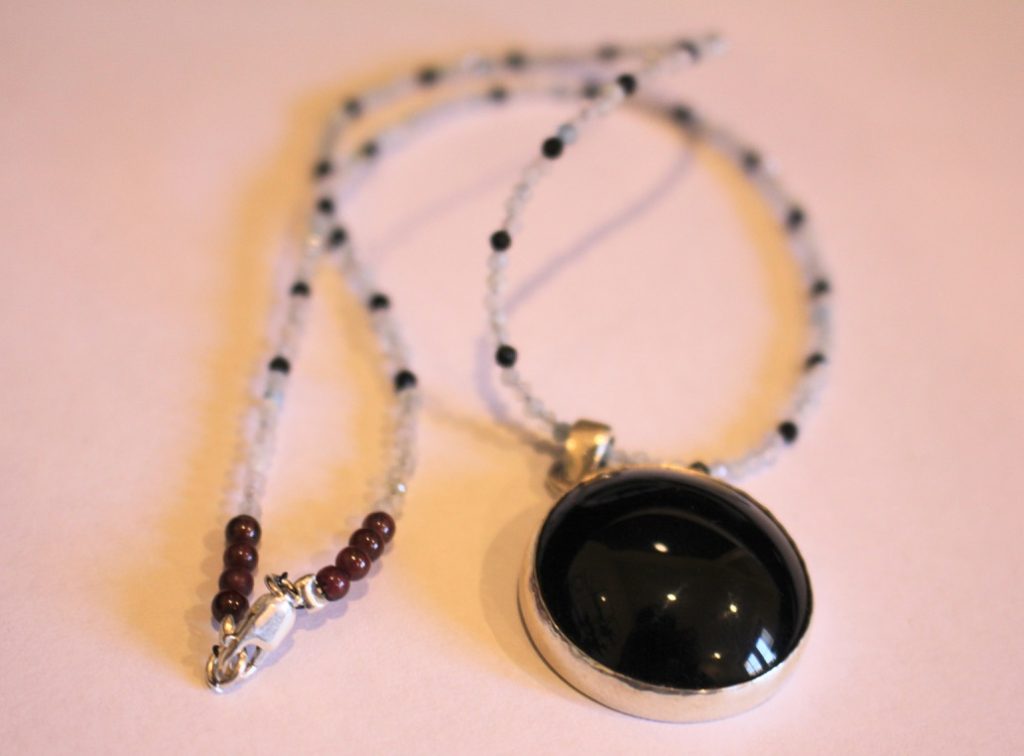
Here’s another one I made using a black cabochon pendant on a necklace made with faceted gemstone beads. So pretty! There are so many options using this technique! What combination will you make?
Here are some other pendant necklace tutorials to follow: