How to Make a Chain Necklace (With A stunning pendant in the middle)
Here’s another way to make a necklace. Using some chain and a handful of beads, this pendant necklace is quick to make and lovely to look at!
You will need the following tools and materials to make this necklace:
1. For this necklace you will need the round nose pliers, flat nose pliers and cutting pliers.

2. Some jewelry chain.

3. Three eye pins.

4. Two head pins.

5. A lobster clasp.

6. Beads for the body of your pendant.
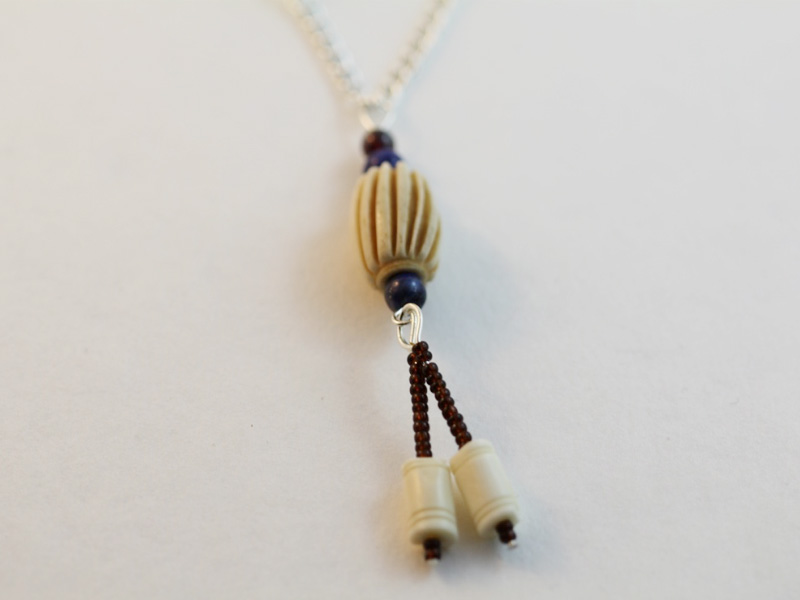
I used a carved bone bead, two round lapis lazuli beads and one round garnet bead for my pendant.

7. Beads for the tassels that will be attached to the body of the pendant.
I used some black seed beads and two carved bone beads to make my tassels.


8. Two accent beads that will be added to the length of your chain.
I used two lapis lazuli tube beads as my accent beads in this necklace.

The Steps
1. Start with threading the pins. Thread your two accent beads onto two of the eye pins.


2. Then thread the beads you’ve chosen for the body of your pendant onto the third eye pin.


3. Finally, you need to add the leftover beads onto the two head pins so that they match.


4. Once all your pins have been beaded, bend the tops of the pin at a right angle to the beaded portion. Make sure you do this for all the pins.


5. Trim the pins using the cutting pliers so that you can curl the ends into a small loop. I try to leave approximately 1centimetres (0.4 inches). Make sure you hold onto the pin on either side of the pliers to prevent it from flying away from you.


6. Once all your pins have been trimmed, use the round nose pliers to curl them into a loop that ends close to the bead.

7. once all your loops have been formed you can start putting the charm together. Take one of your beaded tassels and open the loop slightly.

8. Slide the pendant body onto this loop and then close it. Repeat this step for the second tassel as well.


9. Now your beaded pendant is complete!

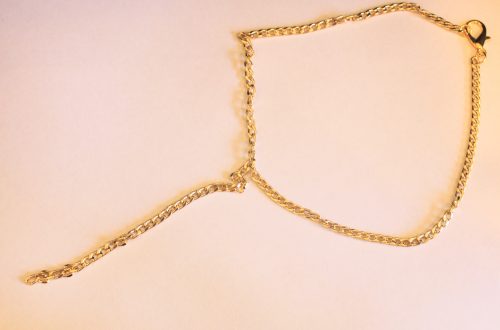
10. Now you can start preparing your chain to form the necklace. My chain came in a loop, so I had to open two links to form two separate pieces of chain. Open the chain link like you would a jump ring, using round nose and flat pliers to pull the ends apart.


11. Open the top loop on your beaded pendant and slide one end of both pieces of chain onto the loop. When you have added the pendant to the chain you can close the pendant loop again.


12. split the chain again on both sides, keeping close to the center pendant.


13. Open the loops on the accent beads and add them to the gaps you have made in the chain. Once you have done this you can close the loops on the pin. Make sure you add the bead to both sides of the necklace.

14. Now all that is left to do is add the lobster clasp! If you make your necklace long enough you can slip it over your head and skip the clasp all together (you’ll have to rejoin the chain links instead). Otherwise, take the jump rings and open them so that they can slide over the final links of your chain.


15. Slide the clasp and tag onto each of the jump rings and then close them using your pliers.

16. And you are done! Now you can head out wearing your freshly made charm necklace!


DIY Jewelry Hub
Welcome to DIY Jewelry Hub. If you’ve ever wanted to learn how to make your own jewelry this is the place to start! Jewelry is a great way to show off your individuality and style. You’ll be surprised at how easy it is to create your own unique pieces! DIY Jewelry Hub will equip you with all the knowledge and inspiration you need to make your own jewelry.

You May Also Like

Make this cute beaded arrow necklace for some pretty stunning results

Two holes are better than one! How to use a double-hole bead in your jewelry making.