-
How to add cute square charms to a pair of hoop earrings!
These hoop earrings are really cute! Each hoop has a little dangly beaded square charm which moves prettily as you wear them! This is a really special way to upgrade a basic hoop finding. Please note that this tutorial contains affiliate links.
Grab these tools and materials to make your earrings:
1: A pair of hoop findings.

2: Eight eye pins.

3: Four head pins.

4: Four small jump rings.

5: Four large jump rings.

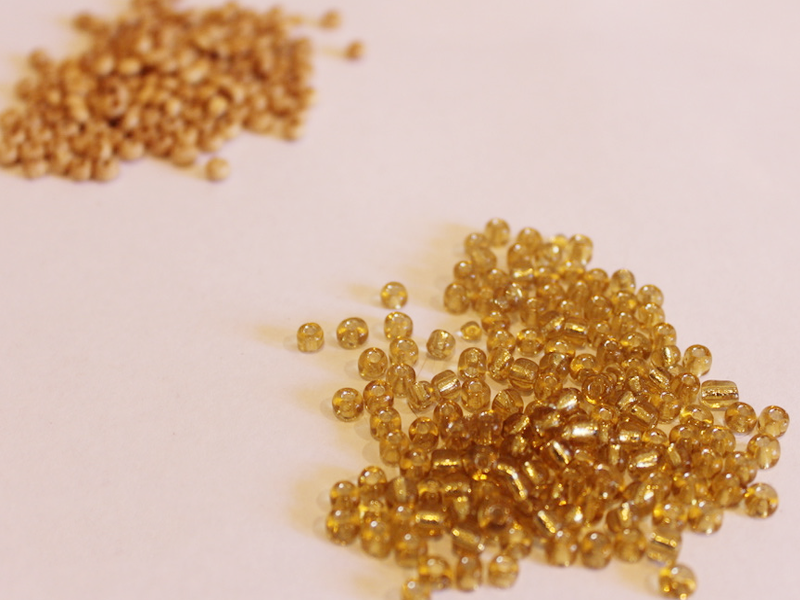
6: Glass beads. I used yellow glass e-beads.

7: Some accent beads, I used four blue seed beads and four silver-tone beads.


8: Pliers. I used my flat nose and round nose pliers for this pair of earrings.


Follow these steps to make your elevated hoop earrings:
1: Add beads to one of the eye pins.

2: Bend the end of the pin to form an angle.

3: Curl the end of the pin around the round nose pliers to make a loop. This secures the beads in place.


4: Repeat steps 1-3 for the remaining seven eye pins. Now you will have eight beaded pins.

5: Take four of the pins and join them together to form a chain.


6: Do this again for the second set of pins.

7: Attach the ends of each chain together to make a square shape.


8: Set the two squares aside.
9: Add two of the accent beads to the head pins.


10: Wrap the end of the pin around the round nose pliers to create a loop.


11: Repeat steps 9 and 10 for the other three pins, using up the rest of the beads.

12: Attach two of the charms you just made to the bottom corners of each of the squares using the small jump rings.


13: Add the larger jump rings to the top corners of the squares.


14: Using the larger jump rings, slide a charm onto each of the hoops.


Now your elevated hoop earrings are finished and ready to wear! How fun is this design? I love how they move and wiggle as I wear them!

Here are some other ways you can incorporate beaded squares into your jewelry:
-
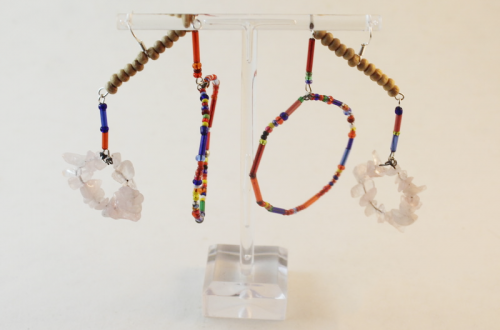
These earrings have not one, not two… but three hoops! Here’s how to make them.
Do you love it when your earrings to do the most? These earrings are a true hoop statement, made with three hoops that nest into each other. I think these are so cute!
Please note that this tutorial contains affiliate links.
You’ll need the following tools and materials to make your triple hoop earrings:
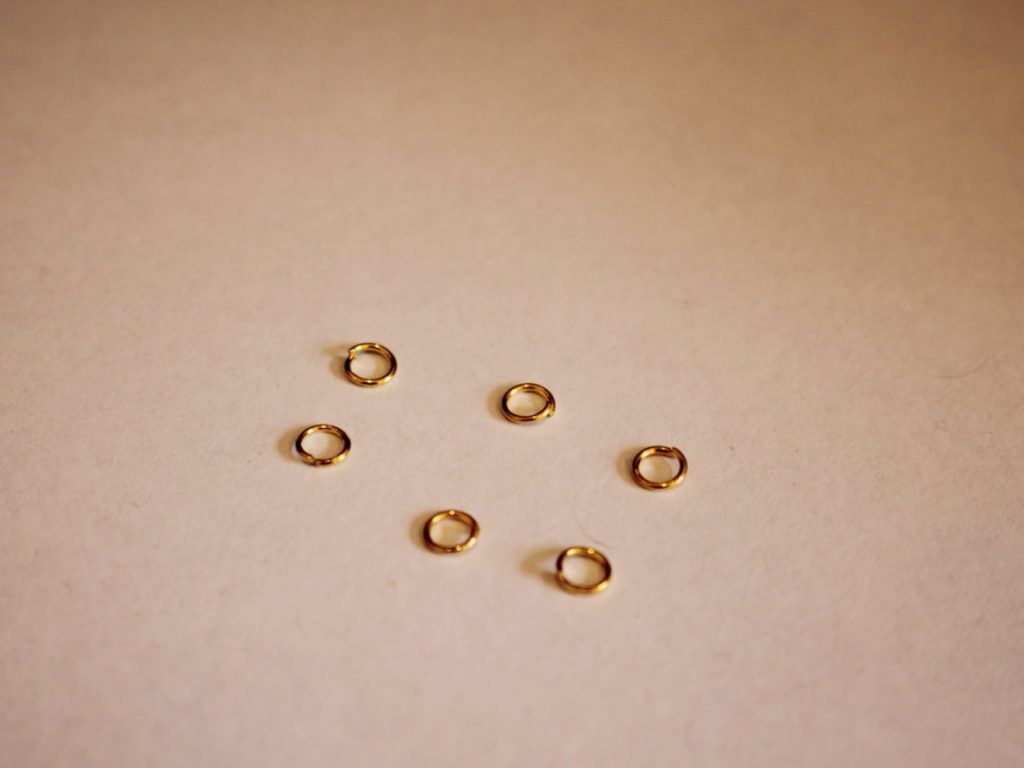
1: Six pieces of wire in three different lengths (two pieces of each length). The longest piece of wire will determine the size of the rest of the hoops. I used copper wire.

2: Six small jump rings.
3: A pair of earring hooks.

4: Beads of your choice. I used six red timber beads and some yellow glass e-beads.


Follow these steps to make your triple hoop earrings:
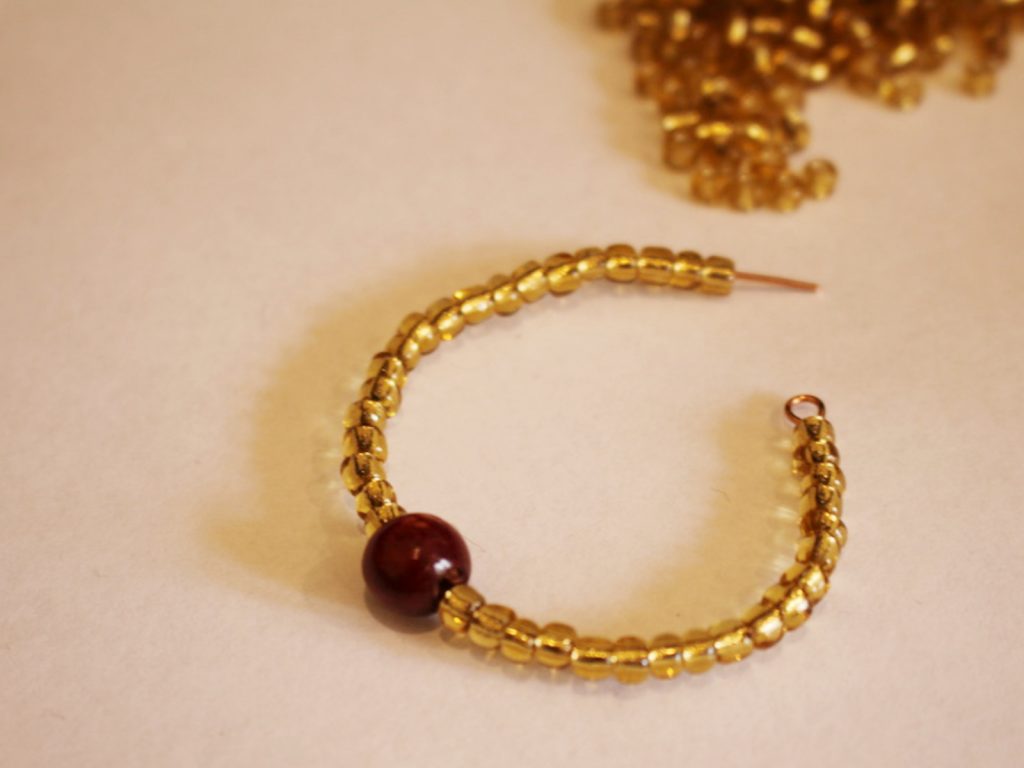
1: Create a loop at one of the ends of the long wires using your round nose pliers. Do this by creating a right angle first and then looping that small end of the wire around the barrel of your pliers.


2: Add beads to the wire in your chosen pattern. I beaded mine primarily with the yellow beads, placing a red timber bead in the centre. You can estimate the centre of the wire by forming it into a rough circle shape.

3: Once the wire is beaded, with 1cm left bare, create another loop at the end of the wire. This will secure the beads in place. Open the end loop up a bit and slide it into the loop you made at the start, close it to secure the ends together and form the circle shape.


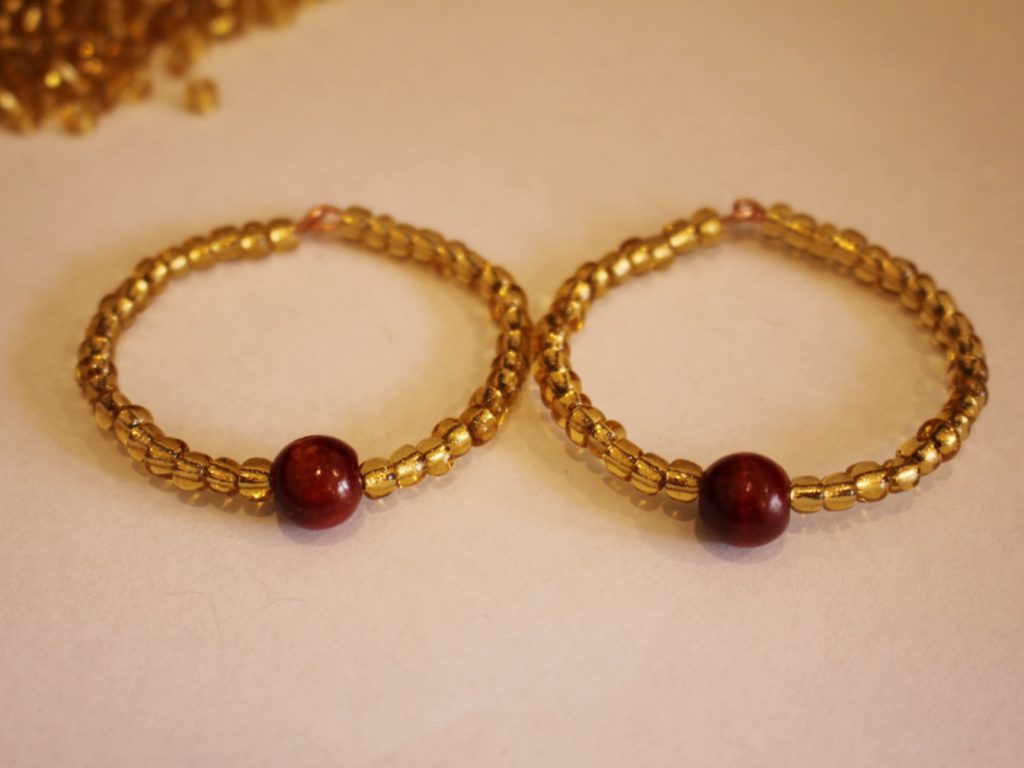
4: Repeat steps 1-3 for the rest of the wires to create six circles.


5: Take one of the biggest circles and one of the medium circles. Attach them together using one of the jump rings. Slide the jump ring through the loops at the top of each hoop and close it to secure them together.

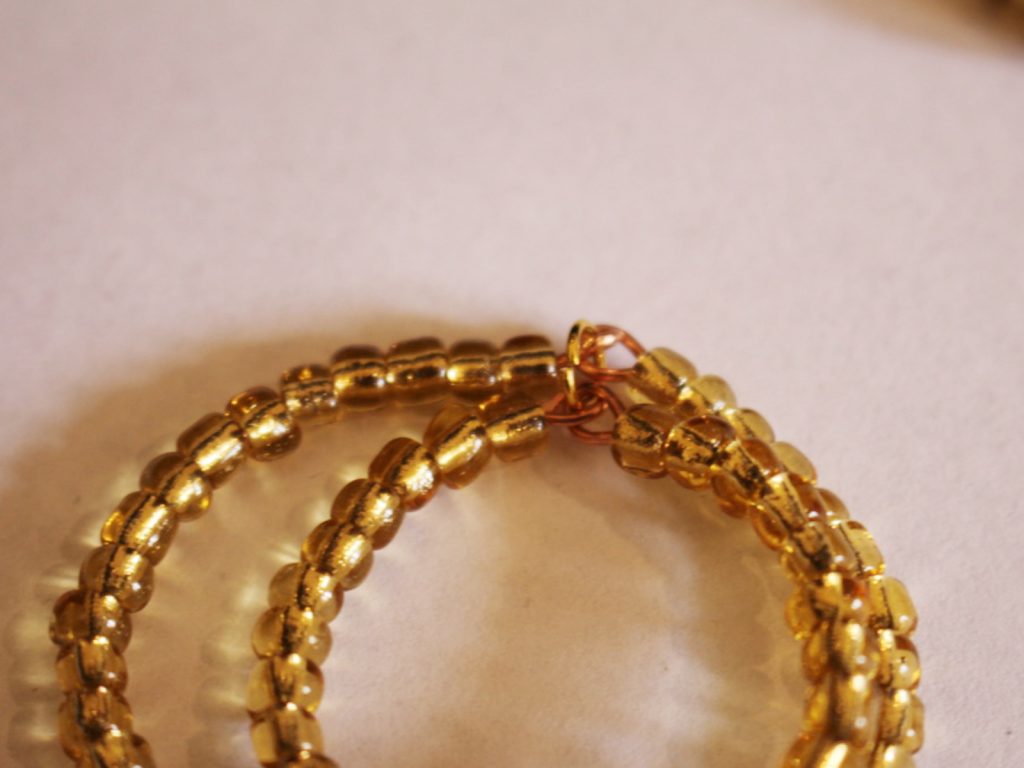
6: Repeat step 5 to attach the smallest hoop to the middle hoop so that you have a stack of three hoops attached together.

7: Repeat steps 5 and 6 for the second set of hoops.

8: Attach an earring hook to both sets of hoops to finish them off.


Now your cute triple hoops are finished and ready to wear!


If you like this design, here are some other multi-hoop earring tutorials:
-
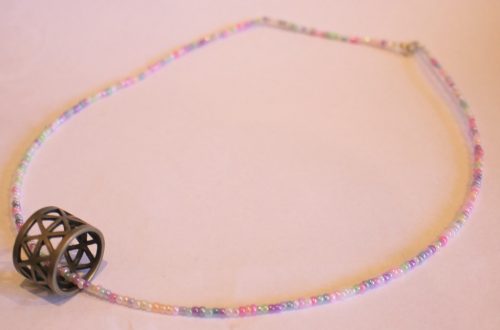
Need a new necklace? Look no further than this tutorial!
Here’s a new necklace you can make and customise to your liking. It uses memory wire and chain to make a layered effect for extra visual interest.
Here’s what you need to make this necklace:
1: Pliers. I used my cutting pliers, round nose pliers and flat nose pliers.

2: Two half circle pieces of necklace length memory wire.

3: Two pieces of chain that, when measured together, are long enough to fit around your neck.

4: Six jump rings.

5: A lobster clasp.

6: Beads. I used yellow glass beads.

Follow these steps to make your necklace:
1: Curl one end of one of the pieces of memory wire using the round nose pliers to form a loop.


2: Add beads to the wire until there is approximately 1cm left unbeaded.


3: Curl the other end of the wire using the round nose pliers again to secure the beads in place.

4: Repeat steps 1 to 3 for the second piece of memory wire.

5: Attach the two pieces of memory wire together using two of the jump rings.


6: Attach one of the pieces of chain to one side of the memory wire arches using another of the jump rings.

7: Repeat step six for the other side of the necklace attaching the second piece of chain.

8: Attach the lobster clasp to one side of the necklace using one of the remaining two jump rings.

9: Attach the last jump ring to the other side of the necklace to finish it off.

Now your new necklace is ready to wear!


-
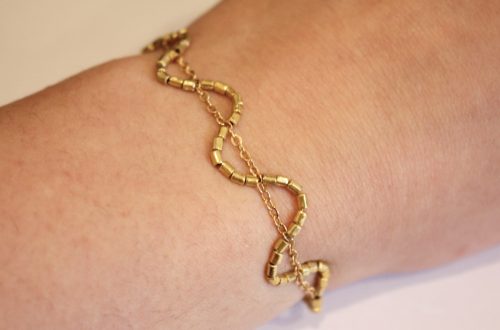
Like chains and beads? Why not mash them together to make this bead chain bracelet?
This bracelet uses wire and beads to make big loops that you then turn into a bracelet! This cute design is perfect for wearing with summer outfits.
You’ll need these tools and materials to make your bracelet:
1: Pliers. I used cutting pliers, flat nose pliers and round nose pliers.
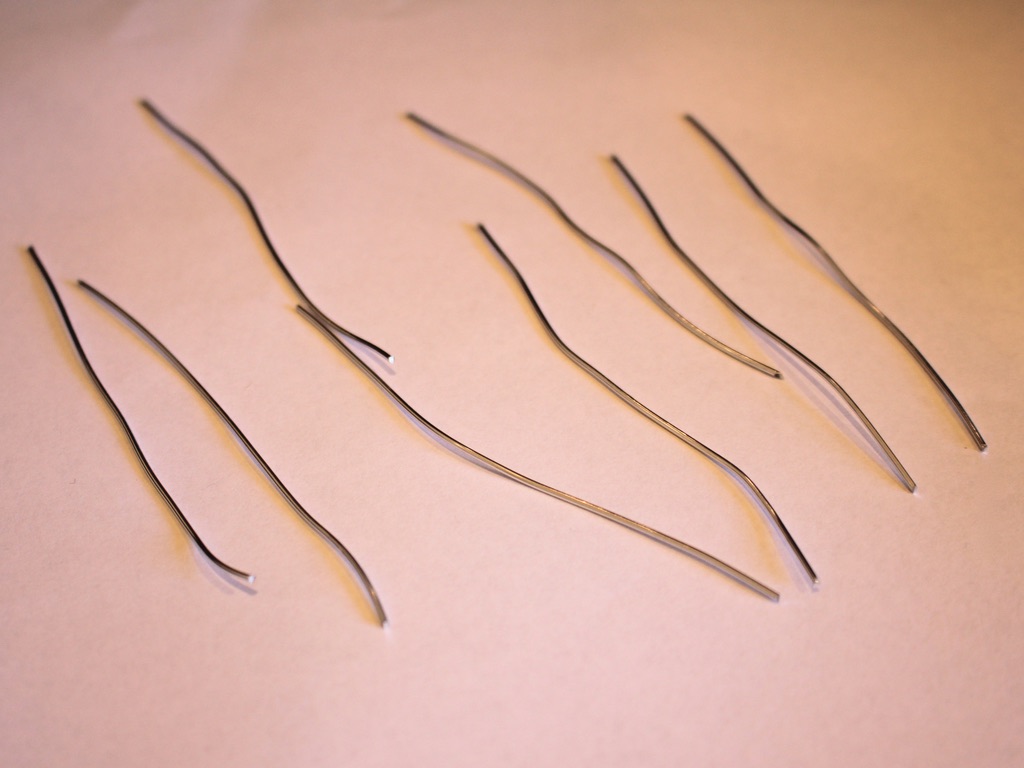
2: Some pieces of soft wire. I used eight pieces approximately 9cm long, but you may want to use more or less depending on the size of your wrist. My final bracelet was a little on the small size.
3: Two jump rings.

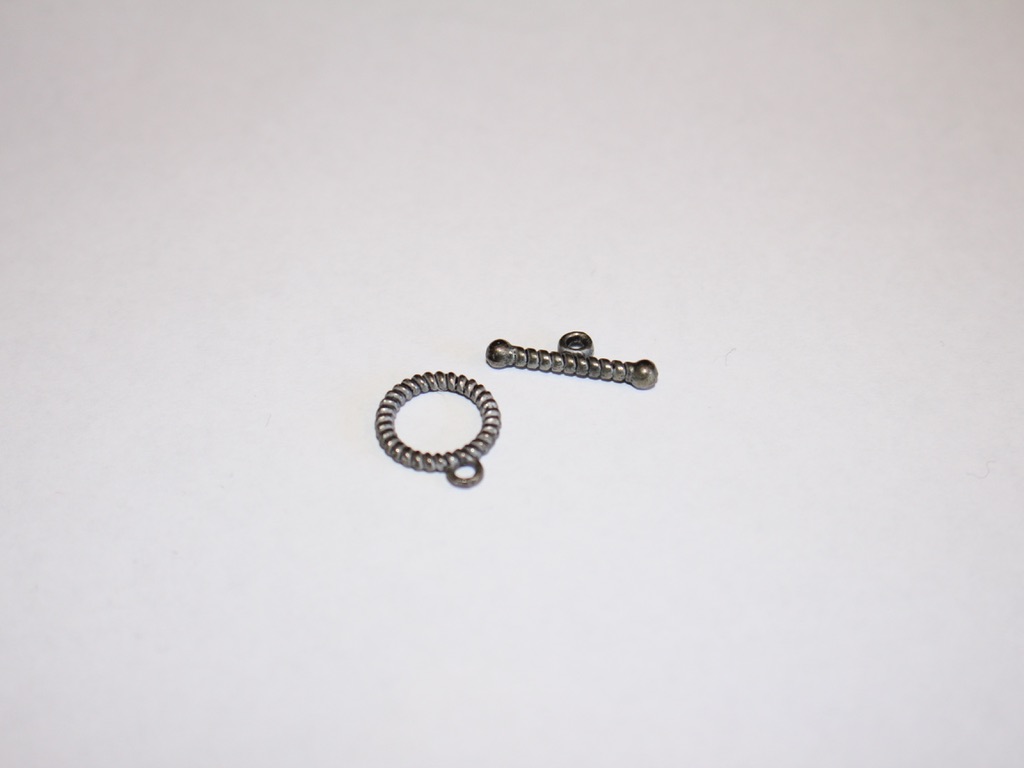
4: A toggle clasp.
5: Beads. I used yellow glass e-beads.

Follow these steps to make your chain bracelet:
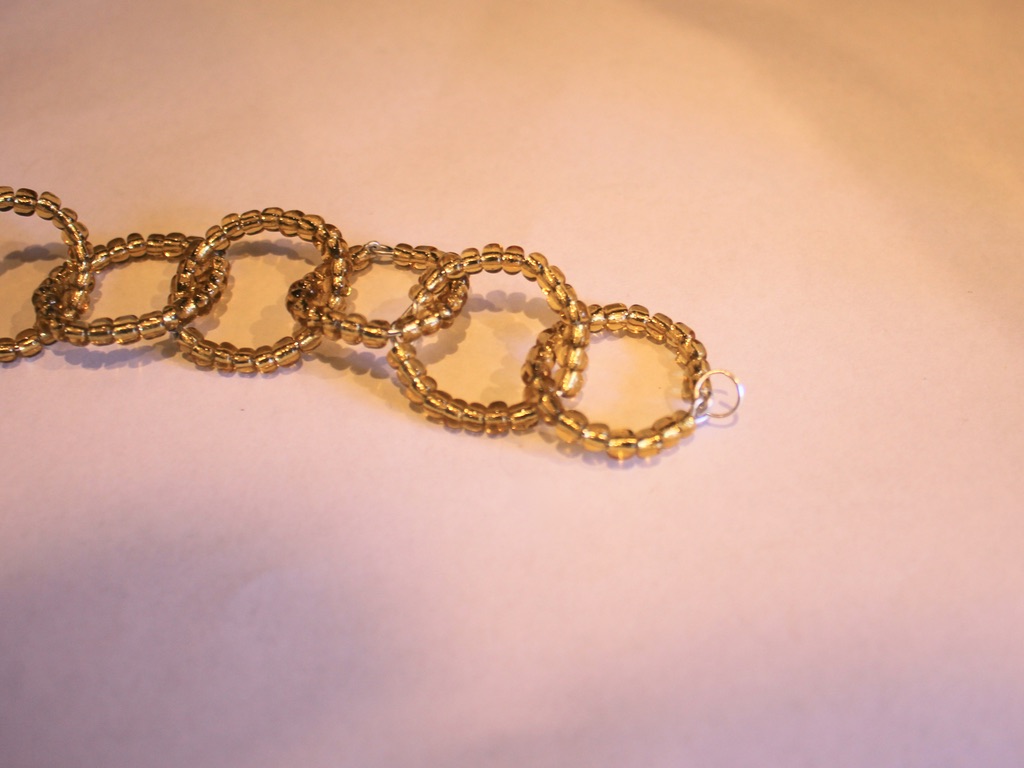
1: Take one of the pieces of wire and create a loop at one end using the round nose pliers. Do this by bending approx. 1cm of wire to form a right angle and then loop it around the round nose pliers.

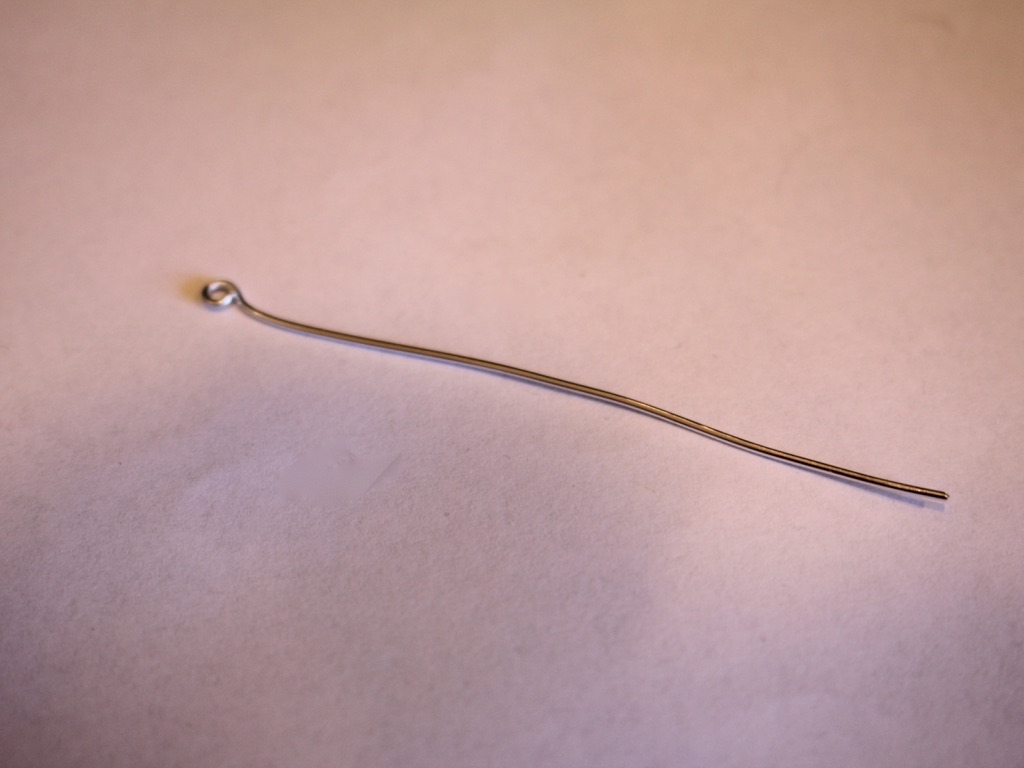
2: Add beads to the wire leaving 1cm unbeaded.


3: Create another loop at the other end of the wire.
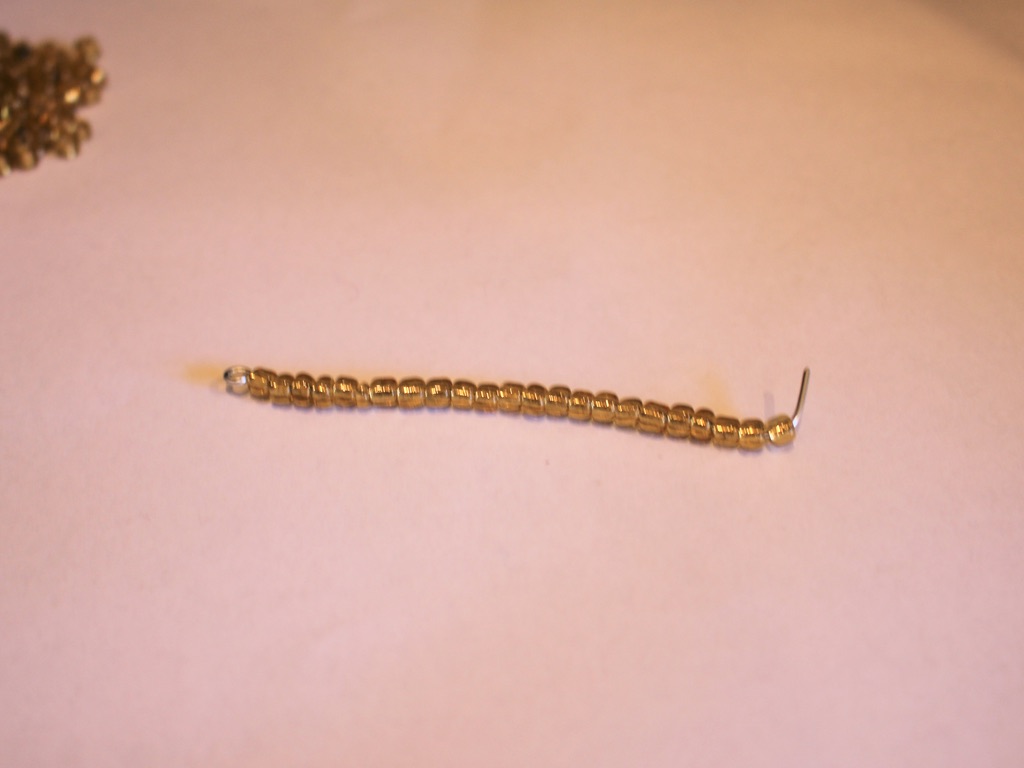
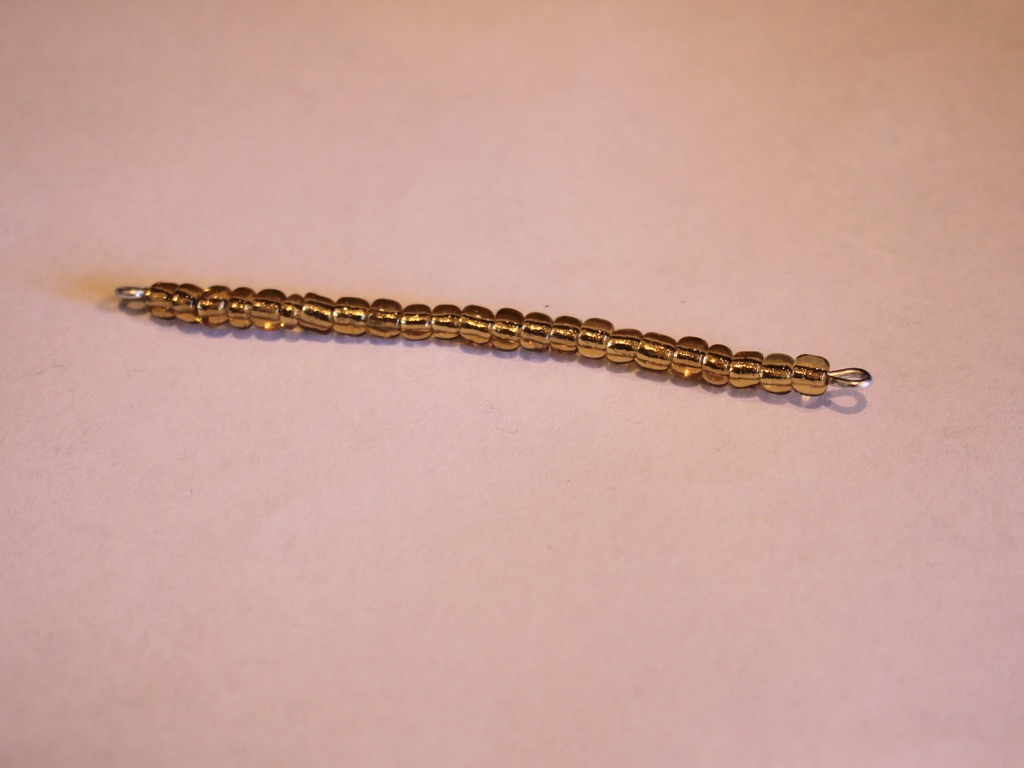
4: Bend the beaded wire into a circle shape.
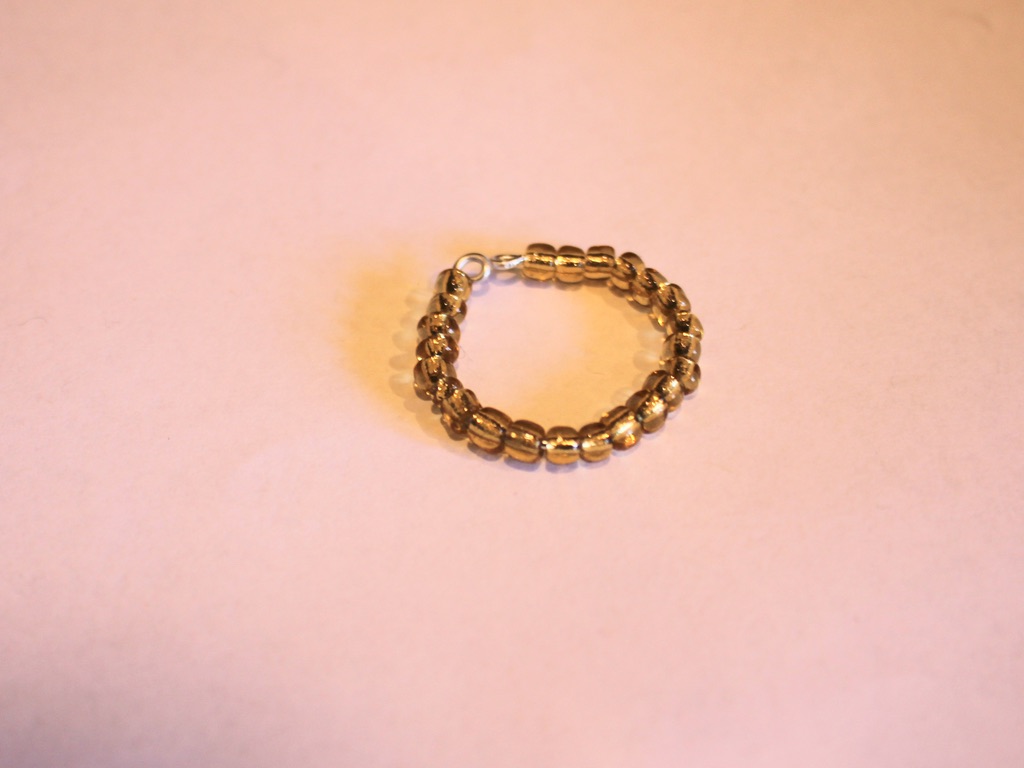
5: Open one of the end loops and thread it through the other end loop. Close it to create a closed circle.

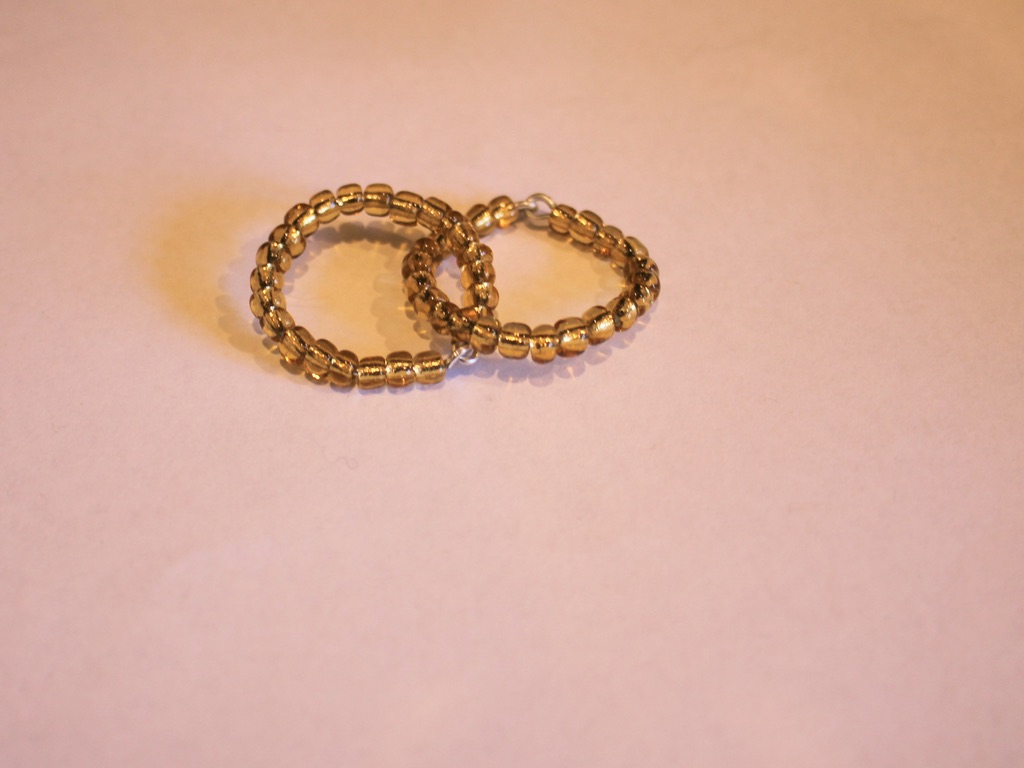
6: Make another loop, but before closing it as you did in step 5, thread it through the first loop you made. Once it is threaded through you can close it.

7: Continue steps 1-6 until you have created all your links.
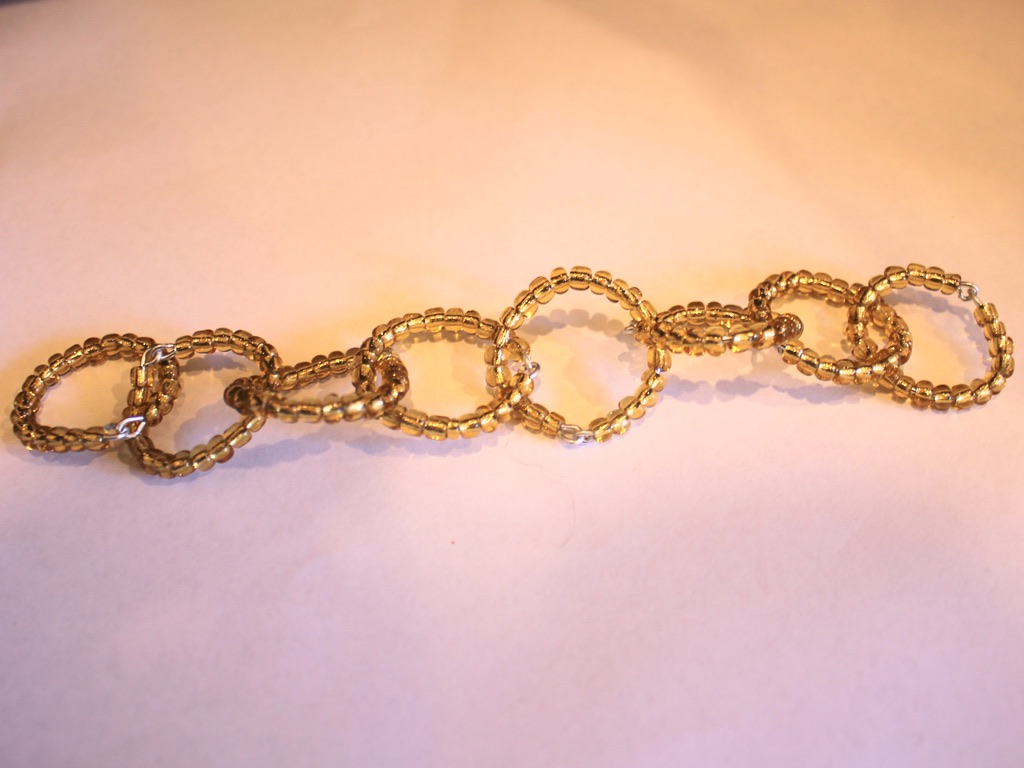
8: Take one of the end loops and rotate it so that the end loops face outward. Attach one of the jump rings and one side of the toggle clasp.
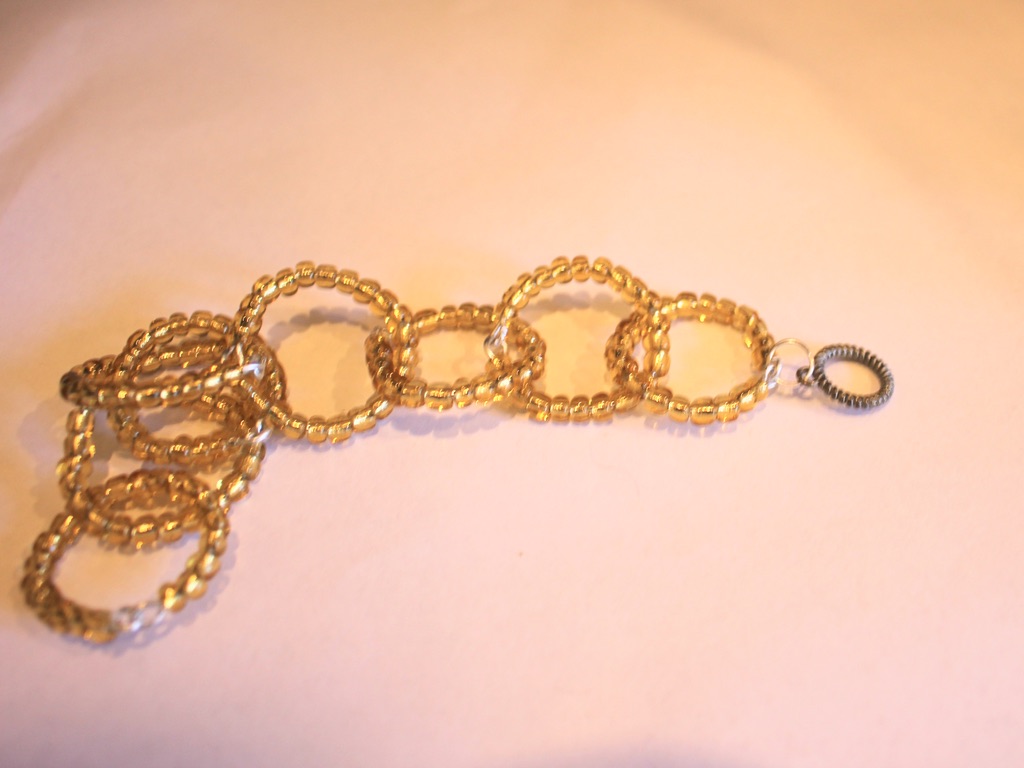
9: Attach the other side of the toggle clasp to the other end of the bracelet chain using the remaining jump ring.

Now your bracelet is finished!


Here’s another one I made using green glass beads and soft thin wire.

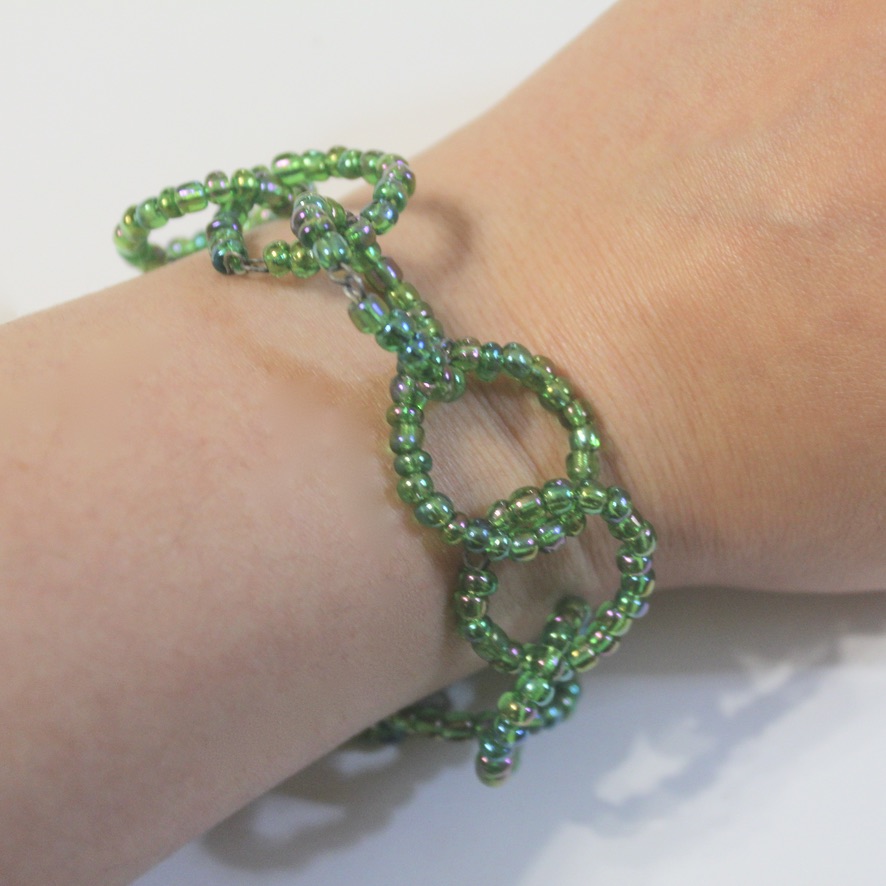
This tutorial contains affiliate links.
-
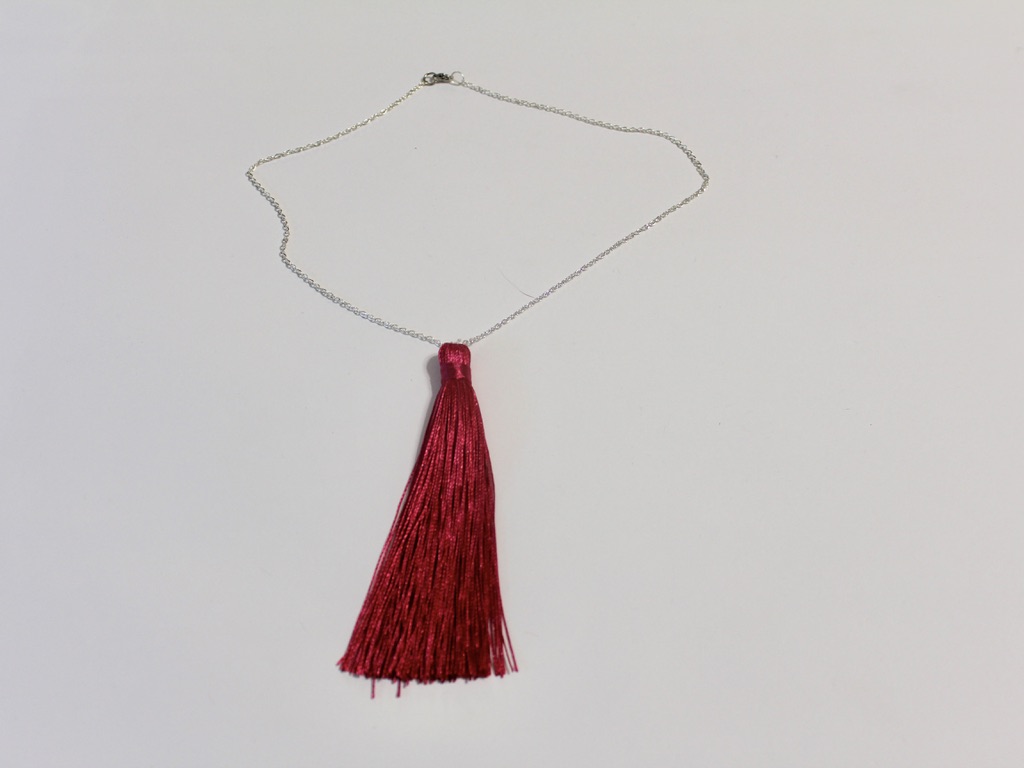
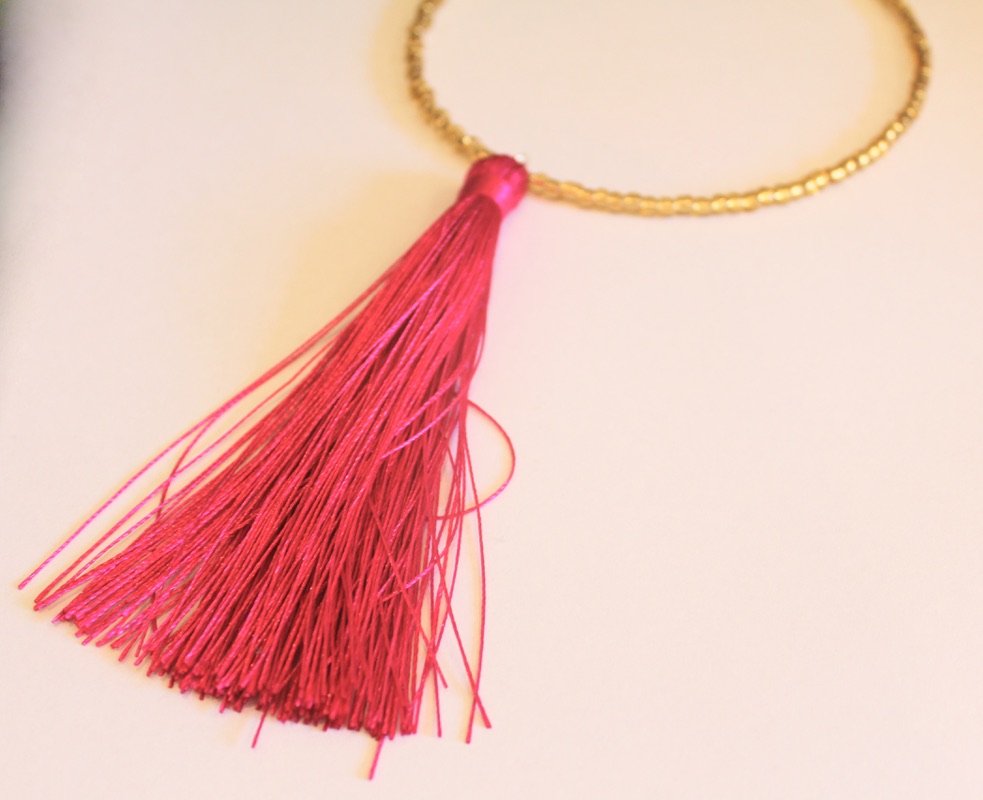
This video will show you how to make a tassel pendant necklace
This tassel pendant tutorial is another one of those simple DIY’s that have MAXIMUM impact! How cute is that dangling tassel? I am super stoked on this design and I hope you enjoy it too. This design is versatile, wear it to spice up all kinds of different outfits.
You’ll need some tools and materials to make this tassel pendant necklace, here are some links so you can find what you need:
1: Jewelry pliers including flat nose pliers, round nose pliers and cutting pliers.
2: A large tassel. I used a hot pink tassel.
3: An eye pin. I used a medium length silver-tone eye pin.
4: One spare bead. I used a yellow glass e-bead but you can use whatever you have lying around.
5: Necklace chain. Here’s a link to a simple silver chain.
6: A hot glue gun with glue. Don’t worry, you won’t need much messy hot glue to make this tassel pendant :).
I hope you enjoy this video tutorial and make yourself some super cute tassel jewelry!
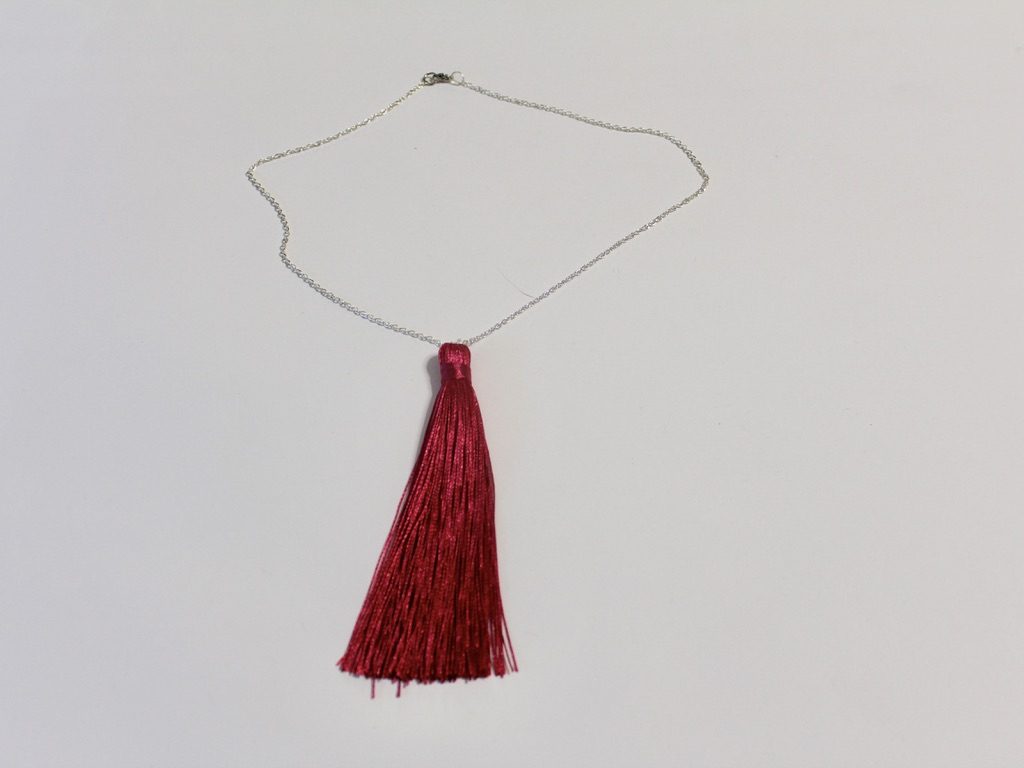
Here’s the finished product! Attach the tassel pendant to a chain for a simple and elegant look.
And here is another tassel pendant attached to a yellow beaded memory wire choker. I love this version, especially the combination of yellow and pink. Yellow and pink is such a cheery and high impact color combination. Perfect for adding an extra punch to a blah outfit!
You can buy memory wire and glass beads here to make a choker necklace like the one pictured above:
If you are into tassel jewelry here are some other tutorials:
- Beaded tassel hoop earrings
- Chain tassel necklace
- Tassel and gemstone earrings
- Beaded tassel earrings
- Beaded tassel wrap necklace
- Beaded tassel pendant necklace
This tutorial post contains affiliate links.
-
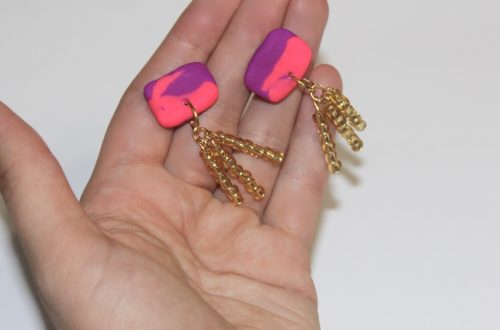
If you are sick of matching earrings this is the tutorial for you… How to make asymmetrical earrings.
I am seeing loads of cool asymmetrical earrings around lately, here’s how to make a pair of your own.

You will need the following tools and materials to make your asymmetrical earrings:
1: Pliers. I used my round nose pliers, cutting pliers and flat nose pliers.
2: Eye pins of different lengths. I used two eye pins.

3: Three small head pins.

4: One larger head pin.
5: A pair of stud earring findings.

6: Beads of your choice. I used some vintage yellow tube beads, some blue plastic beads and some yellow and blue glass beads.

Follow these steps to make your asymmetrical earrings:
1: Add one of the glass beads and tube beads to the larger head pin.

2: Bend the top of the pin to form a right angle.

3: Trim the pin so that it is only 1cm long from the top of the bead.

4: Curl the top of the pin using the round nose pliers to secure the bead on the pin.

5: Add the longer bead to the longer eye pin and repeat steps 2-4 to secure the bead in place.


5: Attach the two pins together.


6: Attach the top of the charm to the loop of the earring finding.

7: Add the plastic blue beads to each of the small head pins.

8: Curl the tops of the pins to secure the beads in place.


9: Place the remaining glass beads on the shorter eye pin.

10: Repeat steps 2-4 to secure the glass beads on the eye pin. (Skip the wire trimming if your pin is the right length!)


11: Put the small blue charms onto the bottom of the beaded pin.


12: Add an earring finding to the top of the pin to finish the second earring.

Now your asymmetrical beaded earrings are finished and ready to wear!


Here’s another pair of mismatched beaded earrings made using a hammered wire ring.

Note: This article contains affiliate links
-
This video shows you how to make some fluttering silk earrings!
Check out this vid for all the tools, materials and steps you need to make a cute pair of earrings using silk. I made mine out of some silk recycled from a dress that I altered. If you have some old fabric or old worn out clothes this tutorial is one way that you can recycle those materials
Here are some affiliate links so you can buy some of the materials to make these silk earrings:
1: Eye pins
2: Wooden beads
3: Glass beads
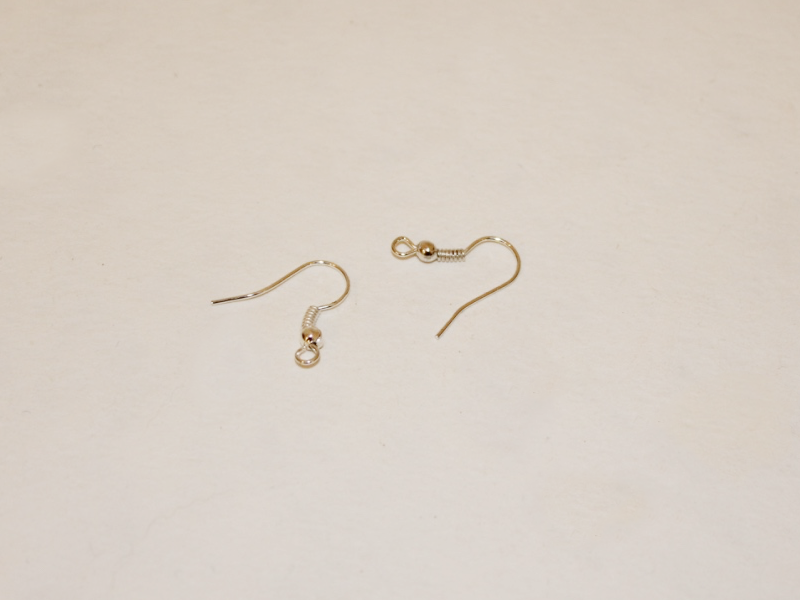
4: Earring hooks
5: Crimp ends
Here are the finished earrings, what colours will you feature in your version of this cool DIY?


-
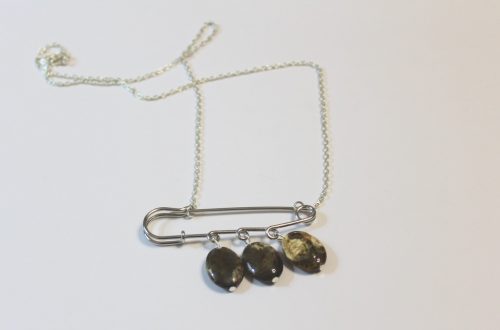
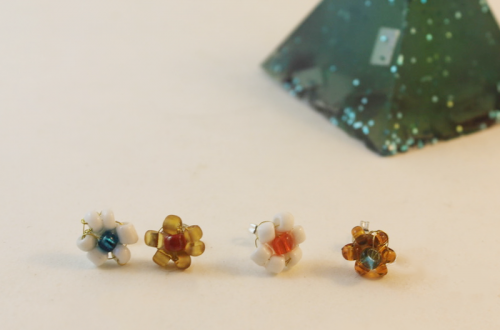
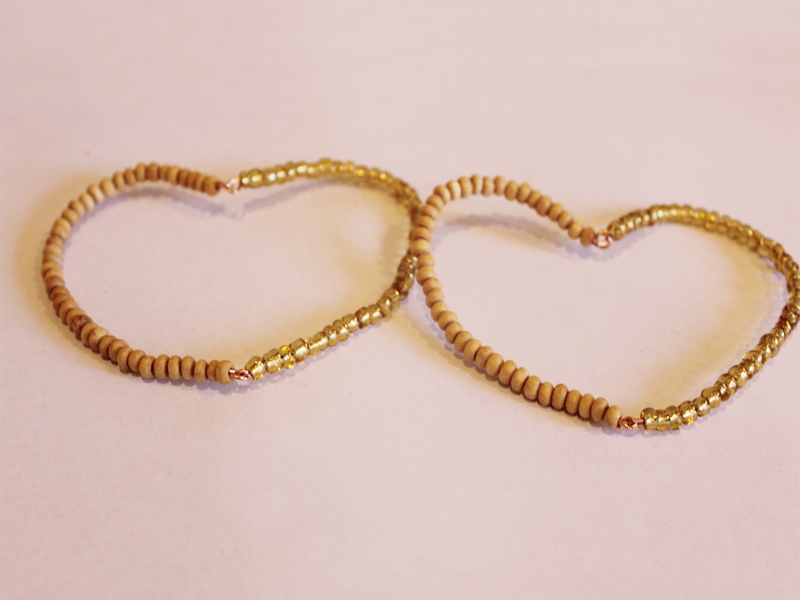
How to make beaded love heart earrings.

Do you remember the love heart necklace tutorial? Here’s how to make love heart earrings too! Contains affiliate links.
You will need the following tools and materials to make your beaded love heart earrings:
1: Pliers. You’ll need flat nose pliers, cutting pliers and round nose pliers.
2: Four pieces of wire cut to approximately 12cm long.

3: Earring hooks.
4: Beads. I used timber beads and some yellow glass beads.
Follow these steps to make your love heart earrings:
1: Create a loop at one end of the wire using the round nose pliers.

2: Add beads to the wire leaving 1cm unbeaded.

3: Create a loop at the other end of the wire using the round nose pliers.
4: Repeat steps 1-3 for the remaining pieces of wire, make 2 wires with the timber beads and 2 with the glass beads.

5: Link one of the timber bead wires to the glass bead wires and one end.

6: Form the wires into a heart shape and link the wires at the bottom of the heart.


7: Repeat these steps for the second heart.
8: Squash the bottom loops of each earring so that it doesn’t fold in half when it hangs from your ears.


9: Add an earring hook to the top of each heart earring.

Now your love heart earrings are ready to wear!
-
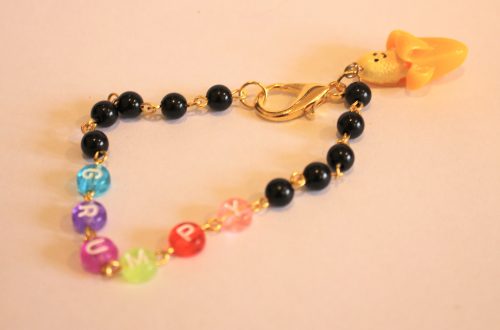
How to upcycle your old broken headphones into a bracelet!

I have a load of broken headphones, if you’re like me and don’t want to chuck them in the bin, here’s a way to upcycle them… turn them into a beaded finger-knit bracelet. Contains affiliate links.
You will need the following tools and materials to make your headphone bracelet:
1: Pliers. You’ll need cutting pliers, round nose pliers and flat nose pliers.
2: A pair of broken headphones. I used these broken apple headphones.

3: Some beads with large holes. I used these yellow plastic heart beads.

4: Two crimp ends.

5: Two jump rings.

6: A toggle clasp.

Follow these steps to make your headphone bracelet:
1: Clip the headphones so that you have one long thread.

2: Create a slip knot at one end of the headphone cord.

3: Put the knot around your finger and loop it again right next to the first loop. If you need a refresher on how to finger knit check out this video tutorial.

4: Pull the first loop over the second one and off your finger.
5: Add a bead to the next loop and repeat steps 3 and 4.

6: Continue this until your finger knitting is long enough to fit your wrist.
7: Knot the end of the finger knitting to secure it.

8: Add a crimp end to both ends of the headphone cord.


9: Attach the toggle clasp using the jump rings.


Now your upcycled headphone bracelet is ready to wear!

https://flic.kr/p/RqQsqF