
Want create a beaded necklace that drapes beautifully? This one is for you!
Sometimes head pins don’t give you the look you want for your DIY necklace designs. When you want to add a beaded section to your jewelry chain tiger tail wire can be the perfect material to give you the finish you want. Here are the instructions for making a flexible beaded charm for your pretty chain necklaces!

You will need the following tools and materials to make this beaded tiger tail charm necklace:
1: Pliers. To make this necklace you will need your flat nose pliers and cutting pliers.


2: Tiger tail wire. I used this bronze colored tiger tail wire.

3: Four gold colored crimp beads.

4: A length of chain. I used this gold plated chain.

5: Two gold colored jump rings.

6: One gold colored toggle clasp.

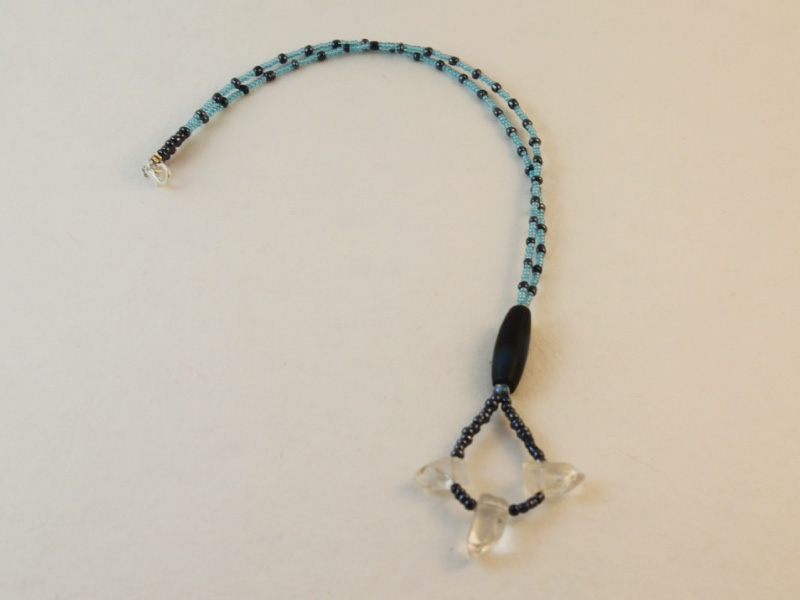
7: Beads of your choice. I used these turquoise tear drop beads with some purple glass seed beads and blue metallic glass seed beads.


Follow these steps to make the necklace:
1: Cut a length of tiger tail wire using the cutting pliers. This length of wire will add to the overall length of the necklace.


2: Bend the tiger tail wire around the first loop of the piece of chain.

3: Add two crimp beads to the wire.

4: Use the flat nose pliers to squash the crimp beads and secure the tiger tail wire in place so that it is ready for you to add the beads.

5: Once the crimp beads have been squashed begin adding the beads onto the piece of wire.

7: Continue adding beads in your desired pattern.

8: Once all the beads are in place add another two crimp beads to the end of the tiger tail wire.

9: Loop the end of the wire through the other end of the necklace chain and back through the crimp beads.

10: Use the pliers to pull the wire tight and then squash the crimp beads in place.
11: Trim the excess wire using the cutting pliers.


12: Split the center of the necklace chain at the top of the necklace.

13: Add a jump ring and one side of the toggle clasp to one end of the split chain. Secure the clasp in place by closing the jump ring.


14: Add the other side of the toggle clasp as you did in step 13.

15: Once your clasp has been secured in place your necklace is finished. Pop it on and have some fun!


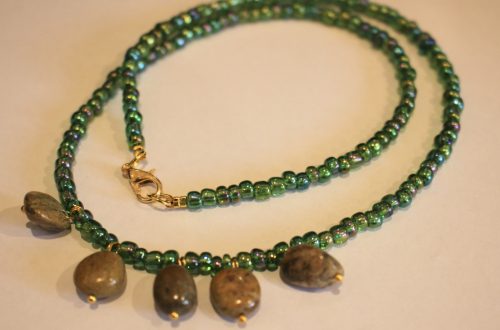
Here’s another tiger tail chain necklace made with rutilated quartz and gold chain!


DIY Jewelry Hub
Welcome to DIY Jewelry Hub. If you’ve ever wanted to learn how to make your own jewelry this is the place to start! Jewelry is a great way to show off your individuality and style. You’ll be surprised at how easy it is to create your own unique pieces! DIY Jewelry Hub will equip you with all the knowledge and inspiration you need to make your own jewelry.
You May Also Like
Get loopy! Make this beaded loop necklace
How to make a beaded necklace with cute little bead charms!
