How to make a pendant
-
Here’s how to add a clasp to any charm to make it a clip on charm!
I like to switch my jewellery around, adding charms to different chains to suit my needs. For this tutorial, I’ll show you how to attach a charm to a bolt ring clasp so that you can clip it easily to another charm, chain, bracelet or earring depending on your desires! Please note that this tutorial contains affiliate links.
You’ll need these tools and materials to make your clip on charm:
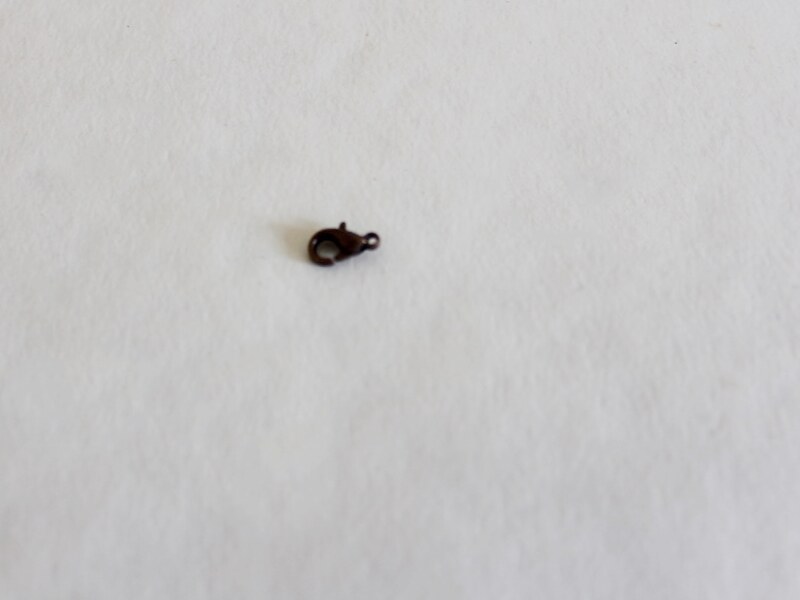
1: A bolt ring clasp. I used one made from sterling silver to match my charm.

2: A charm. I used this sun charm that was a gift from my grandmother.

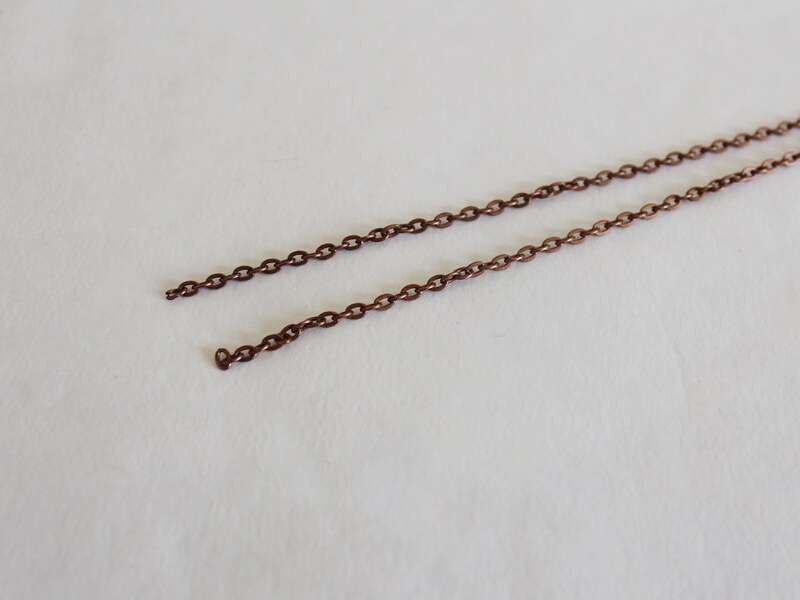
3: An existing necklace, bracelet or earring. I attached my charm to this snake chain necklace with a fluorite and silver charm.

4: A pair of flat nose pliers for closing the clasp.

Follow these steps to create your clip on charm:
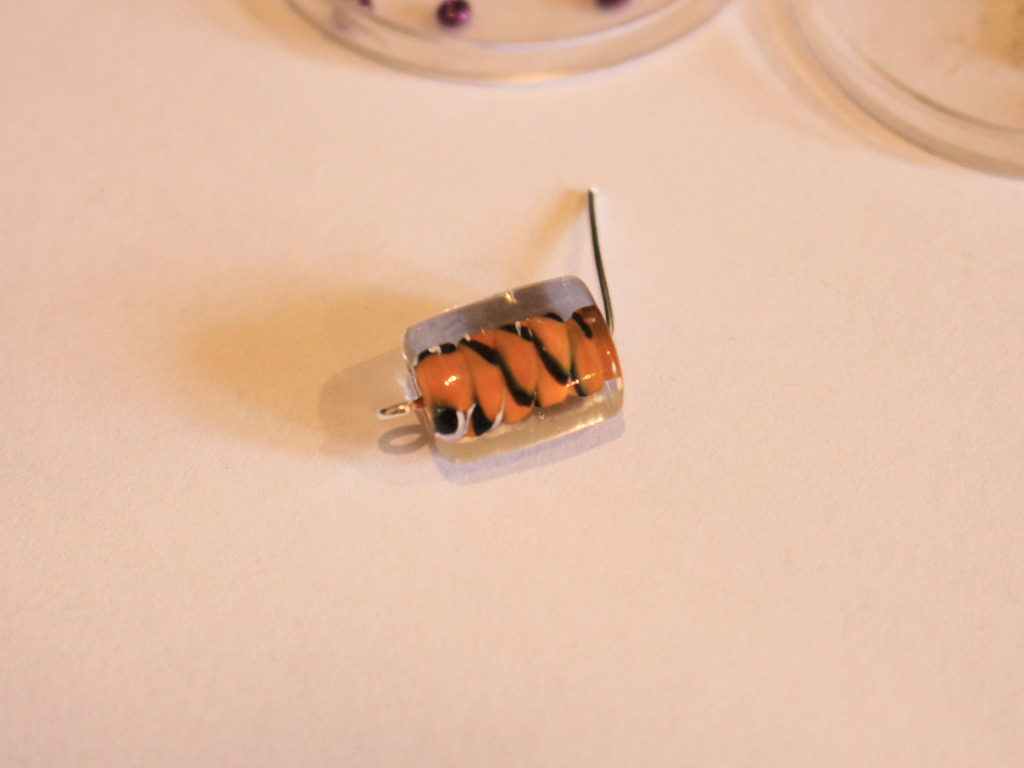
1: Slide the charm onto the open ring at the bottom of the bolt ring clasp.

2: Close the ring using the flat nose pliers.

3: Now you can attach your charm to any piece you like. Here’s mine attached to the fluorite charm and to the chain. How great to add some versatility to your jewelry collection?!

Opening the clasp to attach it to the necklace. 
Here is the charm clipped to the fluorite charm. 


Here’s the charm attached to the snake chain. A note for future posts, I will be posting monthly for the foreseeable future. I hope you continue to enjoy my tutorials.
-
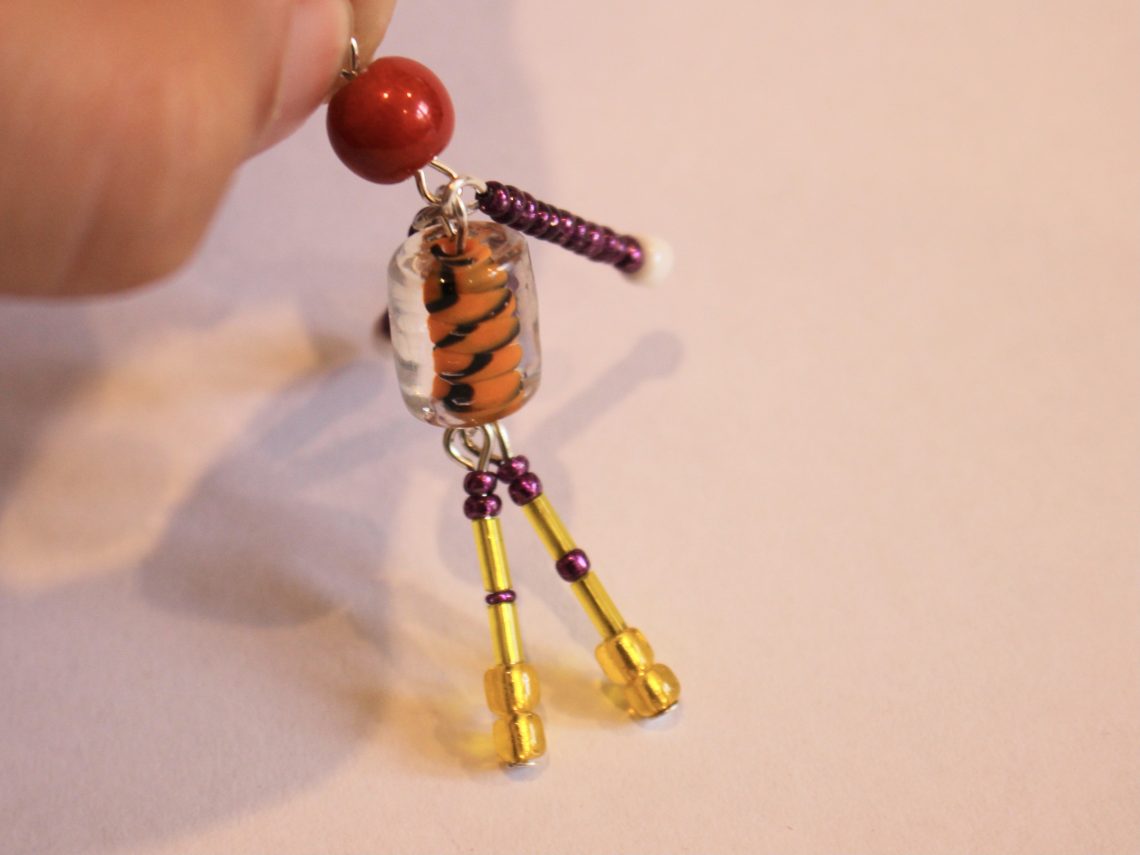
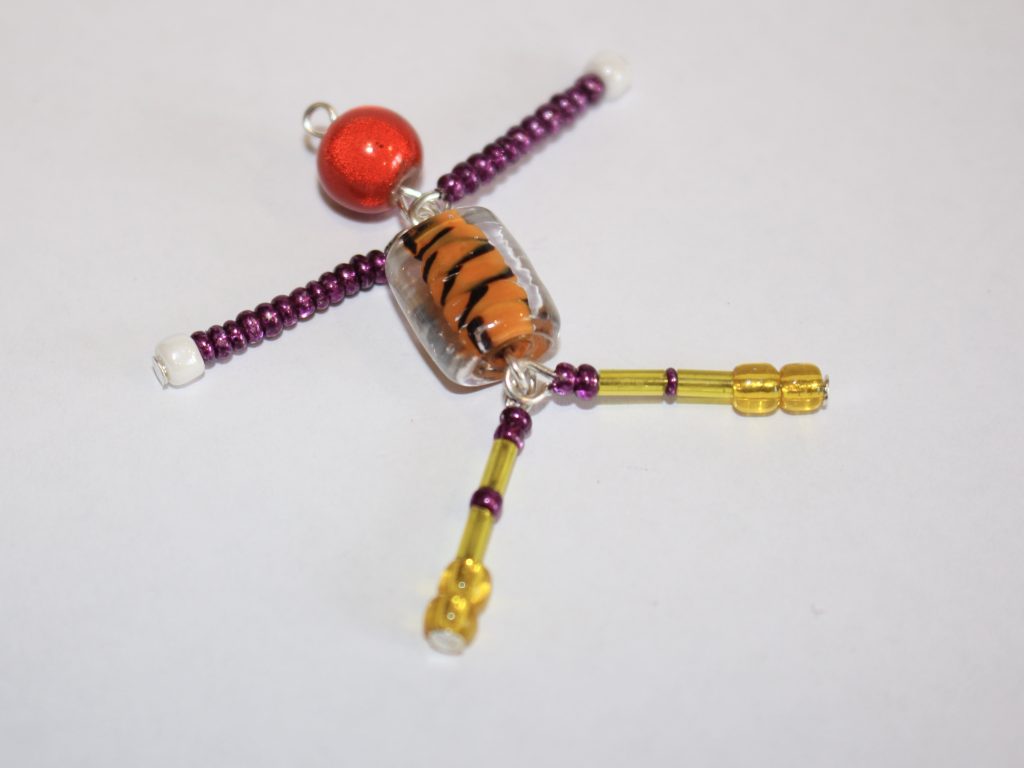
Here’s how to make a little person out of beads! This is such a cute tutorial!
I love things that look like other things, so I just had to make this little beaded body! This bead person is made using some head and eye pins and a bunch of beads. Please note that this tutorial contains affiliate links.
You’ll need these tools and materials to make this funny bead person charm:
1: Pliers. I used my round nose, flat nose and cutting pliers for this piece.

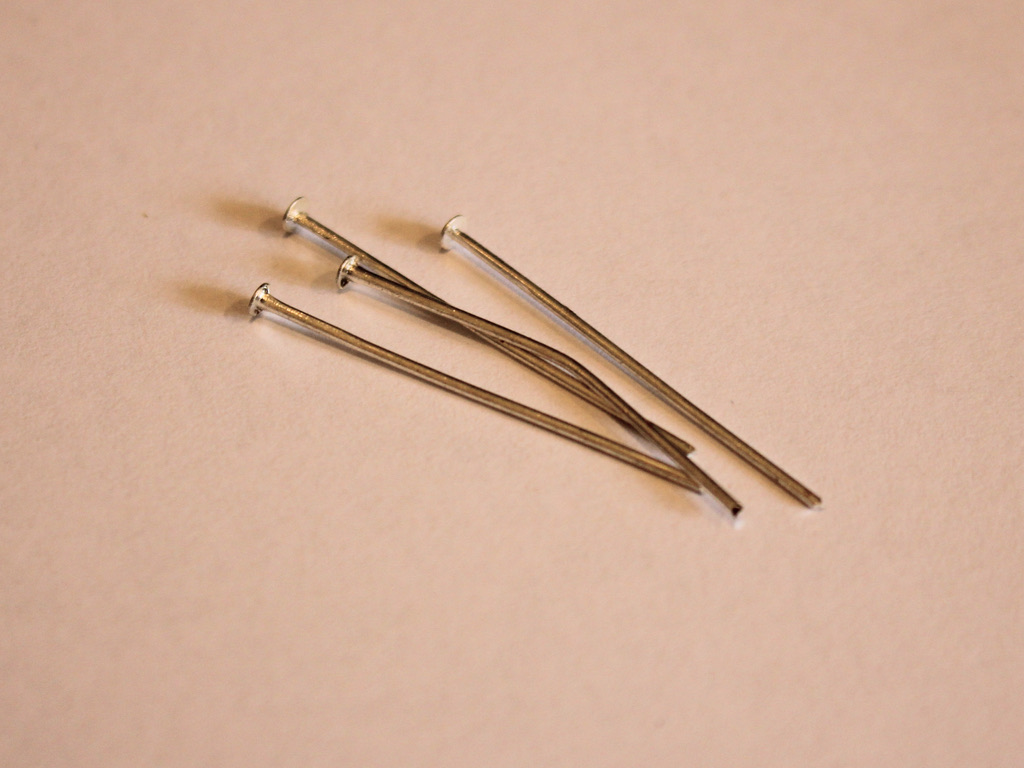
Cutting pliers (left), Round nose pliers (middle) and flat nose pliers (right) 2: Two eye pins, one longer and one shorter. These will be for the head and body.
The longer eye pin 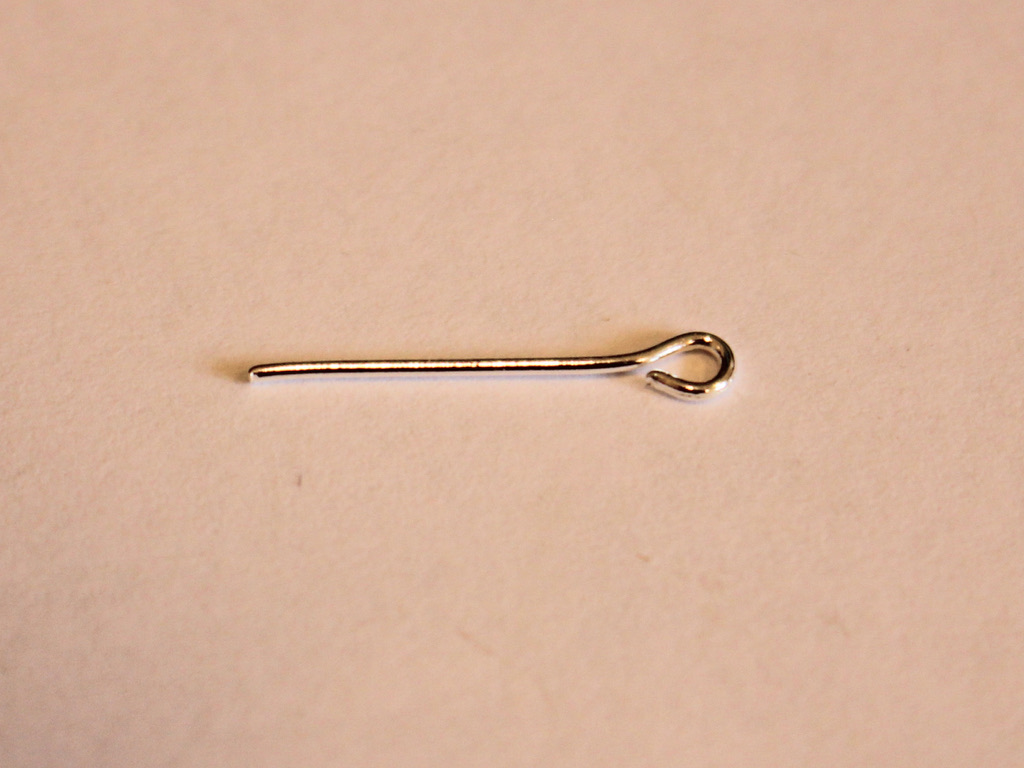
The shorter eye pin 3: Four head pins for the arms and legs.
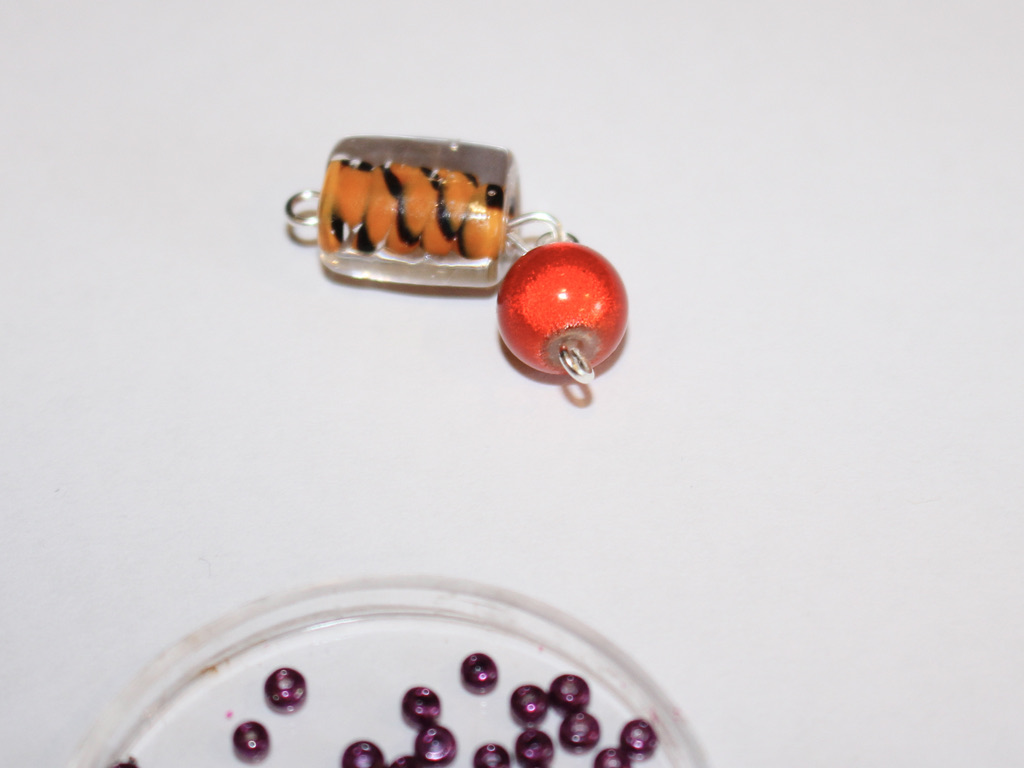
4: A selection of beads. You will need a round bead for the head and a larger bead for the body. I suggest going a bit crazy with your beads and using a mix of sizes and shapes to represent the different body parts.

Link to a round orange bead:
Some body bead options:
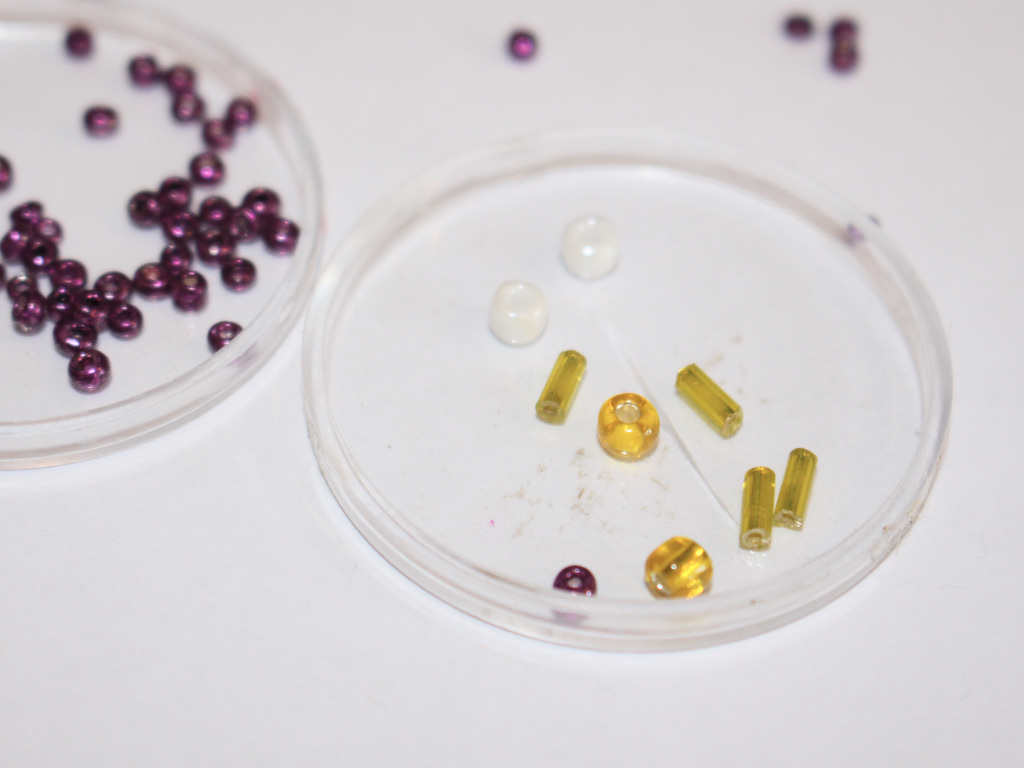
Mixed bead options:
And now here are all the steps to follow to make your bead person charm:
1: Take the shorter eye pin and put the round bead on it.
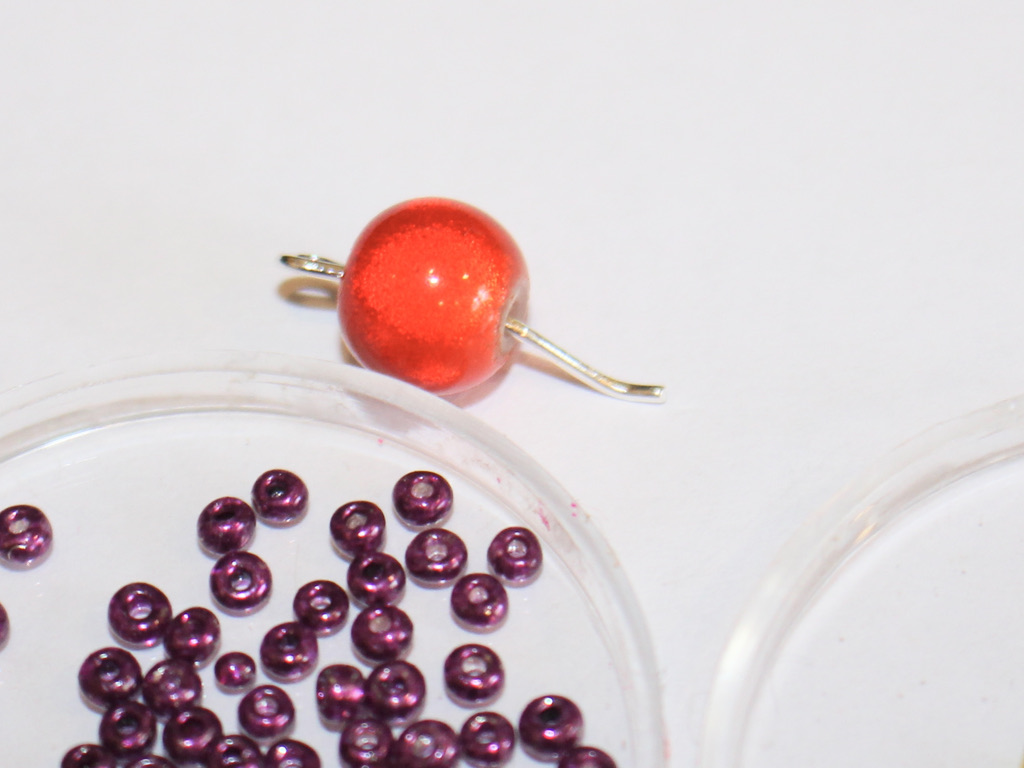
2: Bend the pin to form a right angle with the bead.
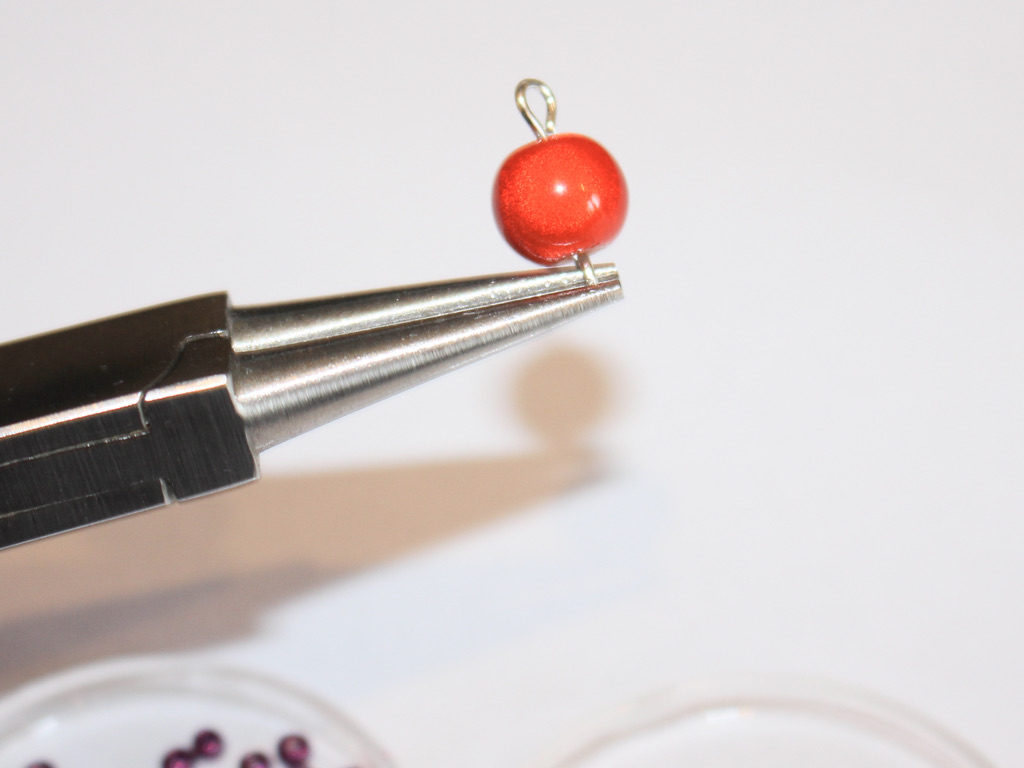
3: Create a loop at the end of the bead using the round nose pliers. This will secure the bead onto the pin.
4: Repeat steps 1 and 2 for the larger bead and longer eye pin. I had to trim my pin for this one, to do this, I used my cutting pliers to cut the pin down so that there was about 1cm left of the bent part of the pin.

5: Once I trimmed the pin, I looped it to secure the bead in place using my round nose pliers.
6: Now you will need to open one of the bead loops on either the head or body charm to attach the head and body together. Close the loop once you have slid the charms together.

7: Set the head and body aside.
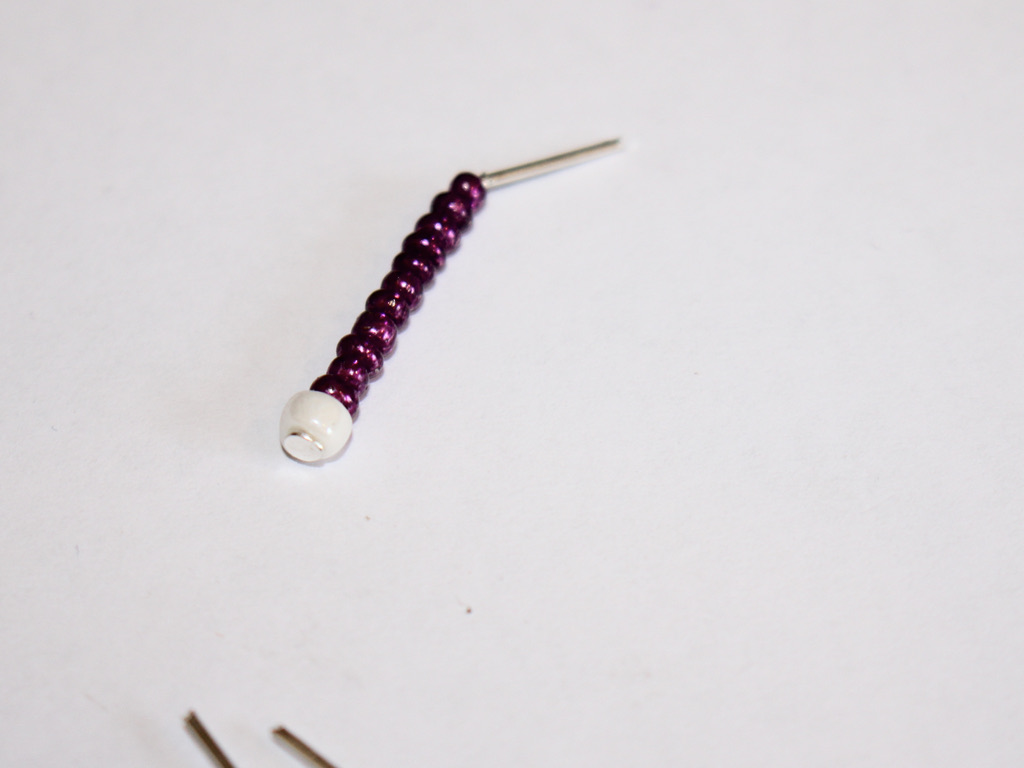
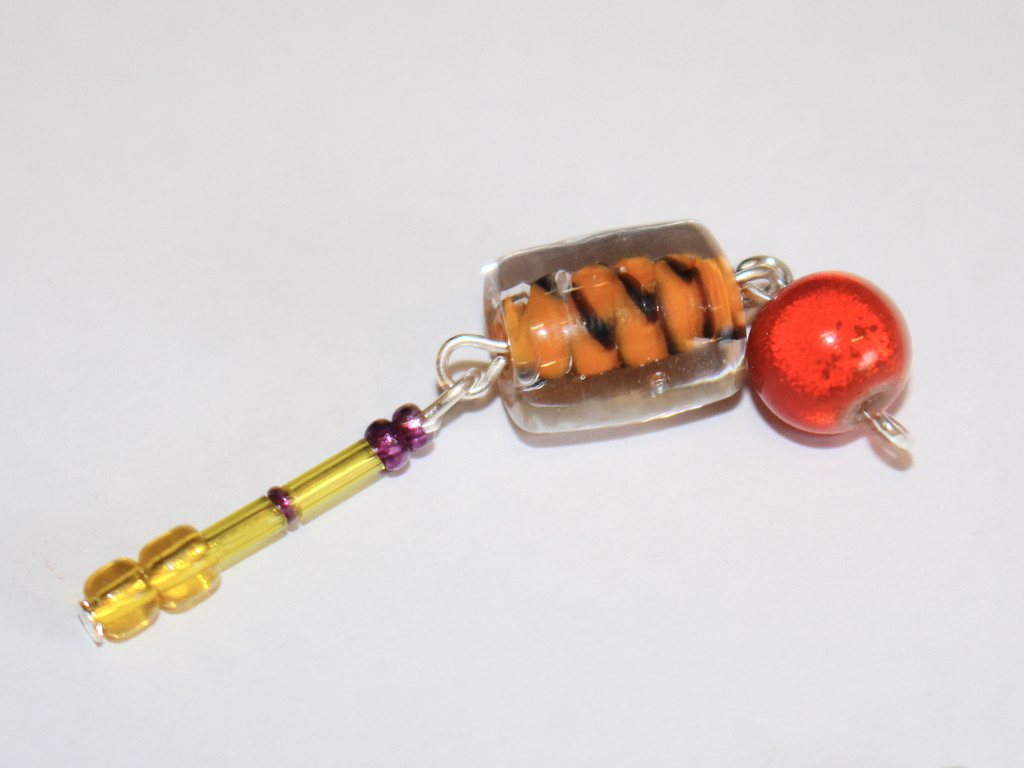
8: Add beads to each of the head pins to form the arms and legs. Get creative with the patterns and beads you choose.
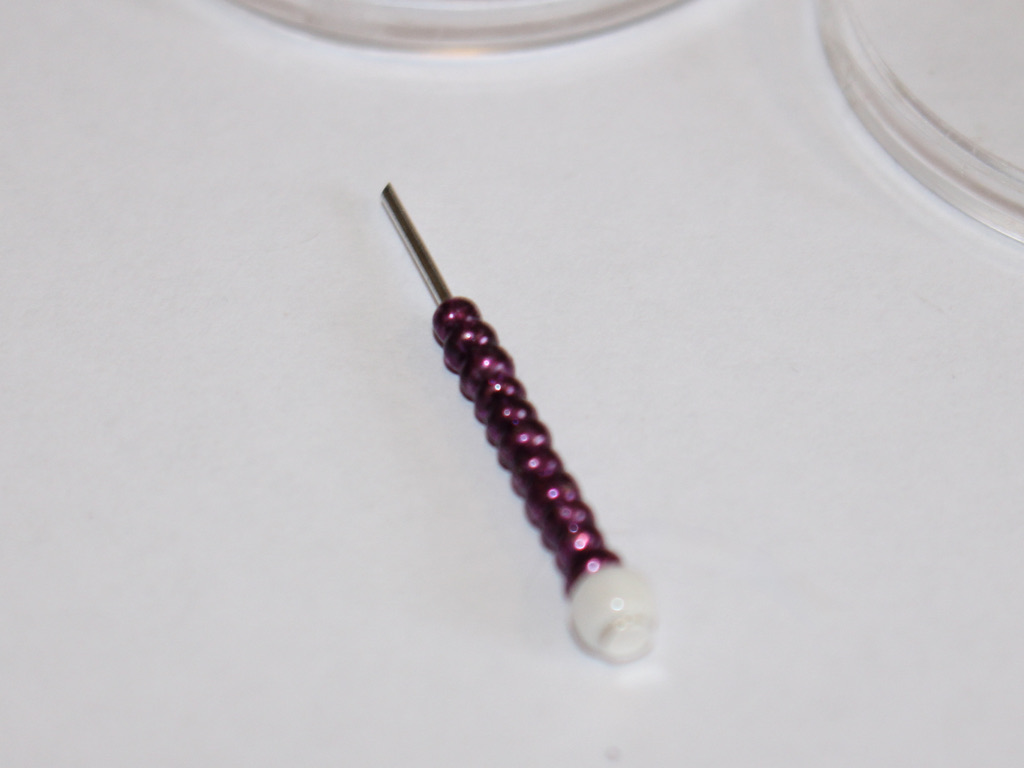
Making the first arm 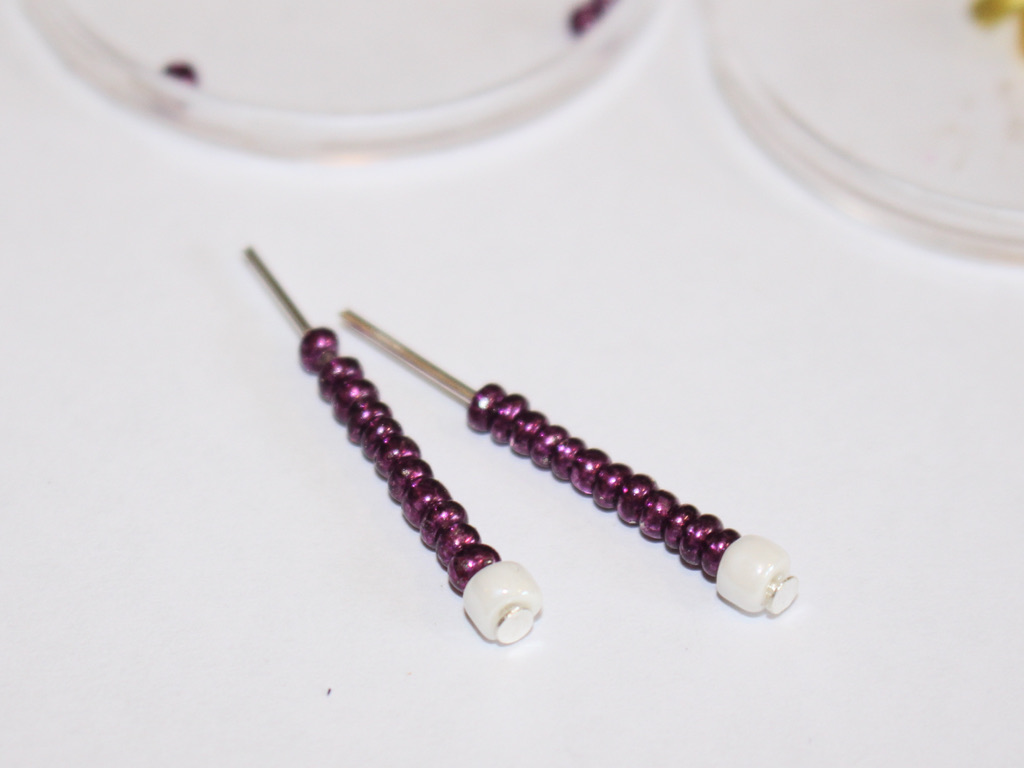
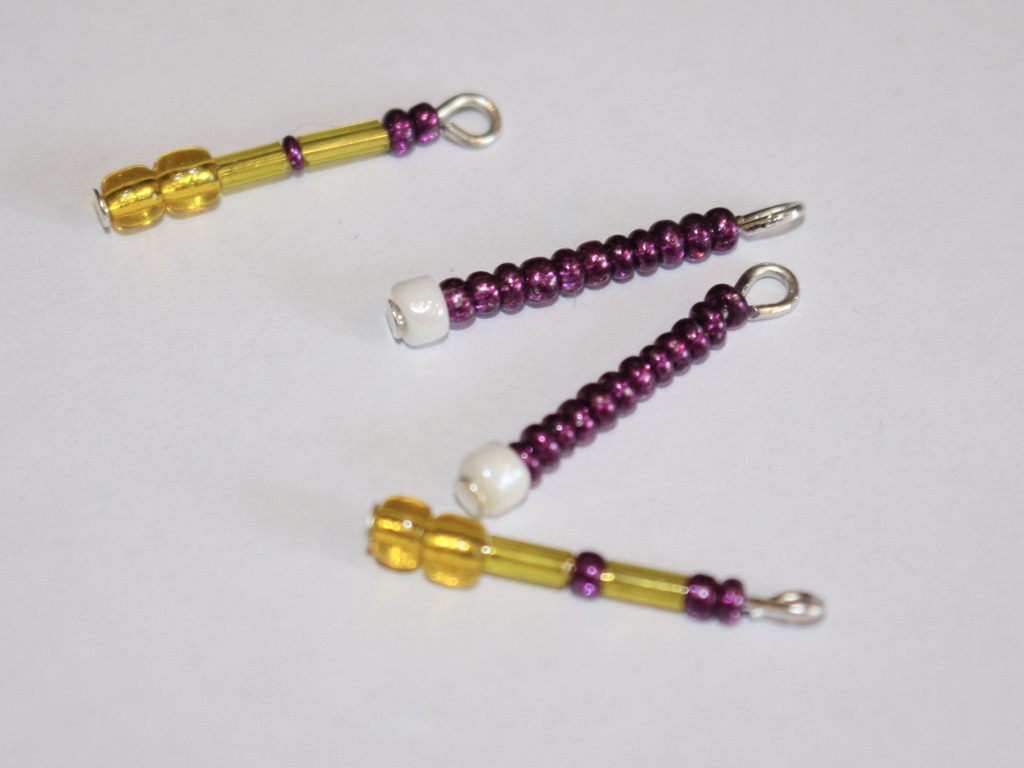
Two beaded arms 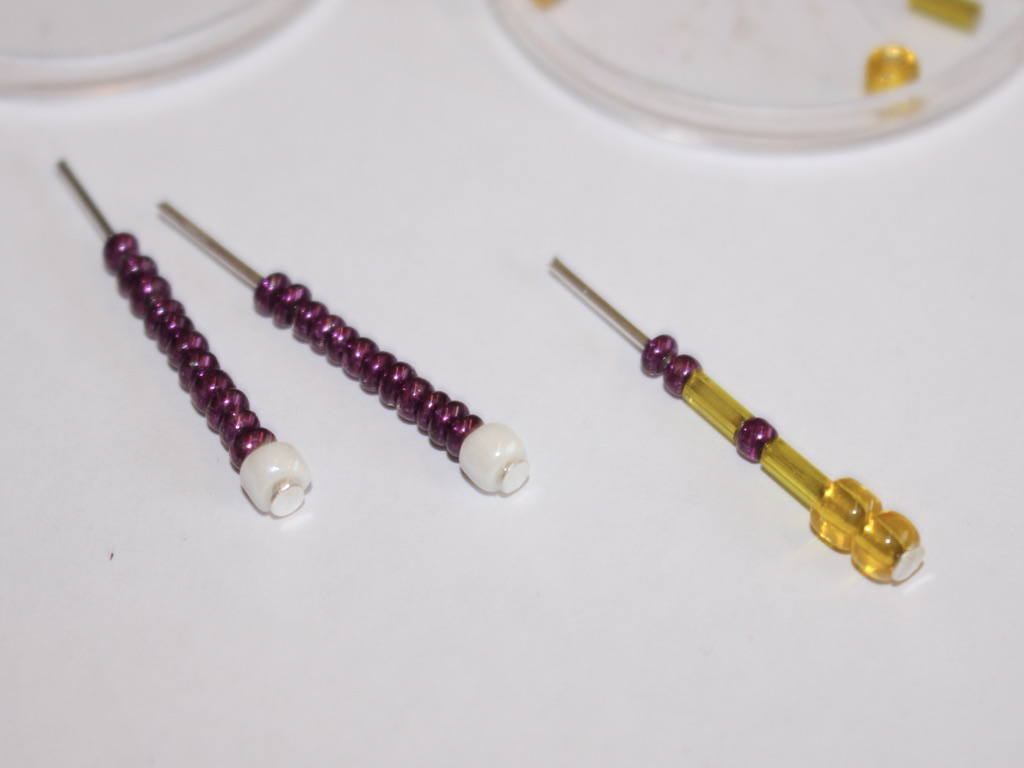
Two arms and one leg 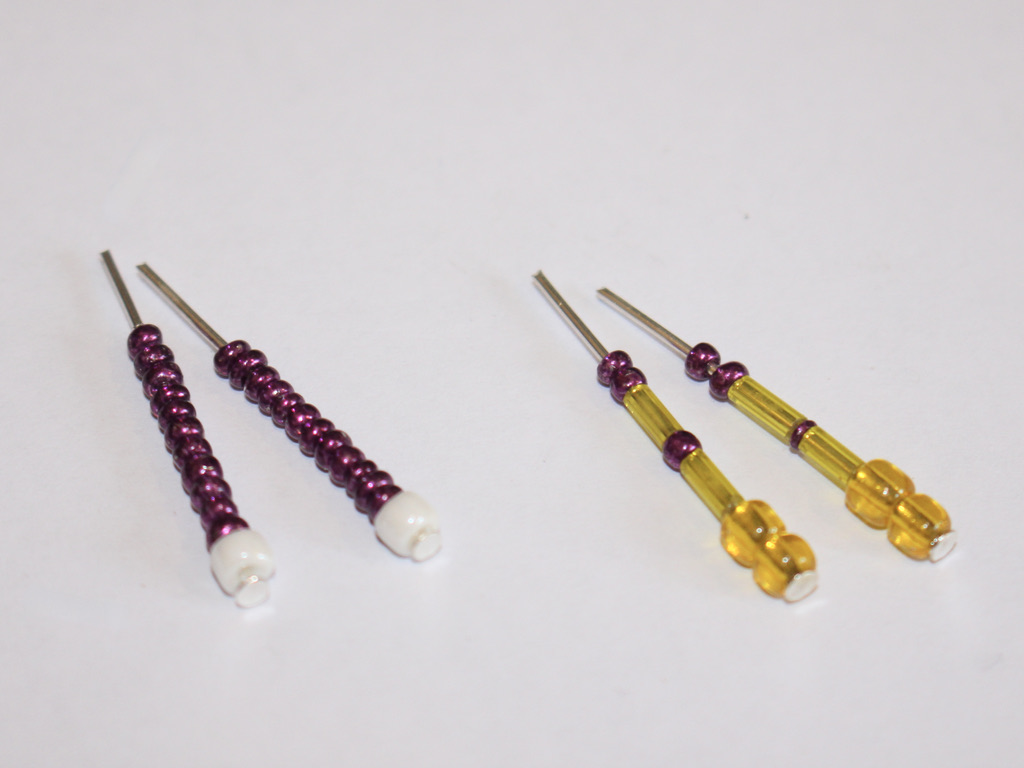
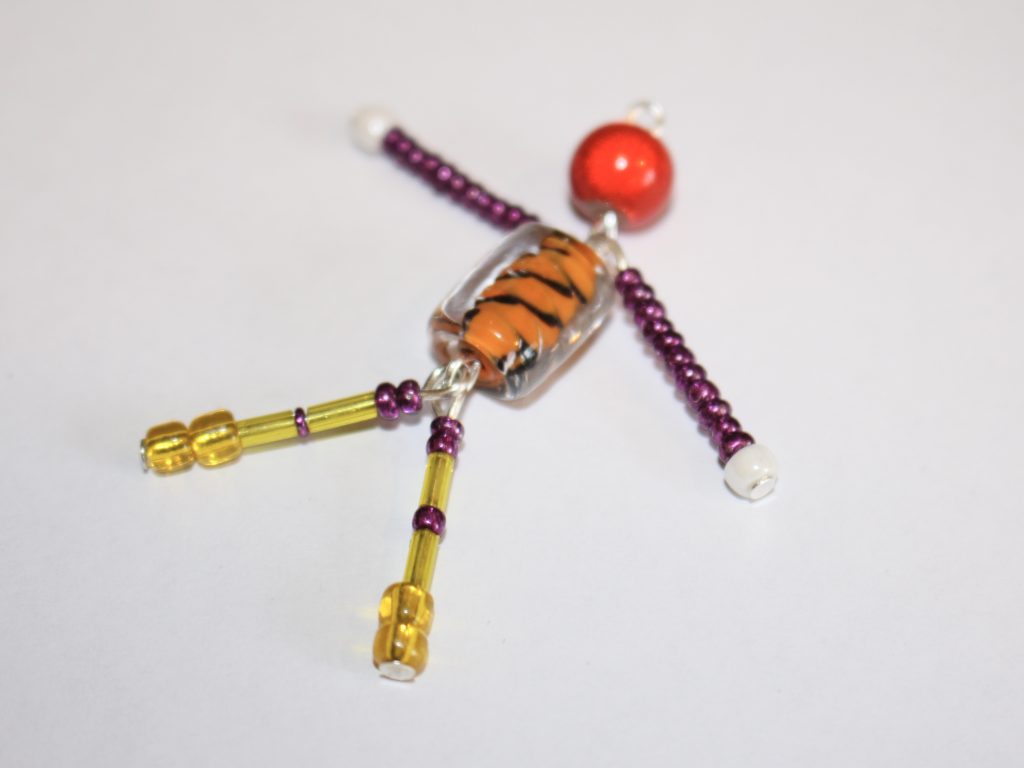
All arms and legs beaded 9: Once your pins are beaded, you can bend the ends to form right angles and create loops at the top to secure the beads.
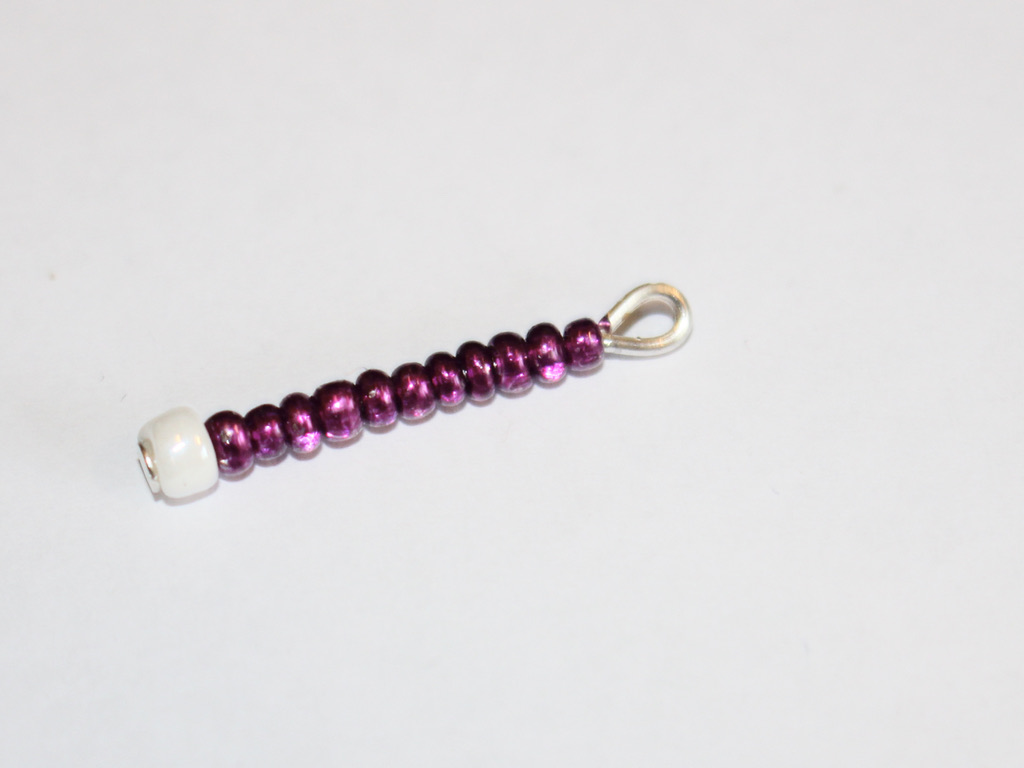
10: Add two of the leg pins to the bottom of the larger bead (the body), do this by slightly opening the loop at the bottom of the body bead and sliding the pins on. Close the loop to secure the legs in place.

11: Add the arms in the same manner to the loop at the top of the body bead. This time you will need to open and close the loops on the end of each arm so that you can attach the pins to either side of the head.

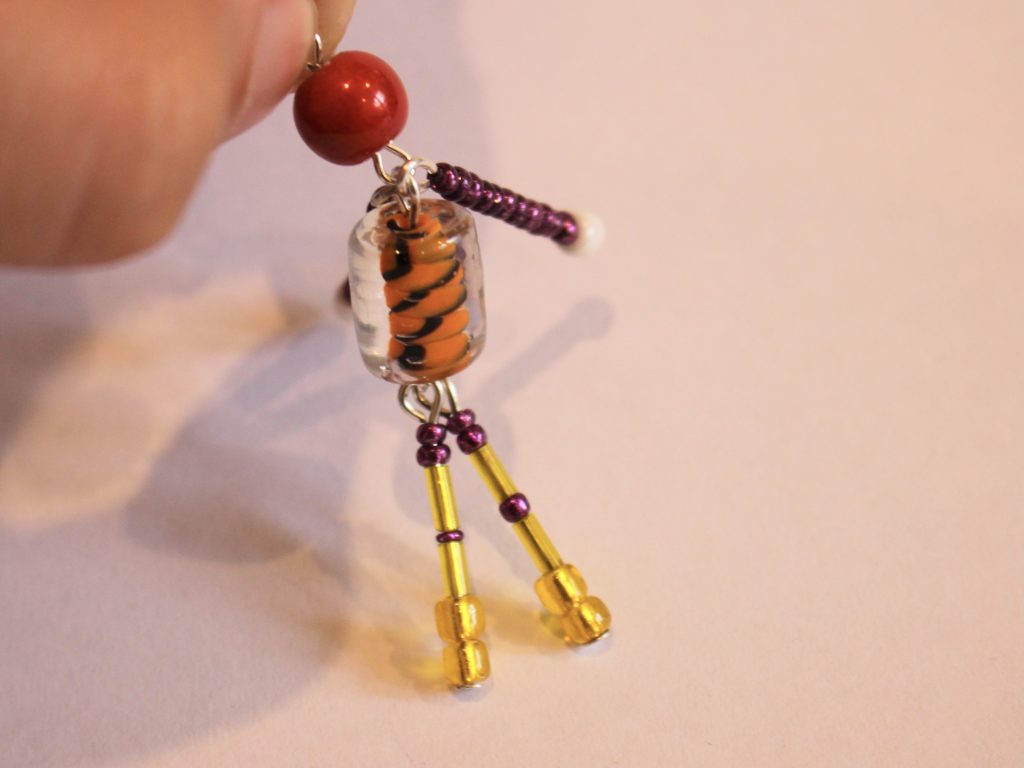
Once all your appendages are attached, your little bead person charm is finished and ready to go! Make another one to wear as a pair of earrings or attach one to a chain to make a cute necklace. Maybe it could also keep you company as a phone charm?!
-
Got a ring that doesn’t fit anymore? Turn it into a fun pendant!
I popped this ring on the other day… and it got stuck on my finger! After panicking a little I managed to get it off and decided it needed a new life as a pendant rather than a ring. Here’s how to transform your too small ring into a cool necklace pendant…
This tutorial contains affiliate links.
You’ll need the following tools and materials:
1: A ring that doesn’t fit you anymore. I used this steel ring.

Here’s something similar:
2: Pliers. I used my cutting pliers, round nose pliers and flat nose pliers.
3: Some tiger tail wire, long enough to make a necklace.

4: Four crimp beads.

5: Two small jump rings.

6: A lobster clasp.

7: Beads. I used this mix of pastel glass seed beads. I also used six larger beads to fit over the folded tiger tail wire.


Follow these steps to make your ring pendant necklace:
1: Add two of the crimp beads and a jump ring to one end of the tiger tail wire.


2: Loop the end of the wire around the jump ring and back through the crimp beads, pull the wire tight.

3: Squash the crimp beads using the flat nose pliers.


4: Bead the wire in any pattern you wish. I beaded mine randomly with no particular pattern.


5: Once you have your necklace at the length you want it, add the remaining crimp beads and jump ring.

6: Loop the end of the wire around the second jump ring and back through the crimp beads and the last few glass beads, pull it tight.

7: Squash the crimps using the flat nose pliers and then trim the excess tiger tail wire using the cutting pliers.


8: Add the ring to the strand.

9: Attach a lobster clasp to one of the end jump rings to finish it off.

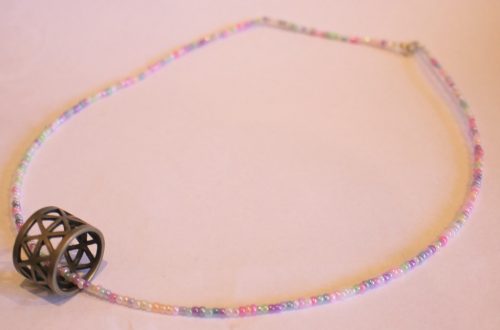
Now your ring pendant necklace is finished and ready to wear!


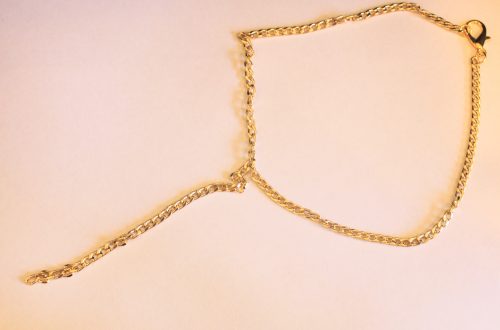
Here’s another idea, pop your rings onto a chain. Here’s one I made with two brass rings on a silver-tone chain.

Here are some other ways to use rings in your jewellery:
- How to turn a ring into the central feature of a choker necklace
- Here’s how to turn a costume ring into a different kind of pendant
This tutorial contains affiliate links.
-
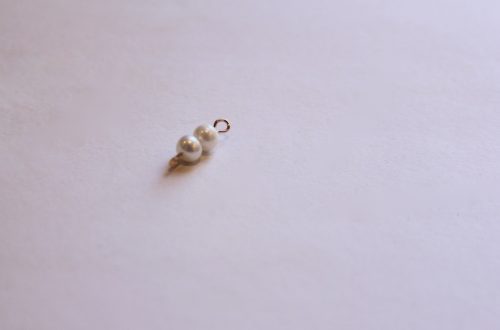
How to make a cute pearl charm out of wire!
Maybe you’ve got some earrings that you want to change up a bit, like a pair of hoops that could use some extra charm… why not make this tiny pearl pendant out of hammered wire?
You’ll need the following tools and materials to make this little charm:
1: Cutting pliers and round nose pliers.


2: A steel block to hammer on.

3: A hammer. I used a normal hammer but a jewelry hammer might be more appropriate 😉

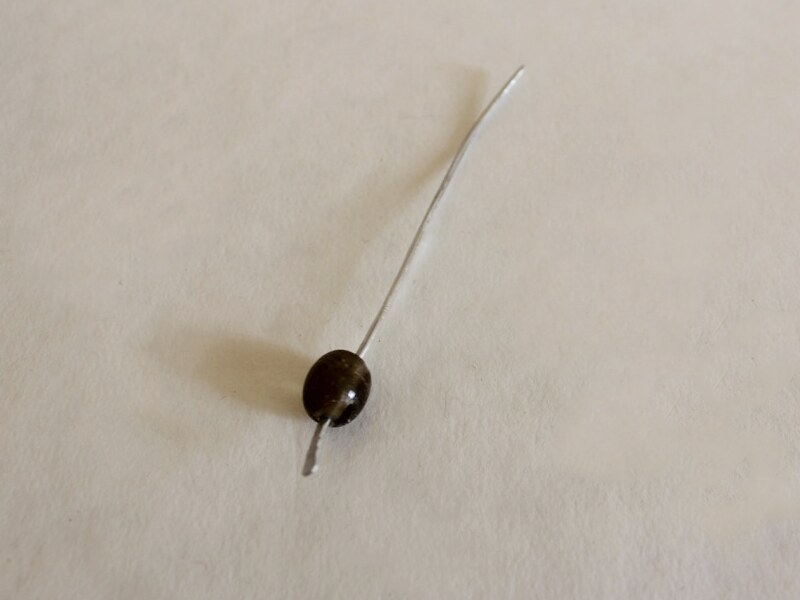
4: A piece of wire. I used some rose gold-filled wire, approximately 3cm long.

5: Pearl beads. I used these two small white pearls.

6: A file or sandpaper for finishing off the ends of the wire.

Here are the steps to follow to make your cute pearl charm:
1: Cut the wire to the length you want it, make sure you leave enough room for hammering and curling the top of the wire.
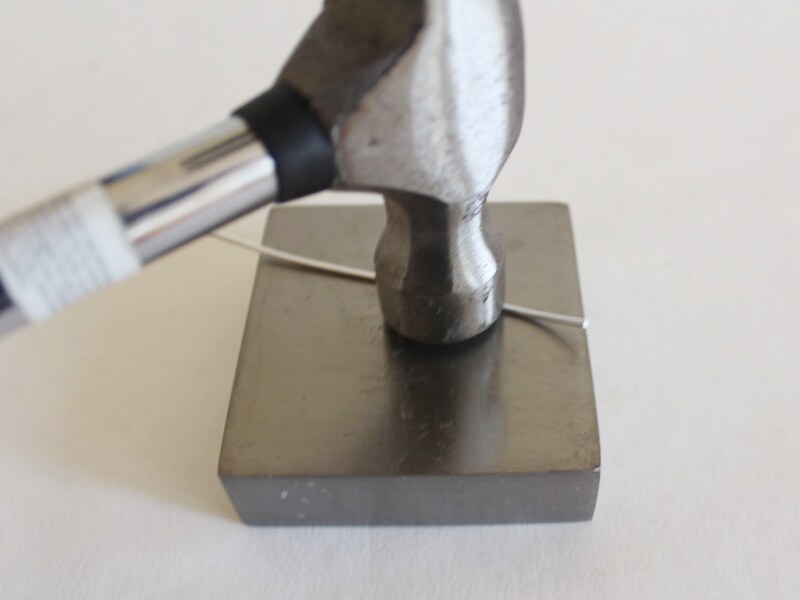
2: Place the wire on the hammering block.

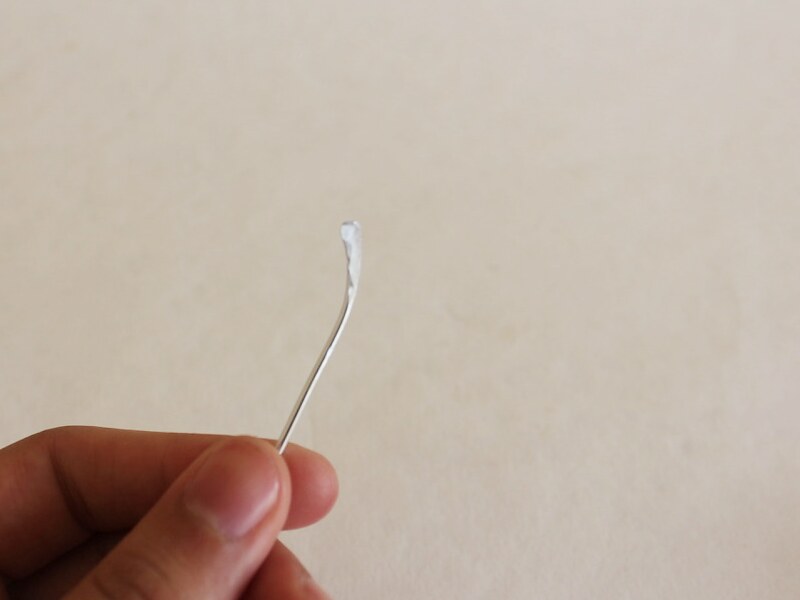
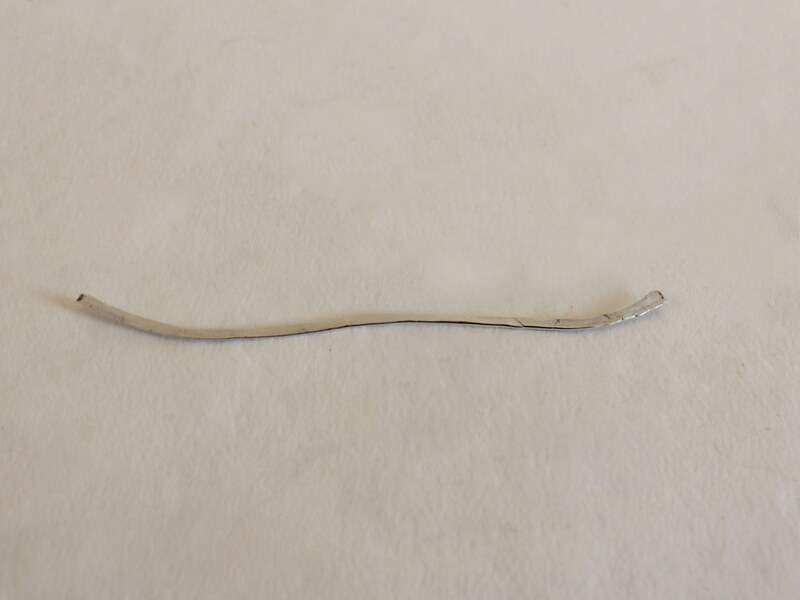
3: Hammer one end of the wire, flipping it over to make sure both sides are even. Keep hammering until the wire is wide enough to stop your bead from falling off.

4: Place the beads on the wire. They should be stopped from sliding off by the newly hammered end.

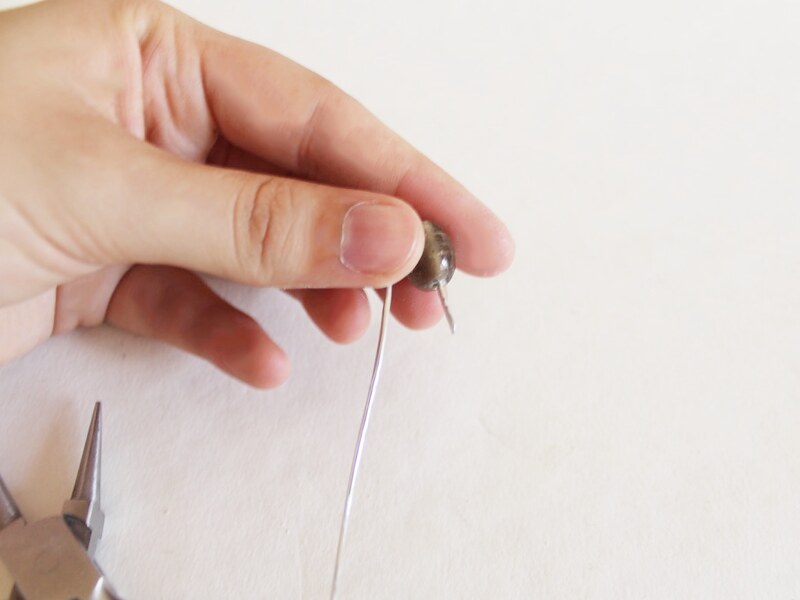
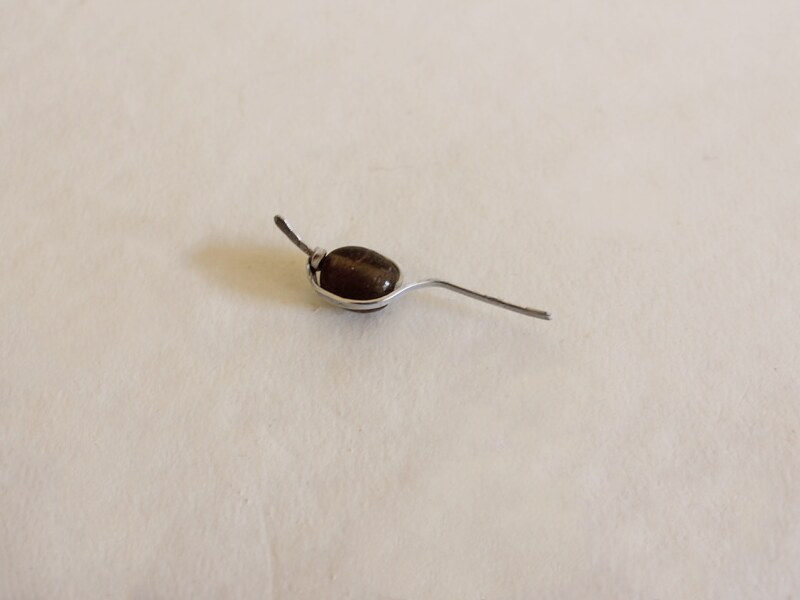
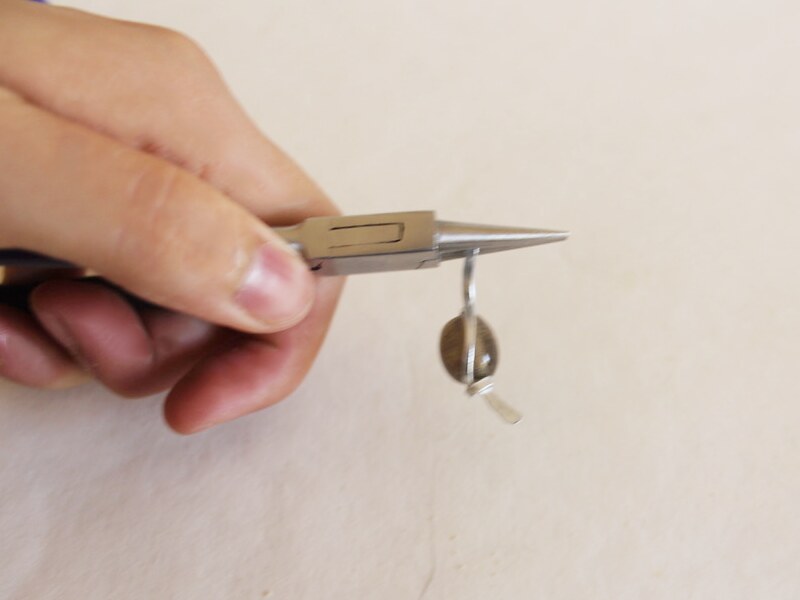
5: Bend the wire to form a right angle at the top.

6: Loop the wire using the round nose pliers to secure the beads from sliding off the other end.

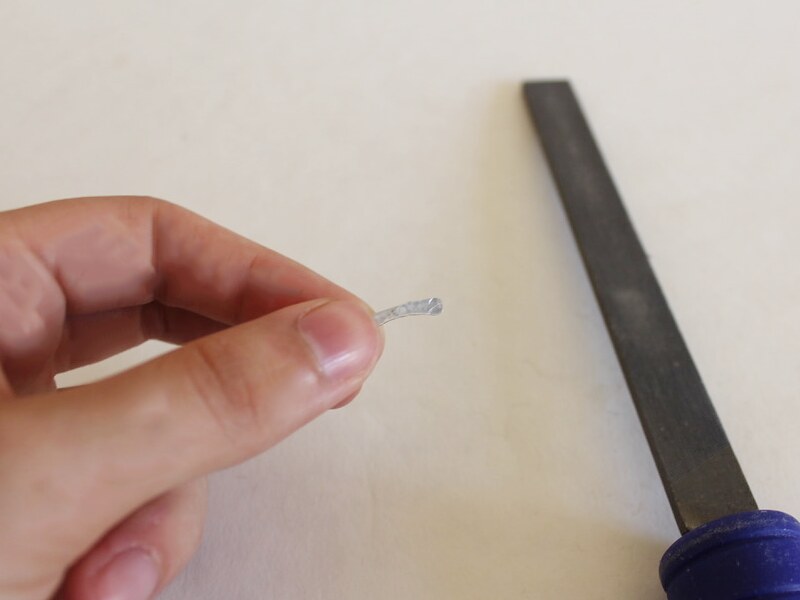
7: File or sand the hammered end of the wire to ensure that there are no sharp edges.
Now your charm is finished! What will you decorate with yours?

If you liked this design, here’s another hammered charm tutorial.
Here are some other hammered earring tutorials
- Hammered wire arch earrings with gemstones
- Simple hammered studs
- Hammer texture threader earrings
- Beaded wire threader earrings
This tutorial contains affiliate links.
-
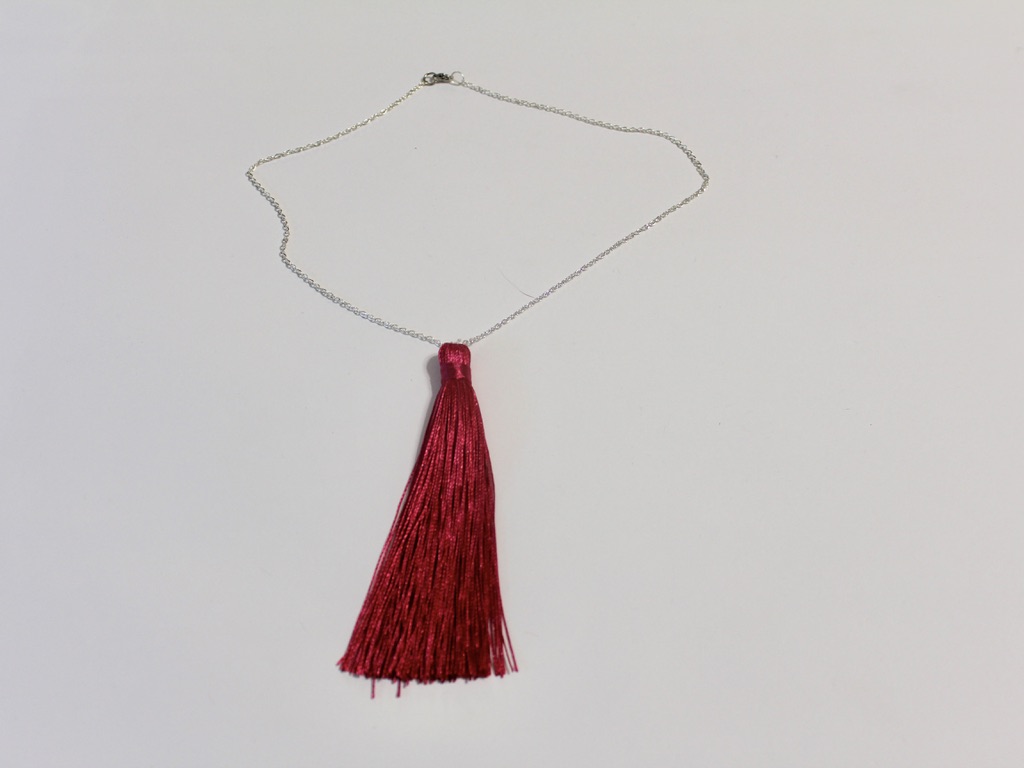
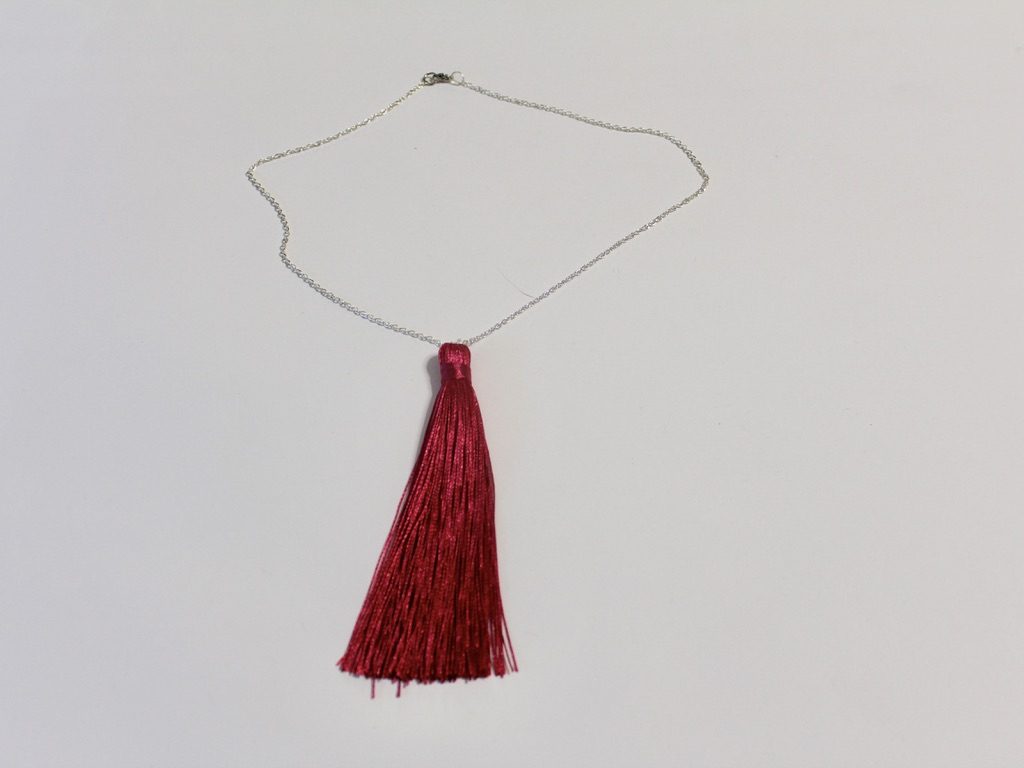
This video will show you how to make a tassel pendant necklace
This tassel pendant tutorial is another one of those simple DIY’s that have MAXIMUM impact! How cute is that dangling tassel? I am super stoked on this design and I hope you enjoy it too. This design is versatile, wear it to spice up all kinds of different outfits.
You’ll need some tools and materials to make this tassel pendant necklace, here are some links so you can find what you need:
1: Jewelry pliers including flat nose pliers, round nose pliers and cutting pliers.
2: A large tassel. I used a hot pink tassel.
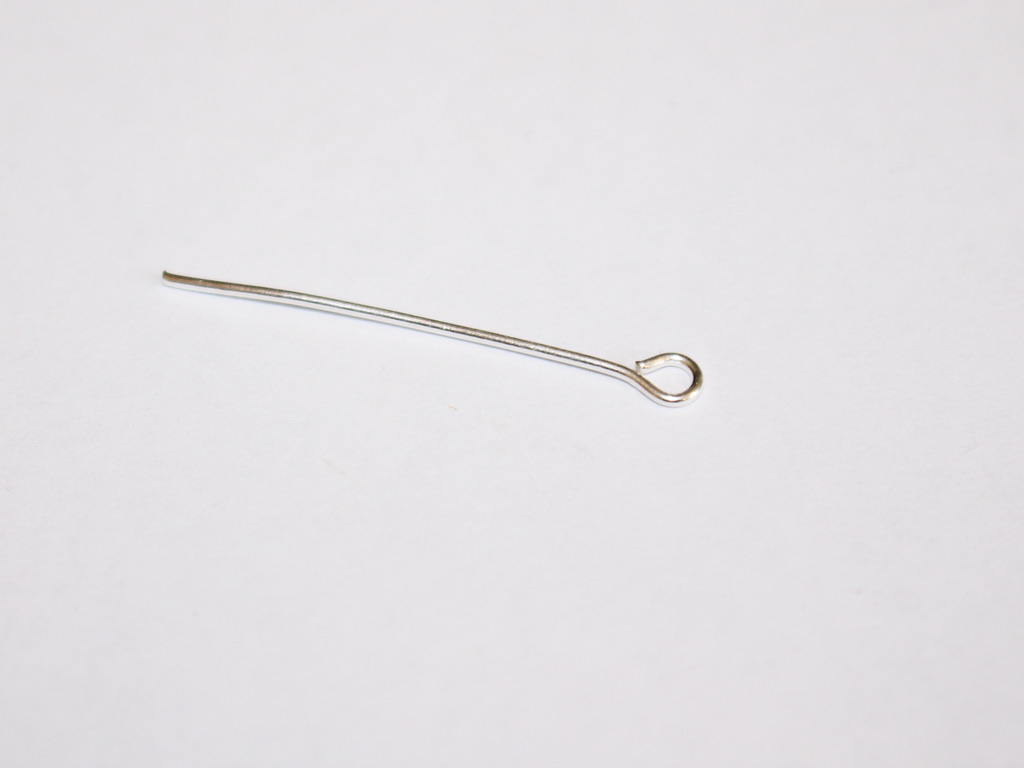
3: An eye pin. I used a medium length silver-tone eye pin.
4: One spare bead. I used a yellow glass e-bead but you can use whatever you have lying around.
5: Necklace chain. Here’s a link to a simple silver chain.
6: A hot glue gun with glue. Don’t worry, you won’t need much messy hot glue to make this tassel pendant :).
I hope you enjoy this video tutorial and make yourself some super cute tassel jewelry!
Here’s the finished product! Attach the tassel pendant to a chain for a simple and elegant look.
And here is another tassel pendant attached to a yellow beaded memory wire choker. I love this version, especially the combination of yellow and pink. Yellow and pink is such a cheery and high impact color combination. Perfect for adding an extra punch to a blah outfit!
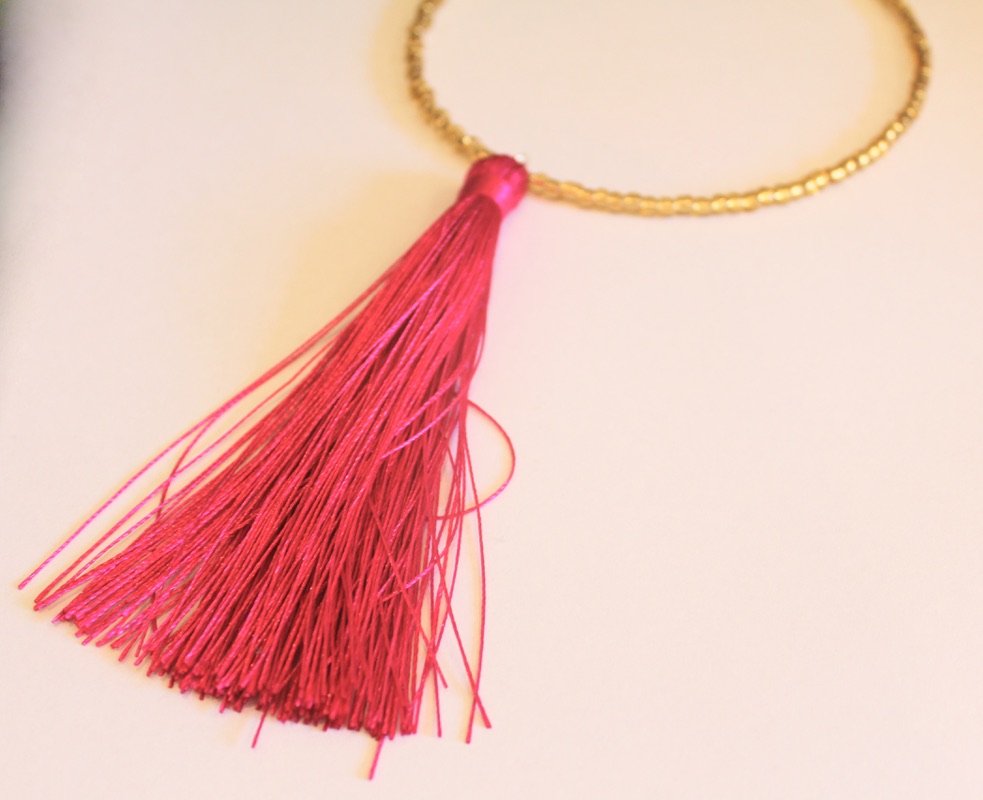
You can buy memory wire and glass beads here to make a choker necklace like the one pictured above:
If you are into tassel jewelry here are some other tutorials:
- Beaded tassel hoop earrings
- Chain tassel necklace
- Tassel and gemstone earrings
- Beaded tassel earrings
- Beaded tassel wrap necklace
- Beaded tassel pendant necklace
This tutorial post contains affiliate links.
-
How to transform an old ring into a pendant.

If you are like me you might have some old costume jewelry lying around that isn’t really your style any more. Instead of throwing it away here’s a way that you can transform an old ring into a wearable pendant.
You will need the following tools and materials to make your pendant:
1: An old ring. I used this ring with a soldered on ring shank.

2: Flat nose pliers for pulling the ring apart.

3: A glue on bail.

4: Araldite glue.

5: A skewer.

6: Scrap paper.

8: A necklace chain.

Follow these steps to transform your old ring into a necklace pendant:
1: Remove the ring shank from the top of the ring, gently pulling it off with your flat nose pliers.


2: If there is excess metal use a file to remove it. I didn’t have to do this for this project.
3: Squeeze out the Araldite glue in equal parts onto the scrap paper.


2: Mix the glue using the skewer.

3: Add the glue to the bail and the back of the ring.


4: Place the bail onto the glued part of the ring and set aside to dry.

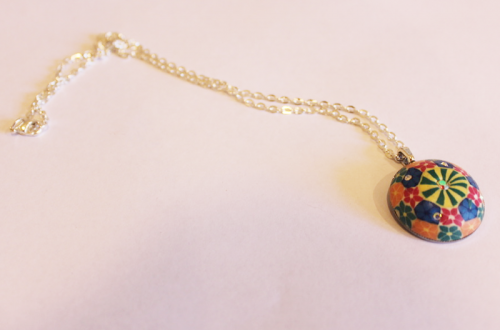
5: Add the dry pendant to the necklace to finish it off!
Now your new pendant is ready to wear! Such an easy way to upcycle old jewelry.
-
How to make a beaded teardrop pendant

Here’s how to make a cute beaded teardrop pendant using memory wire. If you’re sick of making chokers with your memory wire coil this is another way to use it!
You will need the following tools and materials to make your teardrop pendant:
1: Pliers. You’ll need your cutting pliers, flat nose pliers and round nose pliers.
2: A piece of memory wire, half of a necklace loop.

3: Beads. I used these mixed glass seed beads.

Follow these steps to make your teardrop pendant:
1: Create a loop at the end of one side of the piece of memory wire.


2: Add the beads to the wire until there is only 1cm left unbeaded.


3: Create a loop at the other end of the wire securing the beads in place.

4: Link the loops together to form the teardrop shape.


Now your pendant is finished you can attach it to a chain or beaded strand of your choice!

Here’s a pair of earrings I made using the same technique. Just add an earring hook to the top of each teardrop instead of a chain!

-
Do you want to keep the ocean close? Here’s how to make a bottle charm filled with shells and sea glass

This pendant is so cute, fill it with your fave beach combing finds, or perhaps with some other special pieces. Affiliate links included
You will need the following tools and materials to make your own sea bottle charm:
1: A small glass bottle with a cork top.

2: Shells and sea glass to fill the bottle.

3: A small eye pin.

4: A large jump ring.

5: A wire collar necklace.

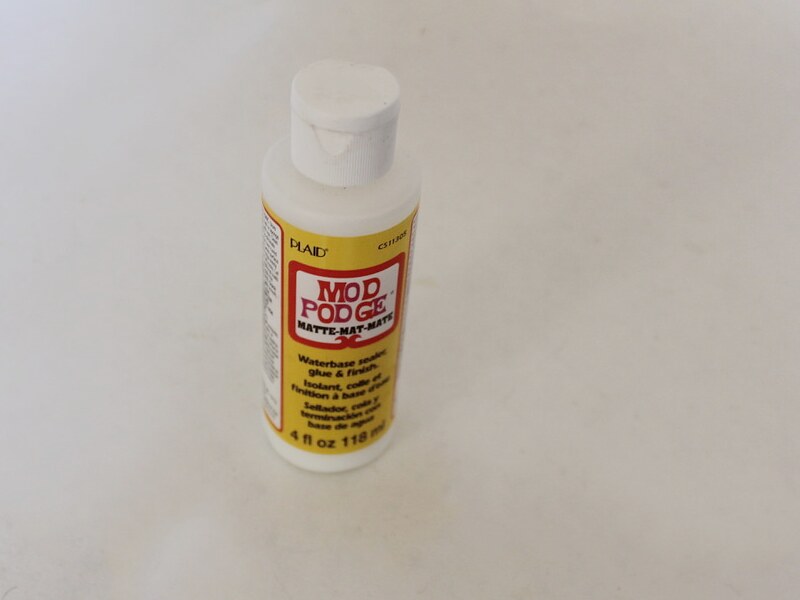
6: Water based glue, I used Mod Podge.
7: A skewer.
Follow your steps to make a sea bottle charm:
1: Take the cork out of the bottle.

2: Fill the bottle with sea glass and small shells.

3: Add some glue to the cork using the skewer.

4: Put the cork back in the bottle and wipe off excess glue.

5: Push the eye pin into the middle of the cork.


6: Add some glue around the eye pin to secure it to the cork.

7: Add the large jump ring to the eye pin.


8: Add the charm to the collar necklace to finish the design off!

Now your charm is ready to wear!
-
Do You Want More Special Charms In your life? Why not try making this free-form bead and wire charm?
This charm tutorial is a really fun way to use your special decorative beads. I like making them with unique glass beads! Note: includes affiliate links.
You will need the following tools and materials to make your bead charm:
1: Pliers. You will need your round nose pliers and cutting pliers to make this charm.
2: A hammer.

3: A steel hammer block.

4: Soft jewelry wire.

5: A file.
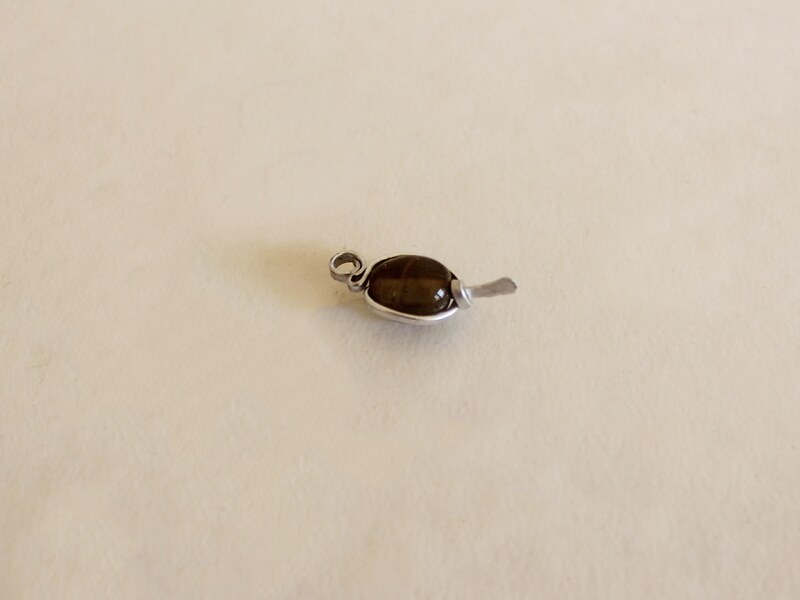
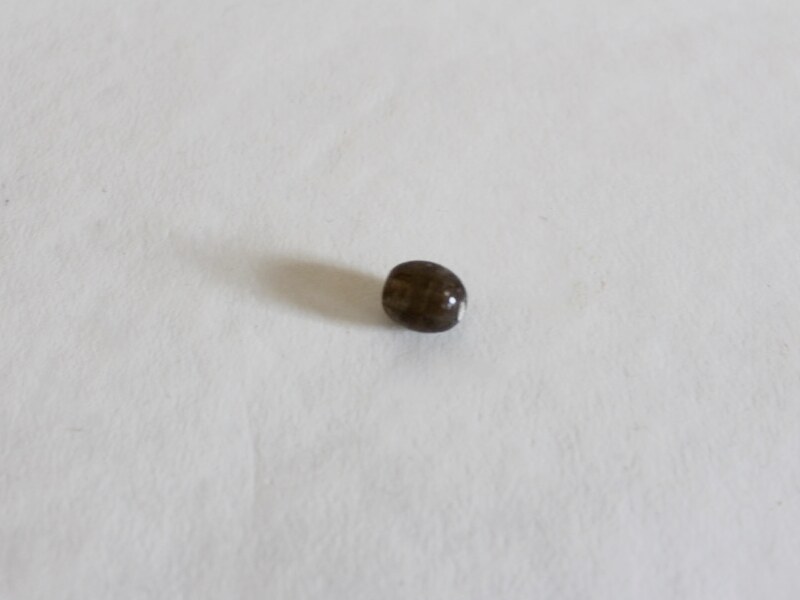
6: A bead of your choice. I used this glass bead.
Follow these steps to make your free form charm:
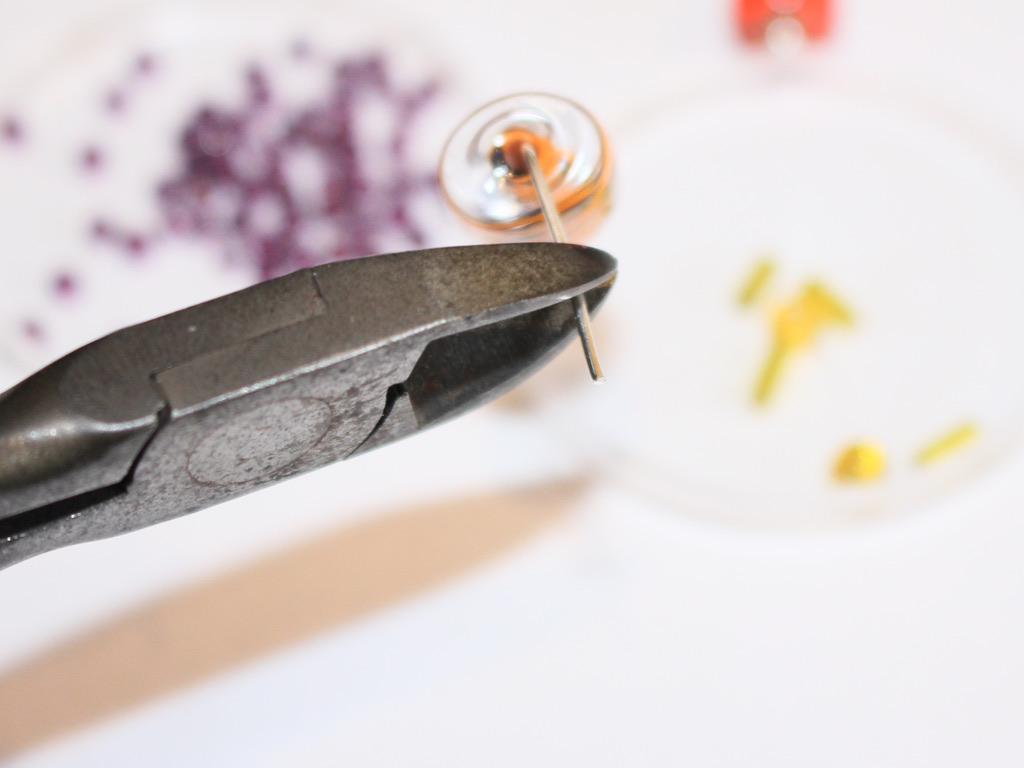
1: Cut the wire to be approximately 12-15 cm long using the cutting pliers.

2: Hammer the end of the wire wide and flat using the hammer. It should be wide enough to keep your bead from falling off the wire.
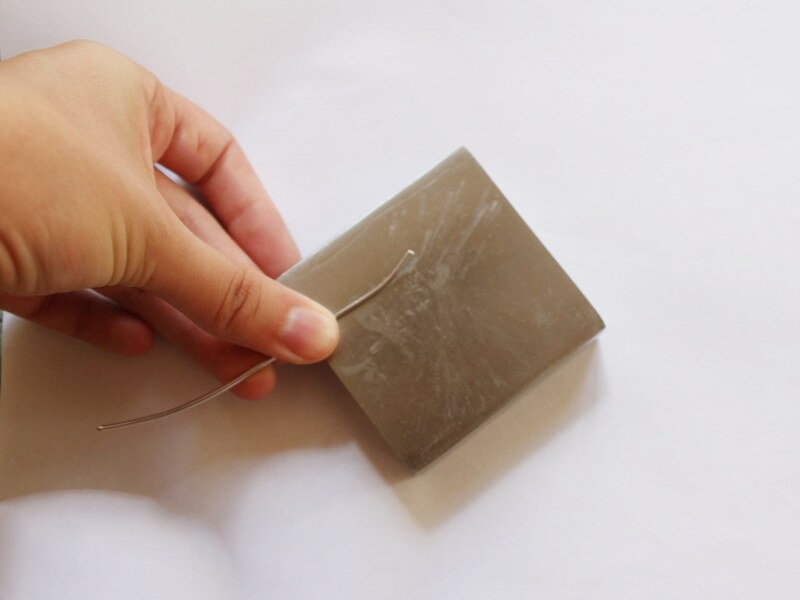
3: Hammer the rest of the wire flat but not so wide that your bead won’t go onto the wire.
4: File the ends of the wire so that they are not sharp.
5: Add the bead to the wire, securing it against the widest end of the wire.
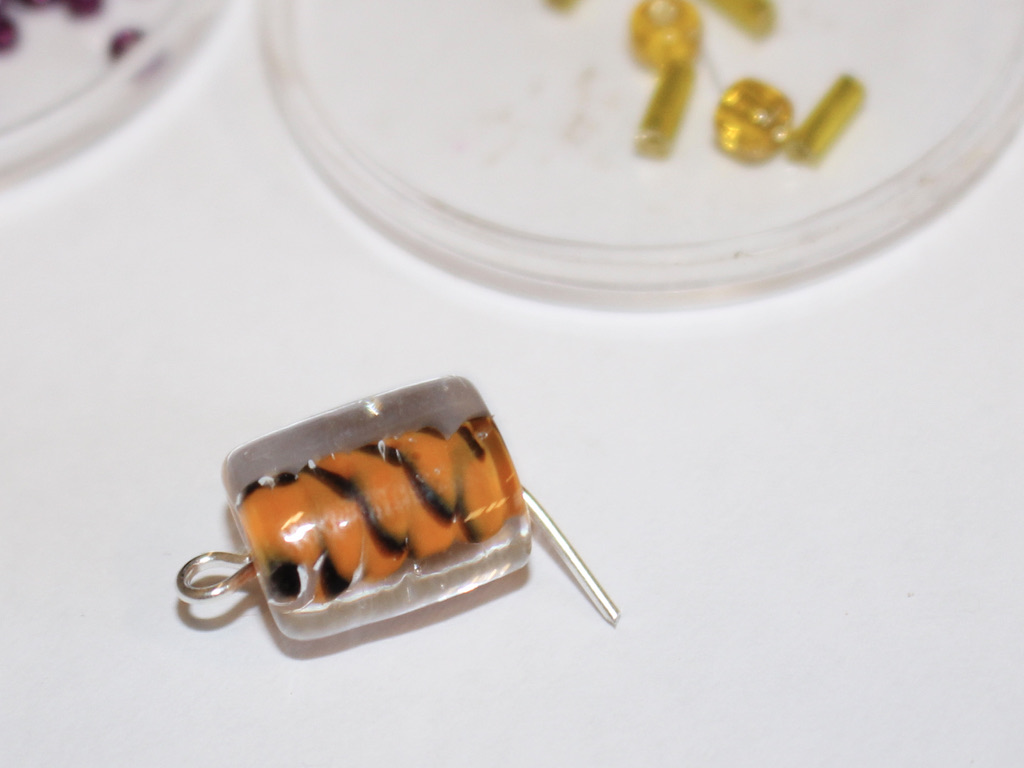
6: bend the wire around the bead in any formation you like.
7: Bend the end of the wire into a bail at the top of your bead, you can use the round nose pliers to make this look neat.

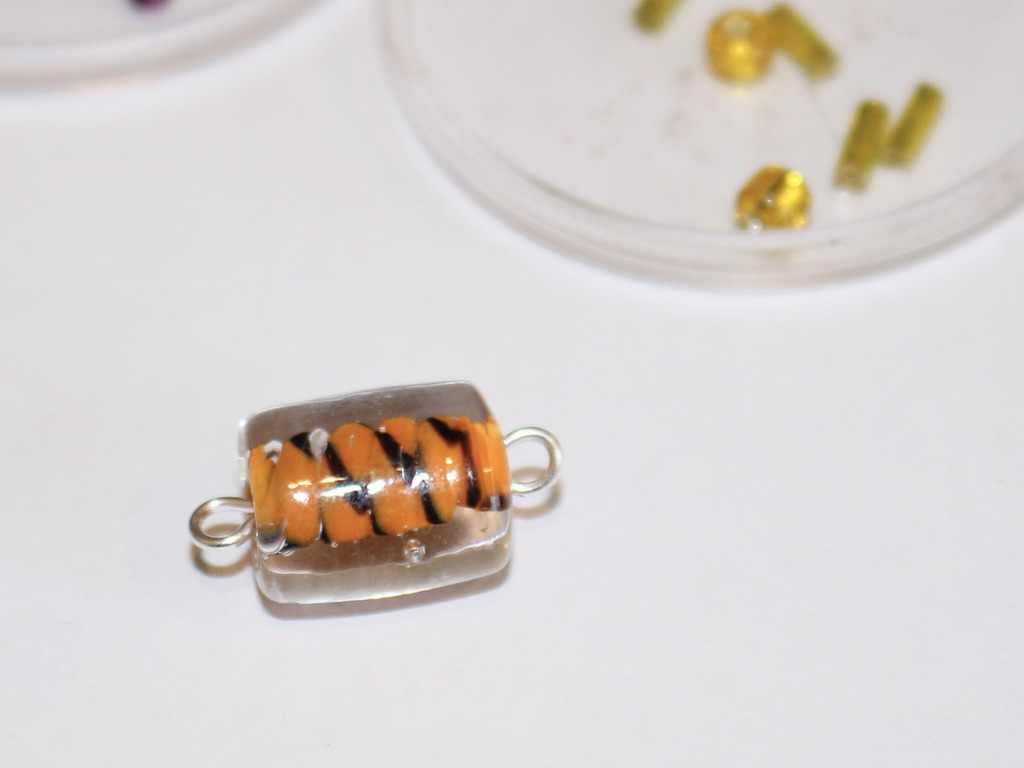
Once your bail has been made your pendant is complete! How will you form yours?
Here’s the charm on a memory wire beaded choker!

-
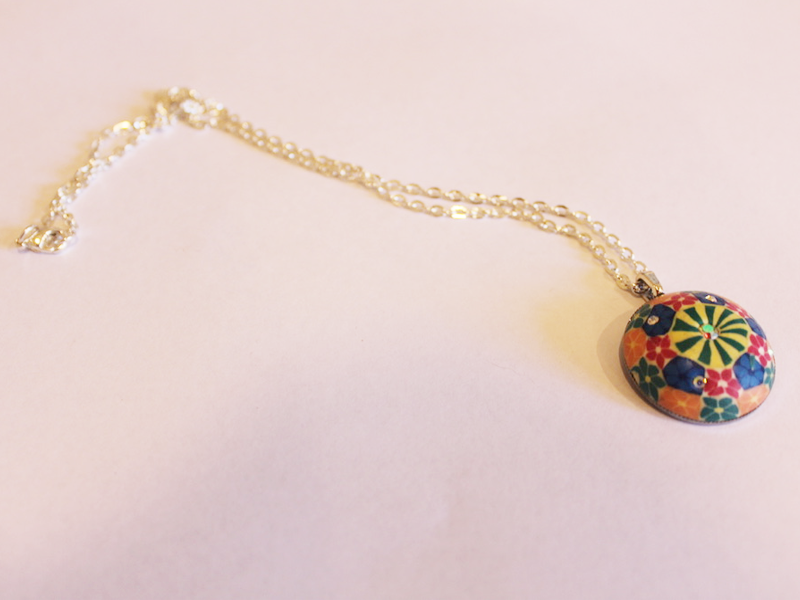
This Circle Pendant Is Simple and Beautiful, Load Yours up With Your Favorite Beads!

The highlight of this necklace is a lovely beaded circle pendant! You can use all kinds of lovely beads to make this design your own. note: contains affiliate links.
You will need the following tools and materials to make your necklace:
1: Pliers. You will need your cutting pliers, round nose pliers and flat nose pliers to make your necklace.
2: Wire. I used some copper wire to make my circle pendant. I cut mine to approximately 12cm in length.

3: Three jump rings.

4: A piece of chain at the length you want your necklace. I used copper chain to match the wire.

5: A lobster clasp. I used this copper colored one.
6: Beads of your choice. I used some red glass seed beads and some small timber beads.


Follow these steps to make your circle pendant necklace:
1: Create a loop at one end of the wire using the round nose pliers.


2: Add the beads to the wire in your choice of pattern.

3: Continue beading until there is approximately 1cm of wire remains unbeaded.

4: Bend the end of the wire so that it is at a right angle to the beaded section.

5: Create a loop at the end of the wire using the round nose pliers.
6: Attach the two loops together and close them to create a circle shape. You might need to gently reshape the loop to make it more of a circle shape.


7: Attach a jump ring to one of the loops at the top of the circle pendant.
8: Slide the ends of both chains onto the open jump ring.


9: Close the jump ring to secure the chain in place.

10: Split the chain in the middle opposite the place where the pendant is attached.
11: Add a jump ring to one side of the chain and add the lobster clasp. Close the jump ring to secure the lobster clasp in place.

12: Add the remaining jump ring to the other side of the chain to finish the necklace!