Step-By-Step Tutorials
-
How to make a beaded necklace with cute little bead charms!
This is a cute little piece that looks great layered with chains! Use some fun gemstone beads to add some pizazz to your design. Please note that this tutorial contains affiliate links.
You’ll need these tools and materials to make this necklace:
1: Some tiger tail wire long enough to fit around your neck, plus some extra.

2: A set of pliers. I used my cutting pliers (left), flat nose pliers (right) and round nose pliers (middle).

3: Some glass beads. I used these green glass e-beads.

4: Some statement beads. I used 5 stone beads.

5: Four crimp beads.

6: Two jump rings.

7: Five head pins.

8: A lobster clasp.

Follow these steps to make your beaded charm necklace:
1: Add each of the statement beads to each of the head pins.

2: Curl the tops of each pin using the round nose pliers. This will keep the bead in place.


3: Set the charms aside.
4: Put two of the crimp beads onto the tiger tail wire.

5: Add one of the jump rings.
6: Loop the wire around the jump ring and back through the crimp beads. Pull the wire tight.

7: Squash the crimp beads using the flat nose pliers.


8: Begin adding beads to the wire.

9: Bead until you get to a length you like, before the middle of the wire.

10: Add the first bead charm from the set you made earlier.

11: Add some more glass beads and then add another bead charm.

12: Continue adding charms in your chosen pattern until they are all in place.


13: And now you can add the glass beads until your necklace is at the right length and is beaded evenly so that the bead charms are at the bottom.


14: Add the second pair of crimp beads and the jump ring.

15: Loop the wire around the jump ring and back through the crimps and the last few beads on the strand.

16: You should now pull the wire tight and squash the crimps with the flat nose pliers.


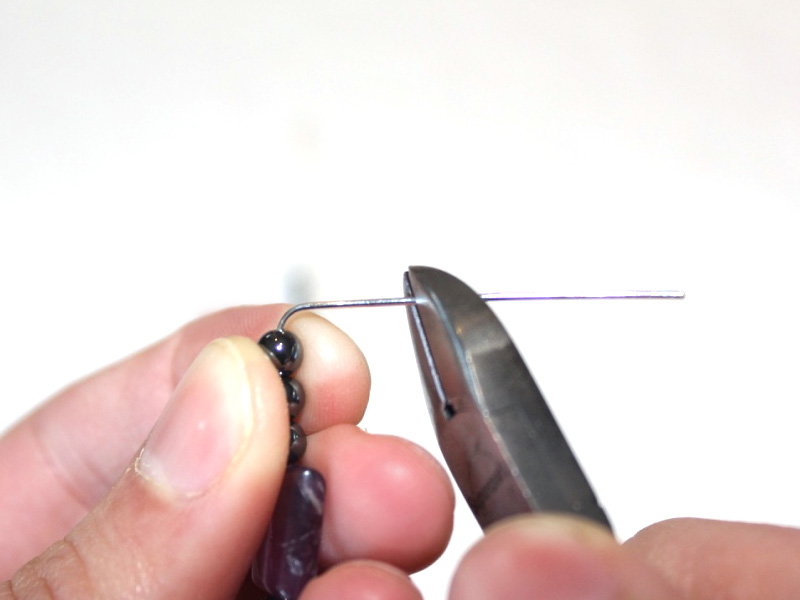
17: Now you can trim the excess wire with cutting pliers.

18: Open one of the jump rings and attach the lobster clasp. Close the ring to secure the clasp in place.


So now your necklace is finished and ready to wear! So so cute. What necklaces will you layer yours with?


Or maybe you’ll wear it as a statement on its own?!


-
How to make a super simple pair of earrings! These are perfect for people who don’t like heavy earrings.
These earrings are really cute! Turn lightweight beads into some pretty little dangles, perfect for people who can’t bear the weight of heavy statement earrings but still want to look cute! Please note that this tutorial contains affiliate links.
You will need the following tools and materials to make your earrings:
1: Pliers. I used my round nose pliers (middle), flat nose pliers (right) and cutting pliers (left) to make these earrings.
2: Two head pins.

3: A pair of earring hooks.

4: A pair of beads. I used these recycled timber beads.

Follow these steps to make your little dangling earrings:
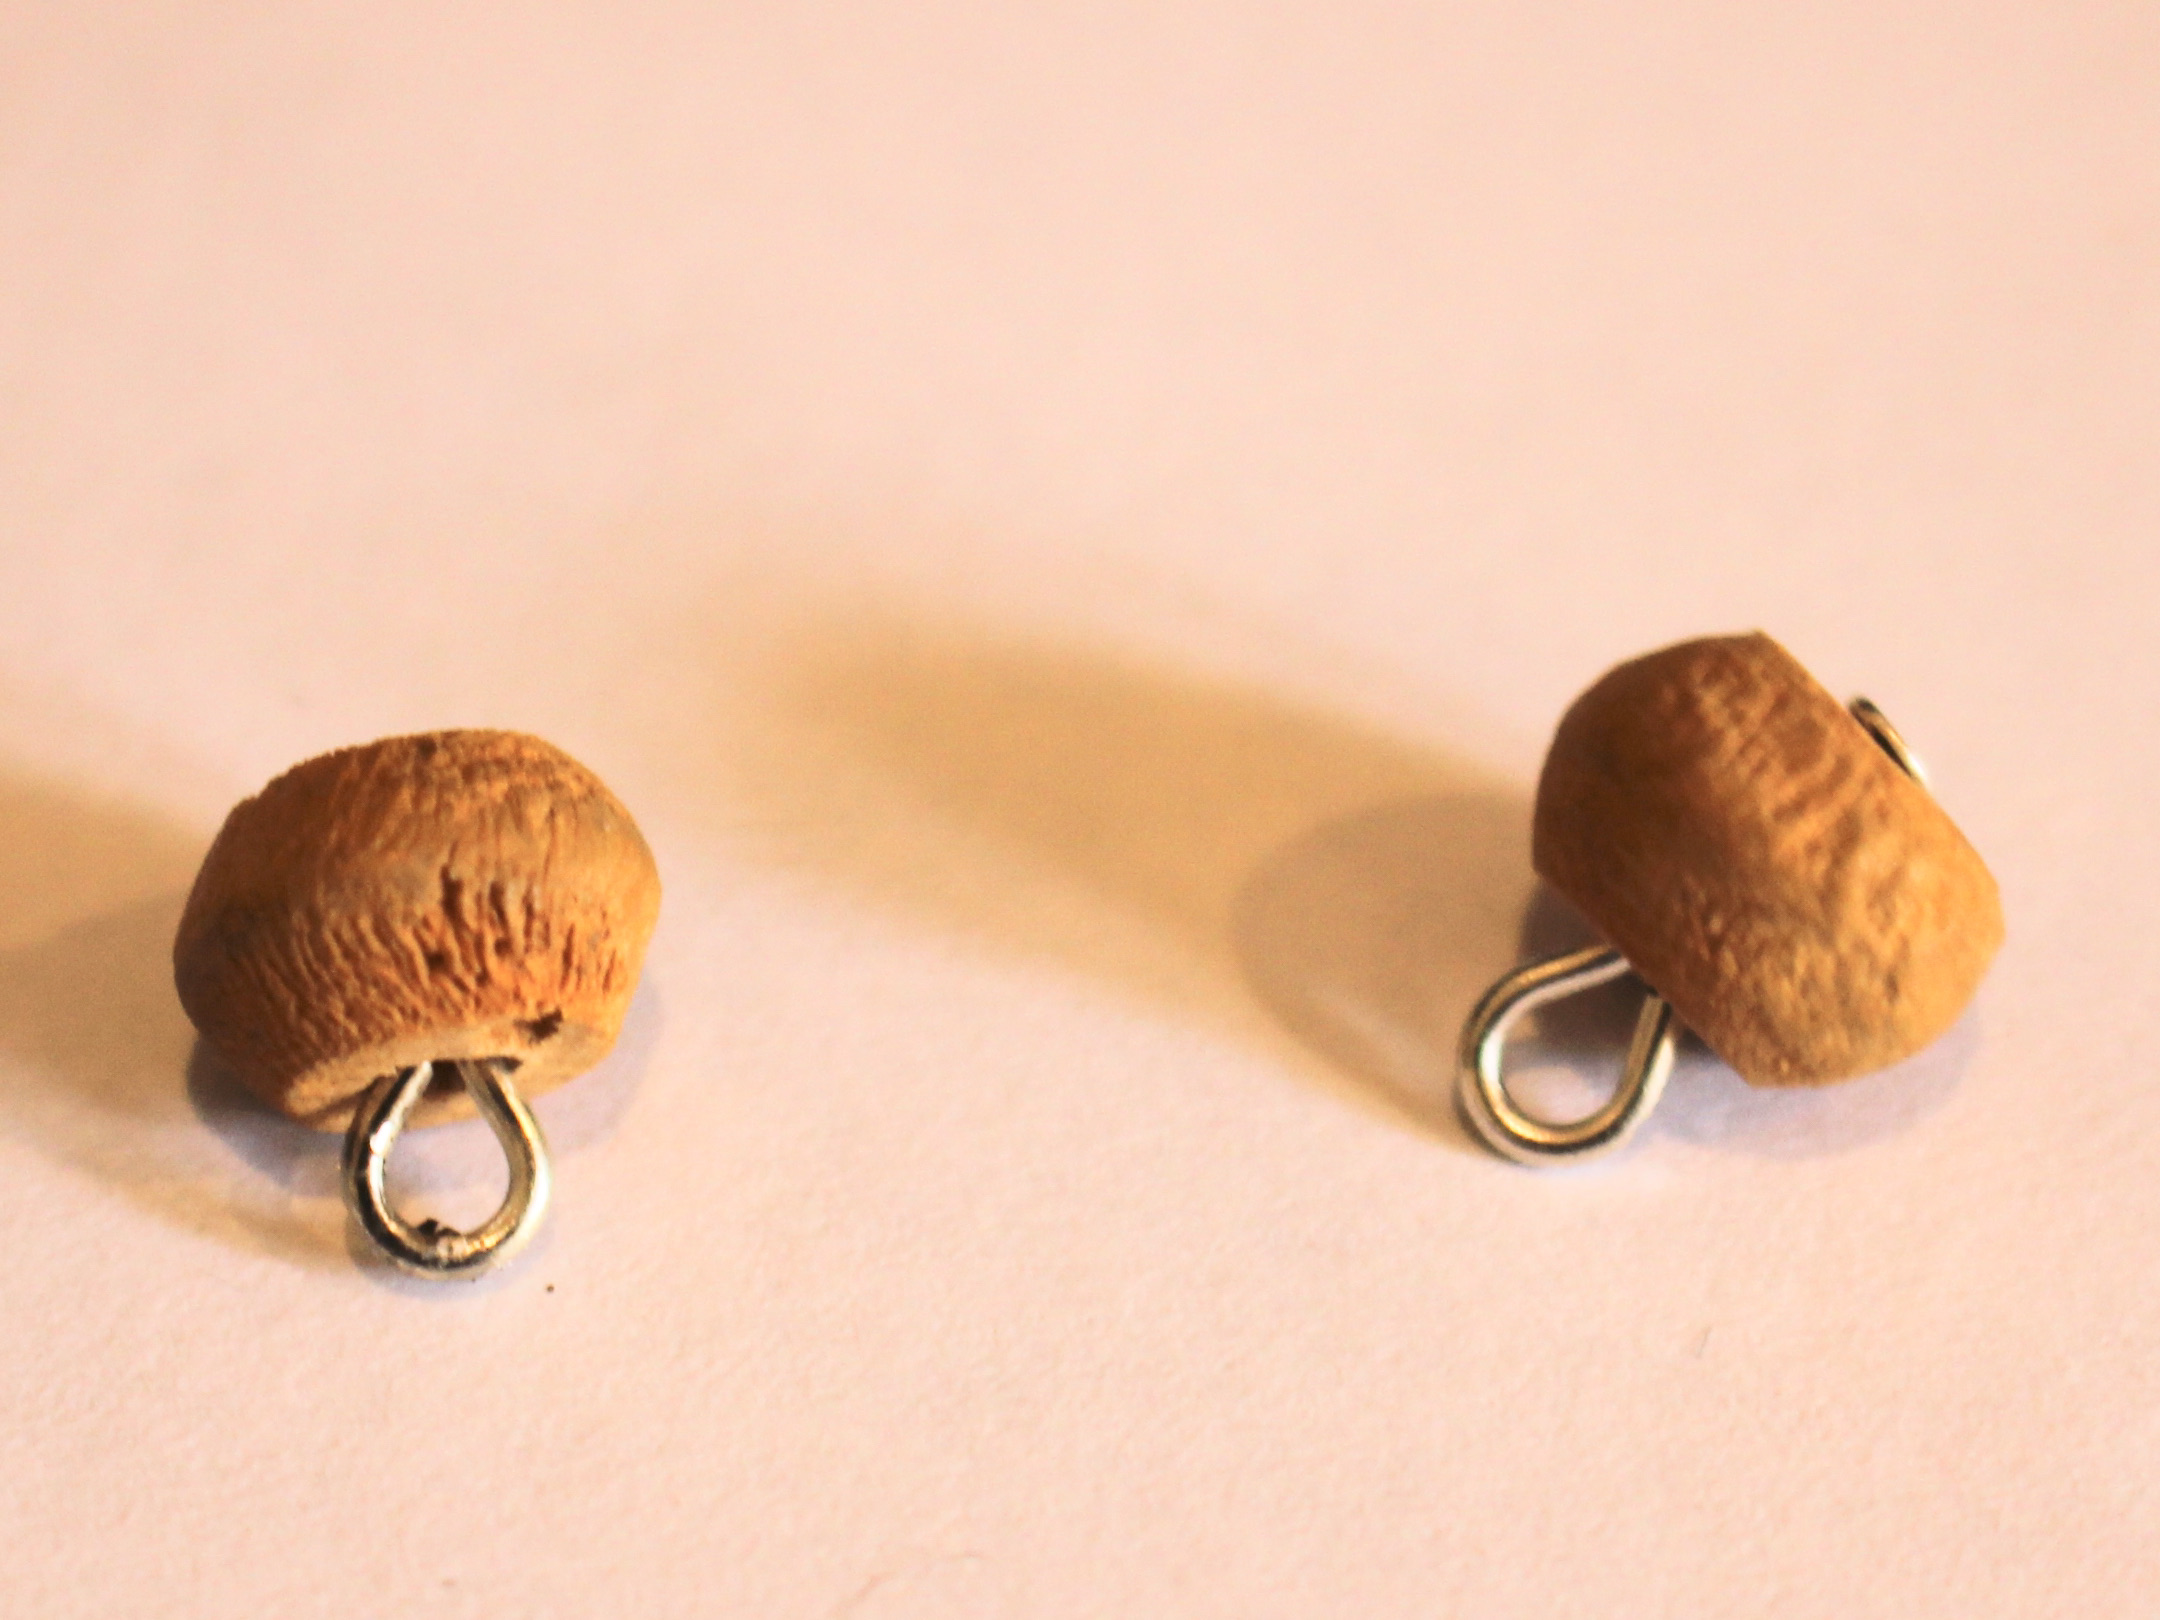
1: Add each of the beads to the head pins.

2: Bend the head pins to form a right angle.
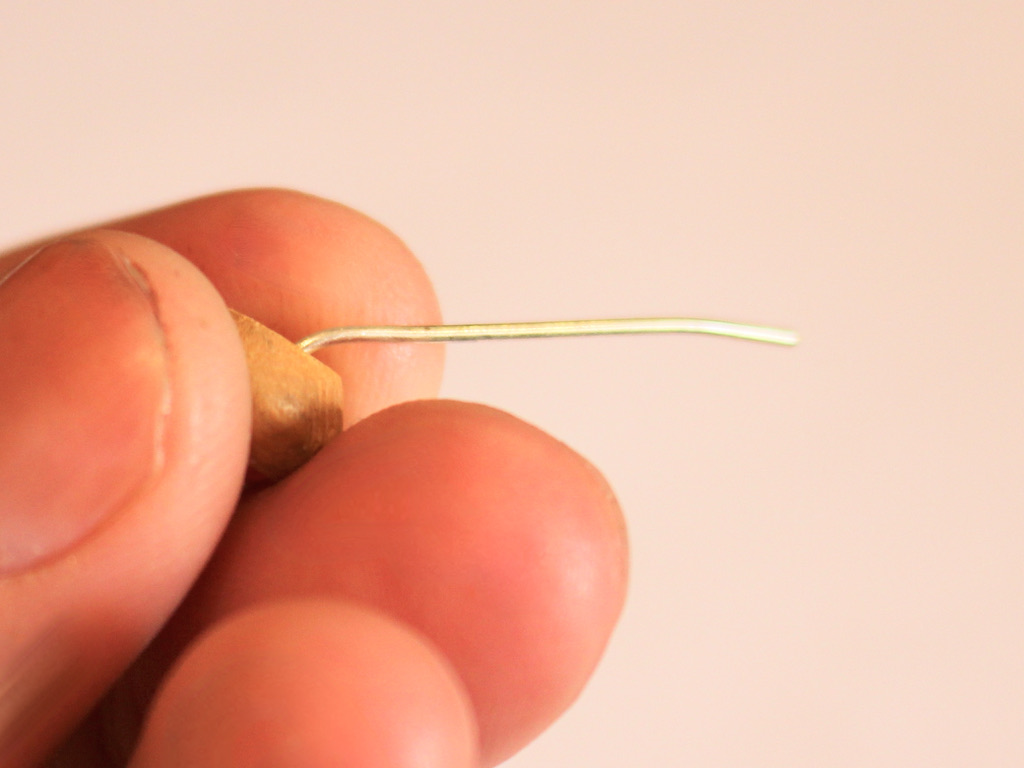

3: Trim each pin so there is approximately 1cm left coming out of the top of the beads.


4: Form each pin into a loop to secure the beads onto the pins.


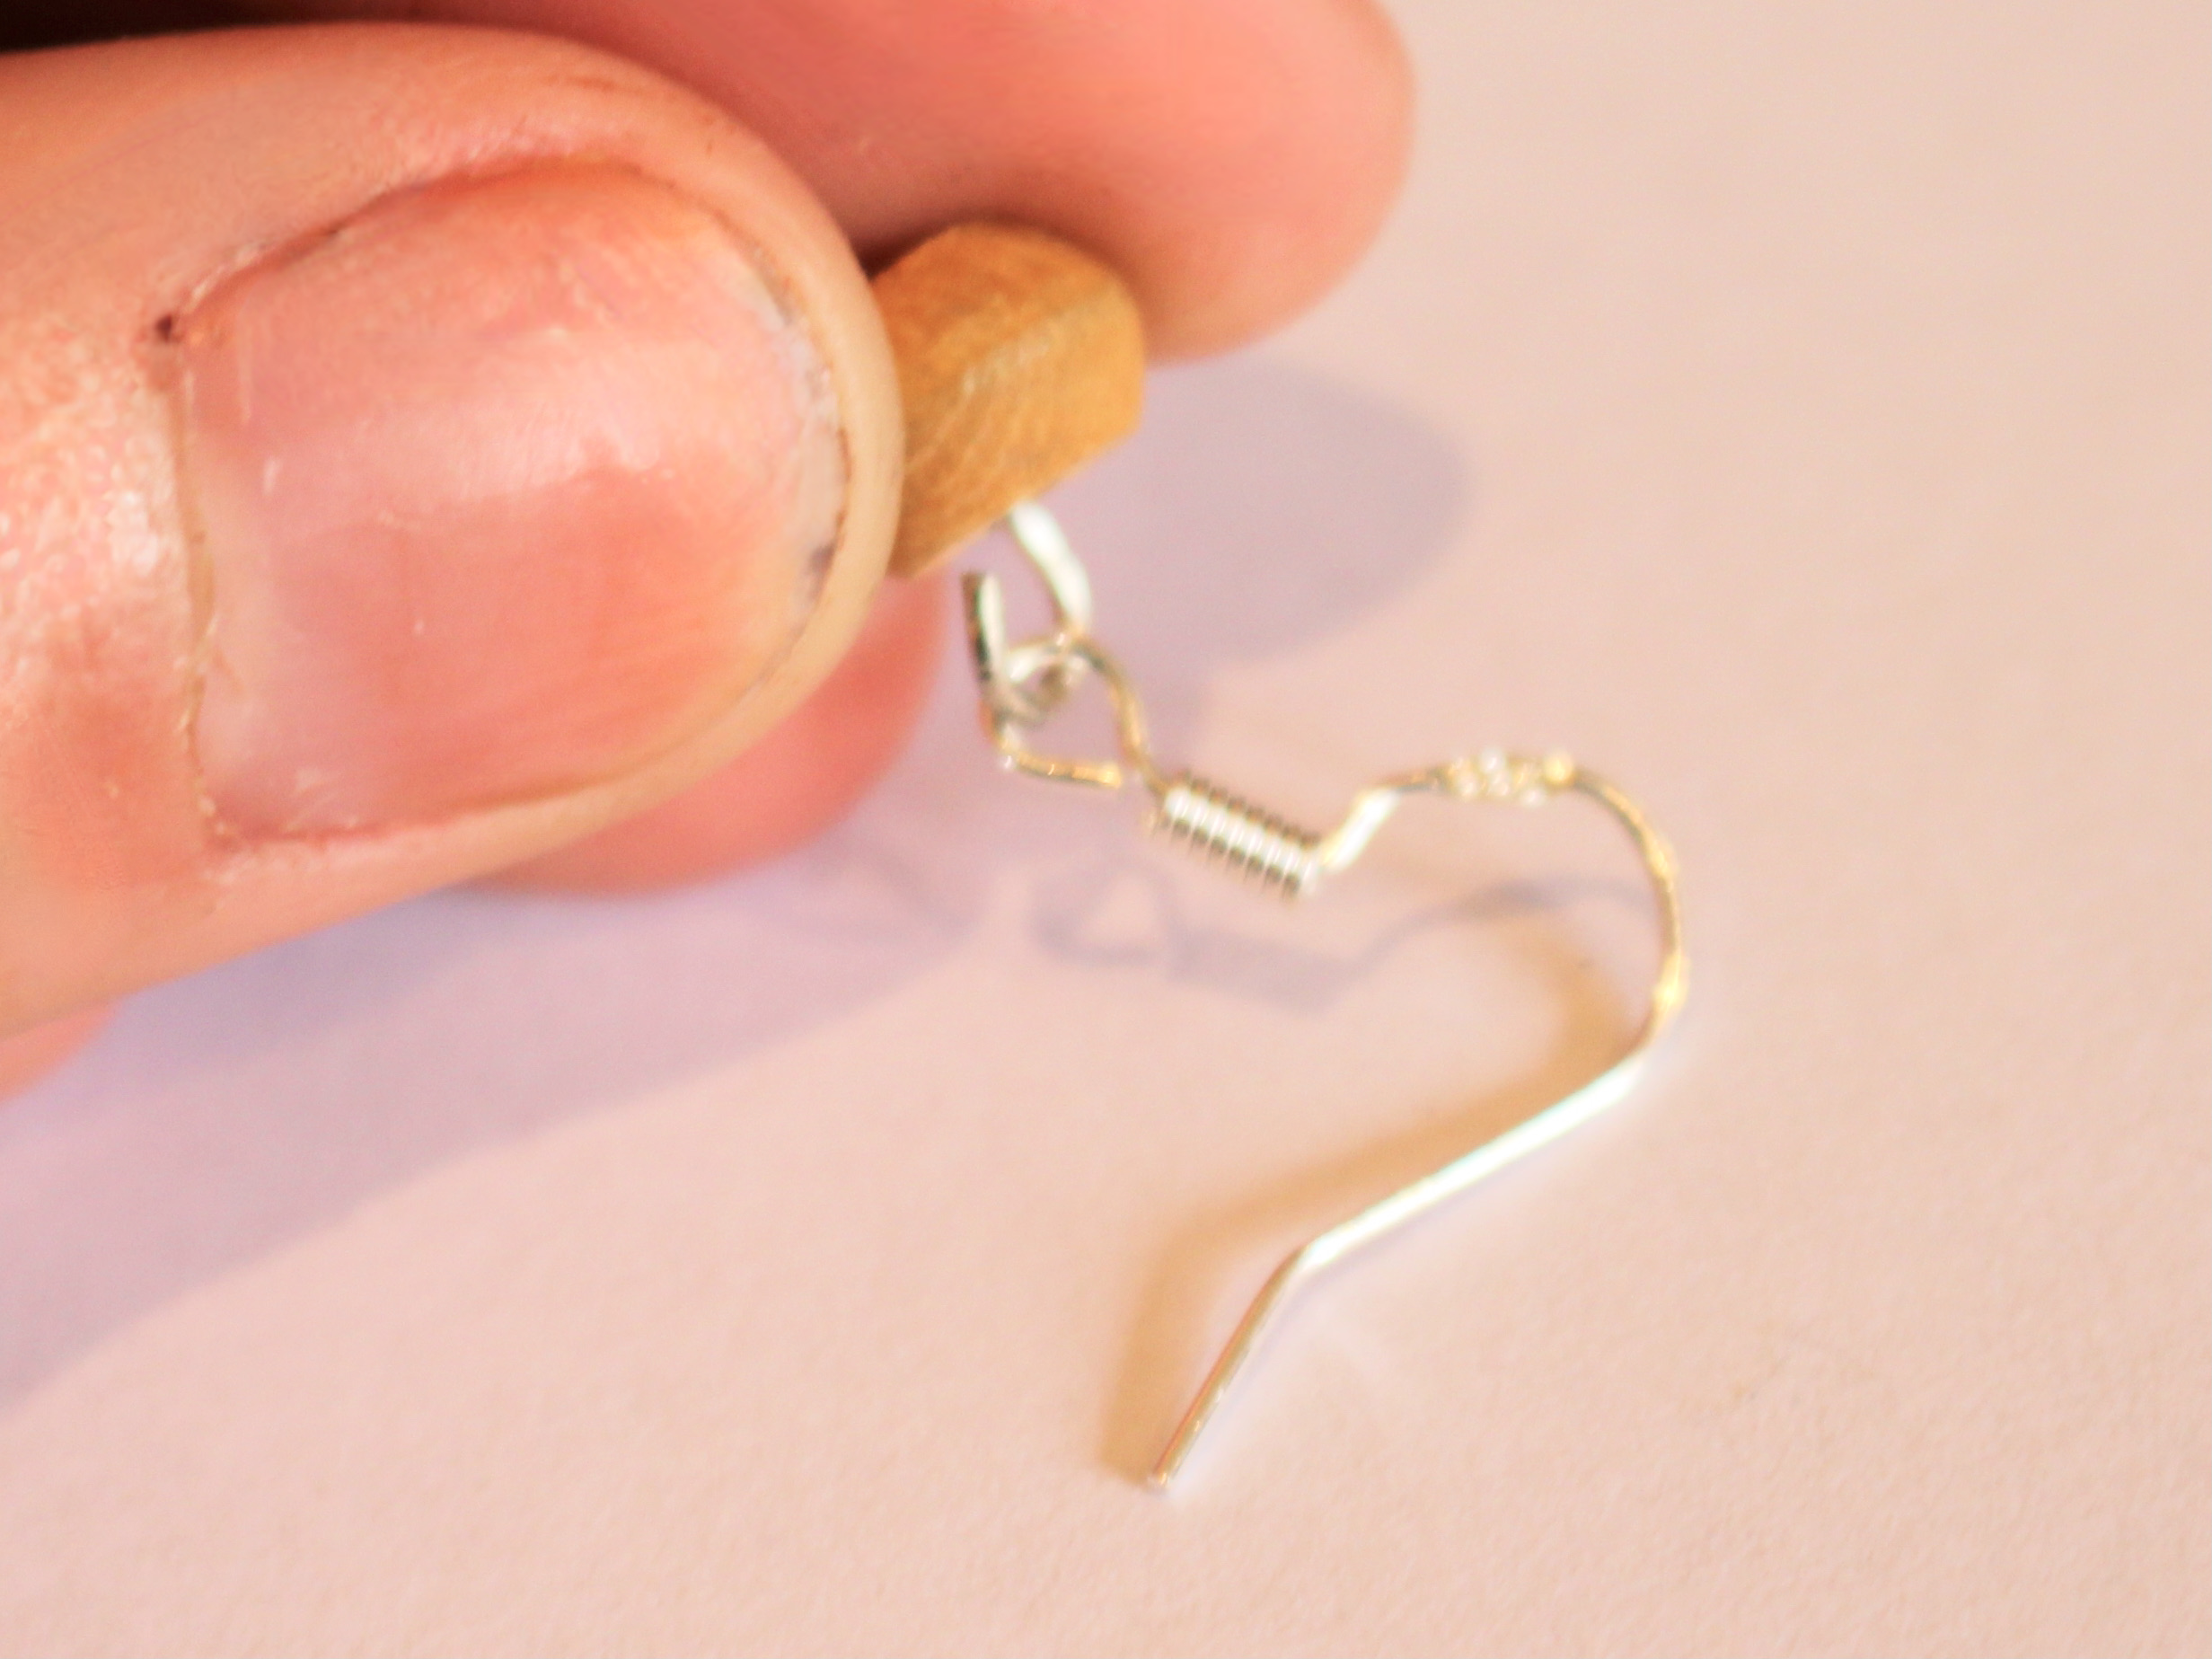
4: Open up each loop slightly and then attach each beaded pin to each of the hooks.


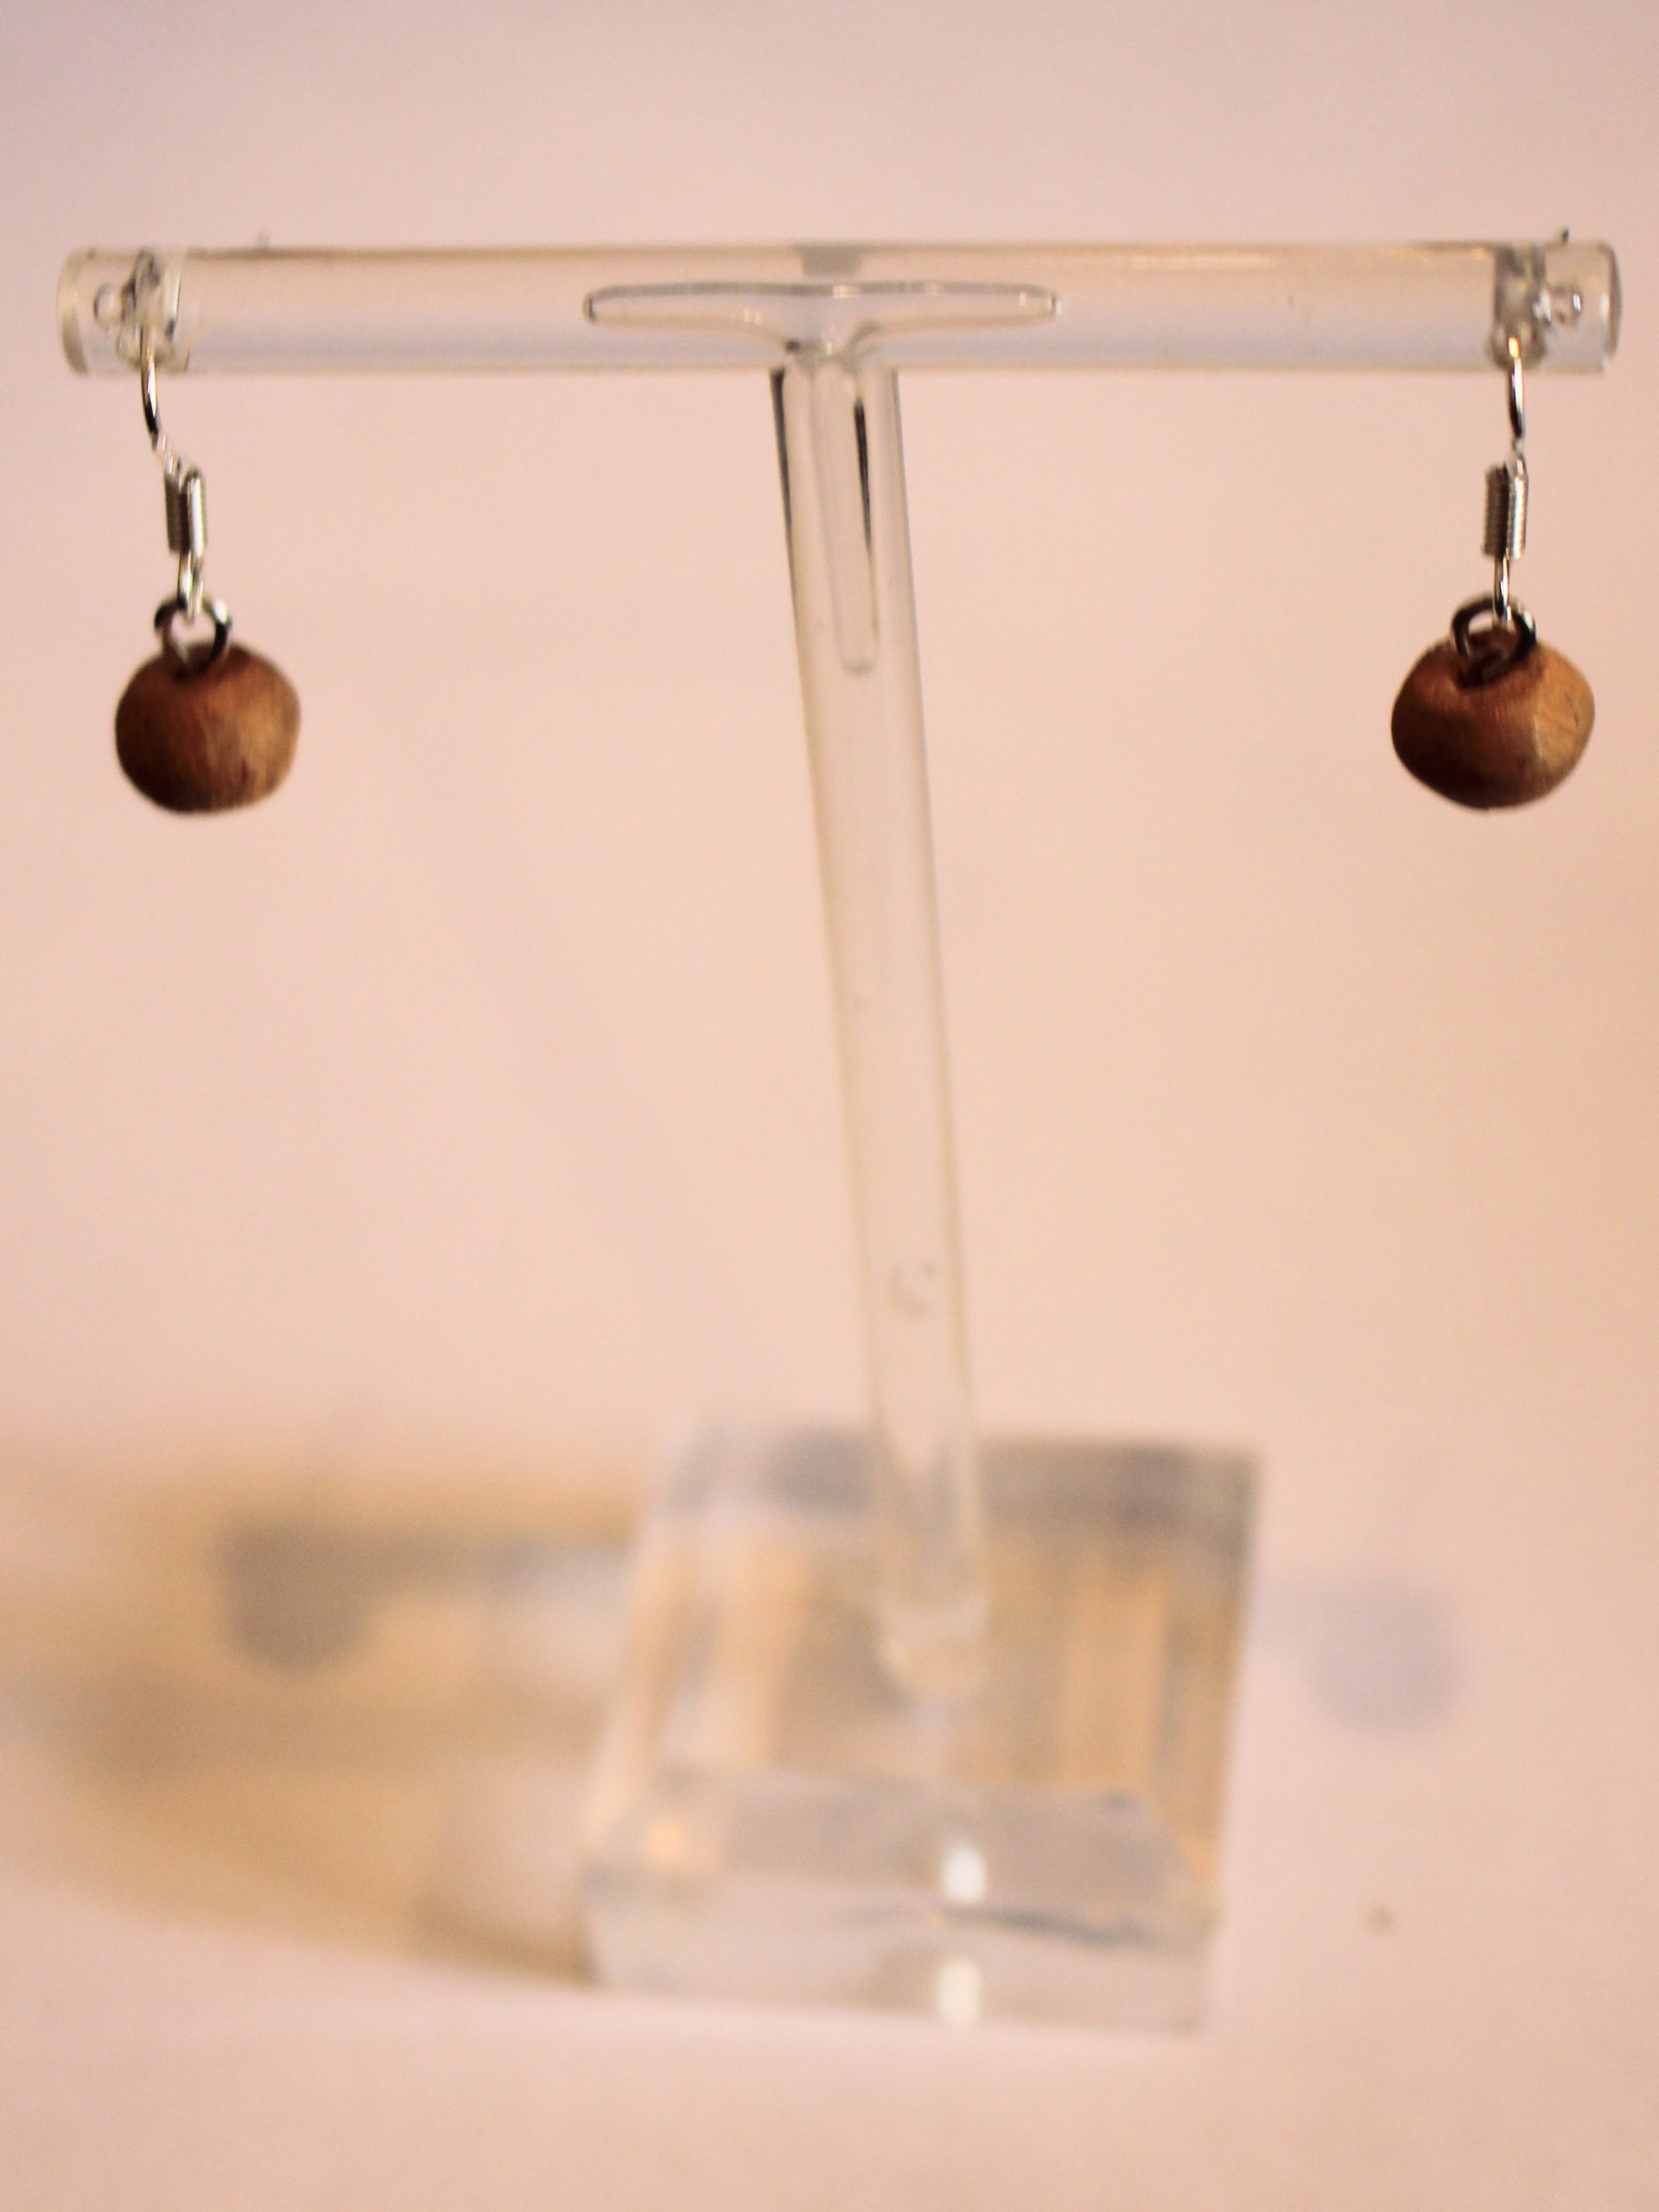
Now they’re finished and ready to wear! Super cute, lightweight and fun!


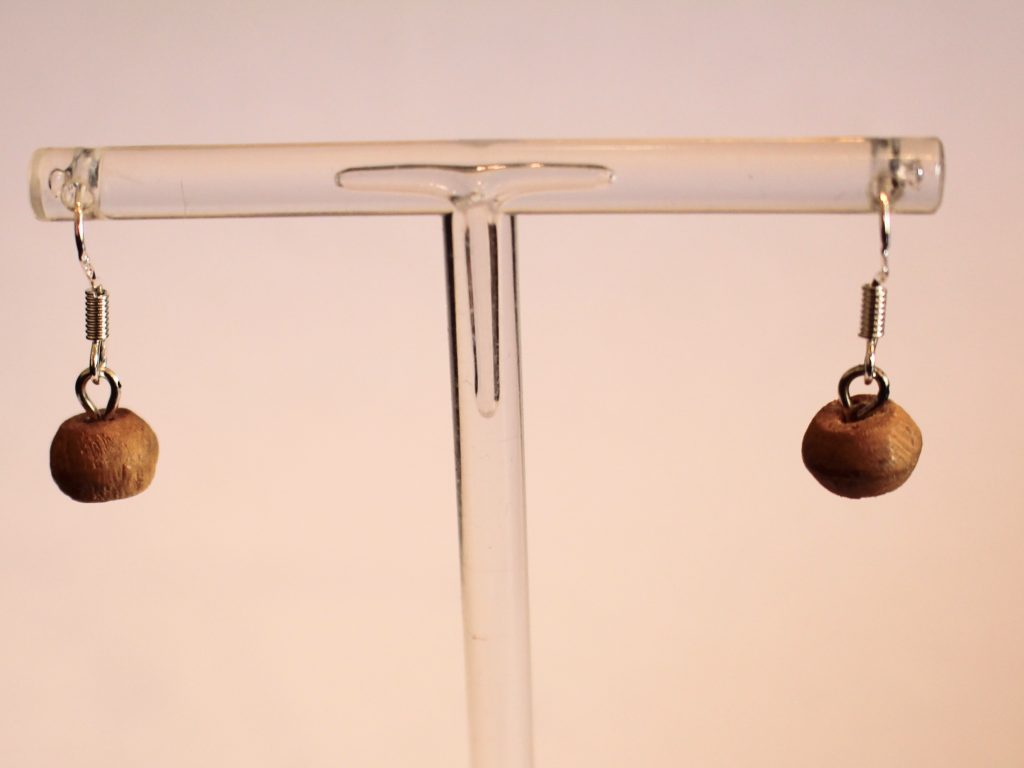
Here are some other simple, lightweight earrings you can make:
-
How to make a delicate wire charm ring!
This is a cute ring that is my take on the dainty jewelry trend.
Use some wire, a head pin, a jump ring and a special bead to make your own delicate and dainty wire ring without the need for fire!
I think this ring looks great on its own, and stacked with other pieces you have in your jewelry box.
Please note that this tutorial contains affiliate links.
You’ll need these tools and materials to make this ring:
1: Pliers. I used my cutting and round nose pliers, but its always good to have your flat nose pliers on hand too.
2: Some wire. I used this 0.8mm thick gold-filled wire.

3: A jump ring that matches the colour of your wire.

4: A head pin that matches the colour of your wire.

5: A bead of your choice. I used this squashed round opalite bead.

6: A ring mandrel or something else round that is the size of the ring you want to make.

Follow these steps to make your own special dainty ring:
1: Bend one end of your wire to form a right angle.

2: Bend the right angle into a loop using the barrel of the round nose pliers.


3: Bend the wire around the ring mandrel.

4: Trim off any excess wire.

5: Bend the other side of the wire the same way you did in steps 1 and 2.


6: Link the ends of the wire together to form the ring loop.


7: Set the ring aside so you can work on the charm.
8: Add the bead to the head pin.

9: Loop the top of the head pin using the round nose pliers. This will secure the bead in place.

10: Attach the charm to the ring using the jump ring then close the jump ring to secure the charm in place.

Now your ring is finished and ready to wear! Will you make loads and stack them high on your finger or just wear one?


-
How to add cute charms to a pair of hoop earrings… these charm hoops are perfect!
This is a simple DIY that looks really cute! Update a pair of hoops with some adorable glass star beads that dangle from the centre. I really like how these hoops show off the cutest little stars. As an added bonus, these are really simple to put together, giving you that instant gratification hit! Please note that this tutorial contains affiliate links.
You’ll need the following tools and materials to make your charm hoops:
1: Pliers. I used my round nose pliers.

2: A pair of hoop earrings. I used these gold-tone hoops with lever backs.

3: A pair of head pins.

4: A couple of beads, I used these green star beads.

Follow these steps to make your charm hoop earrings:
1: Add each of the beads to each of the pins.

2: Bend the pins around the barrel of the round nose pliers to form a loop.


3: Slide each of the charms onto the hoops to finish off the earrings!


Now they’re ready to wear! How cute are these little charm hoops? I love them!


Here are some other charm hoop earrings you can make:
-
How to make a cute pair of threader earrings with dangling charms!
These earrings are great! They’re elegant, edgy and minimalist. I like wearing mine layered in multiple piercings, but they look great threaded through each ear too! What pretty gemstones will you use on yours? These ones feature amazing snowflake obsidian globe beads. (This tutorial contains affiliate links).
You’ll need the following tools and materials to make your threader earrings with dangling charms:
1: Pliers. I used my cutting pliers, flat nose pliers and round nose pliers for this design.
2: A file or rough sandpaper for smoothing the ends of the wire.

3: Two pieces of wire. I used this gold-filled wire and cut two pieces approximately 8cm long.

4: Two small head pins that match the colour of your wire.

5: Two beads of your choice. I used these round snowflake obsidian beads.

Follow these steps to make your minimalist threader charm earrings:
1: File the ends of the wire so they are flat and smooth, hold the wires together so you can keep them about the same length.

2: Place the wires in the jaws of the flat nose pliers. I did them together so they would be bent at the same length.

3: Bend one side of the wires around the pliers using your fingers to gently push them down.

4: Repeat this for the other side of the wires. Now your wires will have a square shape bent into the top.

5: Bend the wires gently into your desired shape (getting rid of any unwanted curves etc.) using your fingers. You won’t need to exert a lot of pressure on the wire to do this.

6: Now take the short end of the earrings and bend them gently to form a wide angle using the flat nose pliers again. This will be the start of your charm loop.


7: Create a loop at the end of each earring by bending the angled end of the wire into a loop using the round nose pliers.

8: Once you’ve looped both earrings, you can set them aside for a little while.

9: Add each of the beads to each of the head pins.

10: Curl the end of each pin using the round nose pliers to form a loop that secures the bead onto the pin.


11: Attach the bead charms to the loops on each earring, carefully bending them closed with pliers to keep the charms in place.


Now your pretty, elegant beaded threader earrings are ready to wear! How lovely are these for a quiet date night or for adding some glamour to your social isolation outfit?


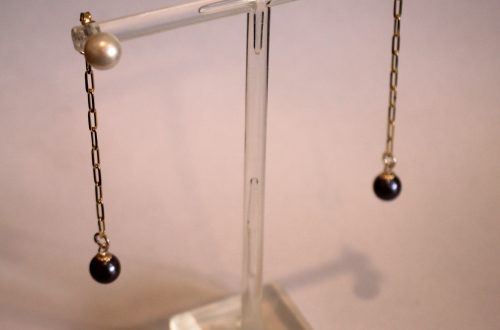
Here’s another pair I made using silver wire and malachite and moonstone gemstone beads.

If you like this design, here are some other threader earring tutorials you might like:
- Minimalist silver wire threader earrings
- Chain threaders with star charms
- An arched single threader earring with a pearl charm
- Shell charm chain threader earrings
- Hammer texture arch earrings
- elegantly arched wire threaders
- Bead embellished wire threader earrings
- Pearl chain threaders
- Glass fruit charm chain threader earrings
-
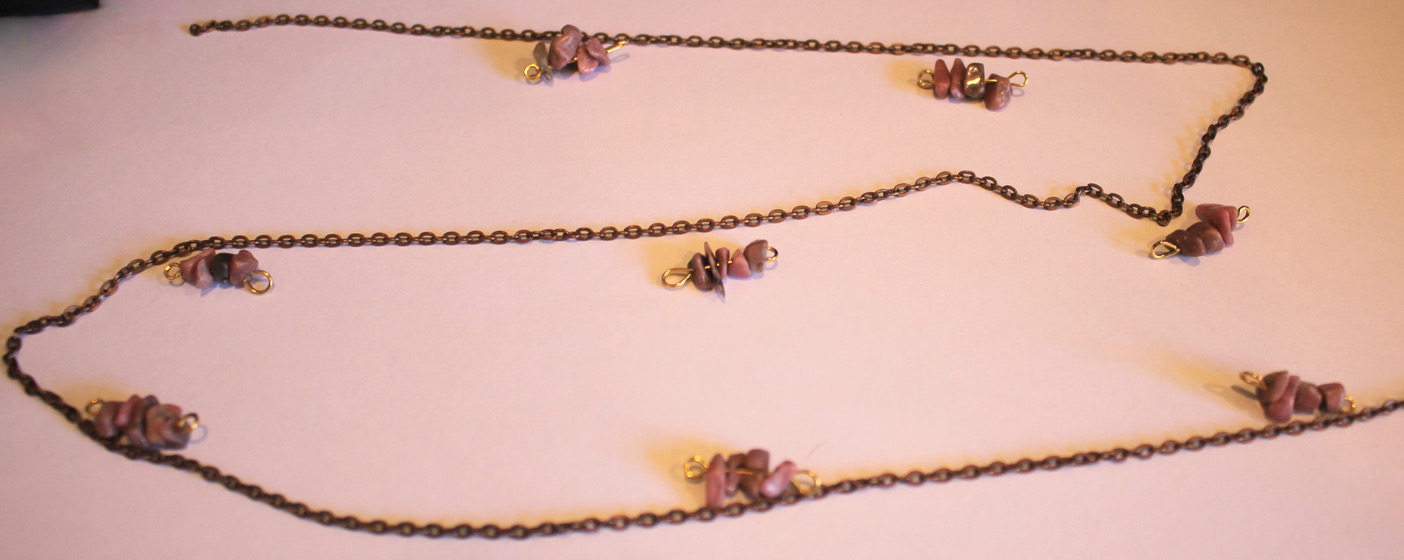
Here’s how to add beaded sections to your boho body chain!
Nothing screams warm weather like a bohemian body chain! This waist chain design is embellished with gemstones for a luxe bohemian look. As an added bonus, it can also be worn as a necklace during the colder months. Please note that this tutorial contains affiliate links.
You’ll need the following tools and materials to make your beaded body chain:
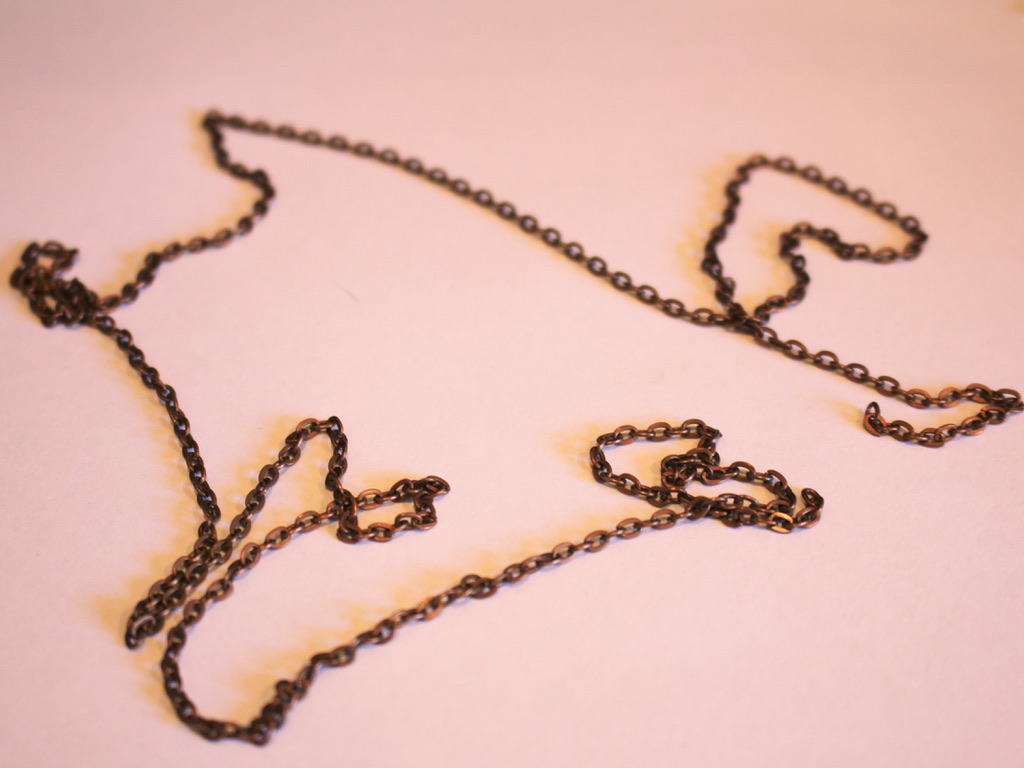
1: A piece of chain that fits closely around your waist (It will get longer when you add the beads).
2: Pliers. I used my flat nose and round nose pliers.

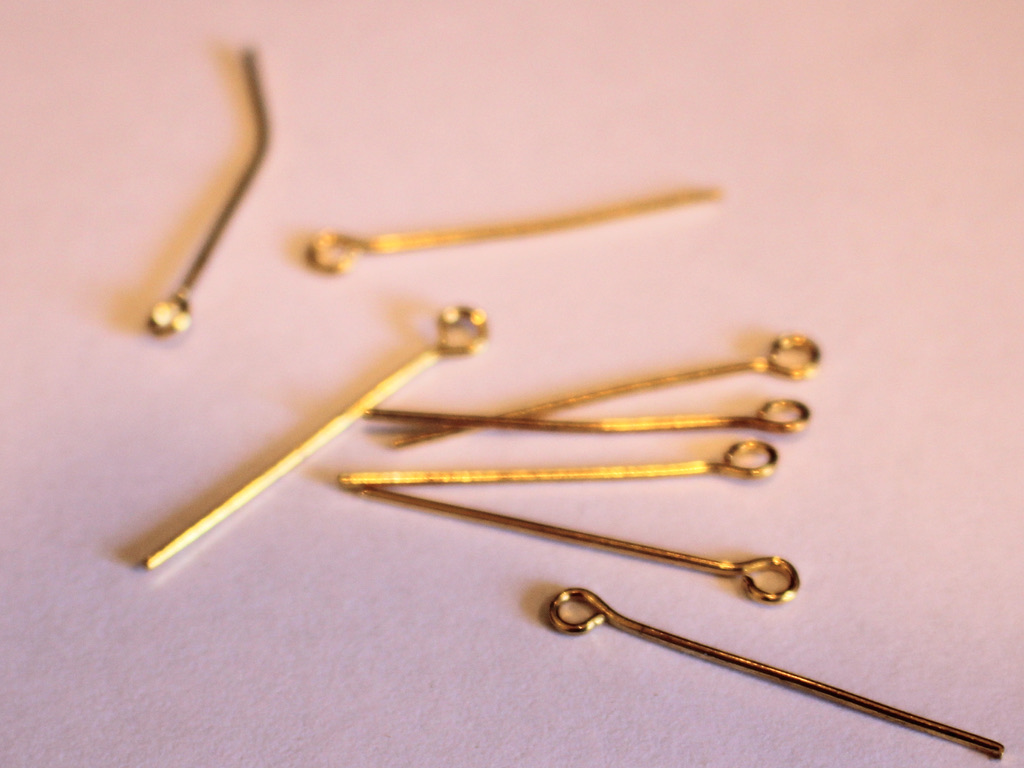
3: Some eye pins. I used 8.
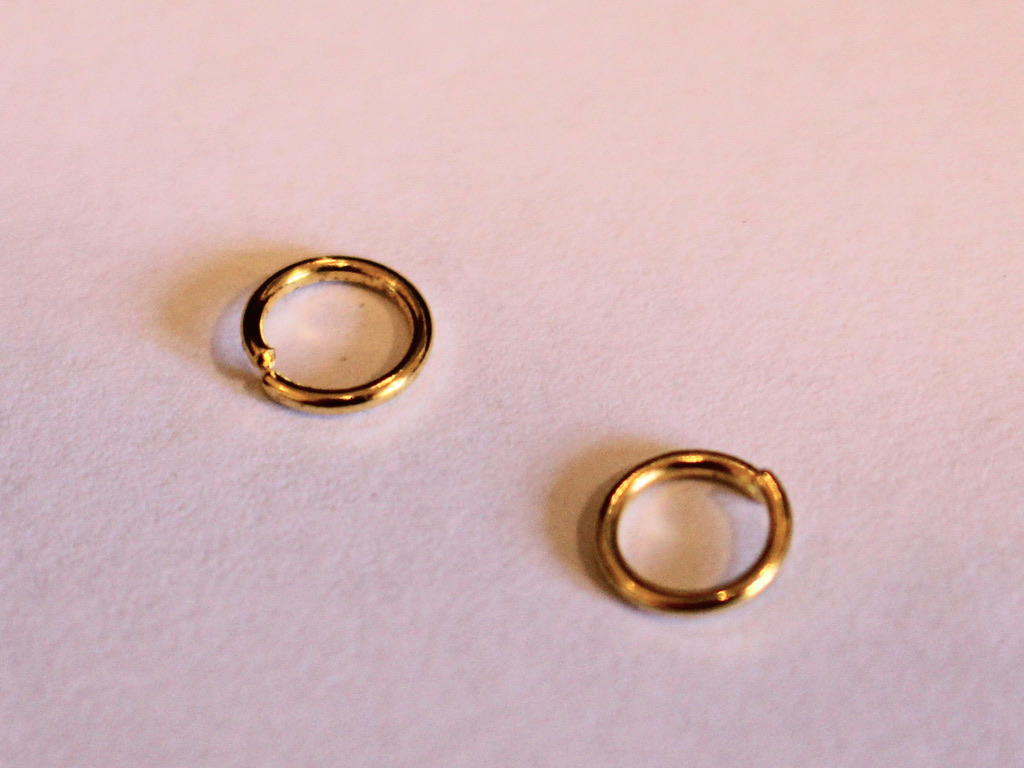
4: Two jump rings.
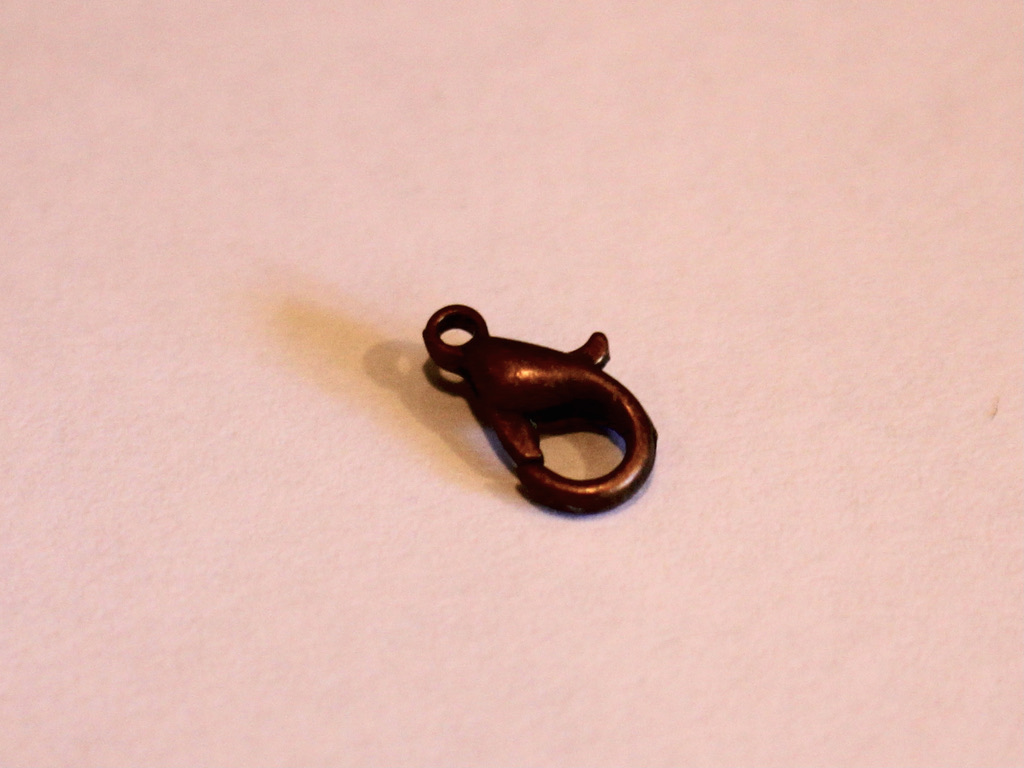
5: A lobster clasp.
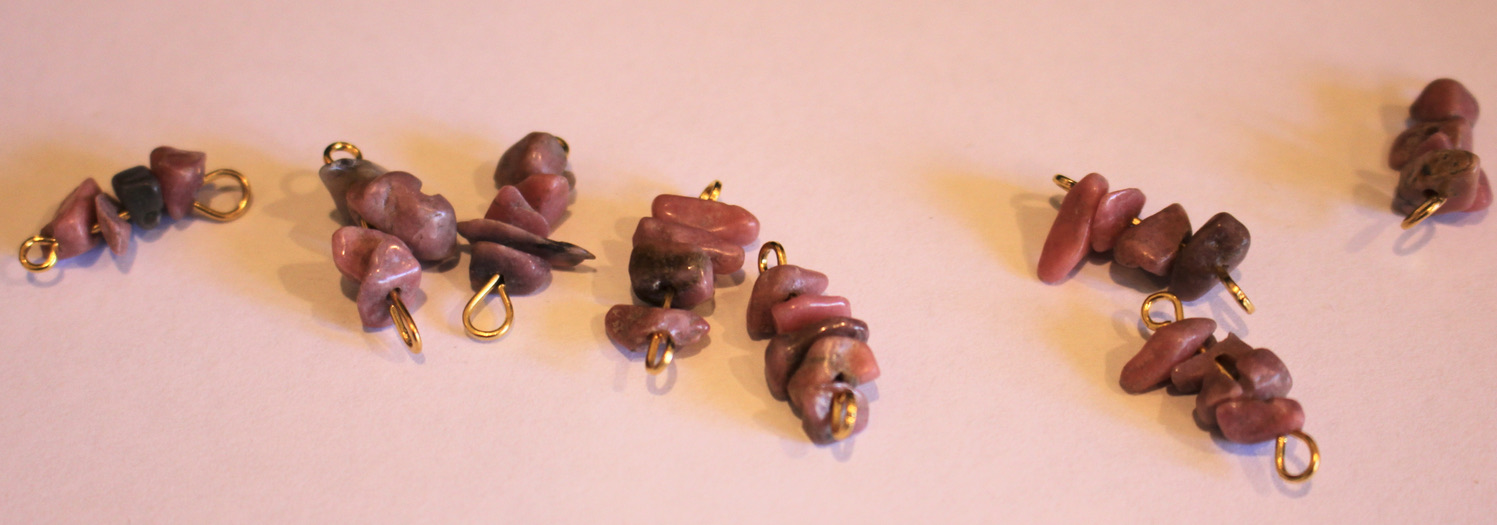
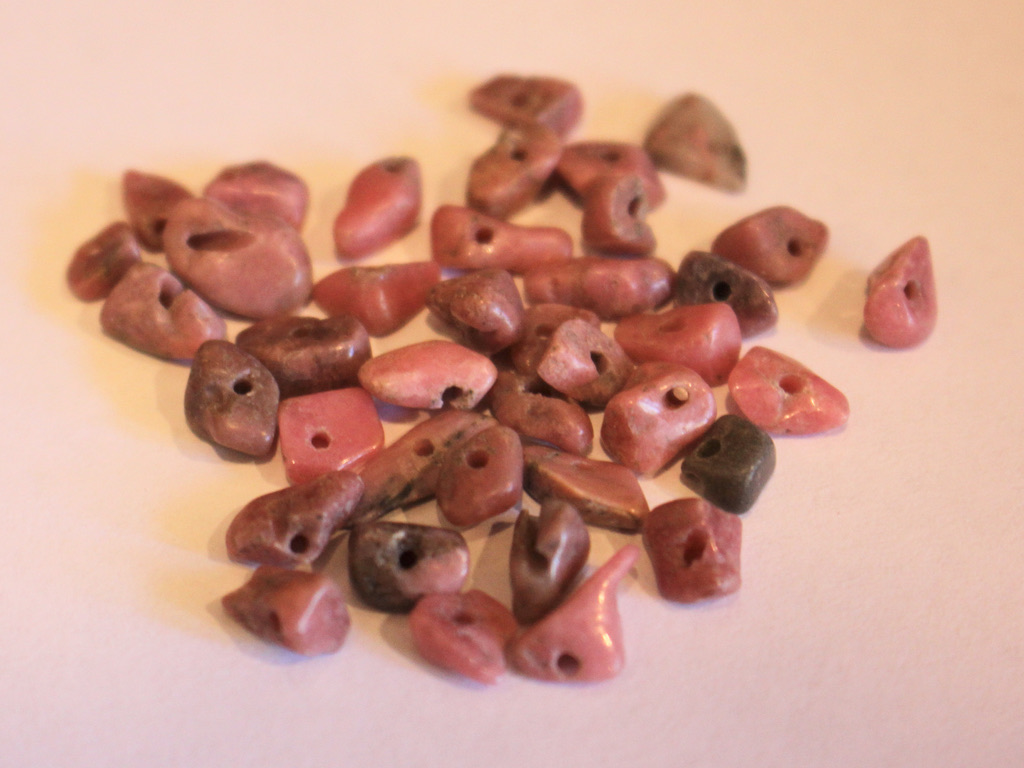
6: Some beads. I used these pink gemstone chip beads.
Follow these steps to make your cute boho waist chain:
1: Add beads to a pin. I added four to each pin.
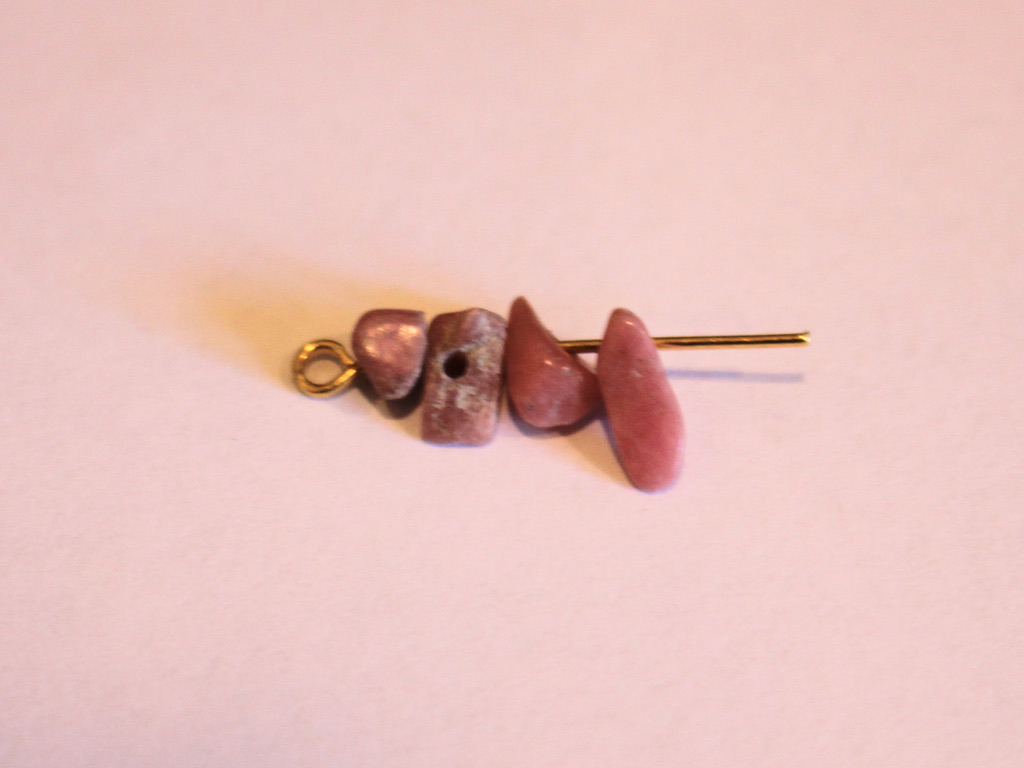
2: Bend the pin to form an angle with the beaded section.
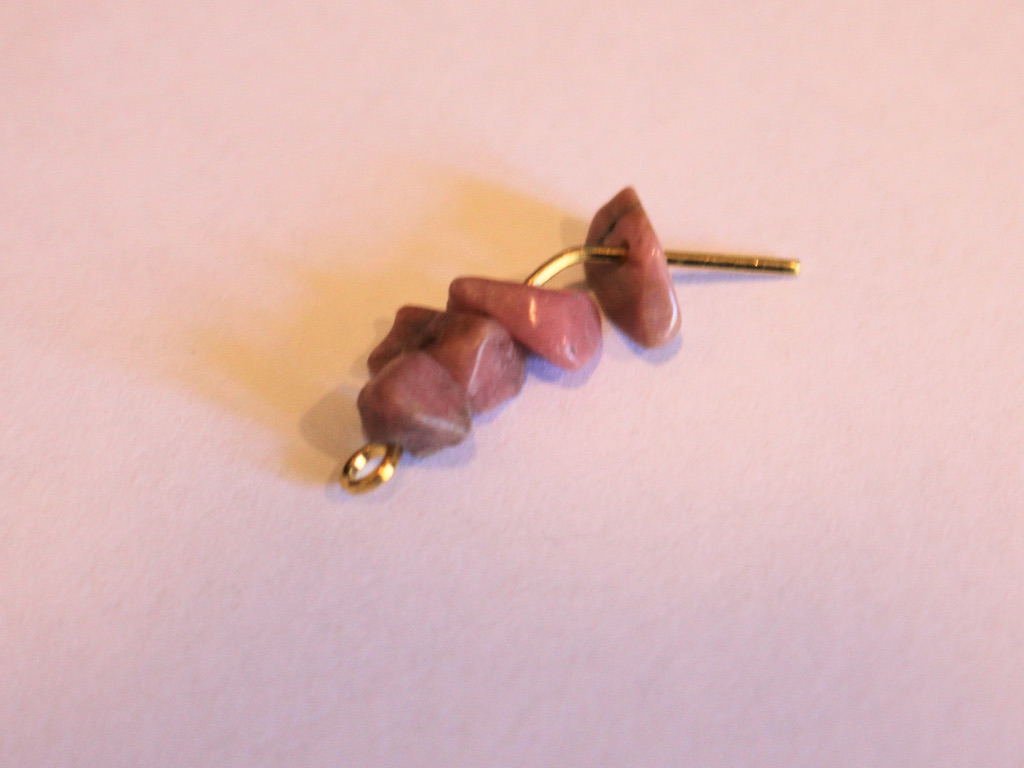
3: Wrap the end of the pin around the round nose pliers to form a loop that secures the beads onto the pin.
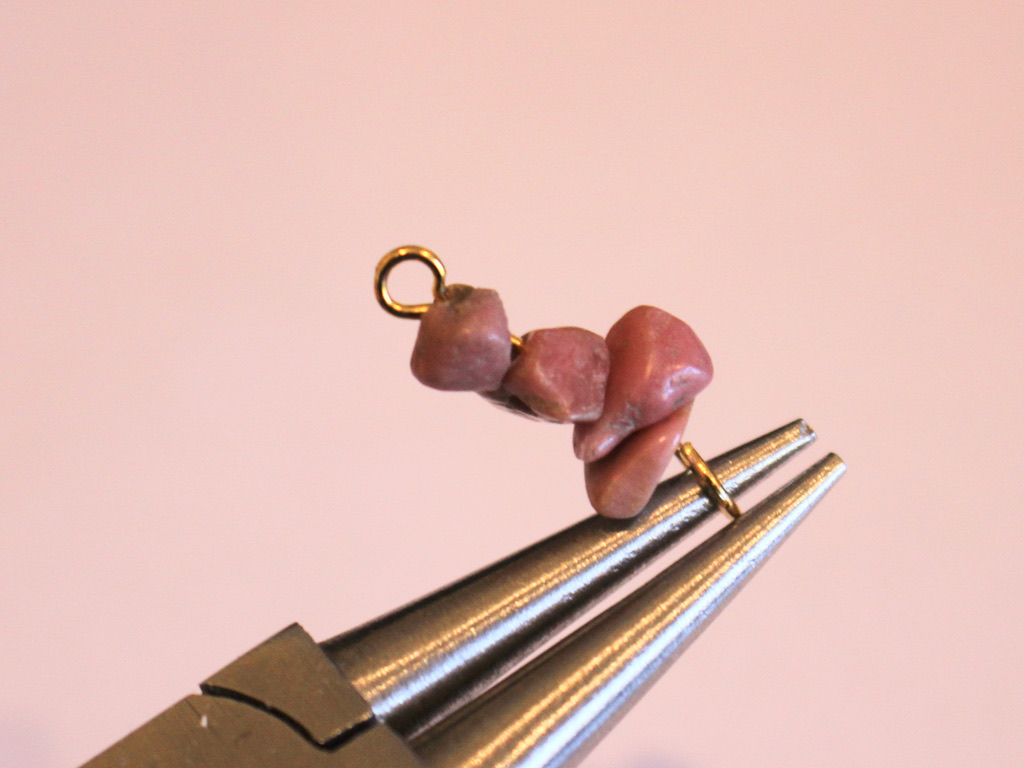
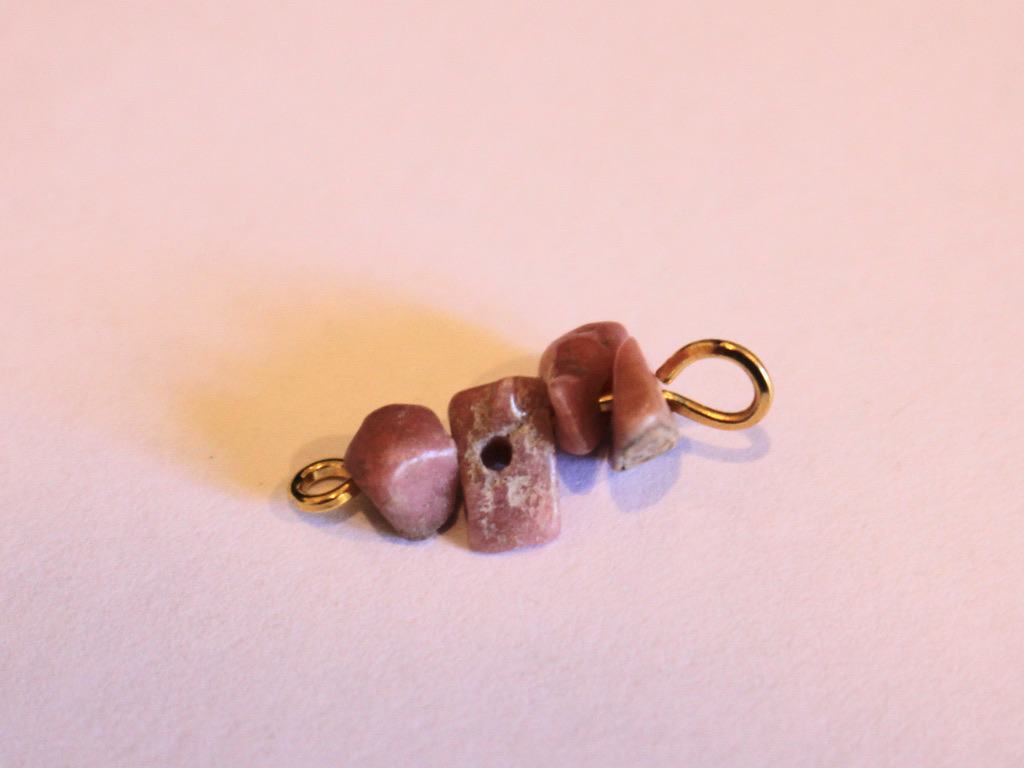
4: Repeat steps 1 – 3 for the rest of the pins.
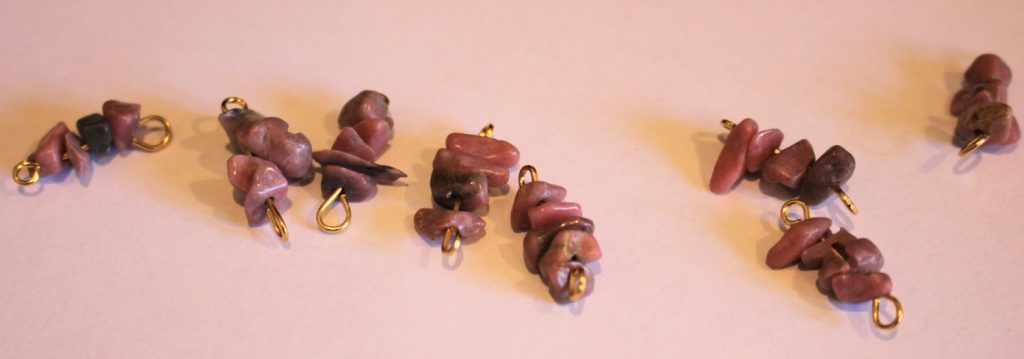
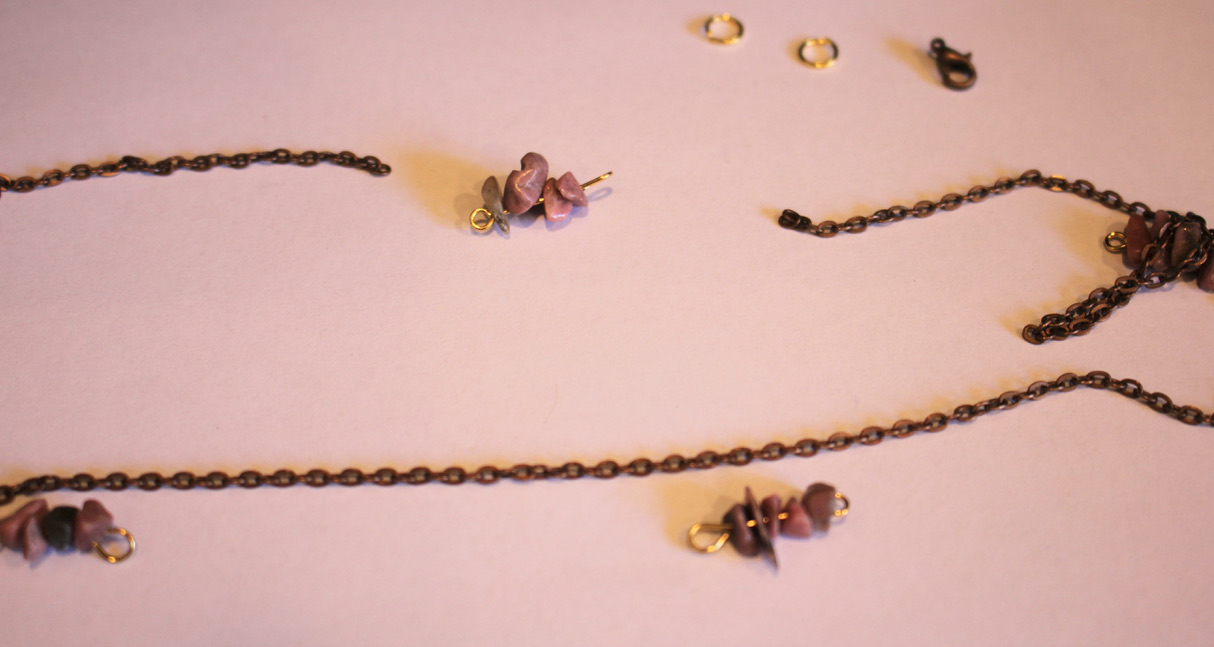
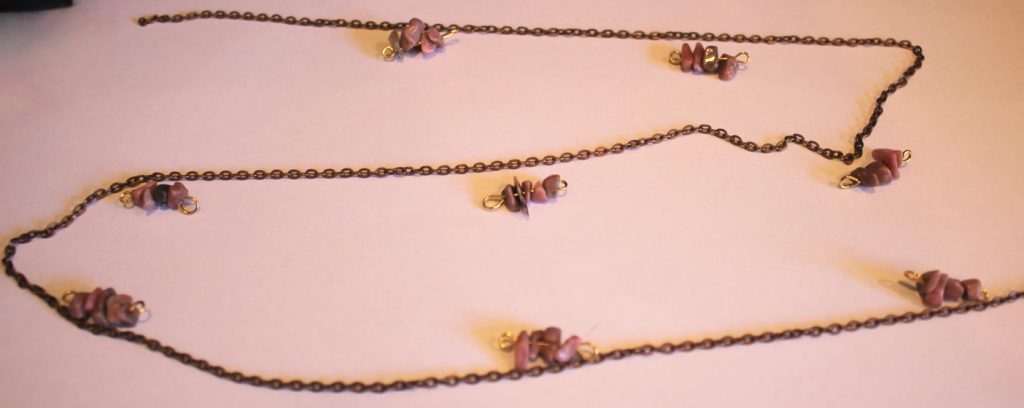
5: Line up the beaded pins along the chain so you can place them in a roughly even pattern.
6: Split the chain for the first beaded pin.
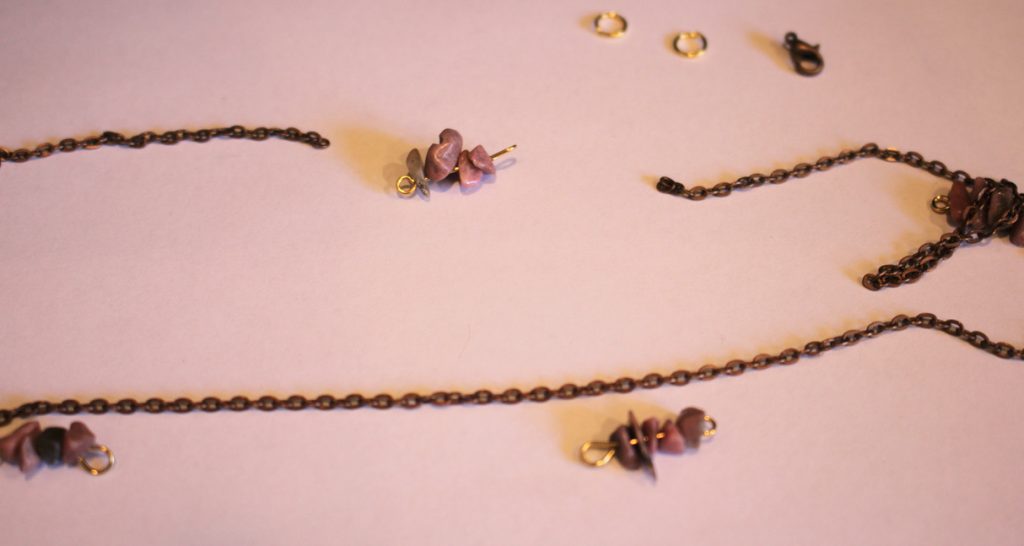
7: Attach one side of the pin to the first piece of chain, secure the pieces together by closing the loop on the beaded pin.
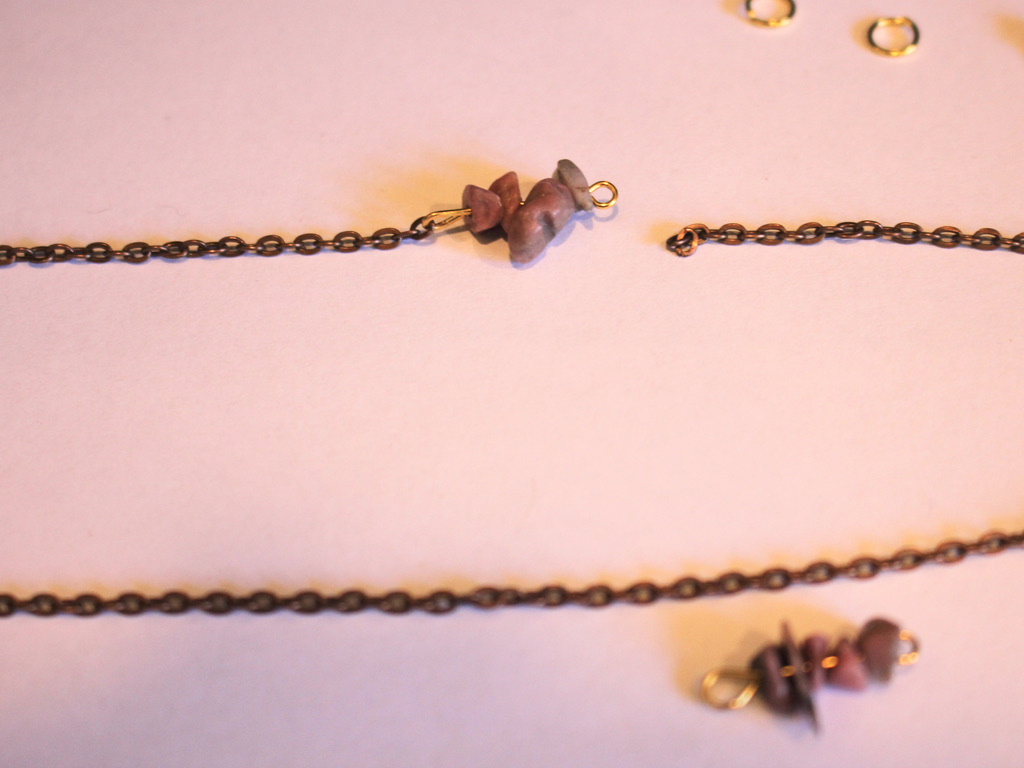
8: Attach the other side of the pin to the other piece of chain. Now you have a chain with one charm attached.
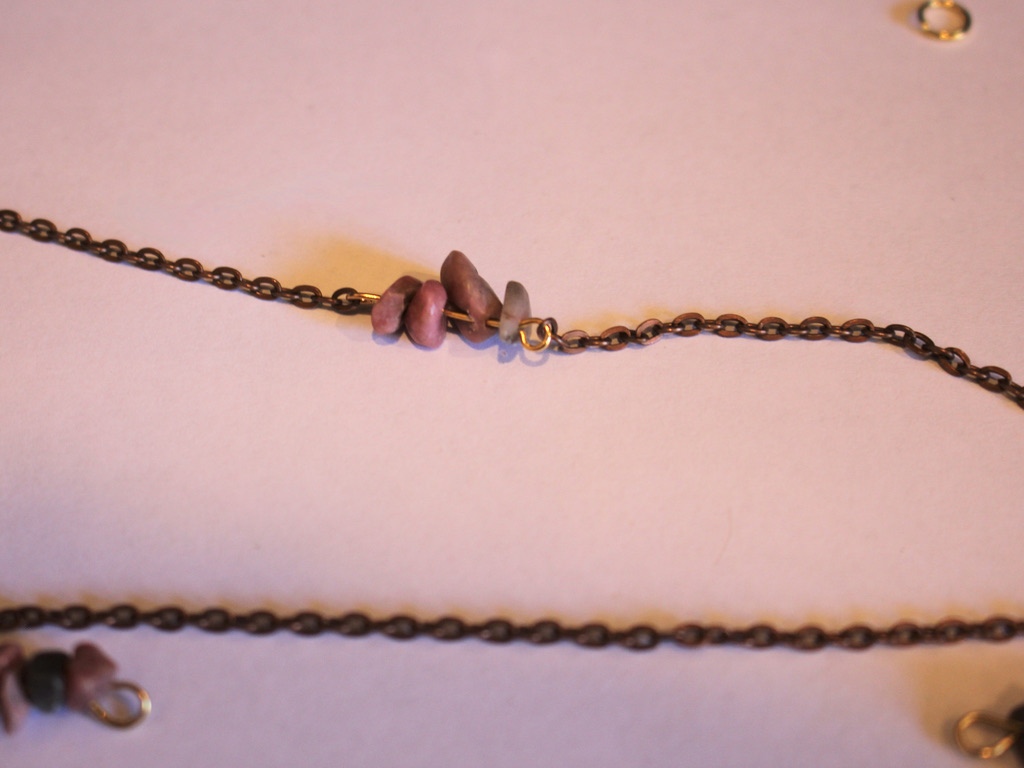
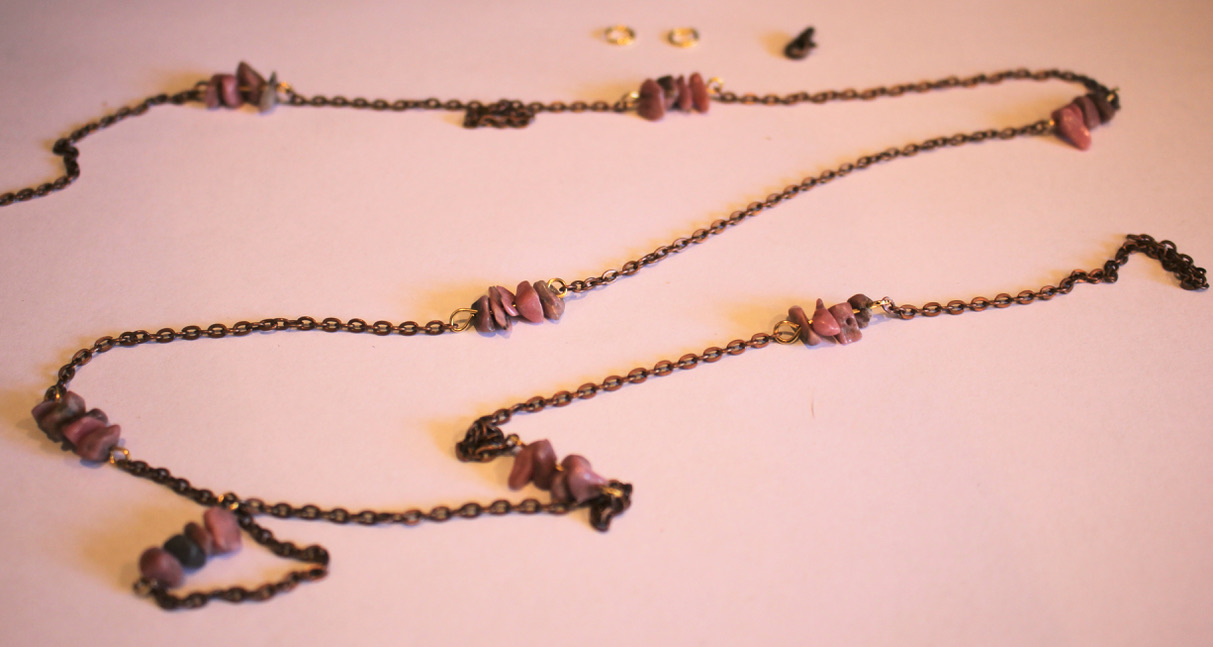
9: Repeat steps 6 to 8 for the rest of the beaded pins until they are all attached.
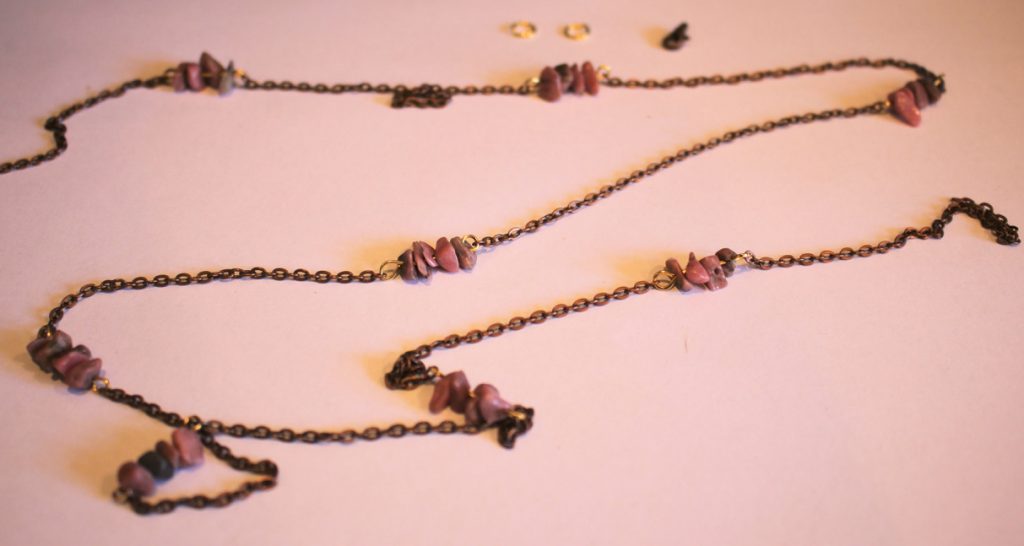
10: Add a jump ring to one end of the chain and slide on the clasp before closing it.
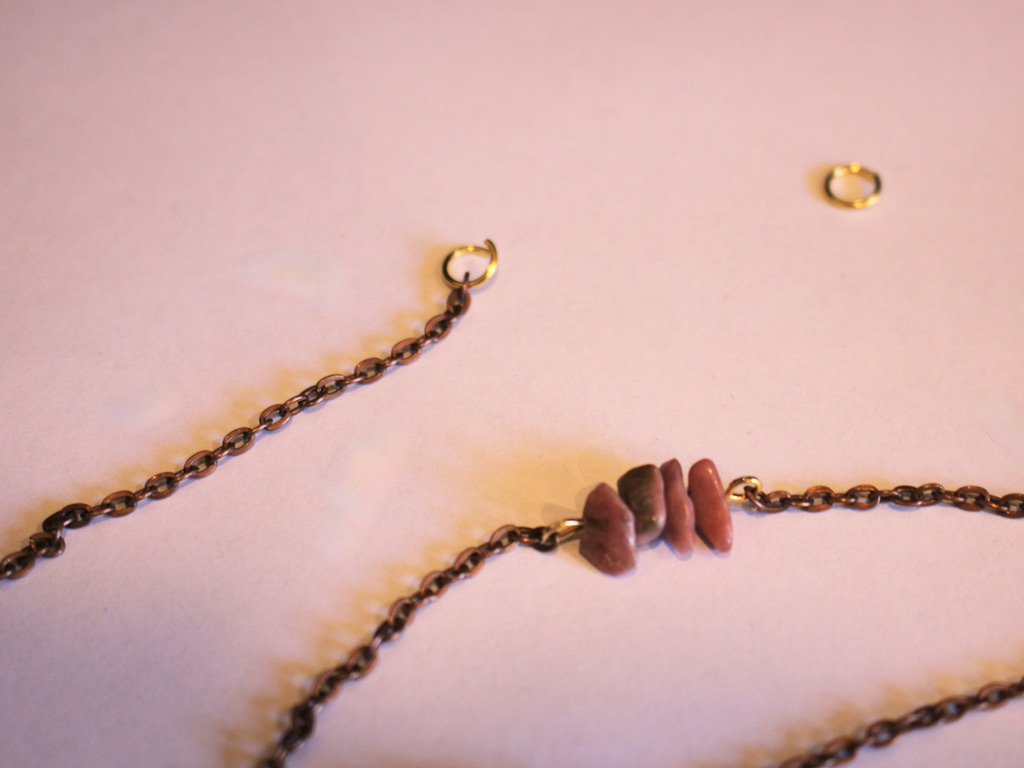
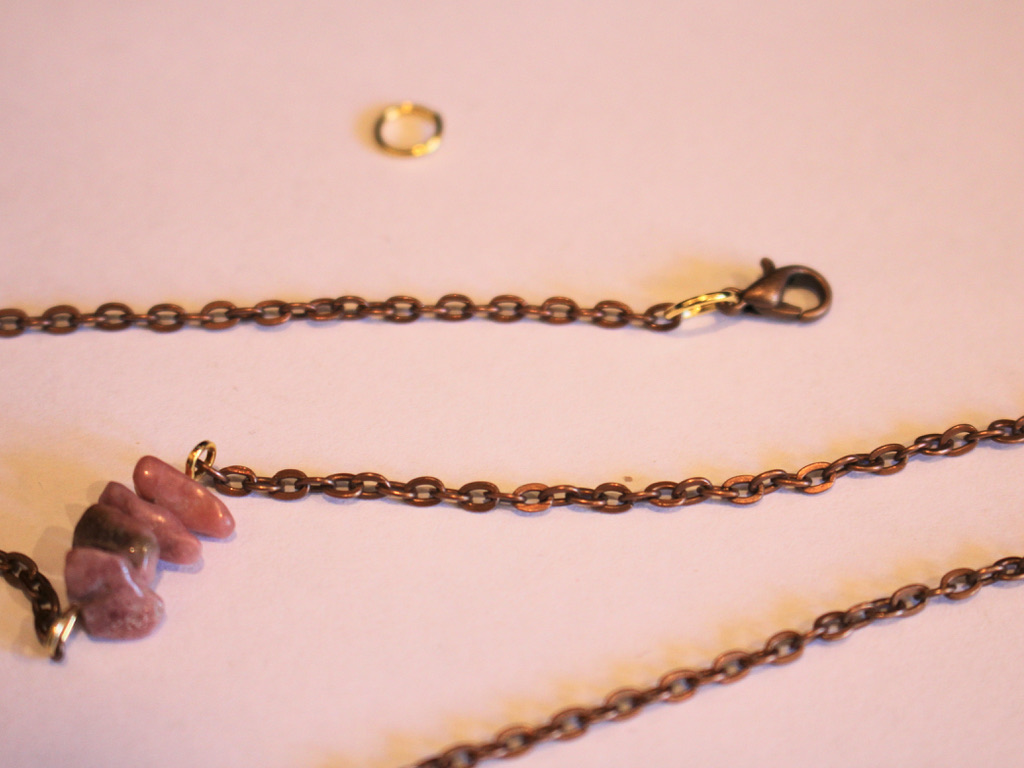
11: Add the other jump ring to the other end of the chain to finish it off.
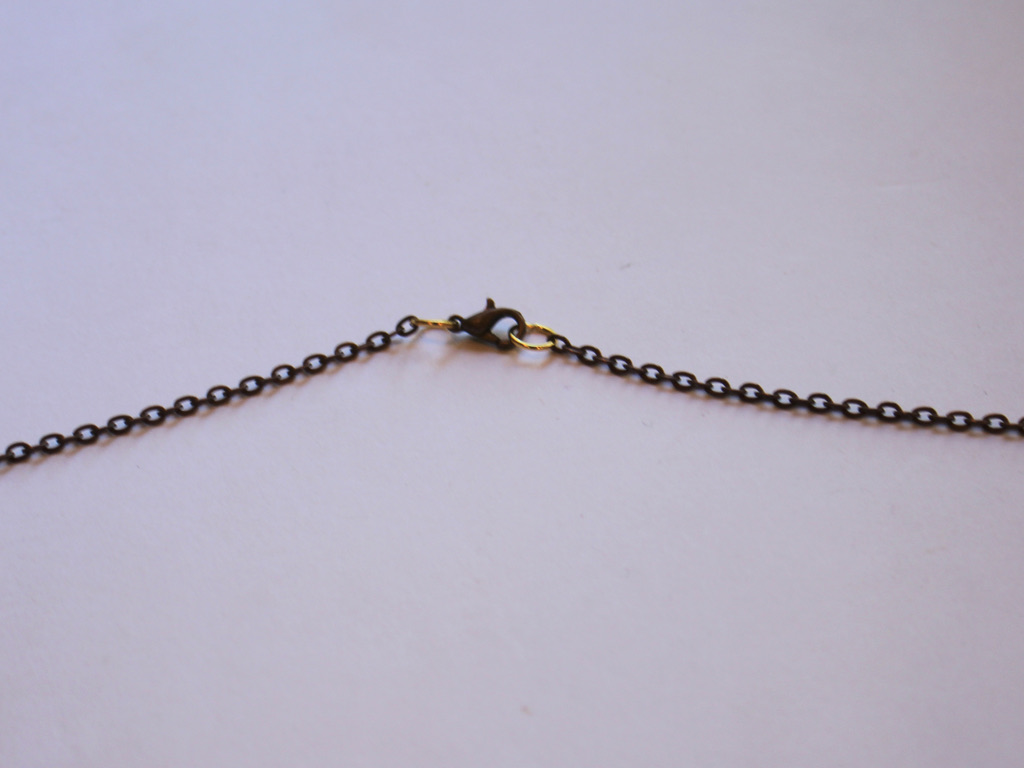
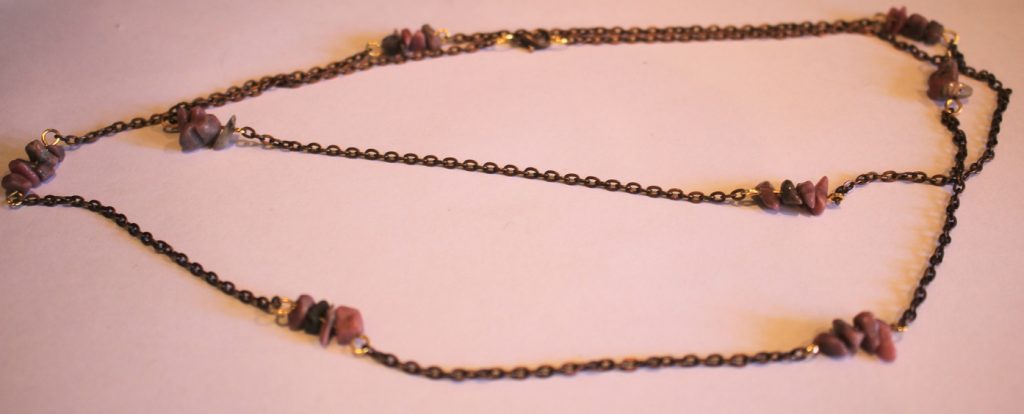
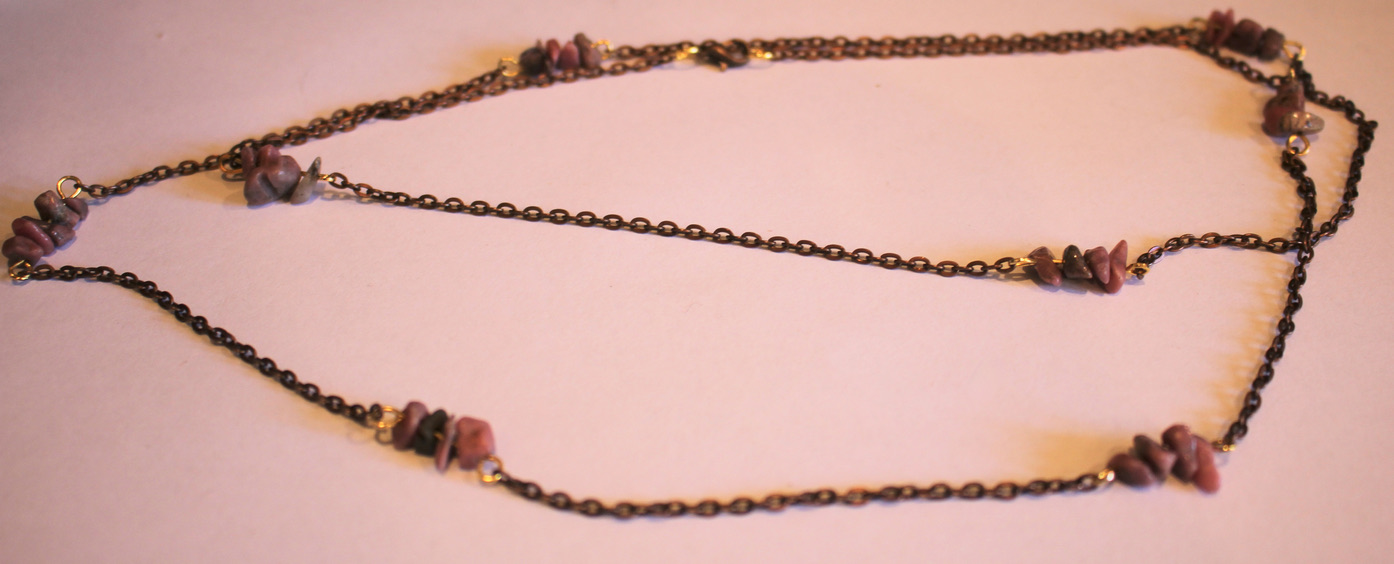
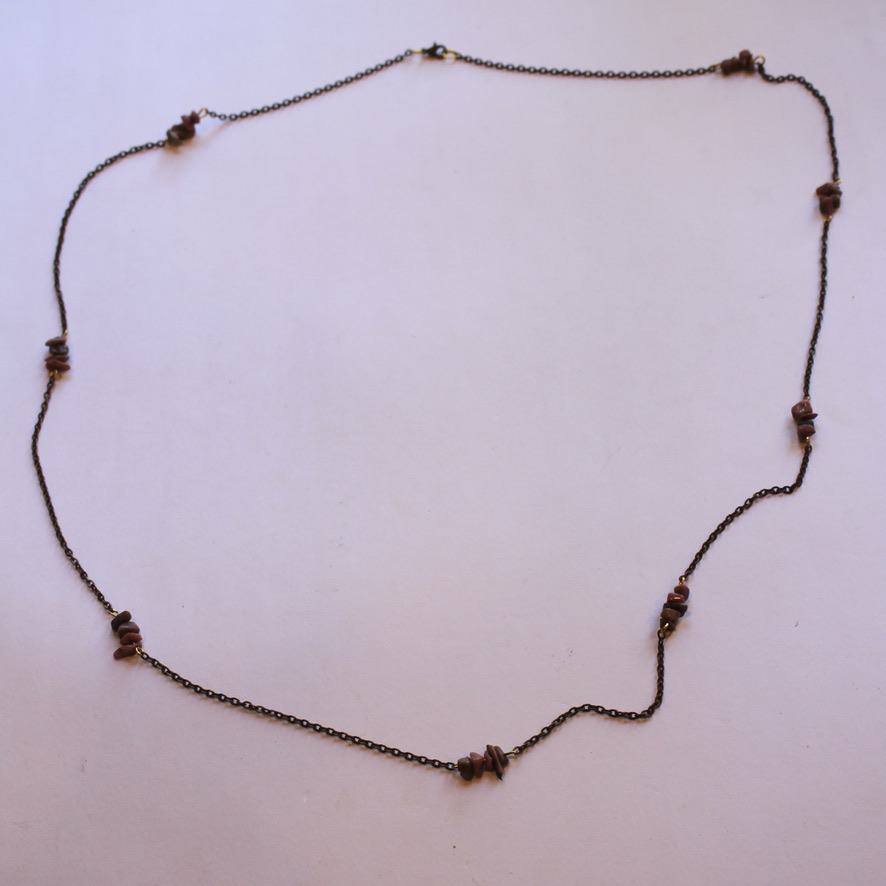
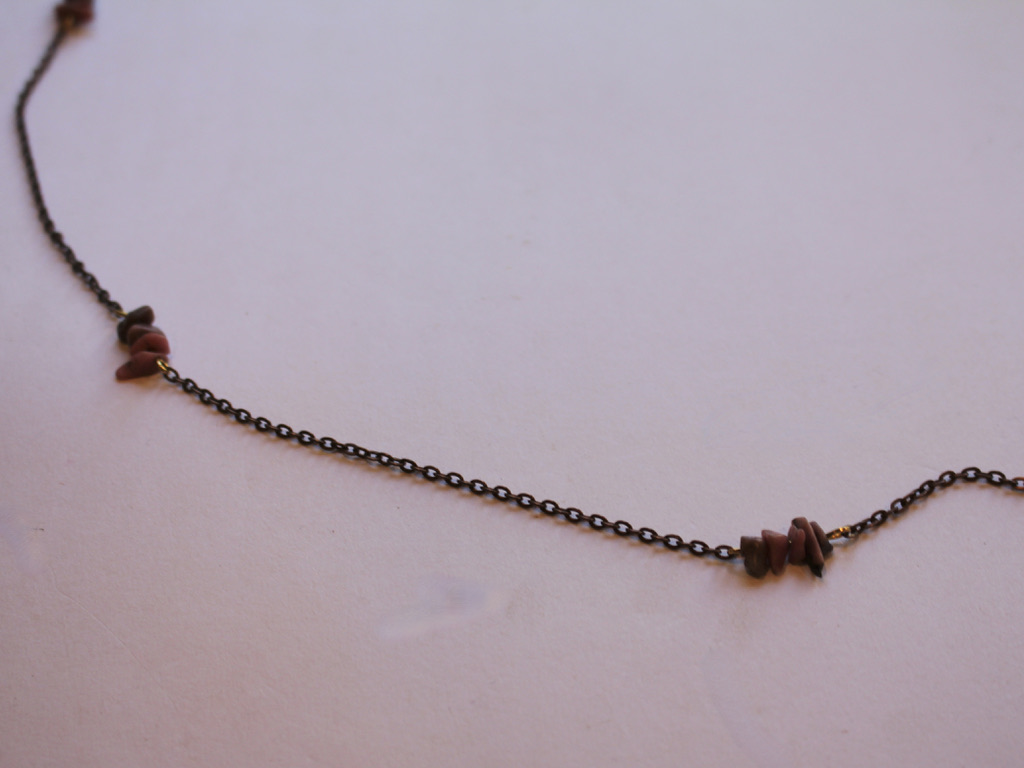
Now your beaded waist chain is finished and ready to wear! What gemstones will you use on your cute body chain design?
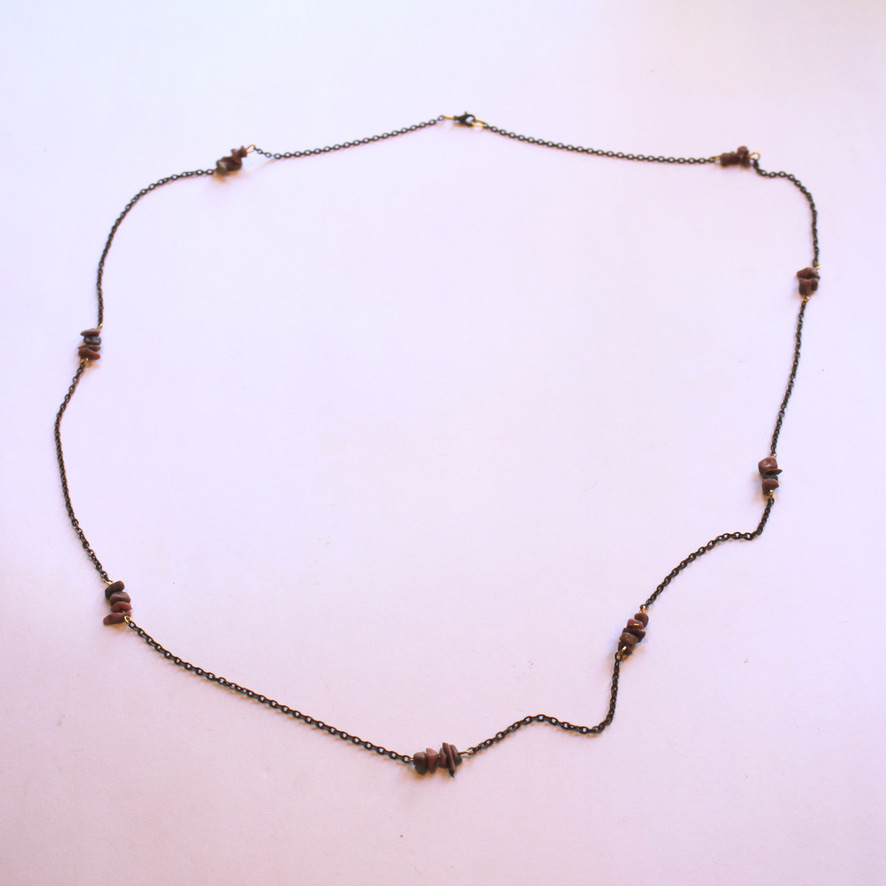
Find some more waist and body chain tutorials here
-
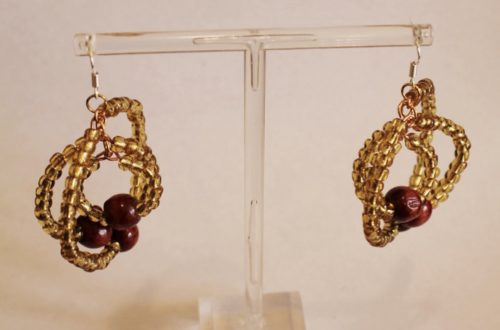
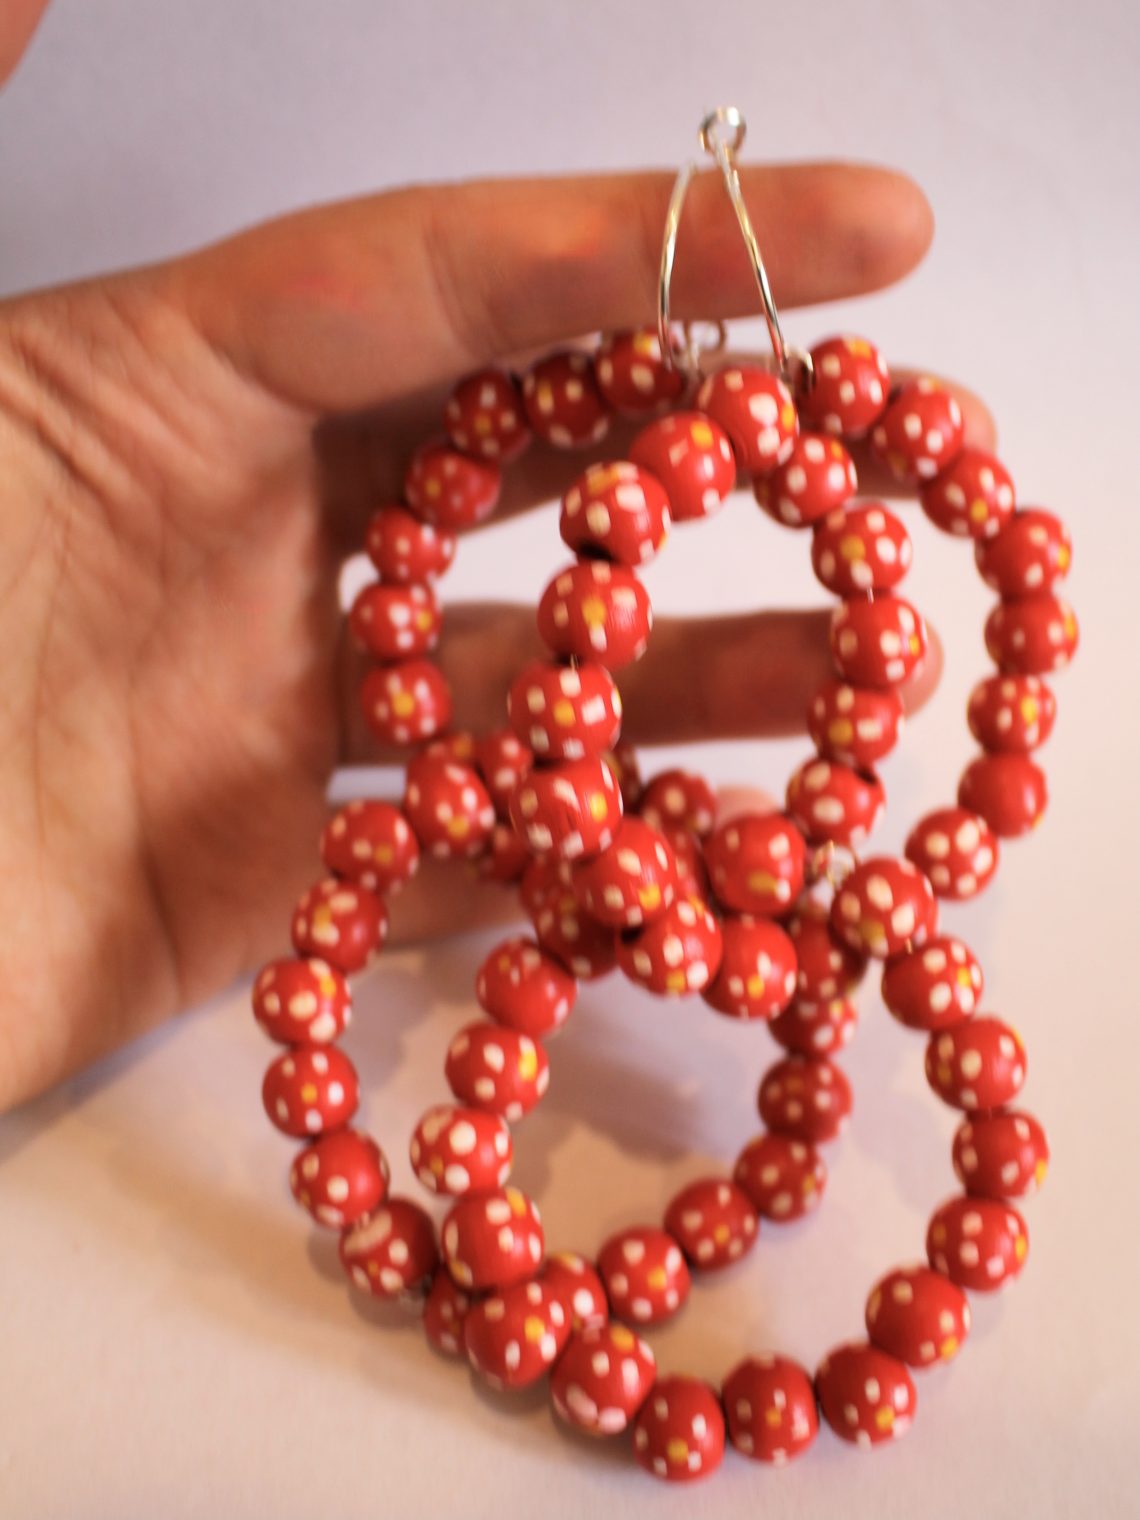
Here’s how to make some fun earrings… these mega hoops are super cute!
I think these earrings are pretty fun! You make some beaded mega hoops, link them together, and then thread them onto some hoop findings for a funky statement look. These earrings are such a statement they’ll add some fun to your next zoom outfit or real life party! please note that this tutorial contains affiliate links.
You’ll need these tools and materials to make your mega hoops:
1: Pliers. I used round nose pliers and cutting pliers.
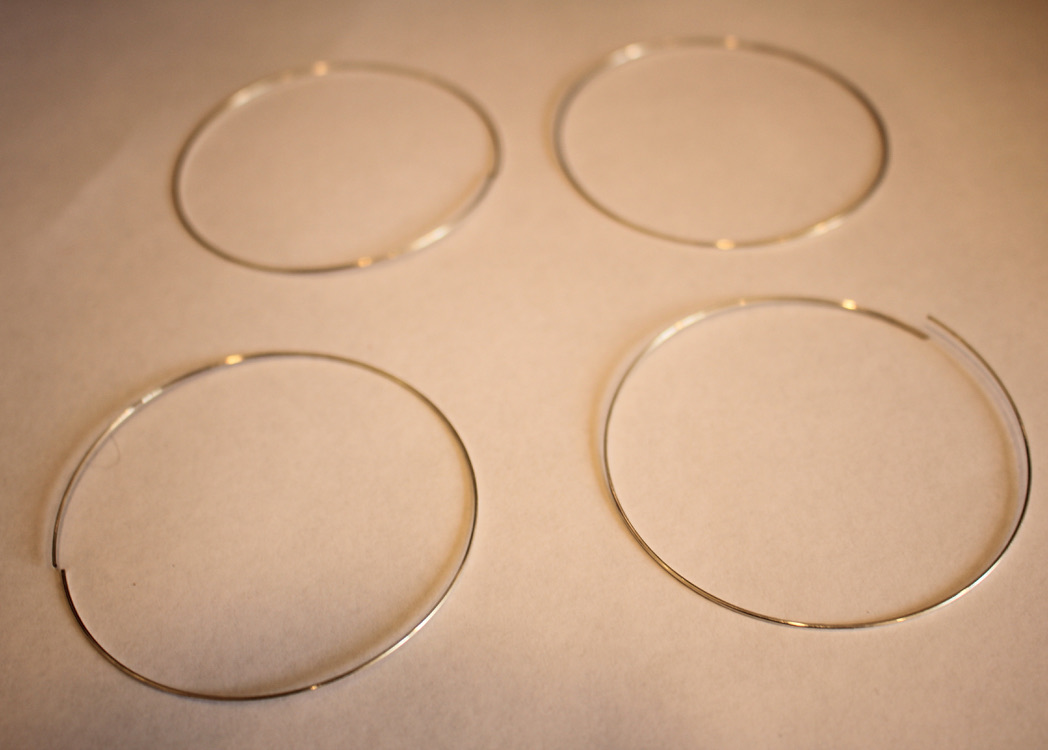
2: Bracelet sized memory wire cut into four pieces.

3: Beads. I used these red painted wooden beads.

4: Two earring hoop findings. these ones have lever backs so they stay on securely.

Follow these steps to make your mega hoop earrings:
1: Take one of the pieces of memory wire and create a loop at one end using the round nose pliers.


2: Add beads to the wire until you’ve got about 1cm left of the wire without beads.


3: Loop the other end of the wire using the round nose pliers but don’t close the loop.

4:Thread the open loop through the first loop you made and then close it. This will secure the beads onto the wire and create a circle shape.


5: Repeat steps 1-3, before you attach the end loops together, thread the new circle through the first one.

6: Close the second beaded circle and set it aside.

7: Repeat steps 1-6 for the second set of hoops.


8: Add each of the beaded hoops you just made to each of the hoop earring findings.


Now your fun mega hoop statement earrings are ready to wear! So fun and eye catching!
Click here to find some other fun earring tutorials to make at home!
-
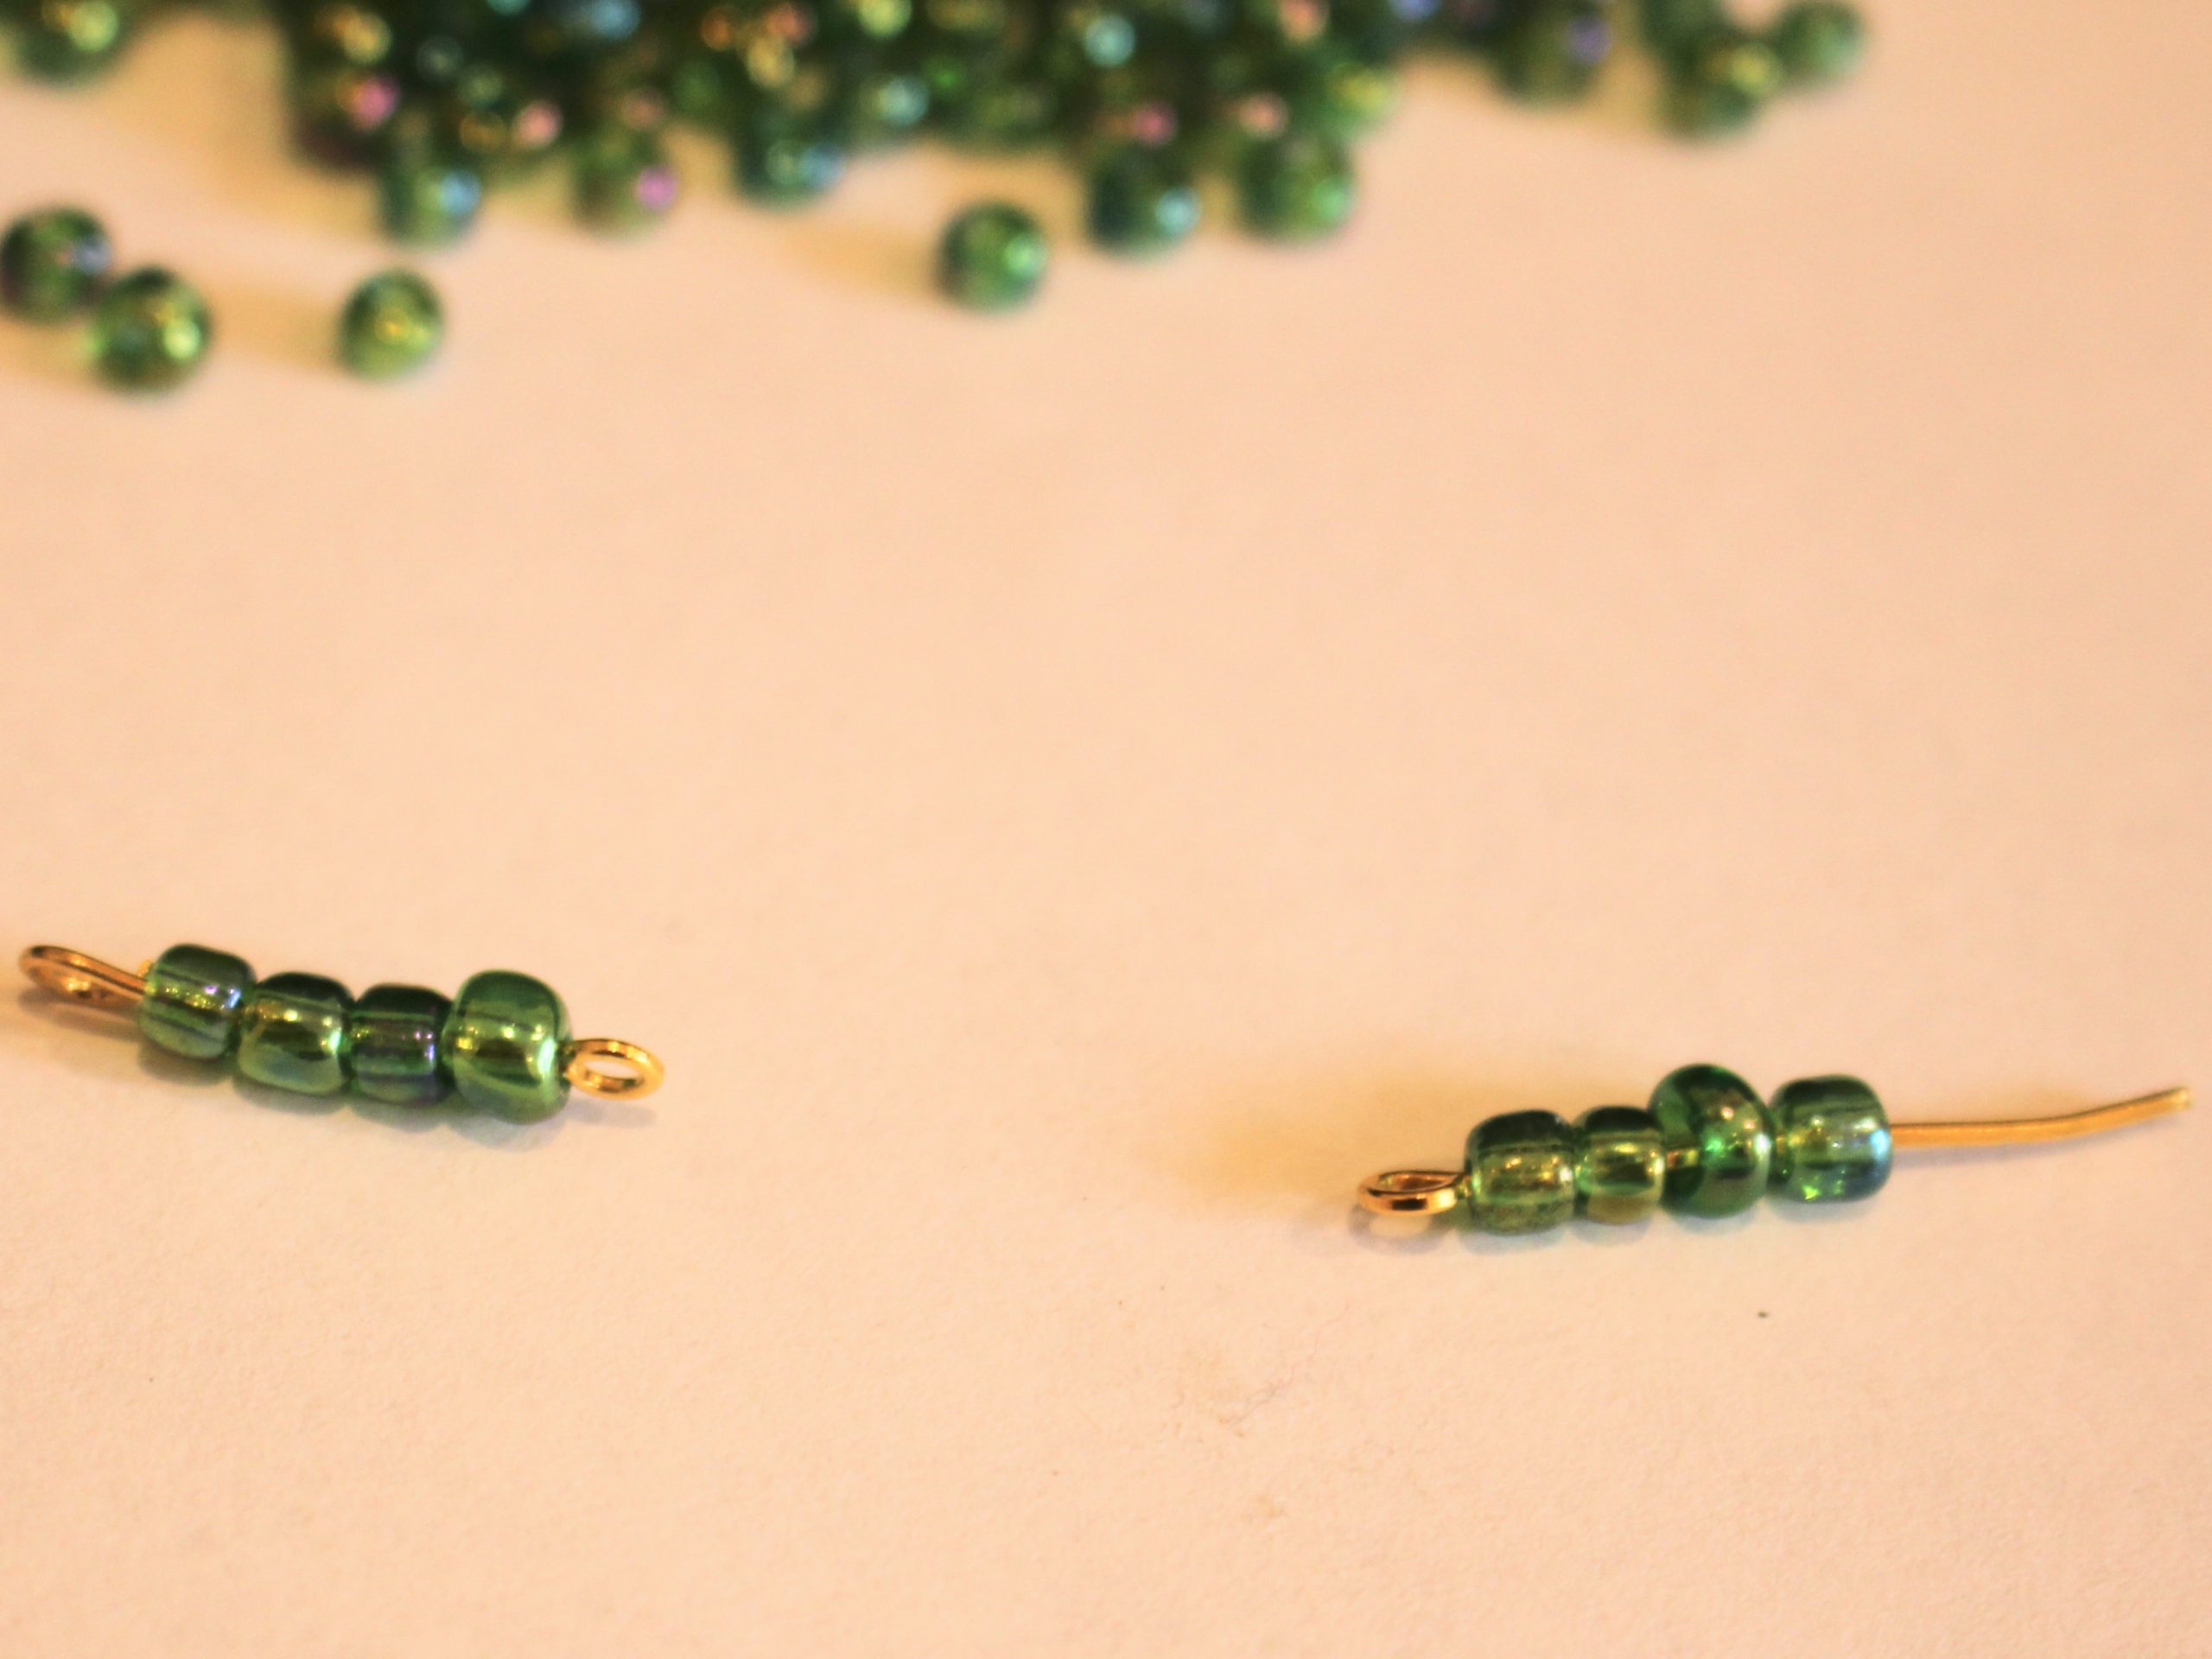
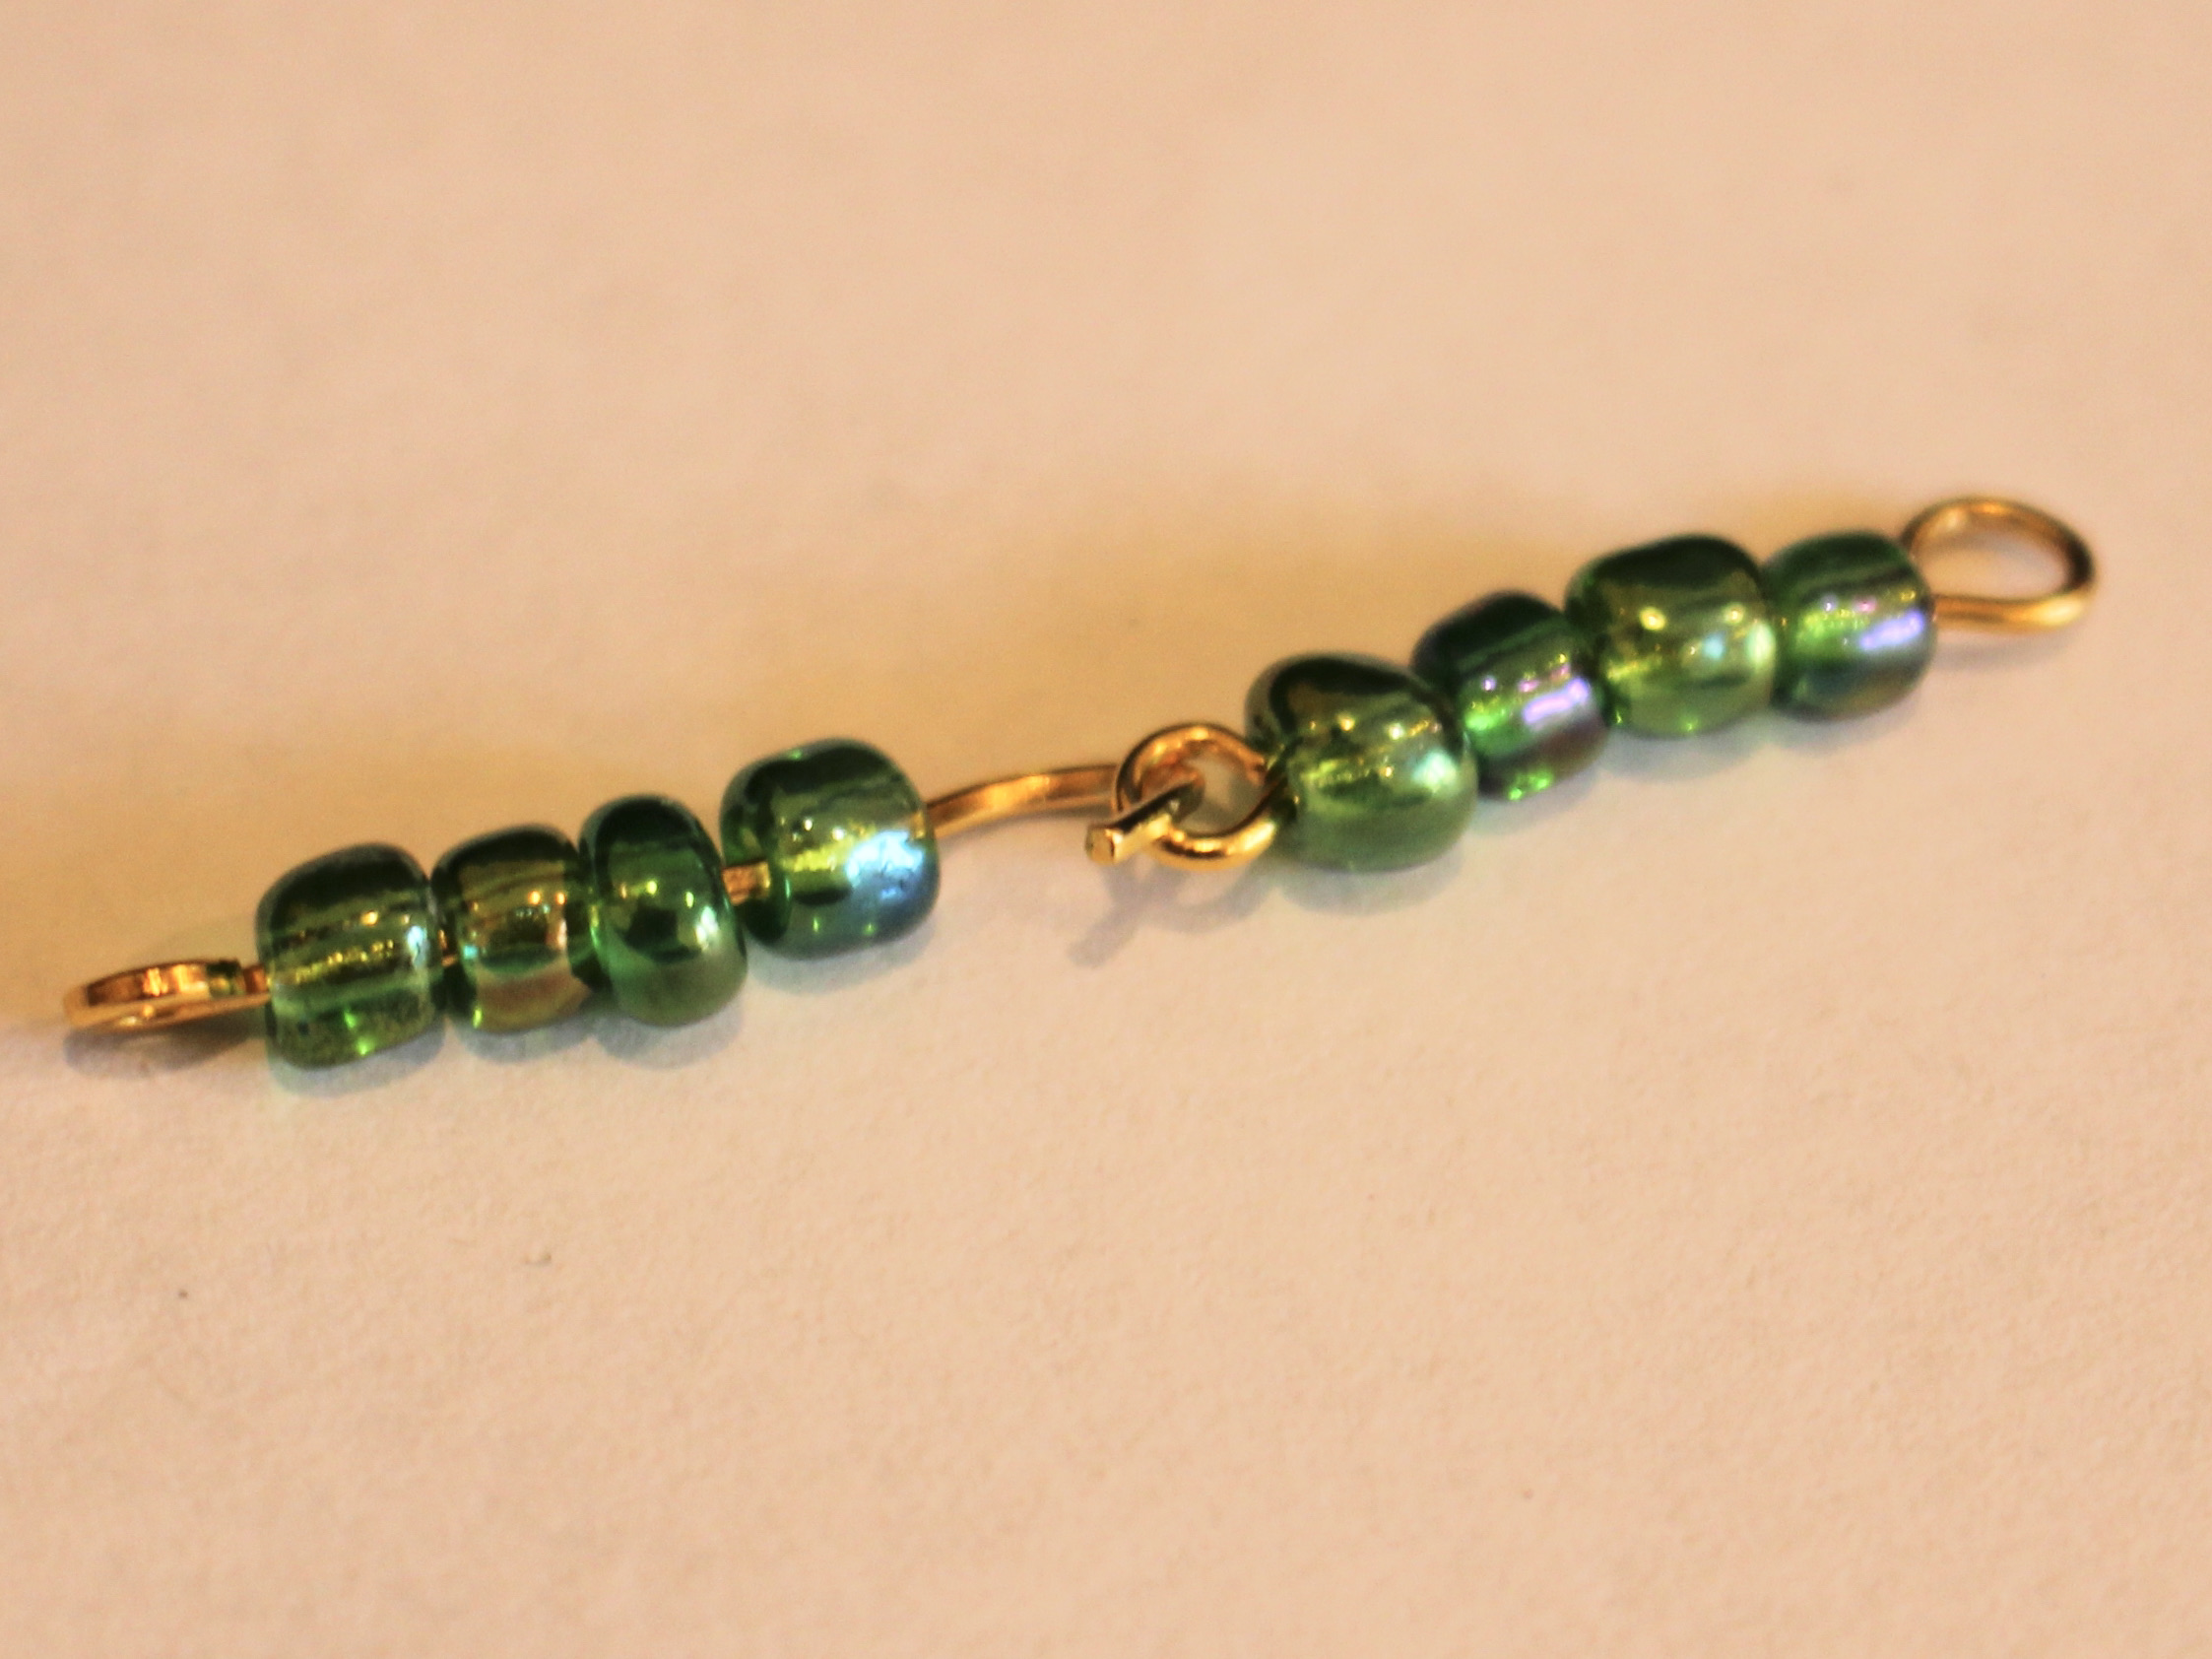
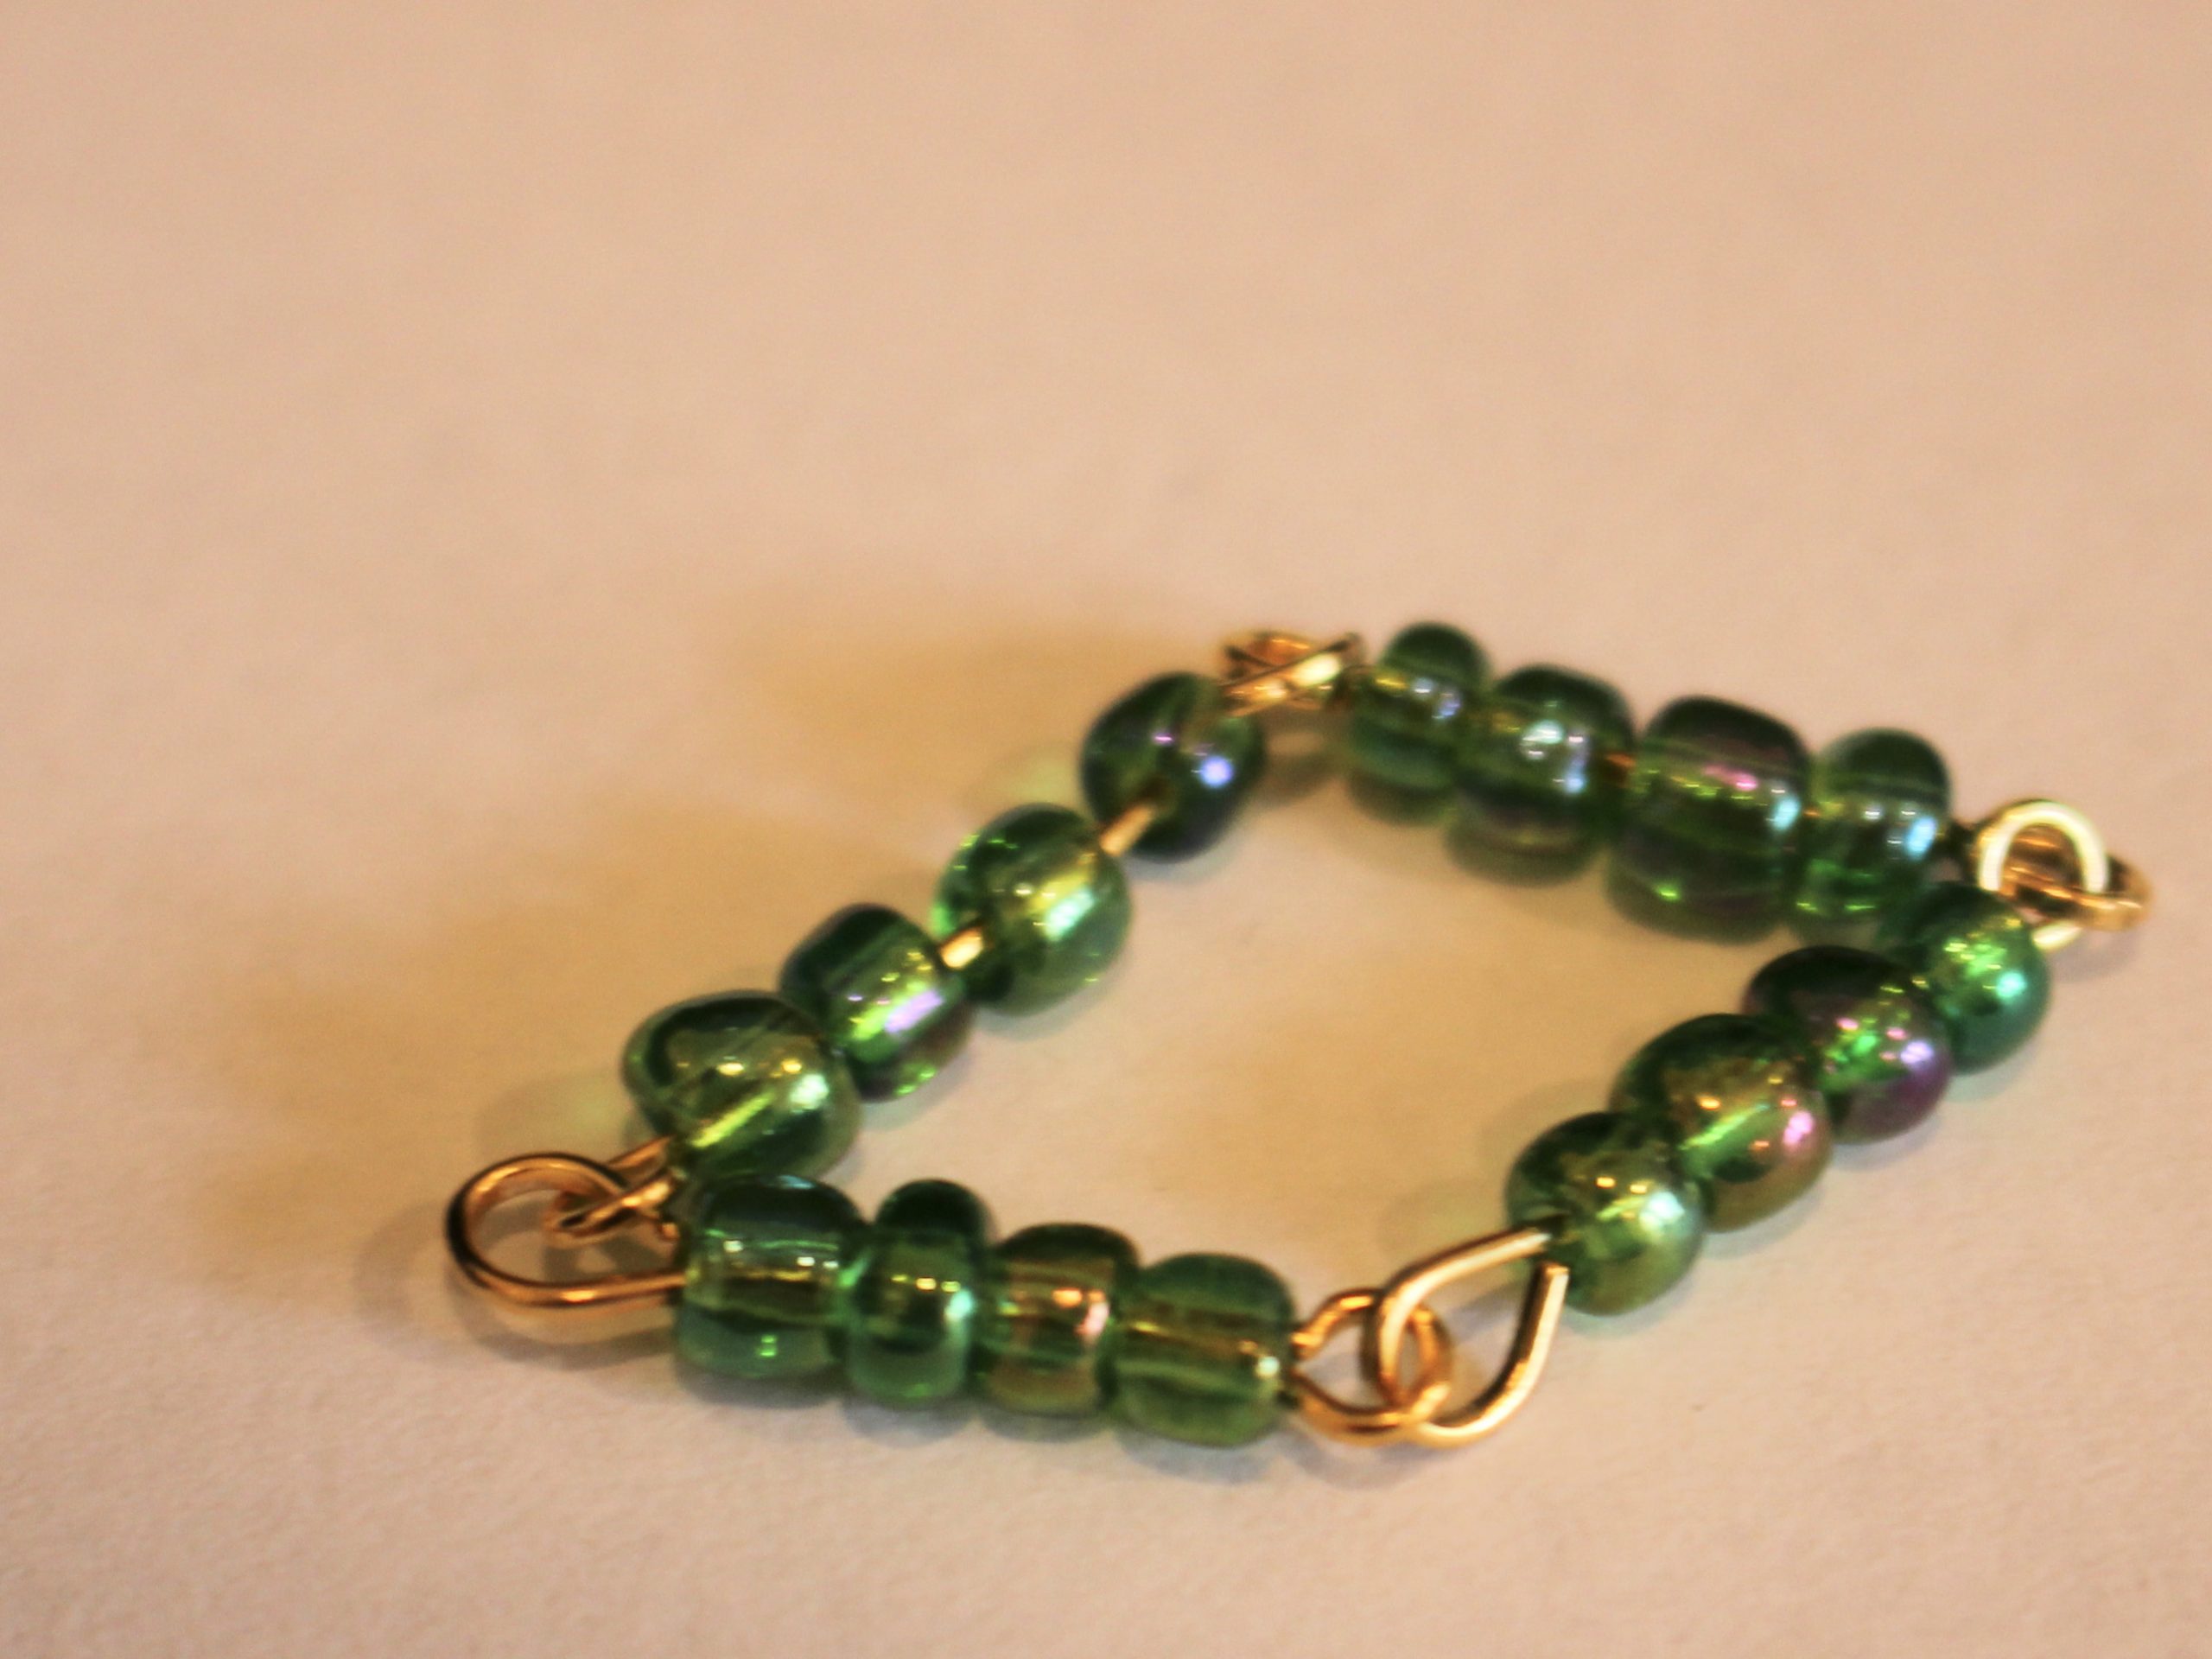
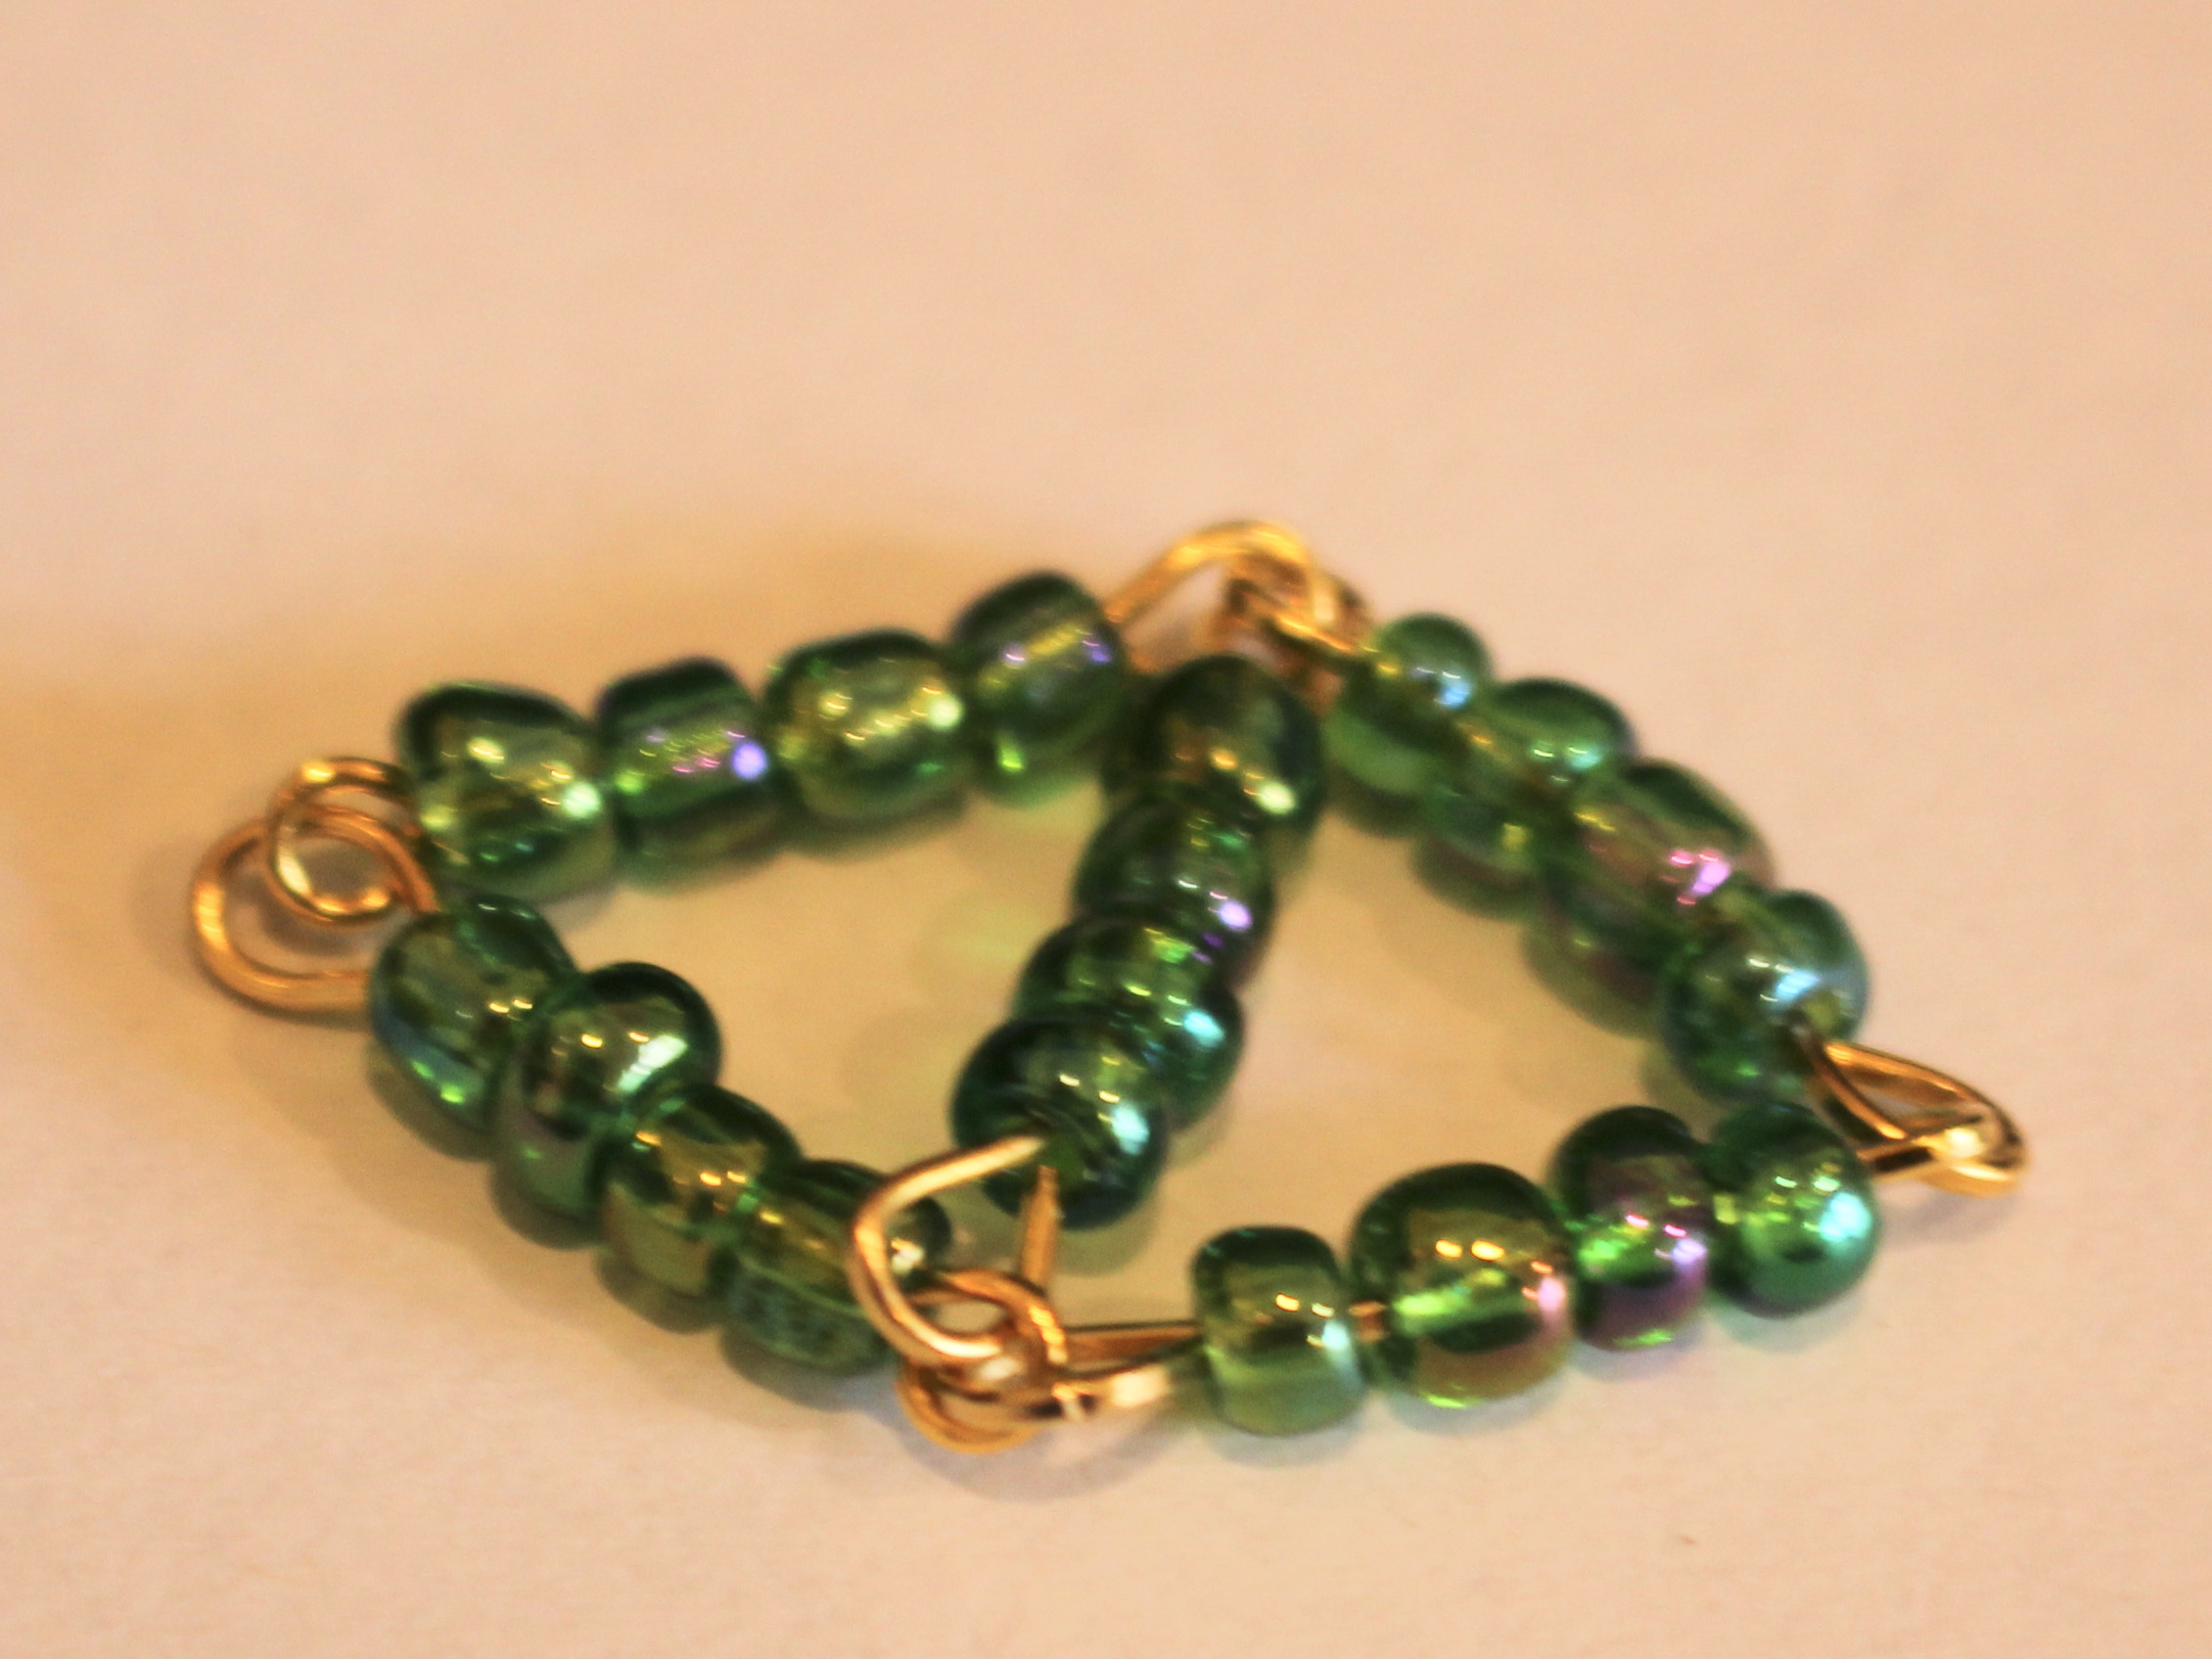
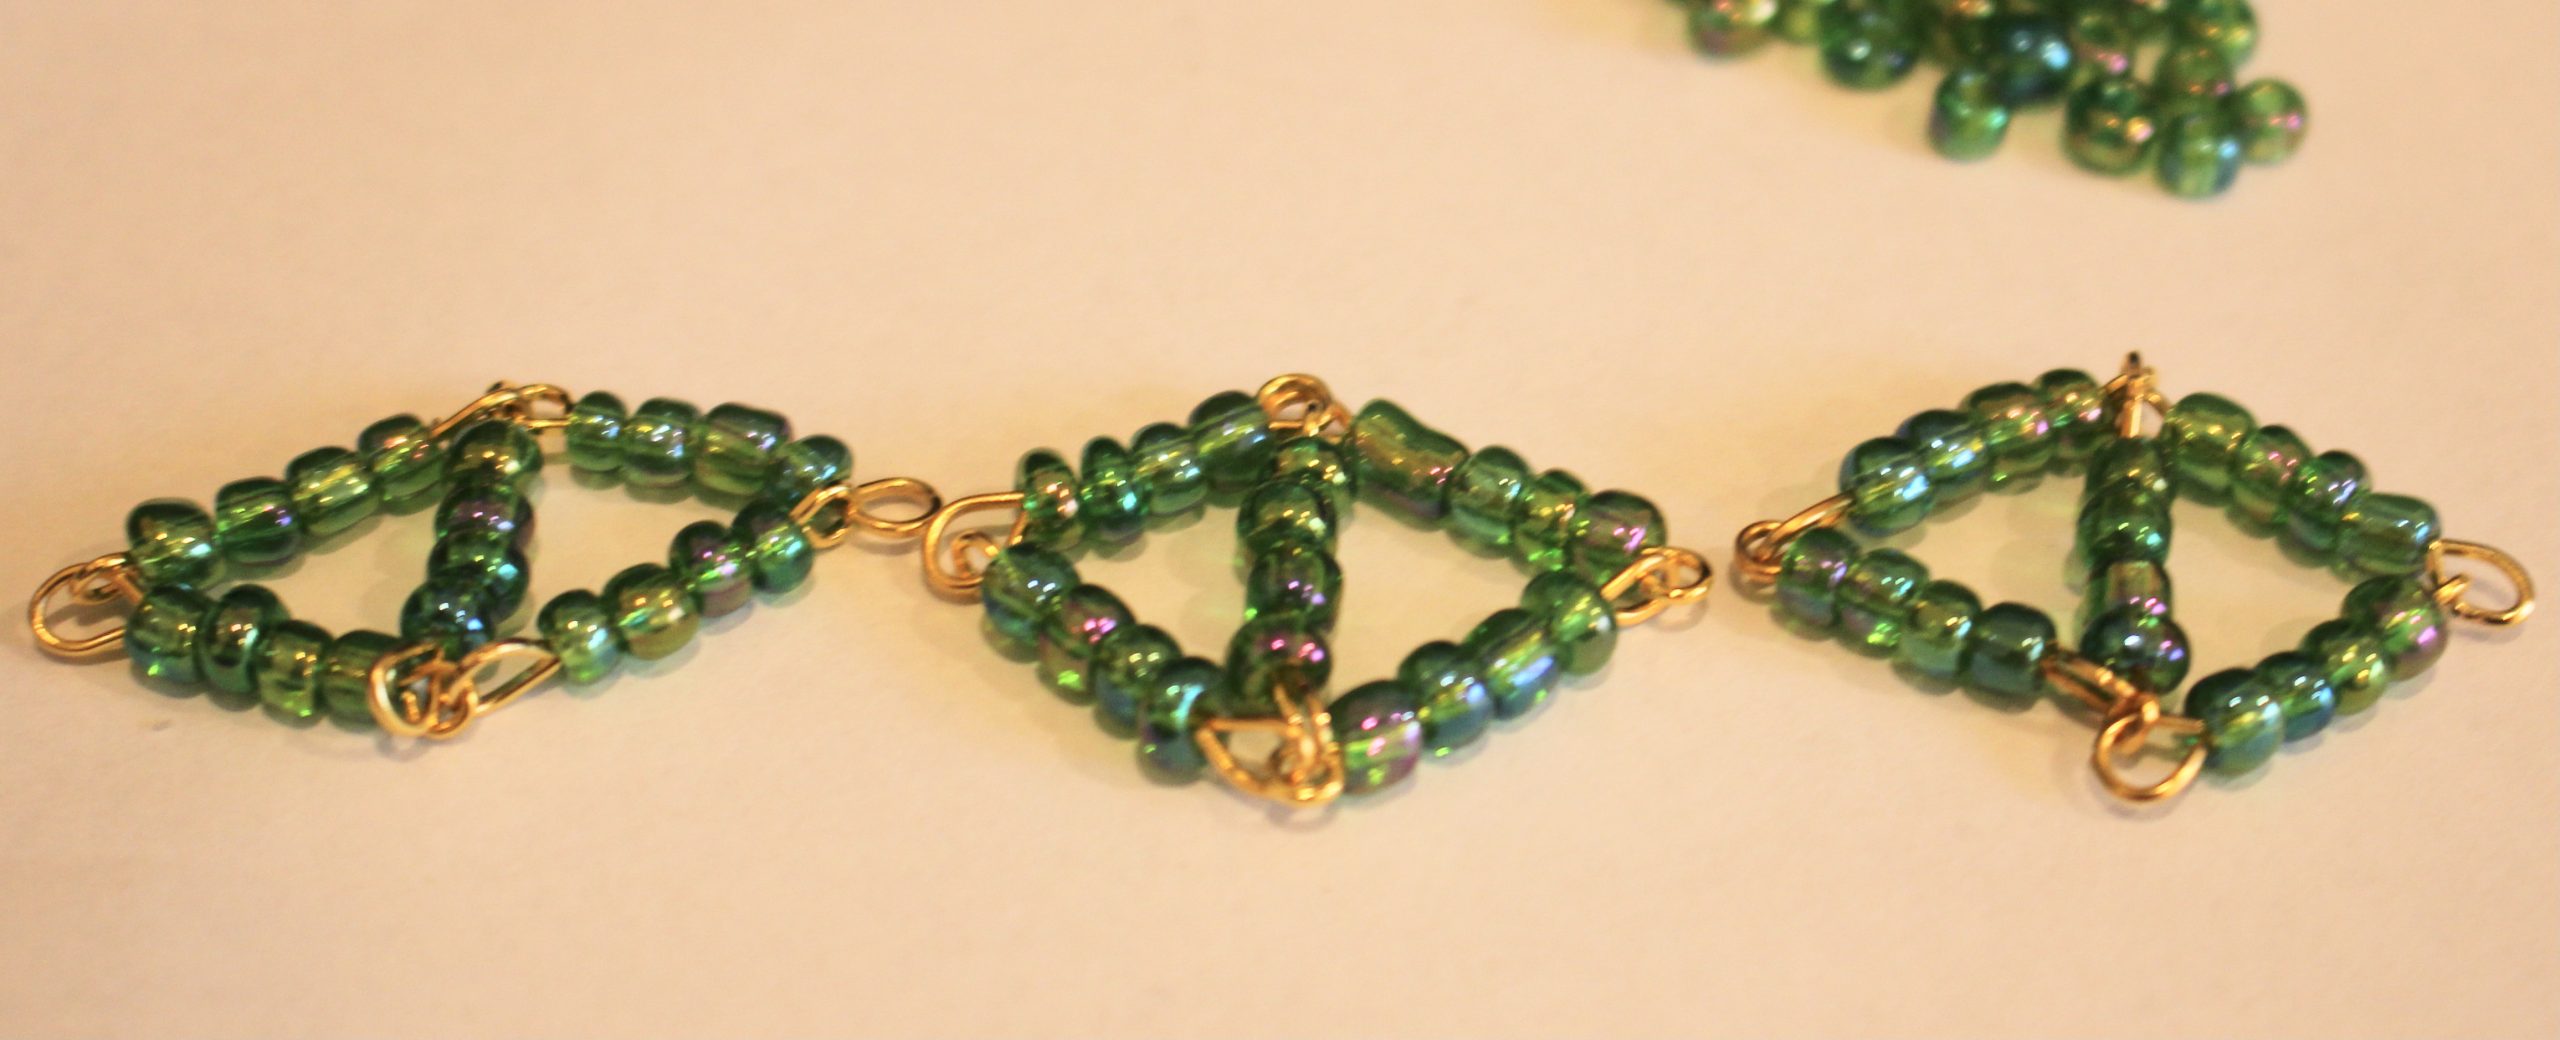
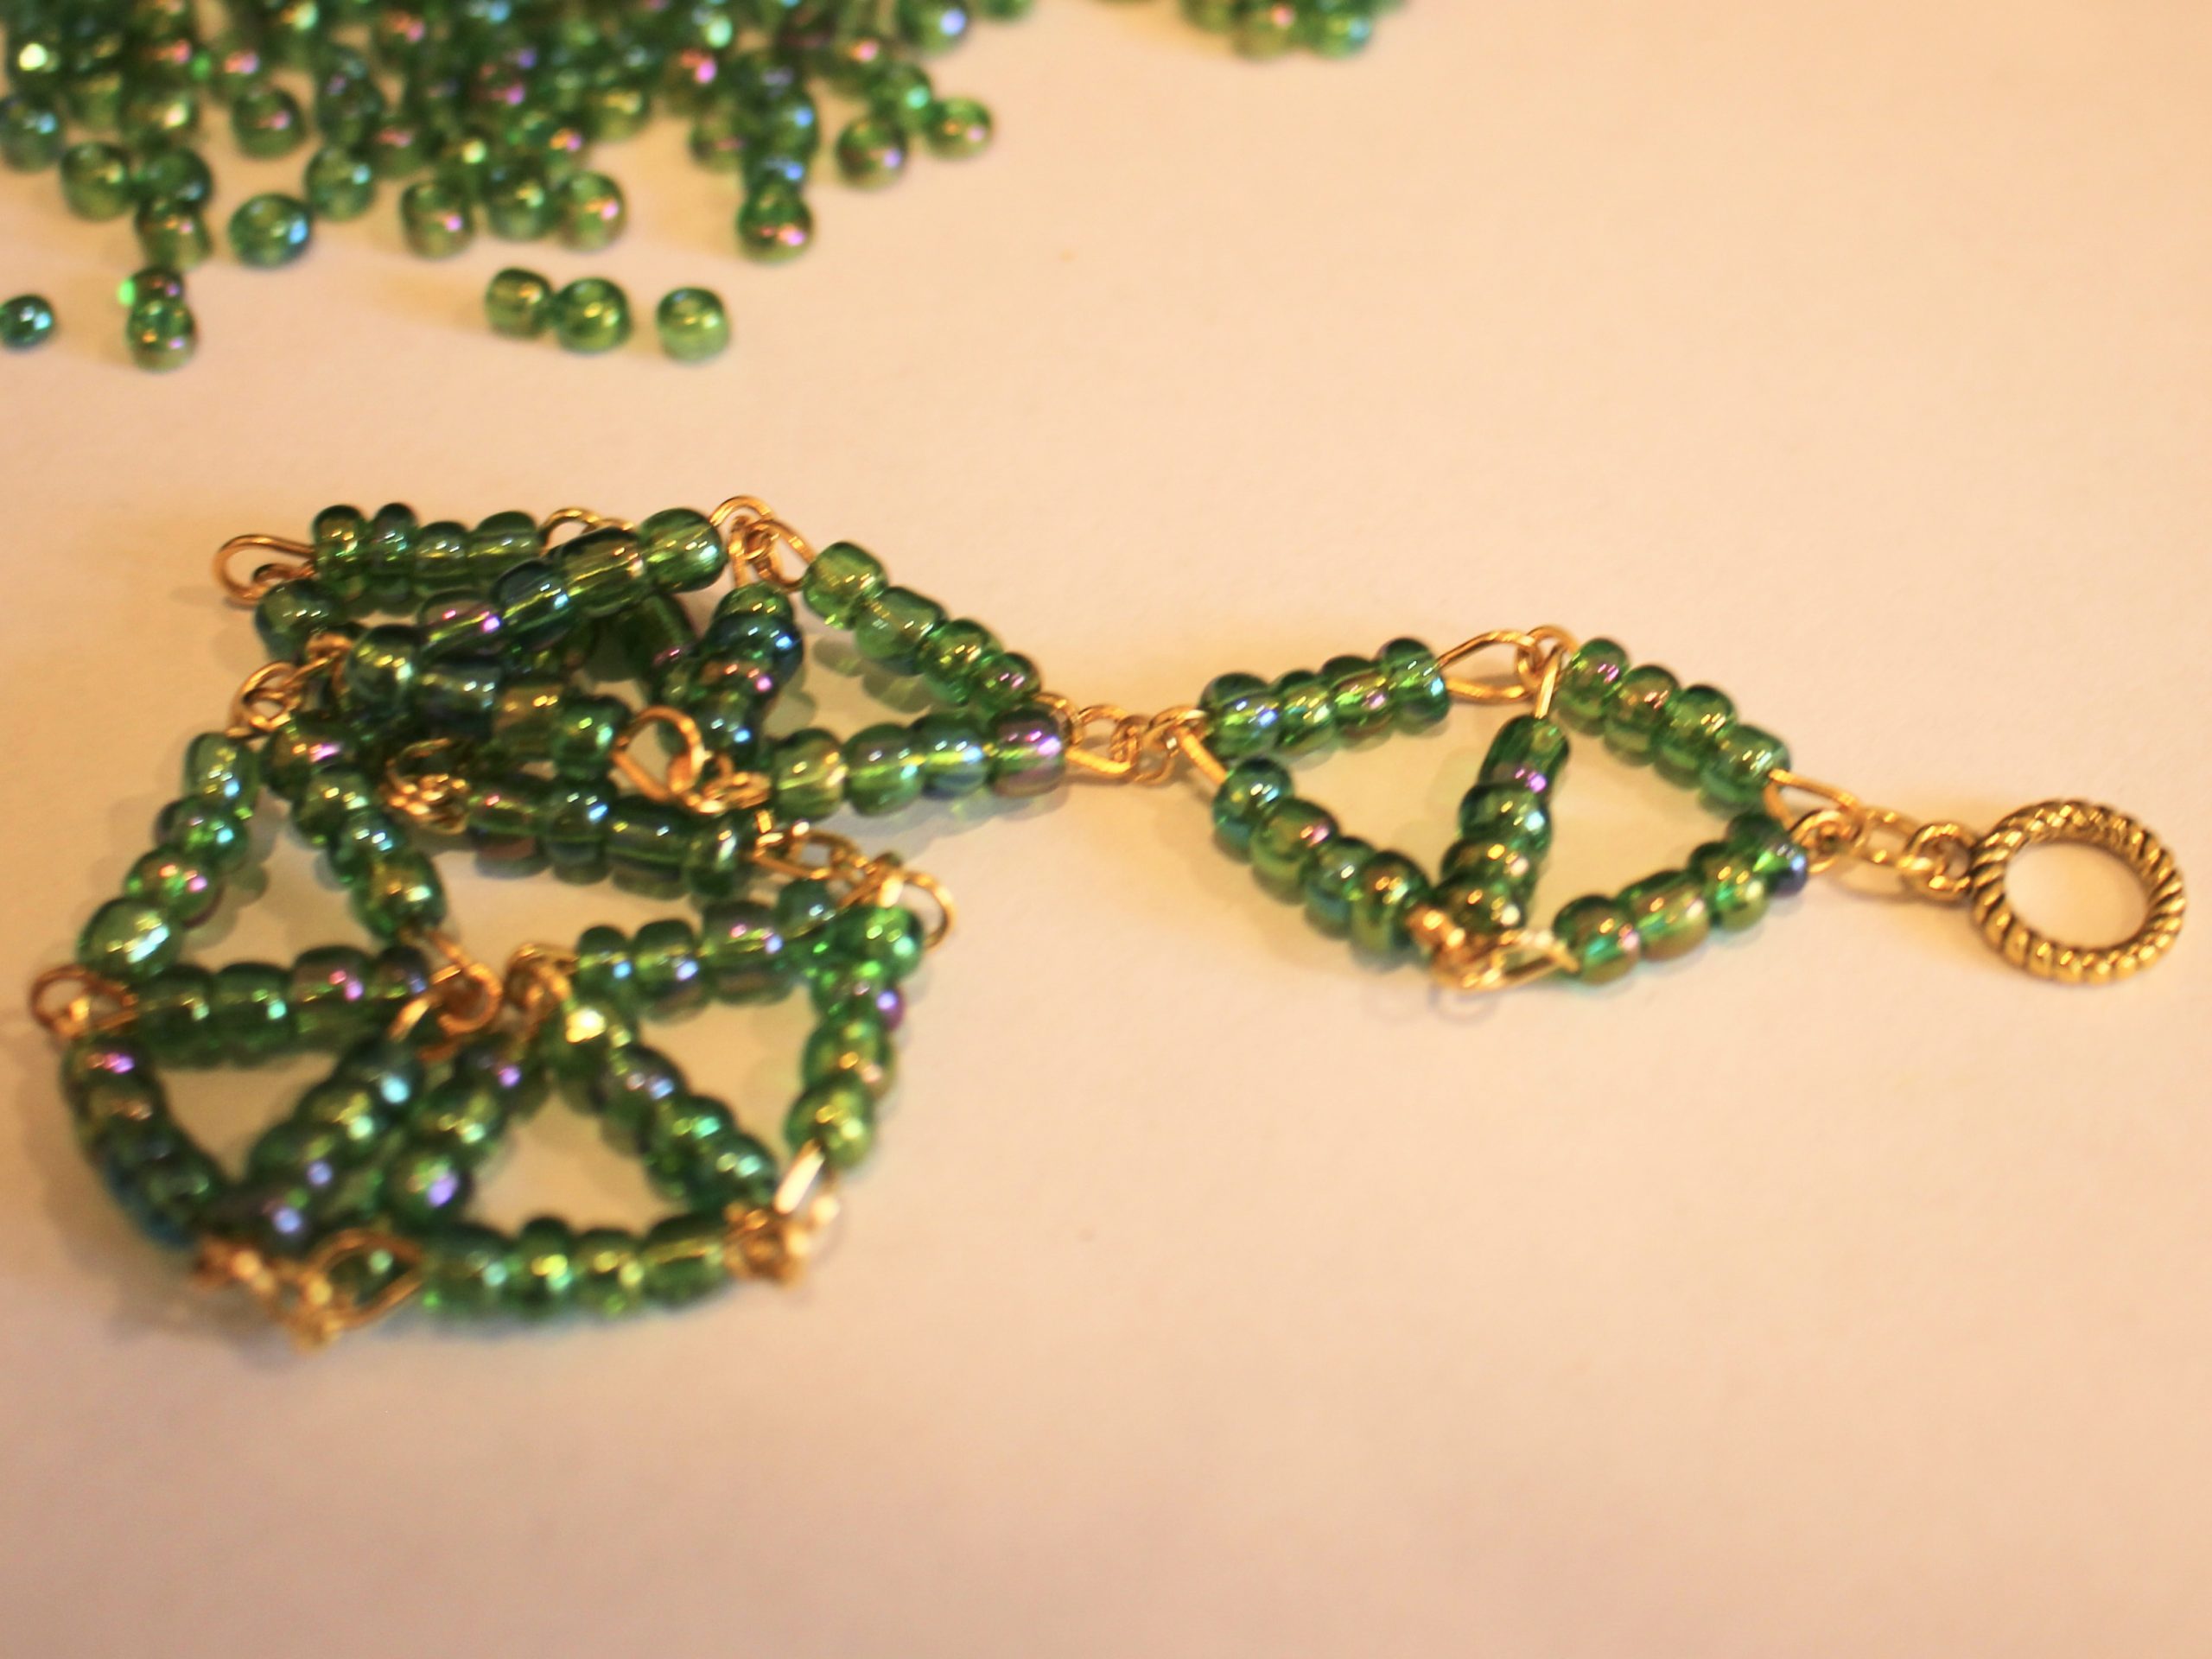
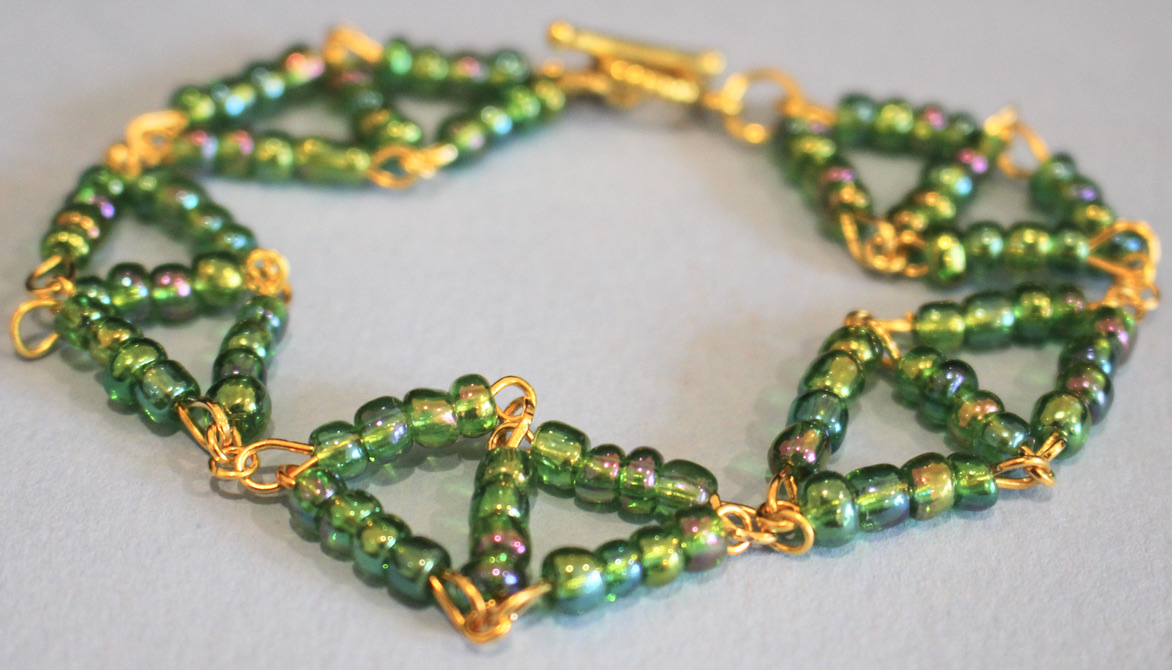
How to make a super cute bracelet with beaded diamond shapes!
This is a cute little bracelet that looks great! the beaded diamond bracelet design uses eye pins and beads to form a series of diamond shapes that link together to create a bracelet. This diamond shaped bracelet is eye-catching and fun to put together, perfect for constructing on a quiet afternoon at home.
You’ll need these tools and materials to make your beaded diamond bracelet:
1: Pliers. I used my round nose and flat nose pliers.
2: A bunch of eye pins. I ended up using about 25 pins. You may need more or less depending on your wrist size.

3: Some small jump rings. I used four, you may need more or less depending on the size of the bracelet.

4: Two larger jump rings.

5: A toggle clasp.

6: Beads of your choice. I used these green glass e-beads.

Follow these steps to make your beaded diamond bracelet:
1: Add beads to two of the eye pins.
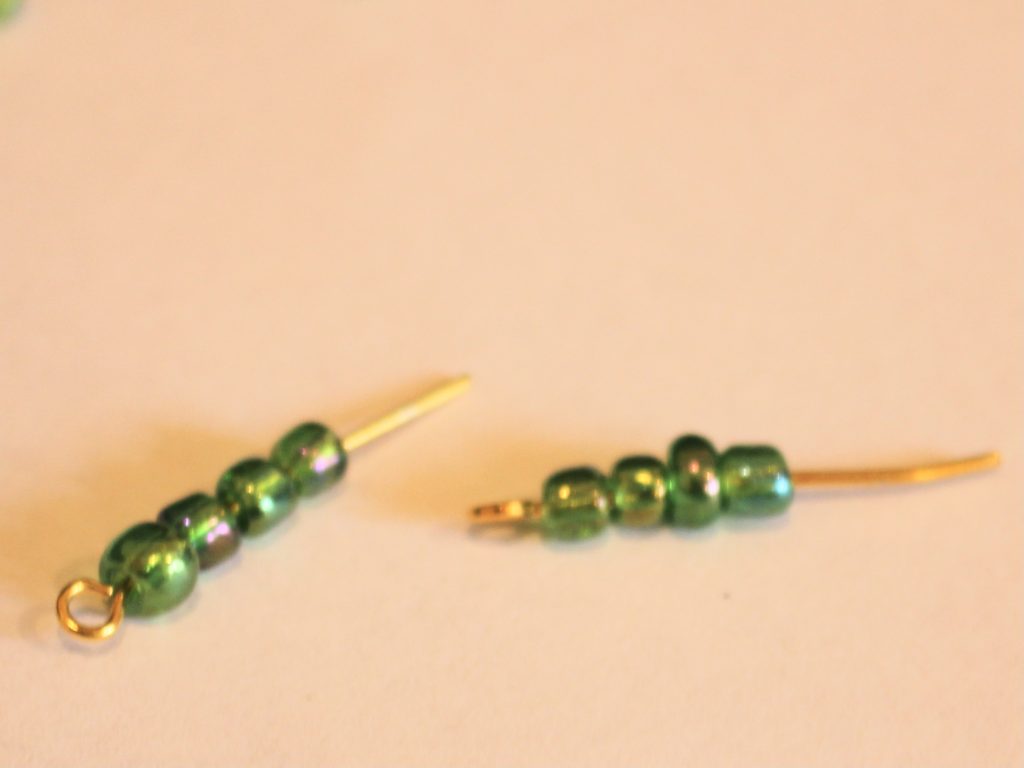
2: Leave about 1cm without beads.
3: Bend the pins to form an angle with the beaded section.

4: Loop the end of the pins around the round nose pliers to create a loop that secures the beads onto the pins.


5: Link the two pins together.

6: Repeat steps 1-5 three more times so that you have 5 beaded pins.
7: Link two more pins to the first two, so you have a square shape.


8: Add the last pin to the middle of the four linked pins so that you have a diamond shape that doesn’t shift around.


9: Repeat steps 1-8 until you have enough diamond shapes to fit around your wrist. I ended up making 5 diamonds.


10: Attach each of the diamond shapes together with the small jump rings to form a chain.


11: Attach the clasp components to each end of the chain using the larger jump rings, this will finish the design off!


Now your beaded diamond bracelet is finished and ready to wear!


Here is another design you can make using this beaded diamond shape

-
Here’s a letter bead necklace so you can tell everyone how you feel.
This letter bead necklace is a simple design with a big personality. Use letter beads to show something about your mood or personality around your neck. Layer this design with some other pieces to really show off your style. I love this simple necklace DIY! Please note that this tutorial contains affiliate links.
Here are the tools and materials you’ll need to make your letter bead necklace:
1: Pliers. I used my cutting pliers (to cut my chain to length), round nose pliers and flat nose pliers.
2: A piece of chain long enough to fit around your neck. You can make it longer or shorter depending on how long you like your necklaces.

3: Two small jump rings.

4: A lobster clasp.

5: Letter beads. I used two to spell out ‘OK’.

Follow these steps to make your letter bead necklace:
1: Add your beads to the chain to form your chosen word.


2: Add one of the jump rings to one end of the chain by threading it through the last chain link. This can be tricky when your chain links are small like on this chain. I suggest using your smallest size jump ring.

3: Close the jump ring to secure it in place.

4: Add another jump ring to the other side of the chain.

5: Add a lobster clasp to the open jump ring and close it to finish the necklace off.


Now your minimalist but very cool letter bead necklace is ready to wear. Will you wear yours on its own for a big statement, or layer it with other pieces for a more curated look?