Step-By-Step Tutorials
-
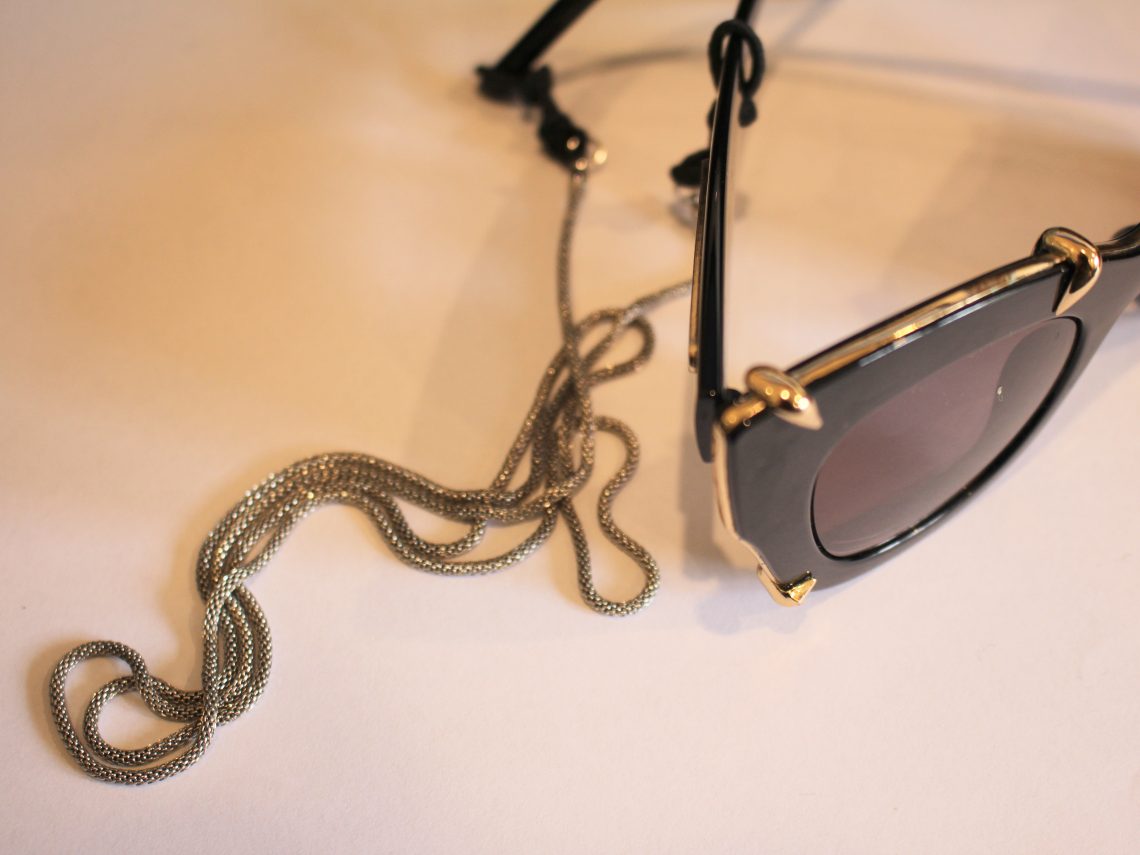
Here’s how to make a glasses chain using an old necklace and some hair elastics!
Sometimes I like to MacGyver some things together to make something far more useful, this is one of those times. I needed a sunglasses chain for an upcoming trip where I definitely didn’t want to lose my glasses. In the past I’ve made glasses chains using specialised findings, but I found that the rubber would wear out and break very quickly, so I wanted a more durable option… cue hair elastics! By tying some hair elastics cleverly, I’ve now got a stylish glasses chain that is far more long lasting than my old rubber pieces. How cool!?!
Please note that this tutorial contains affiliate links.
You will need the following tools and materials to make your glasses chain:
1: Two thin hair elastics.

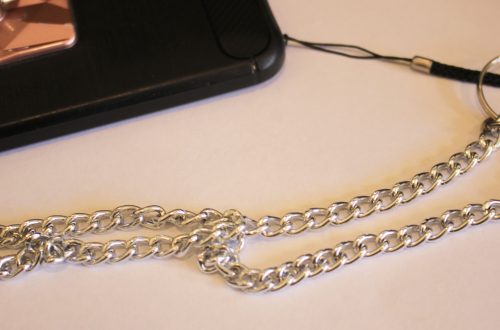
2: A long chain that you don’t use anymore. I used this snake chain costume jewelry necklace.

3: Some flat nose pliers for opening and closing jump rings.
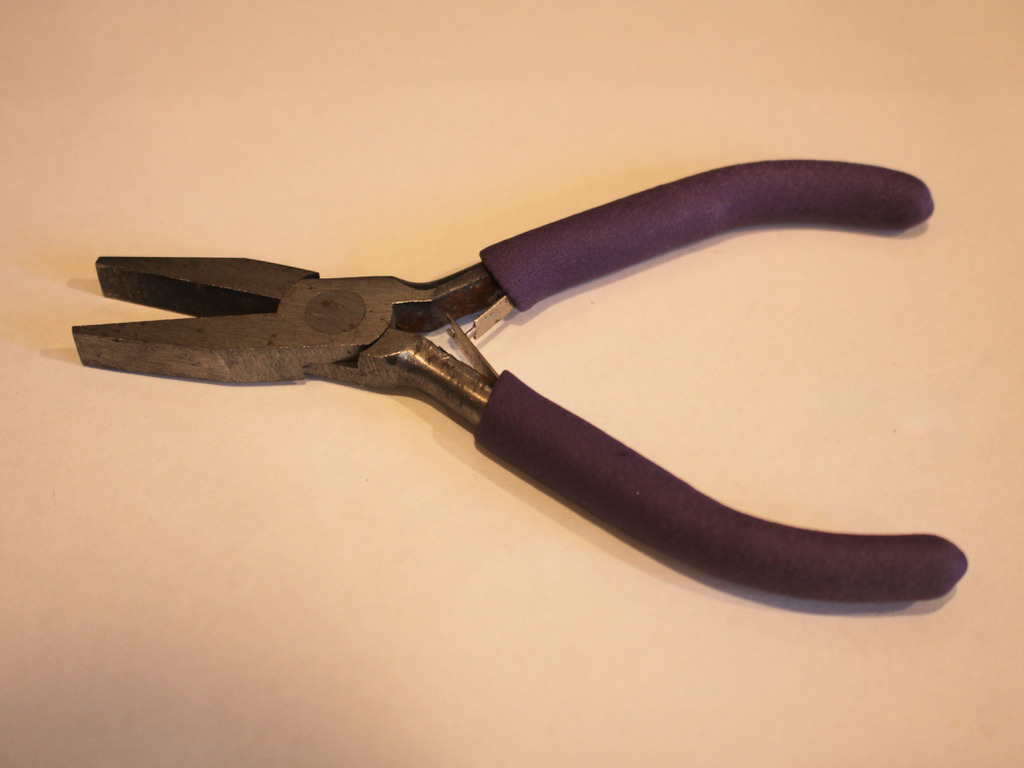
Here are the steps to make your own handy glasses chain using hair elastics:
1: Using your pliers. Remove the clasp and any additional hardware from the jump rings on either end of the chain.

2: Close the jump rings.

3: Take one of the hair elastics, fold it in half and thread it though one of the jump rings at the end of the chain.

4: Loop the other end of the elastic through the loop that you just threaded through the jump ring and pull it tight.


5: Create a knot above the loop you just made to secure the elastic on the jump ring.

6: Now find a spot near the middle of the elastic, but closer to the open end of it, and create a knot. You might need to make it closer to the end of the elastic or further away depending on the width of your glasses arms.
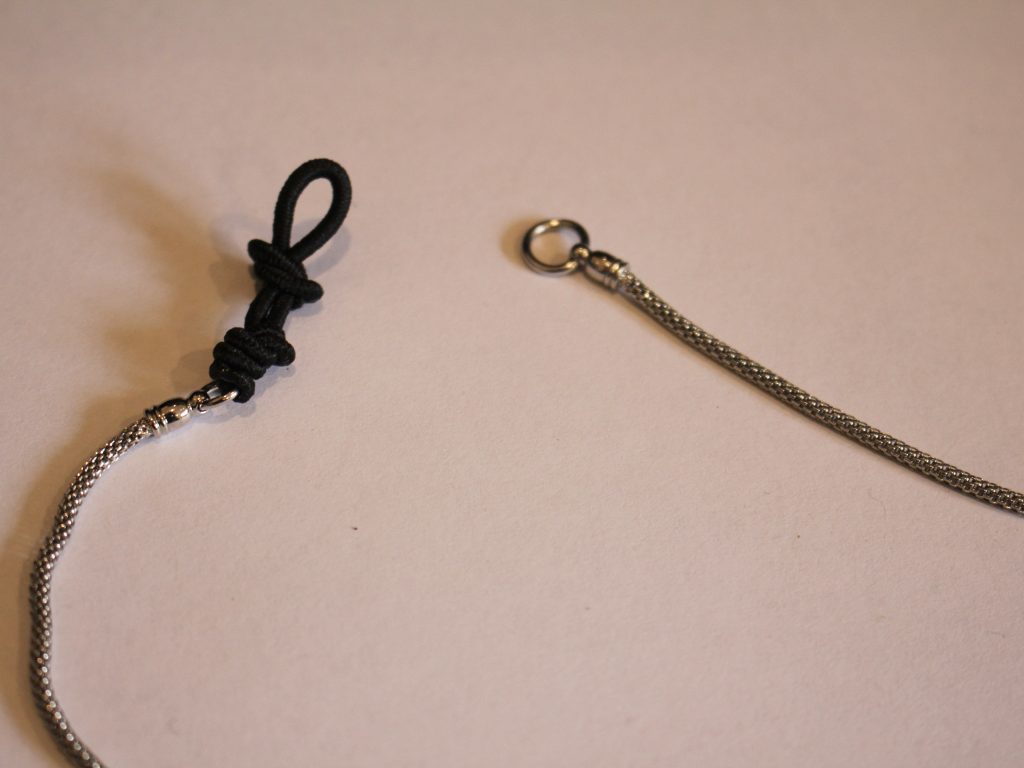
7: Repeat steps 3 to 6 for the second elastic to complete the glasses chain.
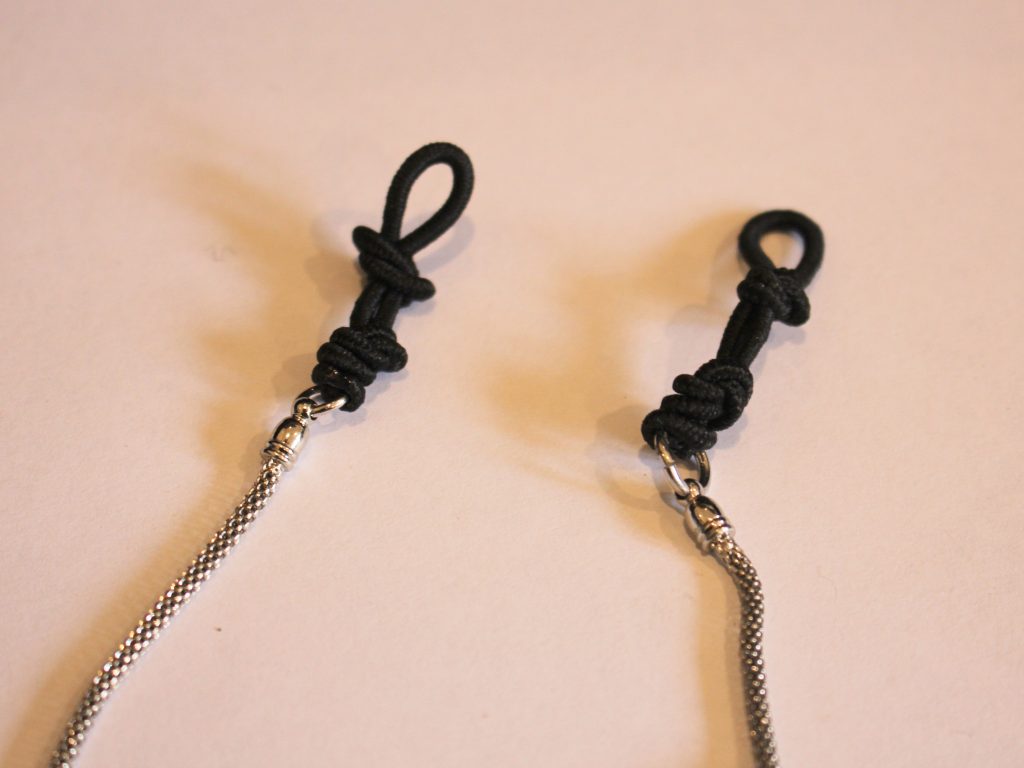
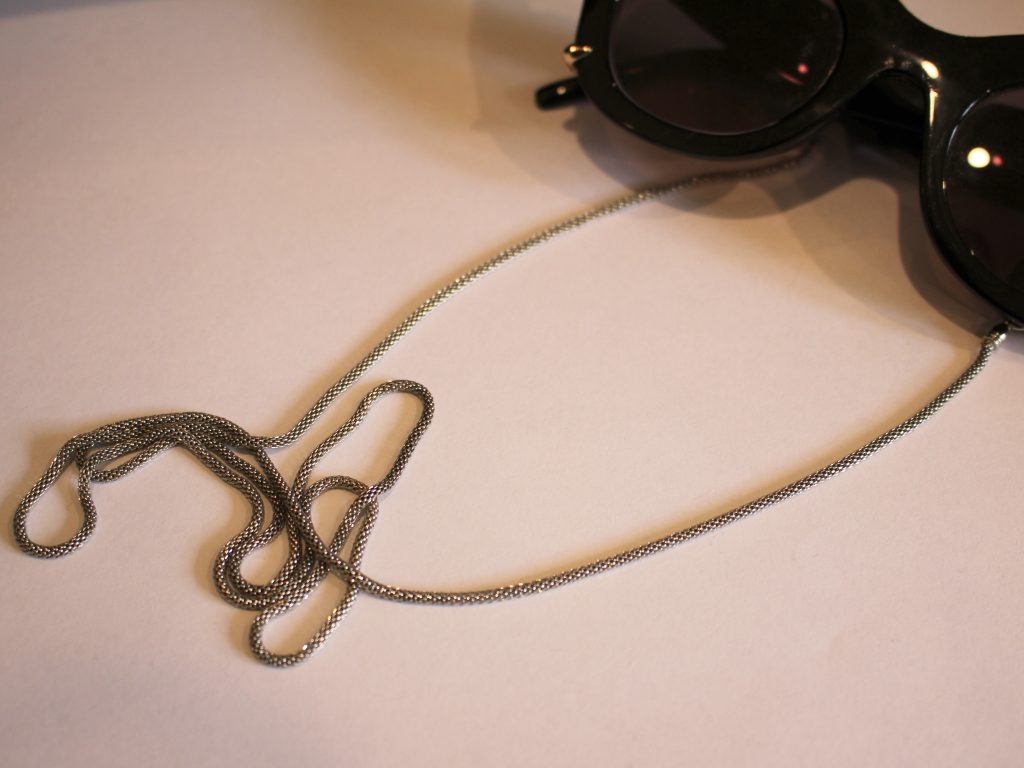
Once you have both elastics in place your glasses chain is ready to use! Here’s my finished chain.
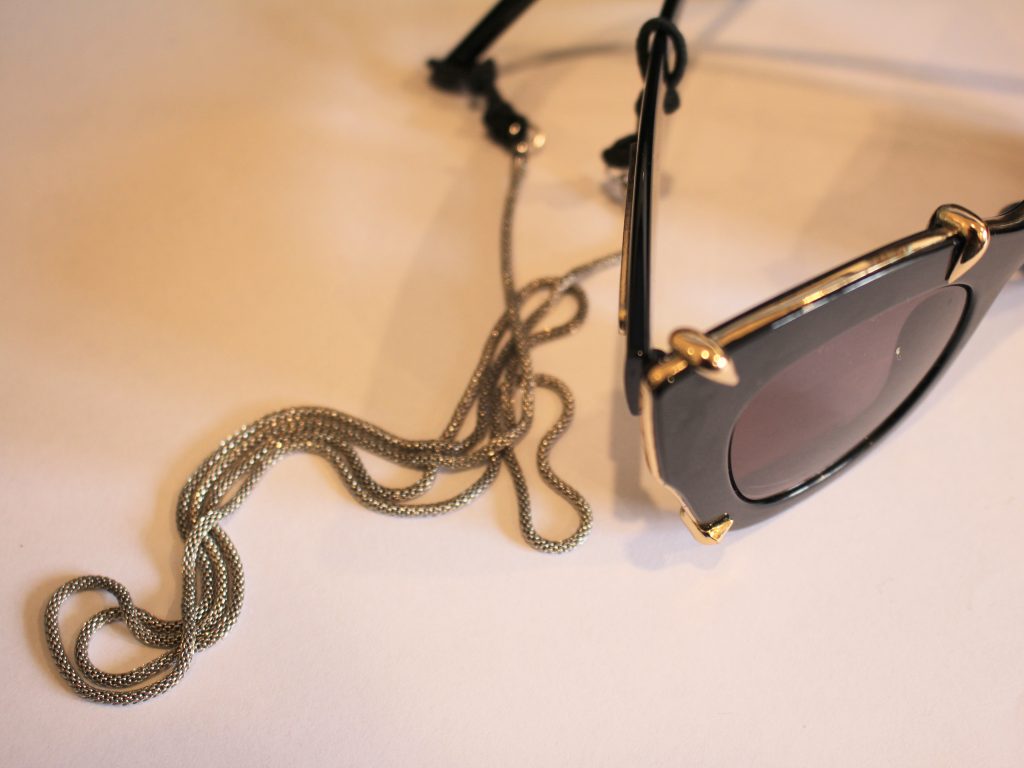
And here are some more I made:
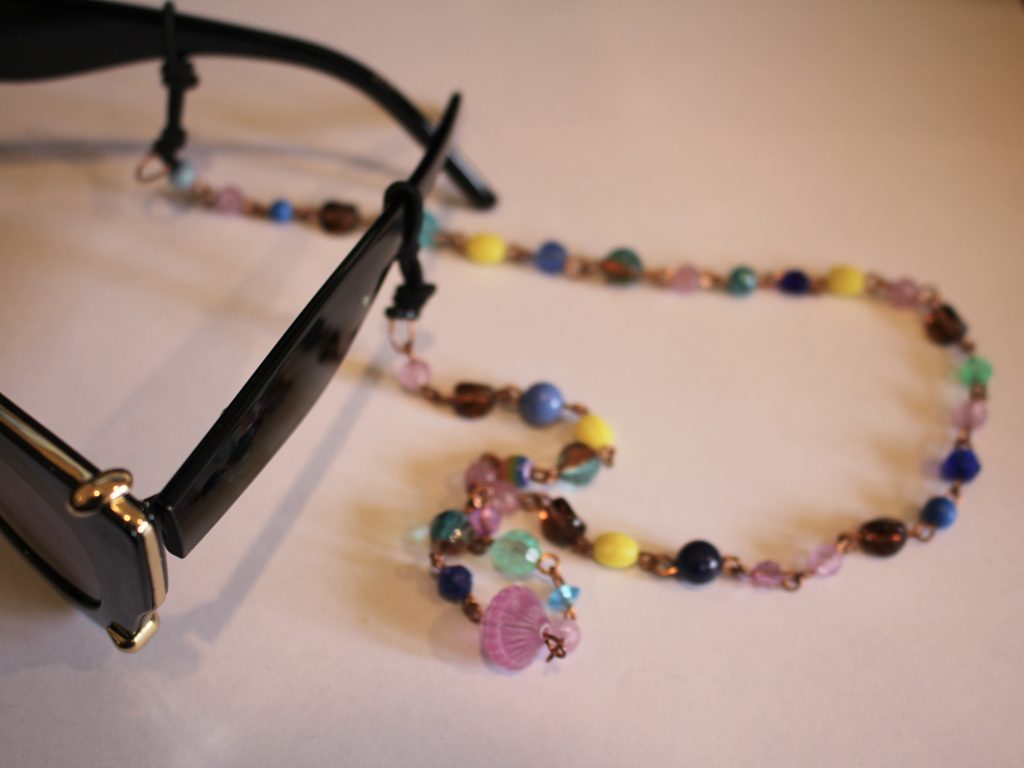
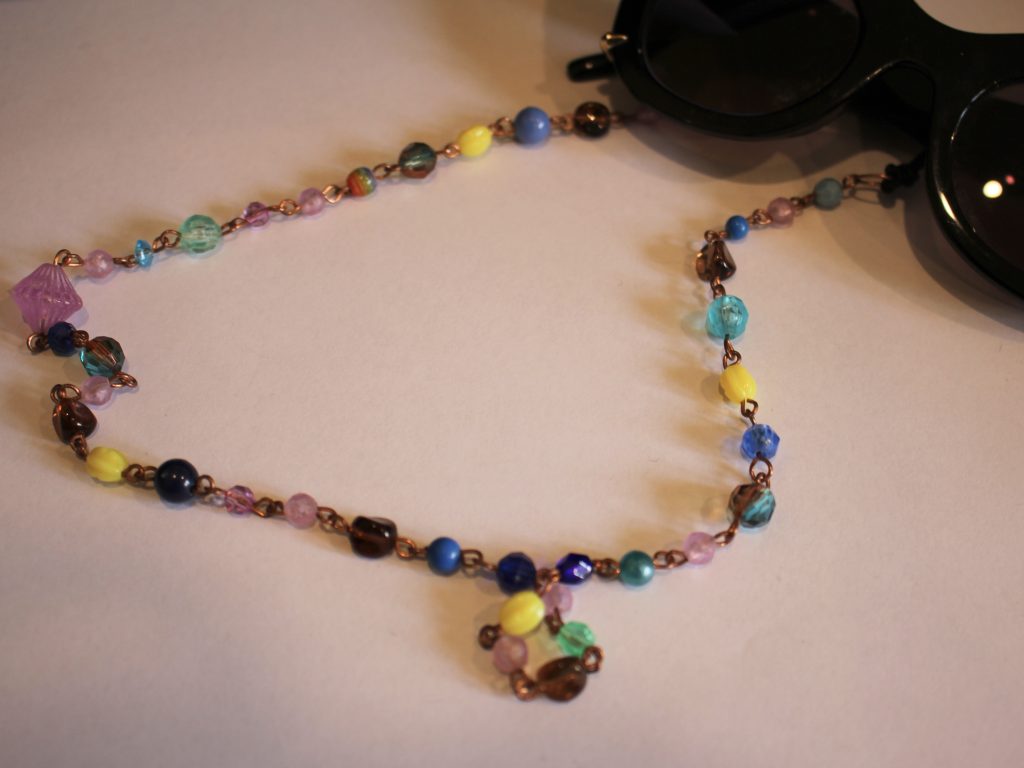
This one was made with a handmade beaded copper chain.
Here’s some pre-made beaded chain you can use if you don’t want to make your own:
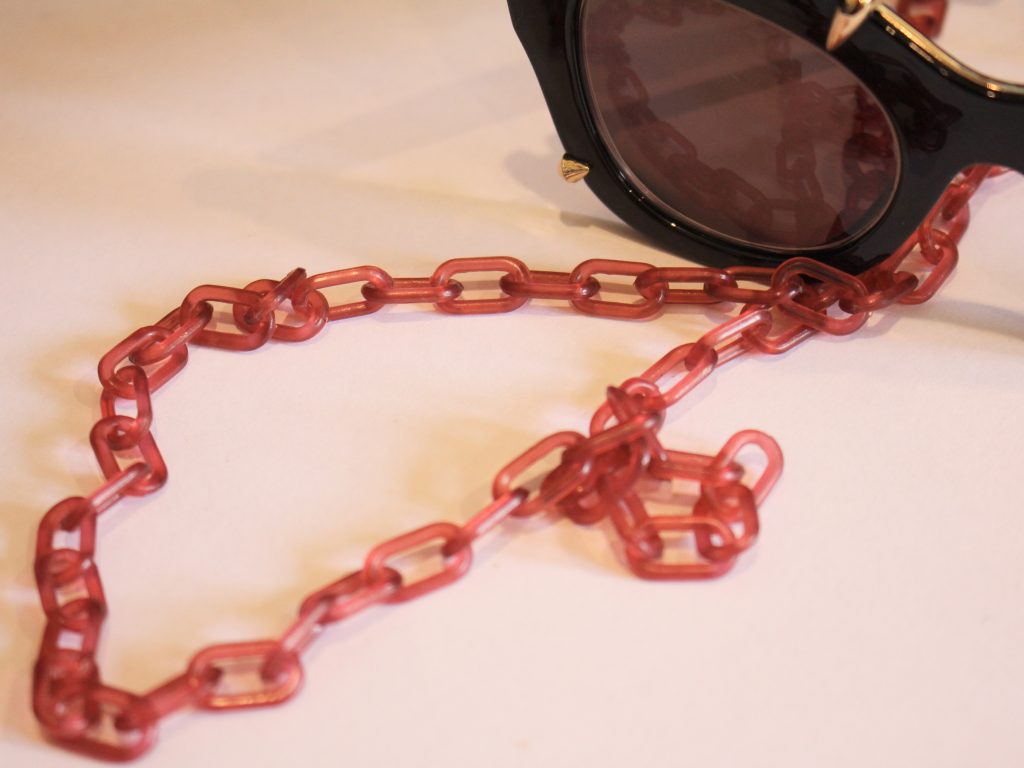
And this one was made using a vintage plastic chain.
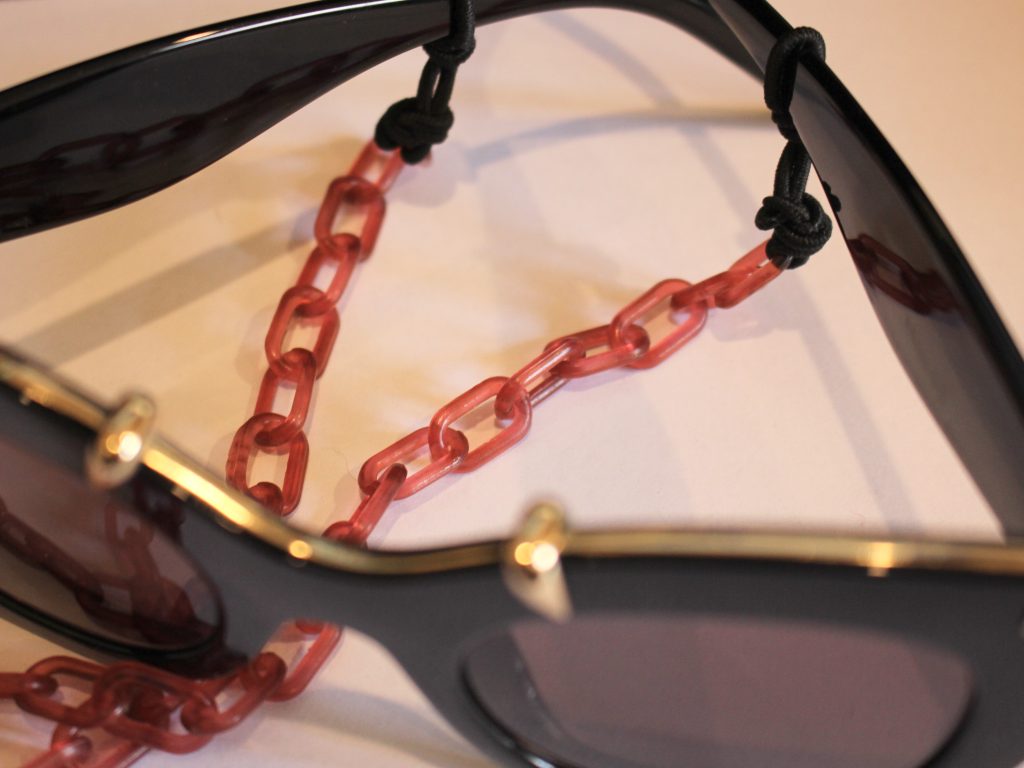
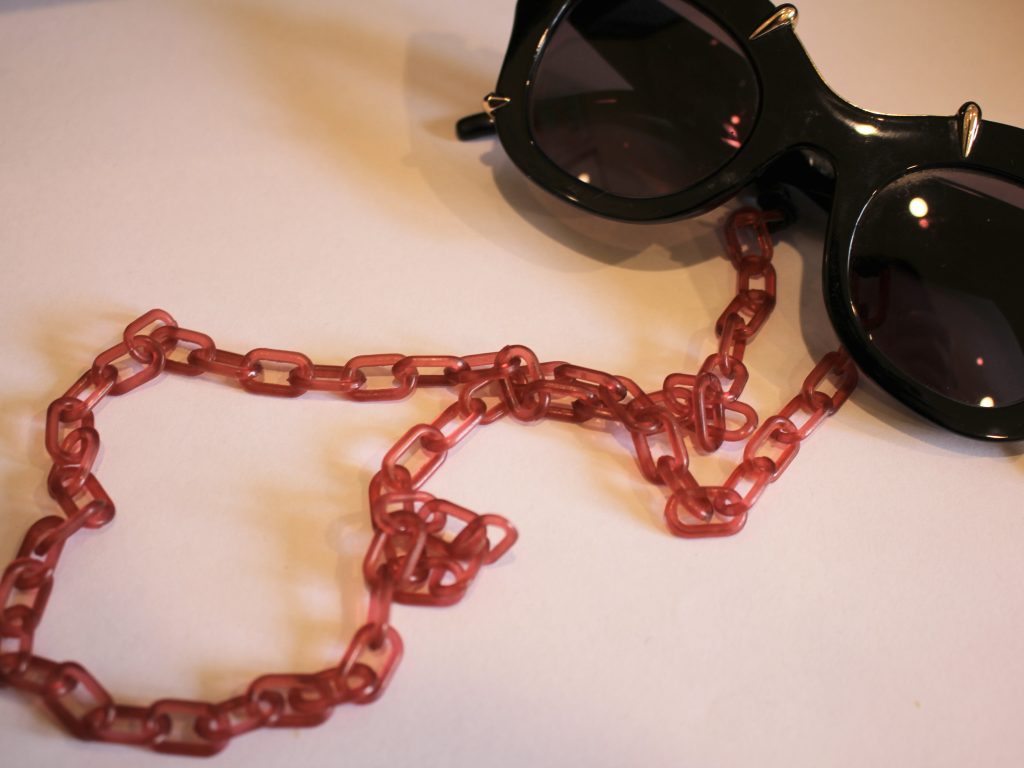
Here are some plastic chain options you can use:
Here are some more glasses chain tutorials you can follow using traditional findings, if you want to use elastics instead, just follow the steps in this tutorial to knot them in place 😉
- Here’s how to make a glasses chain using a ball chain. This one also has clips so you can use it to keep track of a face mask or other accessory.
- Here’s a simple glasses chain with bead accents.
- This is a fully beaded glasses chain.
- This one shows you how to make a chain using head pins and beads.
- This glasses chain is made from recycled materials.
- Here’s a tutorial that shows you how to make a rhinestone glasses chain.
- This glasses chain has dangling charms on it.
- And finally, this tutorial shows you how you can use a glasses chain as a holder for your wireless headphones!
-
Never Lose Your Phone Again: Learn How to Crochet Your Own Stylish Phone Lanyard!
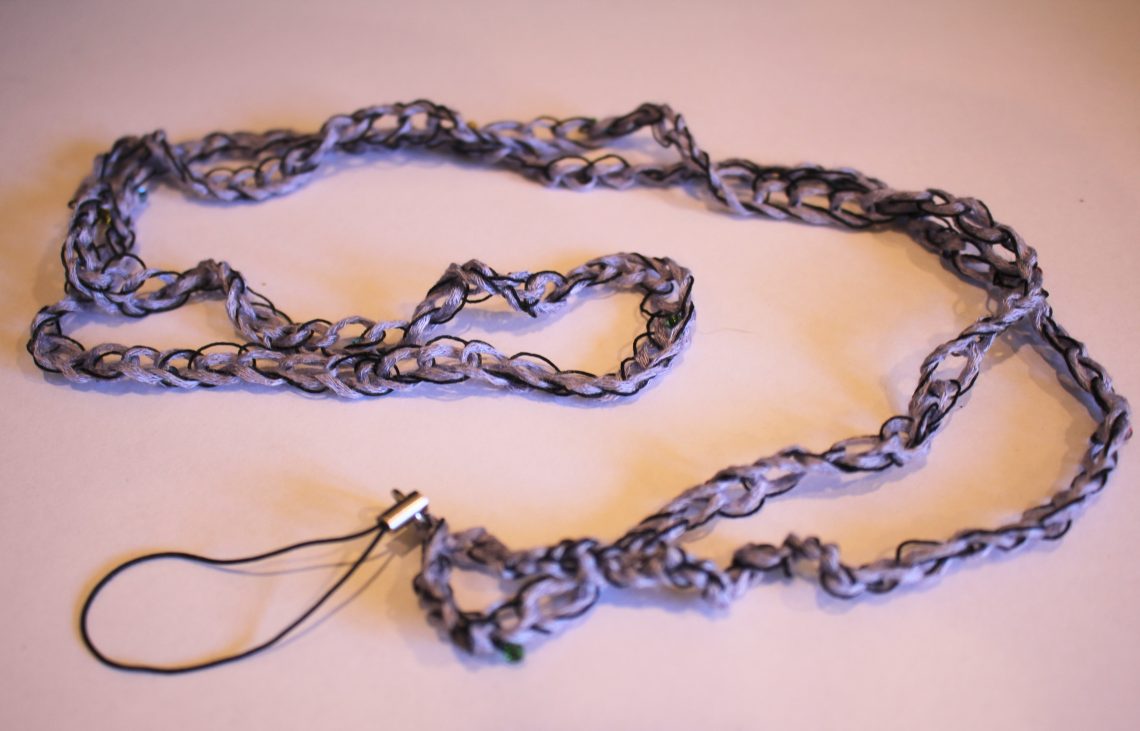
I sometimes worry that my phone could be easily lost or stolen from me, so I decided to make this sweet crochet lanyard so I can wear my phone and tuck it into my bag or pocket at the same time! This lanyard uses loose crochet and thin thread to add length. Kinda cute and also practical! Please note that this is a beginner crochet tutorial that contains affiliate links.
You’ll need the following tools and materials to make this phone lanyard:
1: Some yarn. I used two yarns held together, purple bamboo yarn and thin beaded thread.
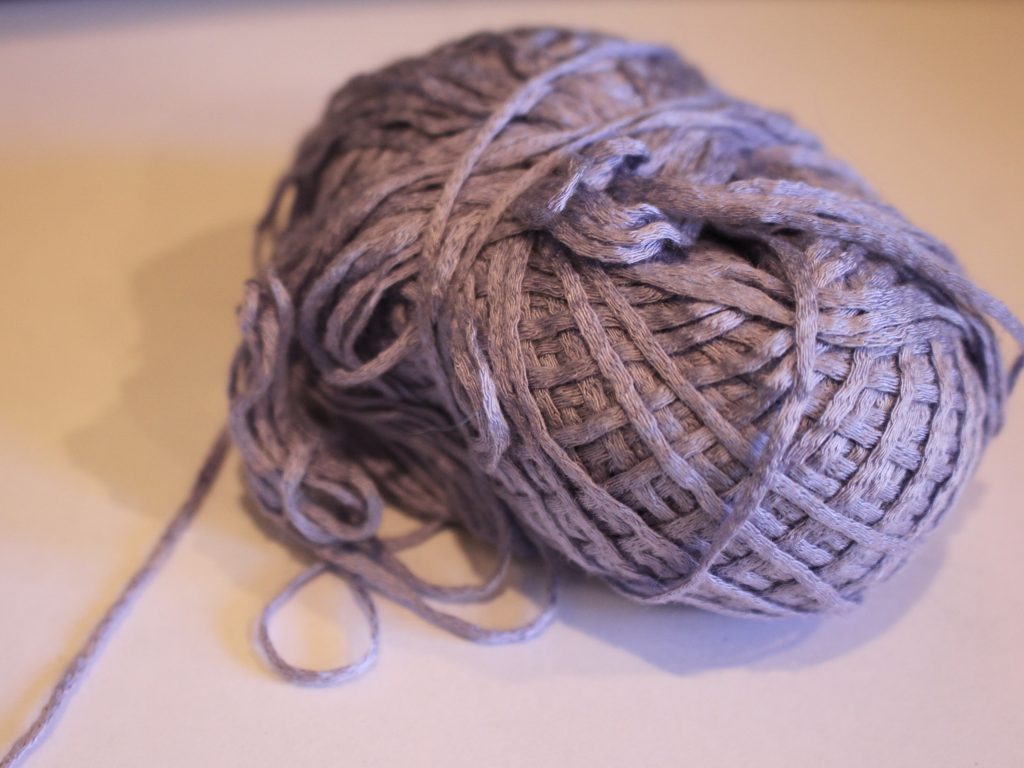
Get some purple bamboo yarn here: https://amzn.to/41yN7Qa

Get some black sequin yarn here: https://amzn.to/44VeNS8
or here: https://tidd.ly/3O34oxP
2: A crochet hook. I used one that was 3.5mm in size. If I made this again I would use a crochet hook that was slightly smaller. The size crochet hook you will need depends on the thickness of your yarn.
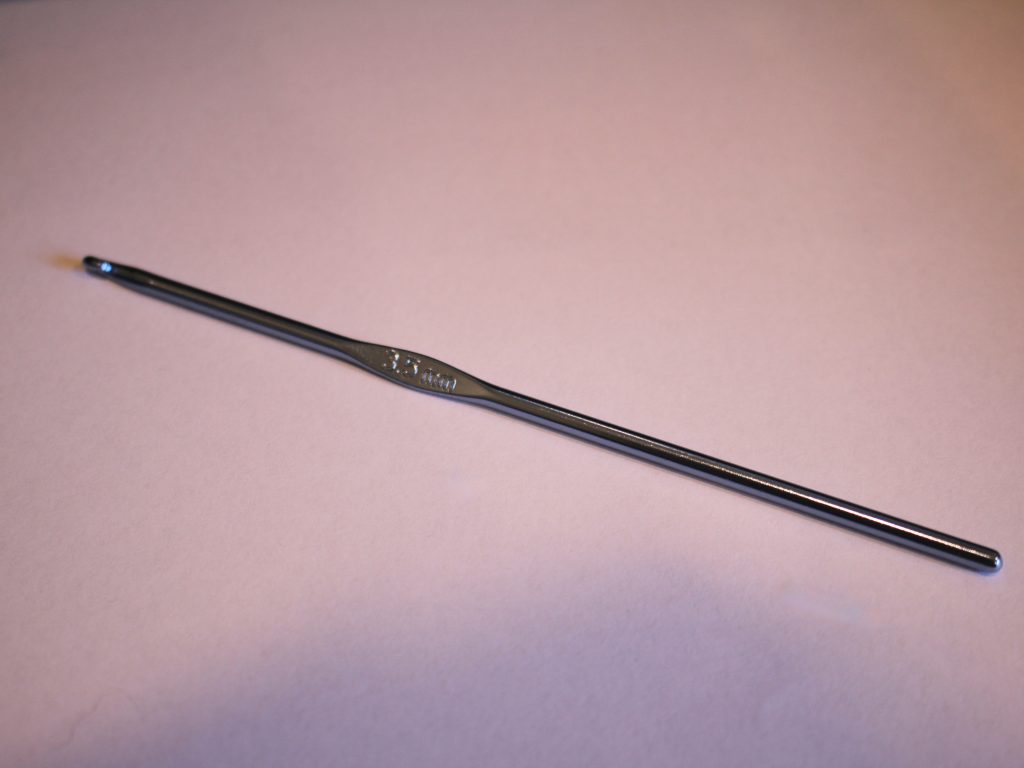
You can get a 3.5mm crochet hook here
Here: https://amzn.to/3Ml08si
or here: https://tidd.ly/3O2YDQF
3: A phone loop keychain.

You can get one here: https://amzn.to/42vJzzs, or 4: A thick needed for weaving in the ends of the yarn.

5: A pair of scissors.

Here are all the steps you need to follow to make your crochet phone lanyard:
1: Hold the two yarns together.

2: Create a slip knot with the two yarns held together.

3: Slide the open knot over the crochet hook and then tighten it around the hook.

4: Take the long thread and loop it around the hook close to the hook end and in front of the slip knot loop you just tightened. You can see a video of this technique here.
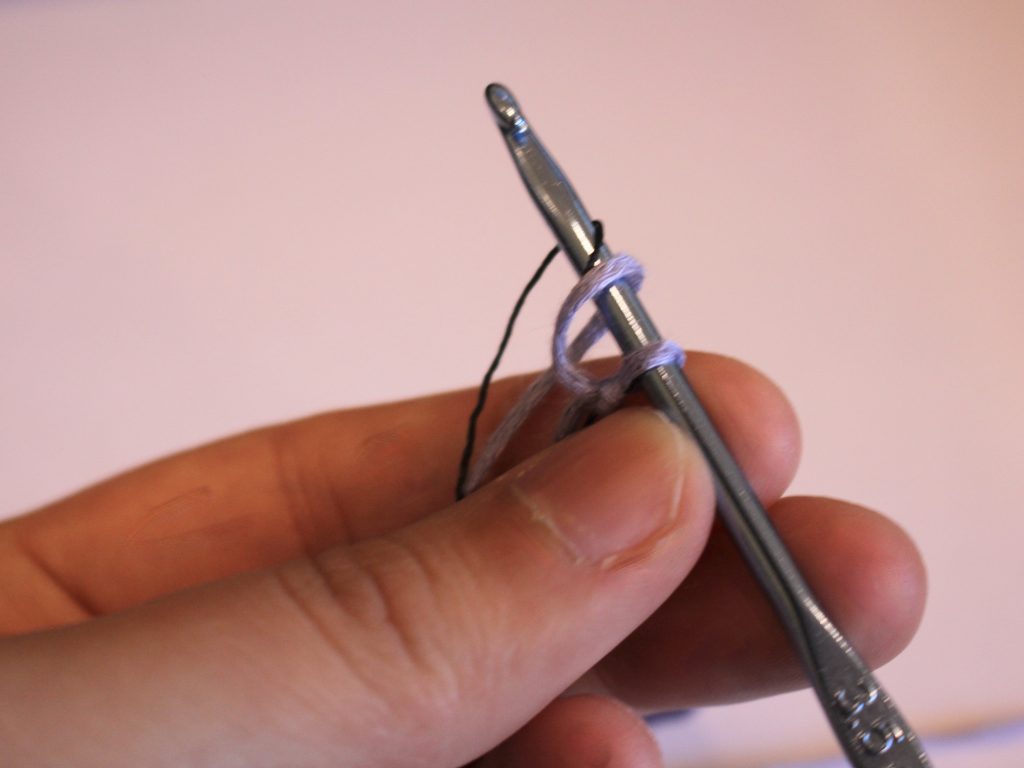
5: Now take the first loop and pull it over the second one and off the crochet hook.

6: Continue steps 4 and 5 to create your crochet chain. Keep making loops until you have a chain long enough to fit across your body like a cross body bag. You can use your favourite cross body back to measure a length you like.

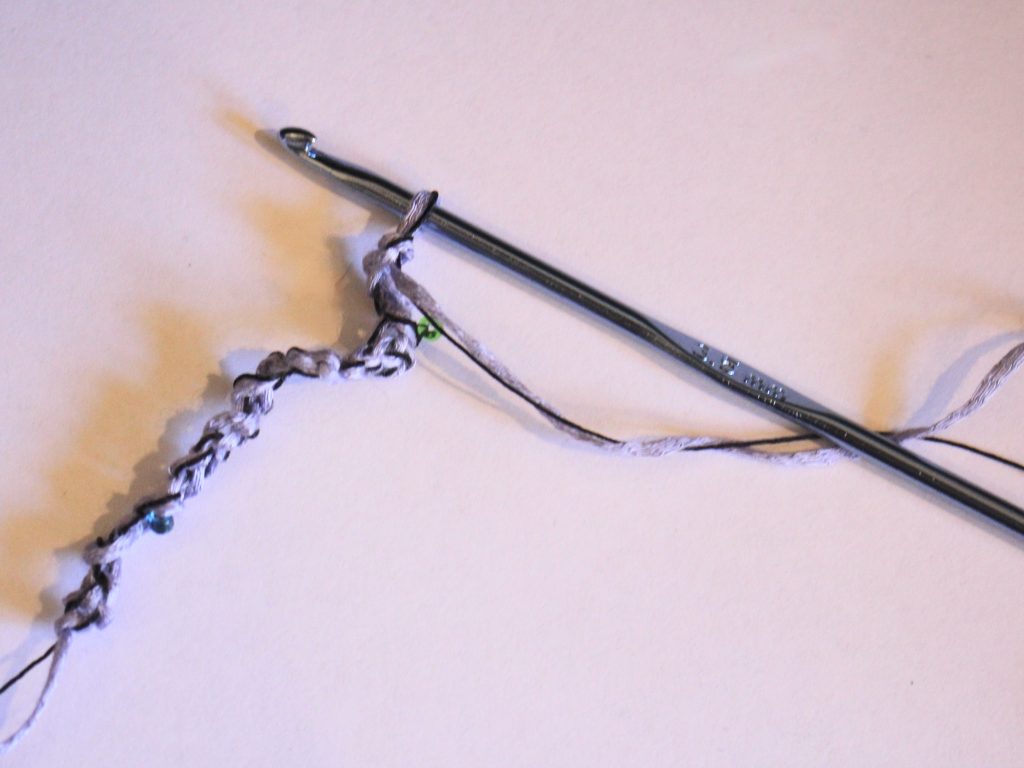
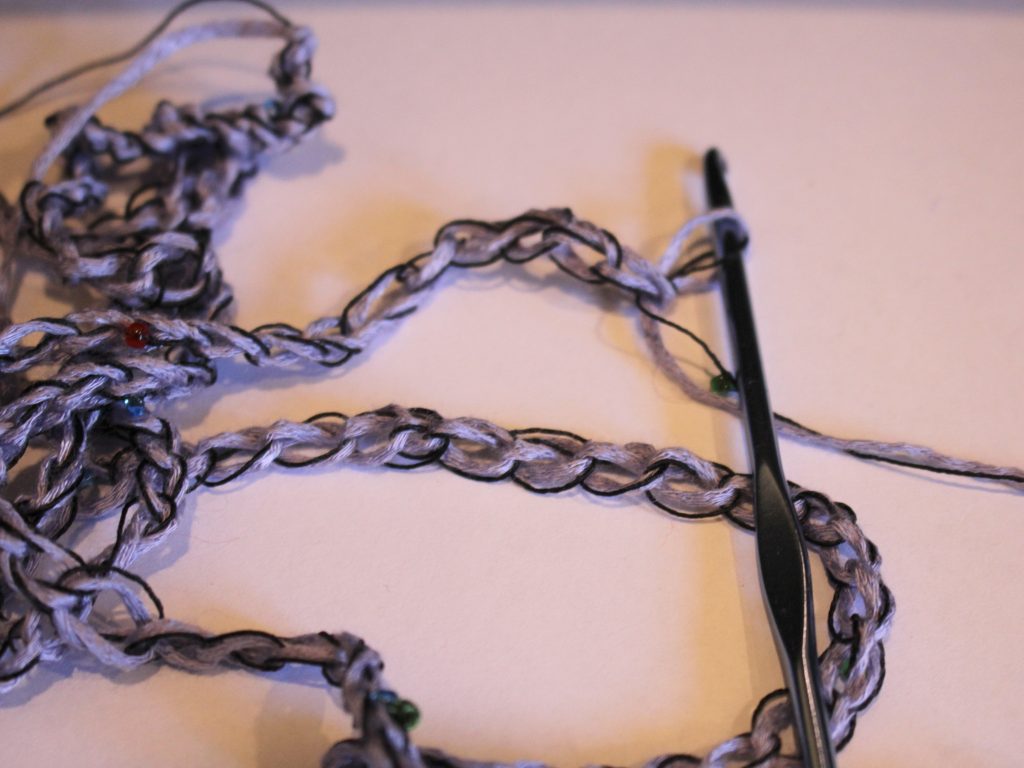
7: Once your crochet chain is long enough, cut the yarn so that you have a shorter length of yarn.

8: Take the last loop off of the crochet chain and loop the end of the yarn through it, pull it tight to create a knot and finish the crochet chain.

9: Knot the two ends of the crochet chain together.

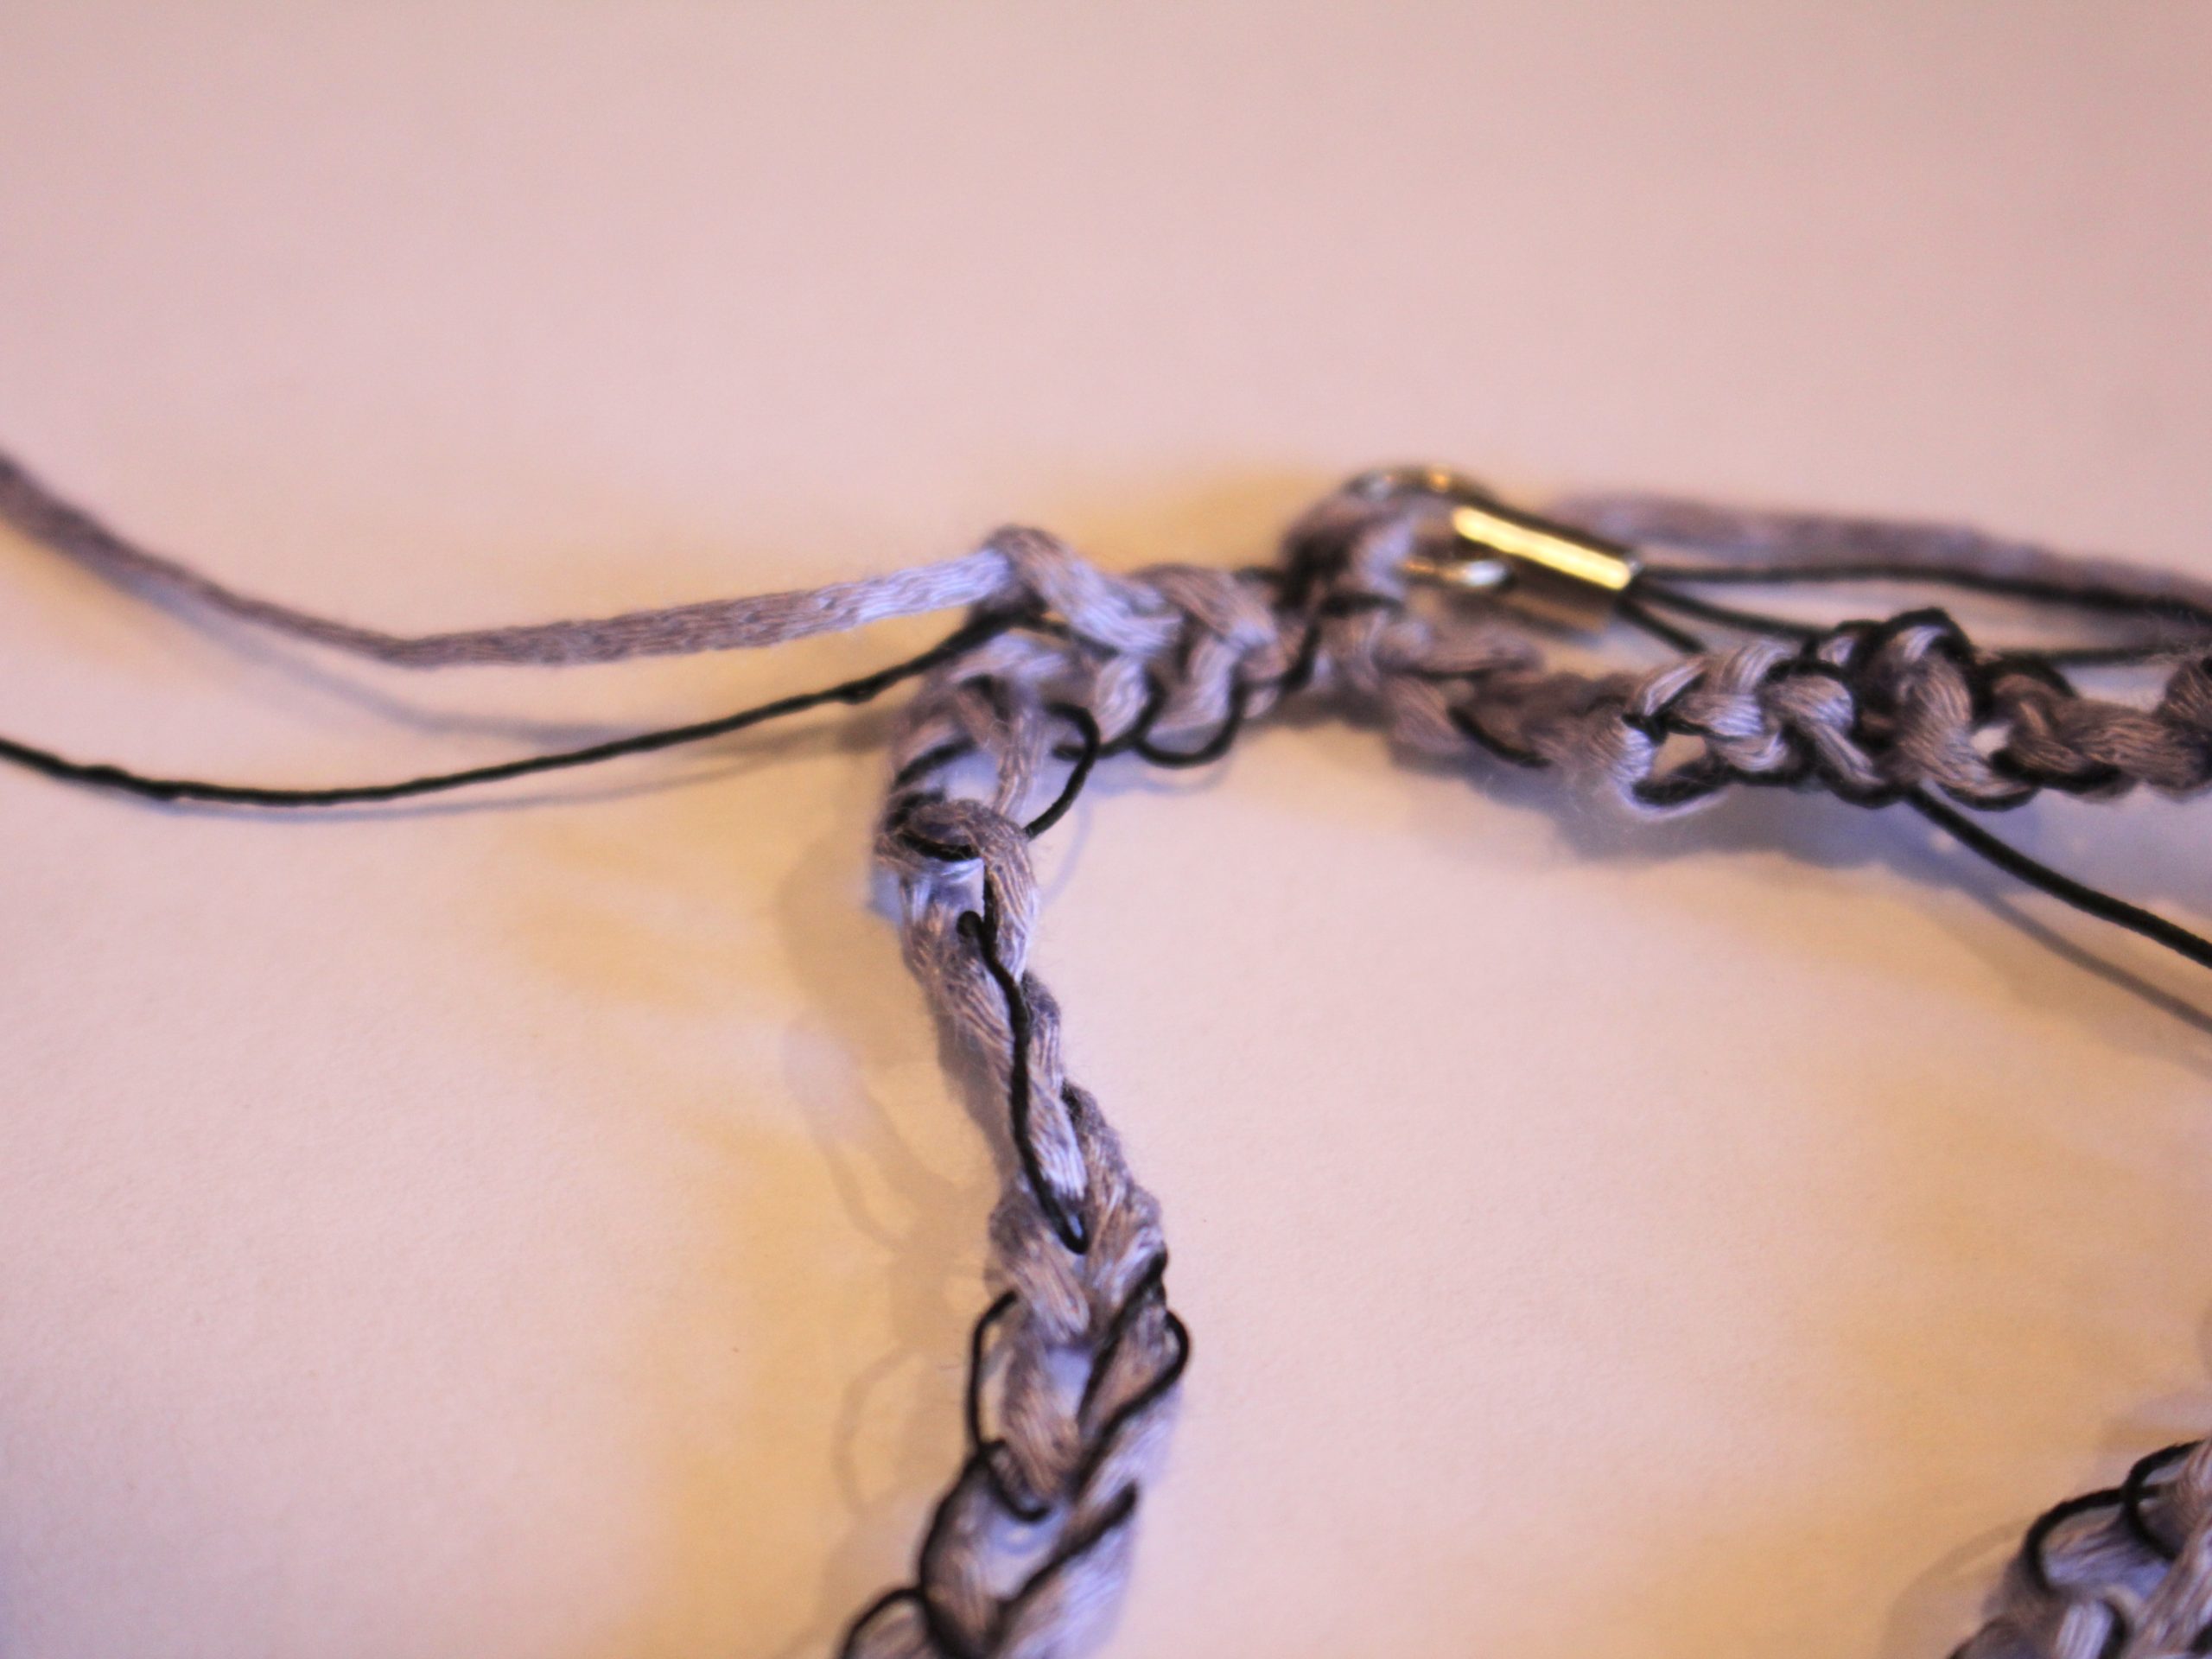
10: Slide the excess yarn through the jump ring at the end of the phone loop and then create a couple of knots.


11: Use the needle to weave the ends of the yarn into the crochet chain. Trim any excess.


Now your crochet phone lanyard is finished and ready to use! Make one to protect your phone during your travels, or to keep it safe at home! I’ll be wearing mine across my body to protect my neck and help keep track of my phone.

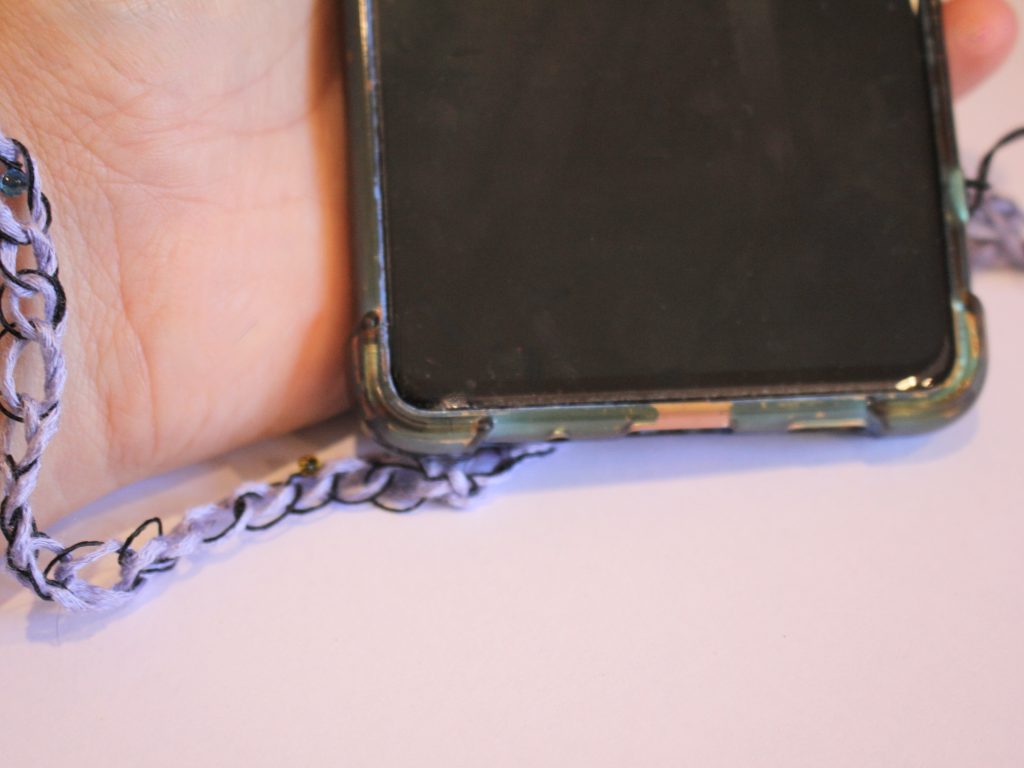
If you want some other phone strap tutorials, you can find some here:
1: Turn a chain necklace into a phone wrist strap.
2: Transform some string into an amazing beaded phone strap.
3: Make your own sparkly rhinestone wrist strap for your phone.
4: Construct a simple chain phone strap.
And if you want some lanyard inspiration, here are some additional tutorials you can try:
-
Do you love the look of knit accessories? Why not try knitting your own bangle?
I’ve previously written an i-cord knitted bracelet tutorial, and this one is kind of similar, but the special twist here is the addition of a wire to give the knit structure so it wears more like a bangle than a bracelet! This simple tutorial requires some basic knitting skills, but I think the results are worth it. Please note that this tutorial contains affiliate links.
You’ll need the following tools and materials to make your knitted bangle:
1: Yarn. I used two leftover yarns, a sliver sparkly mohair and a pink boucle style yarn.

Hot pink yarn:
Sparkly black yarn:
2: A piece of wire. I used some recycled copper wire.

3: Pliers. I used my cutting pliers, flat nose pliers and round nose pliers.

4: Scissors.
5: A darning needle.
6: Two double pointed knitting needles. I used some 8mm needles to give myself a chunky i-cord. The width of your i-cord will depend on the size of your yarn and your needles. I recommend using a thick yarn and needles for a bold bangle. Alternatively, if you don’t like knitting, you can use an i-cord knitting machine.

Alternatively, you can try an i-cord knitting machine
Follow these steps to make your own amazing knitted bangle:
1: Hold the two yarns together.

2: Create a slip knot and add it to the needle, pull the yarn to tighten it around the needle.


3: Cast on two more stitches. After casting on the three stitches, slide them to the other end of the needle and begin knitting the first stitch. Knit the next two stitches. This will start to form a tube. You can see this process a bit in this video.
4: After finishing the first row, slide the stitches to the other end of the needle and repeat the knit pattern you did in step 3.

5: Once you have your desired length, it is time to cast off. To cast off, knit the first stitch onto the second needle, then knit the second stitch, after you slide it onto the next needle, take the first stitch and pull it over the second one, you will now have one stitch on each needle. Repeat this again until you only have one stitch left on the second needle.
6: Leaving the final stitch on the needle, trim the end of the yarn leaving a tail.

7: Remove the needle and then thread the tail through the loop and pull it tight. Now your cast off is complete.


8: Take the wire and start pushing it into the middle of the i-cord.


9: Create a loop on one end of the wire.


9: Form the wire into a large circle shape, this will be the form of your bangle.

10: Trim the excess wire using your cutting pliers, leaving a little excess on the end to allow for the loop.

11: Put the second end through the loop you made at the first end, then loop them together using your round nose pliers.


12: Push the knitted i-cord tube around to cover the loops you made. and then tie the two ends together using the tails you left.

13: Use the needle to weave the tails in and further cover the wire. Trim any excess yarn.


Now your knit bangle is finished and ready to wear! How cute is this design? I love it. I’m planning to make a whole stack to add some fun colourful accessories to my wardrobe.


Here are some other fibre focused jewelry tutorials you can follow:
-
Looking for fun ways to store your jewelry? Why not make a cute little ring dish?
I love having my jewelry out on display so I can admire it even when I’m not wearing it. I usually keep my special pieces in little bowls and dishes so they can add some sparkle to my home. This tutorial shows you how to make an adorable trinket dish using air dry clay. Please note that this tutorial contains affiliate links.
You’ll need these tools and materials to make your trinket dish:
1: Air dry clay. I used terracotta colour but you can also use white clay if you prefer. White clay will give a base for more vibrant paint colours when you come to decorate your designs.

2: A dish filled with water. This allows you to smooth out the clay.

3: A pen or something else round like a bottle, or a mini rolling pin for rolling out your clay. I used a marker pen.

4: Paint. I used some pink acrylic paint, you can use any colour you like.

5: Paint markers. I used a metallic blue paint marker.

6: Some PVA glue for adding a shiny top coat to the dish.
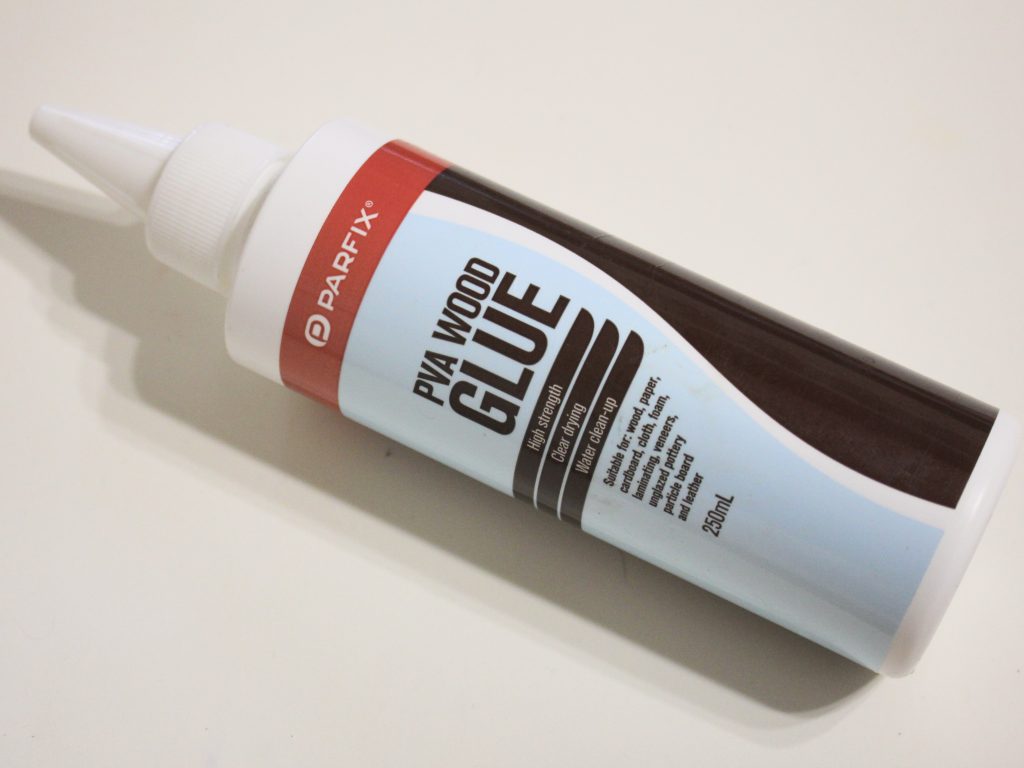
7: Paint brushes.

Follow these steps to make your adorable trinket dish.
1: Grab a chunk of clay.

3: Roll it out flat, trying to keep it in a circular shape. Keep the thickness of the clay consistent by using a rolling pin or something similar to flatten the clay.


4: Take one side of the clay circle and pinch it. This will form a fold in the clay and start to form a bowl shape.

5: Pinch the other side of the clay to finish forming the bowl shape.


6: Dip your finger in water and use it to smooth out the edges of the bowl.


7: Set the bowl aside to dry, depending on how dry the air is where you live, this could take a few hours to a couple of days. I accidentally left mine in the rain so it took a little longer to dry!

8: Once your bowl is dry, you can add paint. I painted mine with pink acrylic paint. I suggest doing a couple of coats of paint, waiting to do the inside and the outside so that the paint doesn’t smudge while its drying.


9: Once you are happy with your paint coverage, add extra decoration using paint markers. I added metallic blue dots to mind.


10: Coat the bowl with PVA glue to give it a glossy topcoat that also protects the clay from moisture.


Now your trinket bowl is finished and ready to use! Here’s mine with some silver rings inside.


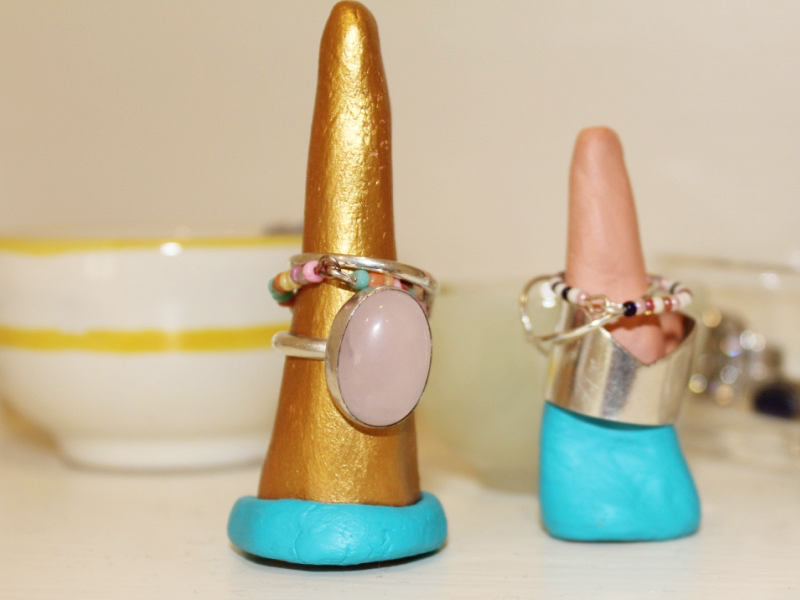
If you liked this tutorial, you can also learn how to make a ring stand out of air dry clay here.
Here are some other air dry clay tutorials you can follow:
-
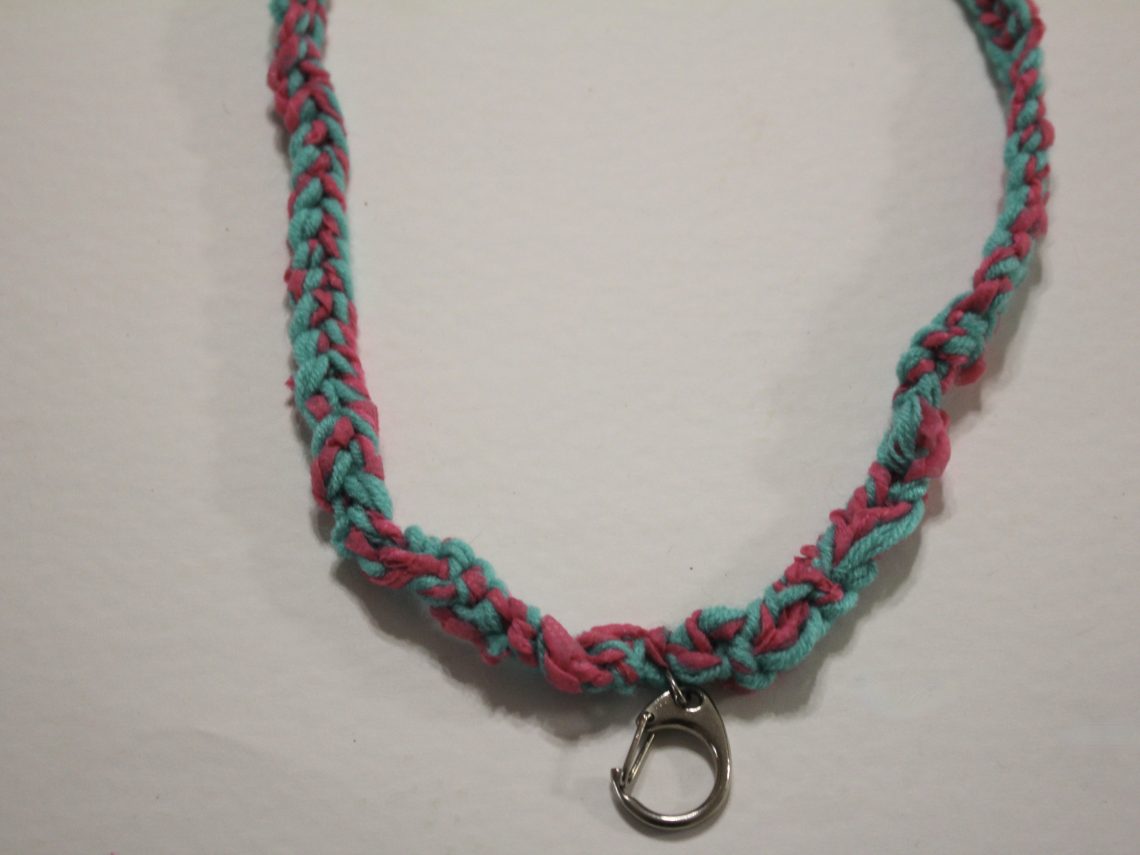
Here’s how to make a colorful crochet lanyard!
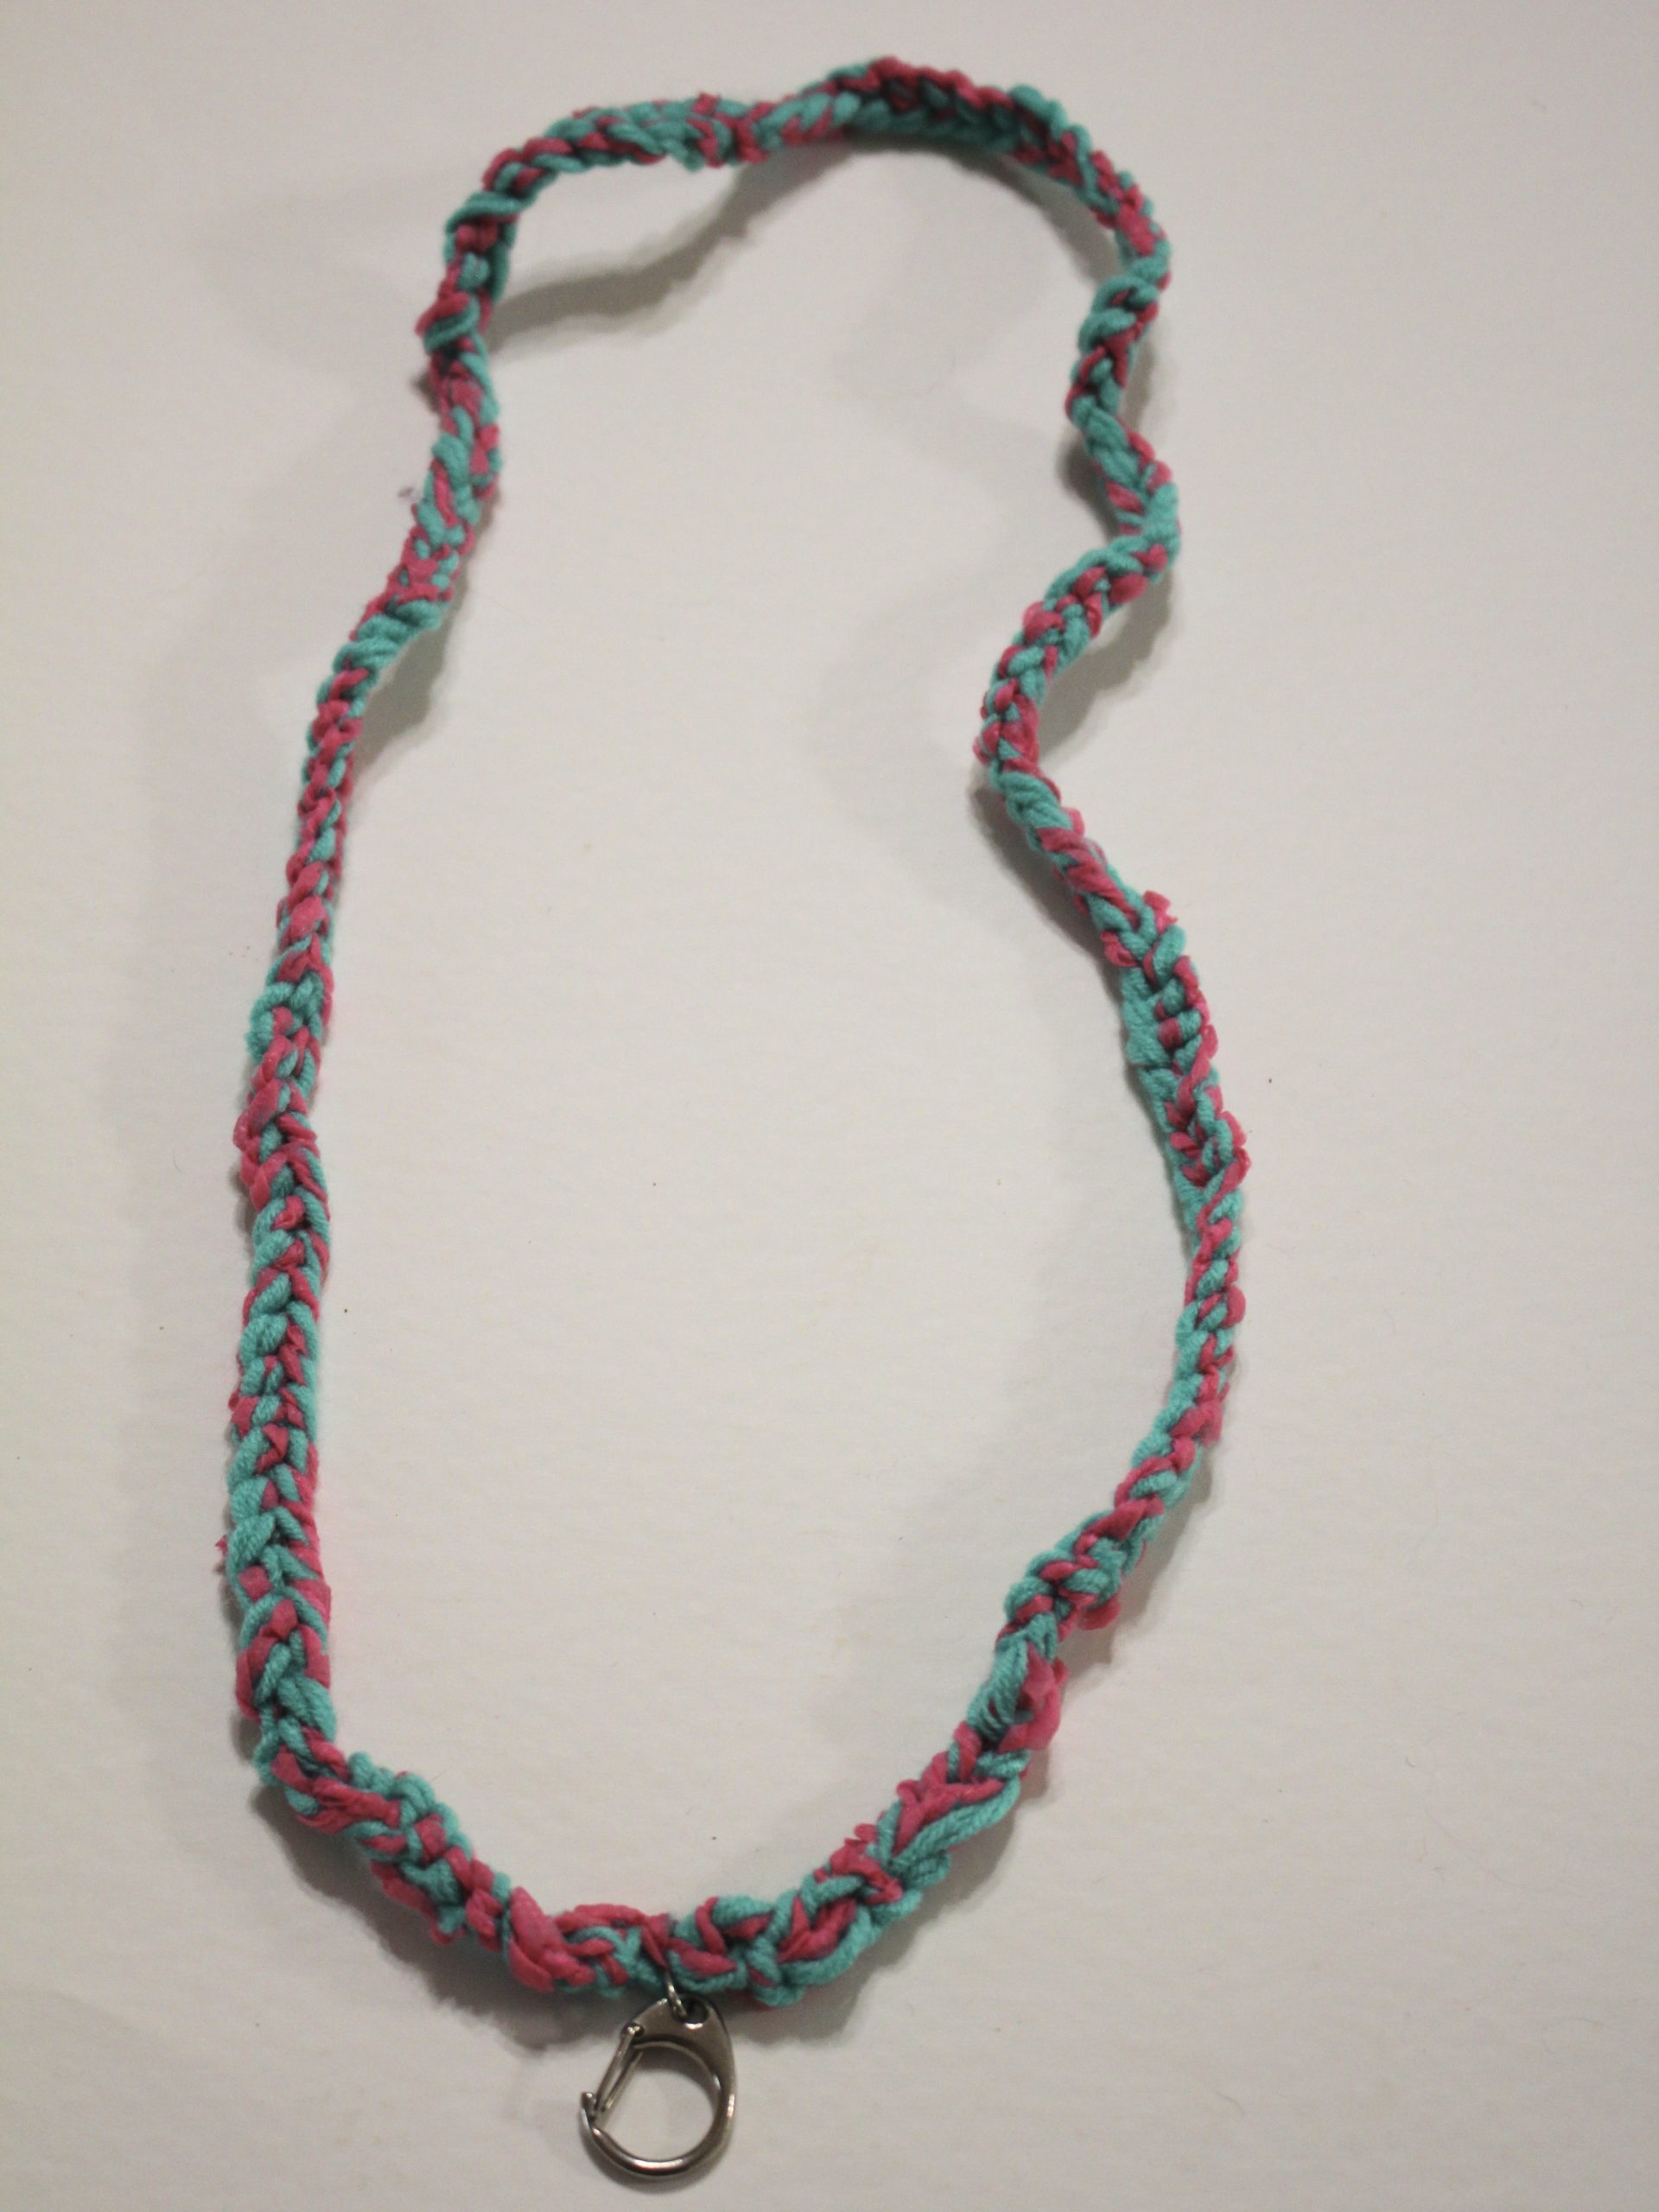
I have a teacher friend who loves a colourful lanyard, so this tutorial is inspired by her! This lanyard uses basic crochet combined with a large claw clasp to create a fun and practical accessory. I think this tutorial is a great way to use up scrap yarn and turn it into something useful. Please note that this tutorial contains affiliate links.
You’ll need these tools and materials to make this lanyard:
1: A crochet hook, large enough for chunky yarn. I used a 7mm hook.

2: Some yarn. I used three strands held together, two green strands and one pink strand.

Green yarn
Pink yarn
3: Scissors.
4: A darning needle.
5: A large lobster claw or similar. I used this chunky one that was recycled from an old keychain.
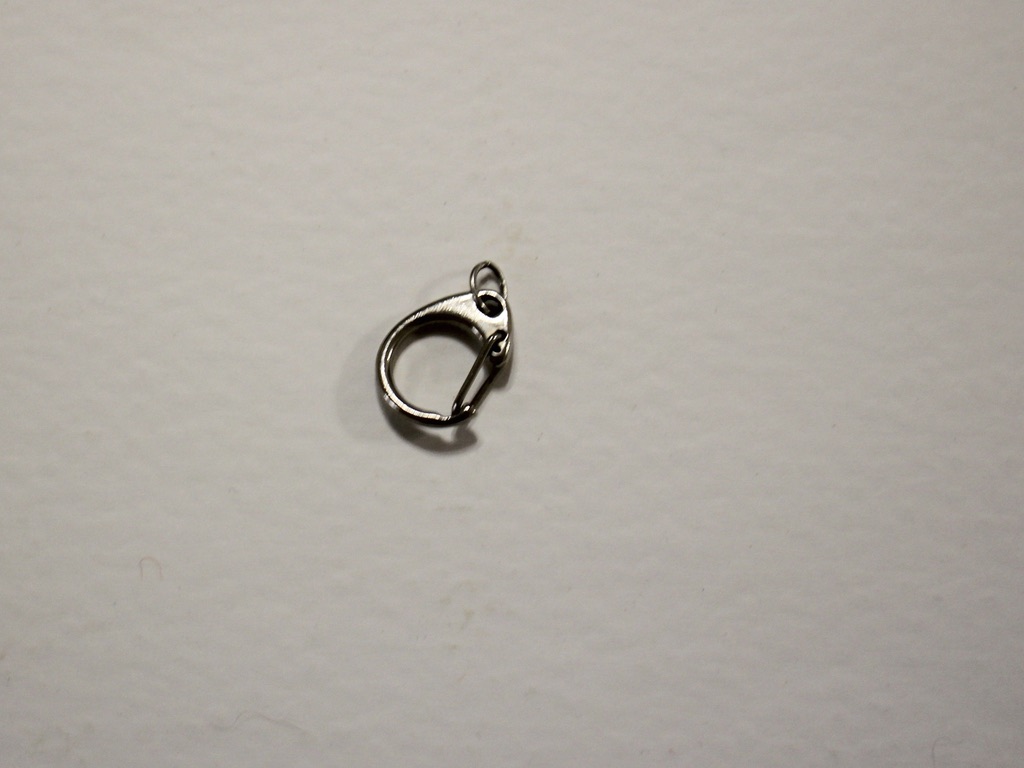
Here are the steps to make your own crochet lanyard.
1: Gather the three strands together.

3: Create a slip knot.

4: Place the loop around the crochet hook and pull the short end of the yarn to tighten it around the loop.

5: Take the long end of the yarn and wrap it around the hook before the first loop you made.

6: Grab the first loop and pull it over the top of the yarn you just wrapped around the crochet hook. This will leave you with just one loop on the hook again.

7: Repeat steps 5 and 6 to start creating a single row of crochet. Here’s a video that shows you what that looks like.

8: Continue crocheting until you have a length you like.

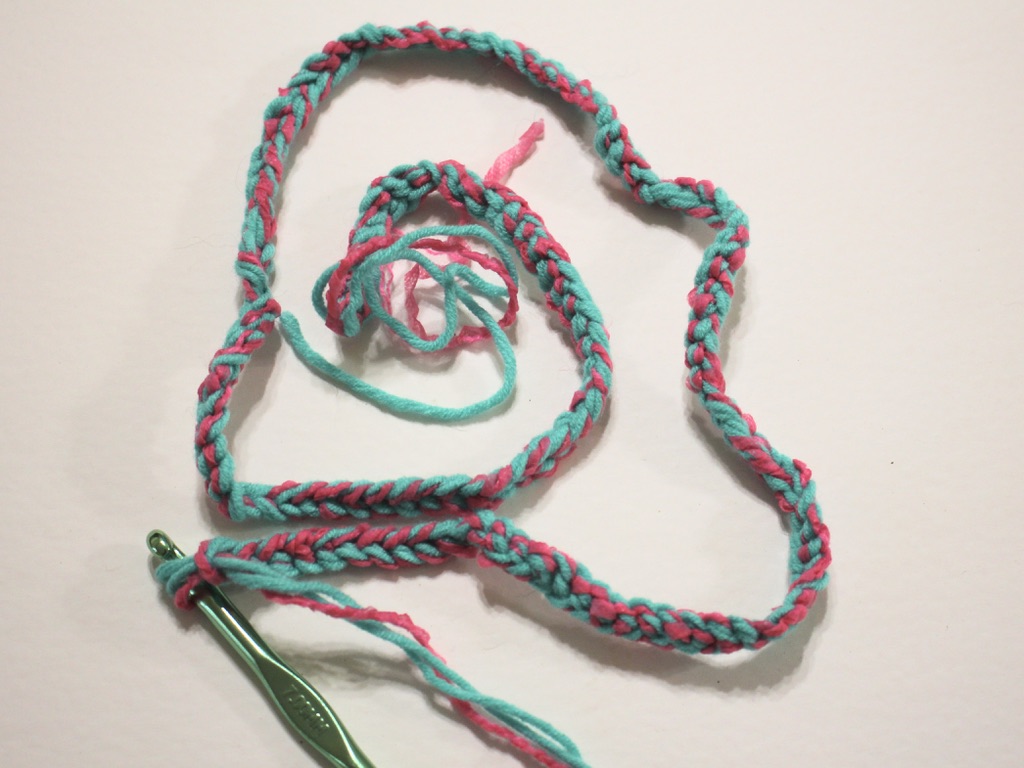
9: Cut the yarn leaving a reasonably long tail, about 15cm.

10: Remove the crochet hook and then loop the end of the yarn through the loop at the top.
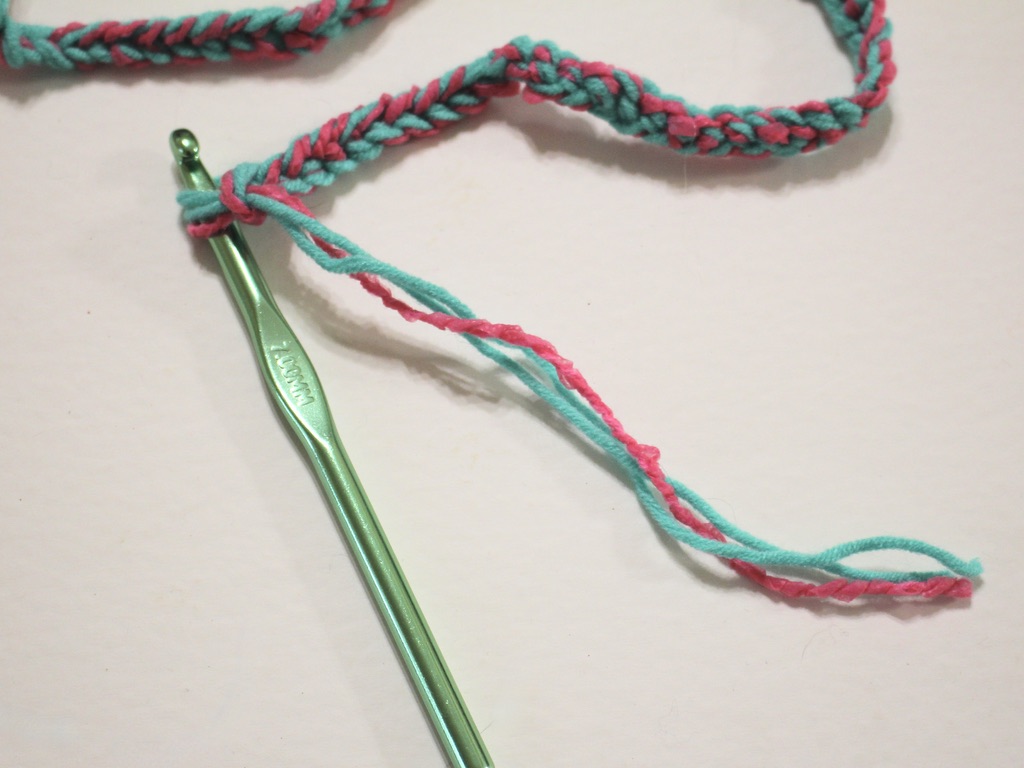
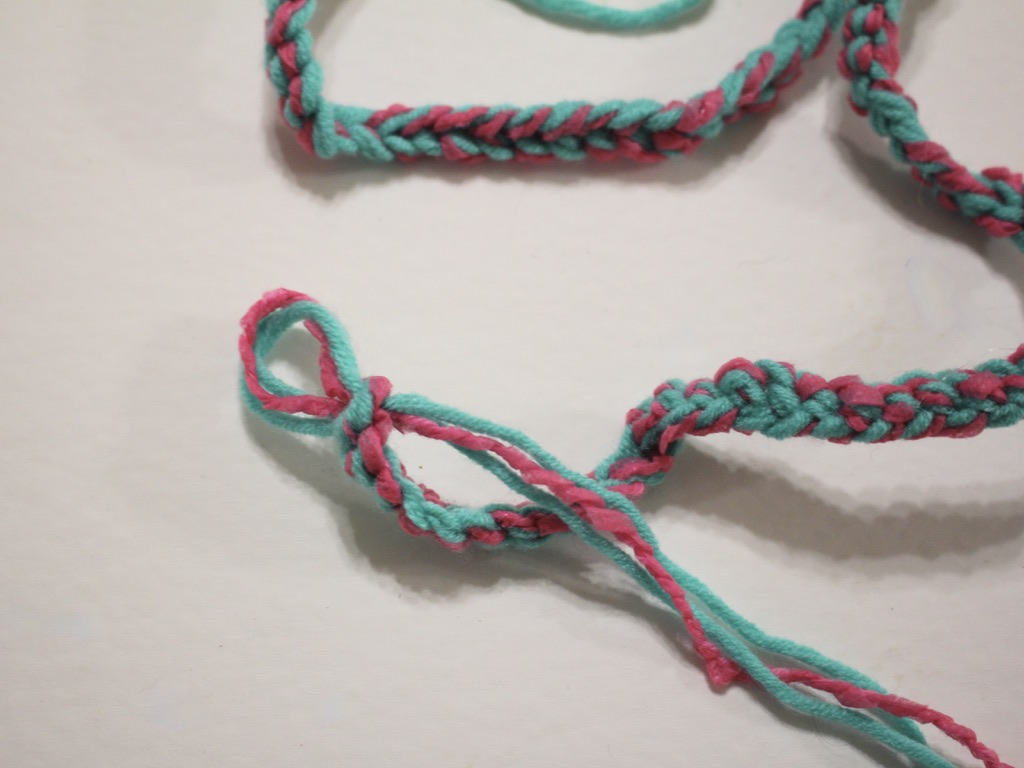
11: Pull the yarn tight to secure the end of the crochet cord closed.

12: Once you’ve got your preferred lanyard length and have the ends secured, take two of the strands (out of three) on each side and tie them together.


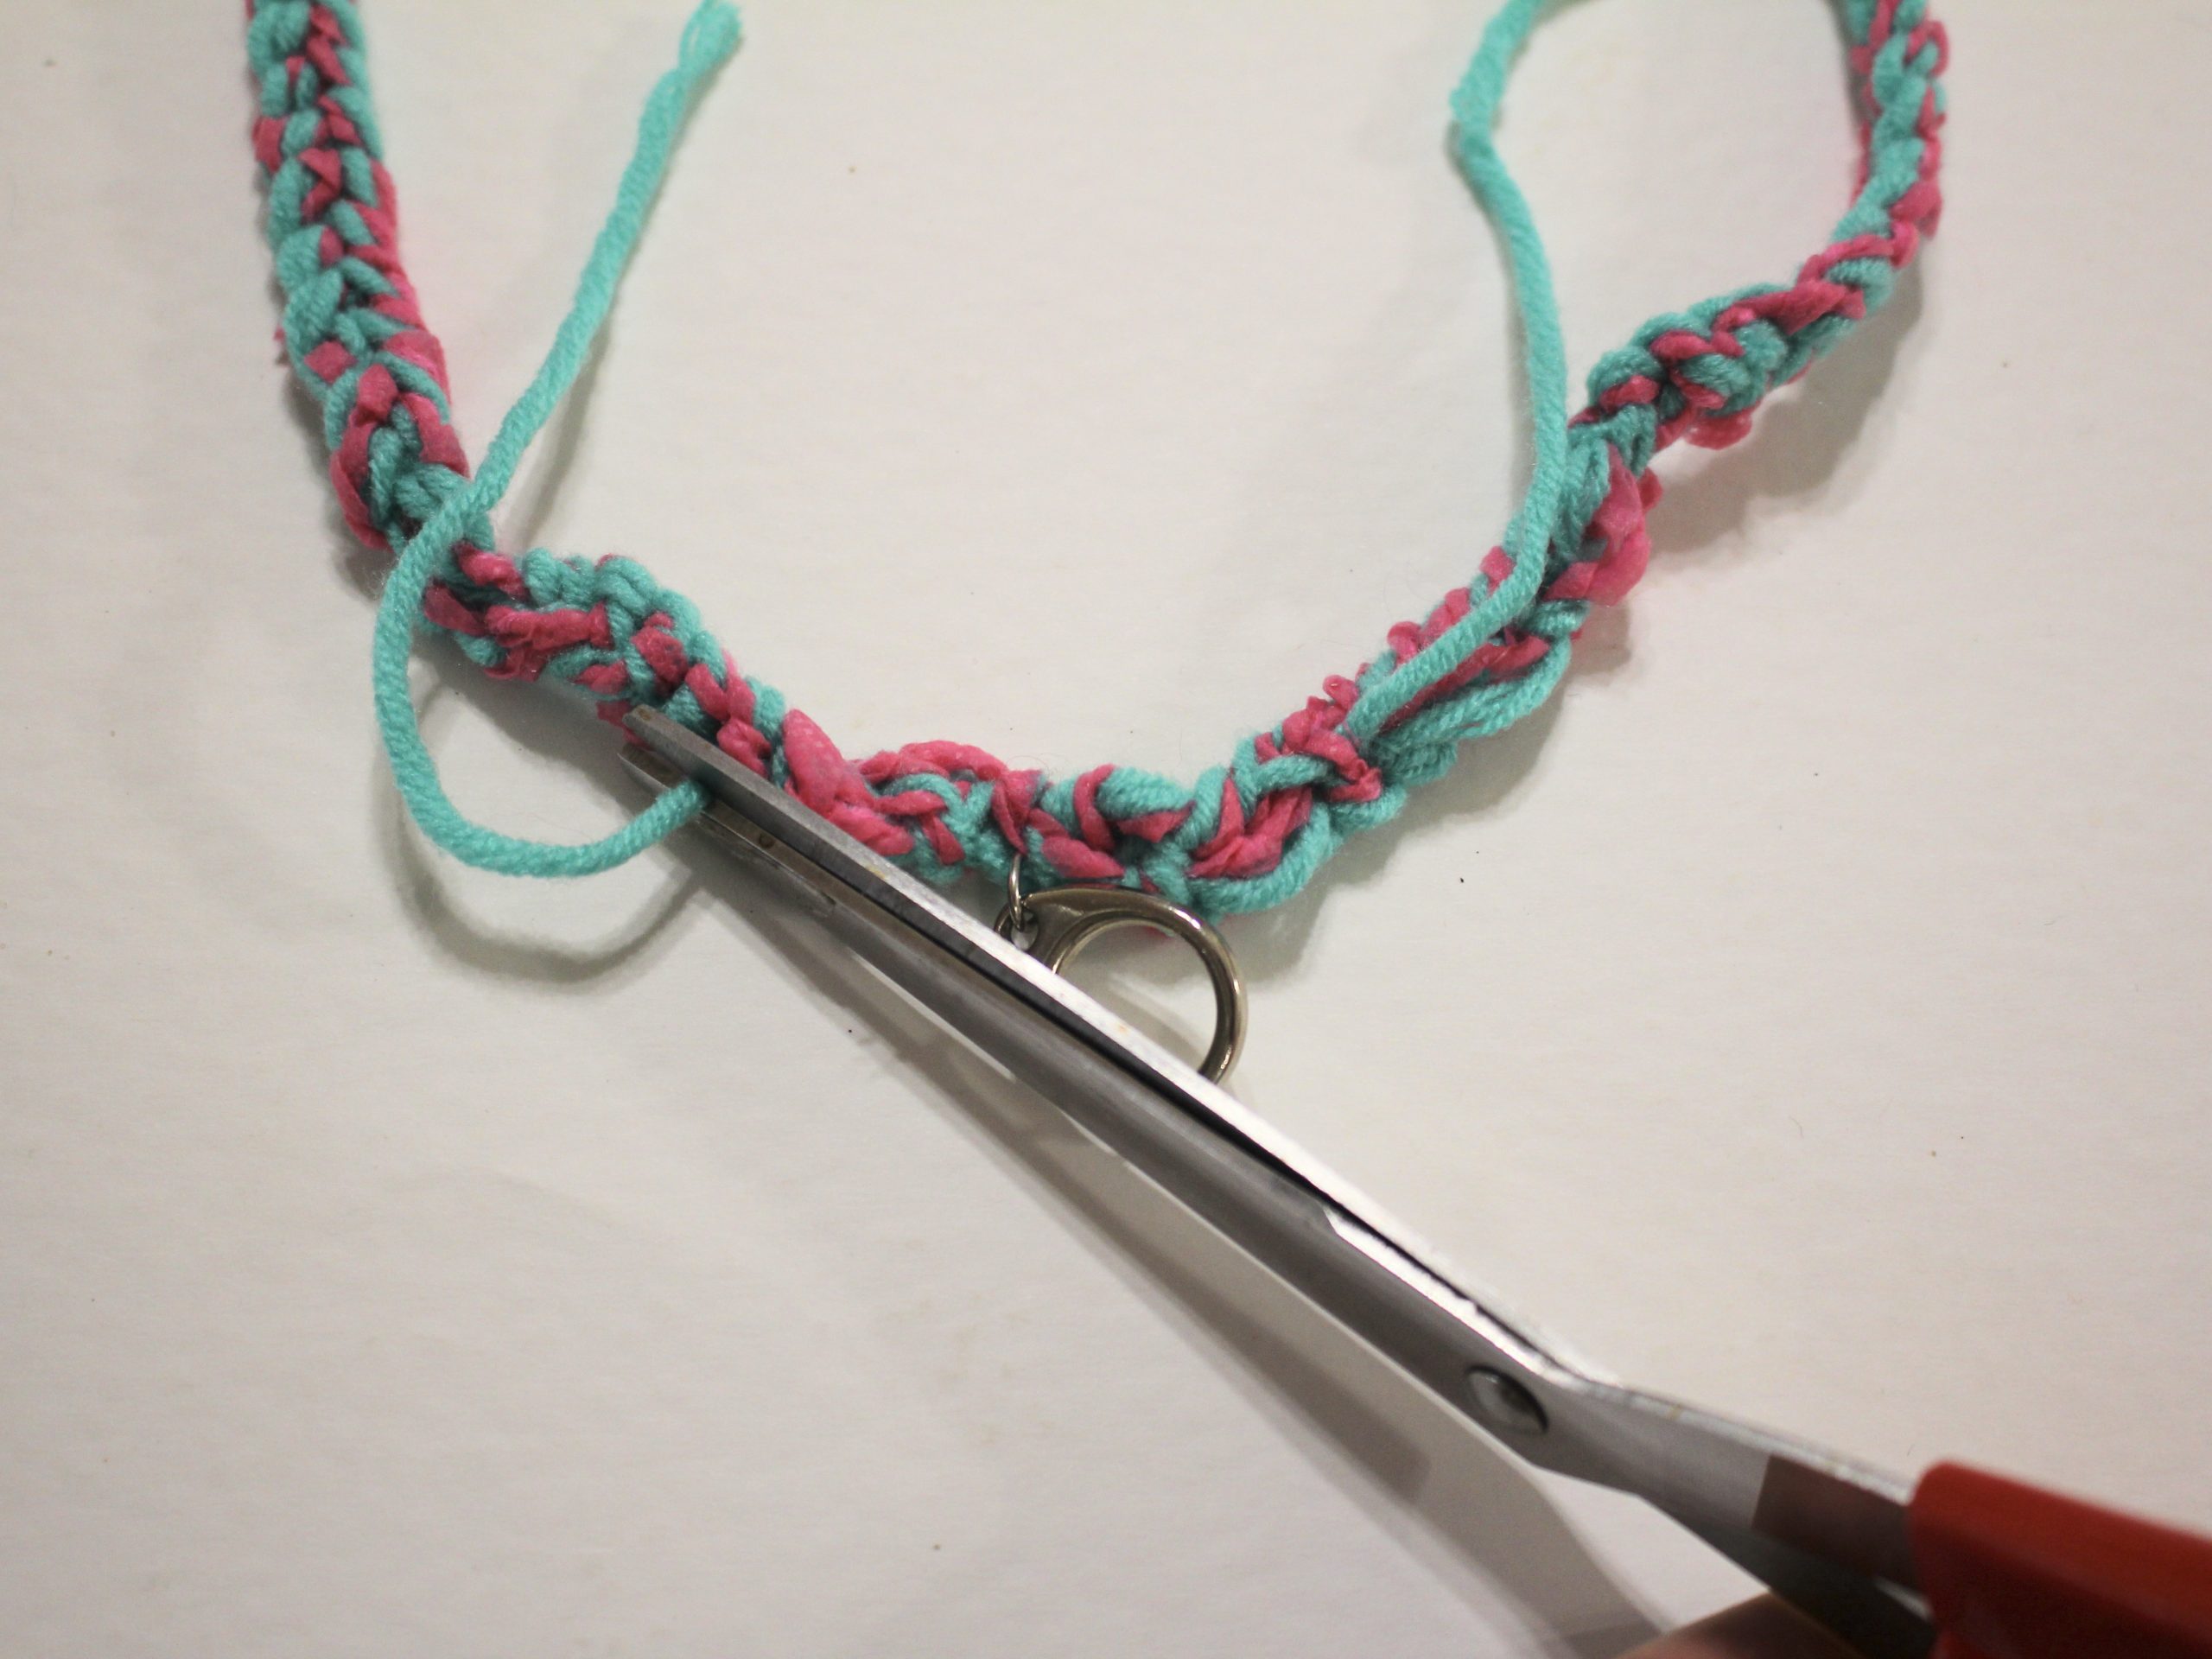
13: Use the needle to weave the paired threads through the crocheted part of the lanyard, trim the ends when you’re done. Do this for both sides of the lanyard.


14: Use the remaining strands to tie the claw clasp to the lanyard. Do a couple of knots to secure it, and then use the needle again to weave in the ends. Trim any excess yarn.


Once you’ve completed this step, your lanyard is ready to wear! Here’s what it looks like on using my needle sleeve as a sample ID 😉


What colours will your crochet your lanyard in? This is such a versatile technique, once you have your crochet base, you can add decorations by sewing in beads or buttons! You can even use a beaded yarn to add beads right from the start!
If you want to develop a lanyard collection, you can find out how to make a beaded lanyard here.
Here are some other yarn-based tutorials you can follow:
-
How to make a pair of triangle statement earrings!
Here’s how to make a cute pair of statement earrings, these are such a fun design that pack a bold punch with their size and colours. Please note that this tutorial contains affiliate links.
You’ll need these tools and materials to make these earrings:
1: Eight pieces of wire all the same length. I used 0.8mm copper wire.

Here’s a pre-made eye pin option if you don’t feel like making them yourself: https://tidd.ly/3WCad6D
2: Four statement beads. I used these polymer clay beads I made. Here’s a polymer clay bead tutorial for you.

3: Some accent beads. I used these timber beads.

4: A pair of earring hooks. If you don’t have any, you can find tutorials that show you how to make your own here, here and here.

5: Some flat nose pliers and round nose pliers. You will also need your cutting pliers if you are not using pre-made eye pins.


Follow these steps to make your amazing triangle statement earrings:
1: Bend the end of each wire to form a right angle using the flat nose pliers.


2: Loop the end of each wire using round nose pliers.

3: Add beads to two of the wires, these will form the bottom of your triangles. I added some statement beads to each of these wires.

4: Bend the ends of the beaded wires to form another right angle.


5: Loop the end of the wire using the round nose pliers. This will secure the beads in place.
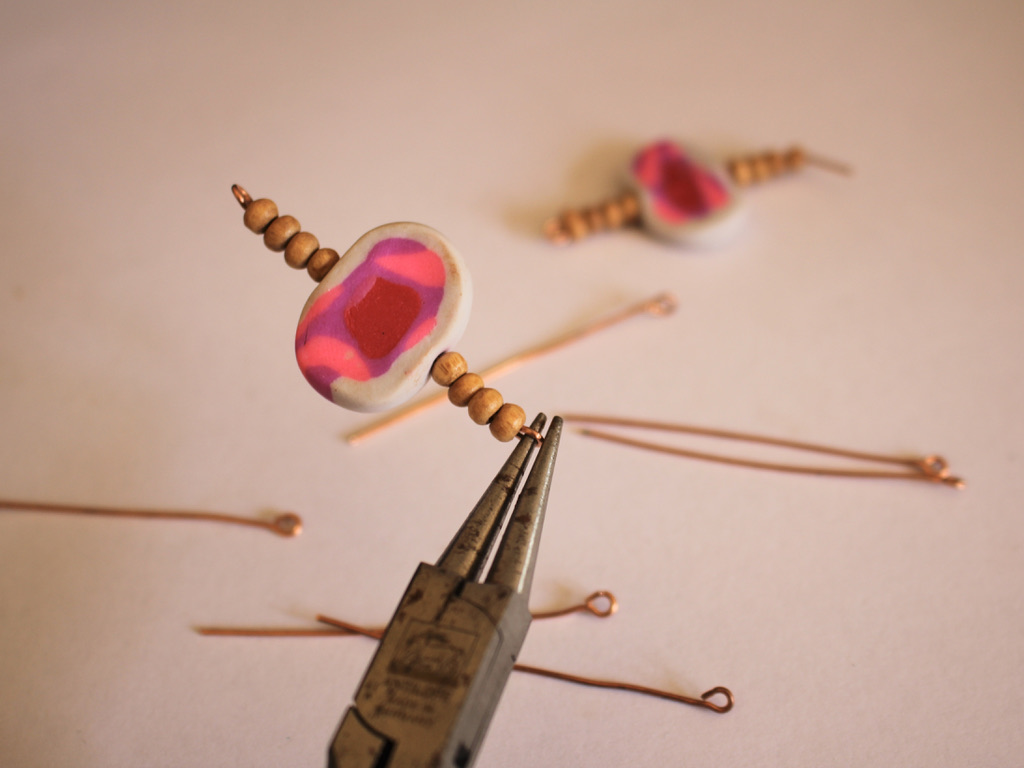

6: Repeat steps 3-5 for two more of the pins, these will be used to attach the triangles to the earring hooks.

7: Add your accent beads to the four remaining wires to create four solid beaded pins, secure the beads in place as you did in steps 4 and 5.

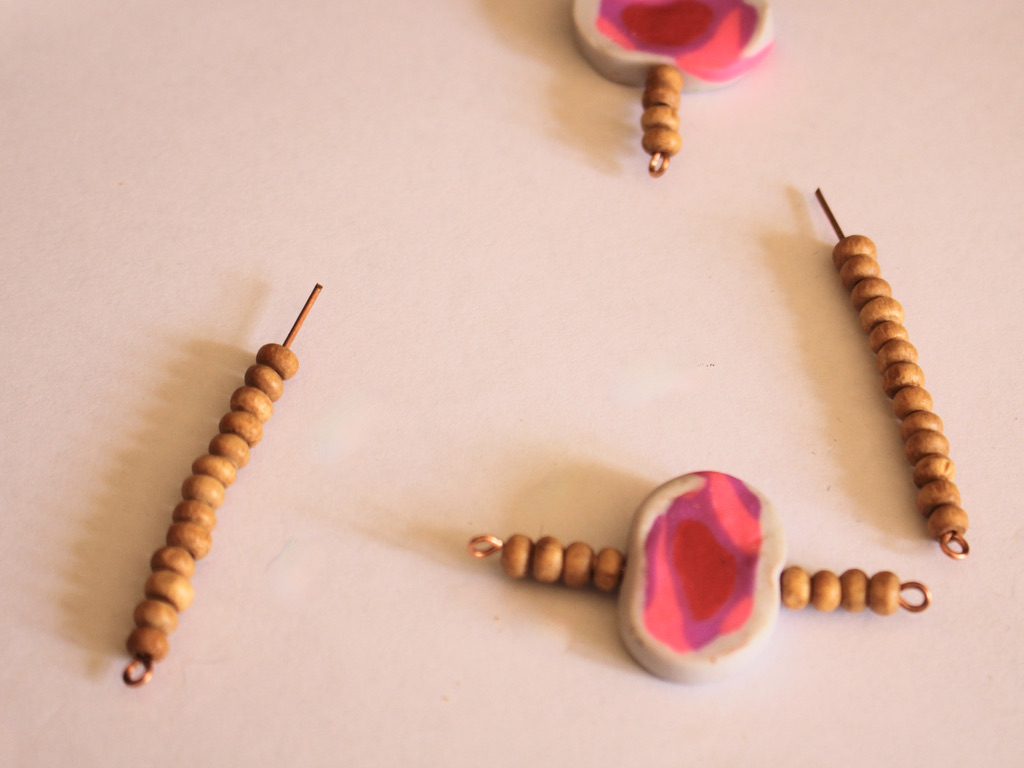


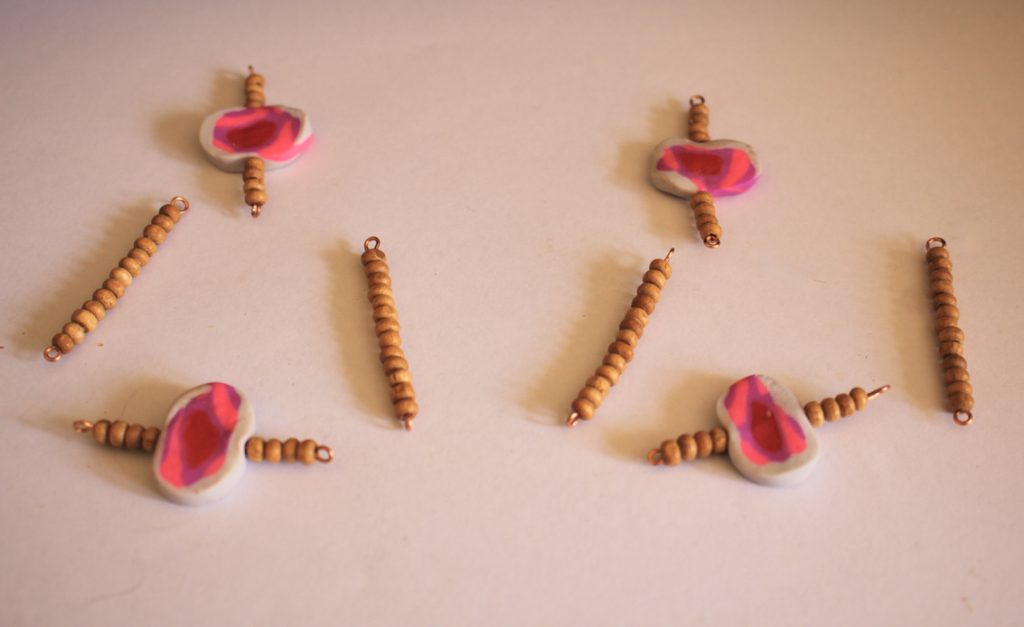
8: Now it is time to start assembling your earrings, Add one of the solid beaded wires to one of the accent beaded wires.
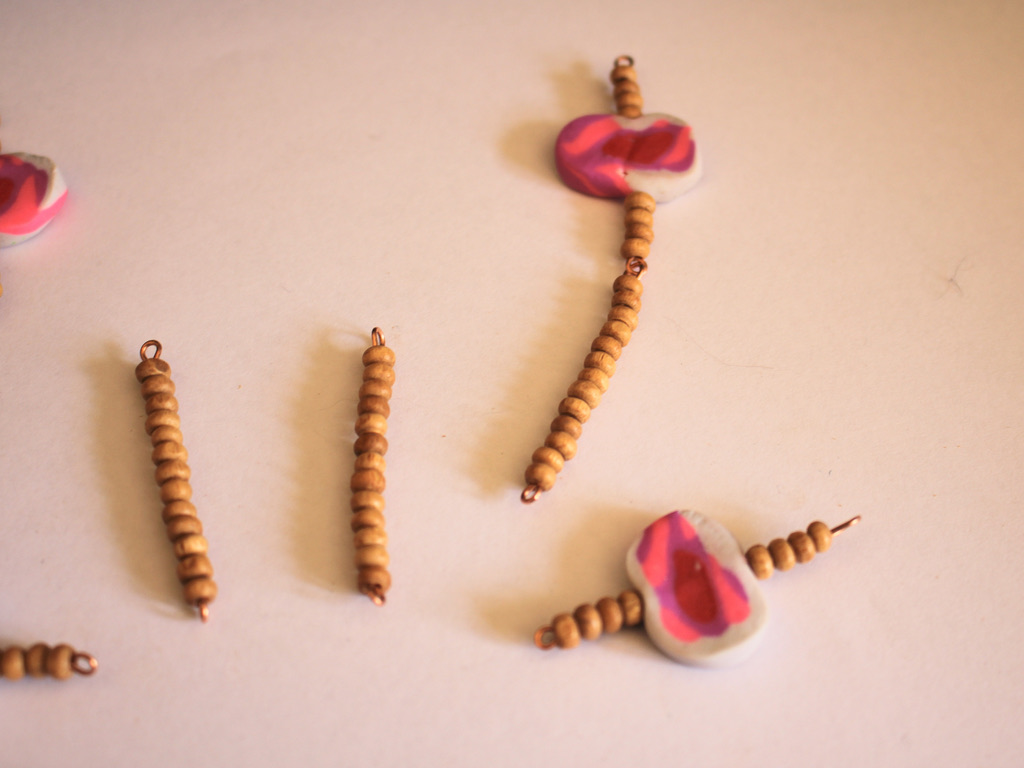
9: Add a second solid beaded wire to the first accent beaded wire, so you have one statement beaded wire with two solid beaded wires attached.
10: Add a second statement beaded wire to the earring, attaching each end to each of the solid beaded wires to form a triangle shape.


11: Repeat steps 8 to 10 for the second earring.

12: Attach each of the earring hooks to the triangle forms. Once both earring hooks are attached your earrings are finished and ready to wear out! How will you style yours?


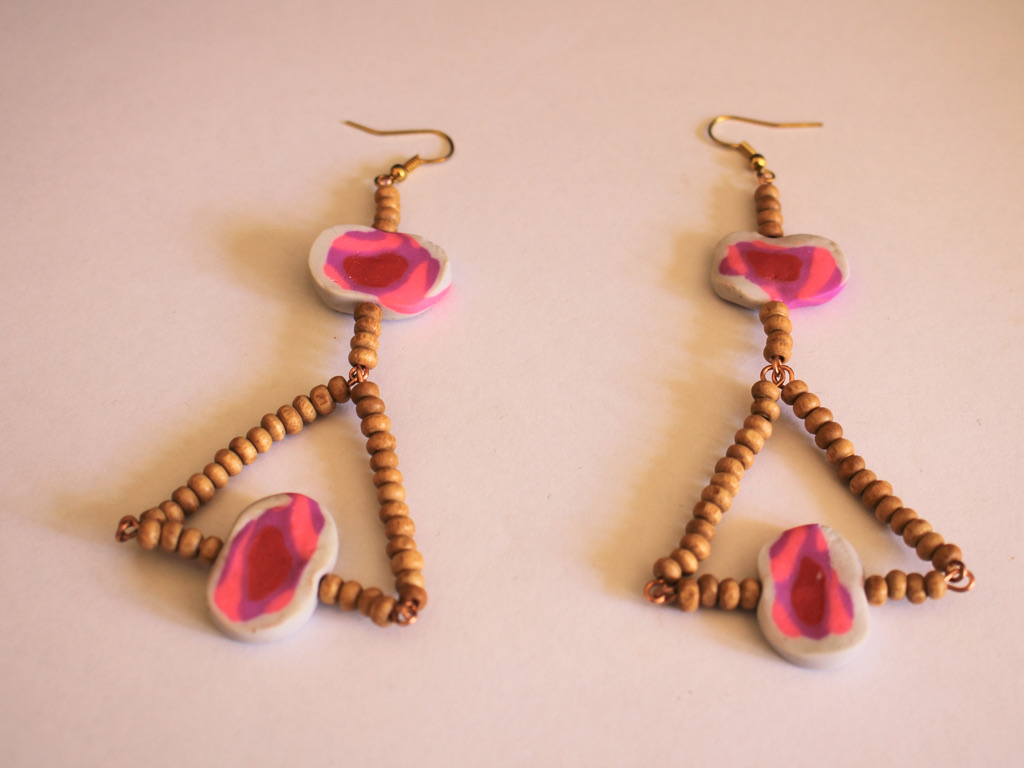
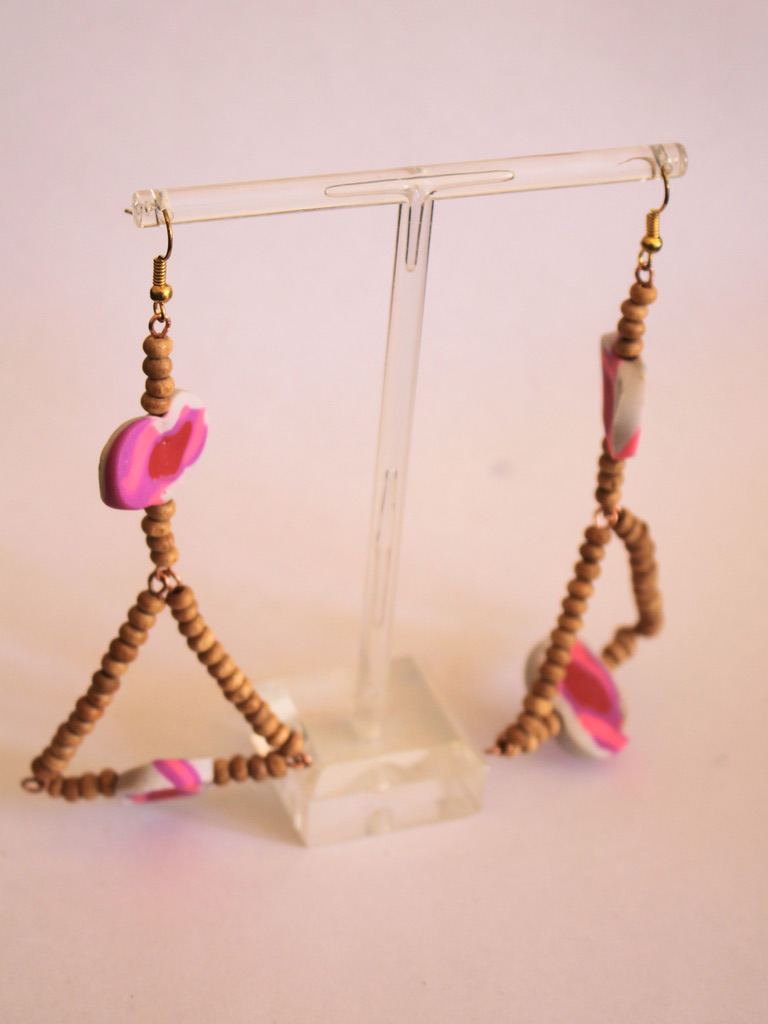
Here are the finished earrings!

-
How to make some gorgeous chain earrings from scratch!
Have you ever wanted to make your own chain? This lovely earring tutorial shows you how to make your own simple chains from scratch and turn them into a stunning pair of earrings. Please note that this tutorial contains affiliate links for which the website might receive a commission.
You’ll need the following tools and materials:
1: Two earring posts with charm connectors on them. I used sterling silver ball post findings.
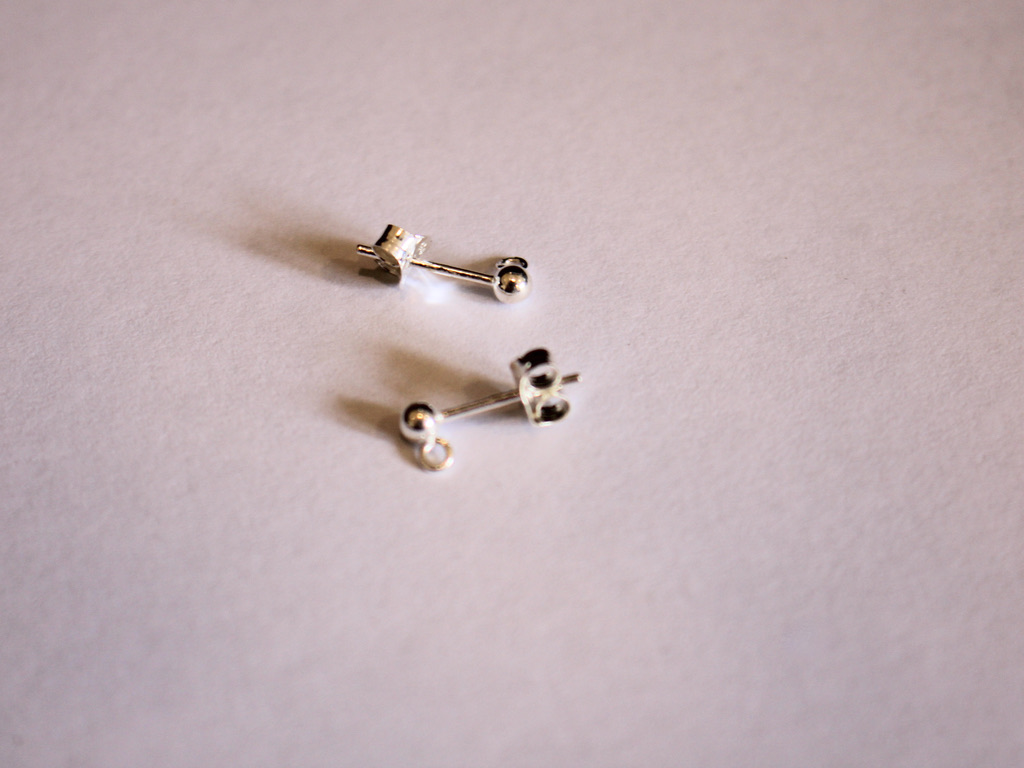
2: Two large jump rings. I used sterling silver.

3: Sixteen smaller jump rings. Mine were made from sterling silver.

4: A pair of drilled gemstone beads. You want beads that are drilled through the top rather than the middle like a typical bead. I used some greenstone disk beads.

5: Pliers. I used my flat nose and parallel pliers to open and close all the jump rings.

Follow these steps to make your gorgeous chain drop earrings:
1: Add one of the large jump rings to each of the beads, use your pliers to open and close them making sure to get the ends close together so that your bead doesn’t fall off.


This picture shows one jump ring in place and the other attached to the bead but not yet closed. 
Both of the beads with closed jump rings in place 2: Start adding some of the smaller jump rings together to form a chain. Do this by sliding a jump ring though a closed one, then closing the next one using your flat nosed pliers. You can see this in the pictures where I join two jump rings together. Create 2 chains that are 8 jump rings long, one for each earring.


The full chain formed with one jump ring left open at the end ready to attach to the bead. 3: Attach the chain to the jump ring attached to the bead, closing it carefully with pliers.


4: Attach the chain to the earring post by opening one of the jump rings at sliding it onto the charm connector, close the jump ring again to secure it.


5: Repeat steps 3 and 4 for the second earring to finish them off.

Now you have a gorgeous pair of earrings featuring a handmade chain detail. How special is that? Below are some pictures of the finished product!


-
Here’s how to make your own Shepard hook earring findings using a wig-a-ma-jig!
I’ve already shown you how to make your own earring findings, here and here. But I haven’t shown you a way to make more traditional earring hooks from scratch. These simple Shepard hook earrings findings are made using some 0.8mm thick wire and a special contraption designed for wire-work called a ‘Wig-a-ma-jig’! Please note that this tutorial contains affiliate links.
You’ll need the following tools and materials to make your Shepard hook earring findings:
1: Some cutting pliers to cut your wire to length and trim any excess.
2: A pair of flat nose pliers to do some extra shaping to your earring hooks if required.
3: A Wig-a-ma-jig tool with pegs to create the shape for your earring hooks.

4: A needle file for smoothing the ends of your earrings, some sandpaper can be useful for getting a smooth finish as well.

5: Some wire. I used some copper wire in this demonstration but I suggest using sterling silver wire as it is a more suitable material for sensitive piercings. I used two pieces of copper wire about 0.8mm in diameter and about 8-10cm long. You will have some excess at the end that you will need to trim.

Follow these steps to make your earring hooks:
1: Arrange the Wig-a-ma-jig pins in the following formation, this will form the shape of your earring. The first peg is the bottom loop of the earring hook, the large top peg forms the arch of the earring and the last peg helps make the ‘kick’ at the end of the earring where it goes through your piercing.
2: Place the wire between the first two pegs as indicated in the picture below.

3: Take the long end of the wire and shape it around the large peg to form an arch

4: Loop the short end of the wire around the first smaller peg to form a circle shape, there will be some overlap at the end of the wire.
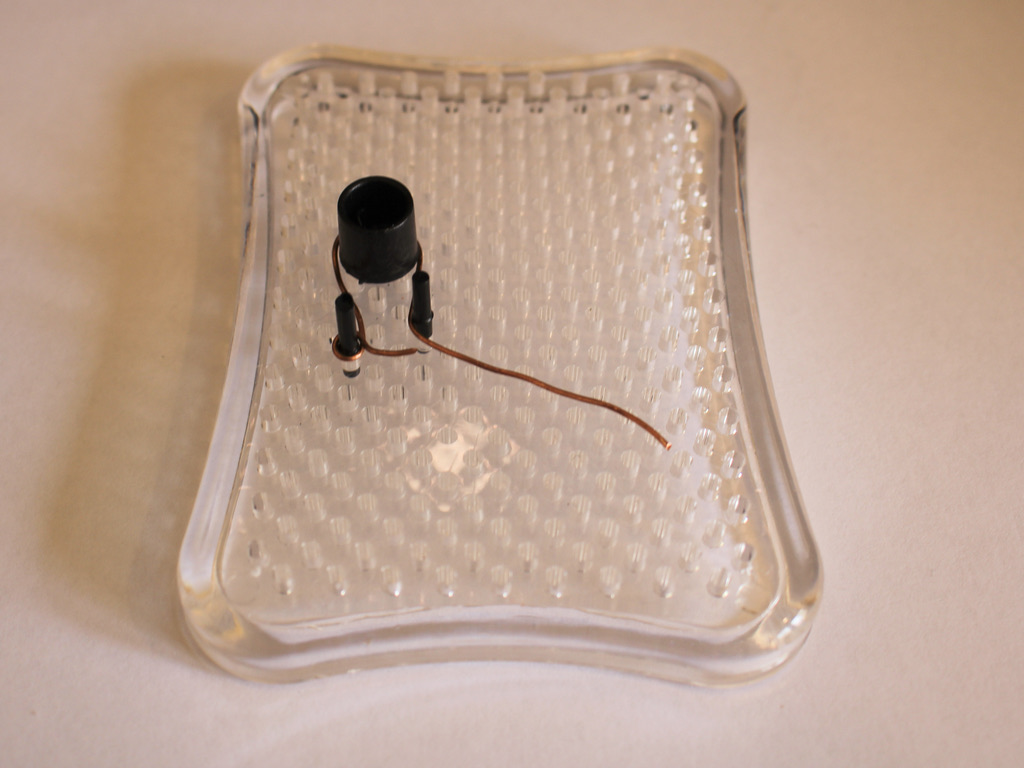
5: Kink the end of the wire underneath the last peg, there will be a lot of excess wire that will be trimmed later. You can see this pictured in the image above.
6: Take the wire shape off of the pegs. Do this carefully so as not to bend it out of the shape you just made.

7: Use the cutting pliers to trim the excess wire from the end of the earring and the loop overlap.


8: File the ends you just trimmed so they are smooth and won’t poke anyone wearing your earrings.

9: Repeat steps 2-8 for the second earring ensuring that the match.

Here’s my second earring on the jig 

Once I had both earrings made, I did some small adjustments on them using my flat nose pliers to make sure they sat flat and were a nice shape, once I was happy with how they looked, these new earring findings were ready to use in a new earring creation! Below is a picture of the finished set of earring hooks.
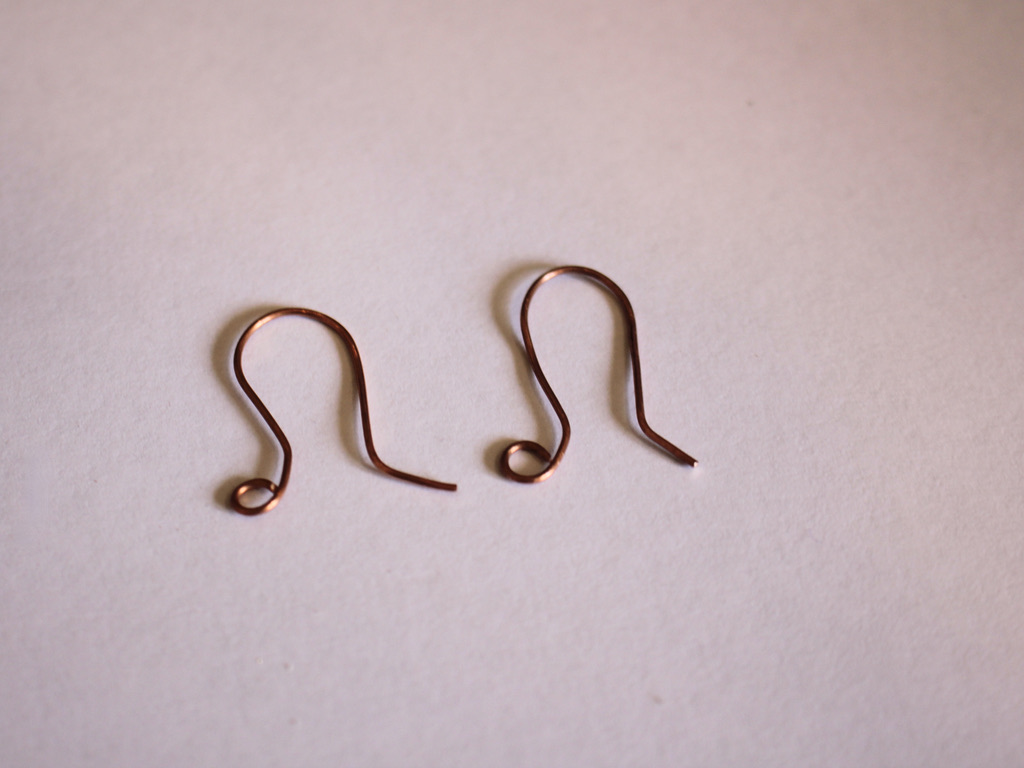
Making your own jewellery findings is a great way to elevate your jewelry designs and have them feel even more unique and special. What will you attach to your hand made Shepard hook earring findings?
-
Here’s how to make a beaded necklace out of wire!
If you want to make a beaded chain necklace, but don’t have any head pins, or if you want to add some handmade flair to your work, here’s how you can use wire instead! This necklace tutorial uses the clasp from last month’s tutorial, you can follow it here.
Please note that this tutorial contains affiliate links
You’ll need these tools and materials to make your necklace:
1: Some wire. I used some copper wire that was about 1mm in diameter.

Here’s some silver wire if you prefer it: https://amzn.to/3M8DgL0
2: A clasp. I used the clasp made in this tutorial.

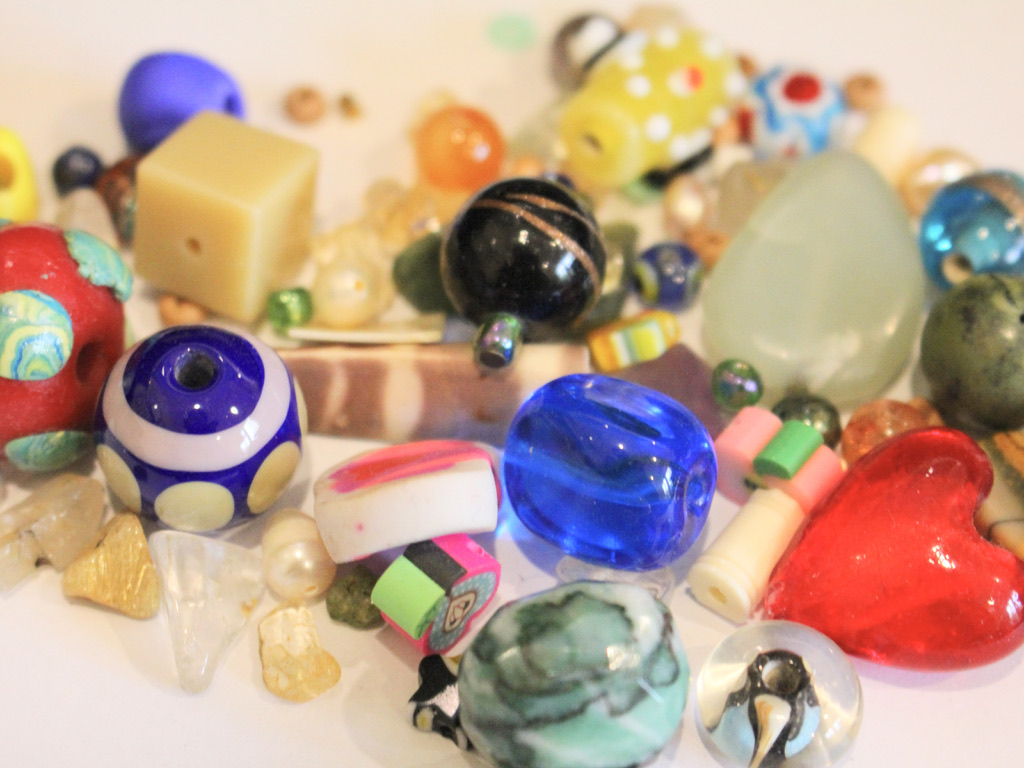
3: A selection of beads. I used a random selection of glass, plastic and clay beads.
4: A pair of flat-round pliers.

5: A pair of cutting pliers.
6: A pair of flat nose pliers or flat nose parallel pliers.
7: A file in case you want to smooth the ends of your wire. This isn’t totally necessary but adds to giving your work a quality finish.

Follow these steps to make your beaded wire chain necklace:
1: Bend the end of the wire using the flat nose pliers to form a right angle.


2: Loop the end of the wire using the round-flat pliers.

3: Add your first bead to the wire.

5: Trim the wire. I measured where to trim by holding the wire with the flat nose pliers and then cutting next to it.


6: At this point, you can file the end of the wire to flatten it, or you can simply create a loop at the top of the bead using the flat-round nose pliers.


7: Repeat steps 1-6 for the next bead link for the necklace. Once the link is formed, use the flat nose pliers to open the jump ring, slide it onto the first charm and close the link to start forming the chain.


8: Repeat these steps until you have a length you like for a necklace.


9: Open one of the loops at the end of the necklace and attach the clasp. Close the loop to secure the clasp in place. Add the clasp ring to the other side of the necklace to finish it off.


Now your necklace is finished! How fun to make your own jewellery without any pre-made findings?!


-
How to make a simple clasp out of wire!
This is a cool tutorial!
Imagine, you want to make a necklace or a bracelet, but you’ve totally run out of clasp findings. Rather than ordering some online, and waiting for them to arrive, check to see if you’ve got some wire on hand, and then come back here and keep reading about how you can turn this wire into a simple, but elegant clasp.
Please note, this tutorial contains affiliate links.
You’ll need these tools and materials to make your own clasp out of wire:
1: Some wire. I used a piece of copper wire recycled from an old project.

2: Some cutting pliers.
3: A jump ring that matches the wire colour.

4: Round flat pliers.
5: A small needle file.
Follow these steps to make your wire clasp:
1: Take the wire and wrap it around the widest part of the round on the round flat pliers to create a fold in the wire with the ends crossing each other. When you do this, have about 2.5cm on the short side, you can trim the long side later.


2: Using the cutting pliers, trim the long part of the wire off to be slightly longer than the short side.

3: File the ends gently so they aren’t spiky (You can skip this step if you don’t have a file).
4: Take the side that was longer to start with and create a loop at the end of the wire, this loop will turn away from the first loop you made and will sit flush against the other side.


5: Using the round-flat pliers again, create a loop at the other end of the wire, this loop will be higher up and sit flush against the other wire above the other loop.

6: Now your clasp is done. Thread the jump ring through the point where the two wires meet, this is how it opens and closes.
If the clasp feels a little soft or like it will pull out of shape, you can harden the wire a bit by squeezing it flat using some flat nose pliers or flat nose parallel pliers. This will work harden the metal a bit. Another alternative to work harden your clasp is to hammer it gently using a rubber or leather mallet on a steel block (be careful, this is likely to mark your metal or flatten it too much.)
This clasp might widen over time, you can put it back into place using some flat pliers and round flat pliers to make sure the wires sit closely together to prevent your jewelry from falling off!
Here’s an example of the same style of clasp on a bracelet I received as a gift.

Open version of the clasp on a bracelet from Peru. 
Closed version of the clasp on a bracelet from Peru.