Step-By-Step Tutorials
-
Here’s how to add a clasp to any charm to make it a clip on charm!
I like to switch my jewellery around, adding charms to different chains to suit my needs. For this tutorial, I’ll show you how to attach a charm to a bolt ring clasp so that you can clip it easily to another charm, chain, bracelet or earring depending on your desires! Please note that this tutorial contains affiliate links.
You’ll need these tools and materials to make your clip on charm:
1: A bolt ring clasp. I used one made from sterling silver to match my charm.

2: A charm. I used this sun charm that was a gift from my grandmother.

3: An existing necklace, bracelet or earring. I attached my charm to this snake chain necklace with a fluorite and silver charm.

4: A pair of flat nose pliers for closing the clasp.

Follow these steps to create your clip on charm:
1: Slide the charm onto the open ring at the bottom of the bolt ring clasp.

2: Close the ring using the flat nose pliers.

3: Now you can attach your charm to any piece you like. Here’s mine attached to the fluorite charm and to the chain. How great to add some versatility to your jewelry collection?!

Opening the clasp to attach it to the necklace. 
Here is the charm clipped to the fluorite charm. 


Here’s the charm attached to the snake chain. A note for future posts, I will be posting monthly for the foreseeable future. I hope you continue to enjoy my tutorials.
-
Here’s a fun one to make! Here’s how to make a beaded wiggle bracelet.
This design is a little tricky to make but it looks amazing! Using some chain, tiger tail wire and beads, you can create an interesting, almost sculptural, bracelet to wear. Please note that this tutorial contains affiliate links.
You’ll need these tools and materials to make this bracelet:
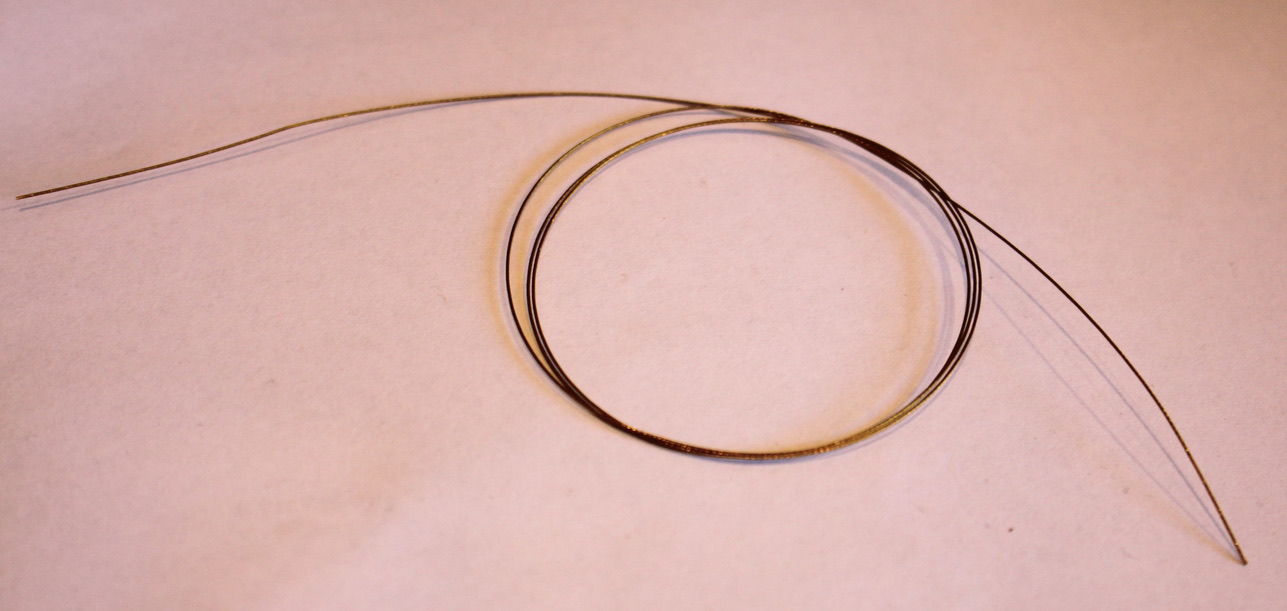
1: Some tiger-tail wire, I used about 1m of wire to make mine. I suggest cutting off slightly more than you need so you don’t run out.

2: A piece of chain that is bracelet length. I used a piece recycled from an old project that I took apart.

3: Two jump rings.

4: Four crimp beads.

5: A clasp.

6: Beads. I used these gold glass beads.

6: Your jewelry pliers. I used my cutting pliers, round nose and flat nose pliers.

Follow these steps to make your own wiggle bracelet:
1: Add two crimp beads and a jump ring to one end of the wire.

2: Loop the end of the wire around the jump ring and back through the crimps.

3: Squash the crimp beads using the flat nose pliers.

4: Attach the wire to the chain using the jump ring.


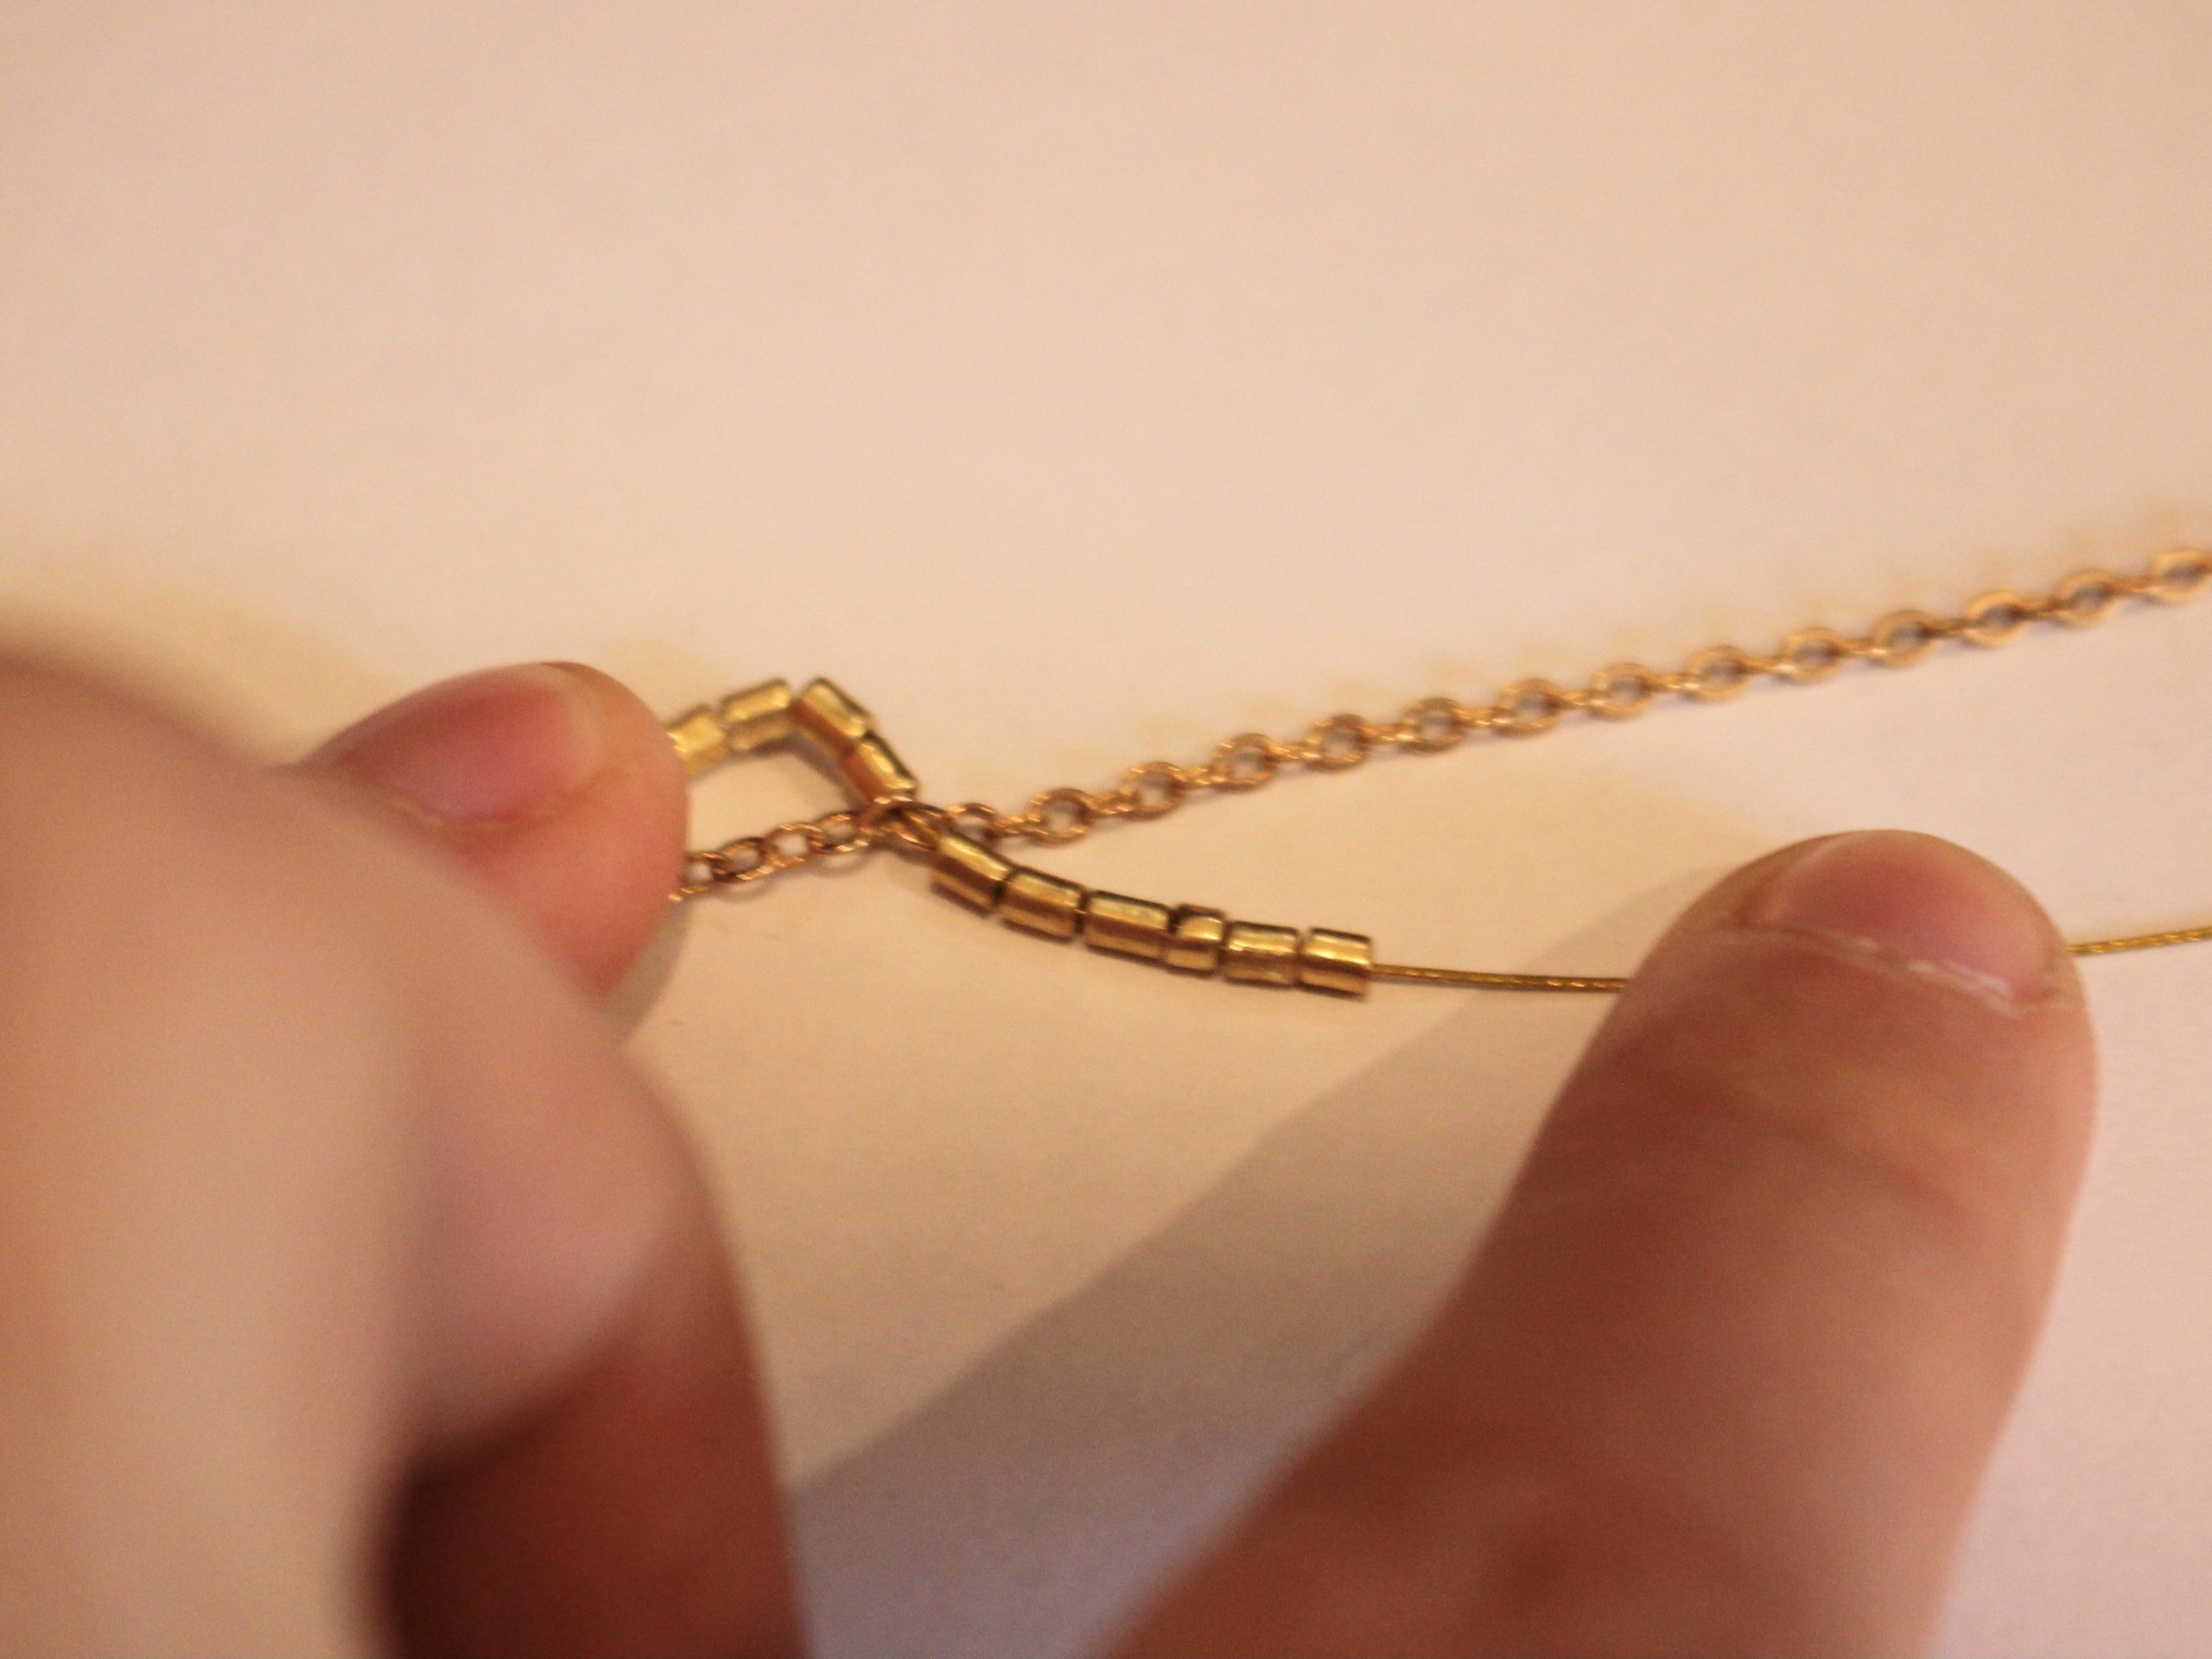
5: Add some beads to the wire. I added 6 beads.

6: Thread the end of the wire through a link in the chain, I threaded mine through the 7th link of the chain. You want the distance between links to be shorter than the length of each beaded section in order to make an arch shape.


7: Repeat steps 5 and 6, adding another 6 beads and threading it through another link on the opposite side of the chain, 7 links away from the first loop.


8: Keep beading and looping the wire until the chain is early complete, with just one loop to go.

9: Add the second jump ring to the end of the chain.

10: Add the last 6 beads and two crimp beads.

11: Loop the end of the tiger tail wire around the jump ring at the end and back through the crimps and end beads.
12: Squash the crimp beads.

13: Trim the excess wire.


14: Add the clasp to one end of the bracelet to finish it off! Now your fun wiggle bracelet is finished.


Here’s what the wiggle bracelet looks like when it’s being worn!


-
Flowers are so pretty! Here’s how to make a beaded flower choker…
I’ve already shown you how to make a cute daisy chain necklace, but here’s a way to add a bit of edge to your floral bead designs… a daisy chain choker necklace! This tutorial gives you all the steps to follow to make a beaded choker necklace using glass seed beads and tiger tail wire. Please note that this tutorial contains affiliate links.
You’ll need these tools and materials to make your beaded flower choker:
1: Pliers. I used my cutting, round nose and flat nose pliers.
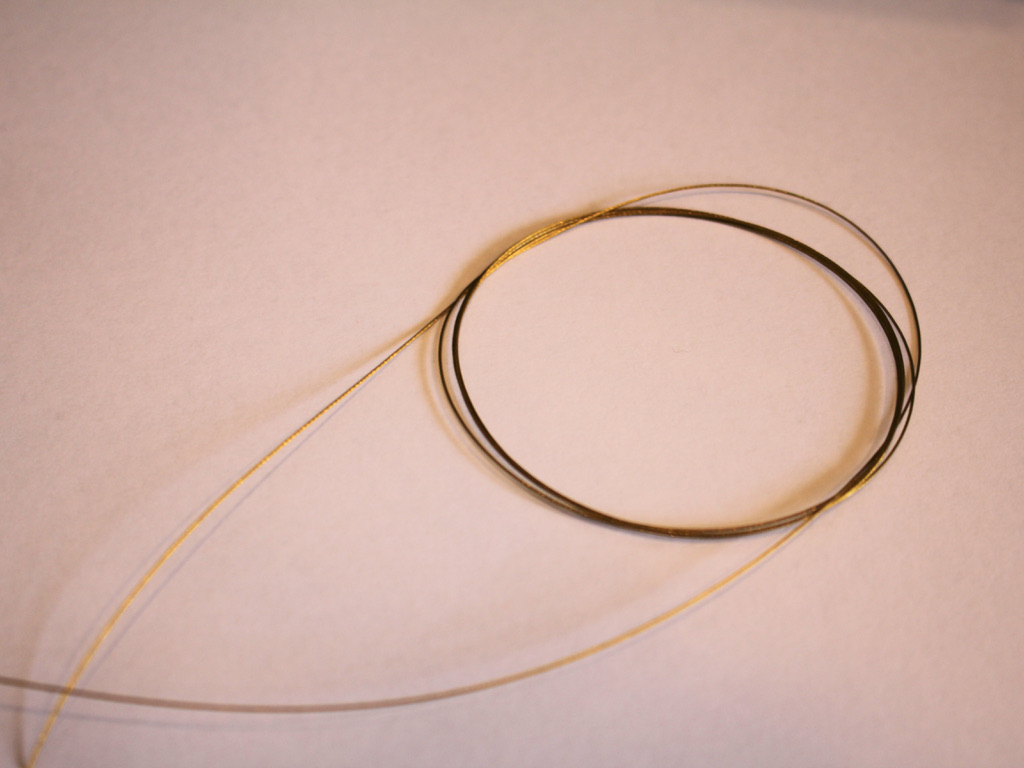
2: Tiger tail wire, because of the looping to create the flowers, you need a bit extra than the intended length. I cut about 1.5m of wire and had some leftover that I will use in another design.
3: A clasp and jump ring.

4: Crimp beads.
5: Beads. I used some recycled red seed beads for the flowers and some green and purple seed beads for the rest of the choker.


Green seed beads:
Purple seed beads:
Follow these steps to make your cute flower choker necklace:
1: Add two crimps to the end of the wire.

2: Add the clasp to the wire and fold it around and back through the crimps.

3: Squash the crimp beads using the flat nose pliers.


4: Add the green beads to the wire. I added 10 beads but you can add more or less depending on the pattern you want to make.

5: Add 6 red beads (or whatever colour you chose for your flowers) to the wire.

6: Take the end of the wire and thread it through the first red bead.

7: Pull the wire tight to create a circle shape with the beads. Make sure you shift the beads down as you tighten the wire so that the circle sits closely to the green beads.

8: Add a single bead to the wire in your third colour, this will be the middle of the bead.
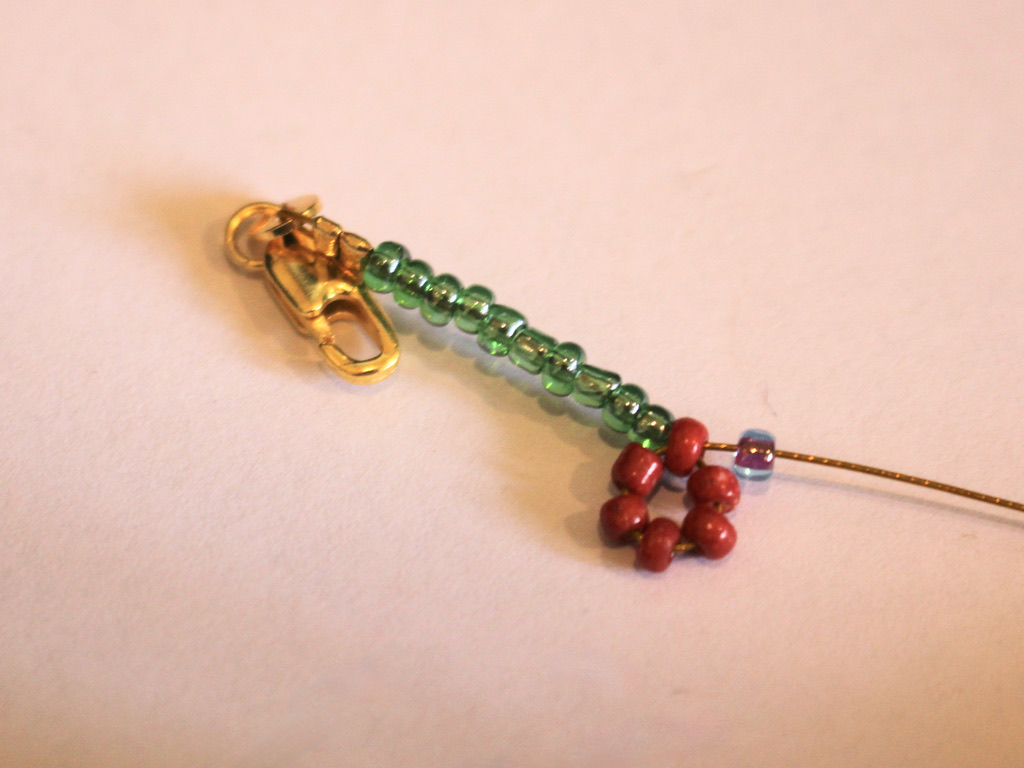
9: Place the bead in the middle of the flower and then thread the end of the wire through one of the flower beads to secure the middle bead in place. Now you have your first flower.

10: Repeat steps 4 to 9 until you have a length that fits closely around your neck to make a choker.


11: Add the second set of crimp beads and a jump ring to the wire.

12: Loop the wire around the jump ring and back through the crimps and the beads at the end of the necklace, pulling the wire tight.

13: Squash the crimps using the flat nose pliers.

14: Trim the excess wire.

Now your floral choker is finished and ready to wear! How cute! What colours will you use in yours?
Here’s what it looks like on!

Here are some other beaded flower tutorials you can try:
-
Here’s how to make a sweet daisy chain necklace using tiger tail wire!
Daisy chains are a classic beaded jewellery technique, and they look amazing! Here’s how to make one using some tiger tail wire and a selection of glass beads. Please note that this tutorial contains affiliate links.
You’ll need these tools and materials to make this daisy chain necklace:
1: A length of tiger tail wire, you’ll need quite a lot as the daisy chain technique uses some extra wire. I cut mine about 4x the length I wanted for my necklace, approximately 1.5m long. I suggest using your best guess rather than taking an exact measurement.

2: Some beads. I used a variety of glass beads including recycled orange e-beads, some gold tone beads and some blue seed beads.

Blue seed beads: https://amzn.to/3S8agp8
3: Four crimp beads.
4: A clasp and jump ring. I used a gold-filled parrot clasp.
5: Pliers. I used cutting pliers, round nose pliers and cutting pliers to finish my necklace.
Follow these steps to make your beaded daisy chain necklace:
1: Add two crimp beads and the clasp to the end of the wire.


2: Fold the wire around the clasp and back through the crimps.

3: Squash the crimp beads to secure the clasp to the end of the wire.


4: Begin adding beads. I made mine a pattern of blue beads and orange flowers so started by adding 15 blue seed beads.

5: Add six beads for your first flower.
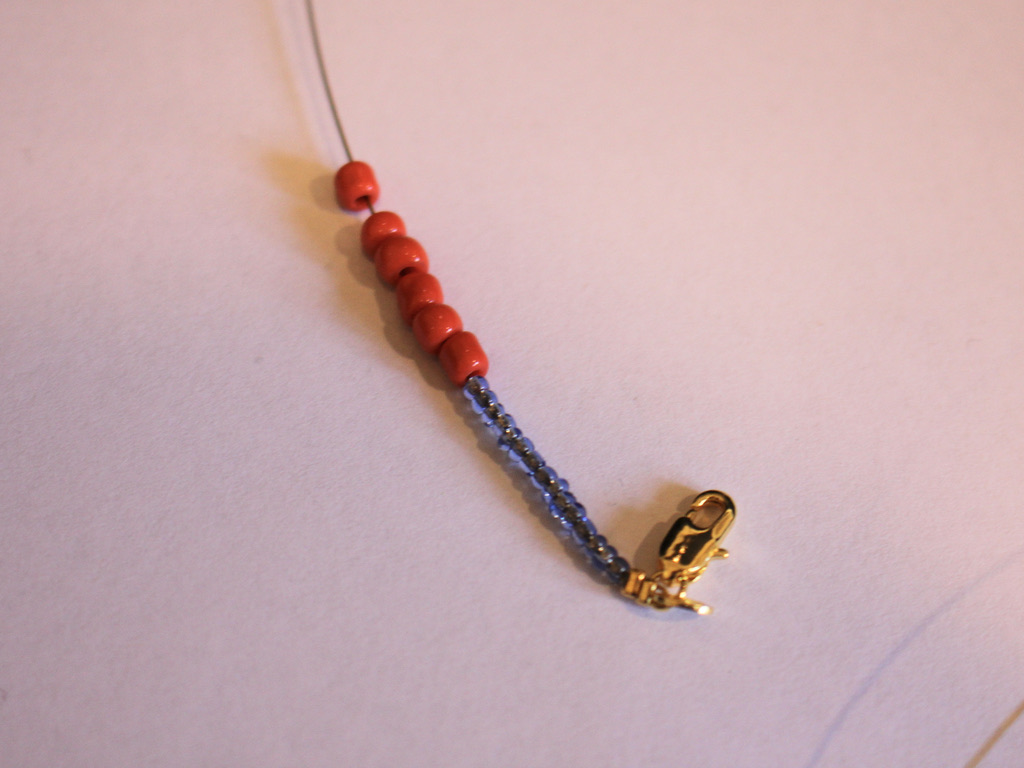
6: Take the end of the wire and thread it through the first flower bead to form a circle shape.


7: Pull the wire tight and add another bead to make the centre of the flower, I used my gold e-bead.

8: Put the bead in the middle of the circle and then thread the end of the wire though a flower bead directly opposite the first one you threaded it through to make the flower. This will keep the middle bead in place at the centre of the flower.


9: Repeat steps 4 to 8 to create a pattern of beads and flowers until you have a length you like and that is comfortable for a necklace.


10: Once you have reached your desired length, add the remaining crimp beads to the wire.


11: Add the jump ring to the end of the wire as well.
12: Loop the wire around the jump ring and back through the crimps and beads at the end, then pull the wire tight.

13: Squash the crimps using the flat nose pliers.

14: Trim the excess wire using your cutting pliers.

Now your necklace is finished and ready to wear! Whats colours will you make yours in?


If you love making flowers out of beads, here are some more floral tutorials for you.
-
Here’s how you can make your own sterling silver earring hooks that are embellished with gorgeous beads!
I love using pre-made earring hooks, but sometimes I want to add some additional luxe to my earring designs, so I make my own one-of-a-kind earring hooks that are embellished with some special beads. Follow along if you want to learn how to make your own, unique earring hooks out of sterling silver wire. Please note that this tutorial contains affiliate links.
You’ll need the following tools and materials to make this pair of earring hooks:
1: Two pieces of sterling silver wire, about 0.8mm in diameter and 7cm long each. (cut the wire with your cutting pliers).

2: A pair of parallel flat nose pliers, or ordinary flat nose pliers. The parallel pliers makes it easier to grip both earrings at once when you are shaping them.
3: A file and some sandpaper.

Find files here:
Find sandpaper here:
4: Two beads. I used some agate gemstone beads.

5: A pair of round flat pliers for forming the loop at the end of the earring hooks. It is also handy to keep your round nose pliers around as well.


Follow these steps to make your own bespoke earring hooks featuring a beaded embellishment:
1: File the ends of the wires so they are no longer sharp, use the sandpaper afterwards to soften the ends.

2: Use the round flat nose pliers or flat nose pliers to bend the end of each piece of wire to form an angle.


3: Create a loop using the bent part of the wire as a guide. You want to make a loop at the end of each piece of wire.


4: Add a bead to each of the wires

5: Grip each wire between the mouth of the parallel flat nose pliers and bend them at the same points, so they sit at equal lengths. Bending the wire will mean that the bead won’t come off (but be warned, seed bead sized beads can still slide around the corners of this design, the bigger the bead, the less likely it is to fall off your earring hook).


6: Once you have bent your earrings, you can adjust them slightly to form the square top to your liking using your fingers and pliers.
Now your earring hooks are done! They’re ready for some cute dangly charms!

Here’s what they look like with some brass triangle charms on them.


And here are some similar designs I have made using this earring hook technique. These ones feature patinated copper charms, you can learn to patina copper here.


This fun pair of earrings features a rainbow of seed beads and an adorable mushroom charm, you can purchase them here.

-
How to make a beaded necklace with a cool knot detail!
This necklace is simple but super cute! It is a twist on a basic tiger-tail beaded necklace, but instead of a single strand, the necklace has a loose knot in the middle for added interest. This is a simple but high-impact design that you can whip up in an afternoon. Please note that this tutorial contains affiliate links.
You’ll need the following tools and materials to make your necklace:
1: Some tiger tail wire, cut a length long enough to fit loosely around your neck plus an extra 20cm (7.8 inches).

2: Four small crimp beads.

3: A toggle clasp.

4: Two small jump rings.

5: Your set of pliers including cutting pliers, round nose and flat nose pliers.
6: A selection of beads. I used some timber beads and some glass evil eye-style beads.

Evil eye beads here:
Timber beads here:
Follow these steps to make your beaded knot detail necklace.
1: Add two crimp beads and a jump ring to the end of the tiger tail wire.

4: Fold the end of the wire around the jump ring and back through the crimp beads.

5: Squash the crimp beads using the flat nose pliers.

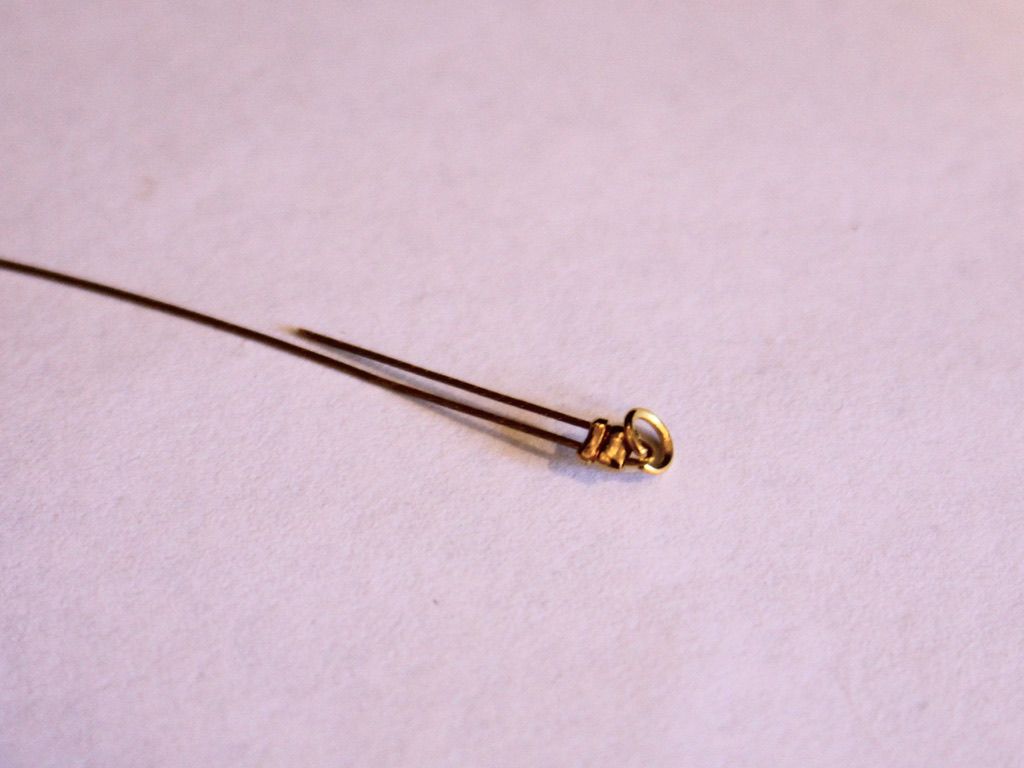
6: Add beads to the wire in your choice of pattern. Continue adding until you have a length you like (remember to make it a bit longer than usual because the knot will reduce the length a little).


7: Once you have your necklace fully beaded, add the second set of crimp beads and the remaining jump ring to the end of the wire.


8: Loop the end of the wire around the jump ring and back through the crimps and the first few beads at the end of the necklace.
9: Pull the wire tight.

10: Squash the crimp beads using the flat nose pliers.


11: Trim the excess wire using the cutting pliers.

12: Carefully tie a knot in the beaded strand, paying attention to get it close to the middle and being careful to not pull too tightly, you want the knot to be quite open.

13: Attach the clasp to either end of the necklace using the jump rings. Make sure to close the jump rings closely so that the clasps stay in place.


Now your necklace is finished and ready to wear! What funky beads will you use to make yours?

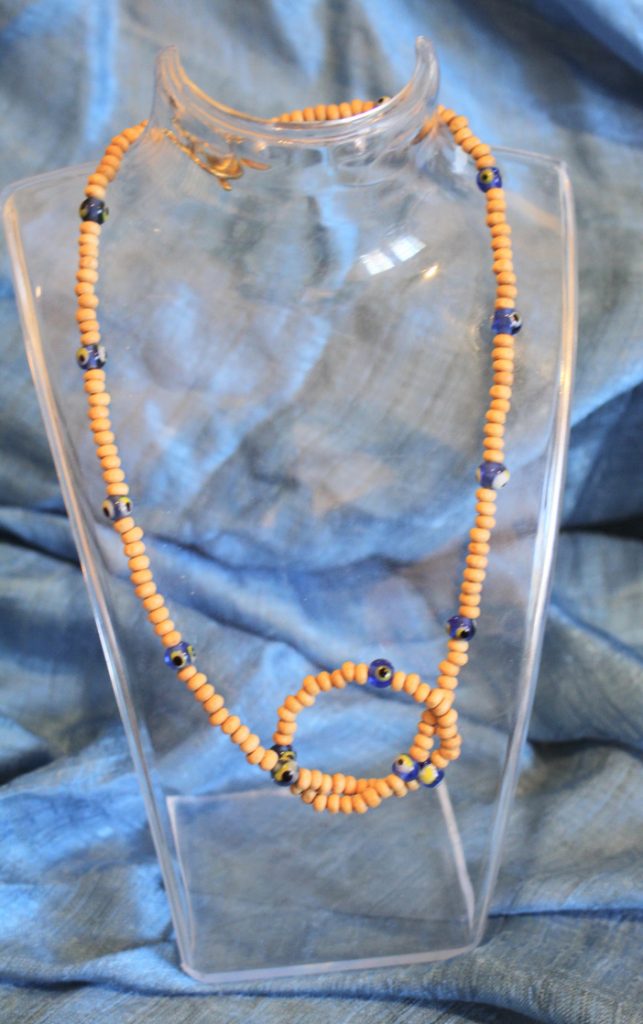
If you like this tutorial, here’s a link to a double strand version.
-
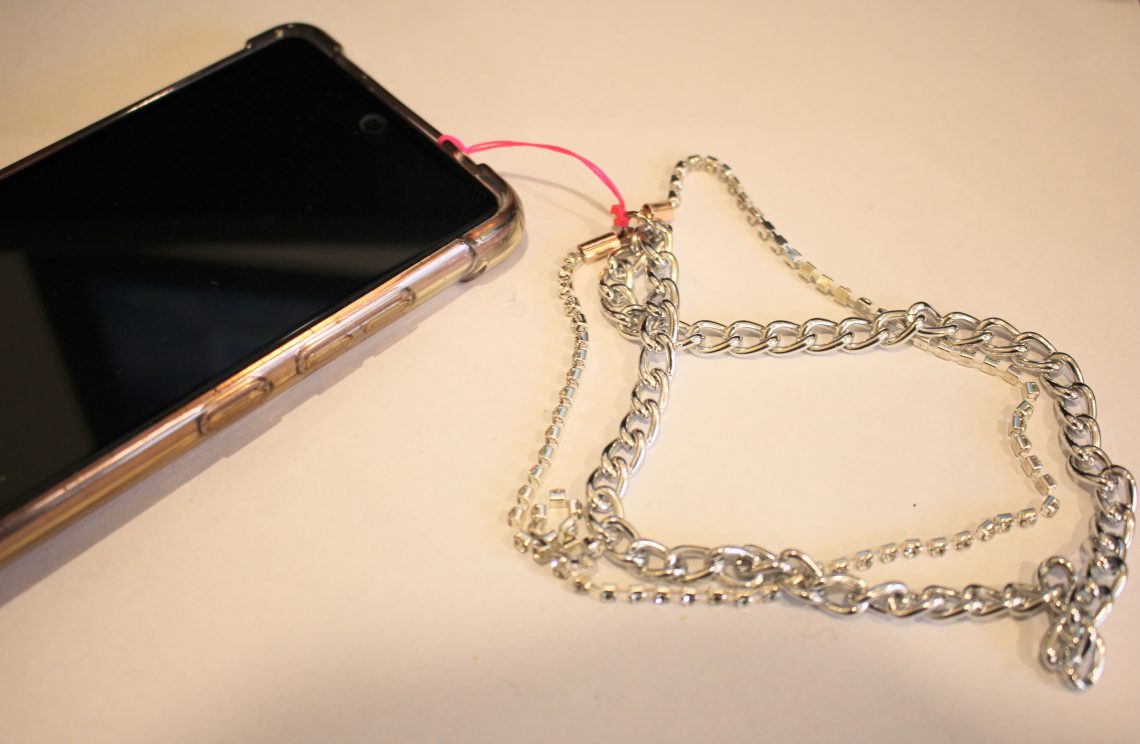
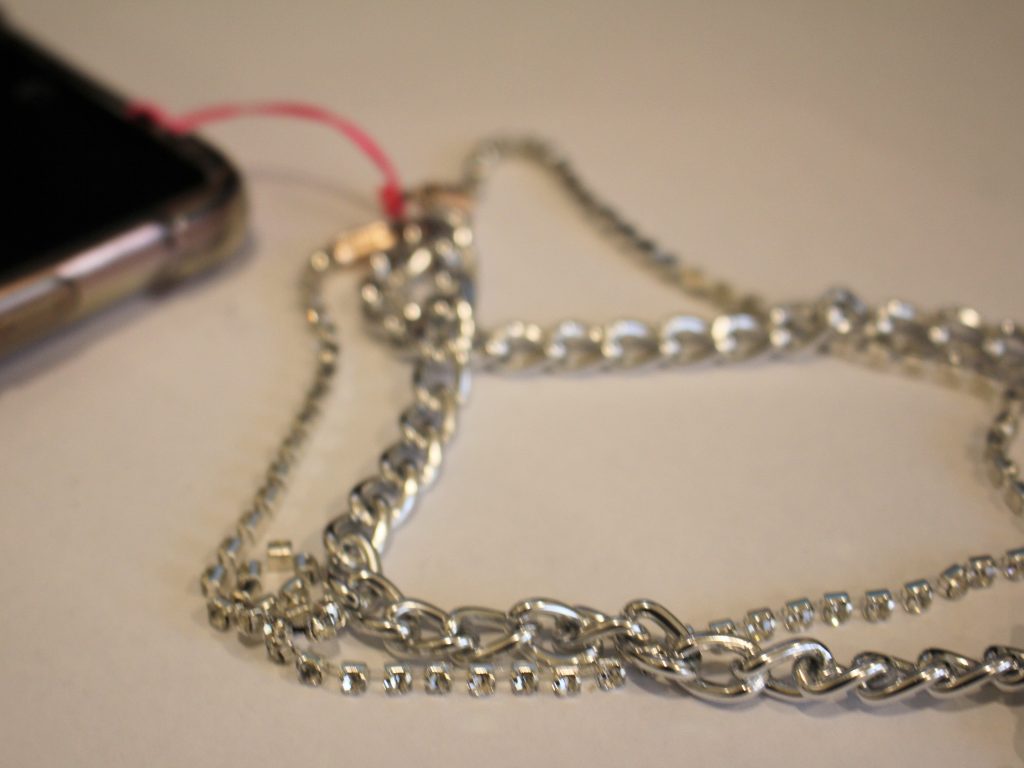
Need help keeping hold of your phone? Here’s how to make a cute chain and rhinestone phone strap so its harder to lose!
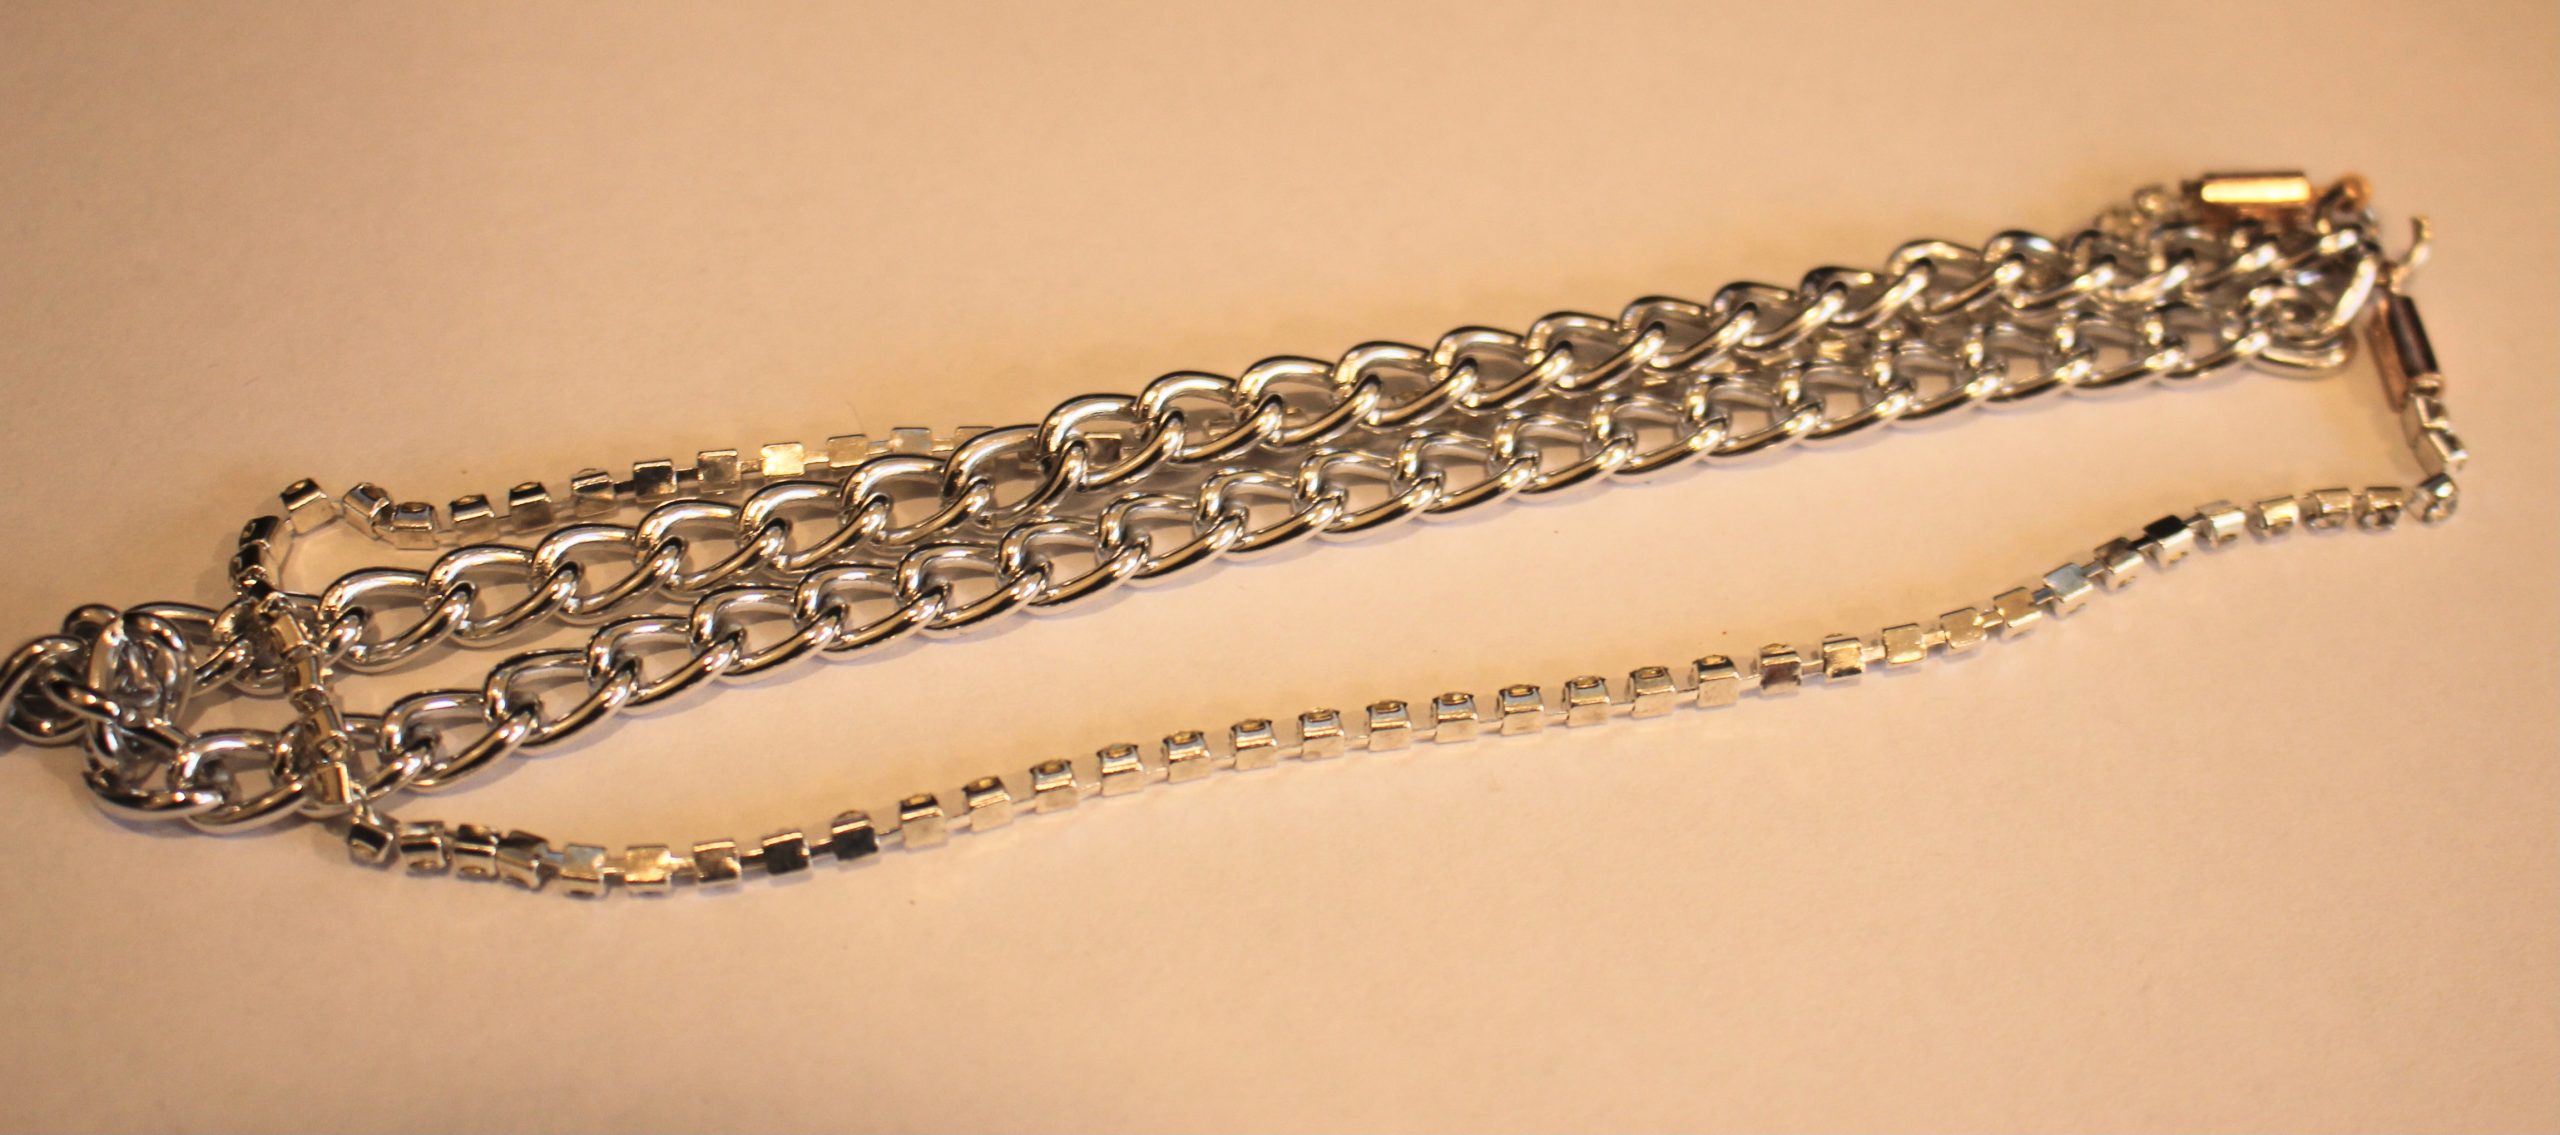
I’m loving making phone straps lately! This one combines a chunky chain with some rhinestone trim to create this double stranded phone strap. I decided to add the extra chain for more strength! Please note that this tutorial contains affiliate links.
You will need the following tools and materials to make this phone strap:
1: Pliers. I used my flat nose pliers, round nose pliers and cutting pliers. I also used scissors to trim my string.
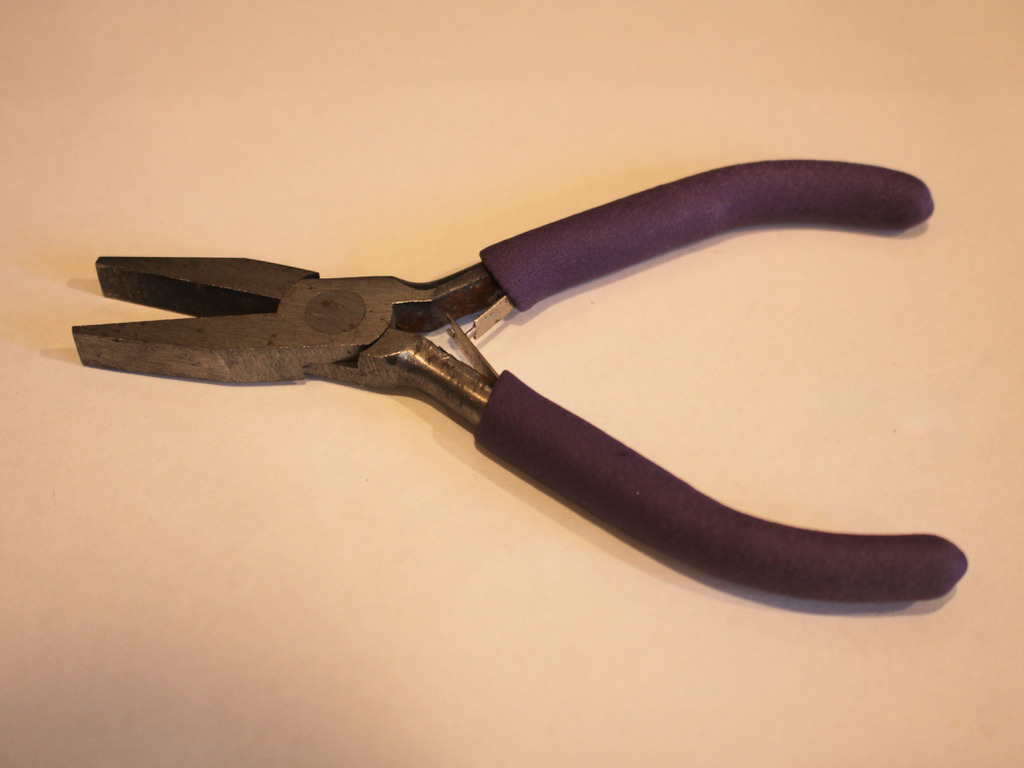


2: A piece of chain about 30cm long. I used this silver tone chunky curb chain.

3: A piece of rhinestone trim about the same length as the chain.

4: Two crimp ends.

5: A large jump ring.

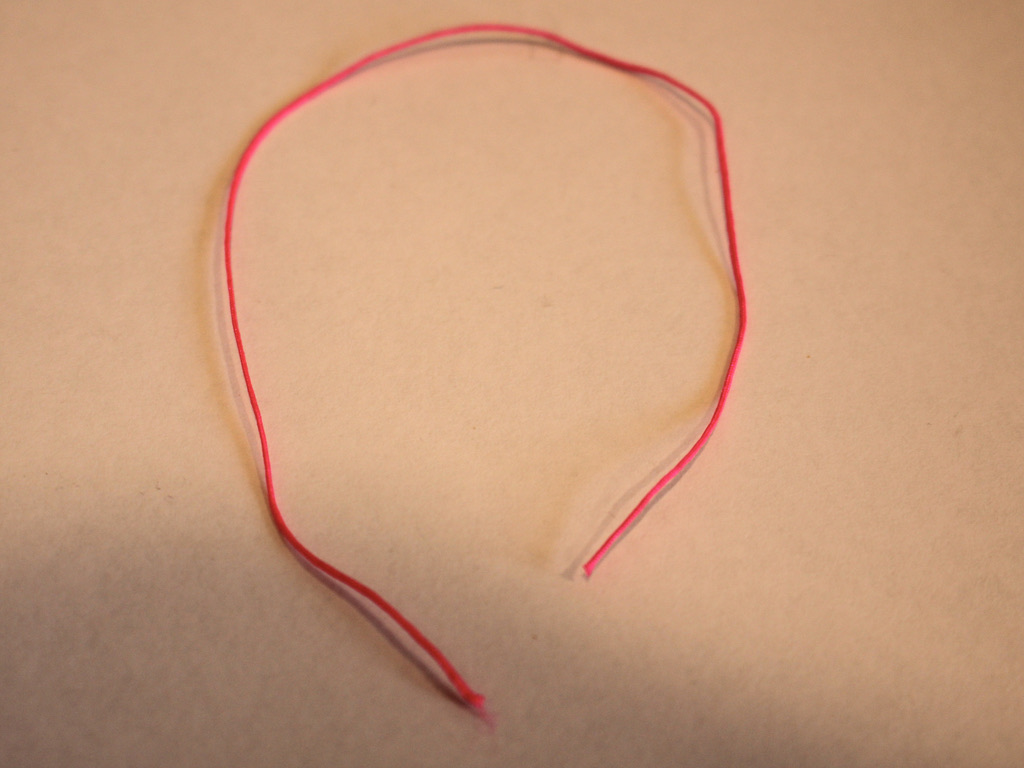
6: A piece of string. I used this hot pink nylon string that I cut to be about 15cm long.
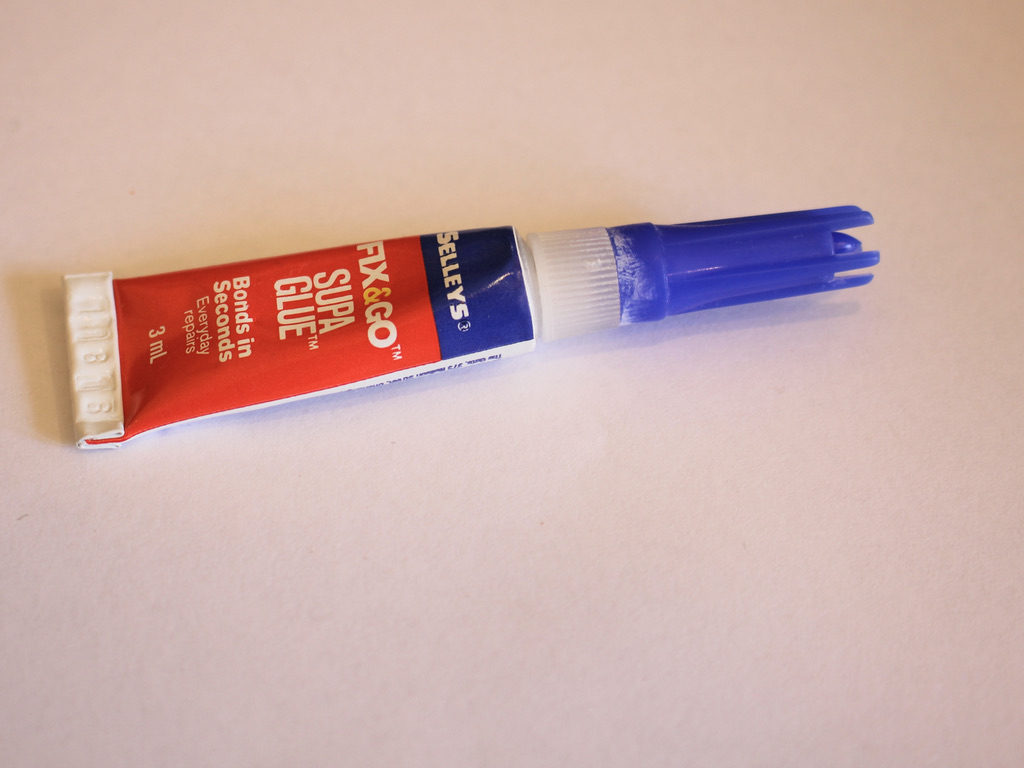
7: Super glue.
Follow these steps to make your rhinestone phone strap:
1: Take one end of the rhinestone strand and place it in one of the crimp ends.

2: Squash one side of the crimp around the end of the rhinestones using the flat nose pliers.

3: Repeat the squeezing of the crimp for the other side, folding it around the end of the rhinestones. Squeeze until the crimp feels securely attached to the rhinestone strand.


4: Repeat steps 2 and 3 for the other end of the rhinestone chain.

5: Add one end of the chain and rhinestone strand to the jump ring.
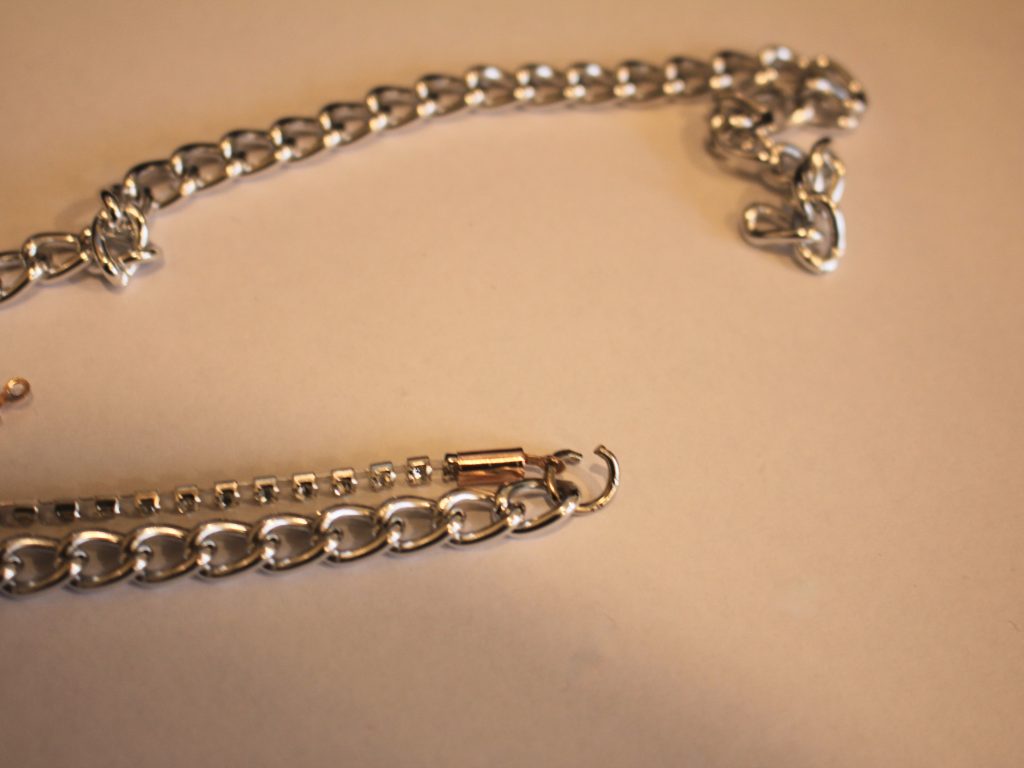
6: Add the other end of the chain and rhinestone strand to the jump ring in the same order.

7: Close the jump ring using your pliers.

8: Fold the string in half and tie the open ends around the jump ring, loop and knot it a few times to secure it.

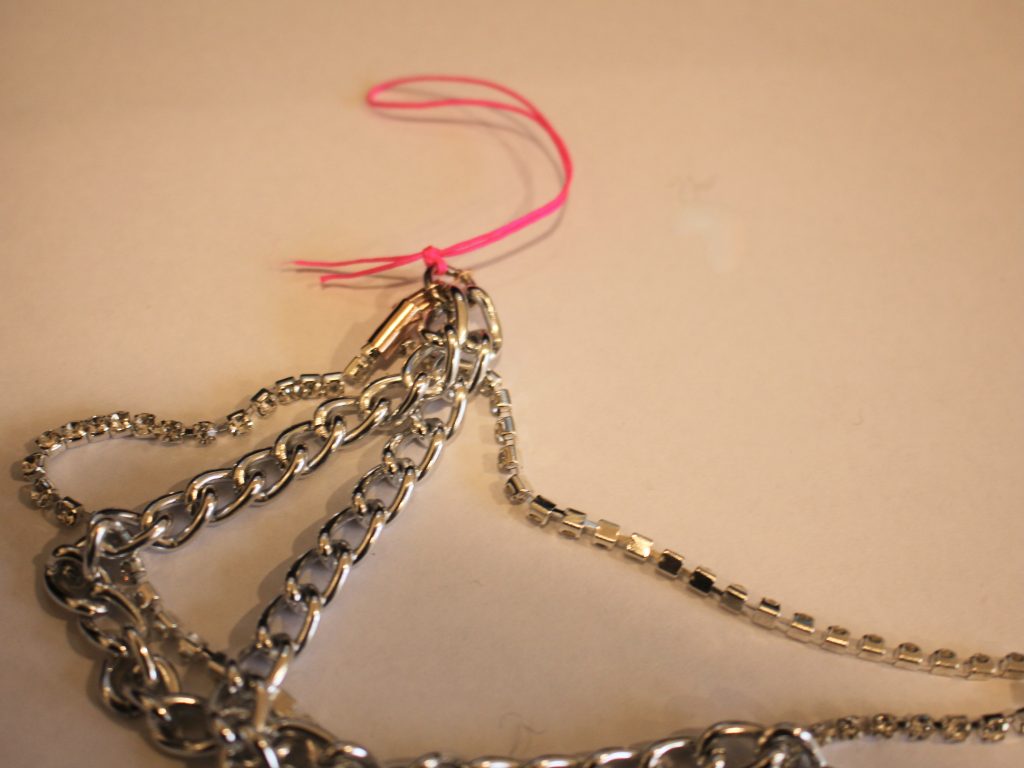

9: Trim the ends of the string.

10: Add a dab of super glue to the ends of the string to secure the knot.

Now your double strand phone strap is finished and ready to pop on your phone. Loop it through on of the holes on your phone case for more phone customisation!


-
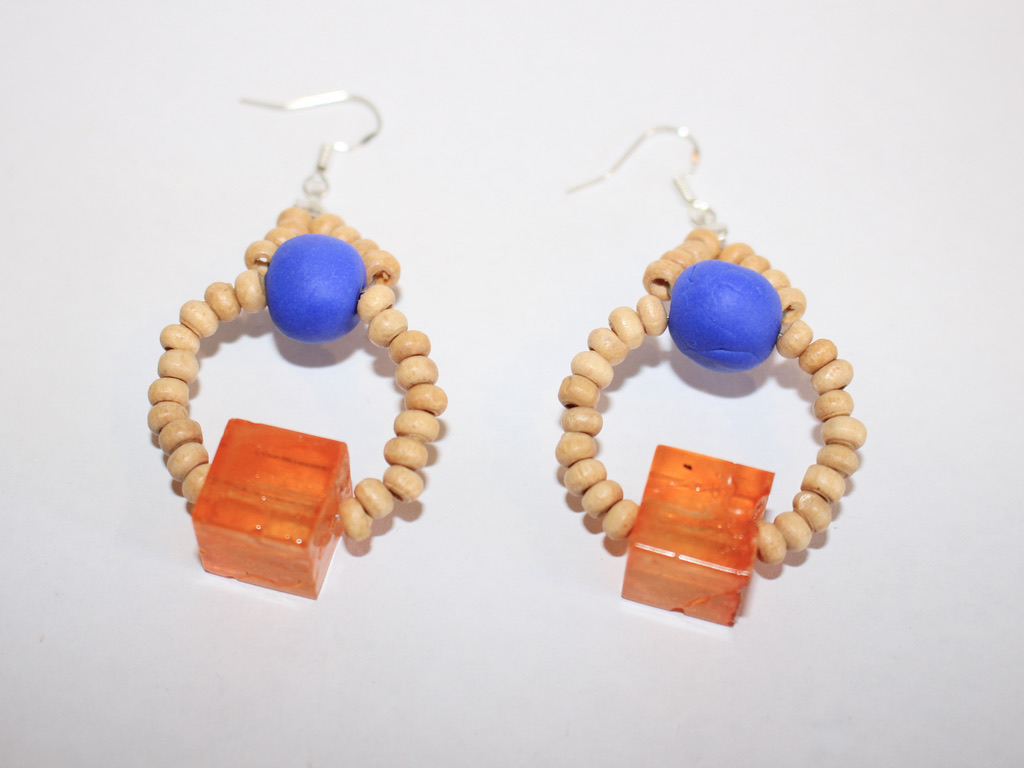
Here’s how to make some statement beaded earrings. These babies are special!
Do you love statement earrings? These statement earrings feature some gorgeous beads and some clever wire work to make a cute pair of bold earrings to wear on your next outing. Please note that this tutorial contains affiliate links.
You’ll need these tools and materials to make these earrings:
1: Two pieces of tiger tail wire about 20cm long.

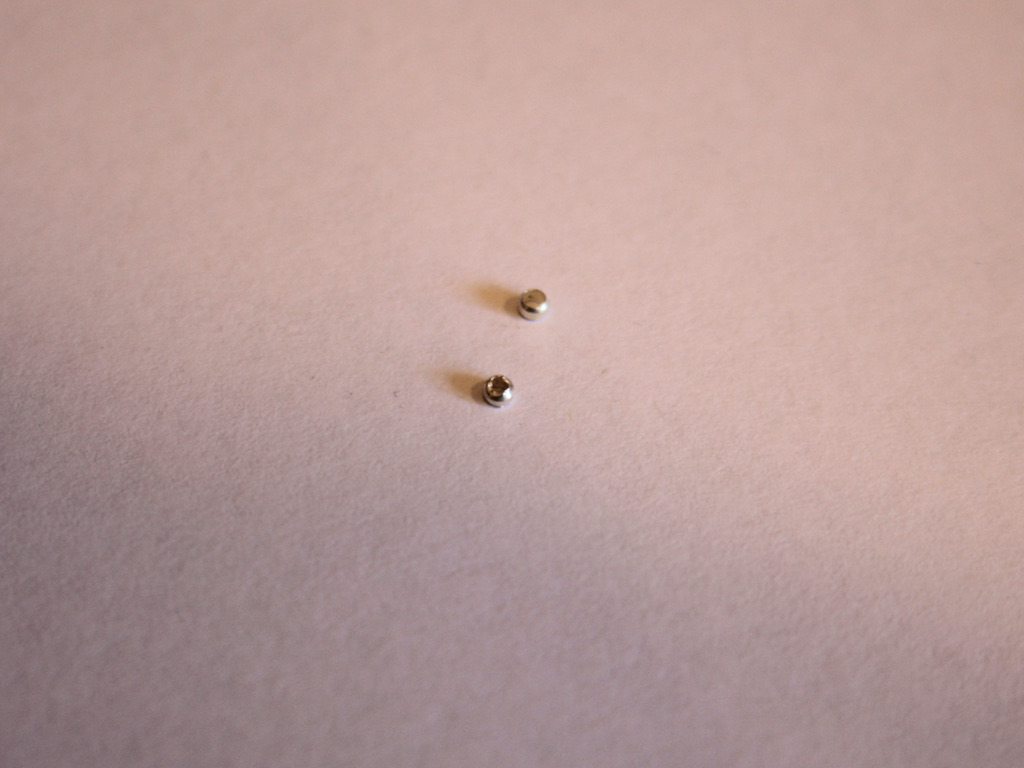
2: Two crimp beads.
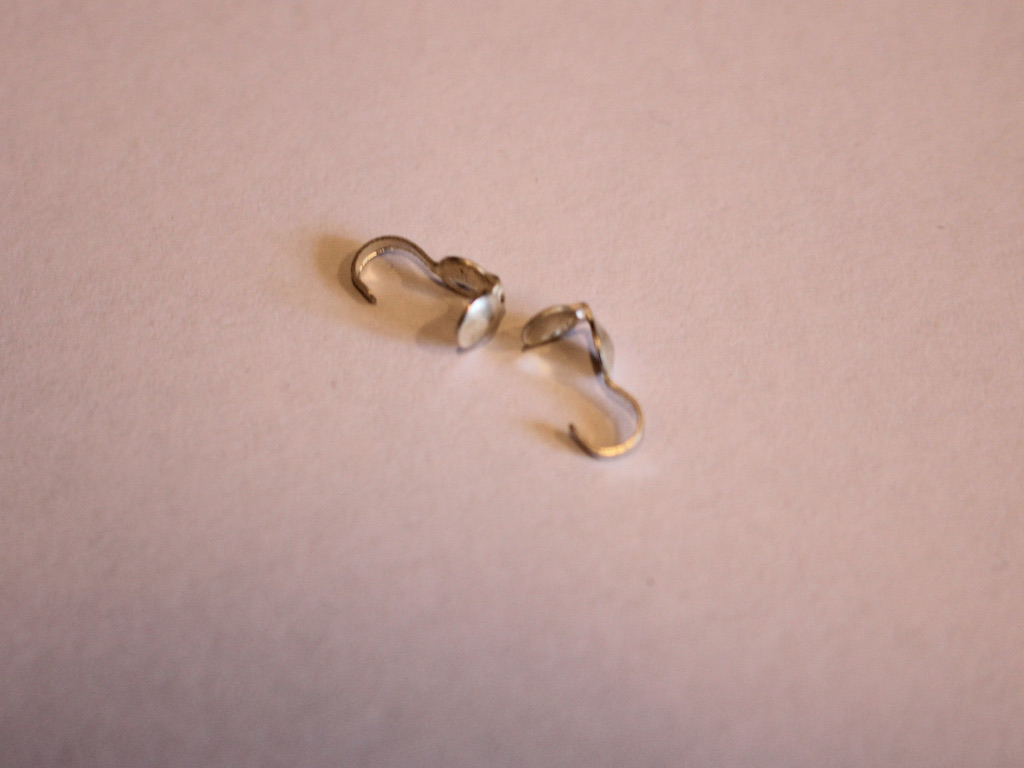
3: Two crimp cover ends.
4: A pair of earring hooks.

5: Pliers. I used my flat nose, cutting and round nose pliers.
6: Beads. I used some resin cube beads, some handmade polymer clay beads (tutorial for these here), and some timber beads.


Follow these steps to make your statement earrings:
1: Add one of the cube beads to the middle of the wire.
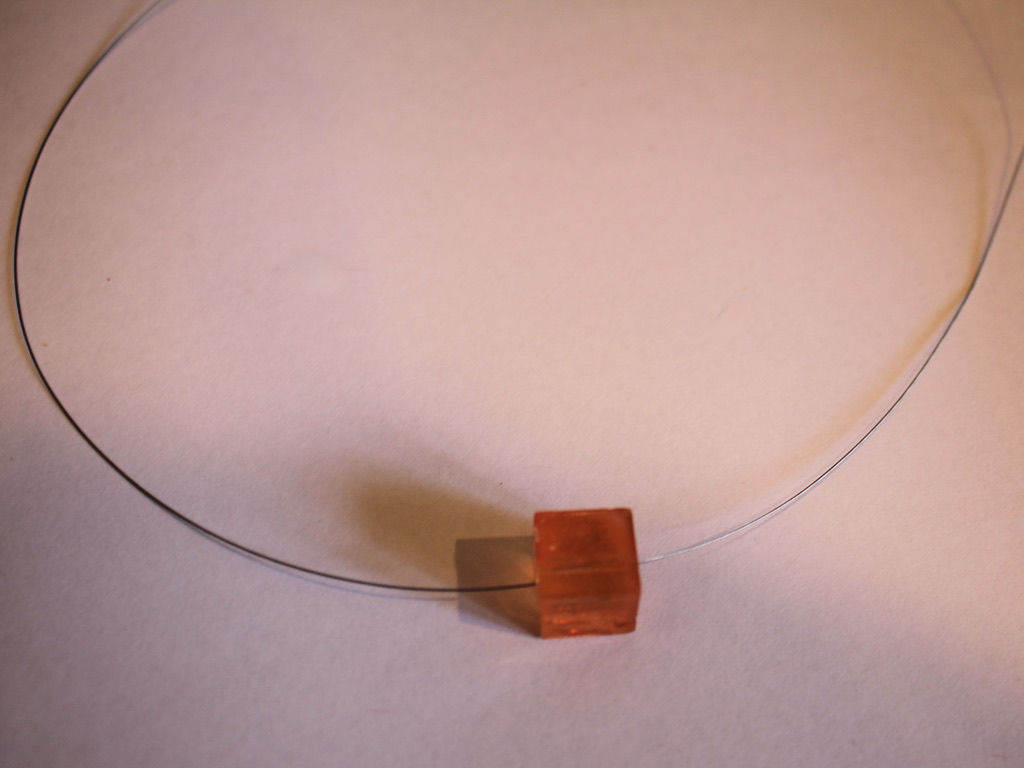
2: Add the smaller timber beads either side of the cube bead, I added 10 to each side, but you can add more or less depending on the size of the beads you are using. You’ll want to get a circle about 2.5cm in diameter.

3: Add one of the polymer clay beads to one side of the wire.
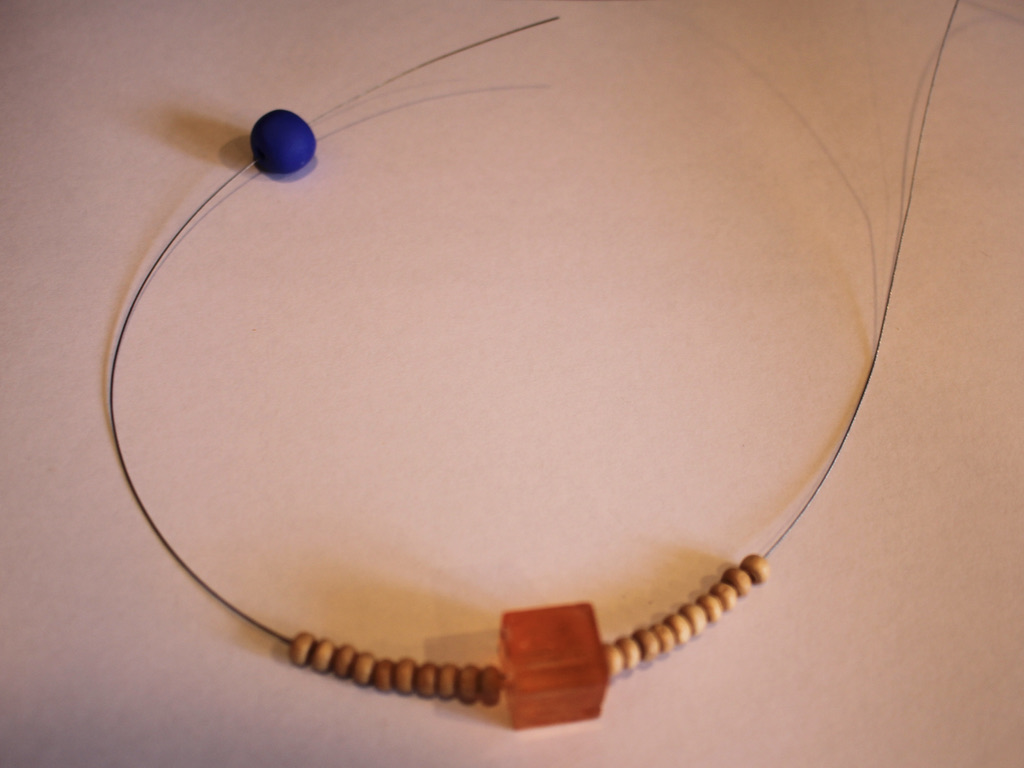
4: Thread the other side of the wire through the polymer clay bead to create a loop.


5: Add another four beads to each end of the wire.

6: Add the crimp cover to the two wires held together.
7: Keeping the crimp cover open, add a crimp bead to the wire.
8: Squash the crimp bead using flat nose pliers.

9: Trim the excess wire.


10: Squash the crimp cover around the crimp bead using the flat nose pliers.

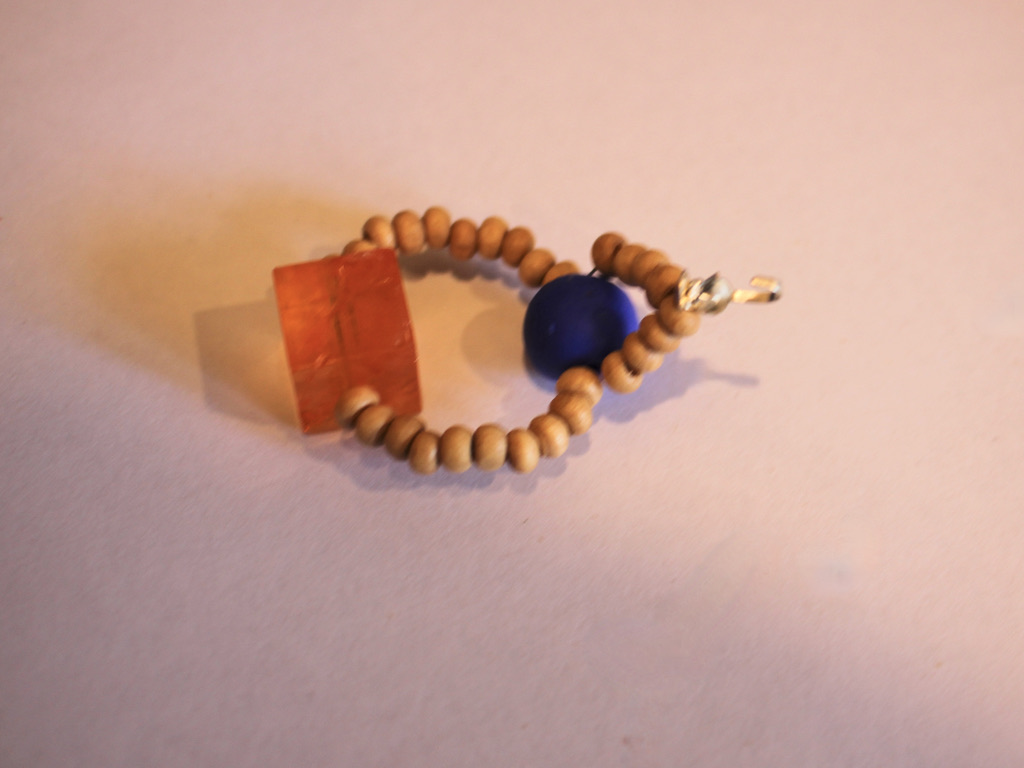
11: Use the wire at the end of the crimp cover to create a loop, thread on an earring hook and close it to secure the earring to the beaded design.
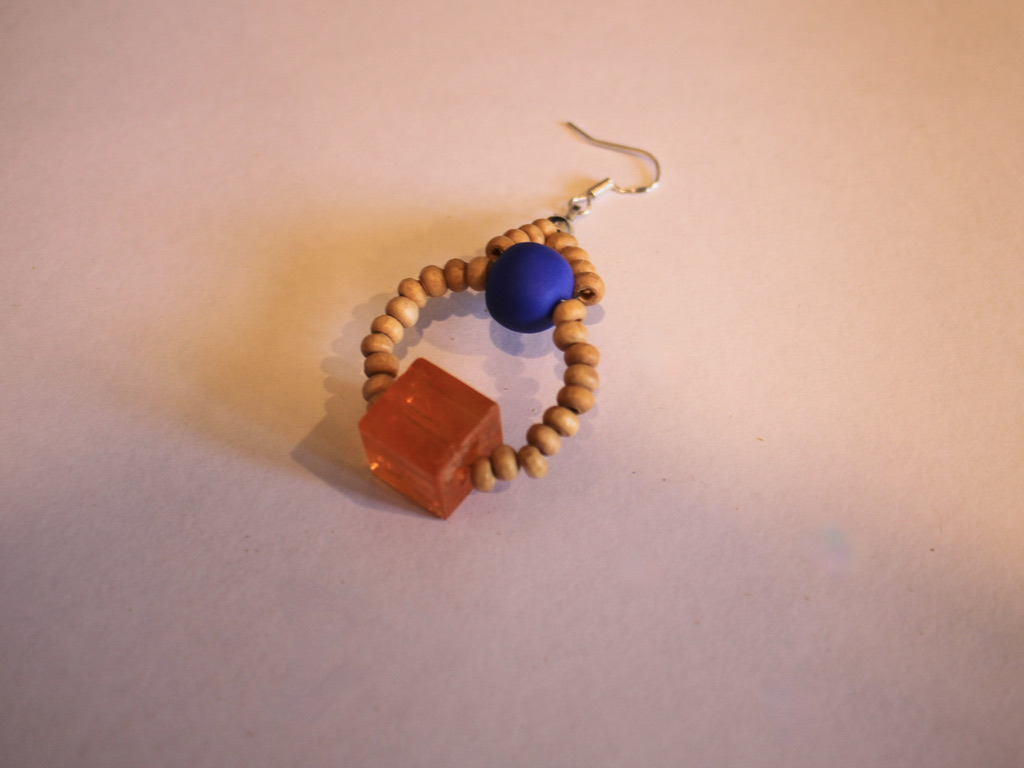
12: Repeat steps 1-11 for the second earring.
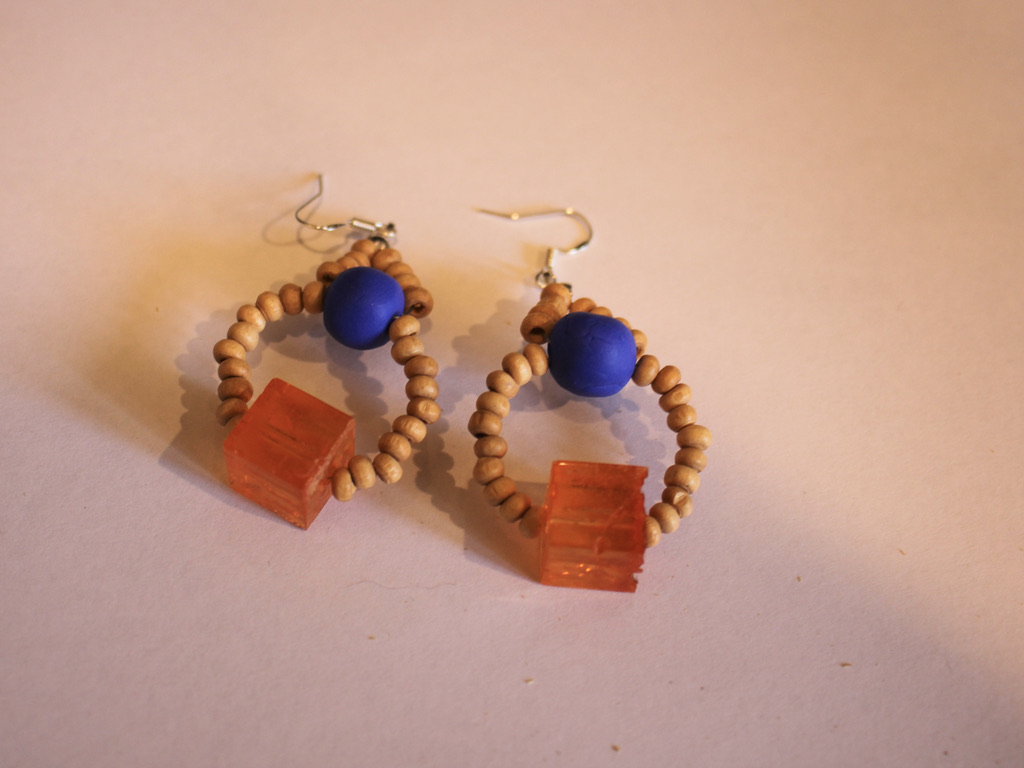
Now your beaded statement earrings are complete and ready to wear!


-
Do you love simple earrings made from fine materials? Here’s how to make a pair of hammer detail threader earrings!
I find it very satisfying to make my own jewellery using precious metals! This tutorial shows you how to turn some sterling silver wire into a gorgeous pair of threader earrings with a hammered detail at the front! This tutorial will outline all the tools you’ll need to make your earrings, as well as all the steps to follow to create your own special pair. Please note that this tutorial contains affiliate links.
You’ll need these tools and materials to make these earrings:
1: Two pieces of silver wire, each about 5cm long.

2: A steel hammering block.

3: A hammer. I used a jewellery hammer, but if you don’t have one, you can make use of a small household hammer.

4: Some cutting pliers to cut the wire to length.
5: Your flat nose pliers to straighten out the wire.
6: A pen or something round to use to shape your earrings.

7: A piece of sticky tape.
8: A file or sandpaper to smooth the ends of the wire. I used both to make sure my earrings weren’t too sharp.

Follow these steps to make your wire threader earrings with a hammer detail:
1: If your wire has any kinks, straighten the pieces out by gently squeezing them with your flat nose pliers. In this instance, it is better to use flat nose pliers that don’t have any texture on them.

2: Check that your pieces of wire are the same length. Trim accordingly to make sure they are equal using your cutting pliers.
3: Hold the wires on the steel block and hammer the ends until you have a texture you like.


Here are the hammered wires, the hammering is quite subtle. 4: Take the hammered wires, holding them together so that they are equal, and tape them to the pen or other round thing you are using to make the earring shape.

5: Gently bend the wires around the pen to form a curved arch shape.

6: Remove the tape and take the earrings off the pen. You can shape the earrings a bit more by squeezing the ends together gently.
7: File the ends of the earrings with the file and sandpaper to make sure that there are no sharp ends.

The earrings before the ends are filed and sanded. 
The earrings after filing and sanding. Now your earrings are complete and ready to wear! So cute! Here are some pics of the final product 🙂


-
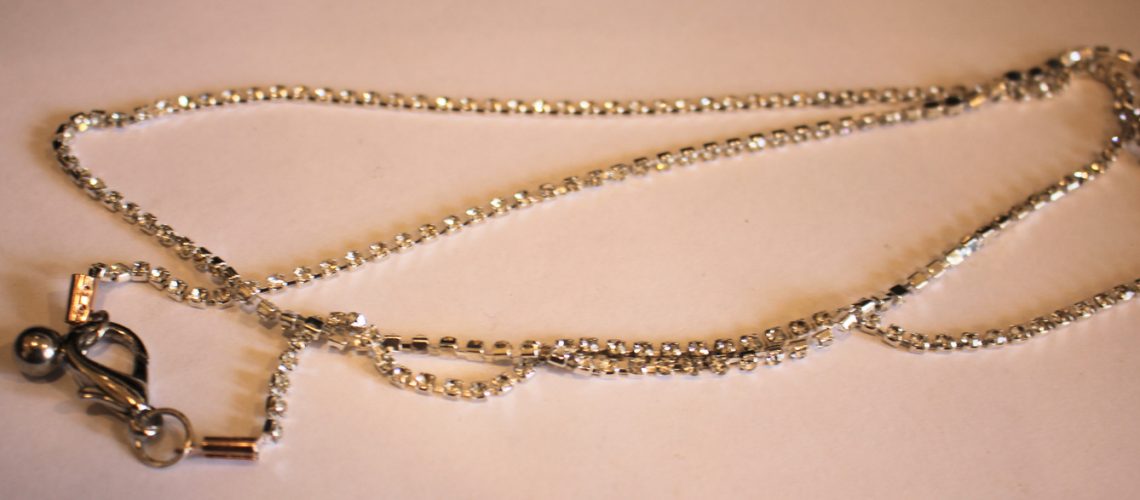
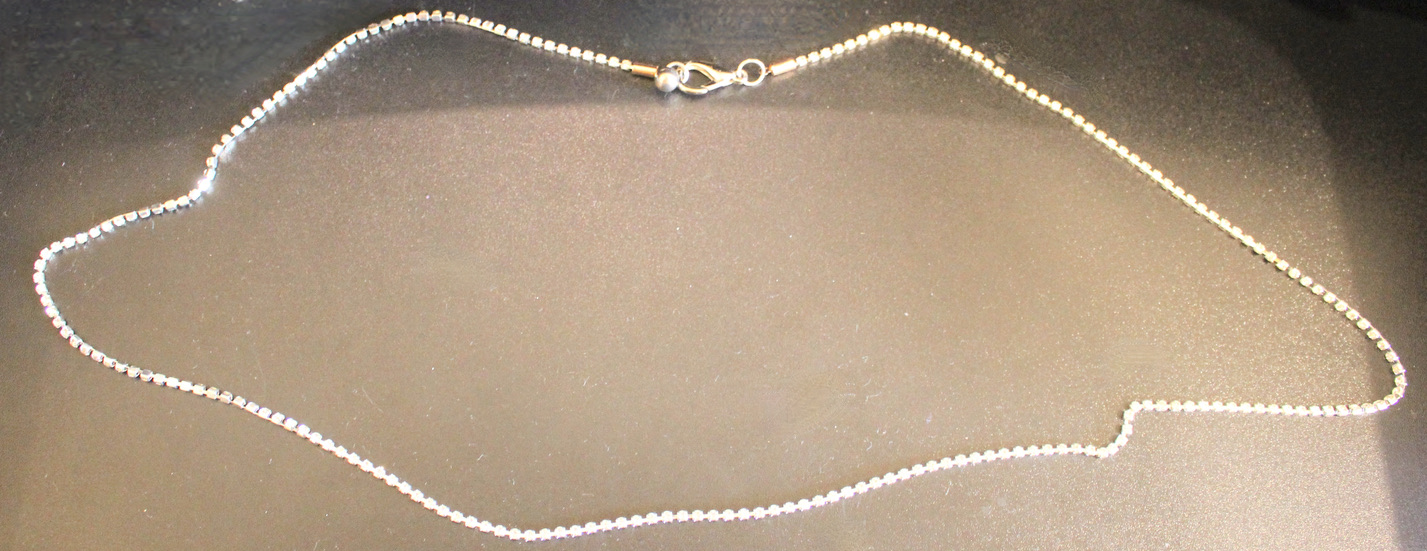
Here’s how to make a glittery rhinestone waist chain, perfect for a summer party.
This waist chain DIY is so cute! Use some rhinestone trim and transform it into a perfectly sparkly chain to wear around your waist. Pop it over a sweet sundress for some added cool. Please note that this tutorial contains affiliate links.
You’ll need these tools and materials to make this waist chain:
1: Some rhinestone trim cut to a length so that it fits comfortably around your waist. Use your cutting pliers to cut it to length.

2: Pliers. I used my cutting pliers, round nose pliers and flat nose pliers to make this waist chain.
3: Two crimp ends.

4: A clasp and end jump ring.

Follow these steps to make your cute sparkly waist chain:
1: Take one end of the rhinestone trim and place it in one of the crimps.

2: Squash one side of the crimp around the end of the rhinestone chain using the flat nose pliers.
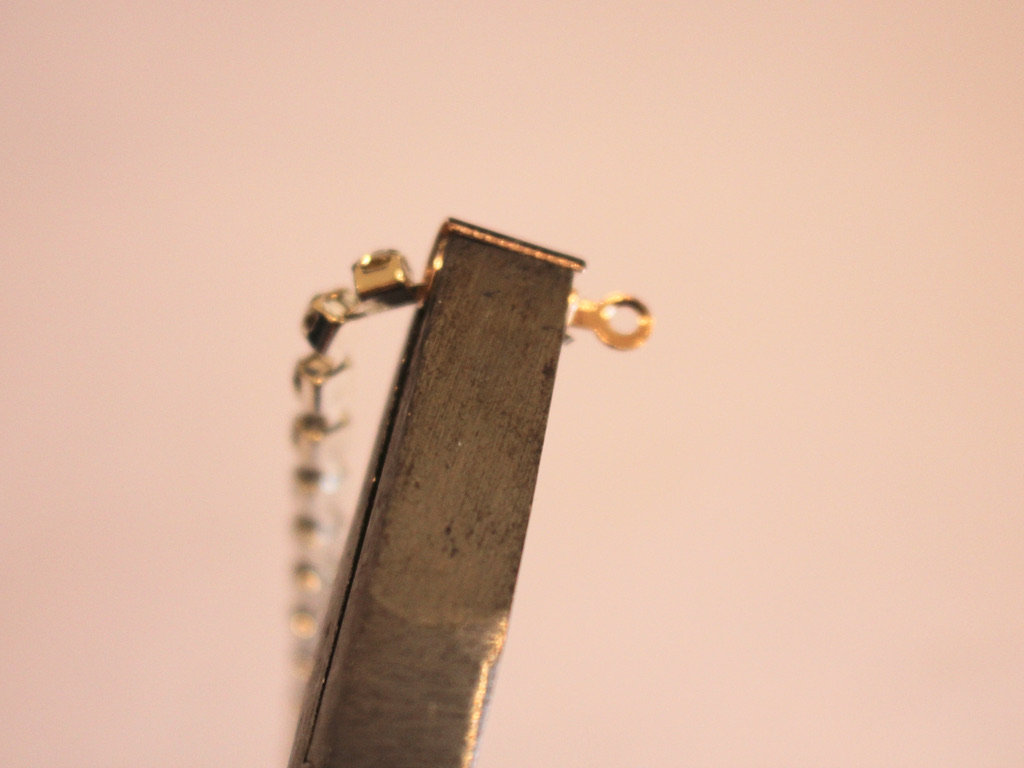
3: Squash the other side, and squeeze the sides a bit as well, this will ensure that the ends are well secured.
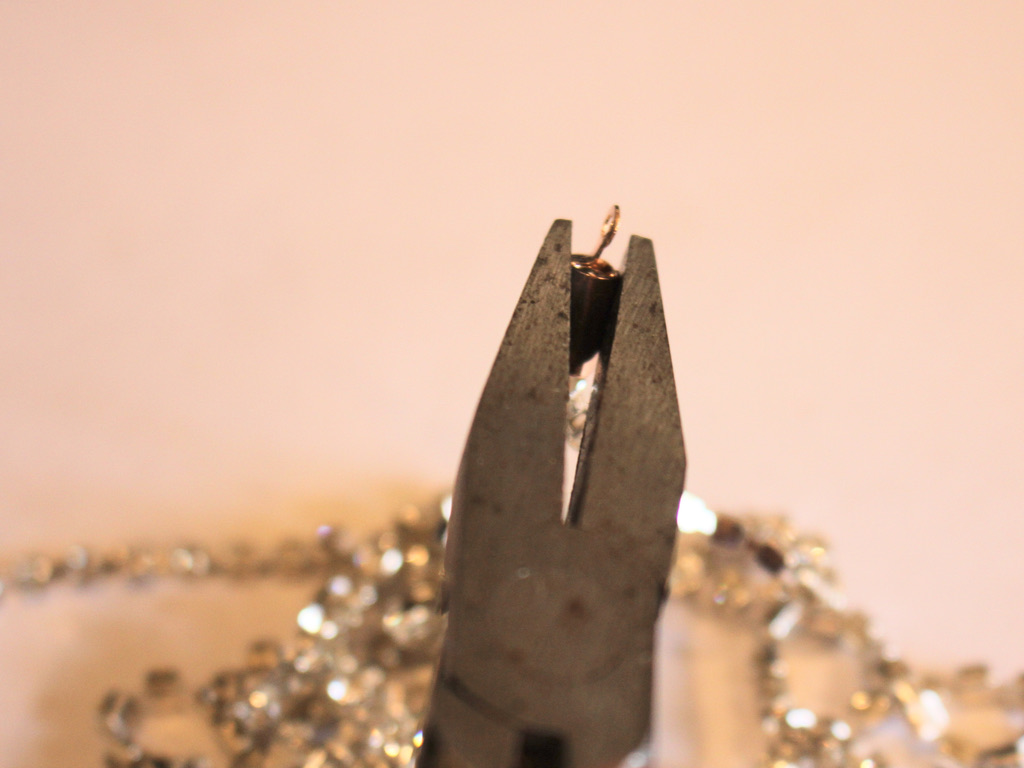

4: Repeat steps 1 to 3 for the other side of the waist chain.

5: Add the clasp to one end of the waist chain, secure it in place by closing the jump ring using your pliers.

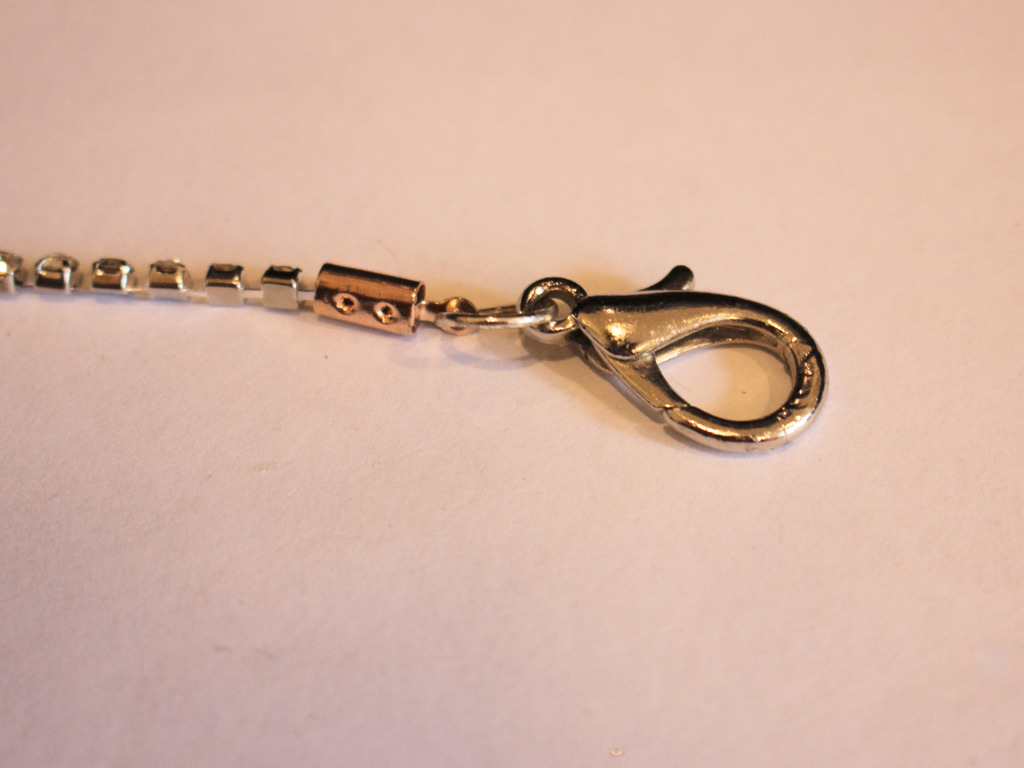
6: Add the end piece of the clasp to the other side of the chain to finish it off.


Now your sparkly rhinestone waist chain is finished and ready to wear! Sorry about the bad pic 🙁