googlea7fe66ce5e35c83b.html gtag('config', 'UA-139427764-1')
finished floating pearl necklace
How to Make a Necklace

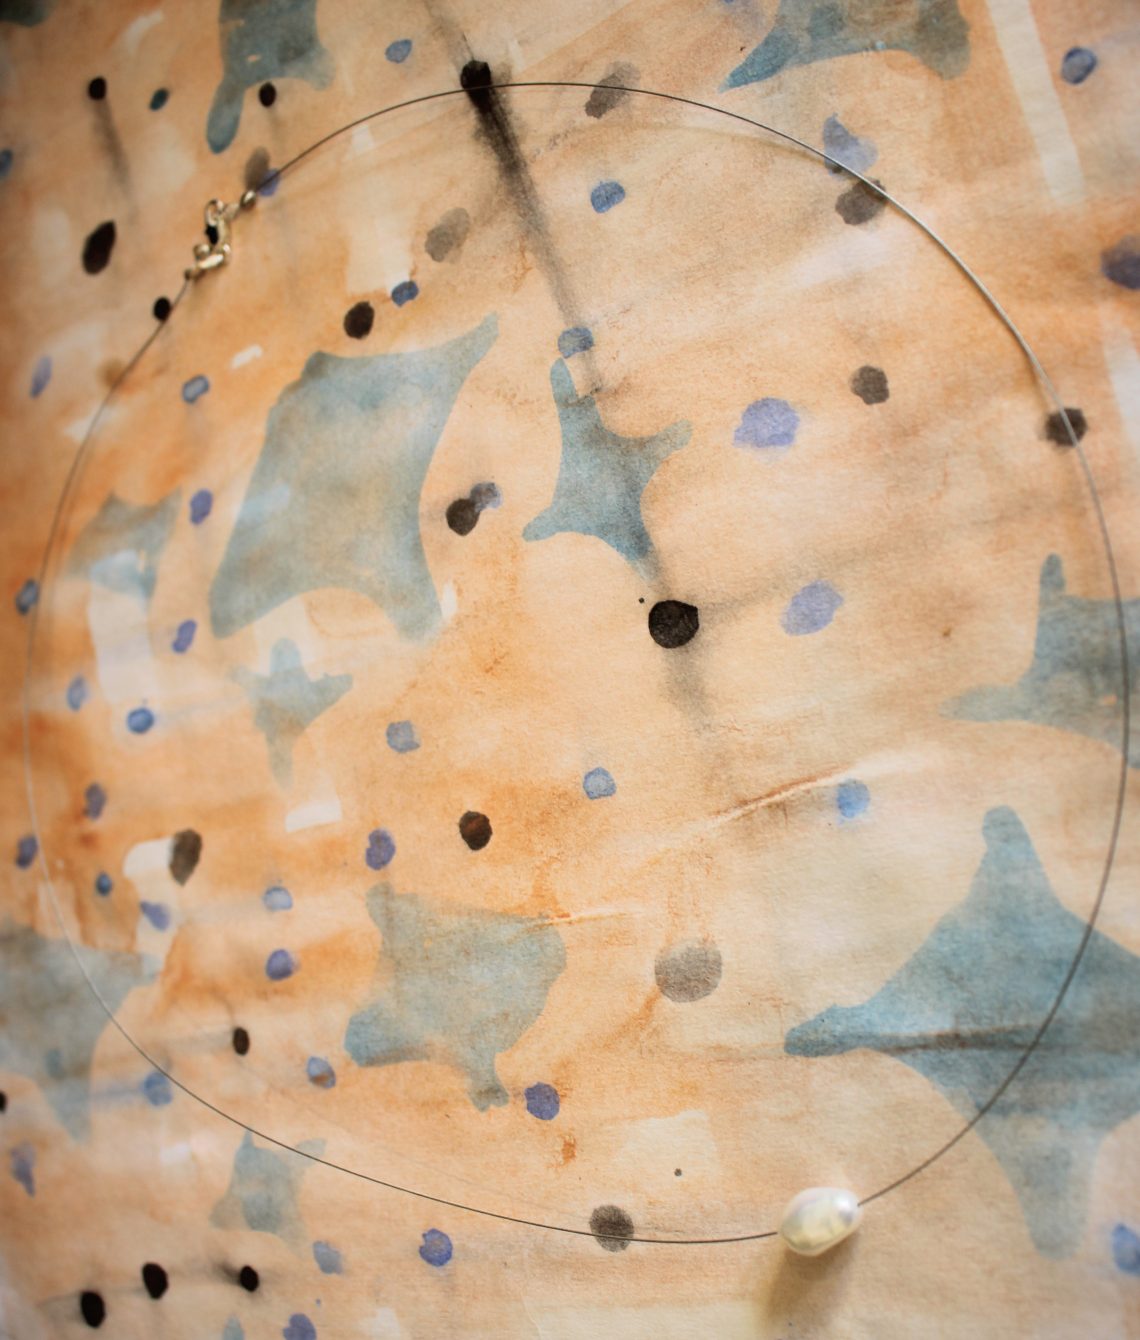
Here’s how to make a single floating pearl necklace!

I’ve made a floating pearl necklace before using multiple pearls, you can see the tutorial here. This design is a bit different. For this one you won’t need extra crimp beads, the pearl instead slides freely on the tiger tail wire! I also added some crimp covers on this version so that the trimmed tigertail ends don’t scratch your neck! Please note that this tutorial contains affiliate links.

You’ll need these tools and materials to make this floating pearl necklace:

1: Pliers. I used my cutting pliers, flat nose pliers and round nose pliers for this floating pearl necklace.

Cutting pliers, round nose pliers and flat nose pliers
Cutting pliers (left), Round nose pliers (middle) and flat nose pliers (right)

https://ws-na.amazon-adsystem.com/widgets/q?ServiceVersion=20070822&OneJS=1&Operation=GetAdHtml&MarketPlace=US&source=ac&ref=qf_sp_asin_til&ad_type=product_link&tracking_id=dijehu-20&marketplace=amazon&region=US&placement=B09M2KD4VM&asins=B09M2KD4VM&linkId=f099d1a046fb1232322e23757debd059&show_border=false&link_opens_in_new_window=false&price_color=333333&title_color=0066c0&bg_color=ffffff

2: Tiger tail wire. Cut to your desired length, I made mine a bit longer than I usually like, but you can check your length by holding the wire loosely around your neck or measuring the wire against the length of your fave necklace and adding about 3cm extra.

https://ws-na.amazon-adsystem.com/widgets/q?ServiceVersion=20070822&OneJS=1&Operation=GetAdHtml&MarketPlace=US&source=ac&ref=qf_sp_asin_til&ad_type=product_link&tracking_id=dijehu-20&marketplace=amazon&region=US&placement=B07CVTFQGW&asins=B07CVTFQGW&linkId=b57a4282cabdb9b3e04b941d76770e09&show_border=false&link_opens_in_new_window=false&price_color=333333&title_color=0066c0&bg_color=ffffff

3: Two crimp beads.

https://www.ebay.com.au/itm/224547677887?hash=item344815a6bf:g:GoAAAOSwvBVf4xf1&mkcid=1&mkrid=705-53470-19255-0&siteid=15&campid=5338906822&customid=5338906822&toolid=10001&mkevt=1

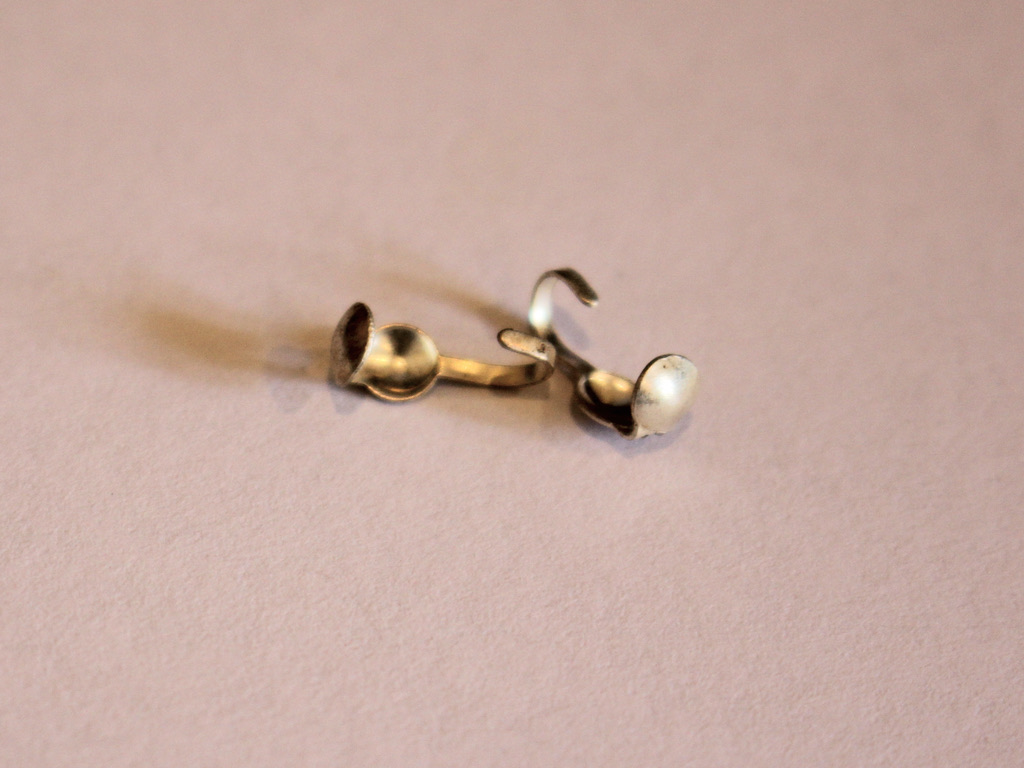
4: Two crimp cover findings.

https://www.ebay.com.au/itm/333922661082?hash=item4dbf5772da%3Ag%3AywEAAOSwmFFgUJNF&amdata=enc%3AAQAGAAAAkI5vts3mO07mBWgEIdnUIttpveA%2F0jpBsnbyTvnRyNfxuEHC8K6rJ8%2FTROJ0pAJ9RBZTw18dkczpRHvL5NVqpeM0FNtVYoIQpu5DDz23nuf28jyovsrARo9jp1iduBpYTTEgtStajpoK3DLfvcVnqcKD7vUYOkwfXffy7ezUw%2FEiA%2FH8VXmxDWfcGoPjMRewrw%3D%3D%7Ctkp%3ABFBMwsiP6tFf&mkcid=1&mkrid=705-53470-19255-0&siteid=15&campid=5338906822&customid=5338906822&toolid=10001&mkevt=1

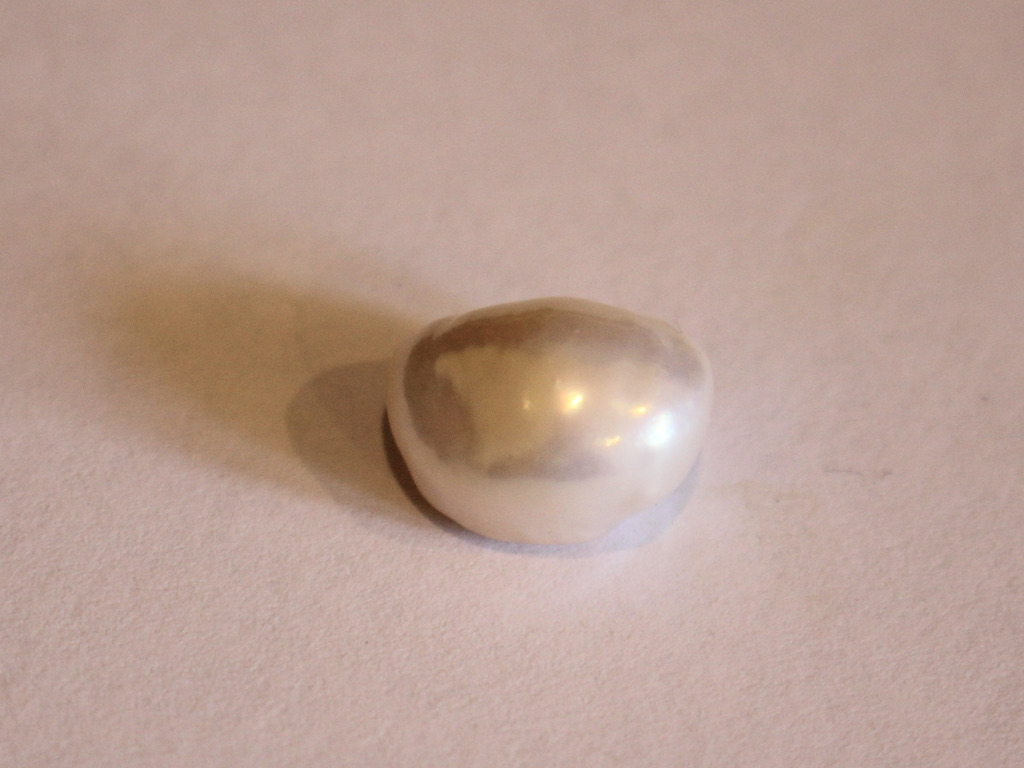
5: A pearl bead. I used this oval shaped freshwater pearl bead.

https://ws-na.amazon-adsystem.com/widgets/q?ServiceVersion=20070822&OneJS=1&Operation=GetAdHtml&MarketPlace=US&source=ac&ref=qf_sp_asin_til&ad_type=product_link&tracking_id=dijehu-20&marketplace=amazon&region=US&placement=B09J19M43V&asins=B09J19M43V&linkId=4d2f0d43ea4d63c9a8ad71d4dd8781f3&show_border=false&link_opens_in_new_window=false&price_color=333333&title_color=0066c0&bg_color=ffffff

6: A clasp and extra jump ring.

https://ws-na.amazon-adsystem.com/widgets/q?ServiceVersion=20070822&OneJS=1&Operation=GetAdHtml&MarketPlace=US&source=ac&ref=qf_sp_asin_til&ad_type=product_link&tracking_id=dijehu-20&marketplace=amazon&region=US&placement=B074FDGNWY&asins=B074FDGNWY&linkId=7c796ba407fe084d58121b13be936f3c&show_border=false&link_opens_in_new_window=false&price_color=333333&title_color=0066c0&bg_color=ffffff

https://www.ebay.com.au/itm/262591307764?var=561471462420&_trkparms=ispr%3D1&hash=item3d23a95ff4%3Ag%3AdJcAAOSw0VBcZQav&amdata=enc%3AAQAGAAAAkJsYAHNZvth8urcN9M4Qhc4YXNPwPsnf7XTBPB6LavkBXOAUSdqoKZqd8fkkcm%2FO7Qy3XS9ztPaGZ7fzqI18YRxl0NrbC8PqoiiP5zMGUmR9lNCRjVs1qxvU%2FHAEy2dPCSDPO3eCeEyOAGMxunD%2FmOy3hHtRHsp6l5W2otFryCWPRlTAh%2FEky1Wst%2F06udfFjA%3D%3D%7Ctkp%3ABFBM5v-n6tFf&mkcid=1&mkrid=705-53470-19255-0&siteid=15&campid=5338906822&customid=5338906822&toolid=10001&mkevt=1

Follow these steps to make your floating pearl necklace:

1: Add a crimp bead to one end of the wire.

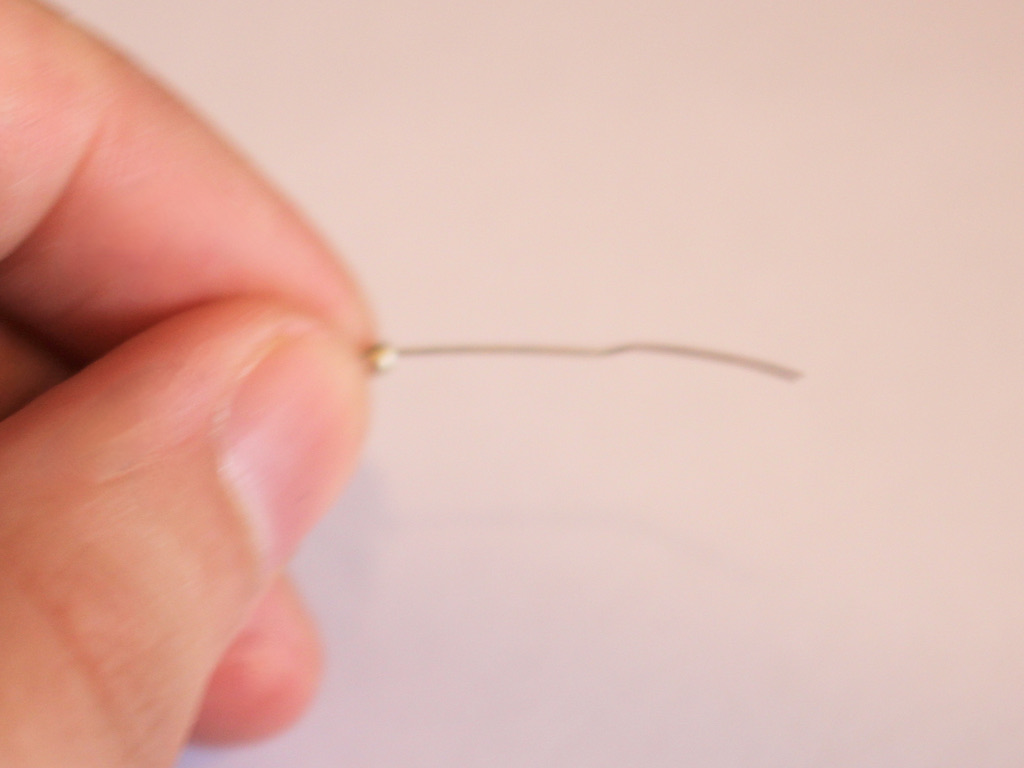
2: Loop the end of the wire back through the crimp to create a loop.

3: Pull the loop tight around the crimp bead.

4: Squash the crimp bead using flat nose pliers and then trim the excess wire at the end.

5: Add a crimp cover from the other end of the wire, pulling it so that it sits around the squashed crimp bead.

6: Close the crimp cover around the squashed crimp bead using the flat nose pliers.

7: Add the pearl to the wire.

8: Add the second crimp cover to the wire and let it fall out of the way.

9: Add the second crimp bead to the wire and repeat the loop that you did in steps 2-4.

This is before trimming the excess wire. I suggest trimming the wire before closing the crimp cover.

10: Pull the crimp cover back up the wire and fold it around the crimp bead end, close it carefully using the flat nose pliers.

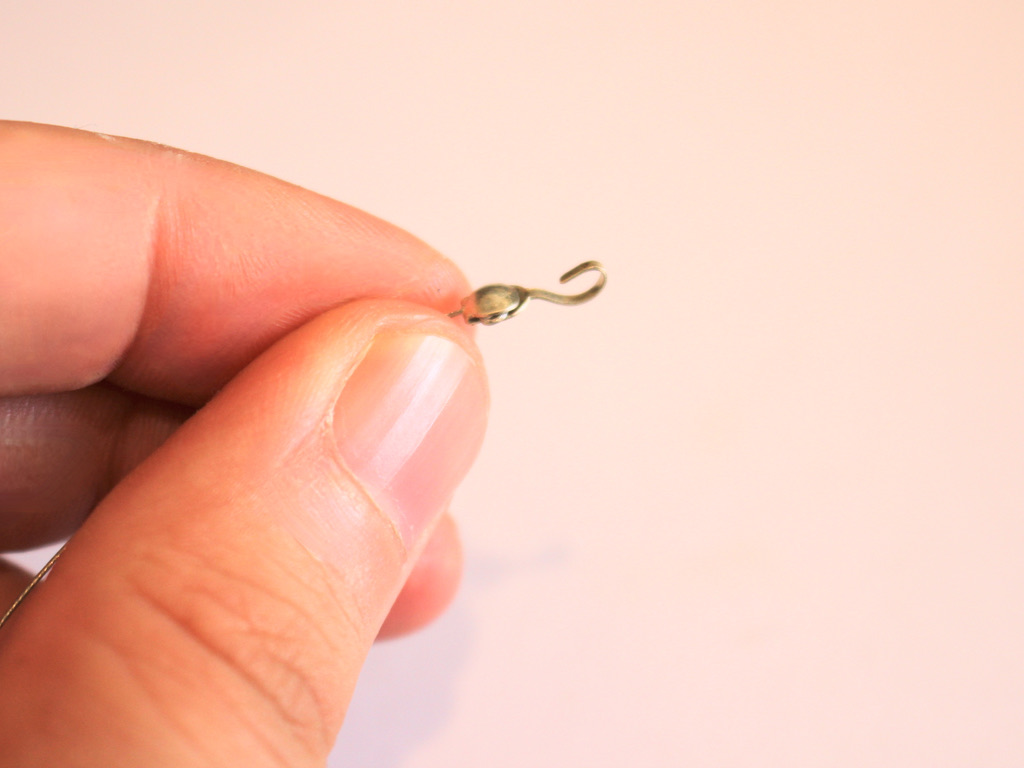
11: Use the loops at the end of the crimp covers to attach the clasp to one side of the necklace and the jump ring to the other side. Shape and close the crimp cover loops using the round nose pliers.

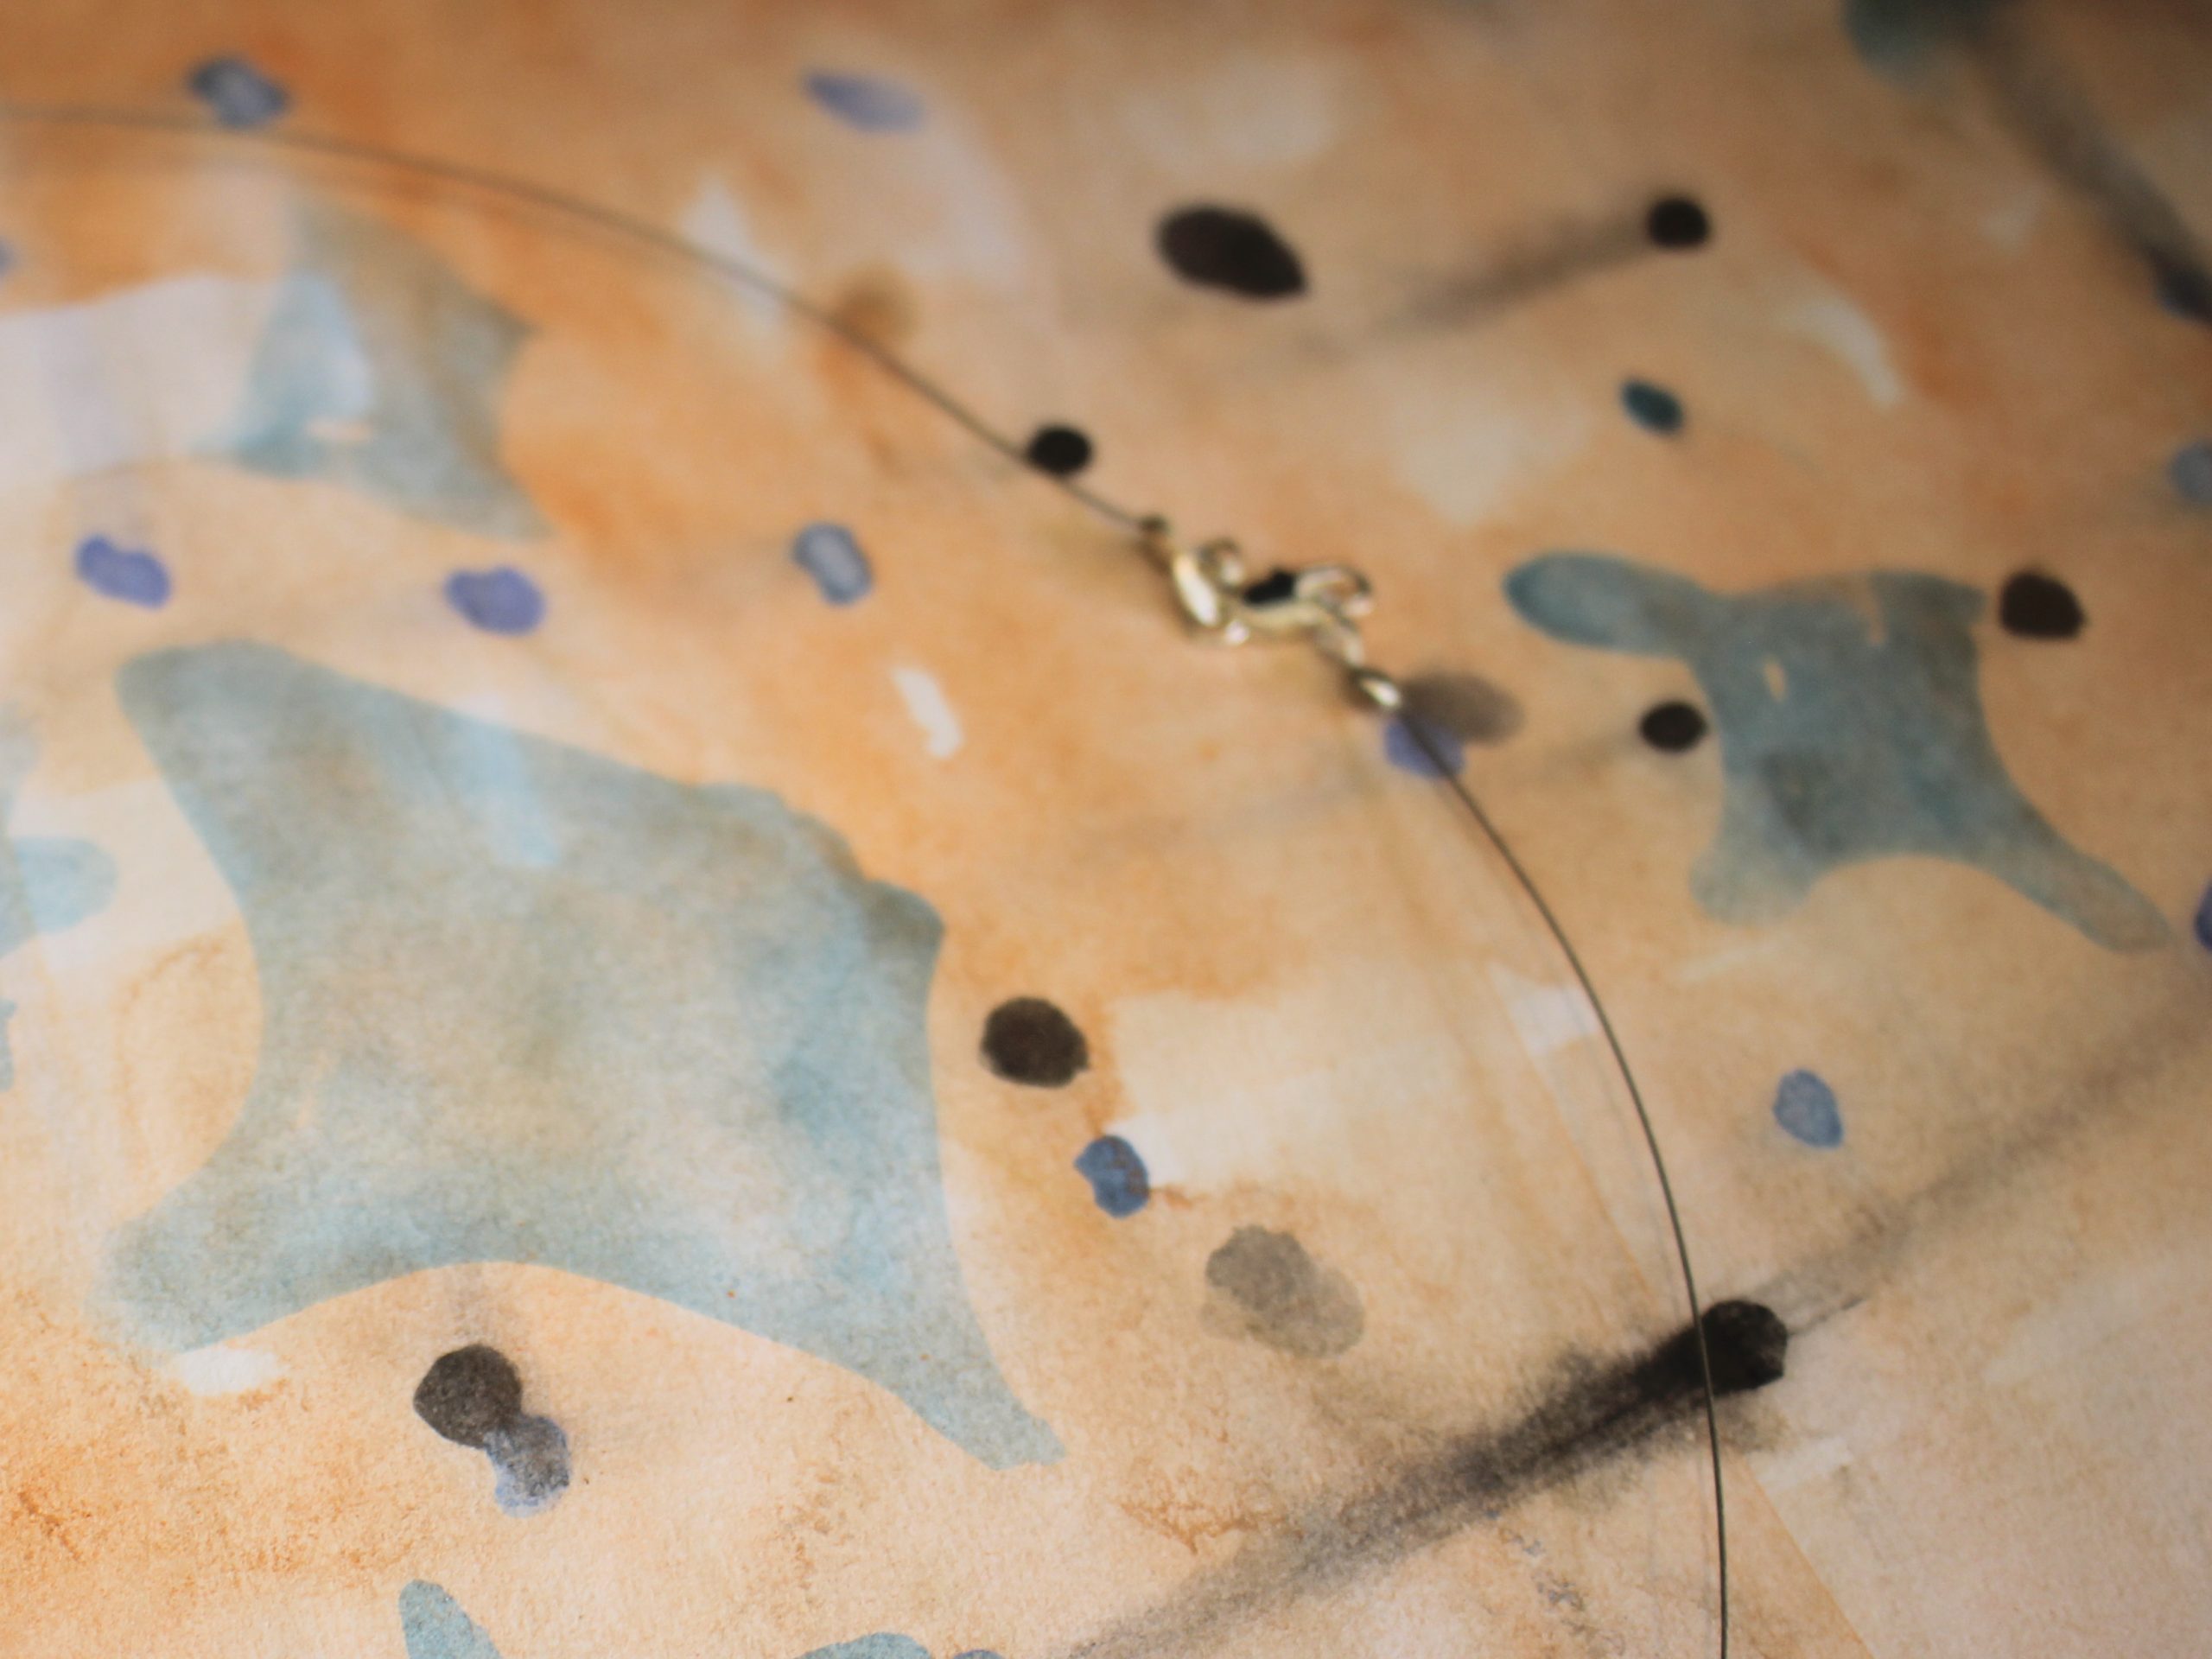
Once the clasp has been attached, your floating pearl necklace is ready to wear! Would you wear this piece as a simple statement or layered with other pieces?

Here are some other pearl necklace designs you can make:

Welcome to DIY Jewelry Hub. If you’ve ever wanted to learn how to make your own jewelry this is the place to start! Jewelry is a great way to show off your individuality and style. You’ll be surprised at how easy it is to create your own unique pieces! DIY Jewelry Hub will equip you with all the knowledge and inspiration you need to make your own jewelry.

Leave a Reply

Your email address will not be published. Required fields are marked *

This website uses Google Analytics software. You can opt out via this link. Click here to opt-out.