-
How to make some pearl earring jackets to add some elegance to your stud earrings
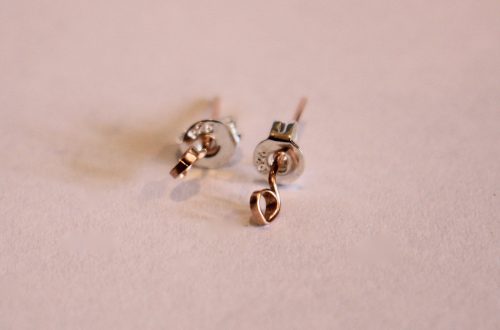
I love a stud earring, but sometimes I feel like I need some extra elegance in my outfit… in comes, the earring jacket. This simple and elegant pearl earring jacket can be added to any of your studs to turn them into stunning drop earrings. A versatile way to make your existing earring collection work even harder. Please note that this tutorial contains affiliate links for which we may receive a commission.
You’ll need the following tools and materials to make your own pearl earring jackets.
1: Two pieces of 0.8mm sterling silver wire cut to length. I made mine about 5cm long. You can make yours longer or shorter depending on how dramatic you want your look!

You can get some here:
2: Two pearl beads (or any other statement bead of your choice).

You can get some here:
3: A pair of earrings. I used the earrings I made in this tutorial.

If you aren’t up for making your own, you can get some here:
4: A hammer.

If you don’t have an ordinary hammer at home, you can get a jewelry hammer here:
5: A steel hammering block.

You can get one here:
6: Flat nose or Parallel pliers.

You can get some flat nose pliers here:

You can get some here:
7: Round nose pliers.

You can get some here:
8: A file and sandpaper.

You can get a file here:
Follow these steps to make your pearl earring jackets.
1: File the ends of the wire to smooth them out, then use sandpaper to make sure they aren’t too sharp.

2: Put the wires on the hammering block and hammer the ends flat. Make the ends wide enough to stop the bead from sliding off.


3: Use the flat nose or parallel pliers to gently straighten the wire if it is curved like mine. You can achieve this by gently squeezing the wire between the jaws of the pliers.


4: Add the pearl beads to each of the wires.

5: Create a right angle on the ends of the wires using the flat nose or parallel pliers.


6: Curl this bent portion of the wire into a loop using the round nose pliers.


7: Once each earring jacket has been looped, they are ready to attach to your earrings, do this by sliding the studs through your piercings and then adding the jacket to the post at the back before adding the earring backs.
Here’s how the finished earring jackets look with the pearl studs! How cool?!


If you like this tutorial, here are some other earring jacket tutorials you can follow:
-
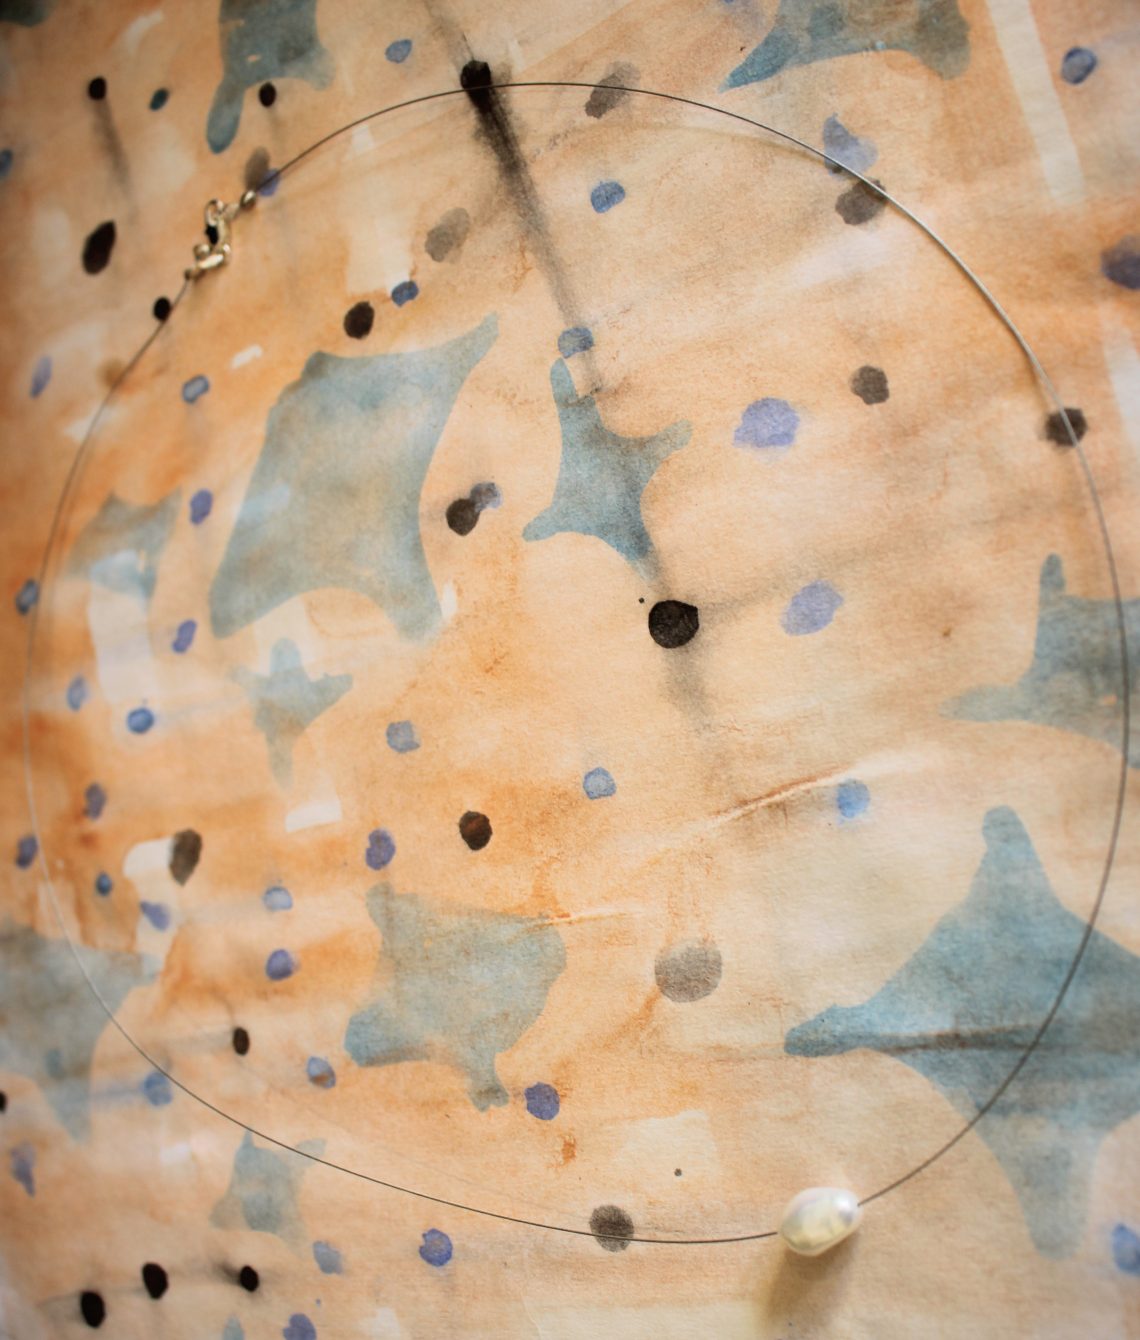
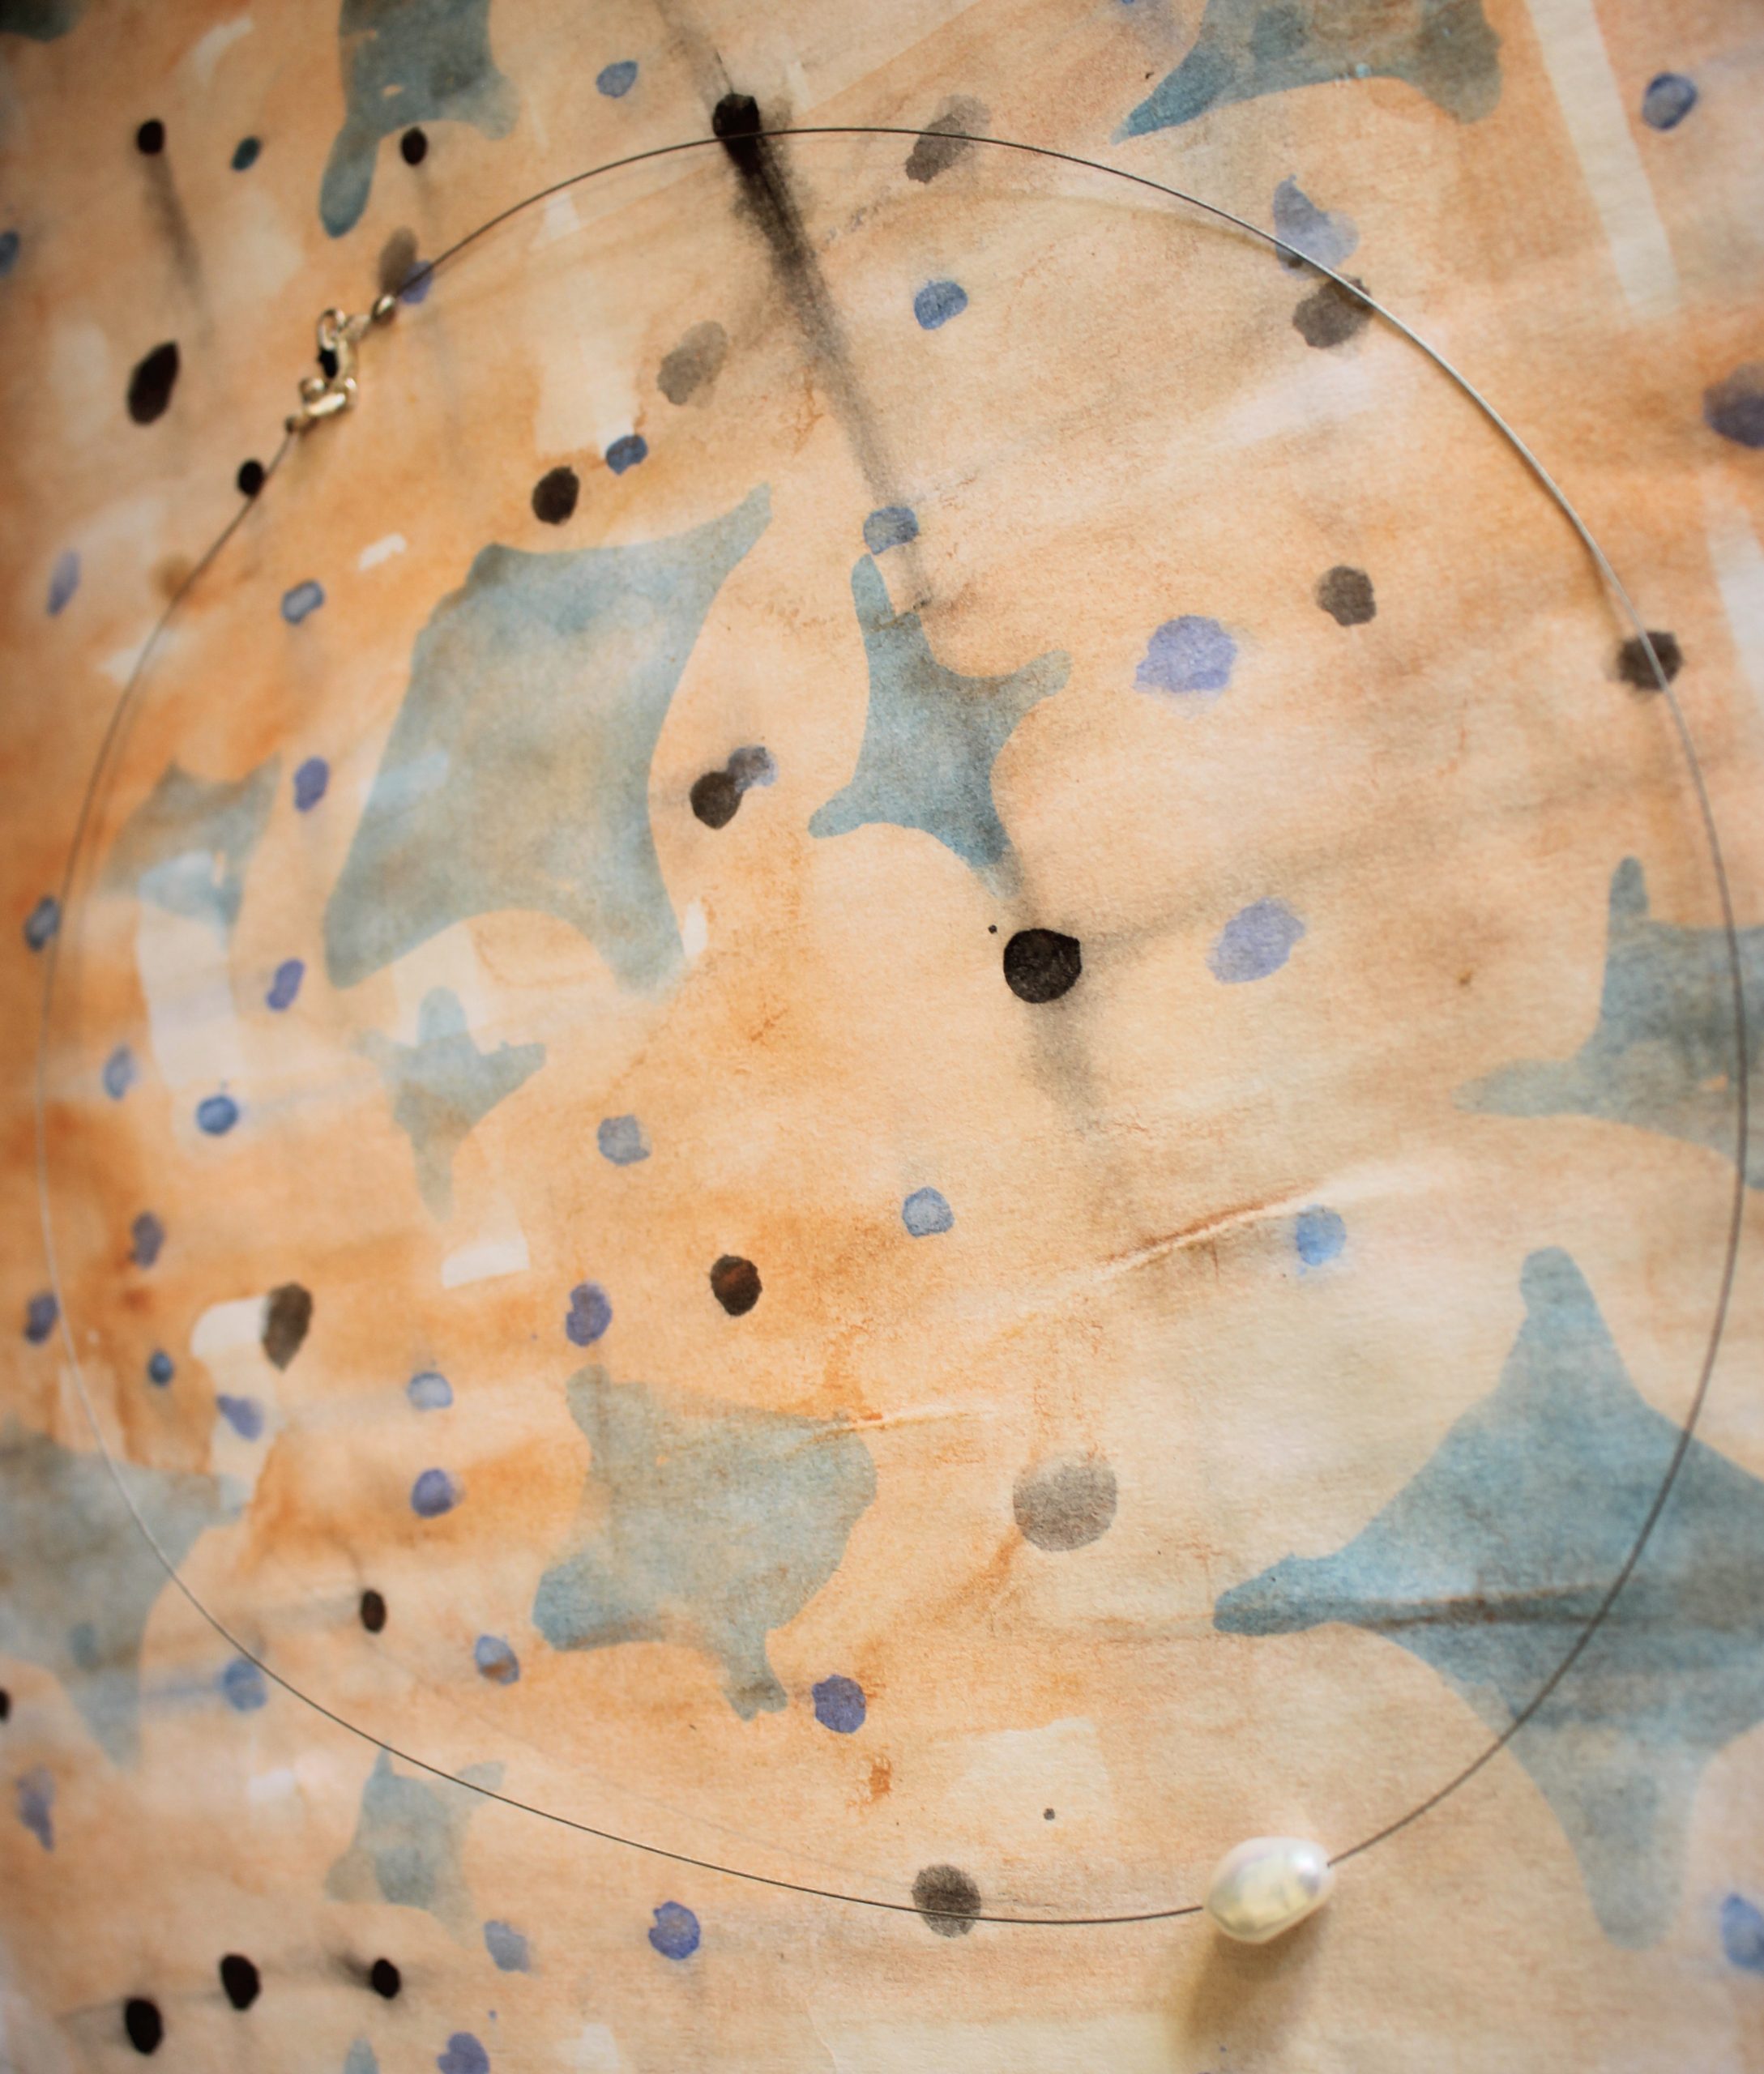
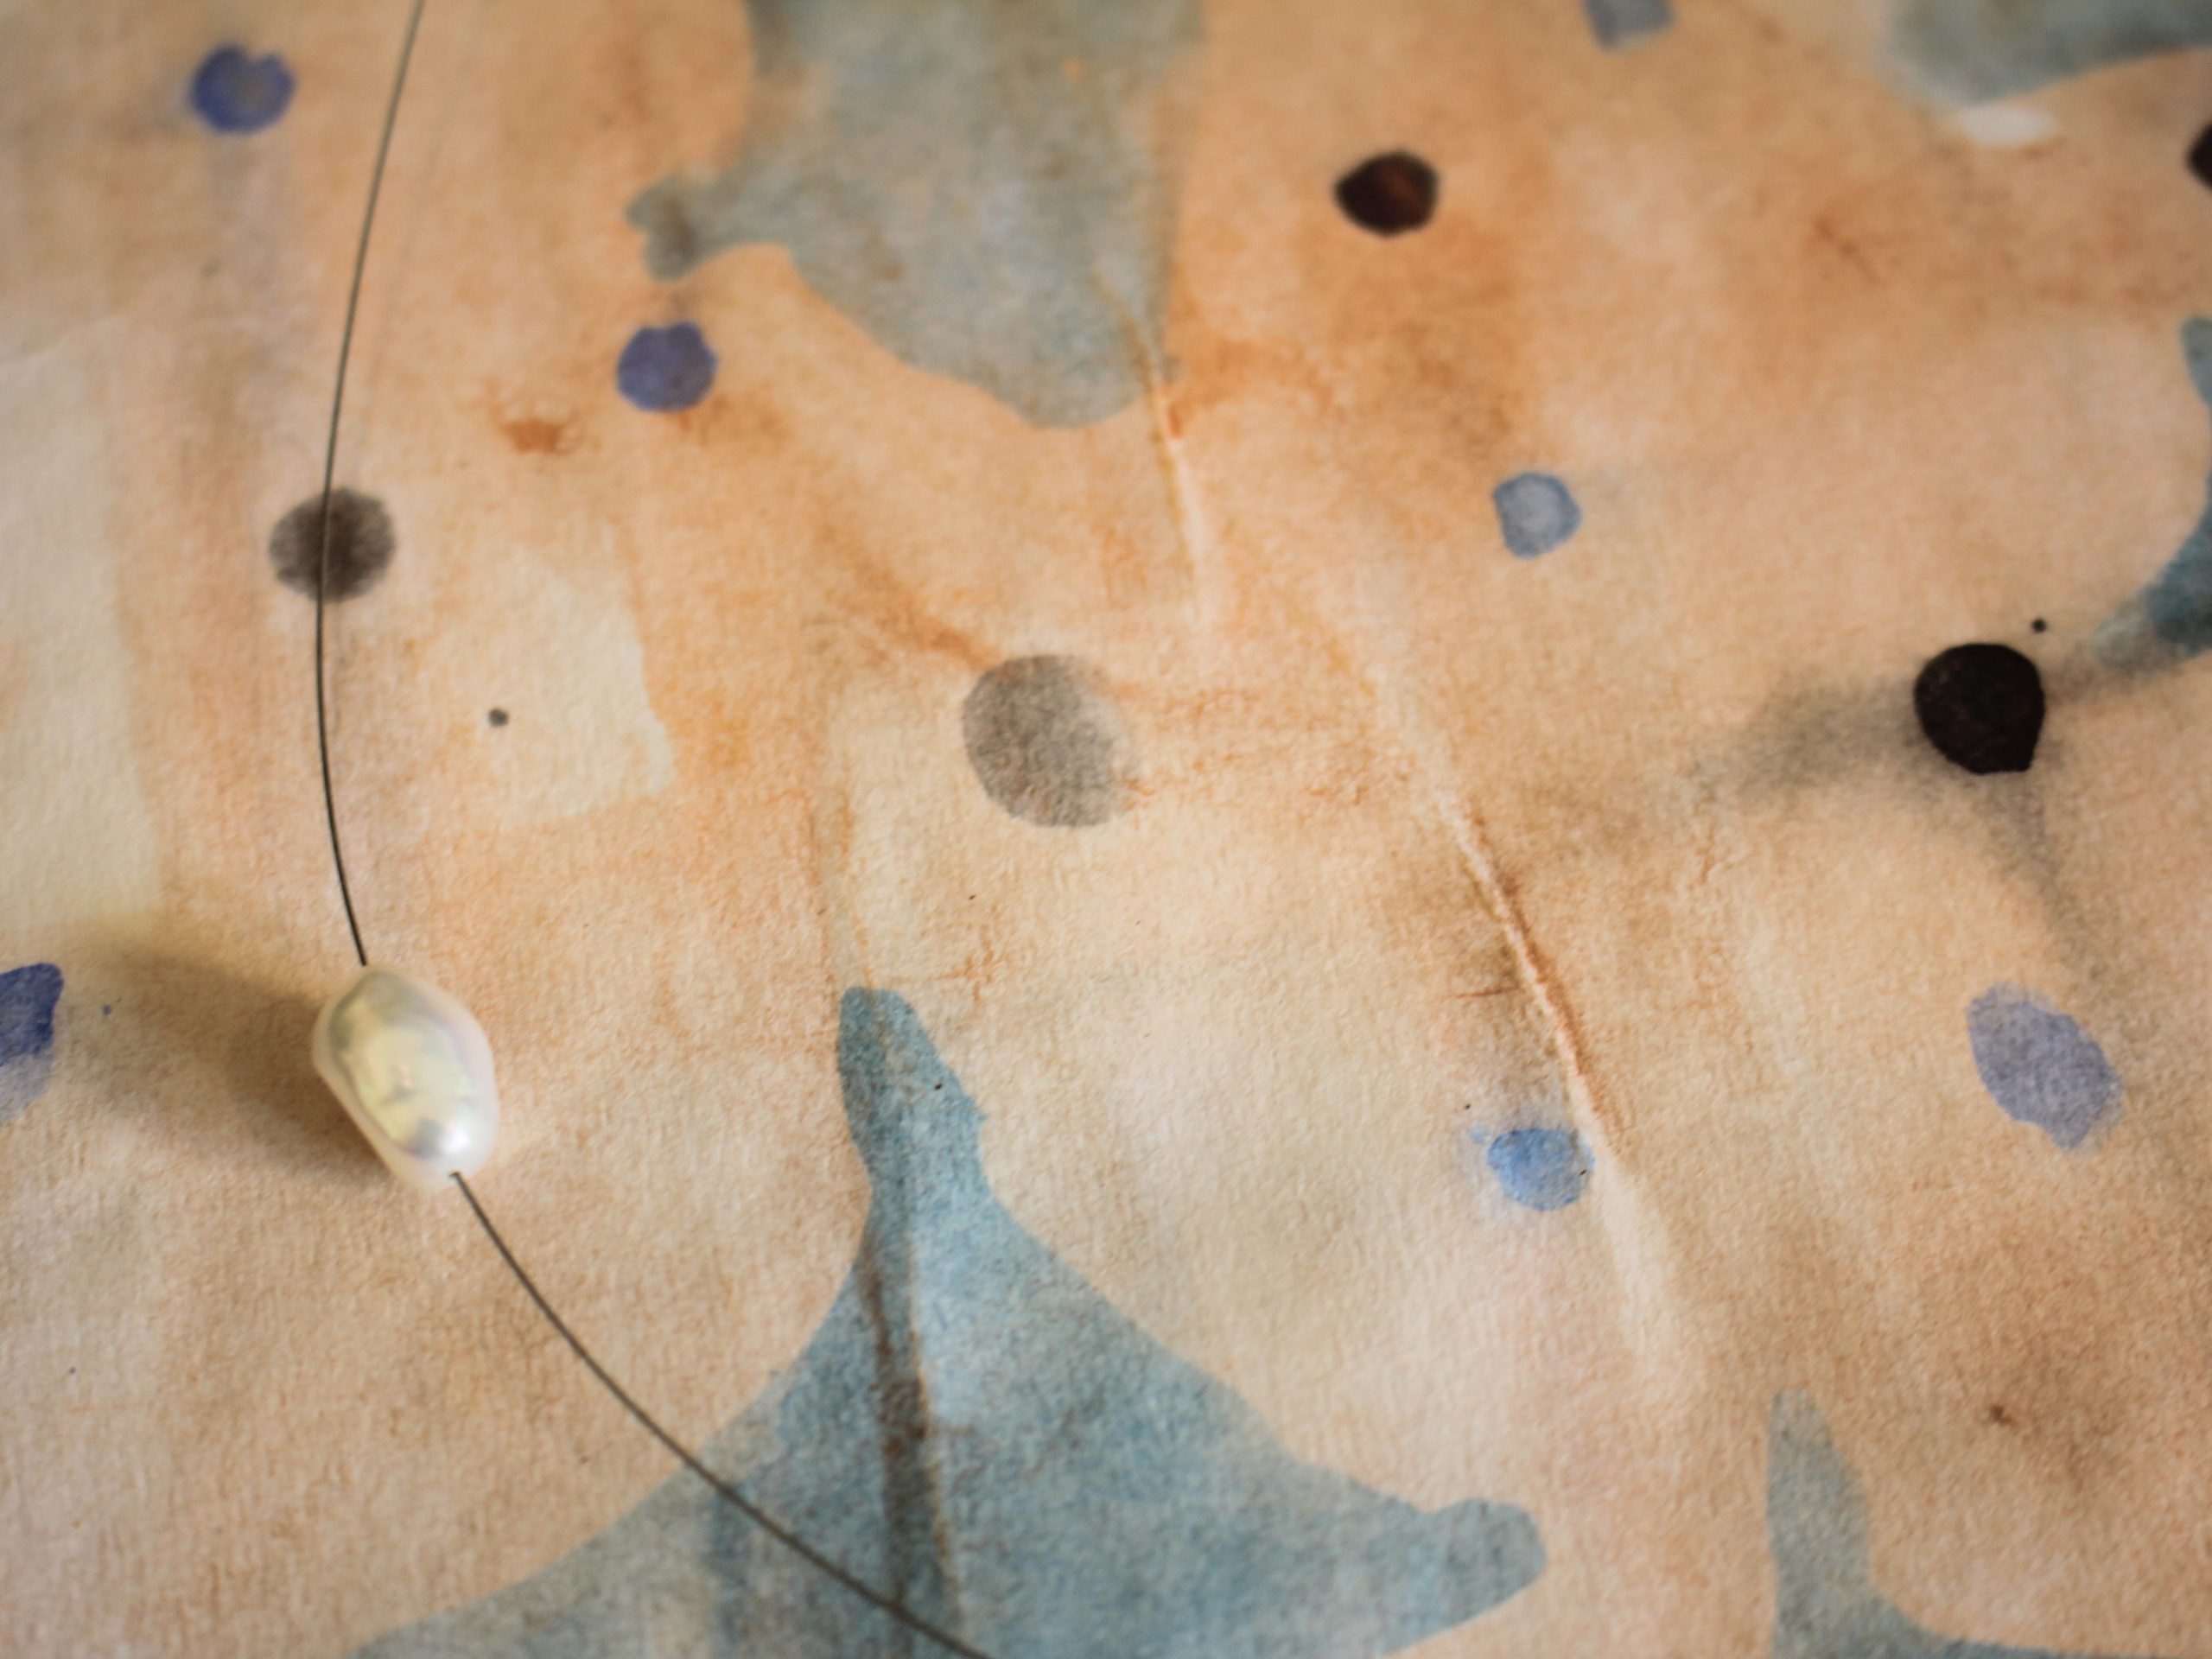
Here’s how to make a single floating pearl necklace!
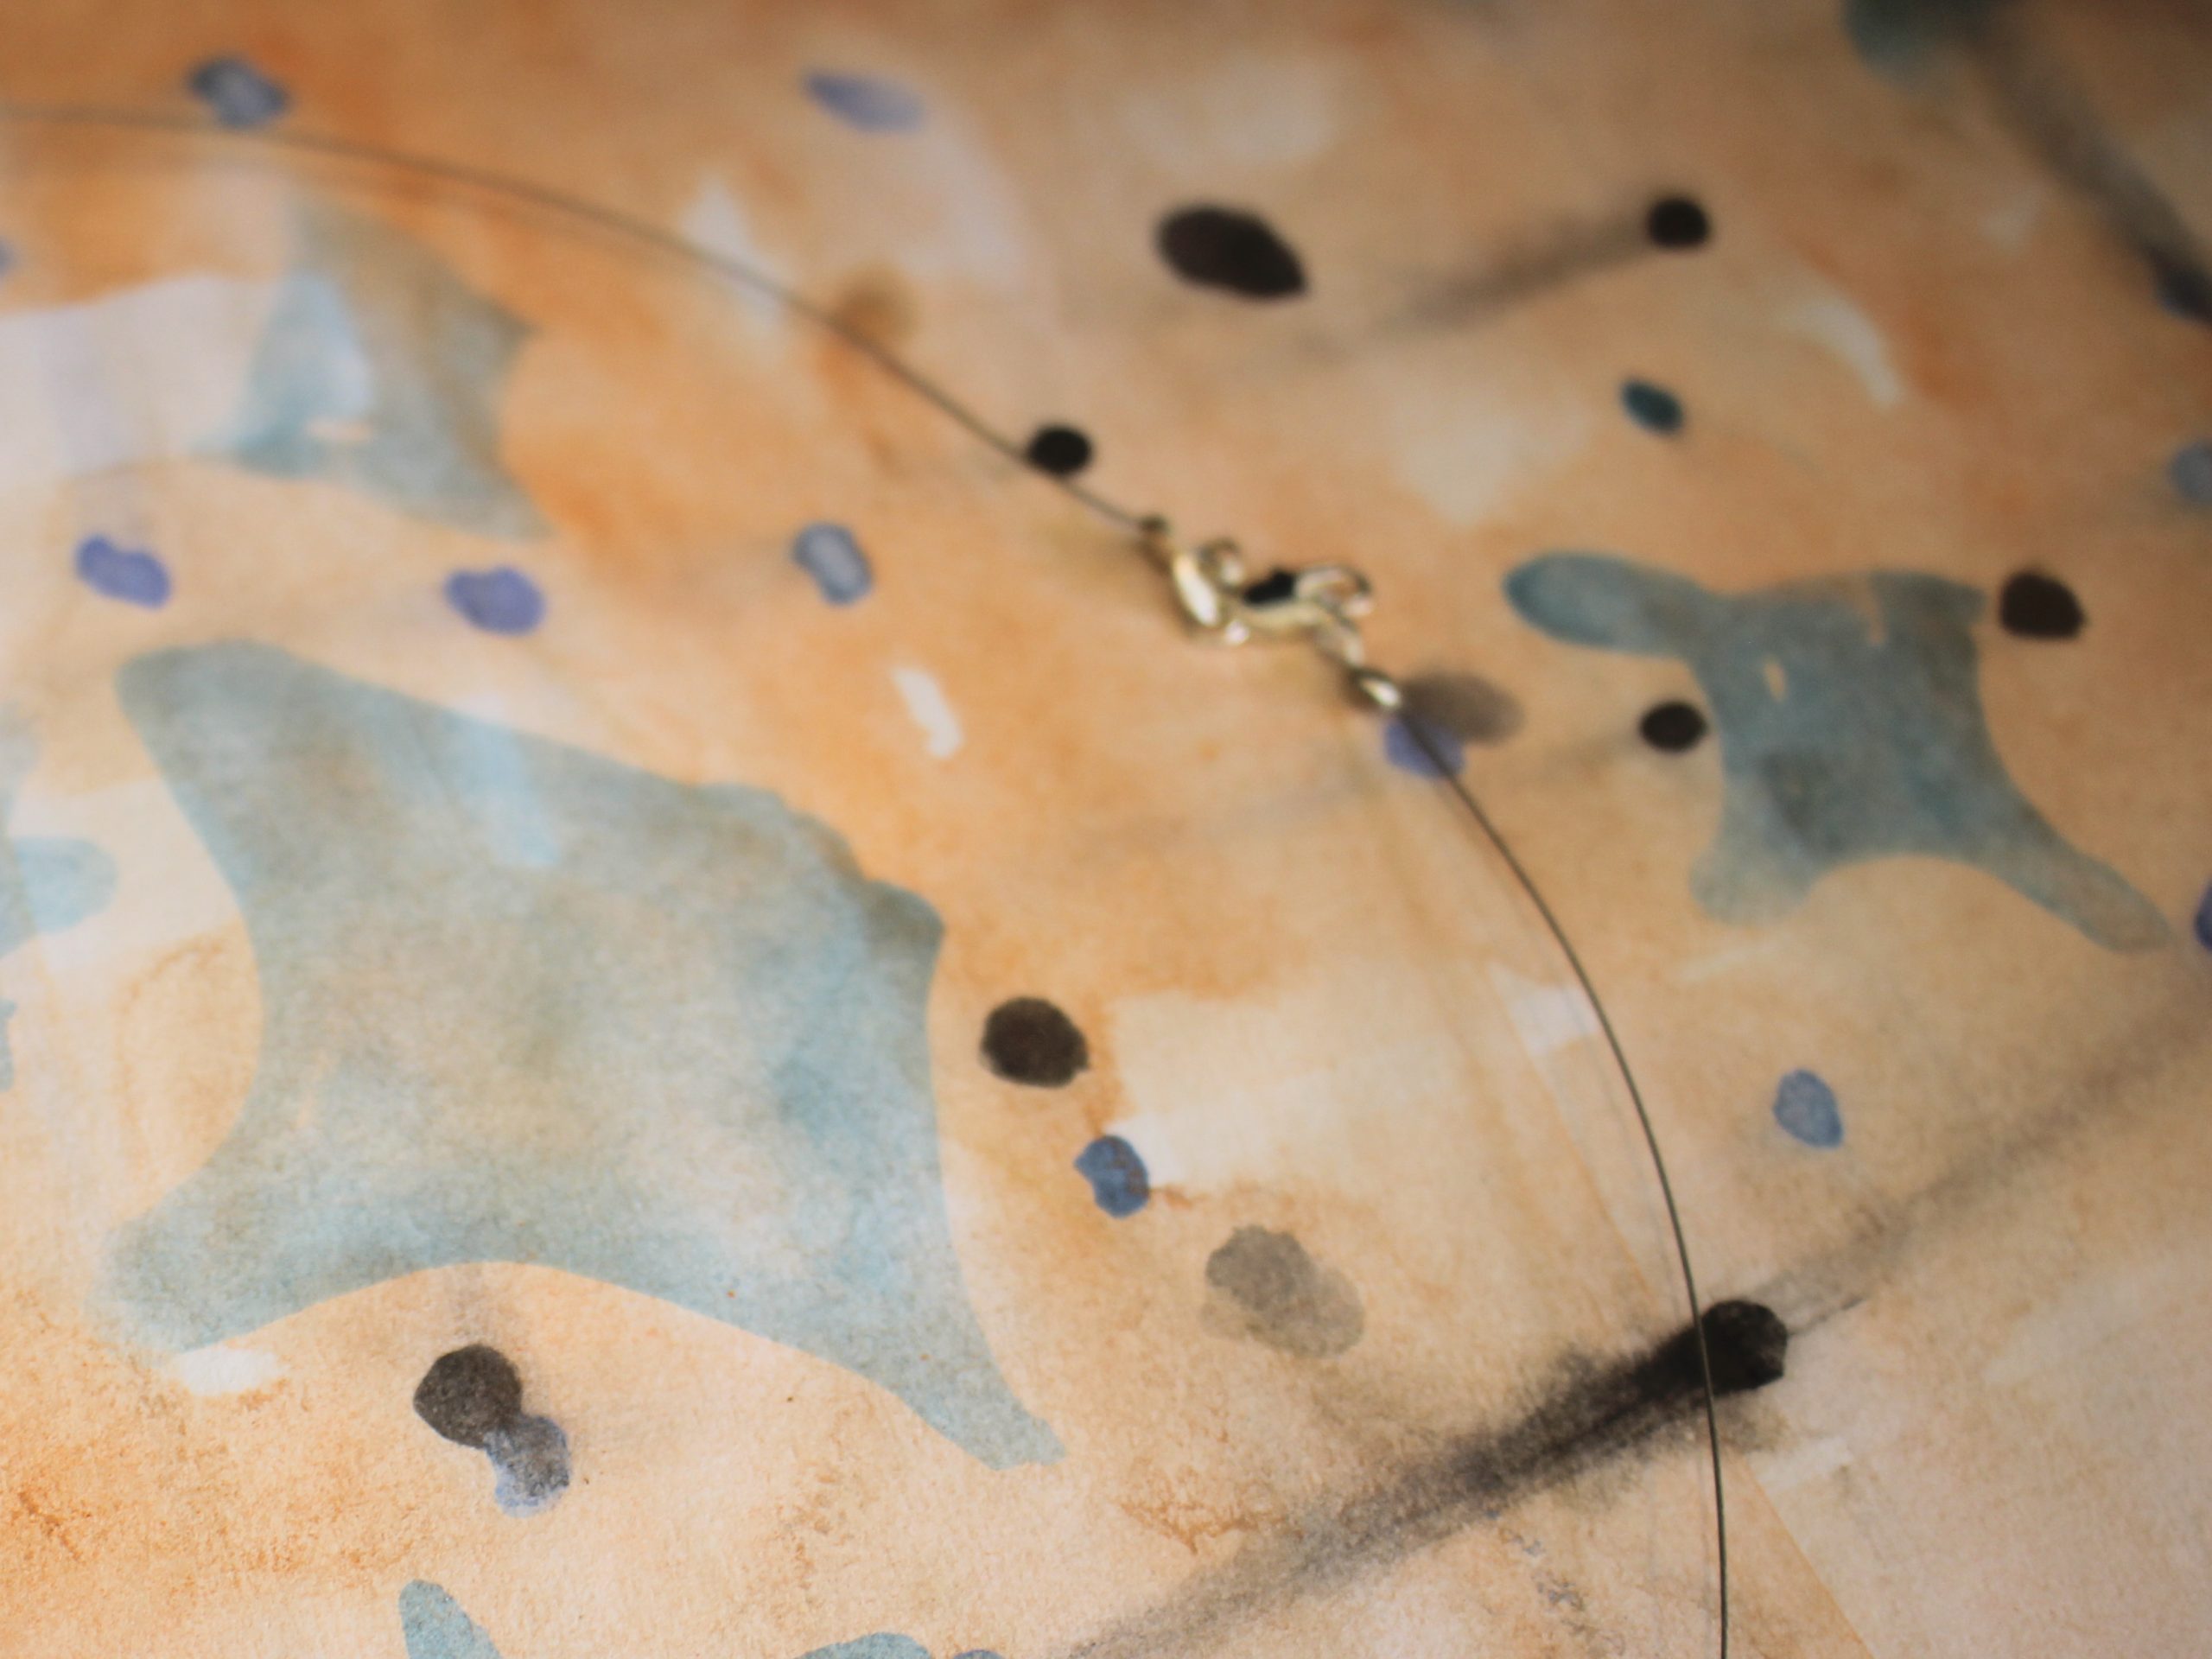
I’ve made a floating pearl necklace before using multiple pearls, you can see the tutorial here. This design is a bit different. For this one you won’t need extra crimp beads, the pearl instead slides freely on the tiger tail wire! I also added some crimp covers on this version so that the trimmed tigertail ends don’t scratch your neck! Please note that this tutorial contains affiliate links.
You’ll need these tools and materials to make this floating pearl necklace:
1: Pliers. I used my cutting pliers, flat nose pliers and round nose pliers for this floating pearl necklace.

Cutting pliers (left), Round nose pliers (middle) and flat nose pliers (right) 2: Tiger tail wire. Cut to your desired length, I made mine a bit longer than I usually like, but you can check your length by holding the wire loosely around your neck or measuring the wire against the length of your fave necklace and adding about 3cm extra.

3: Two crimp beads.

4: Two crimp cover findings.
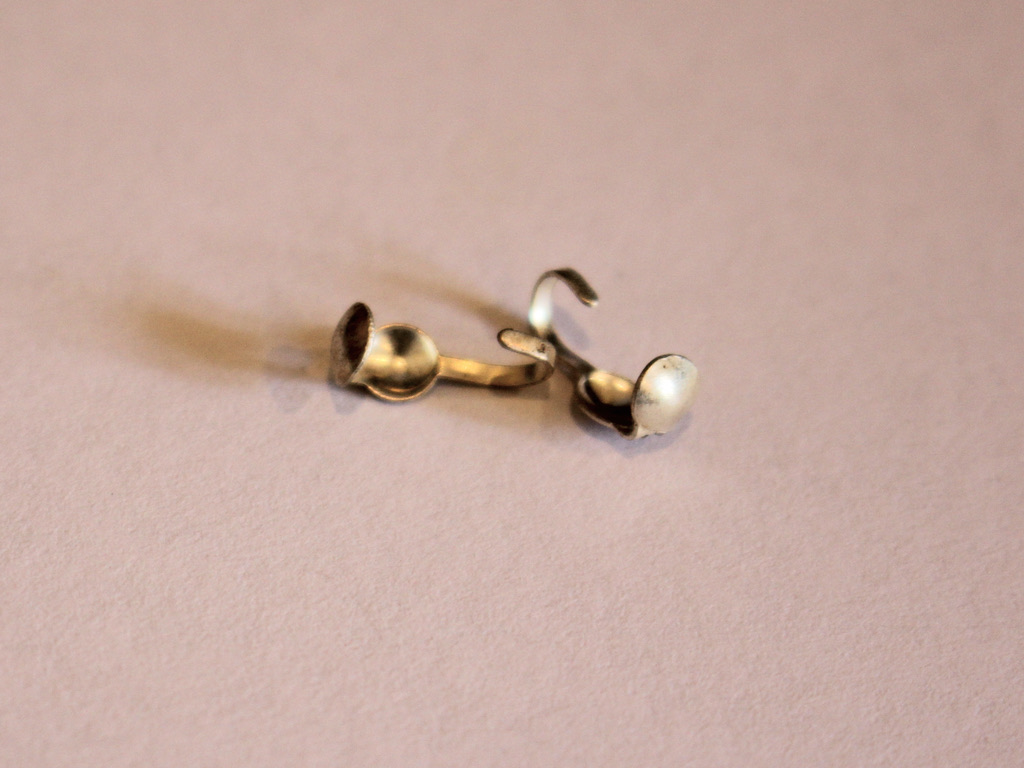
5: A pearl bead. I used this oval shaped freshwater pearl bead.
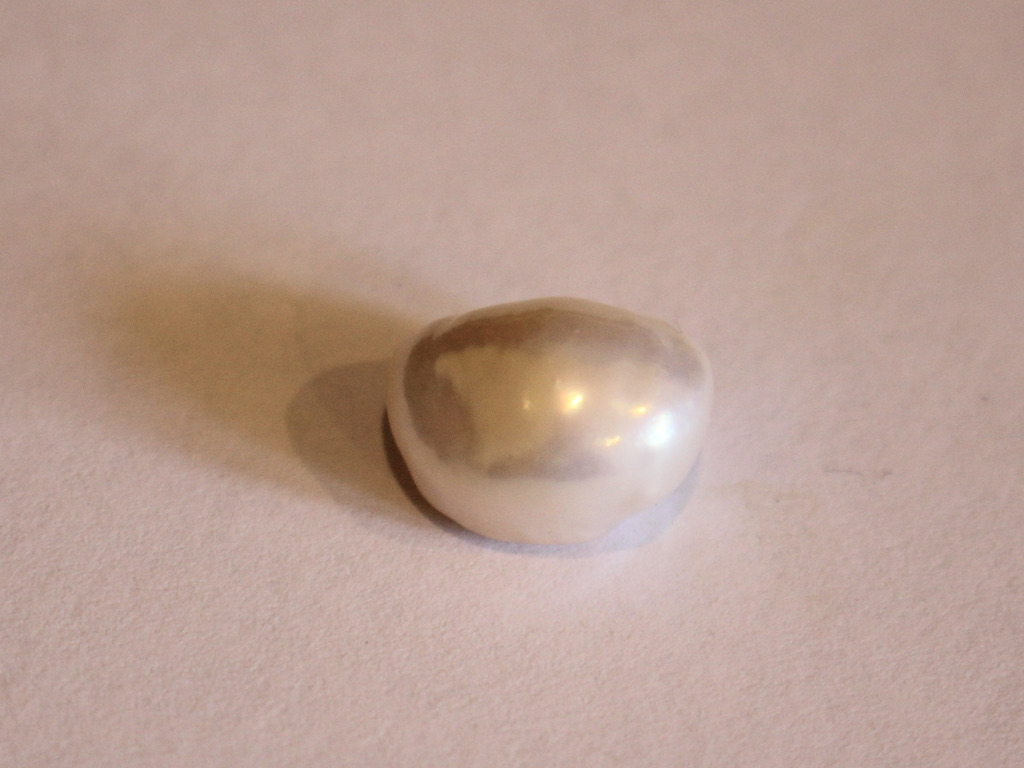
6: A clasp and extra jump ring.


Follow these steps to make your floating pearl necklace:
1: Add a crimp bead to one end of the wire.
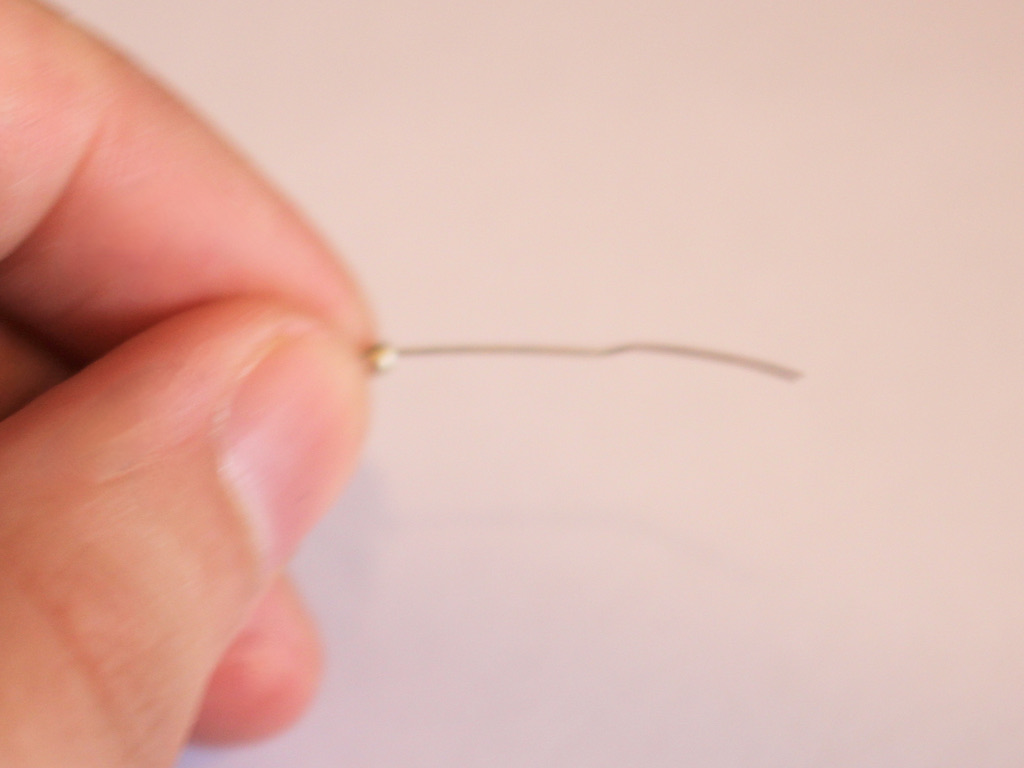
2: Loop the end of the wire back through the crimp to create a loop.

3: Pull the loop tight around the crimp bead.

4: Squash the crimp bead using flat nose pliers and then trim the excess wire at the end.


5: Add a crimp cover from the other end of the wire, pulling it so that it sits around the squashed crimp bead.

6: Close the crimp cover around the squashed crimp bead using the flat nose pliers.
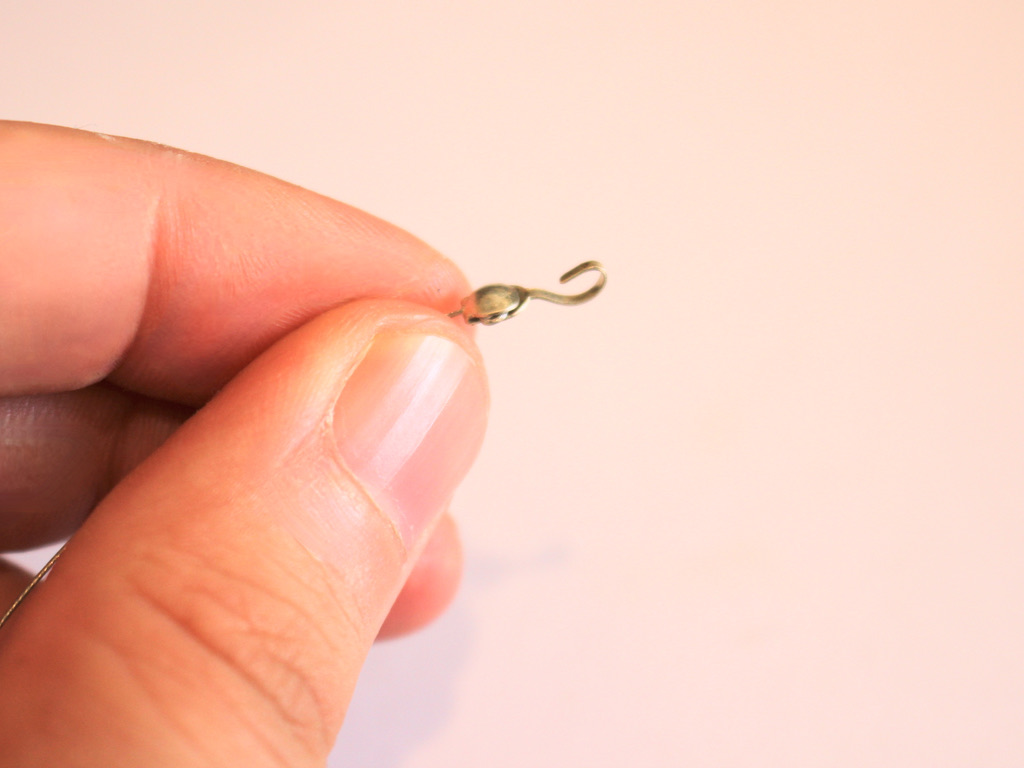
7: Add the pearl to the wire.

8: Add the second crimp cover to the wire and let it fall out of the way.

9: Add the second crimp bead to the wire and repeat the loop that you did in steps 2-4.


This is before trimming the excess wire. I suggest trimming the wire before closing the crimp cover. 10: Pull the crimp cover back up the wire and fold it around the crimp bead end, close it carefully using the flat nose pliers.

11: Use the loops at the end of the crimp covers to attach the clasp to one side of the necklace and the jump ring to the other side. Shape and close the crimp cover loops using the round nose pliers.

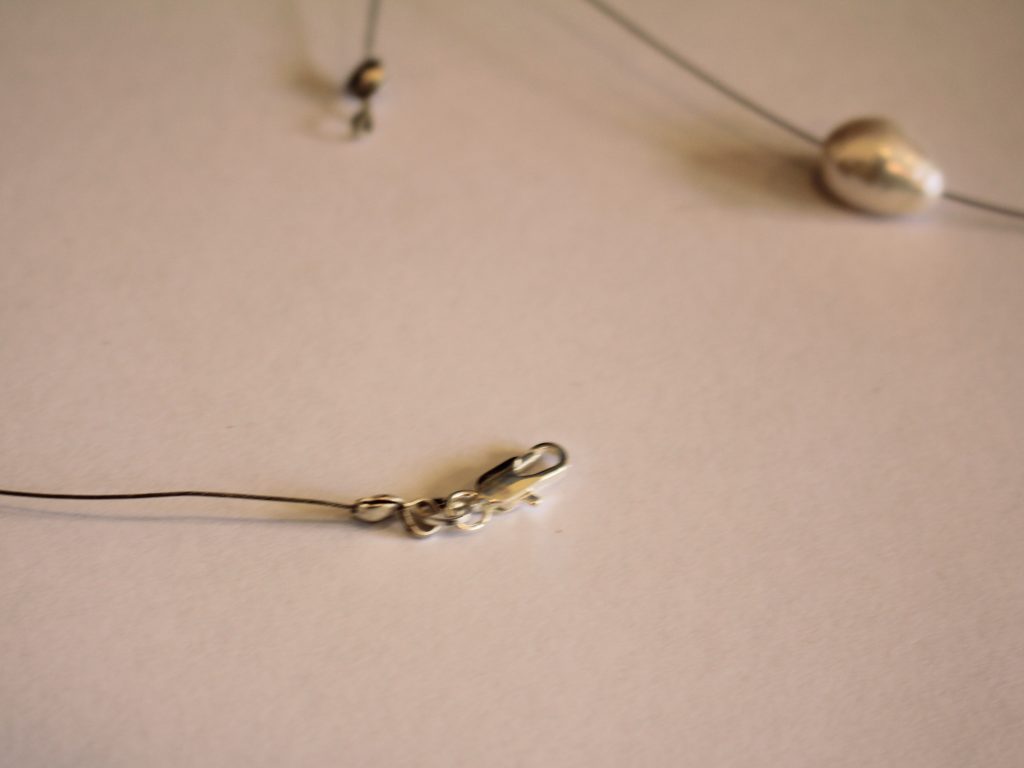
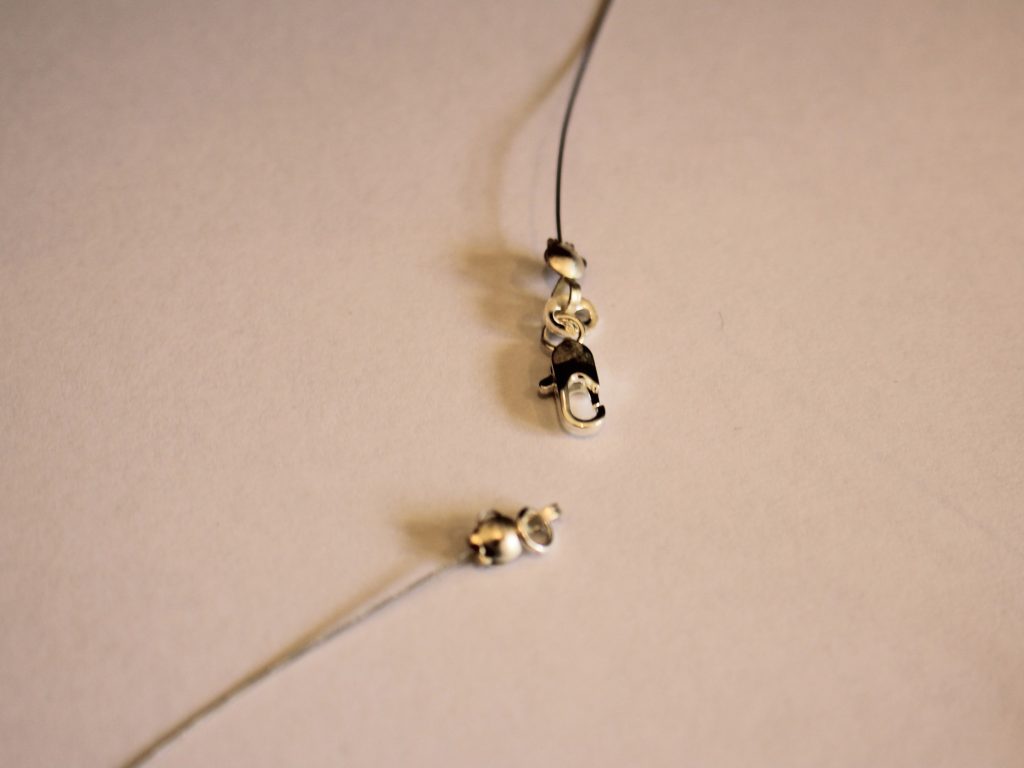

Once the clasp has been attached, your floating pearl necklace is ready to wear! Would you wear this piece as a simple statement or layered with other pieces?


Here are some other pearl necklace designs you can make:
-
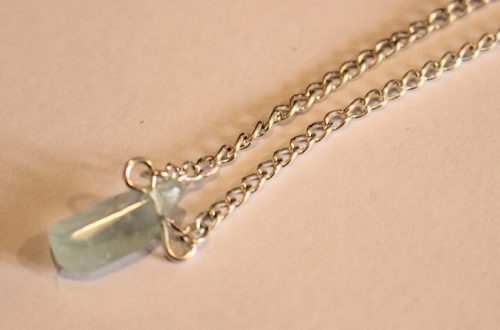
Combine the latest trends in one awesome design with this pearl anklet!

Pearls and anklets are having a moment right now. Hop in on the trend with this rainbow pearl beaded anklet. Contains affiliate links.
You’ll need the following tools and materials to make your pearl anklet:
1: Pliers. You’ll need cutting pliers, flat nose pliers and round nose pliers to make your anklet.
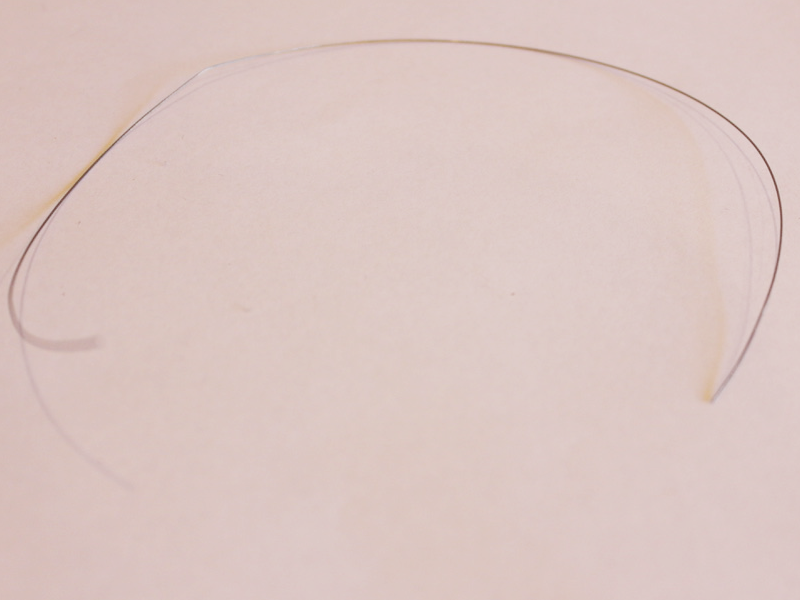
2: Tiger tail wire. Cut it a little longer than the length you want to make your anklet.
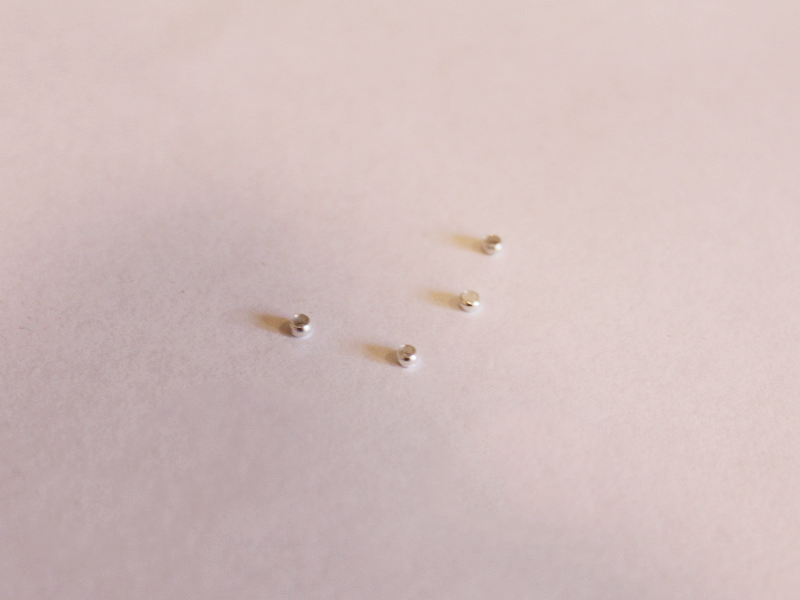
3: Four crimp beads.
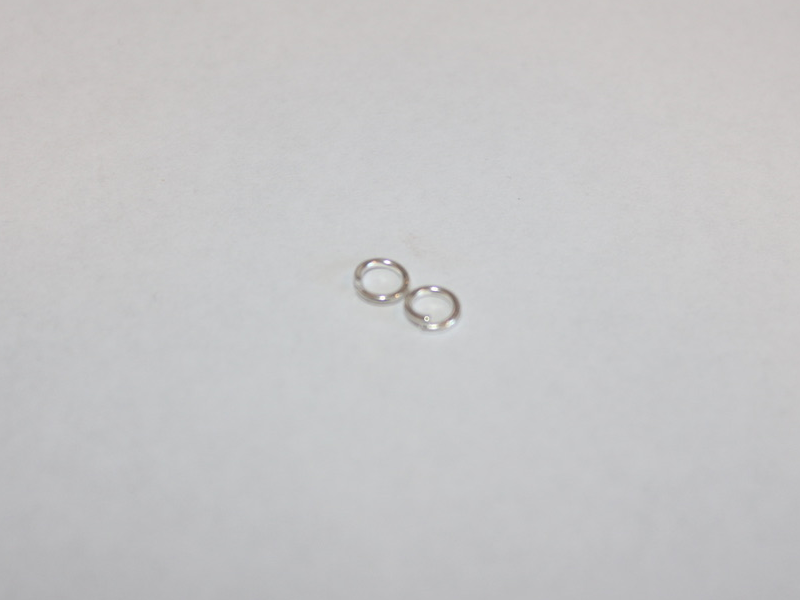
4: Two jump rings.
5: A lobster clasp.

6: Pearl beads. I used three pink freshwater pearls.

7: Mixed beads. I used a mix of bugle and seed beads.

Follow these steps to make your pearl anklet:
1: Add two crimp beads to one end of the wire.
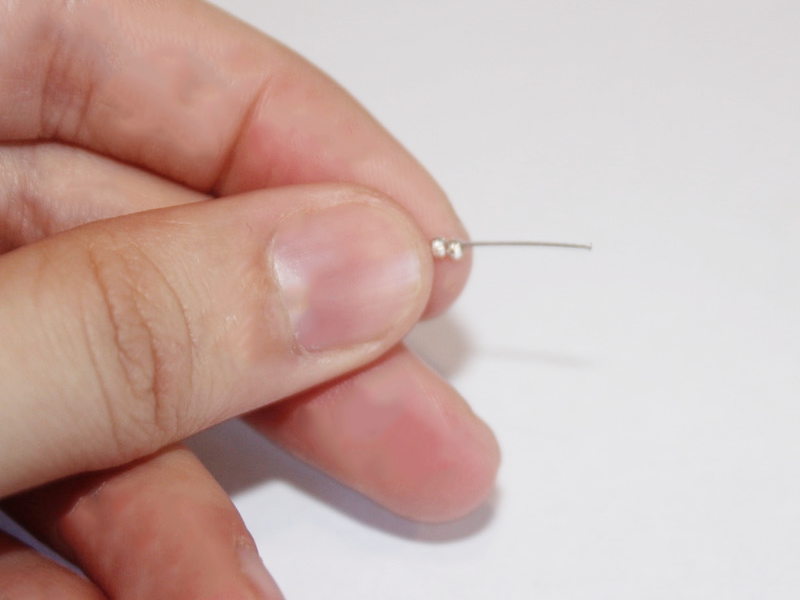
2: Add a jump ring.
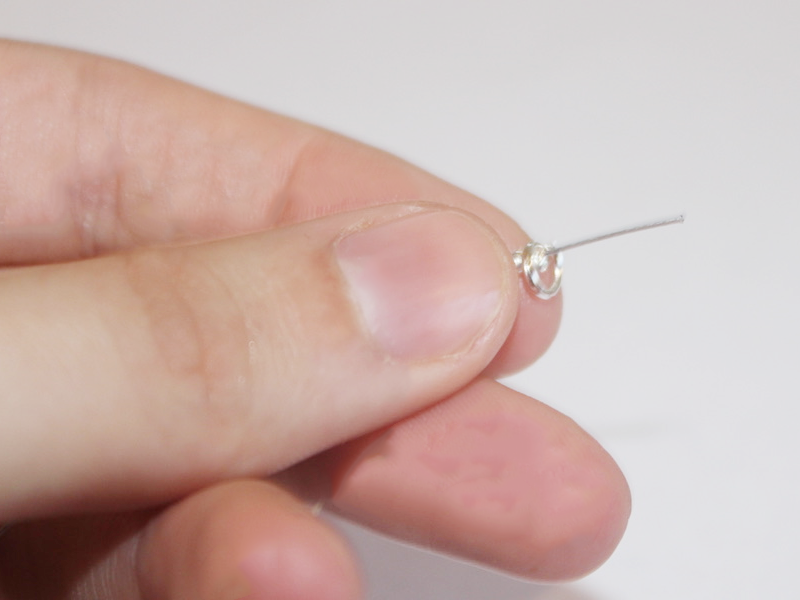
3: Loop the wire around the jump ring and through the crimp beads.
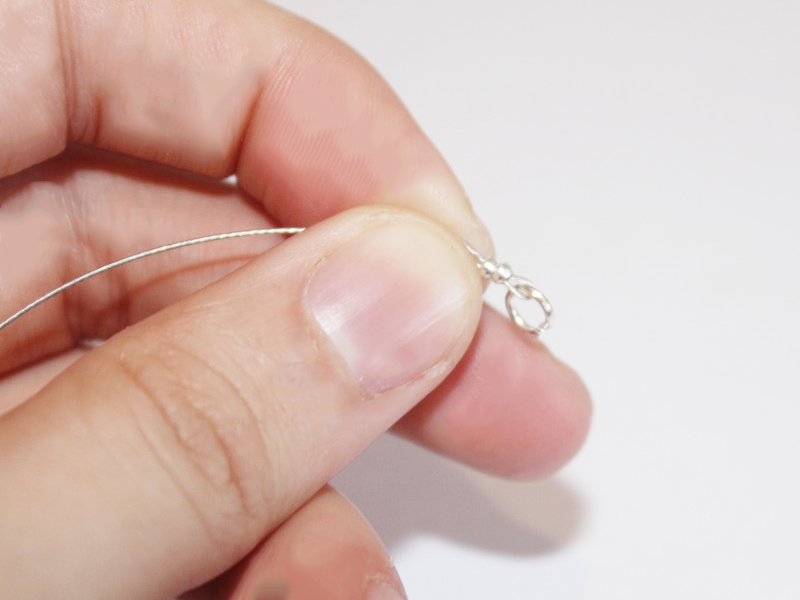
4: Squash the jump rings using the flat nose pliers.

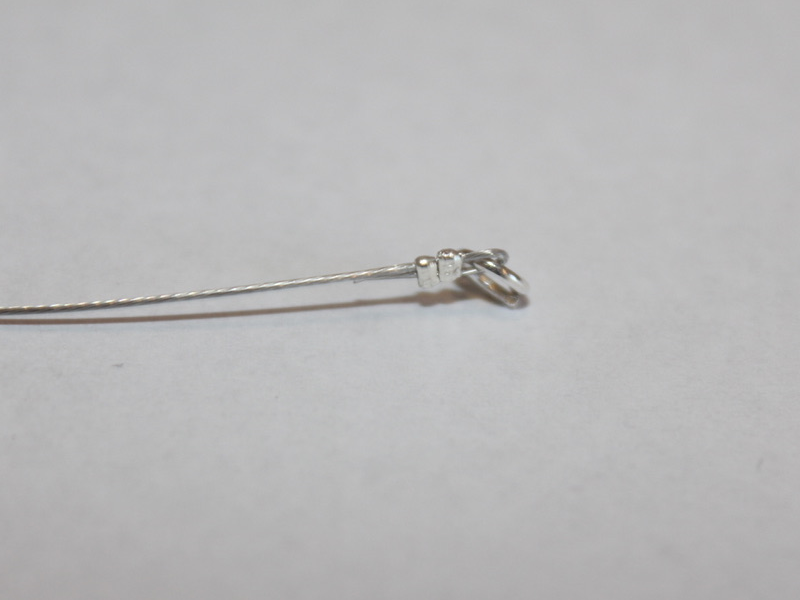
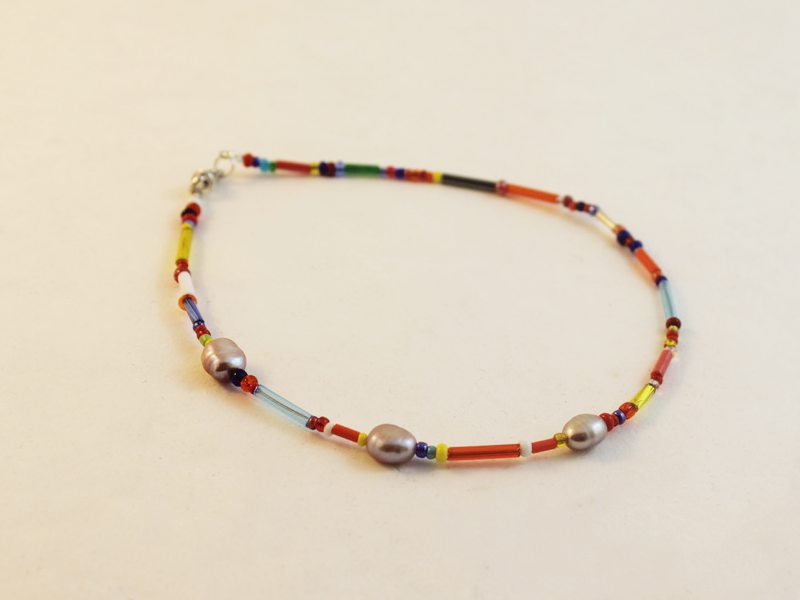
5: Add your beads. I added mine in a pattern with the pearls situated close to one side of the anklet.
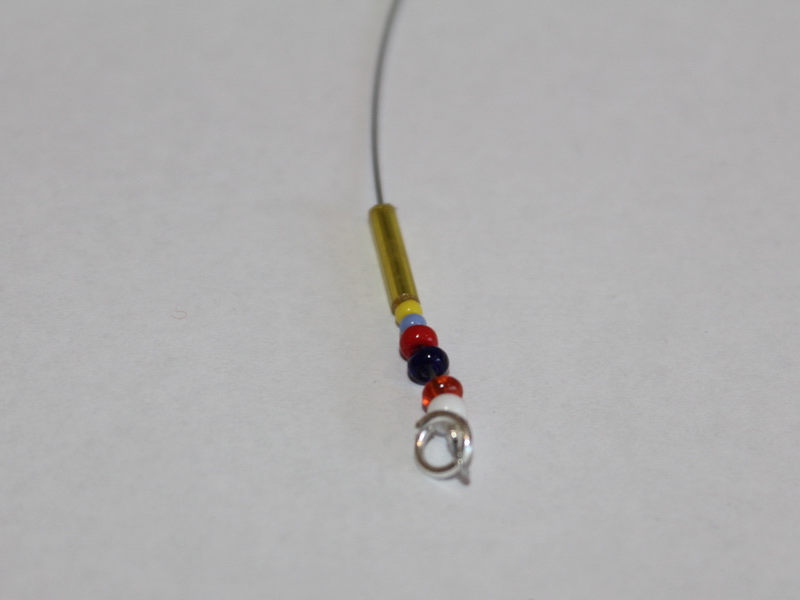
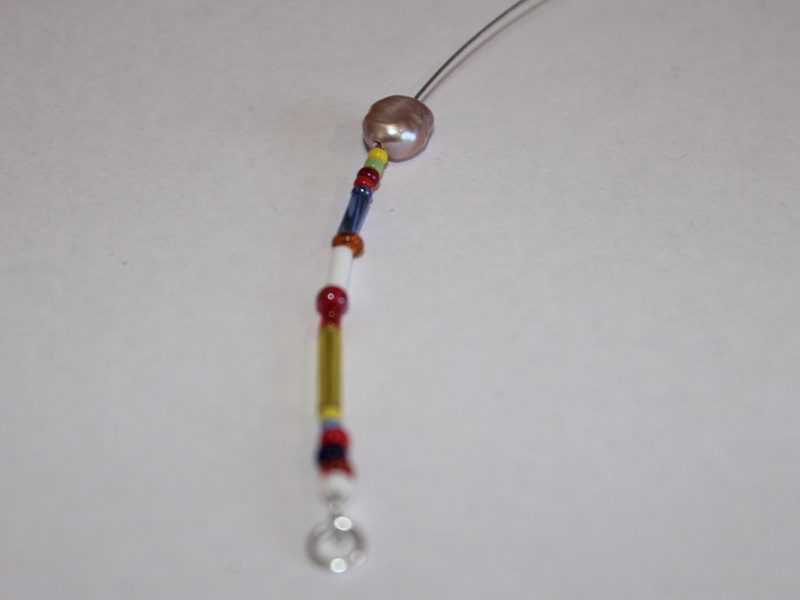

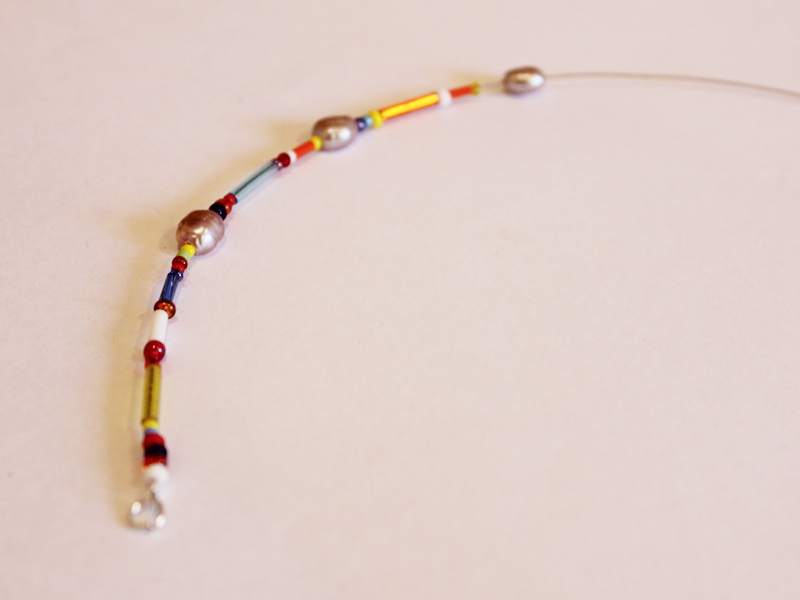
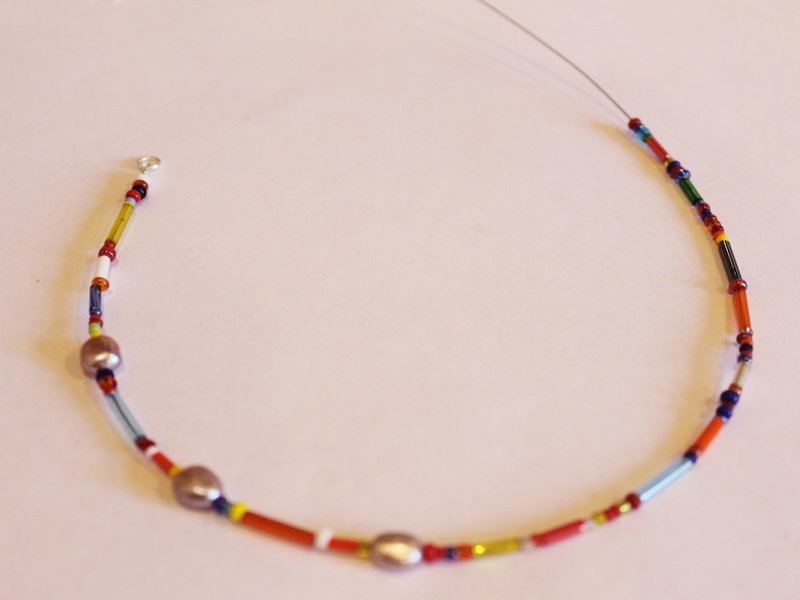
6: Once your anklet is fully beaded add the remaining crimp beads.
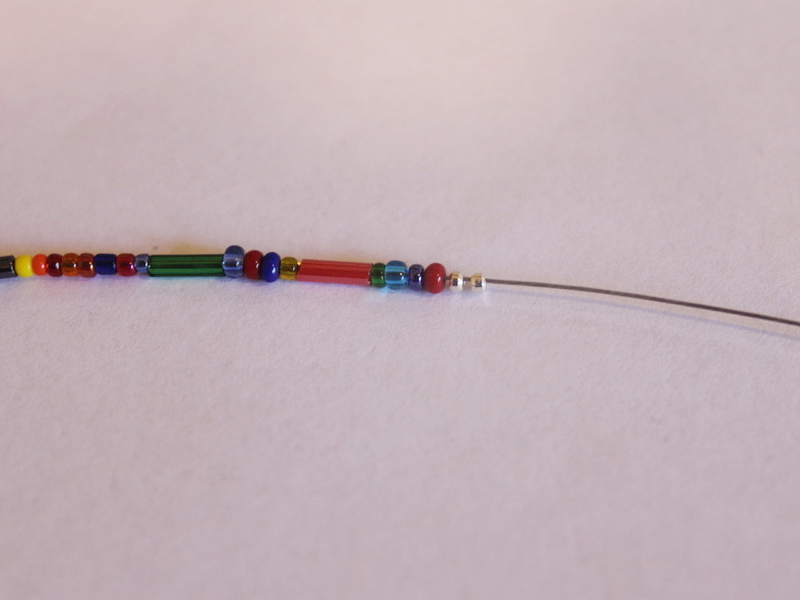
7: Add the second jump ring.
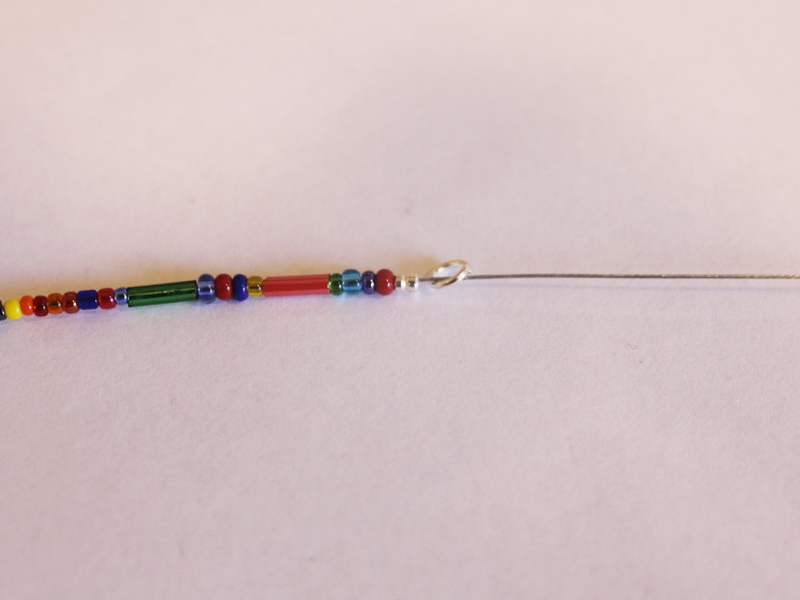
8: Loop the end of the wire around the jump ring and through the crimp beads and the end few glass beads.
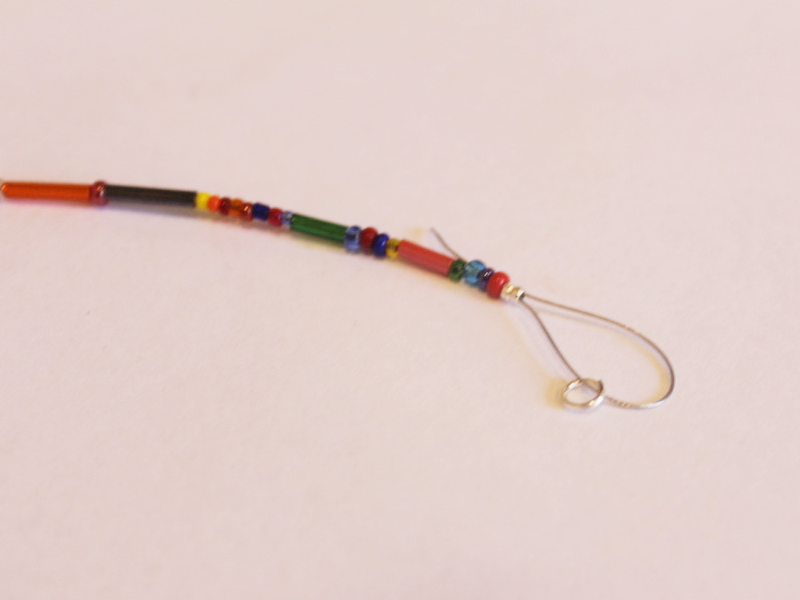
9: Pull the wire tight.
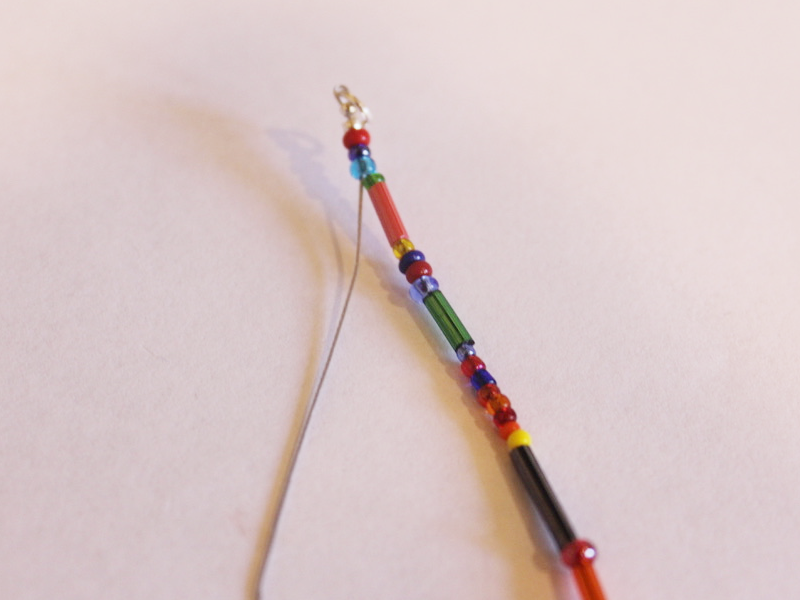
10: Squash the crimps using the flat nose pliers.
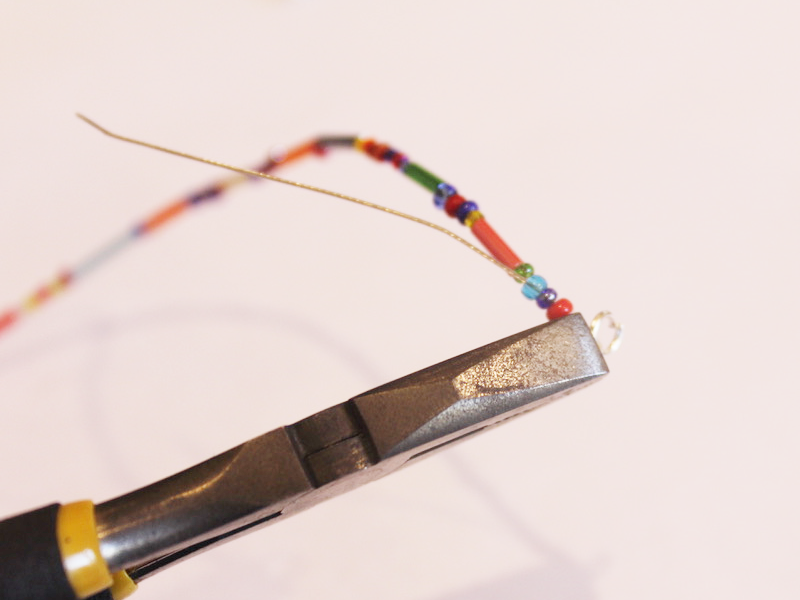
11: Trim the excess tiger tail wire.
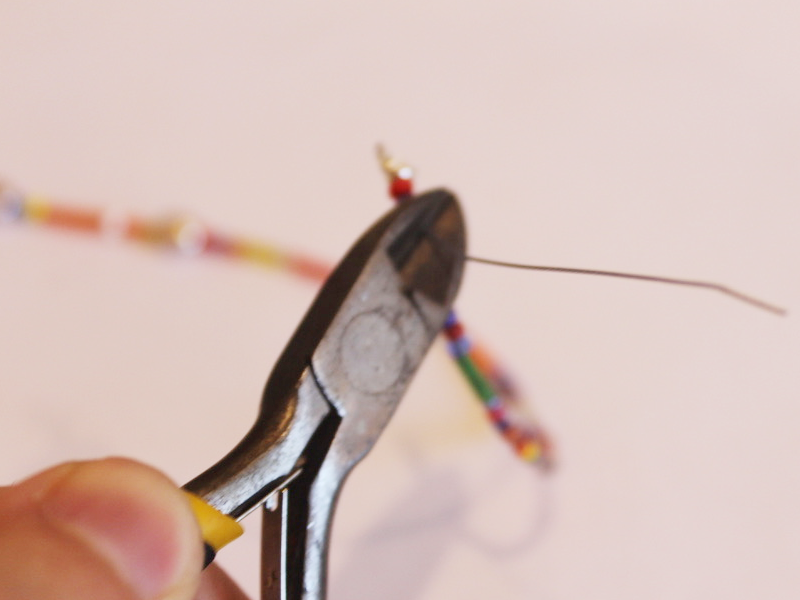
12: Add the clasp to one side of the anklet. Close the jump ring to secure it in place.
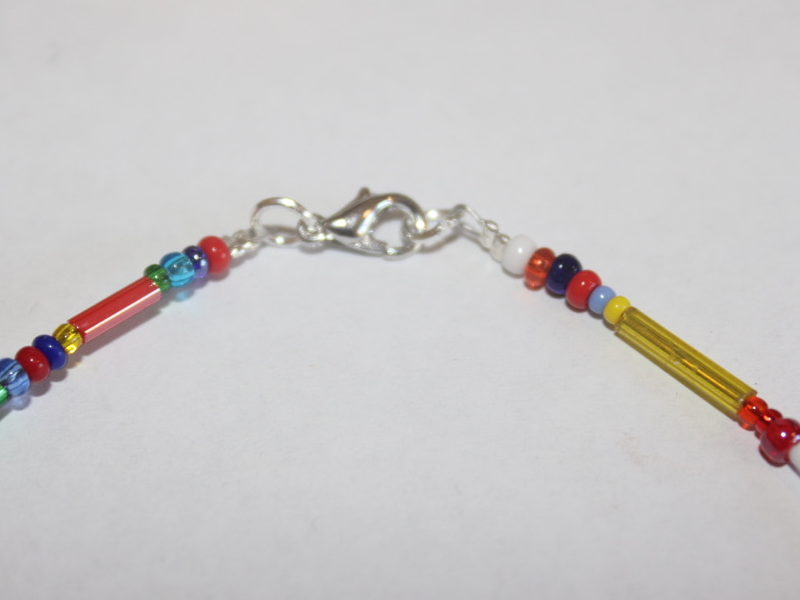
Now your pearl anklet is finished and ready for a summer #ankleparty.
-
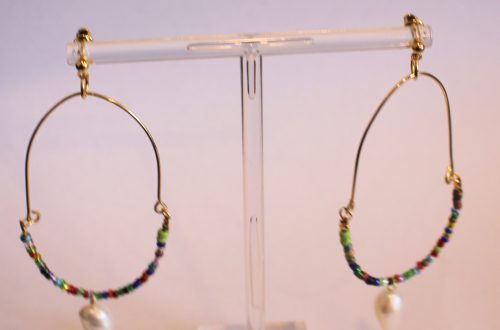
Hop on the pearl trend with these beaded pearl hoop earrings!
I am loving the pearl jewelry trend right now! Here’s how you can DIY your way into unconventional pearl earrings. Contains affiliate links.
You will need the following tools and materials to make your beaded pearl hoops:
1: Pliers. I used cutting pliers to cut my wire, round nose pliers and flat nose pliers.
2: Some wire. I used this wire that I reclaimed from an old jewelry project.

3: Charm connector stud earrings.

4: Two small jump rings.

5: Two medium jump rings.

6: Two larger jump rings.

7: Two small head pins.

8: Two pearl beads. I used these freshwater pearl beads.

9: Seed beads. I used these mixed glass seed beads.

Follow these steps to make your beaded pearl hoops:
1: Curl the end of the wire to form a loop using the round nose pliers.

2: Add the seed beads to the wire.

3: Once the wire is beaded and there is only about 1cm left of the wire left use the round nose pliers again to curl the end into a loop.

4: Repeat steps one to three for the second piece of wire.

5: Form the beaded wires into circle shapes.

6: Join the ends of the wires using the two small jump rings and then set the hoops aside.


7: Add the pearls to each of the head pins.

8: Create a loop at the top of each pin using the round nose pliers. This will secure the pearls on the pins.

9: Attach each of the pearl charms to the beaded hoops using the medium sized jump rings.


10: Attach the earring posts to the top of the hoops using the largest jump rings.

Once the earring posts are in place they are ready to wear! How cute are they?!

Here’s another pair I made with some green pearls.