googlea7fe66ce5e35c83b.html gtag('config', 'UA-139427764-1')
How to Make a Necklace,  Step-By-Step Tutorials

Is There Anything Cuter Than a Bow? Make this Adorable Bow Tie Necklace!

20160805_111139 copy

Here’s a twist on the choker trend, a pretty delicate chain with an adorable ribbon bow clasp. This necklace will give you an elegant edge when you jump on the choker trend! I used some stunning red velvet and some delicate silver chain to make this necklace.

You will need the following tools and materials to make this bow tie necklace:

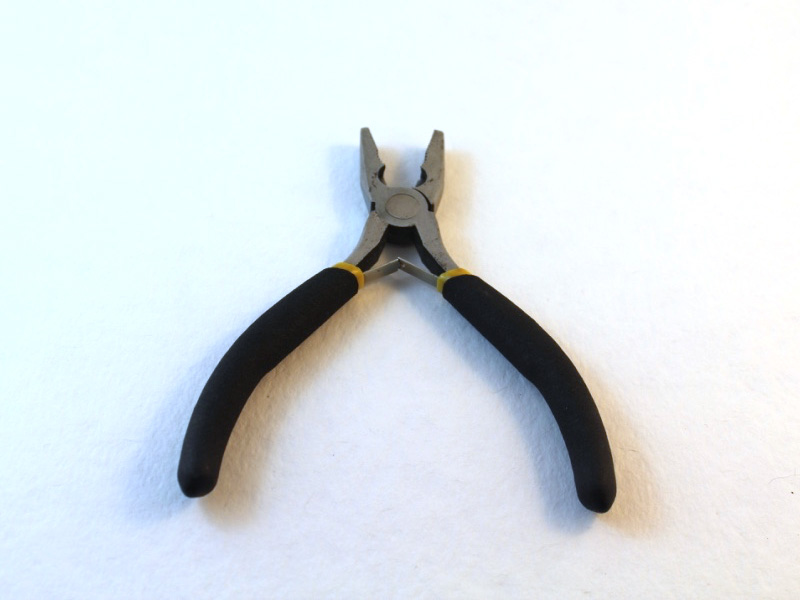
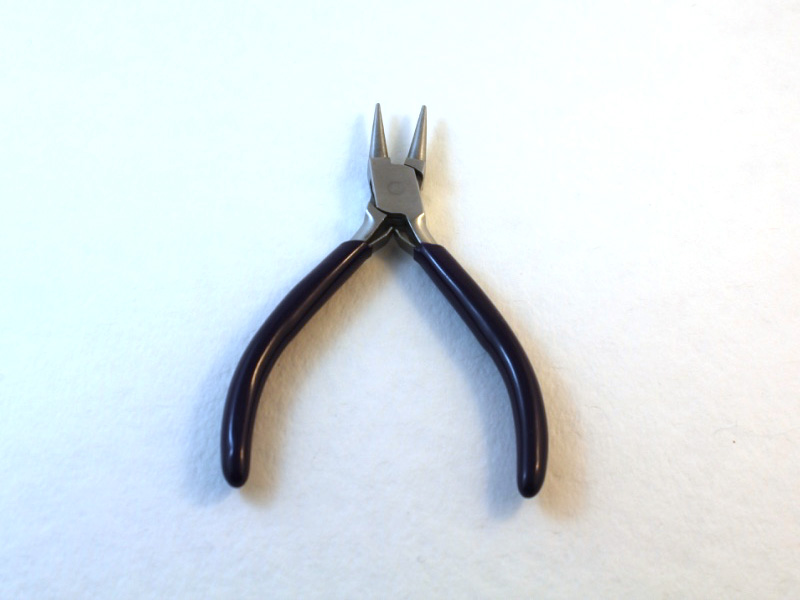
1: Pliers. You will need your flat nose pliers and round nose pliers to make this necklace.

A pair of flat nose pliers
A pair of round nose pliers

2: Scissors. You will need some scissors to cut your ribbon to length.

A pair of scissors.


3: A piece of chain. Make sure it is slightly smaller than the circumference of your neck so that you can tie the bow comfortably.

piece of chain

4: Some ribbon. I used some red velvet ribbon.

red velvet ribbon

https://amzn.to/3ReoR14

5: Four flat crimp ends.

4 flat crimp ends

6: Four small head pins.

4 small head pins

https://amzn.to/3wFDZg3

7: Beads of your choice. I used these eight yellow glass e-beads.

8 glass e beads

8: Four jump rings.

4 jump rings

9: A ruler or tape measure.

A dressmakers measuring tape.

Follow these steps to make your bow tie choker necklace:

1: Attach a flat crimp to one end of the ribbon. Flatten it in place using the flat nose pliers.

putting crimp end in place
squashing flat crimp

2: Attach a jump ring to the newly secured crimp end and then slide on one end of the chain. Secure the ribbon and chain together by closing the jump ring.

connecting chain to ribbon
chain and ribbon attached

3: Use the ruler to measure out how long you want your pieces of ribbon to be.

measuring length of ribbon

4: Cut the ribbon to length and then measure out the next piece of ribbon.

cutting pieces to same length

5: Cut the second piece of ribbon to length using your scissors.

two pieces cut to length

6: Attach a crimp end to one end of the second piece of ribbon and attach it to the other end of the chain as you did in step 2.

both ends of chain attached to ribbon

7: Attach crimps to the other ends of the ribbon.

crimps on other ends

8: Add beads to all four of the head pins.

adding e beads to head pins

9: Bend all the pins at a right angle to the beaded part.

bending pin at right angle

10: Curl the pins around the barrel of the round nose pliers to create a loop. Do this for all four pins.

curling pin

completed bead charm

11: Add two of the beaded pins to either side of the necklace. Attaching them to the ends of the ribbon using the remaining two jump rings.

attaching charms to jump ring
charms attached to ribbon
attaching charms 2
both beads attached

12: Once the beaded pins are in place your necklace is finished and ready to wear!

completed necklace
20160805_111139 copy
completed necklace 2

Save

Save

Save

Welcome to DIY Jewelry Hub. If you’ve ever wanted to learn how to make your own jewelry this is the place to start! Jewelry is a great way to show off your individuality and style. You’ll be surprised at how easy it is to create your own unique pieces! DIY Jewelry Hub will equip you with all the knowledge and inspiration you need to make your own jewelry.

Leave a Reply

Your email address will not be published. Required fields are marked *

This website uses Google Analytics software. You can opt out via this link. Click here to opt-out.