-
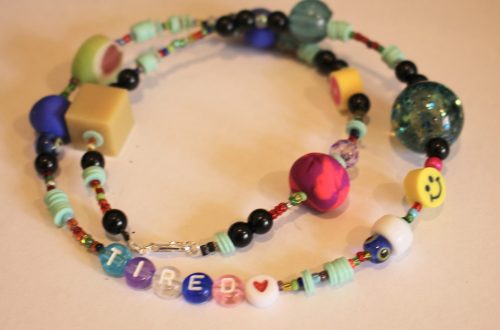
Got some beaded bracelets that aren’t doing it for you? Why not turn them into a necklace?
I bought these lovely ceramic beaded bracelets from a market in Japan recently. Unfortunately, I’m not a massive fan of stretch bracelets, so I decided to take them apart and turn them into a single, playful choker necklace. This is a super easy DIY and can be a great way to repurpose jewelry that isn’t quite working for you anymore.
Please note that this tutorial contains affiliate links for which we may receive a commission.
You’ll need the following tools and materials to make your necklace.
1: Two or more bracelets that you don’t want to wear anymore.

You can get something similar here:
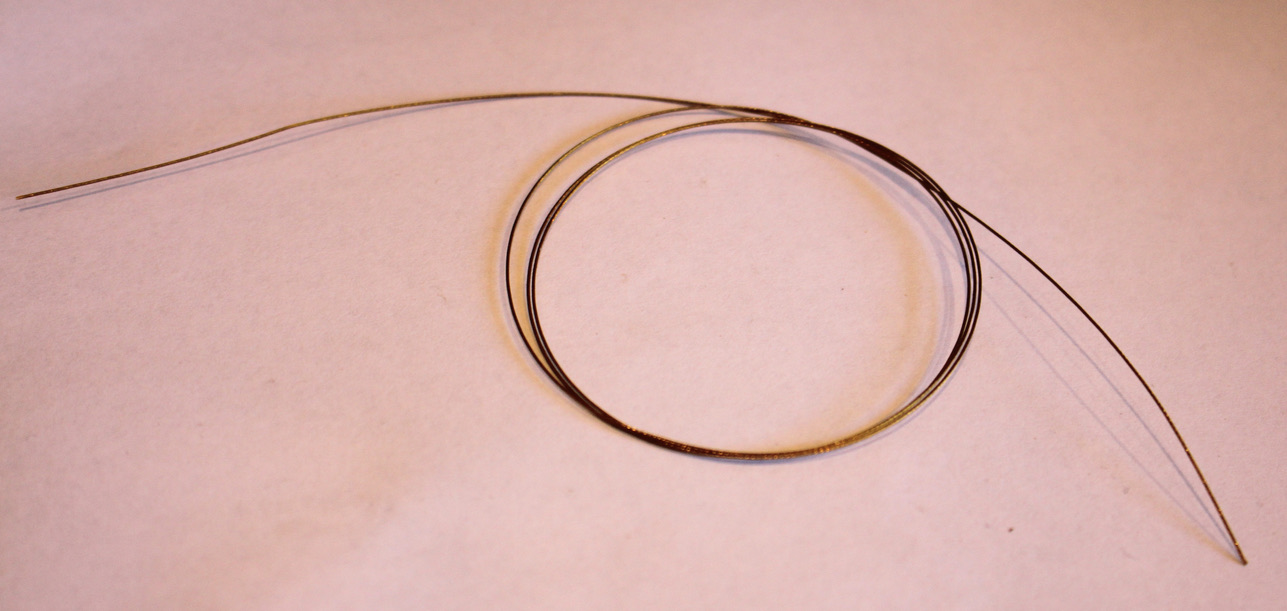
2: Some tiger tail wire.

You can get some here:
3: Four crimp beads.

You can get crimp beads here:
4: A clasp.

You can get a sterling silver bolt ring clasp here:
5: Two jump rings

You can get sterling silver jump rings here:
6: Cutting pliers to cut your bracelets and the wire.

You can get a pair here:
7: Flat nose pliers or parallel pliers. I used my parallel pliers but it doesn’t really matter for this project.

You can get flat-nose pliers here:

You can get parallel pliers here:
Follow these steps to transform your bracelets into a necklace.
1: Cut one of the bracelets open to release the beads. You might want to leave them on the thread so you can maintain their original order, or you can pull them all off and work from a small tray if you want to create a new bead design.

2: Cut the tiger tail wire to your desired length, adding some extra centimetres/inches so that you have enough wire to secure the ends.

3: Add two crimp beads to the end of the wire.

4: Add a jump ring to the end of the wire.

5: Wrap the end of the wire through the jump ring and back into the crimp beads.

6: Squash the crimp beads using flat nose pliers to secure the jump ring.

7: Begin adding beads until you have finished the first bracelet.

8: Cut the second bracelet and add the rest of the beads. Repeat this if you have additional bracelets you want to use.

9: Once your necklace is fully beaded, add another two crimp beads and the second jump ring.


10: Wrap the end of the wire around the end of the jump ring and back through the crimps and the first bead.

11: Squash the crimps using flat nose pliers.

12: Trim the excess wire using cutting pliers.

13: Add the clasp, securing it closed with flat nose pliers.


14: Now your necklace is finished and ready to wear! What a fun way to repurpose jewelry that isn’t serving you anymore?!

-
Here’s how to use leather cord to make an adjustable statement necklace. So cool!
I love the summery, beachy look of leather necklaces, especially when combined with other natural materials like shell. This tutorial shows you how to turn leather cord into an adjustable necklace that you can wear long or short depending on your vibe.
Please note that this tutorial contains affiliate links for which we may receive a commission.
You’ll need the following tools and materials to make your necklace:
1: A length of leather cord. I used 3mm cord that was about 1m long. You need extra length to tie knots at each end.

You can get some here:
2: A statement shell charm. I used this round shell charm that I recycled from an old piece of jewellery.

You can get something similar here:
3: Cutting pliers or scissors for trimming the leather.
You can get cutting pliers here:
Follow these steps to make your leather statement necklace:
1: Fold the leather cord in half and create a slip knot around the hole of your shell pendant to secure it to the middle of the cord.


2: Now it is time to start creating the sliding knots so that your necklace can be adjustable. You want to make sure you have enough length that the necklace can fit over your head.
3: Take the left end of the necklace and lay it over the top of the right side.

4: Loop the end of the cord over the top of the other side and point the end back towards you.

5: Repeat, creating a second loop, making sure that this one is on the left side of the first loop, closest to your hand as you hold the piece.

6: Poke the end of the cord through the two loops and pull it tight.


7: Repeat steps 3 to 6 for the second side of the cord, I flipped mine over to work on the same side to make it a bit easier. Once that is done you will have two sliding knots.

8: Due to the nature of the thick cord, my knots would come a part a bit so I added an additional knot at each end to secure them.


9: Trim the ends of the cord using the cutting pliers or scissors.

Now your adjustable length leather necklace is finished and ready to use! So cute. I love it.


-
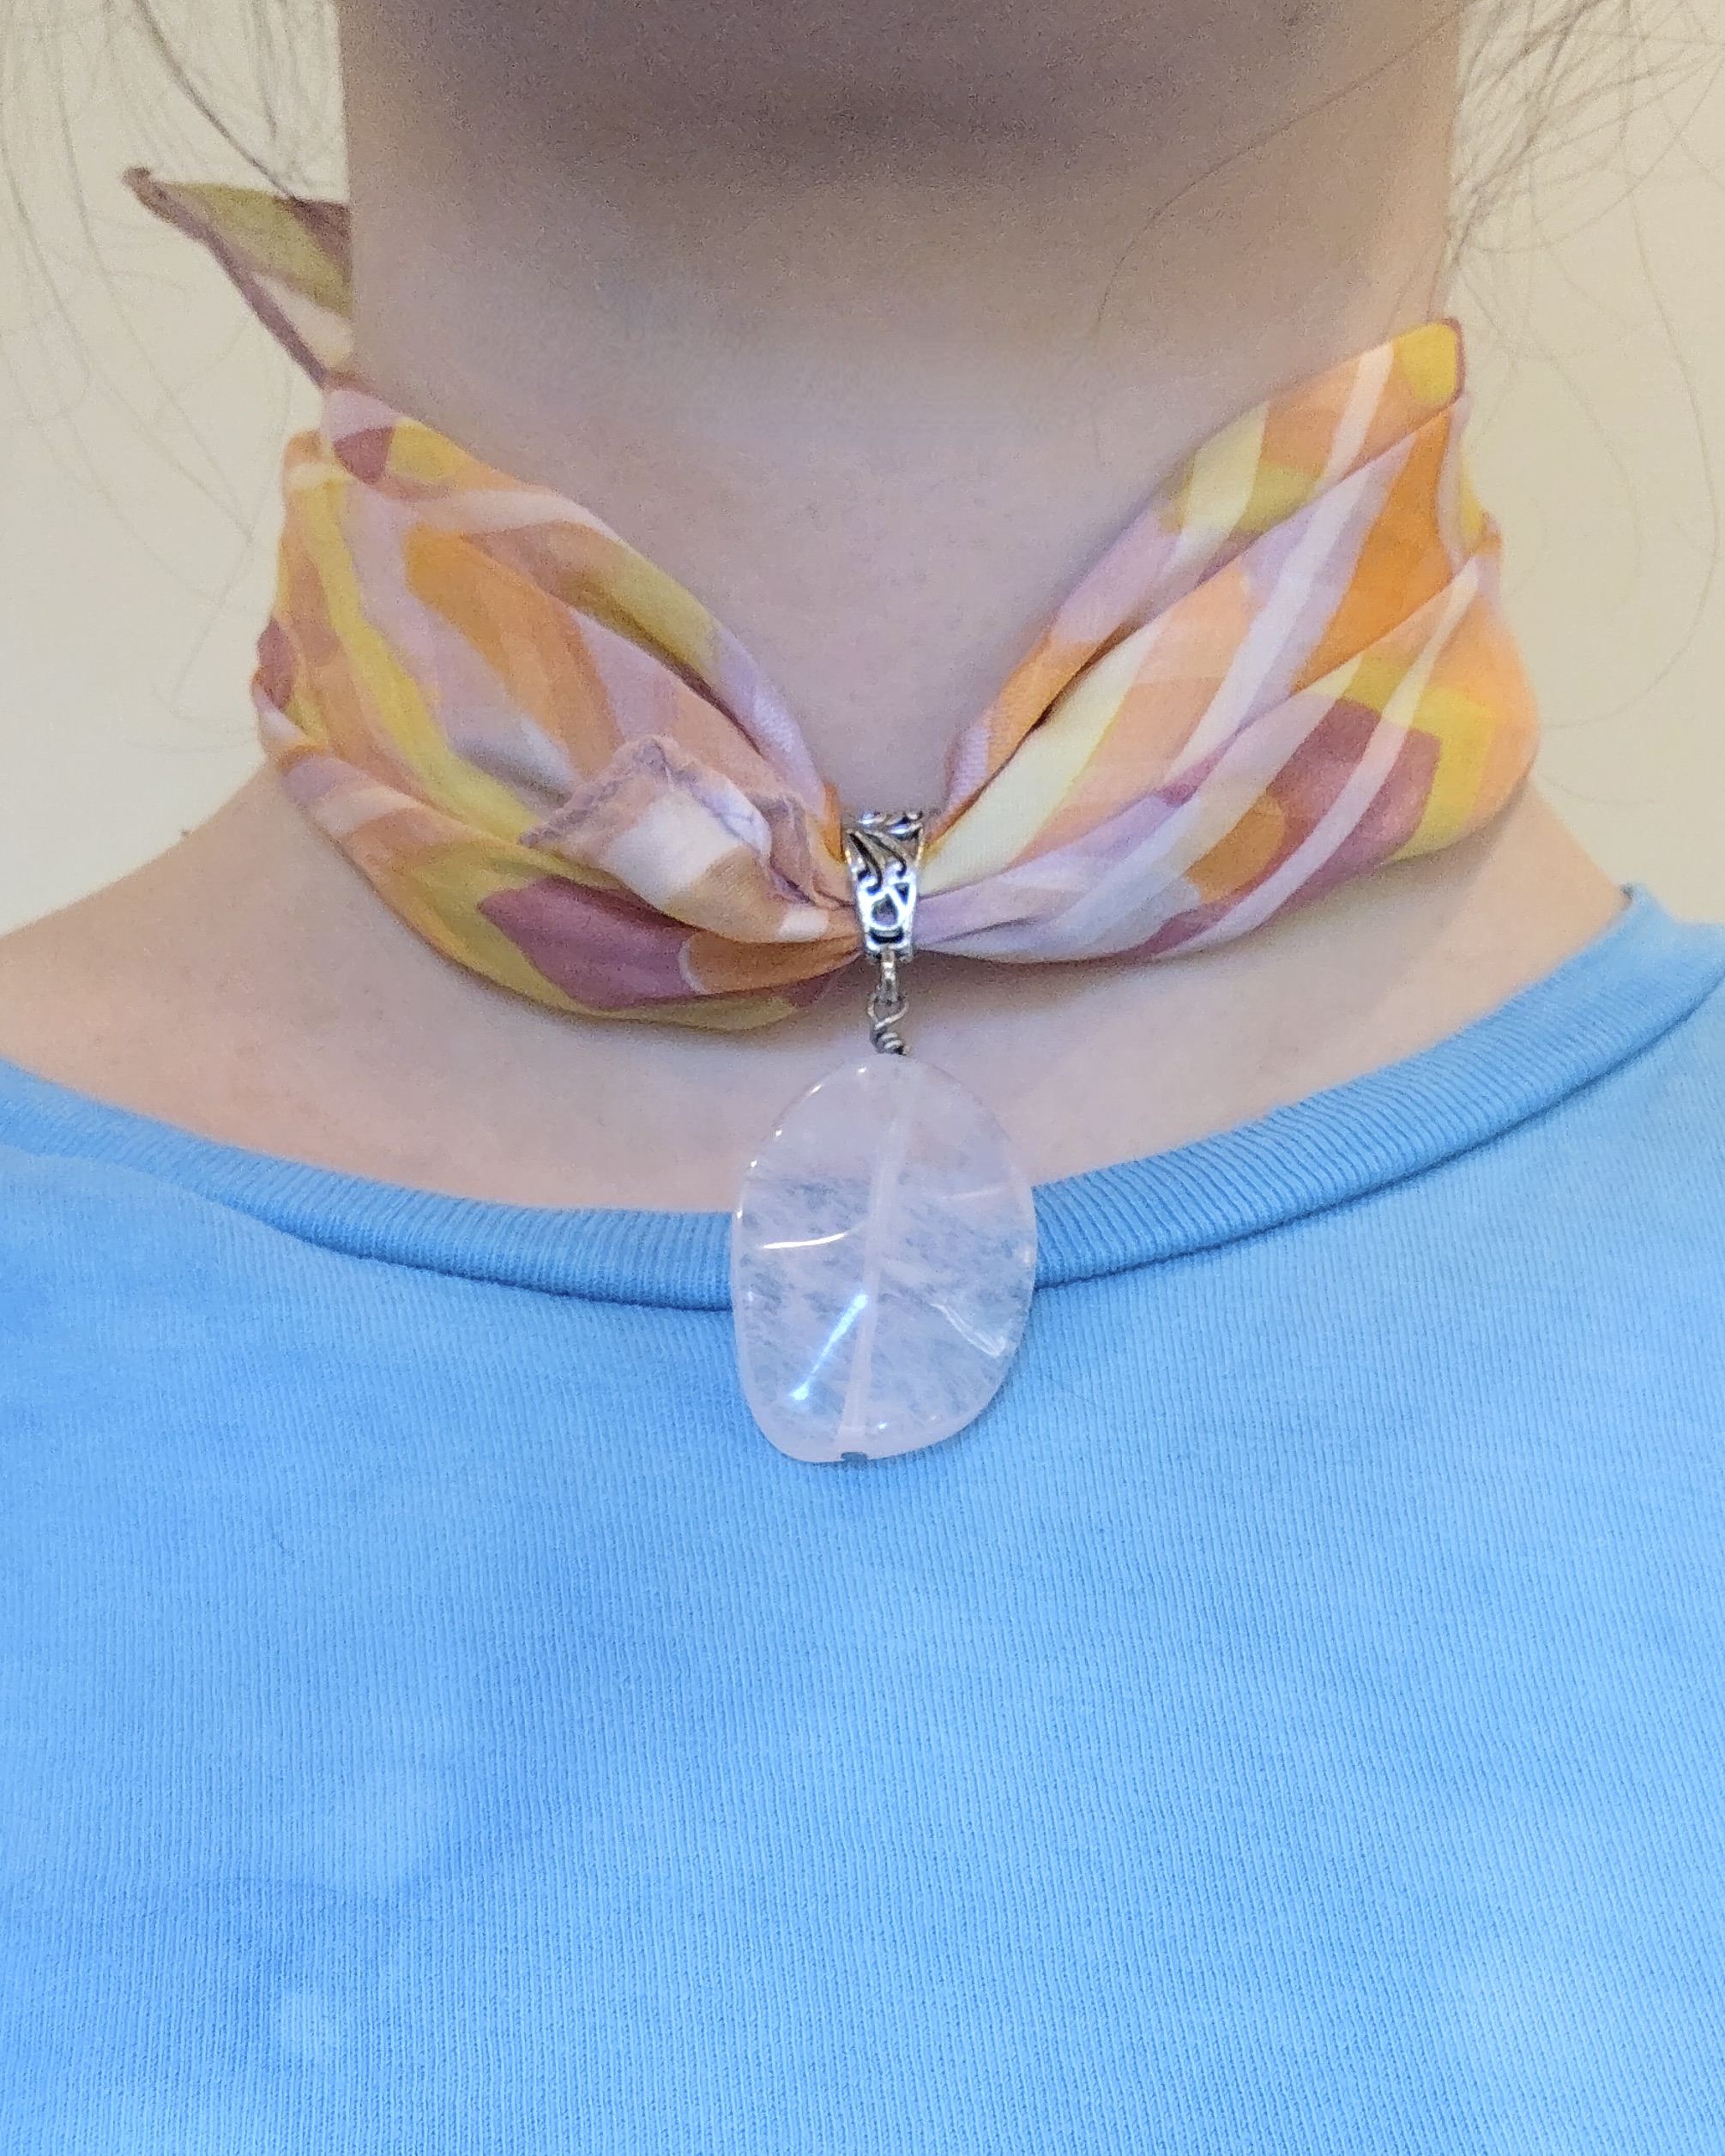
Here’s how to transform a simple silk scarf into an elegant necklace.
This is such a lovely way to showcase a pendant, and to accessories in an elegant way. I love this DIY so much and it is so quick to put together.
Please note that this tutorial contains affiliate links for which we may receive a commission.
You’ll need the following materials to make this scarf necklace:
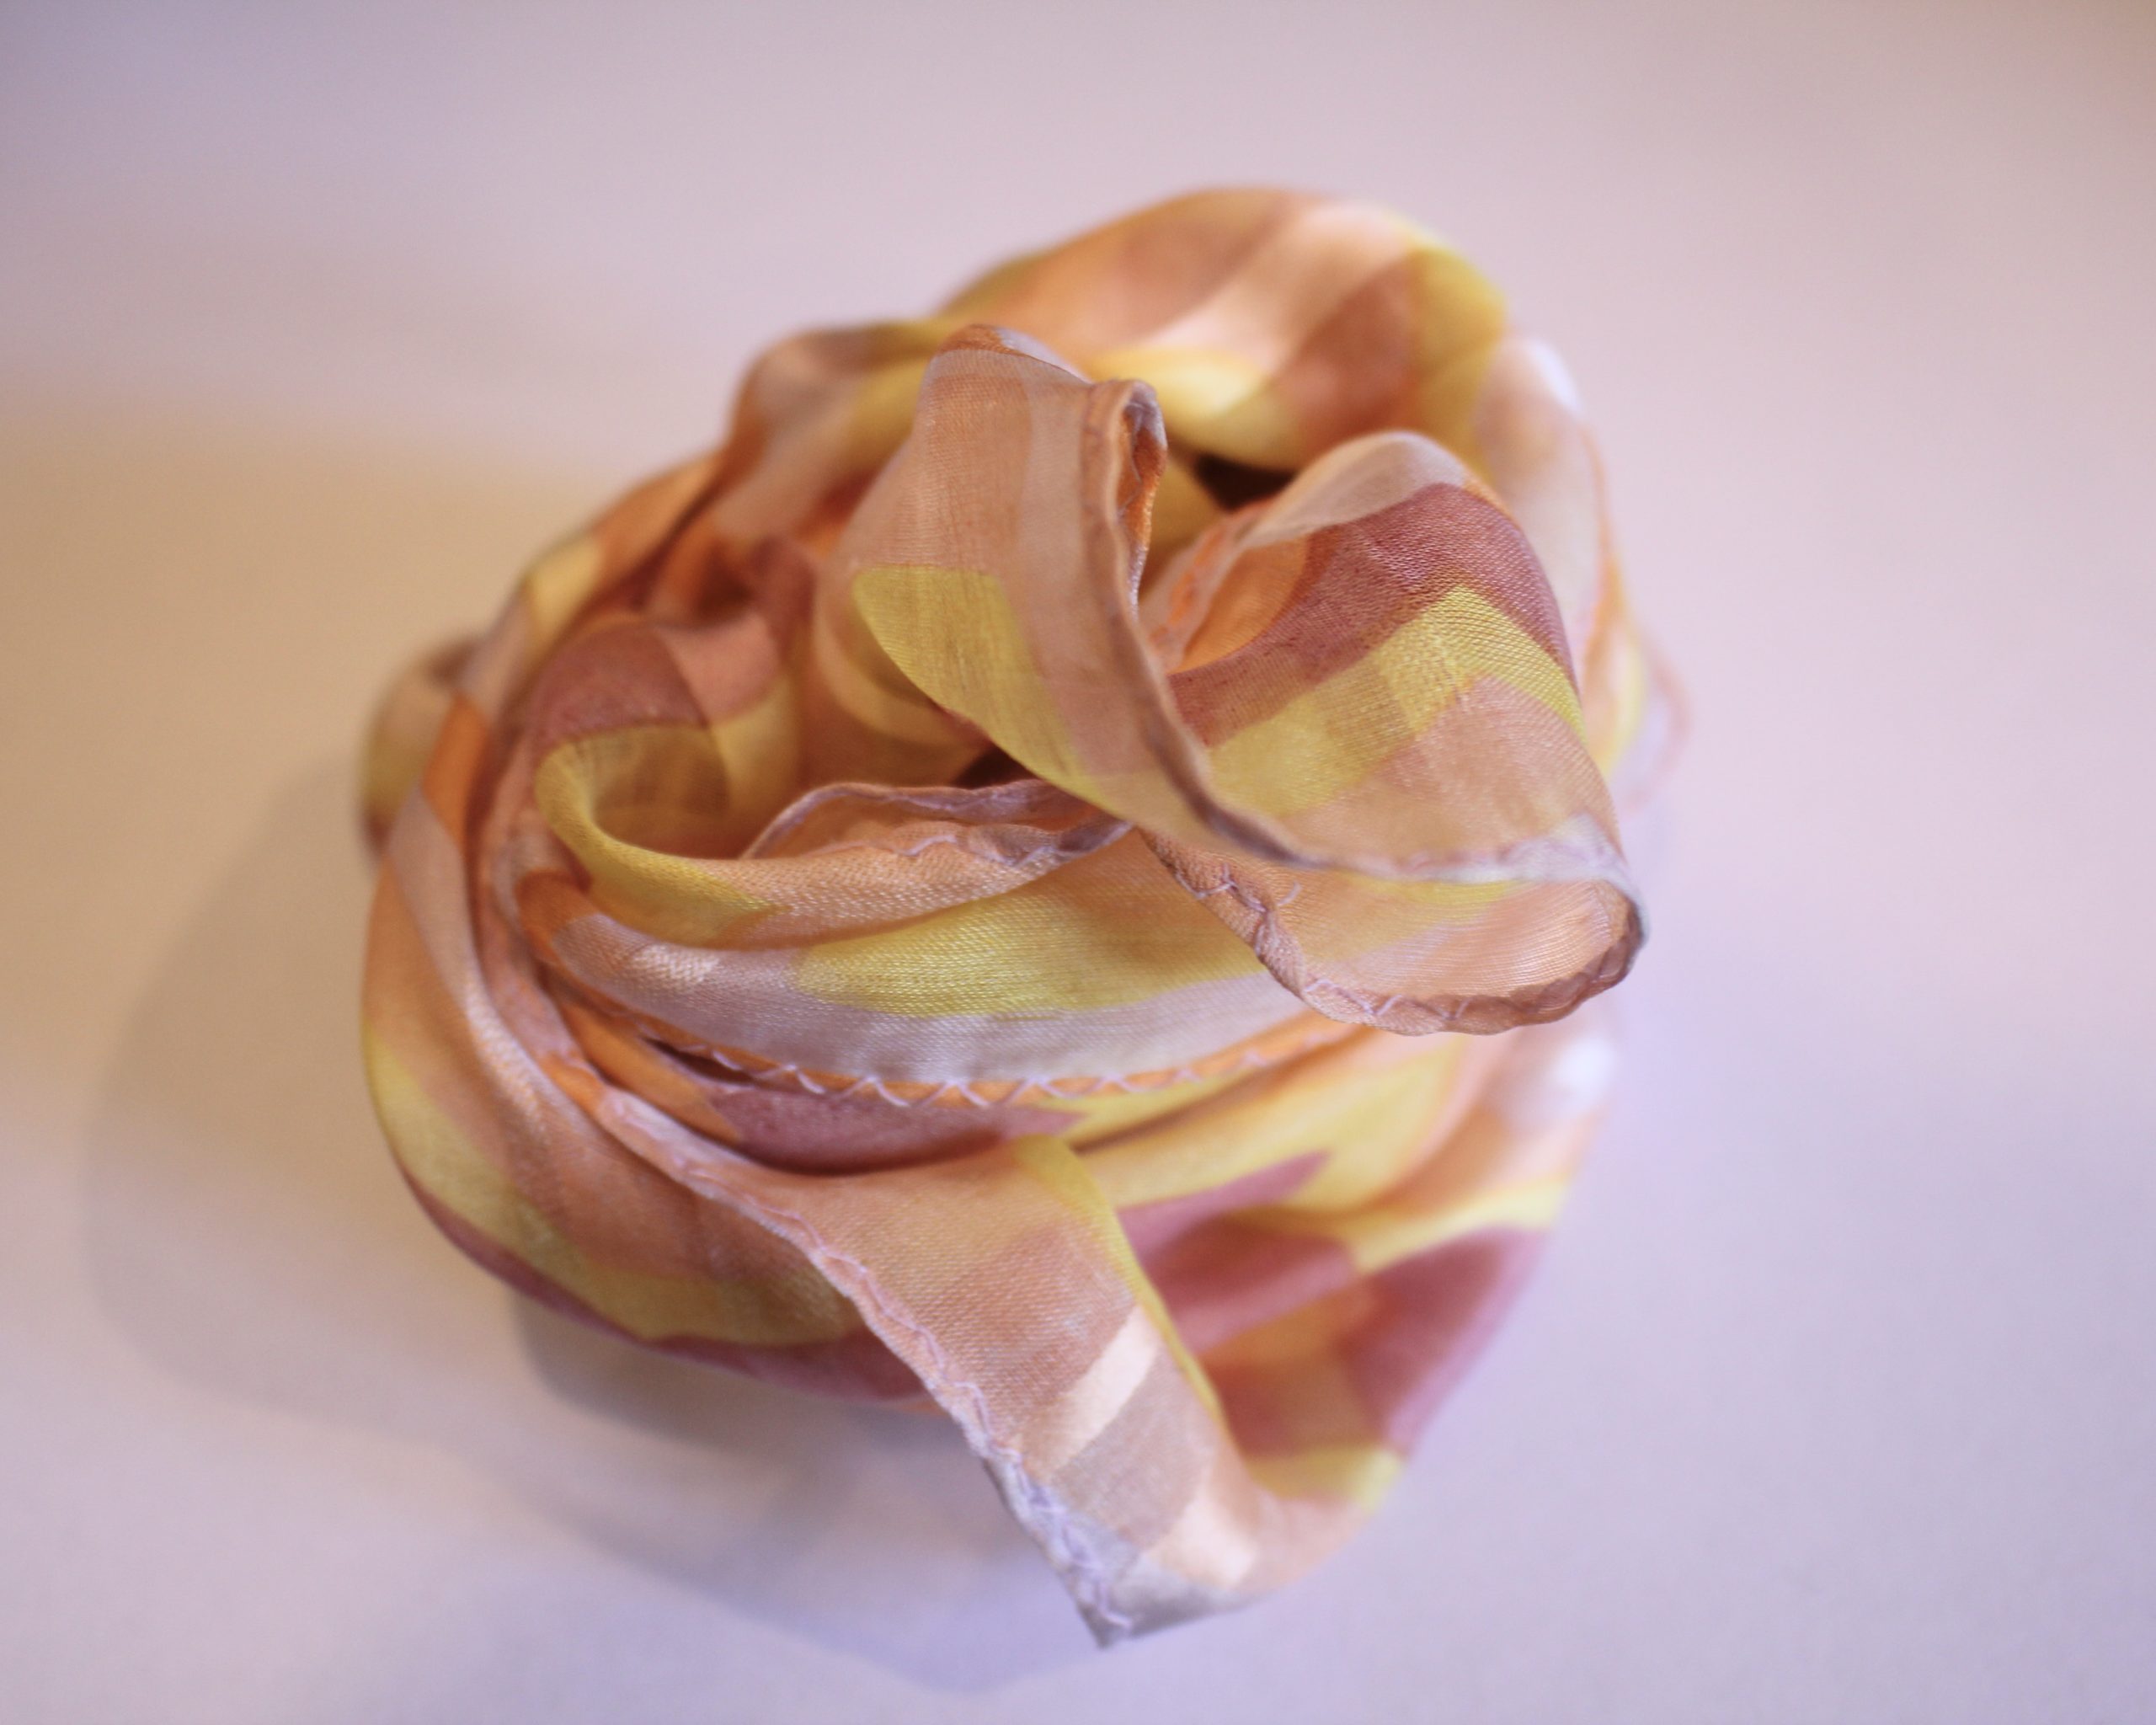
1: A small square silk scarf. I used a pink and yellow patterned scarf.
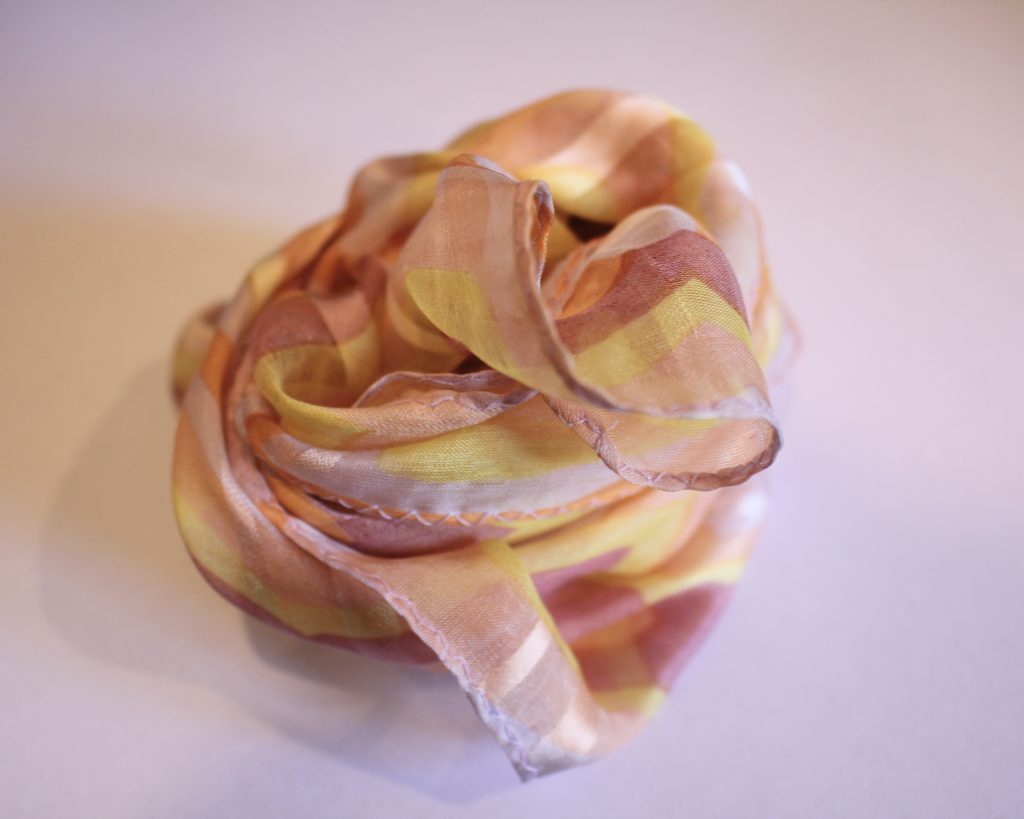
You can get a similar scarf here:
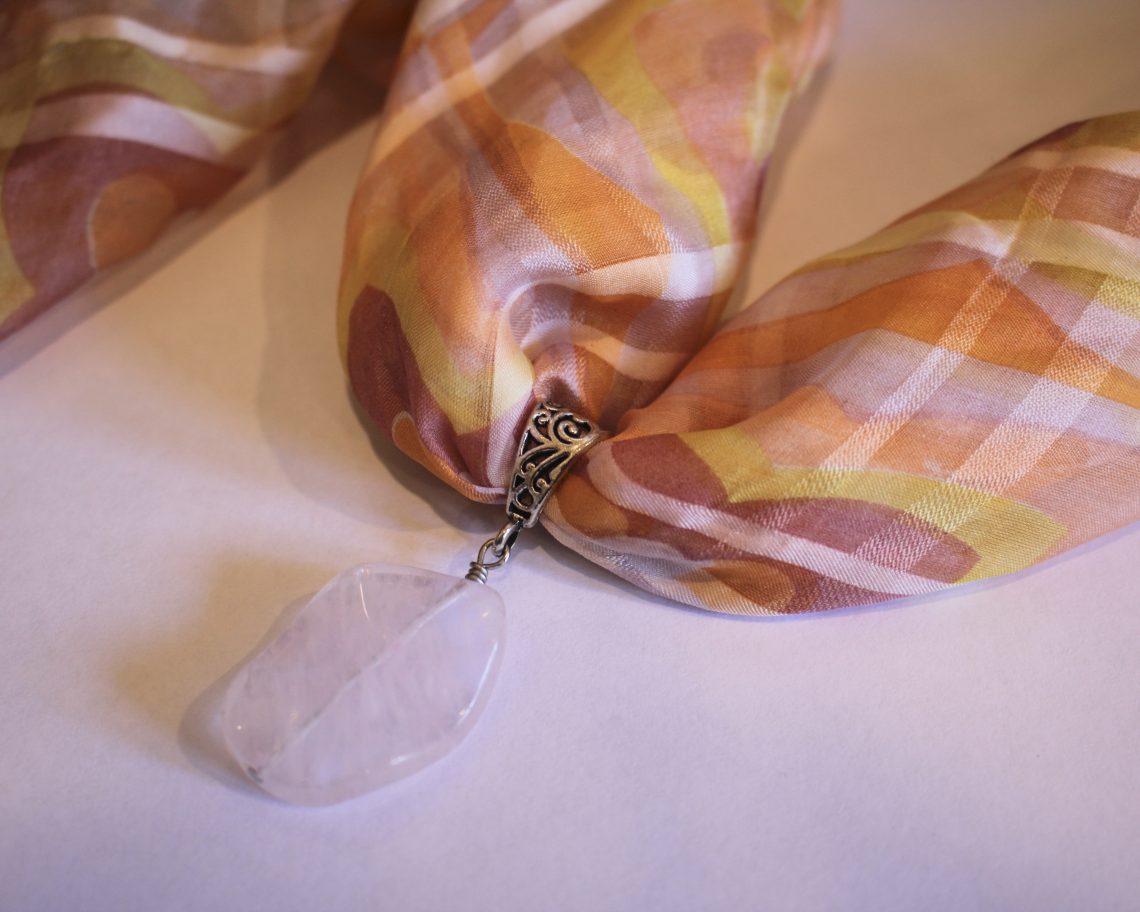
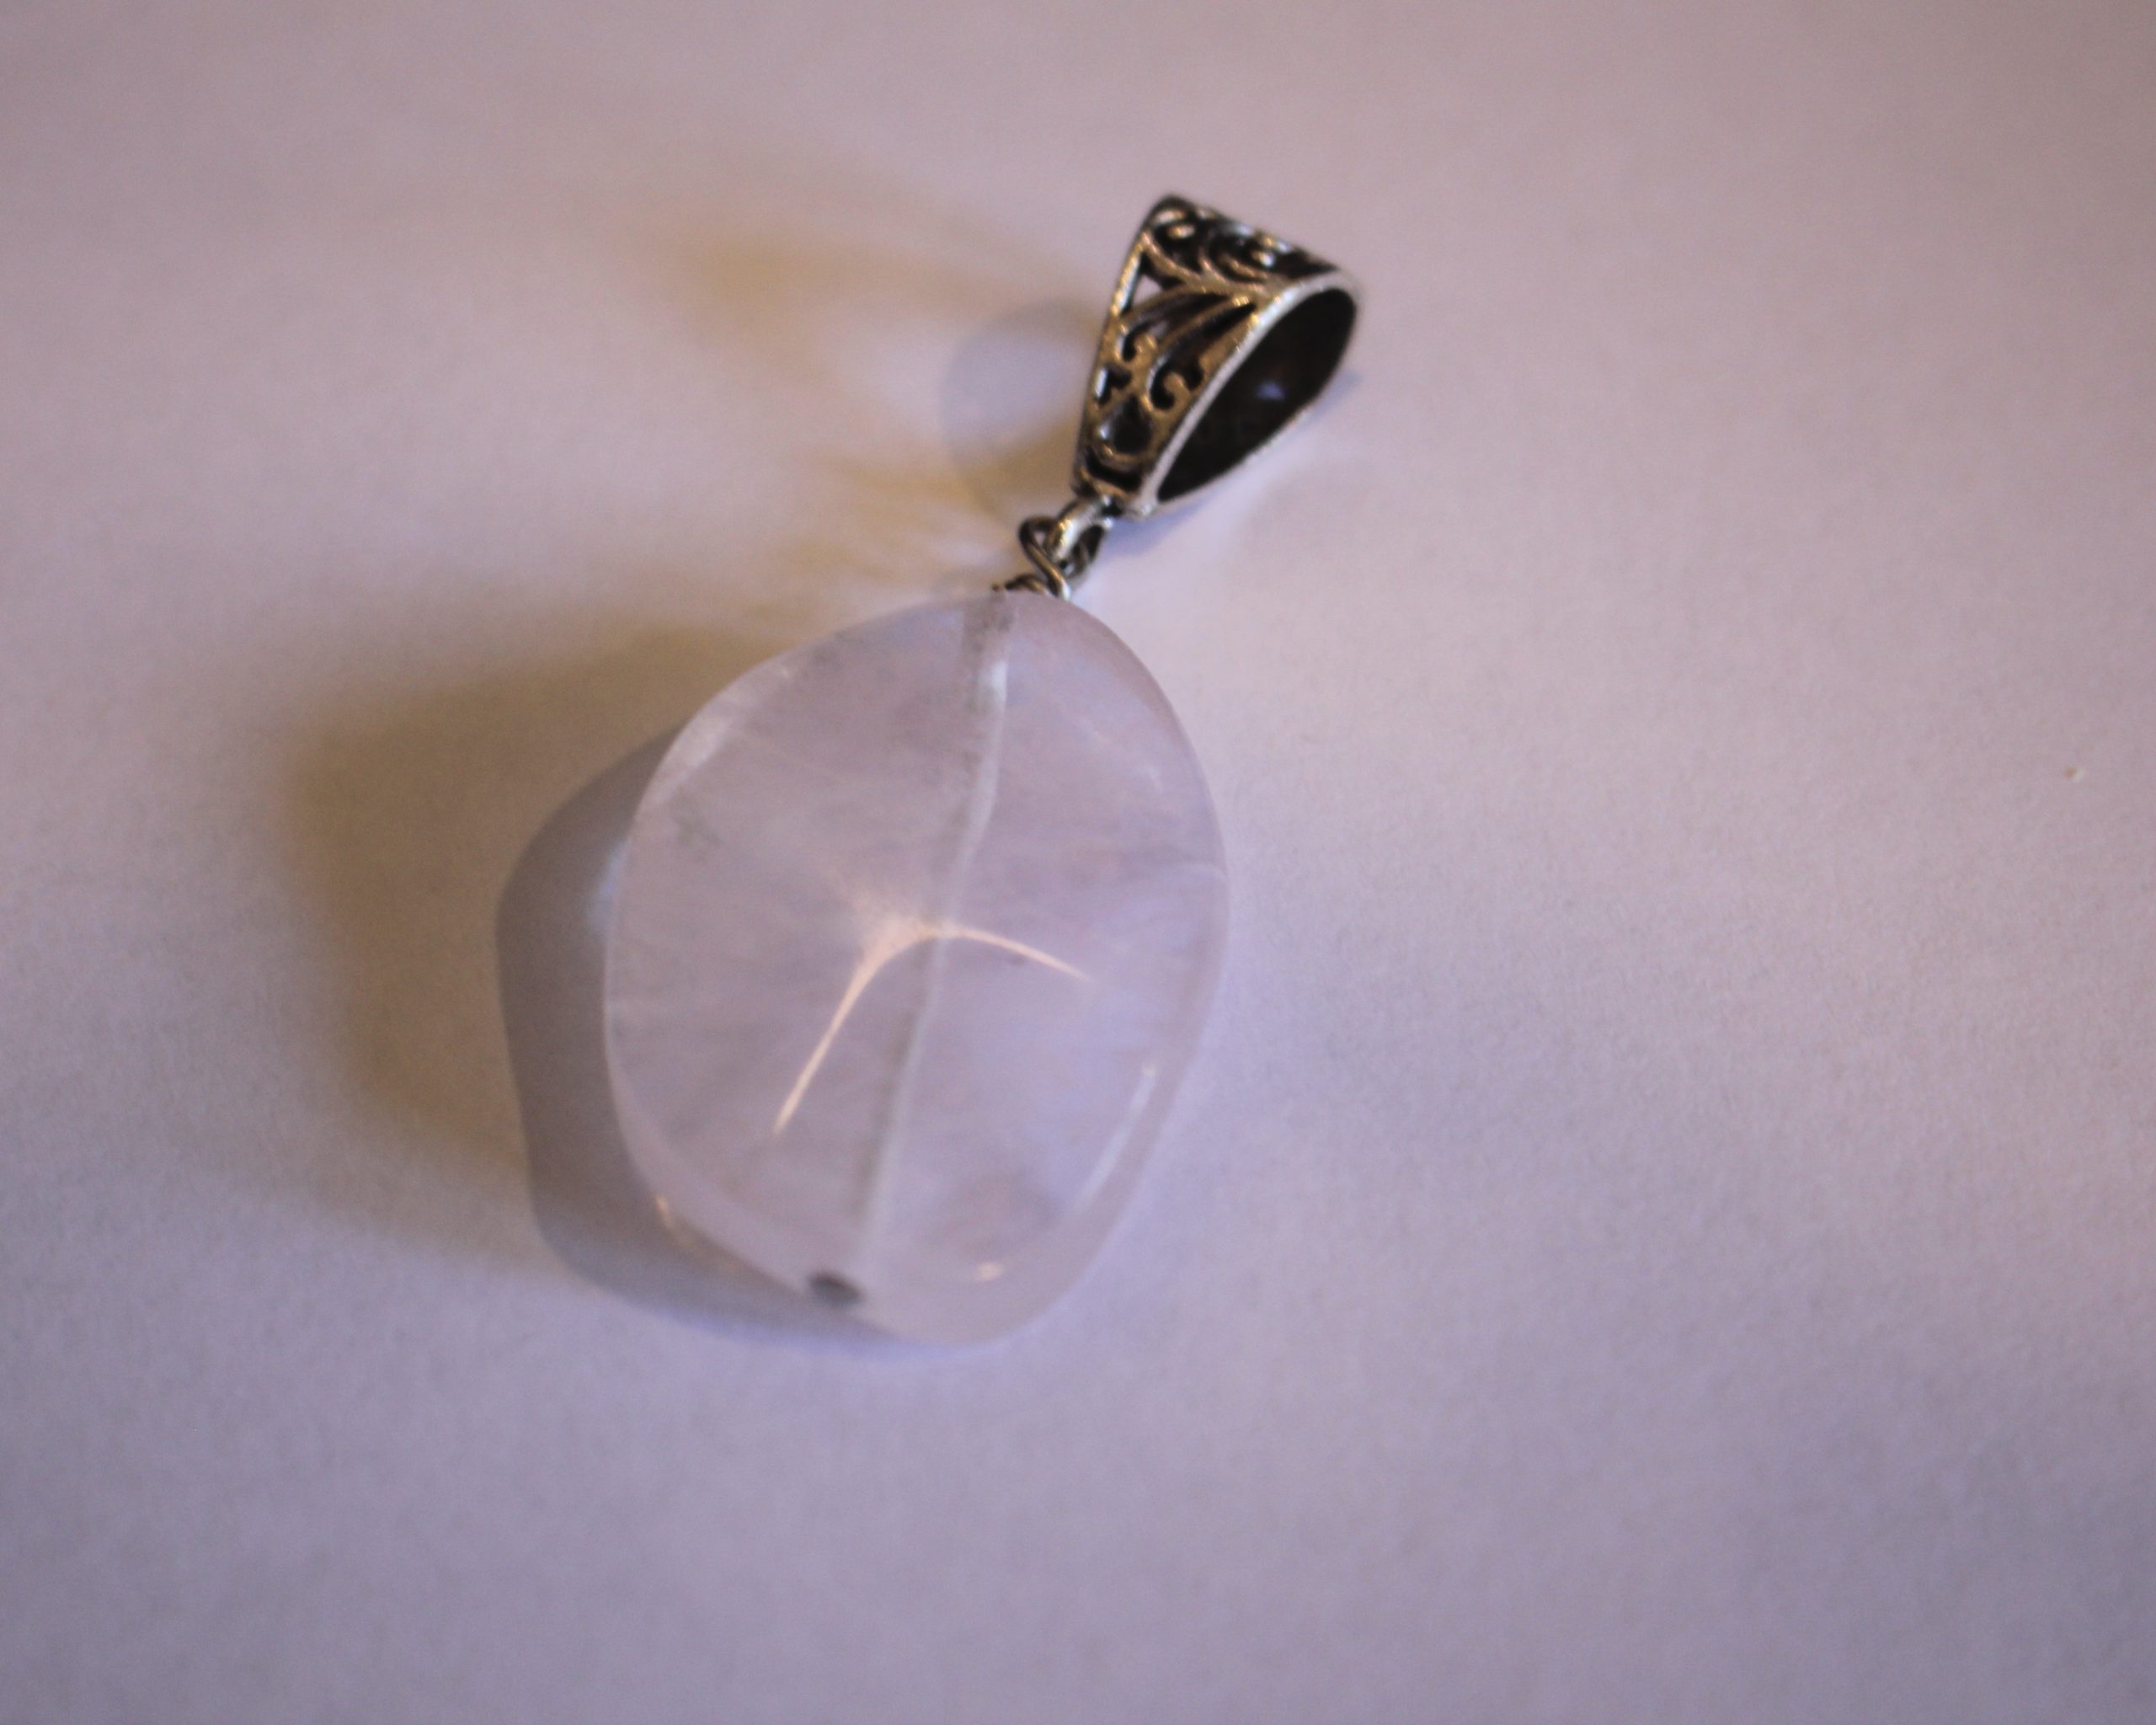
2: A pendant with a large bail. I used this one with a pink stone bead on it.
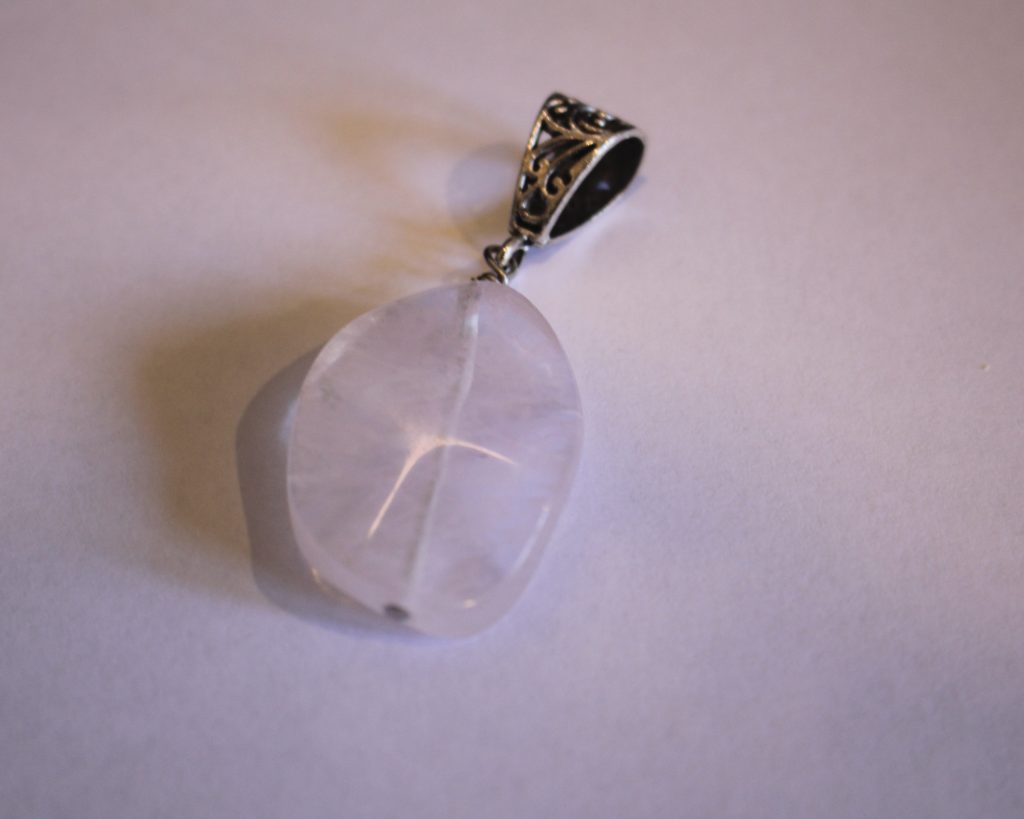
You can get something similar here:
Here are the steps you can follow to make your scarf necklace:
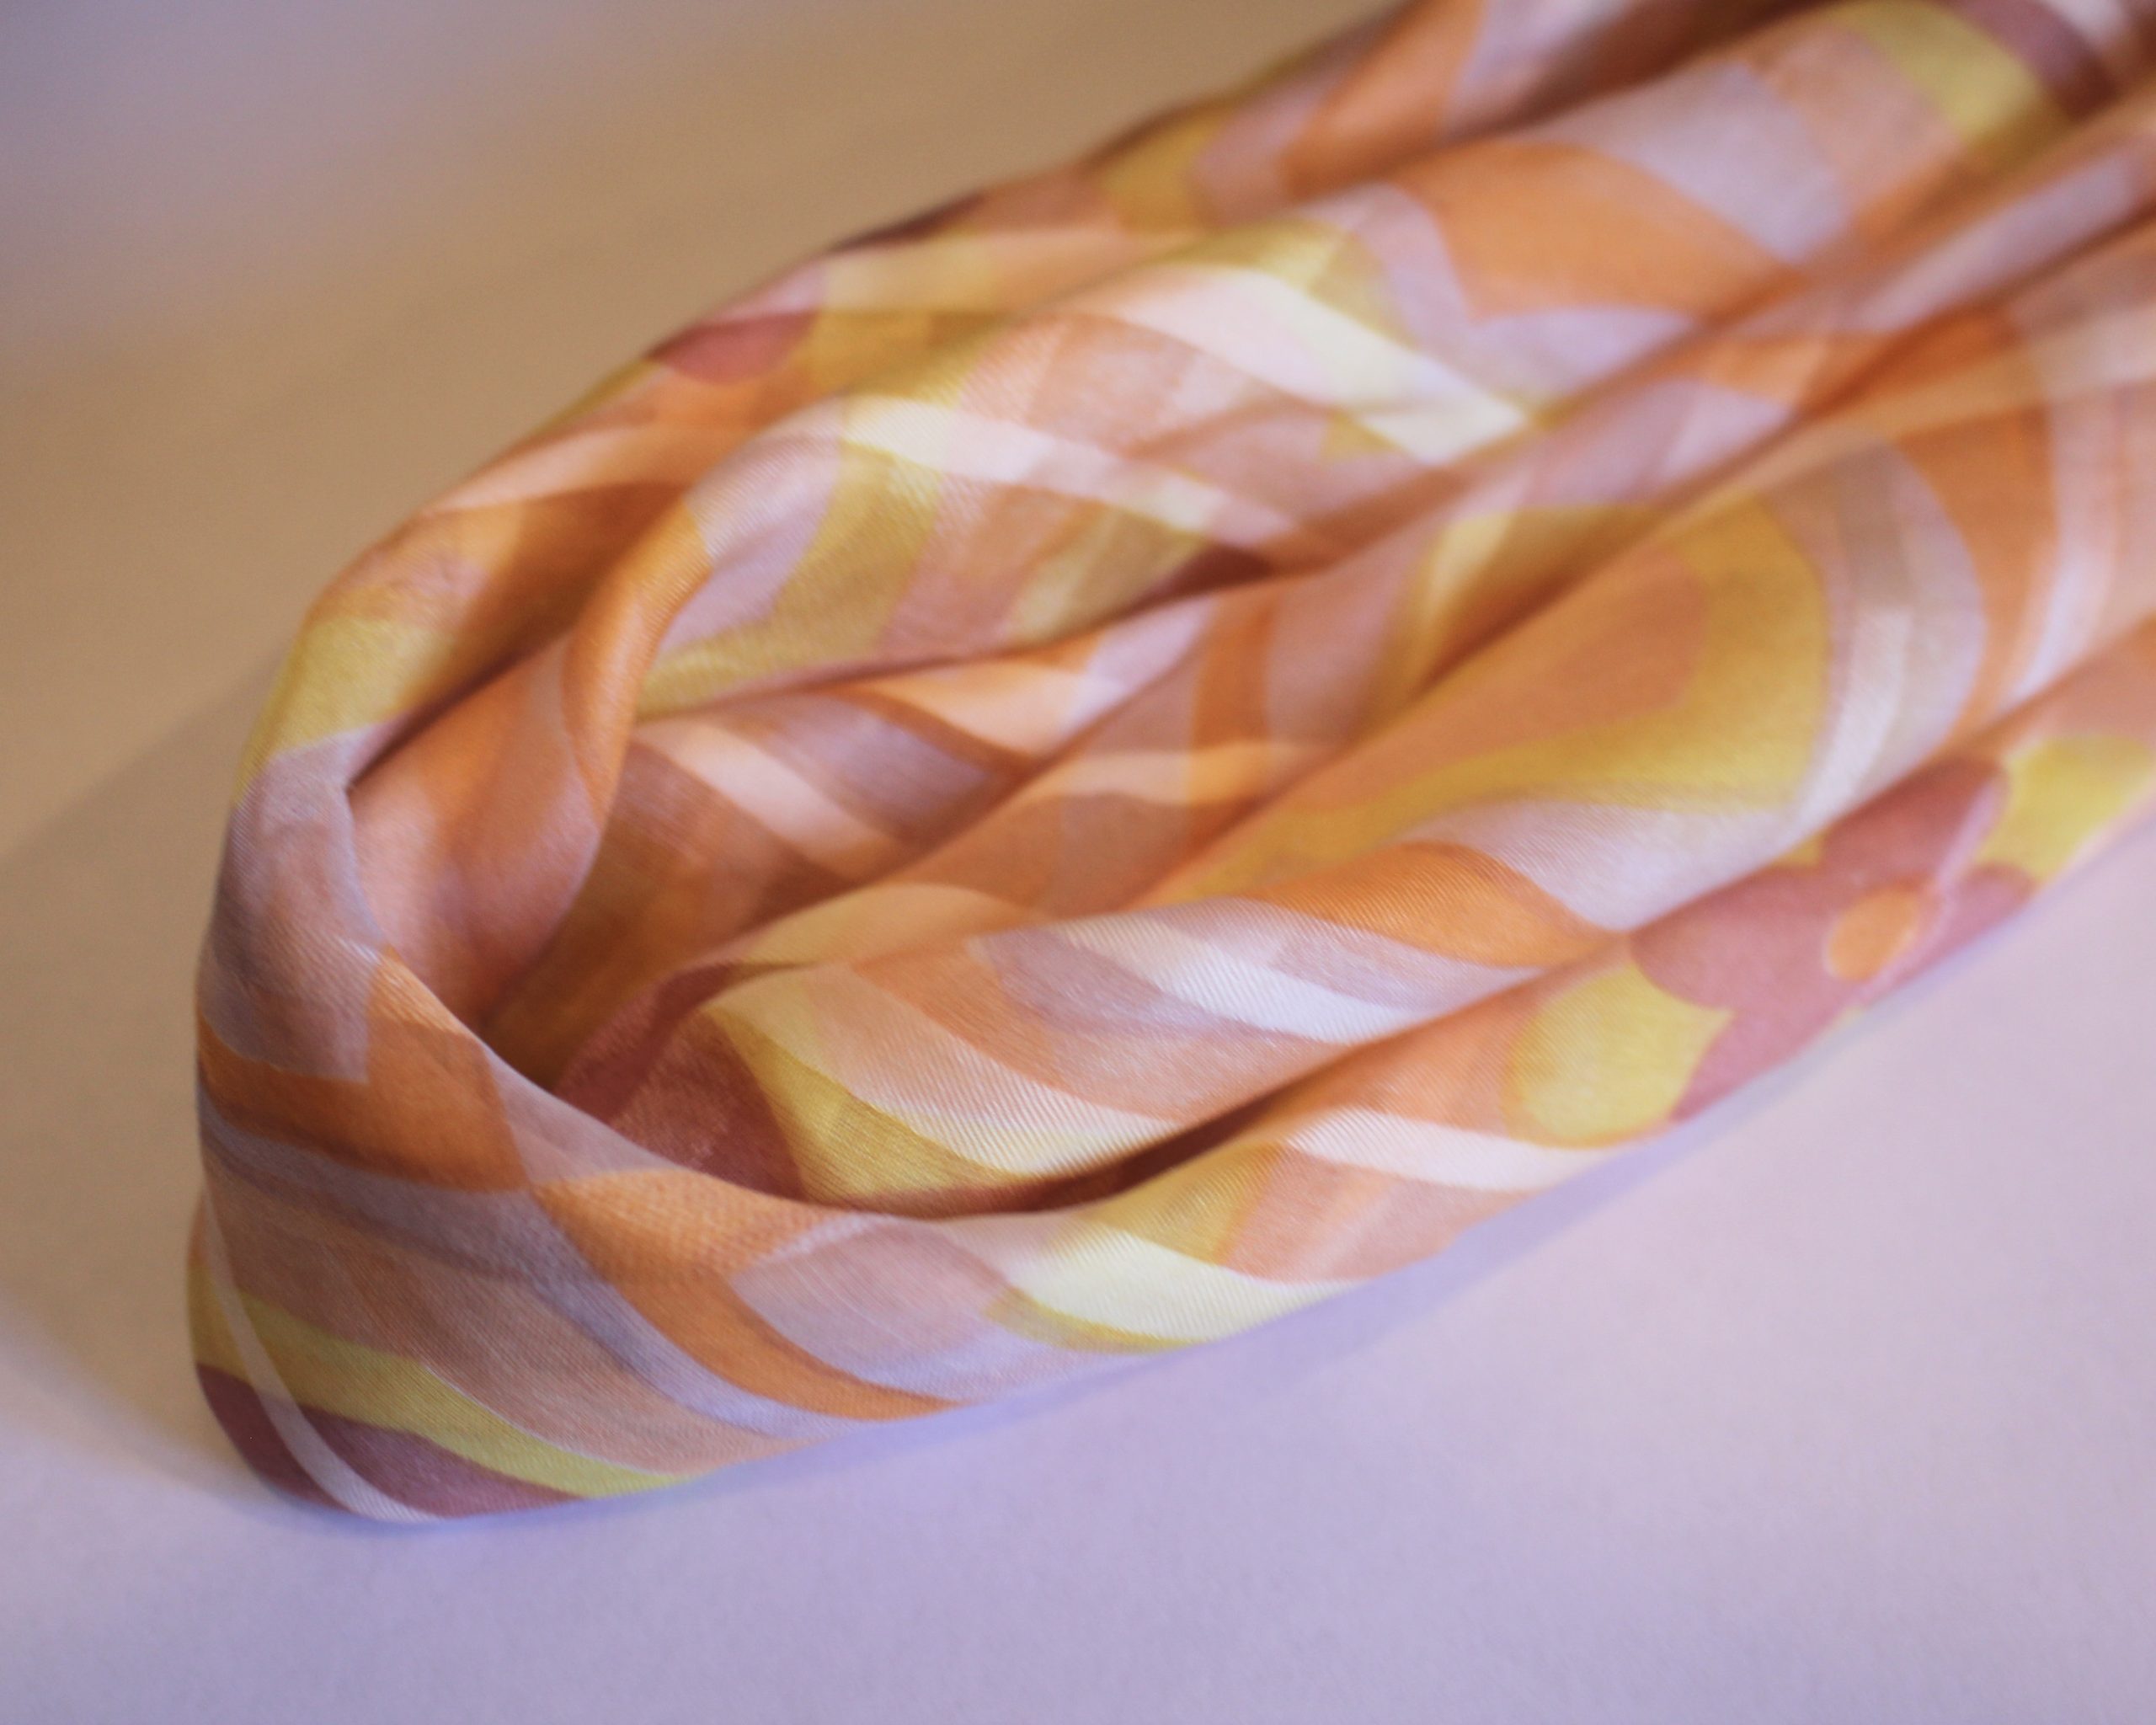
1: Fold the scarf on the diagonal until it is a thin strip.
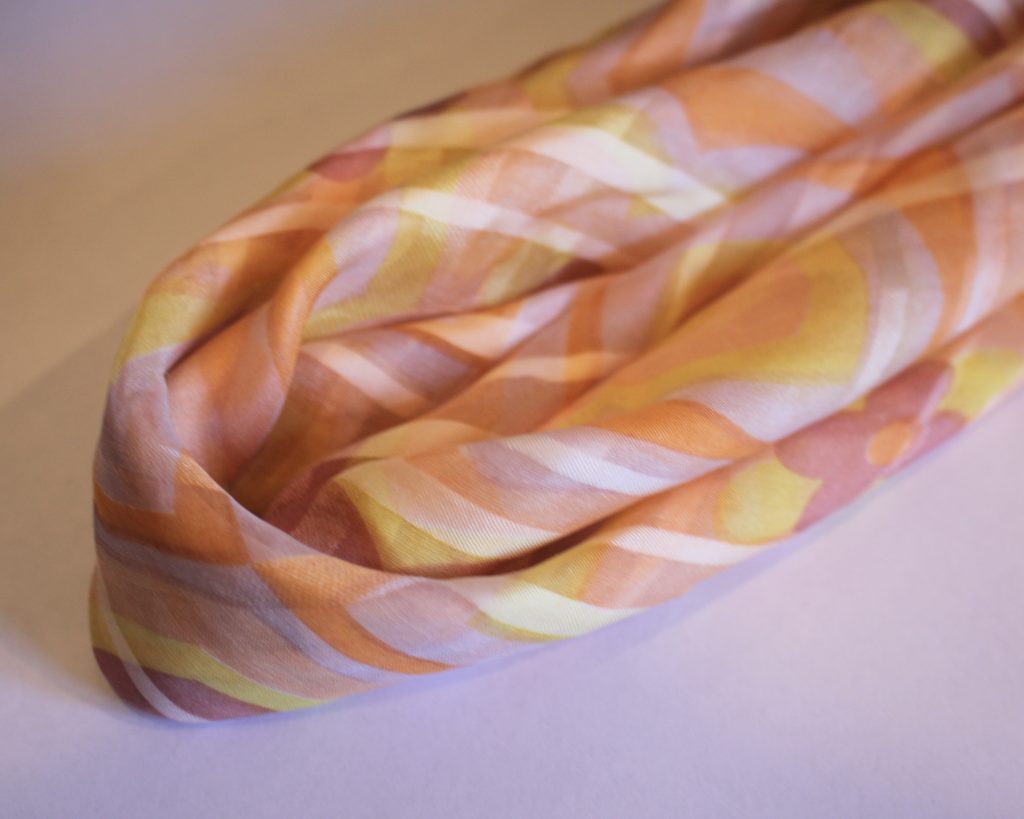
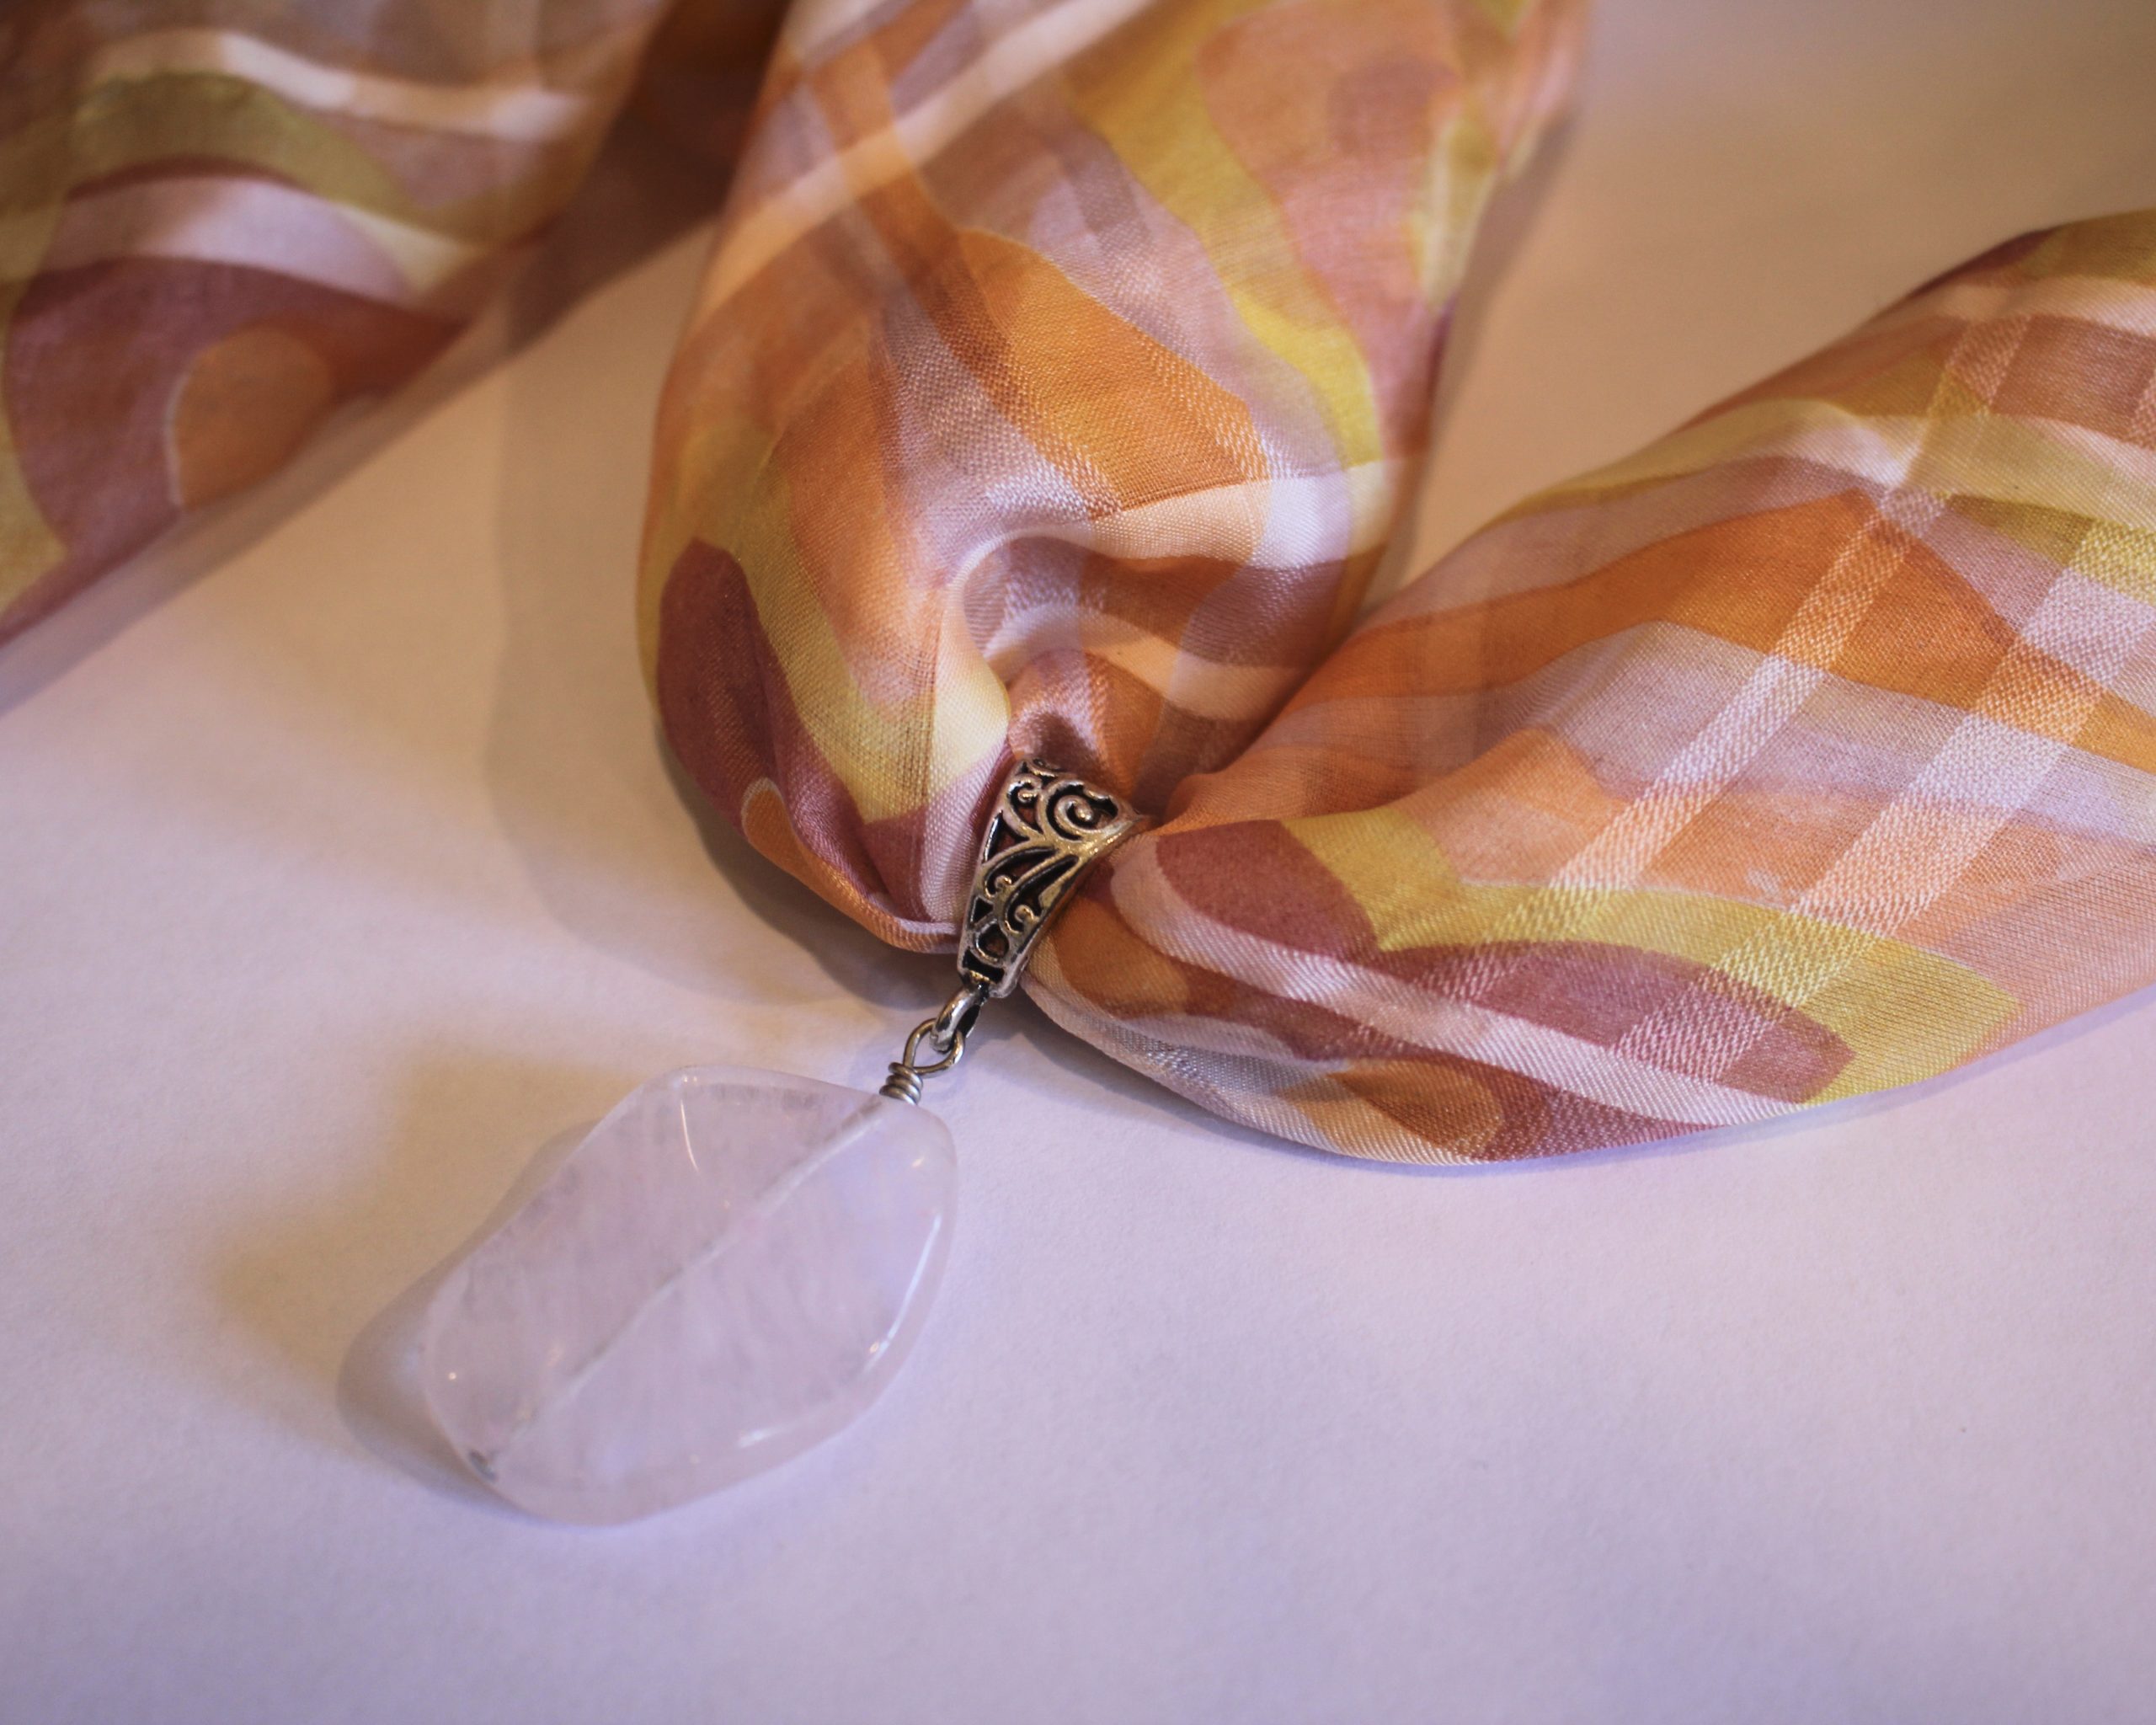
2: Poke the end of the strip through the bail of the pendant.
3: Slide the pendant to the middle of the scarf.
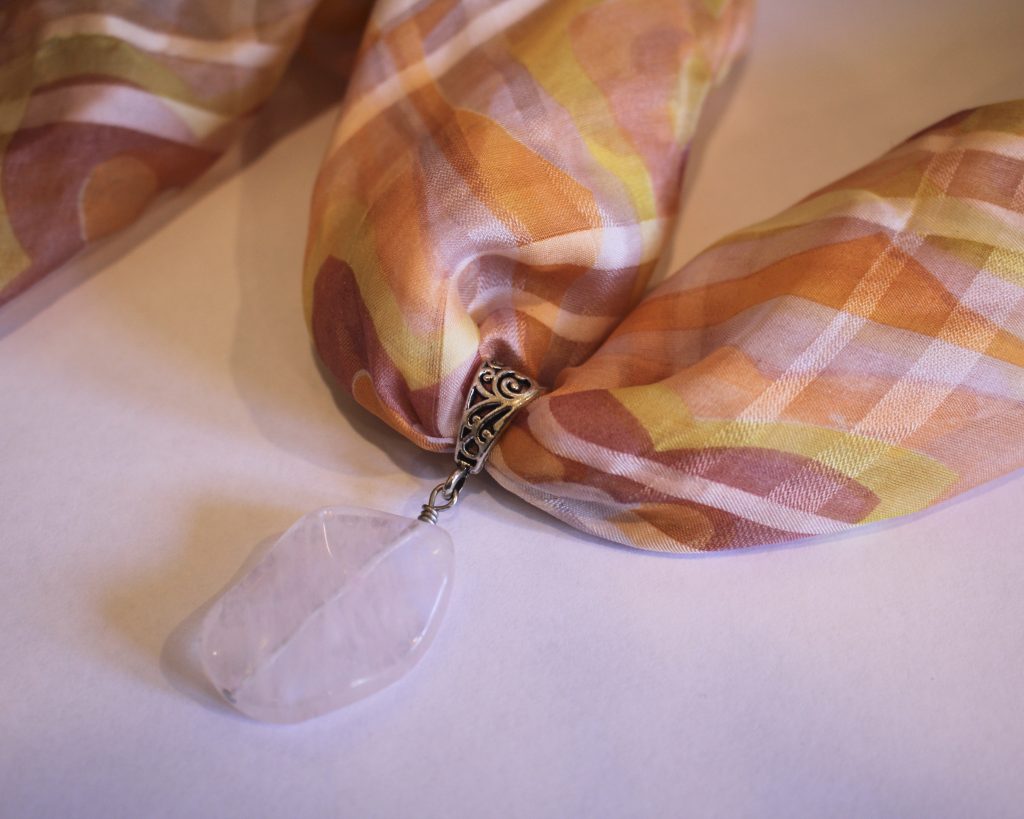
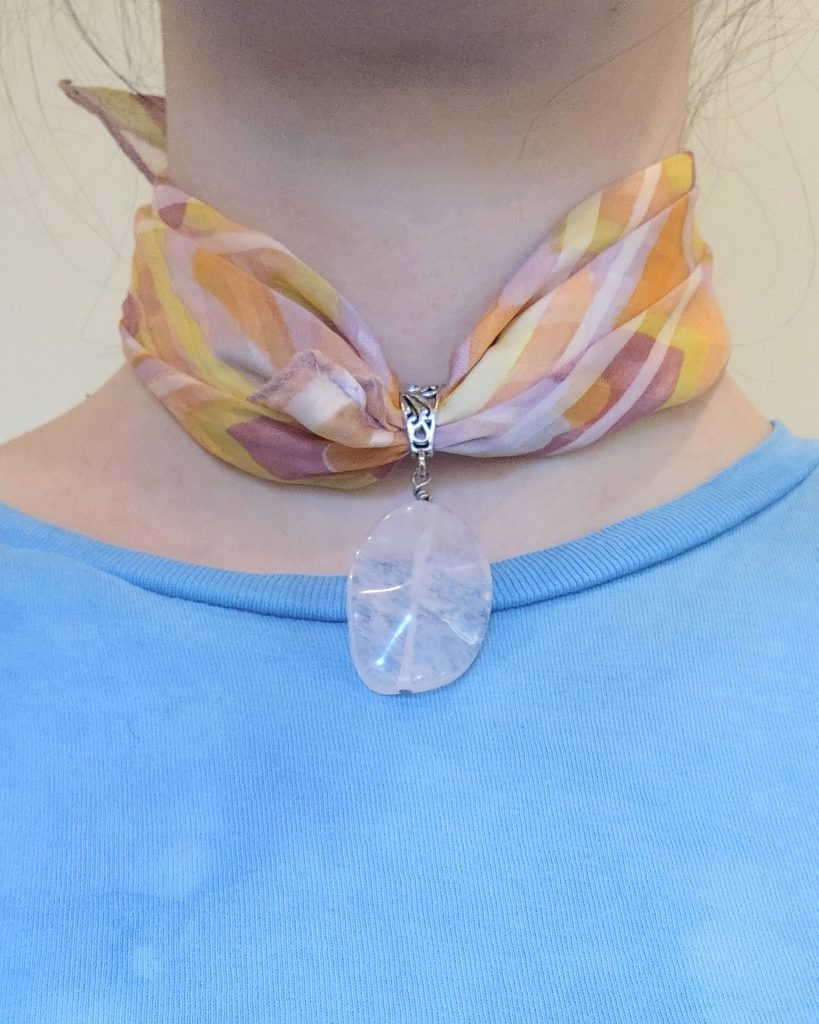
Now your scarf necklace is ready to wear! How simple and easy was that?!
You May Also Like

I keep hearing that chunky chain necklaces are trendy right now… here’s how to make a gold chunky chain necklace that makes a statement.
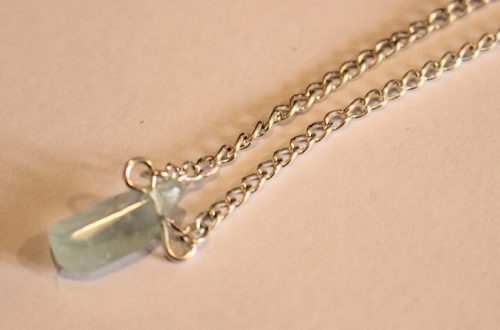
Here’s how to make a stunning crystal choker necklace!
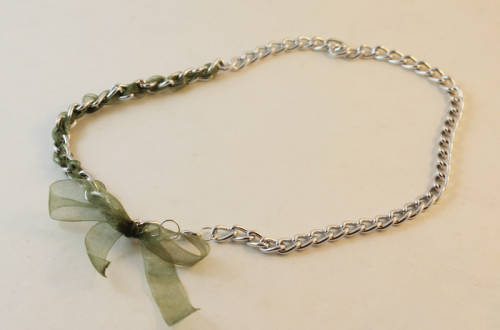
I am loving chunky chain necklaces at the moment, here’s how to do them with a cute twist.
-
Here’s how to combine a beaded necklace with a silk scarf to create a gorgeous new necklace.
Sick of your existing accessories game and want to wear your stuff in a new, more exciting way? Why not combine your pieces to make something unique? This simple tutorial shows you how to loop a scarf together with a necklace for an interesting look.
Please note that this tutorial contains affiliate links for which we may receive a commission.
You’ll need the following materials to make your new necklace:
1: A beaded necklace. I used this beaded one that slips over my head.

You can get something similar here:
2: A square silk scarf. I used this pink and yellow one.

If you don’t have anything similar you can get a similar scarf here:
Once you’ve chosen your scarf and necklace, you can follow these steps to make your new necklace:
1: Fold the scarf into a thin length and fold it in half.

2: Loop the scarf through the necklace.

Now your new necklace is ready to wear. Just tie the ends of the scarf around the other end of the necklace to secure it around your neck.


Here’s what it looks like on.

If you like this, here are some other necklace ideas that combine two existing pieces to make something new:
You May Also Like

How to make a super cute letter bead necklace! Add your word to a chain for a cute twist on the y2k jewelry trend!

Do you want to keep the ocean close? Here’s how to make a bottle charm filled with shells and sea glass
Need Something New to Hang around your neck? Make this cute V-shaped charm necklace
-
Here’s how to add eclectic charms to a chain to make a unique necklace.
I love the look of eclectic charms on a necklace, so I decided to make a tutorial to show you how easy it is to make your own custom charm necklace design. Gather up some gorgeous vintage and new charms and pop them onto a lovely chunky chain.
Please note that this tutorial contains affiliate links for which we may receive a commission.
You’ll need these tools and materials to make your charm necklace:
1: A sterling silver chain with large links for you to attach your charms to.

You can get something similar here:
2: A selection of charms. I used some vintage charms in different materials that I have collected over the years. I also made sure I had matching jump rings made from sterling silver. I used 5 charms but you can add as many as you like.

Here’s something similar to the bird charm:
Shell charm:
Here’s an option, or…
Dolphin Charm:
Here’s a sterling silver version
Bead charm:
Quartz charm:
3: Flat nose and parallel pliers to open and close the jump rings.
You can get a pair here:
Get some parallel pliers here:
Now here are all the steps you need to follow to make your charm necklace:
1: Find the centre of the necklace and place your first charm in the middle. Attach it using your pliers to open the jump ring and then close it around the chain link.


2: Place the second charm a few centimetres (or around an inch) away from the first charm and attach it the same way you did the first charm.

3: Repeat step 2, adding the next charm to the other side of the first charm.

4: Do this again until all your charms have been added in the order you like.


Now your necklace is finished and ready to wear! So cute! I love this design so much.


Here’s what it looks like on!

If you love this, here’s a charm bracelet tutorial you can follow to make something that matches!
-
Got two bracelets but want a necklace? Here’s how to convert what you’ve got into something new!
This is a simple tutorial that shows you how to turn two existing bracelets into a choker-length necklace! What a fun way to make your jewellery collection more versatile. Please note that this tutorial contains affiliate links.
You’ll need the following tools and materials to make your necklace:
1: Two bracelets, make sure they are long enough when clipped together to fit around your neck. I used a silver chain bracelet and a beaded bracelet.

Here are some silver bracelet options you can buy:

Here are some pre-made options you can buy:
and if you feel like making your own, you can follow this tutorial.
2: A charm, this is optional but you can clip a charm on for extra personality. I used this copper electroformed tiger’s eye pendant.

You can get a tiger’s eye charm here:
Follow these steps to make your necklace out of bracelets:
1: Unclip the ends of your bracelet.

2: Latch one of the bracelet clasps to the other end of the other bracelet, you will have a long strand now.

3: If you are adding a charm, slip it onto the clasp at the other end of the strand you just made.

4: Clip the ends of the strand together to form a choker, you can wear it with the charm at the front like this or without the charm for a mixed material effect.


Here’s what it looks like on

And here’s what it looks like without the charm.

What bracelets will you use to make your choker necklace?
If you love using your existing jewellery to make something new, here’s another tutorial for you:
- Turn an old ring into a pendant here and here
- This tutorial shows you how to swap earring hooks for charm connector studs to transform your earrings
- This tutorial shows you how to turn an old jar into jewellery storage
-
Flowers are so pretty! Here’s how to make a beaded flower choker…
I’ve already shown you how to make a cute daisy chain necklace, but here’s a way to add a bit of edge to your floral bead designs… a daisy chain choker necklace! This tutorial gives you all the steps to follow to make a beaded choker necklace using glass seed beads and tiger tail wire. Please note that this tutorial contains affiliate links.
You’ll need these tools and materials to make your beaded flower choker:
1: Pliers. I used my cutting, round nose and flat nose pliers.

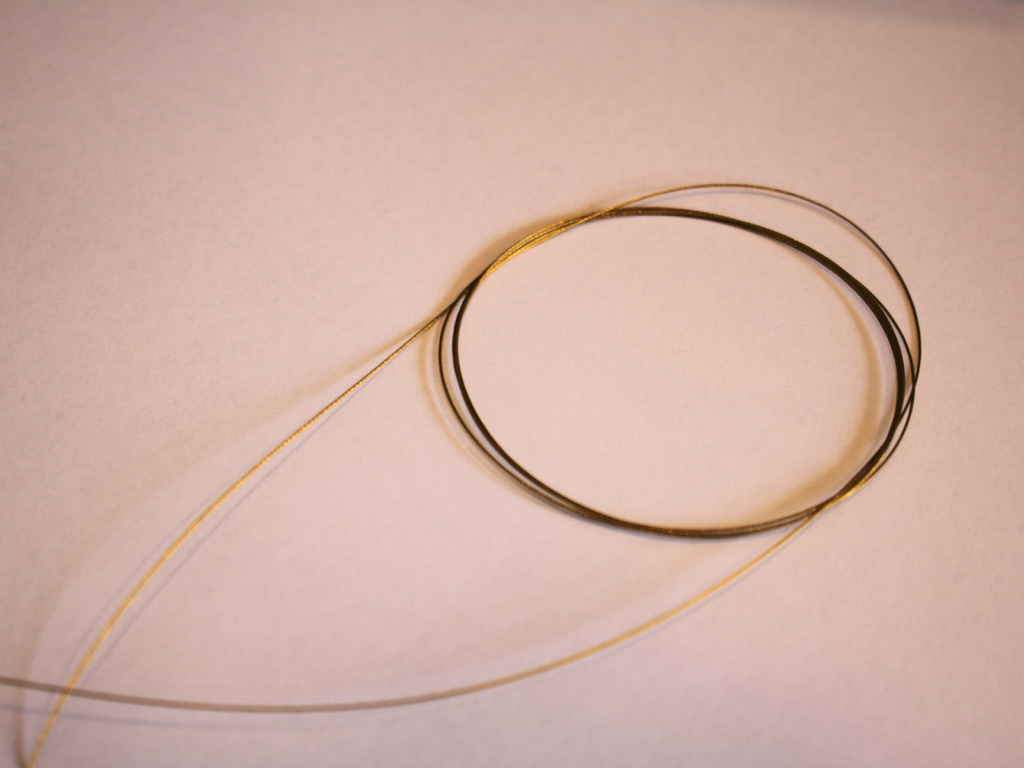
2: Tiger tail wire, because of the looping to create the flowers, you need a bit extra than the intended length. I cut about 1.5m of wire and had some leftover that I will use in another design.
3: A clasp and jump ring.

4: Crimp beads.

5: Beads. I used some recycled red seed beads for the flowers and some green and purple seed beads for the rest of the choker.


Green seed beads:
Purple seed beads:
Follow these steps to make your cute flower choker necklace:
1: Add two crimps to the end of the wire.

2: Add the clasp to the wire and fold it around and back through the crimps.

3: Squash the crimp beads using the flat nose pliers.


4: Add the green beads to the wire. I added 10 beads but you can add more or less depending on the pattern you want to make.

5: Add 6 red beads (or whatever colour you chose for your flowers) to the wire.

6: Take the end of the wire and thread it through the first red bead.

7: Pull the wire tight to create a circle shape with the beads. Make sure you shift the beads down as you tighten the wire so that the circle sits closely to the green beads.

8: Add a single bead to the wire in your third colour, this will be the middle of the bead.
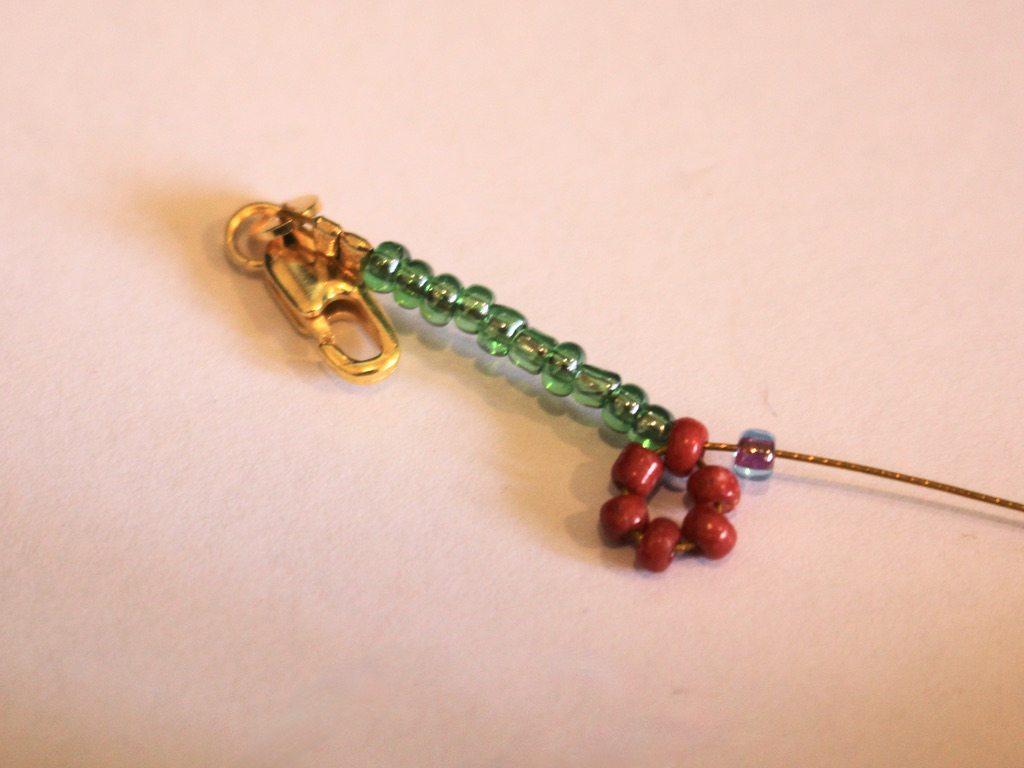
9: Place the bead in the middle of the flower and then thread the end of the wire through one of the flower beads to secure the middle bead in place. Now you have your first flower.

10: Repeat steps 4 to 9 until you have a length that fits closely around your neck to make a choker.


11: Add the second set of crimp beads and a jump ring to the wire.

12: Loop the wire around the jump ring and back through the crimps and the beads at the end of the necklace, pulling the wire tight.

13: Squash the crimps using the flat nose pliers.

14: Trim the excess wire.

Now your floral choker is finished and ready to wear! How cute! What colours will you use in yours?
Here’s what it looks like on!

Here are some other beaded flower tutorials you can try:
-
Here’s how to make a sweet daisy chain necklace using tiger tail wire!
Daisy chains are a classic beaded jewellery technique, and they look amazing! Here’s how to make one using some tiger tail wire and a selection of glass beads. Please note that this tutorial contains affiliate links.
You’ll need these tools and materials to make this daisy chain necklace:
1: A length of tiger tail wire, you’ll need quite a lot as the daisy chain technique uses some extra wire. I cut mine about 4x the length I wanted for my necklace, approximately 1.5m long. I suggest using your best guess rather than taking an exact measurement.

2: Some beads. I used a variety of glass beads including recycled orange e-beads, some gold tone beads and some blue seed beads.

Blue seed beads: https://amzn.to/3S8agp8
3: Four crimp beads.
4: A clasp and jump ring. I used a gold-filled parrot clasp.
5: Pliers. I used cutting pliers, round nose pliers and cutting pliers to finish my necklace.
Follow these steps to make your beaded daisy chain necklace:
1: Add two crimp beads and the clasp to the end of the wire.


2: Fold the wire around the clasp and back through the crimps.

3: Squash the crimp beads to secure the clasp to the end of the wire.


4: Begin adding beads. I made mine a pattern of blue beads and orange flowers so started by adding 15 blue seed beads.

5: Add six beads for your first flower.
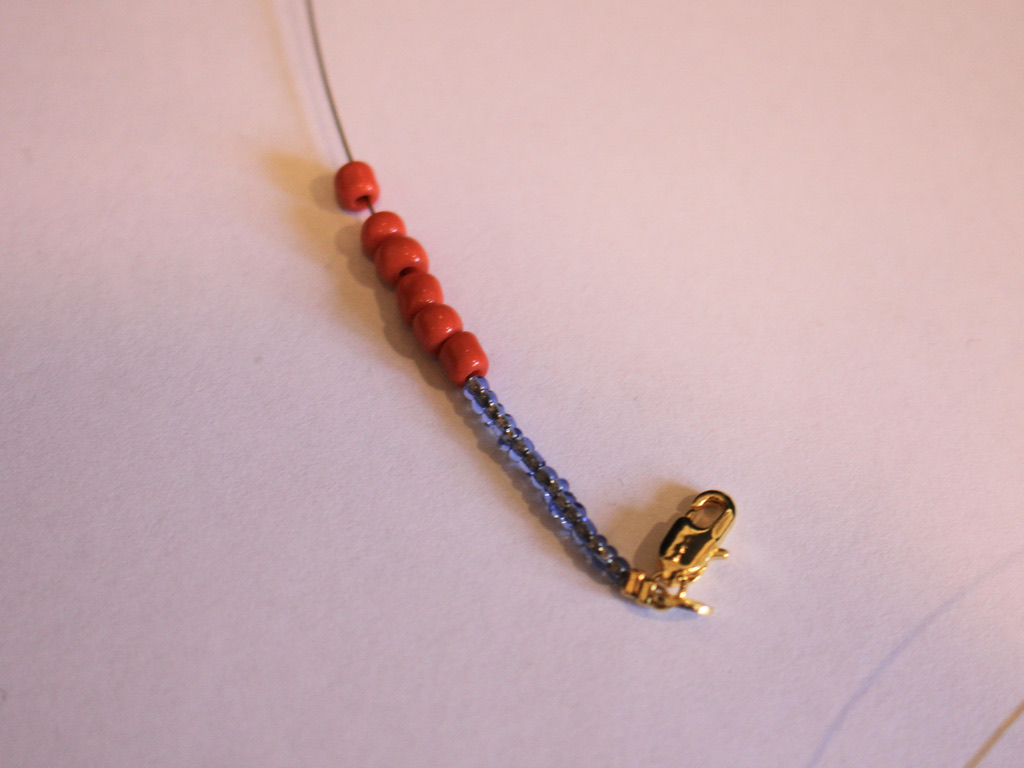
6: Take the end of the wire and thread it through the first flower bead to form a circle shape.


7: Pull the wire tight and add another bead to make the centre of the flower, I used my gold e-bead.

8: Put the bead in the middle of the circle and then thread the end of the wire though a flower bead directly opposite the first one you threaded it through to make the flower. This will keep the middle bead in place at the centre of the flower.


9: Repeat steps 4 to 8 to create a pattern of beads and flowers until you have a length you like and that is comfortable for a necklace.


10: Once you have reached your desired length, add the remaining crimp beads to the wire.


11: Add the jump ring to the end of the wire as well.
12: Loop the wire around the jump ring and back through the crimps and beads at the end, then pull the wire tight.

13: Squash the crimps using the flat nose pliers.

14: Trim the excess wire using your cutting pliers.

Now your necklace is finished and ready to wear! Whats colours will you make yours in?


If you love making flowers out of beads, here are some more floral tutorials for you.
-
How to make a beaded necklace with a cool knot detail!
This necklace is simple but super cute! It is a twist on a basic tiger-tail beaded necklace, but instead of a single strand, the necklace has a loose knot in the middle for added interest. This is a simple but high-impact design that you can whip up in an afternoon. Please note that this tutorial contains affiliate links.
You’ll need the following tools and materials to make your necklace:
1: Some tiger tail wire, cut a length long enough to fit loosely around your neck plus an extra 20cm (7.8 inches).

2: Four small crimp beads.

3: A toggle clasp.

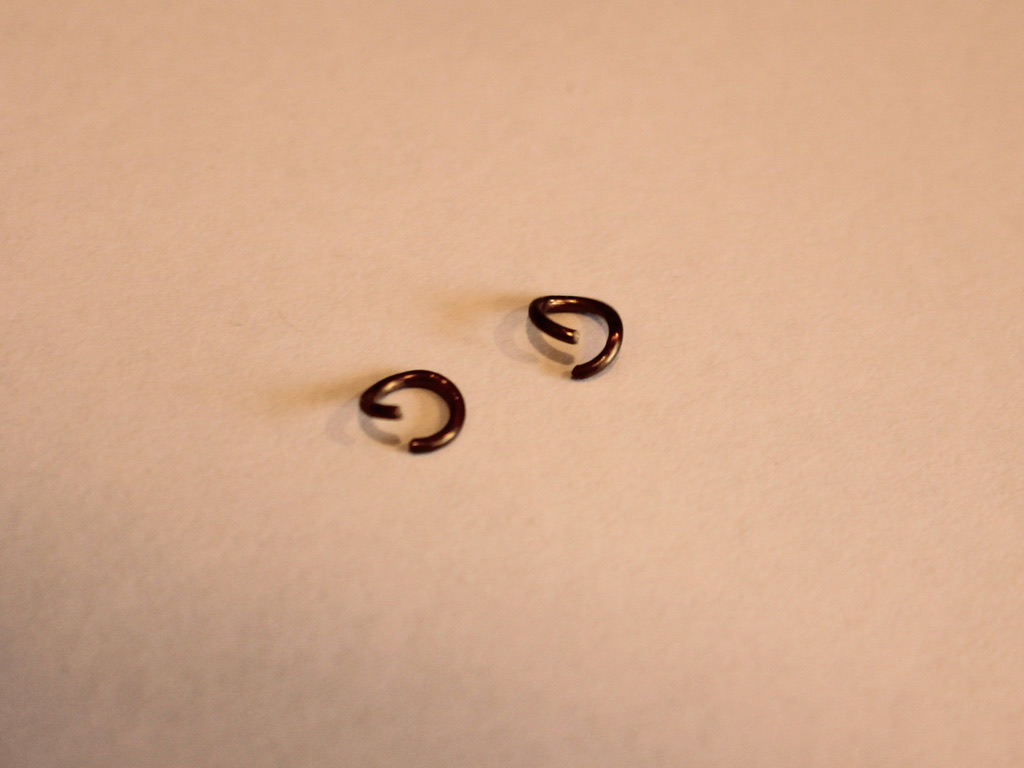
4: Two small jump rings.

5: Your set of pliers including cutting pliers, round nose and flat nose pliers.
6: A selection of beads. I used some timber beads and some glass evil eye-style beads.

Evil eye beads here:
Timber beads here:
Follow these steps to make your beaded knot detail necklace.
1: Add two crimp beads and a jump ring to the end of the tiger tail wire.

4: Fold the end of the wire around the jump ring and back through the crimp beads.

5: Squash the crimp beads using the flat nose pliers.

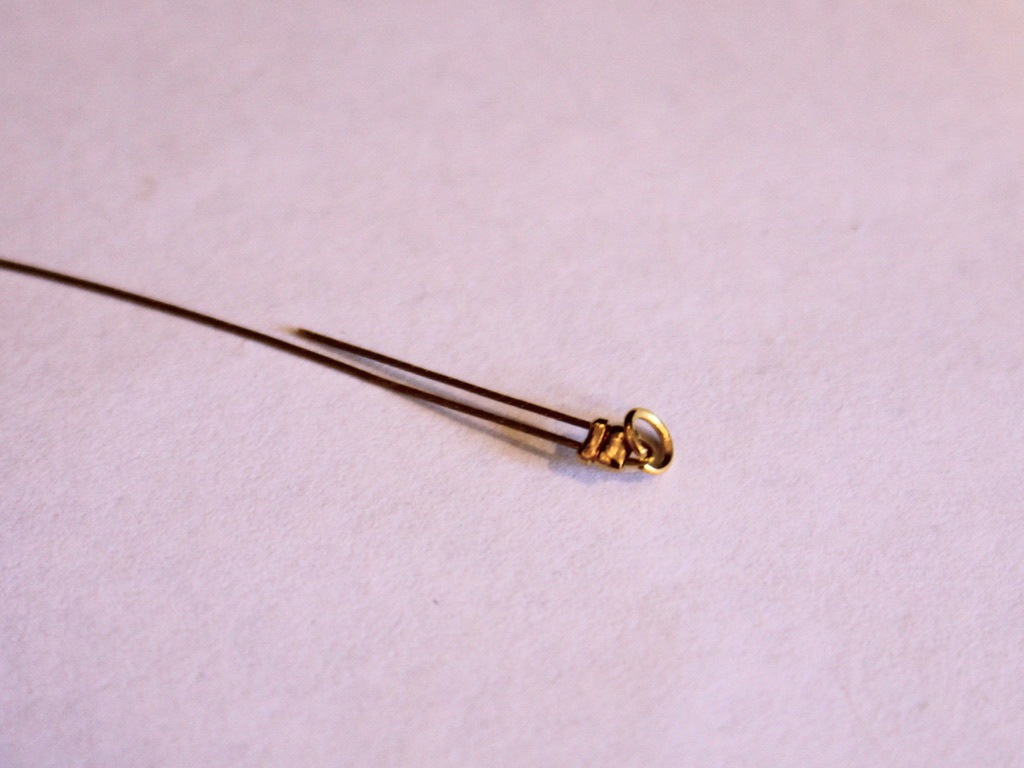
6: Add beads to the wire in your choice of pattern. Continue adding until you have a length you like (remember to make it a bit longer than usual because the knot will reduce the length a little).


7: Once you have your necklace fully beaded, add the second set of crimp beads and the remaining jump ring to the end of the wire.


8: Loop the end of the wire around the jump ring and back through the crimps and the first few beads at the end of the necklace.
9: Pull the wire tight.

10: Squash the crimp beads using the flat nose pliers.


11: Trim the excess wire using the cutting pliers.

12: Carefully tie a knot in the beaded strand, paying attention to get it close to the middle and being careful to not pull too tightly, you want the knot to be quite open.

13: Attach the clasp to either end of the necklace using the jump rings. Make sure to close the jump rings closely so that the clasps stay in place.


Now your necklace is finished and ready to wear! What funky beads will you use to make yours?

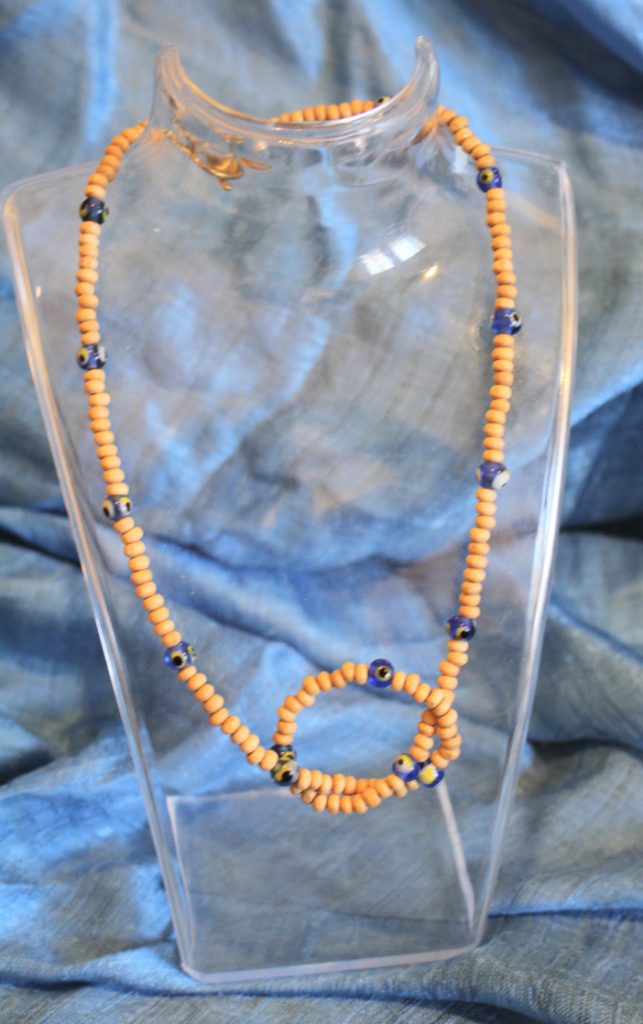
If you like this tutorial, here’s a link to a double strand version.
-
Here’s how you can transform some rhinestone trim into a necklace chain!
Here’s a fun tutorial, perfect for a fun costume night out! In this tutorial I’ll show you how to transform some rhinestone trim into a unique chain to hang bold pendants on. Please note that this tutorial contains affiliate links.
You’ll need these tools and materials to make your rhinestone necklace chain:
1: A piece of rhinestone trim, cut to your preferred necklace length.

2: Two crimp ends.

3: Two jump rings.
4: One lobster claw clasp.

5: A pendant. I used this weird one that I made from clay, plastic rhinestones, wire, paint and resin (I know… it looks really weird!)

6: Pliers. I used my cutting pliers to cut the rhinestones to length and my flat nose pliers to secure the crimps closed. You can also keep your round nose pliers handy as an extra tool for opening and closing your jump rings.
Follow these steps to make this rhinestone necklace chain:
1: Place one of the crimps over the end of the rhinestone strand.
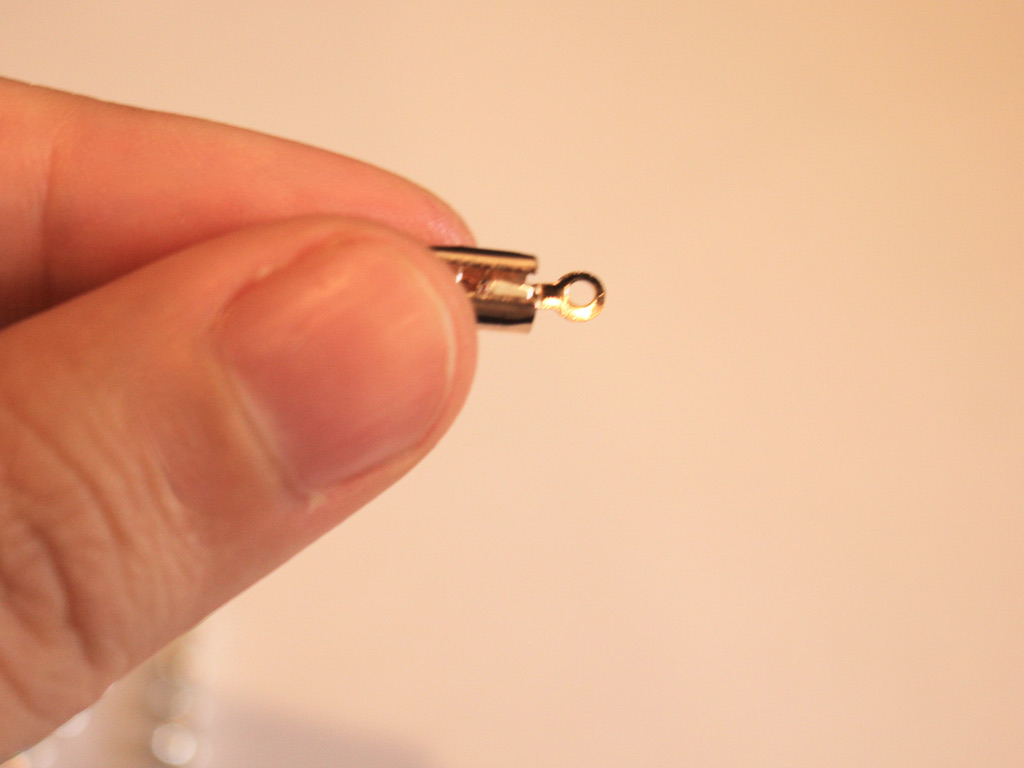
2: Squash one side of the crimp around the rhinestone strand using your flat nose pliers.

3: Squash the other side of the crimp using the pliers, so it fits closely around the rhinestones and doesn’t move when you pull it.


4: Repeat steps 1-3 for the other end of the necklace.

5: If your pendant has a small bail (the loop at the top of the pendant), you can add it to the chain now.
6: Take one of the jump rings and add it to one side of the necklace, looping it through the end of the crimp.

7: Add the clasp to the open jump ring and close it to secure the clasp to the necklace.


8: Add the remaining jump ring to the other end of the necklace and close it.


Now your sparkly costume necklace is ready to wear! What funky pendant will you put on yours?


If you like this tutorial, here are some more sparkly rhinestone tutorials for you to try…
You May Also Like

Half and Half for the best of both worlds? Here’s how to make a half bead half chain necklace!
I keep hearing that chunky chain necklaces are trendy right now… here’s how to make a gold chunky chain necklace that makes a statement.
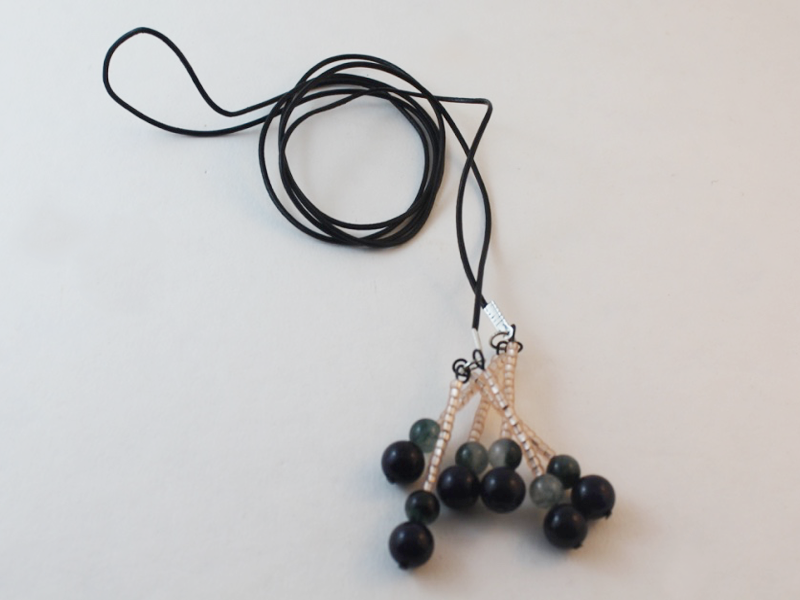
Add some edge to your look with this leather wrap necklace