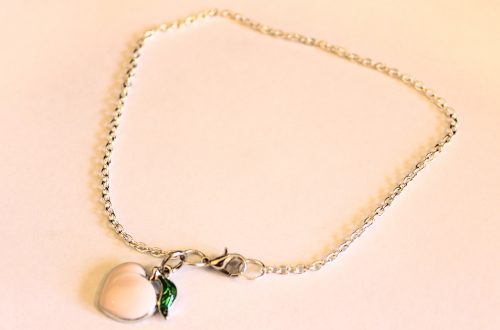
Is your ankle looking too bare? Check out this cool leather anklet tutorial.
Anklets are a lot of fun! Is there a more perfect summer accessory than a flirty little anklet? This anklet design is made with some black leather cord and some bohemian glass beads!
You will need the following tools and materials to make this awesome leather anklet:
1: Pliers. You will need your cutting pliers (to cut your cord), flat nose pliers and round nose pliers to make this anklet.

2: A piece of leather cord long enough to fit comfortably around your ankle.

3: Two leather crimp ends.

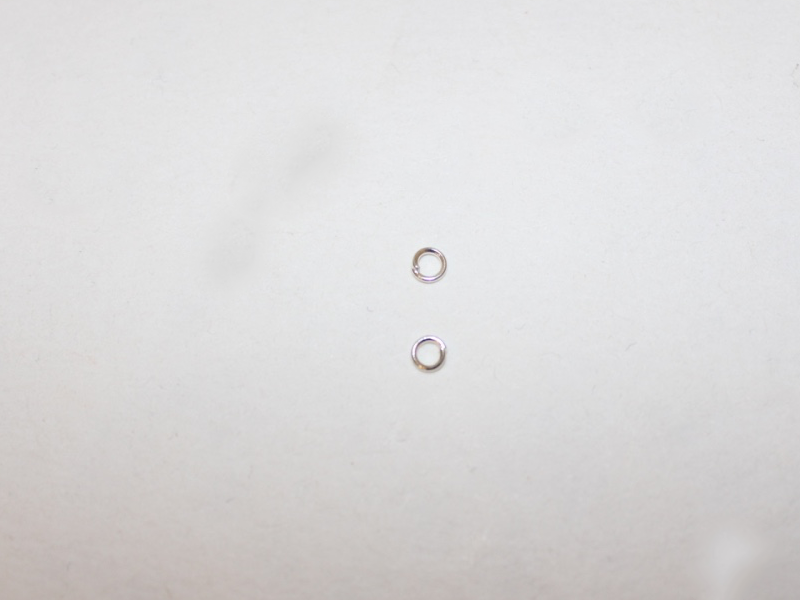
4: Two small jump rings.
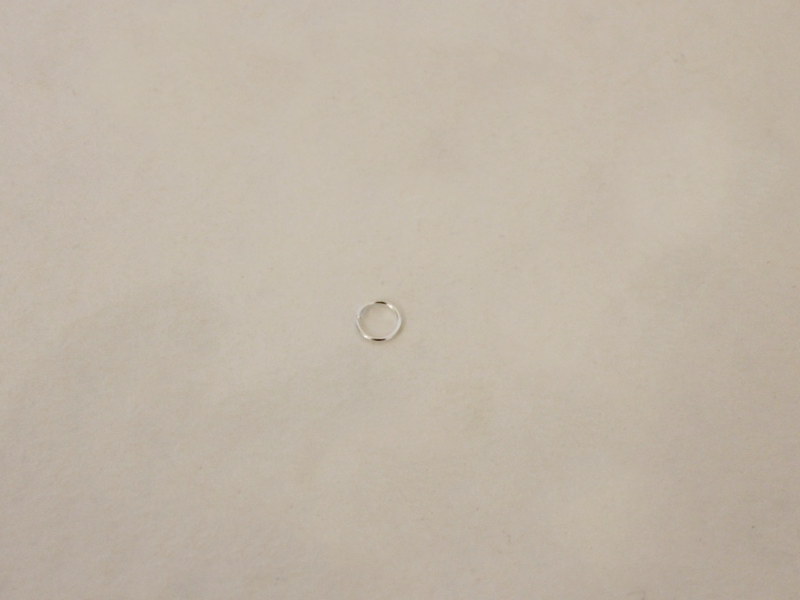
5: One larger jump ring.
6: One lobster clasp.

7: Two small head pins.

8: Beads of your choice. I used these blue glass beads and two small seed beads.


Follow these steps to make yourself a cute leather anklet:
1: Place a crimp end at the end of the leather cord and get ready to secure it in place.
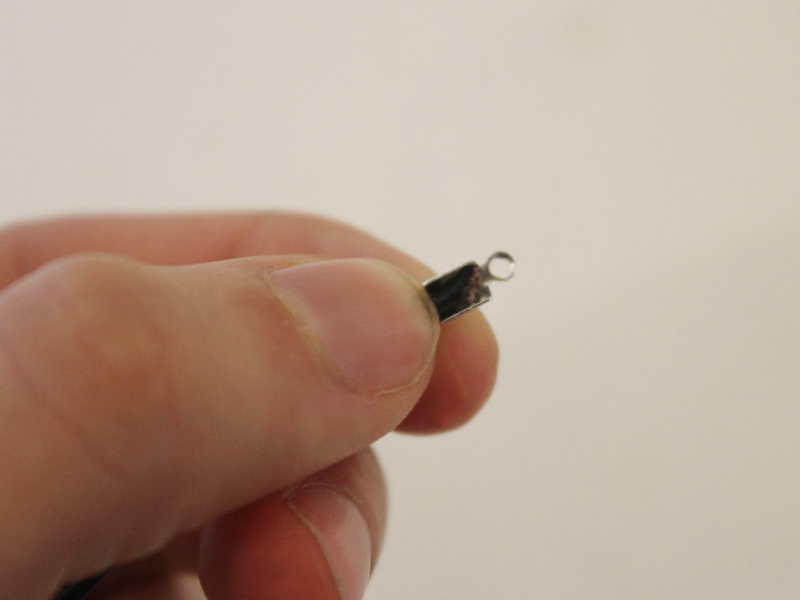
2: Squash one side of the crimp end down using the flat nose pliers.


3: Squash the other side of the crimp down to secure the crimp in place.

4: Repeat steps 2 and 3 for the other end of the leather.

5: Add a jump ring to one end of the leather cord and add the lobster clasp. Secure the lobster clasp in place by closing the jump ring.

6: Add another jump ring to the other end of the anklet.

7: Add your beads to each of the head pins.


8: Bend each pin at a right angle to the beaded section.


9: Using the round nose pliers again, form a loop at the top of each beaded pin to secure the beads in place.


10: Add the beaded head pins to the larger jump ring.

11: Slide the larger jump ring onto the closed one that attaches the clasp to the anklet. Secure it in place by closing it using your pliers.


Once your bead charms are in place your anklet is complete! How will you make this design your own?


DIY Jewelry Hub
Welcome to DIY Jewelry Hub. If you’ve ever wanted to learn how to make your own jewelry this is the place to start! Jewelry is a great way to show off your individuality and style. You’ll be surprised at how easy it is to create your own unique pieces! DIY Jewelry Hub will equip you with all the knowledge and inspiration you need to make your own jewelry.
You May Also Like

Does your anklet need some bling? Make this charm connector anklet!
Here’s another way to make a cool anklet for summer…