-
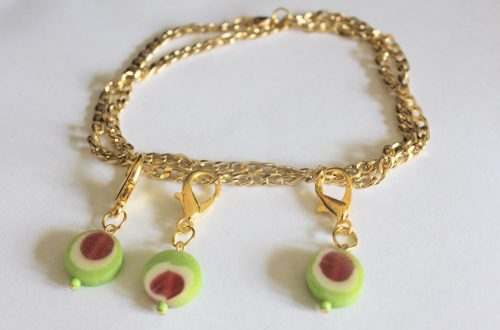
Here’s how to make some clip-on shoe charms.
I was browsing the internet the other day and saw the cutest shoe charms, so I knew I had to make a quick tutorial so you can make your own as well! These charms use lobster clasps and pre-made charms for a fun way to personalise your sneakers. Please note that this tutorial contains affiliate links for which we may receive a commission.
You’ll need the following tools and materials to make your shoe charms:
1: Some lobster clasps. I used some I already had, a black clasp and a gold-tone one.

You can get black clasps here:
And gold ones here:
2: Some charms. I used a glass heart charm and a plastic banana charm.

You can get banana charms here:
And heart charms here:
3: A couple of jump rings in colours that match my clasps.

You can get jump rings here:
4: Pliers. I used my flat nose and parallel pliers to open and close my jump rings. If you don’t have parallel pliers you can also use needle nose pliers, or any two sets of pliers you have on hand to open and close your jump rings (except cutting pliers, don’t want to snip those rings!)
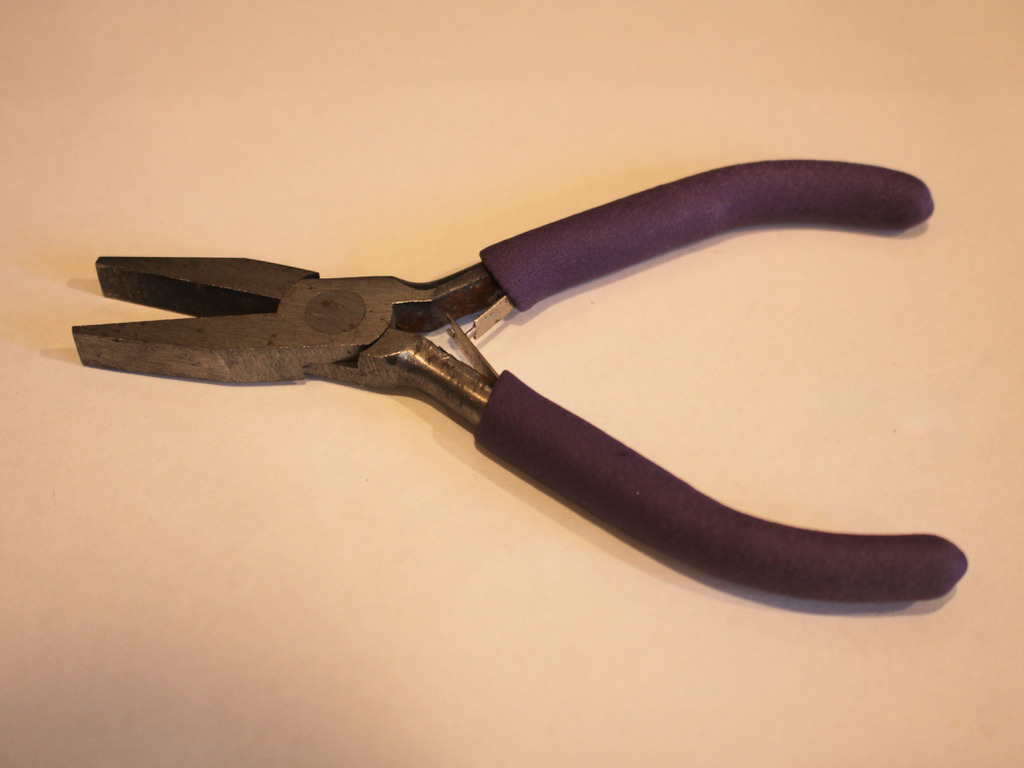
You can get flat nose pliers here:

You can get a pair here:
Here are all the steps to follow to make your own shoe charms:
1: Add the open jump rings to the clasps.

2: Add the charms to the clasps.

3: Close the clasps using your pliers.

Now your shoe charms are ready to use! Clip them onto your laces to add some extra ‘charm’ to your fave sneakers. So cute!


Here are some other shoe decoration tutorials you can follow:
1: A sparkly shoe chain made with string and metal beads.
-
Love layering your necklaces but hate when they tangle? Here’s a trick to fix that!
I love layering my necklaces, but I can’t stand it when they tangle and twist together, so here’s how to use two clasps and a couple of jump rings to make a handy necklace stacker clasp that allows you to layer your necklaces with ease. This is a super simple tutorial that will transform your jewelry styling!
Please note that this tutorial contains affiliate links for which we may receive a commission.
You’ll need the following tools and materials to make your necklace stacker clasp:
1: Two sterling silver lobster clasps with jump rings attached.

You can get some here:
2: Two large jump rings.

You can get some here:
3: A pair of flat nose pliers for opening and closing the jump rings.
You can get a pair here:
4: Any necklaces you want to wear stacked. I used this selection of beaded and chain necklaces of different lengths.

Follow these steps to make your game-changing necklace stacker clasp:
1: Take one of the jump rings and attach it to one of the clasp ends. Close it carefully using the flat nose pliers, making sure to get the ends close together.


2: Add the second large jump ring to the end of the second clasp and close it with the pliers.

3: Clip the second clasp to the large jump ring that you attached to the first clasp.

4: Now the clasp is complete and you are ready to start stacking necklaces. The clasp of each necklace is attached to the jump ring end of the clasp, while the other end is attached to the lobster clasp end.
5: Add the first necklace by clipping it onto the jump ring.

6: Then add the other end to the clasp end by opening the clasp and sliding the ring onto it before closing it again.

7: Repeat steps 6 and 7 for the other necklaces, being careful to attach them in the same order on either side.


Once you’ve attached all your necklaces, your new stacked piece is ready to wear. You can use bigger or smaller jump rings depending on how many necklaces you wish to stack. How handy?!
Here’s the finished clasp again.

And here it is with all the necklaces attached.


Here’s how it looks when it is being used.

-
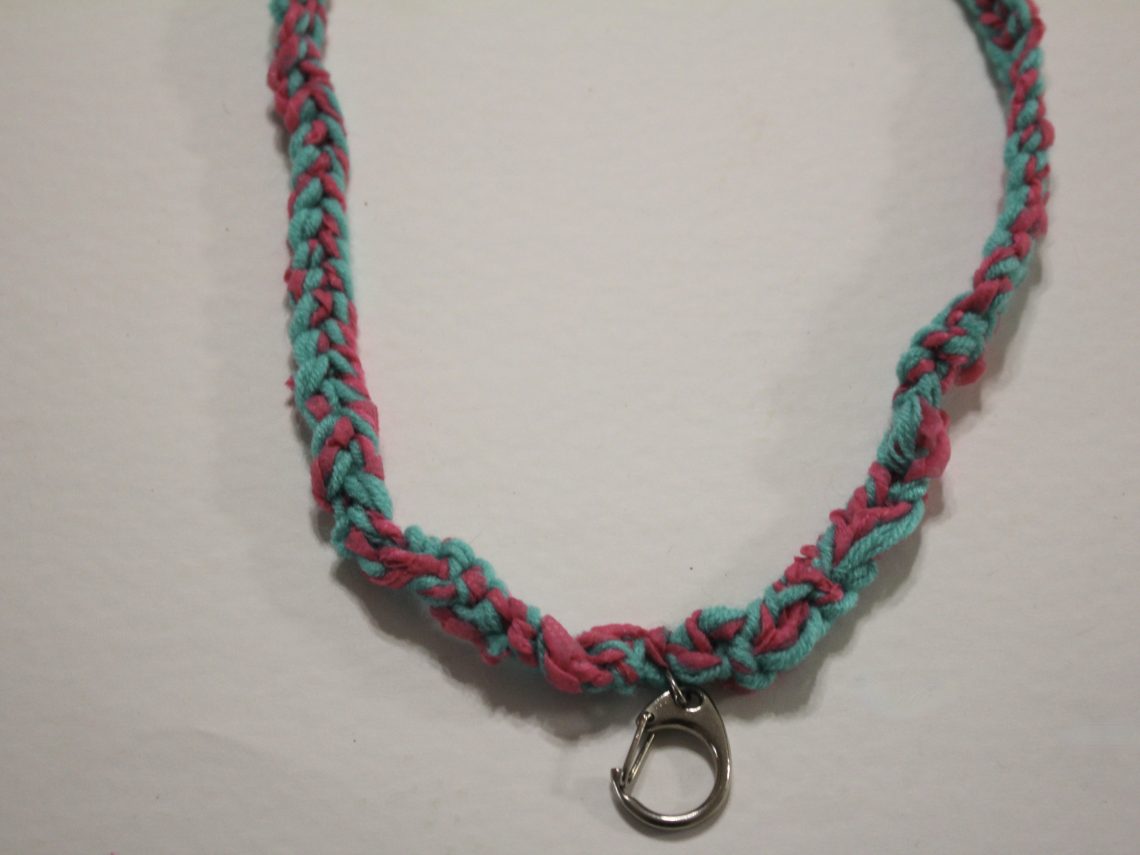
Here’s how to make a colorful crochet lanyard!
I have a teacher friend who loves a colourful lanyard, so this tutorial is inspired by her! This lanyard uses basic crochet combined with a large claw clasp to create a fun and practical accessory. I think this tutorial is a great way to use up scrap yarn and turn it into something useful. Please note that this tutorial contains affiliate links.
You’ll need these tools and materials to make this lanyard:
1: A crochet hook, large enough for chunky yarn. I used a 7mm hook.

2: Some yarn. I used three strands held together, two green strands and one pink strand.

Green yarn
Pink yarn
3: Scissors.

4: A darning needle.

5: A large lobster claw or similar. I used this chunky one that was recycled from an old keychain.
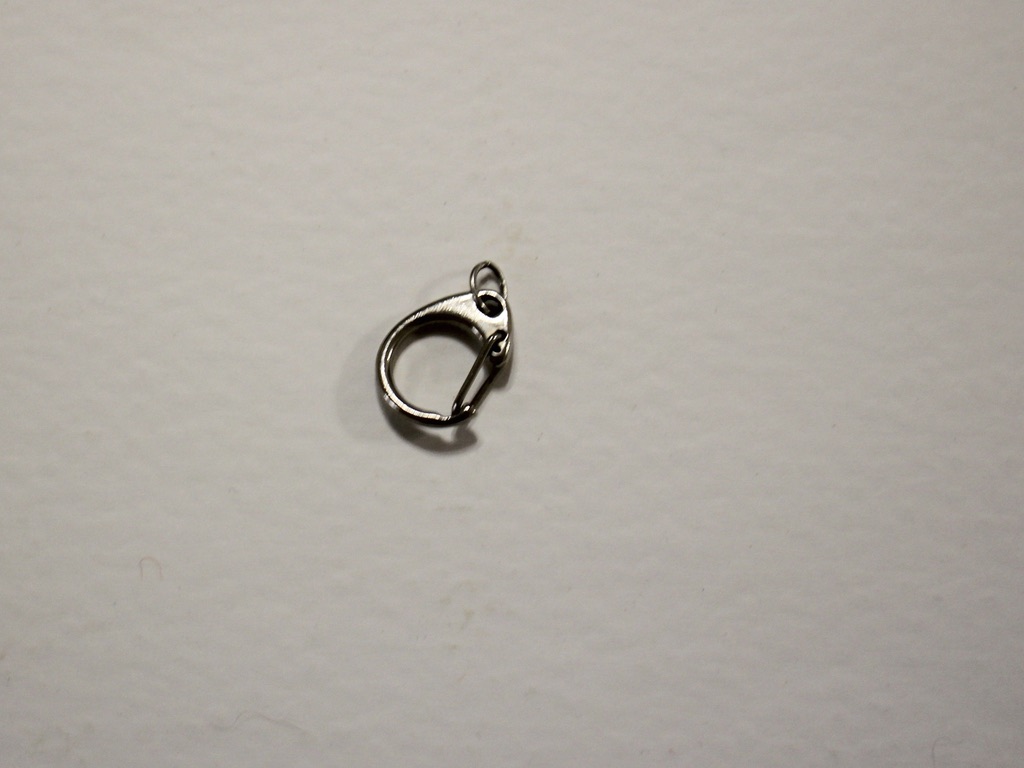
Here are the steps to make your own crochet lanyard.
1: Gather the three strands together.

3: Create a slip knot.

4: Place the loop around the crochet hook and pull the short end of the yarn to tighten it around the loop.

5: Take the long end of the yarn and wrap it around the hook before the first loop you made.

6: Grab the first loop and pull it over the top of the yarn you just wrapped around the crochet hook. This will leave you with just one loop on the hook again.

7: Repeat steps 5 and 6 to start creating a single row of crochet. Here’s a video that shows you what that looks like.

8: Continue crocheting until you have a length you like.

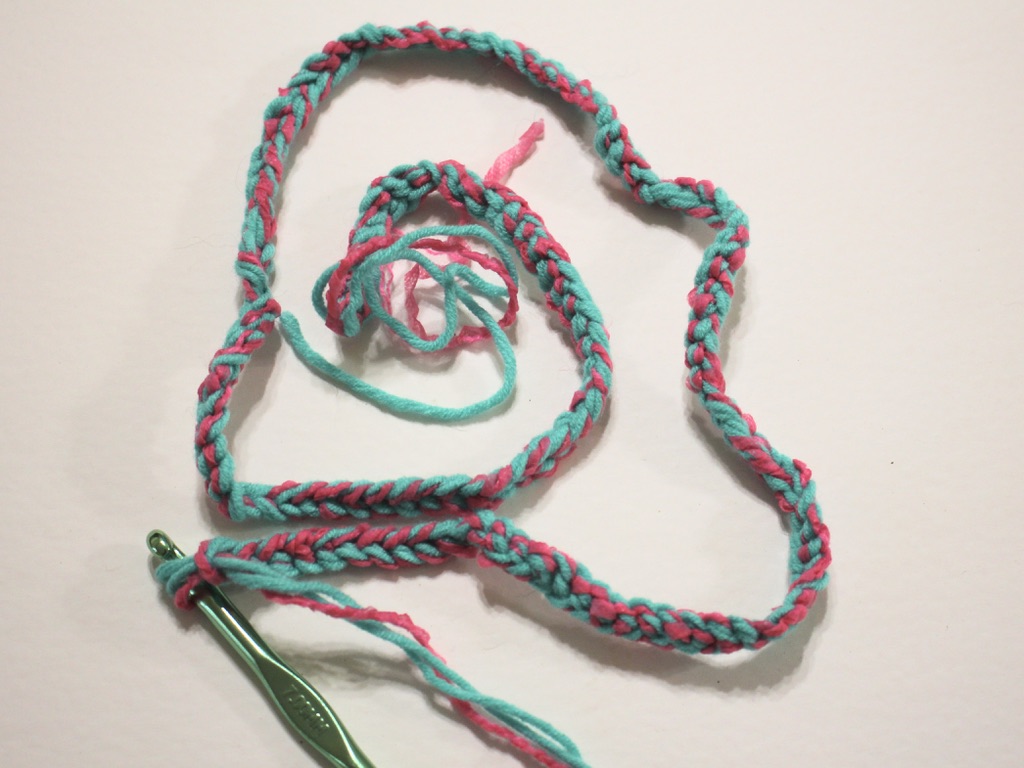
9: Cut the yarn leaving a reasonably long tail, about 15cm.

10: Remove the crochet hook and then loop the end of the yarn through the loop at the top.
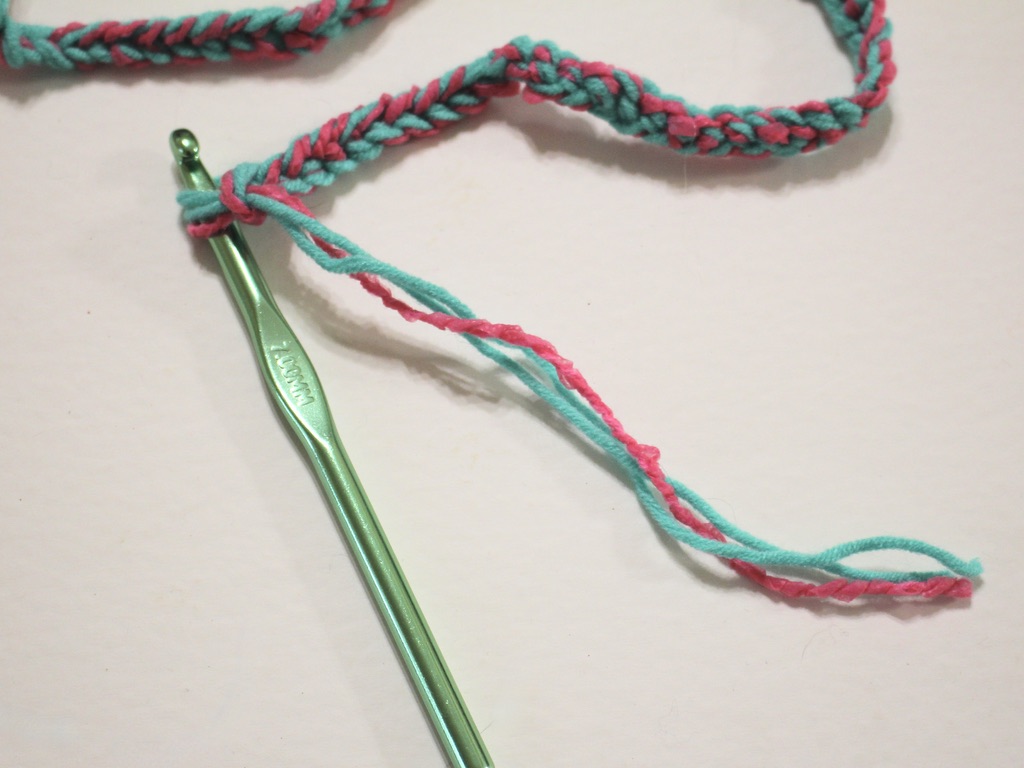
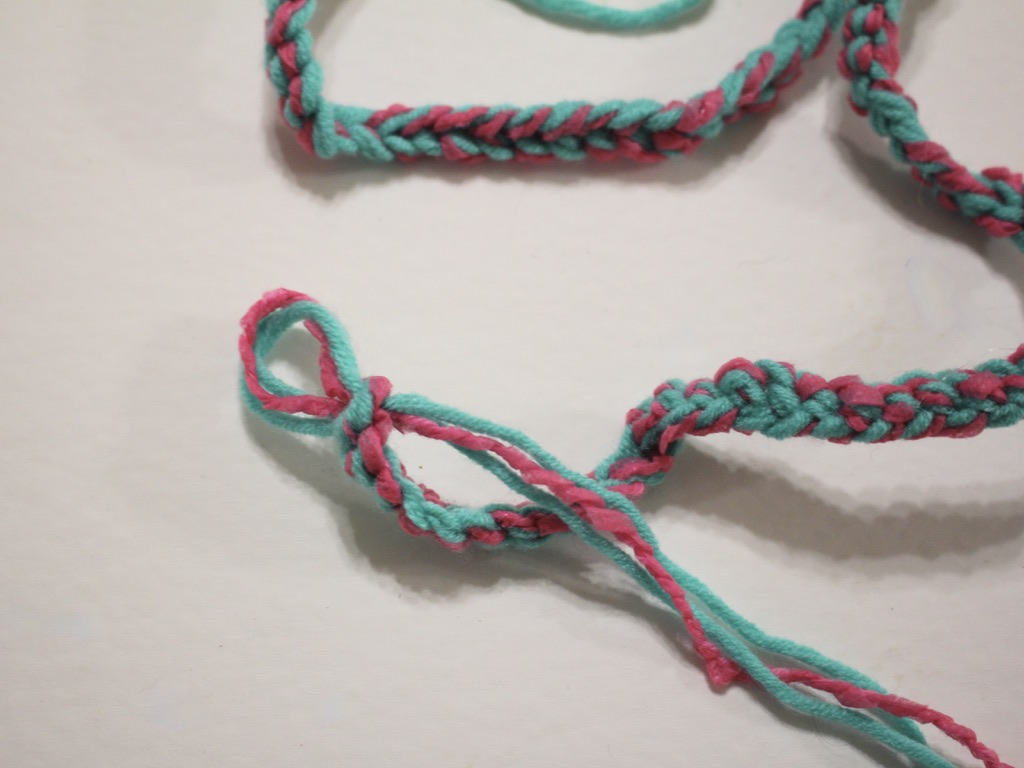
11: Pull the yarn tight to secure the end of the crochet cord closed.

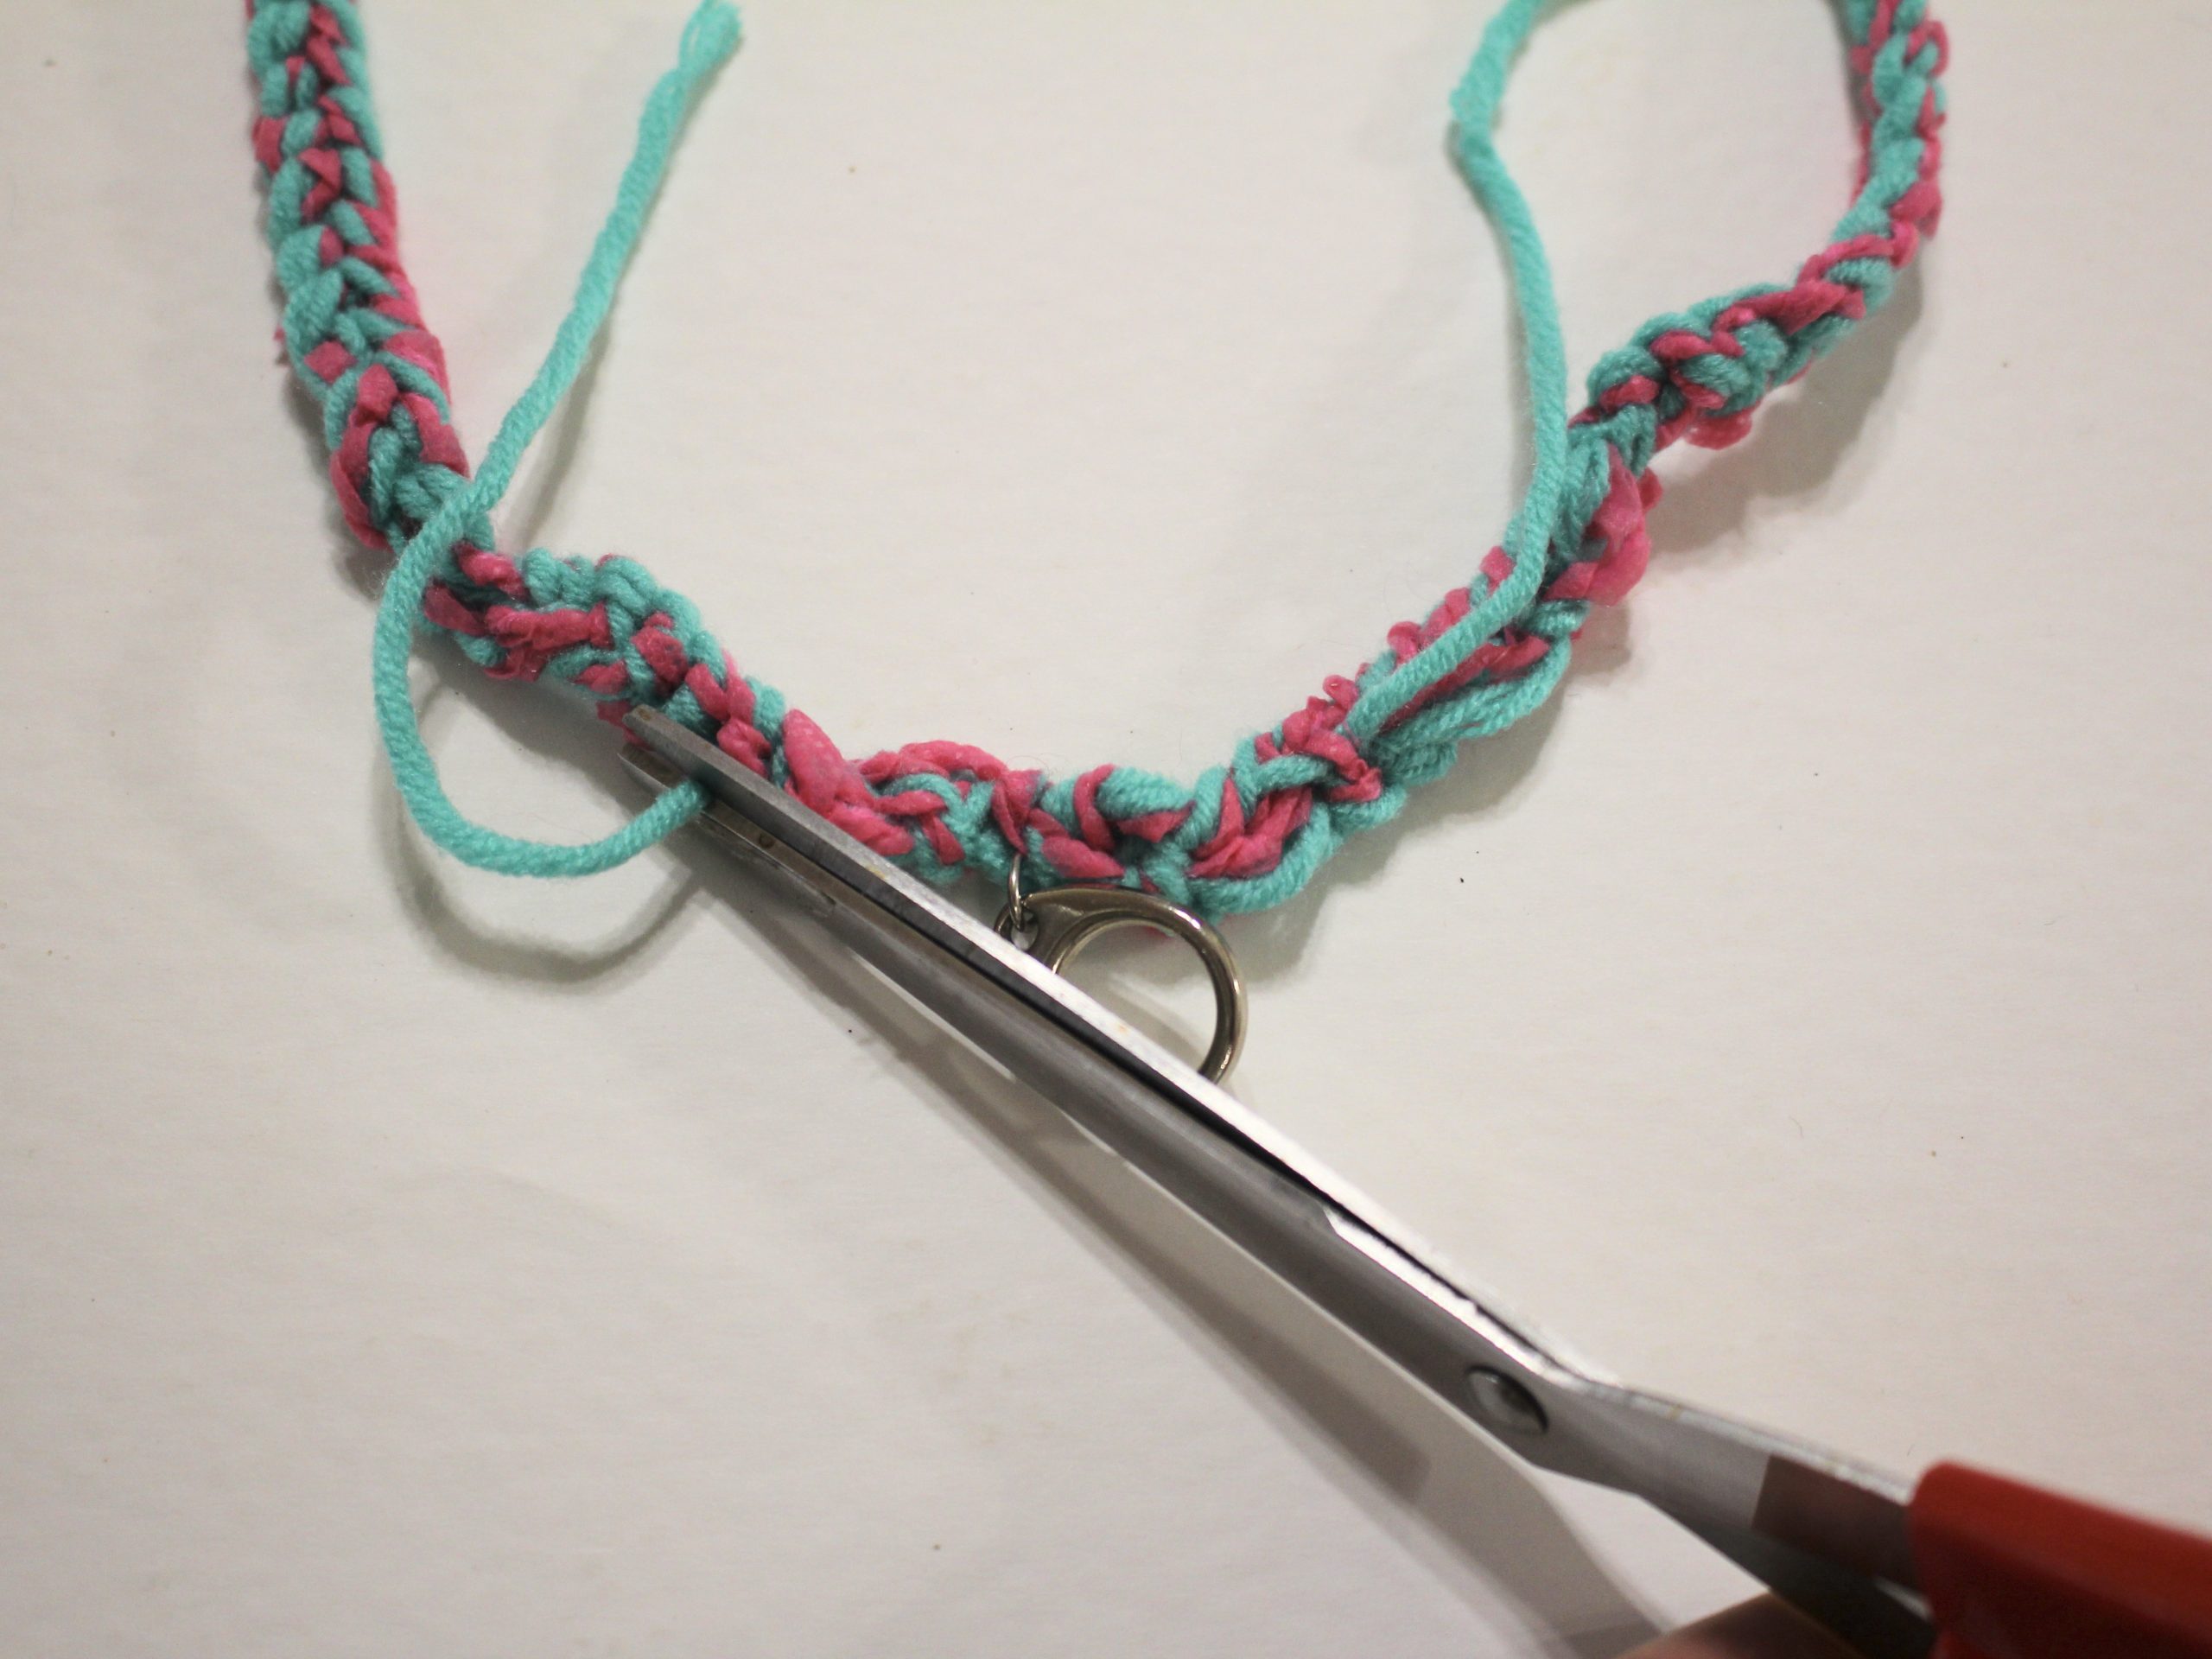
12: Once you’ve got your preferred lanyard length and have the ends secured, take two of the strands (out of three) on each side and tie them together.


13: Use the needle to weave the paired threads through the crocheted part of the lanyard, trim the ends when you’re done. Do this for both sides of the lanyard.


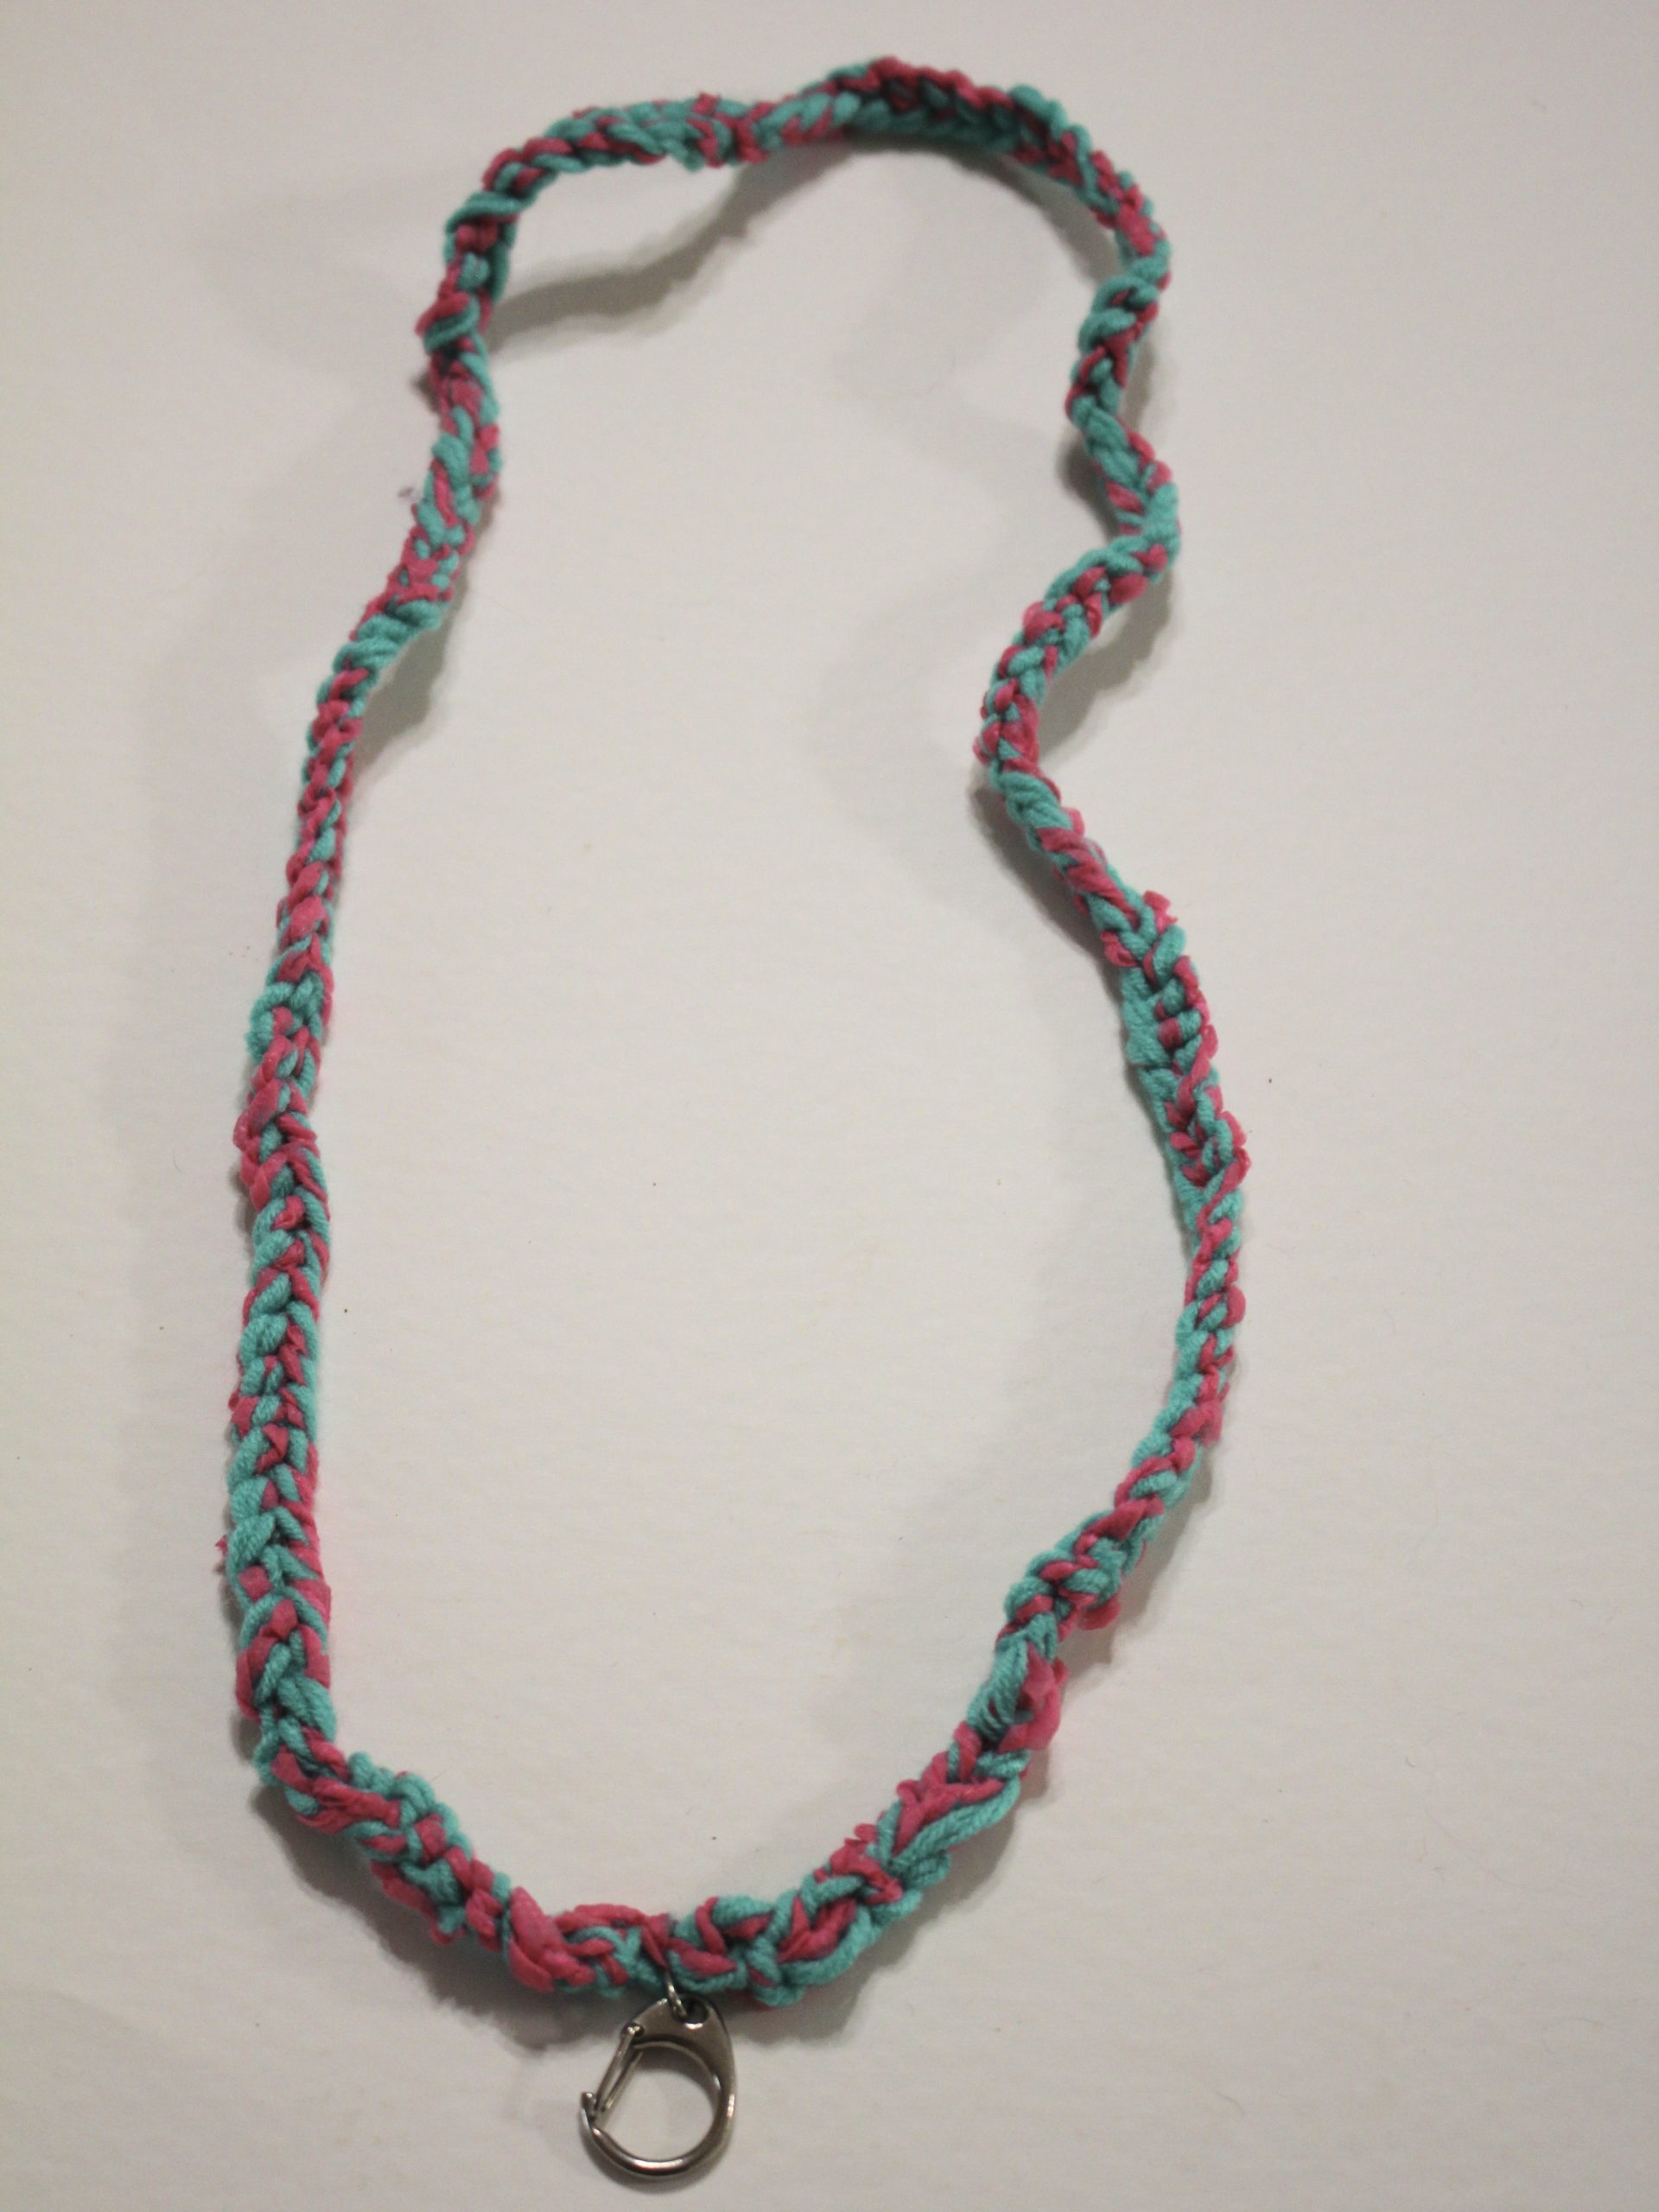
14: Use the remaining strands to tie the claw clasp to the lanyard. Do a couple of knots to secure it, and then use the needle again to weave in the ends. Trim any excess yarn.


Once you’ve completed this step, your lanyard is ready to wear! Here’s what it looks like on using my needle sleeve as a sample ID 😉


What colours will your crochet your lanyard in? This is such a versatile technique, once you have your crochet base, you can add decorations by sewing in beads or buttons! You can even use a beaded yarn to add beads right from the start!
If you want to develop a lanyard collection, you can find out how to make a beaded lanyard here.
Here are some other yarn-based tutorials you can follow:
-
Here’s how to braid three of the same type of chain together to make a cool necklace for layering!
I’ve already shown you how to braid three different types of chain together to make a choker length necklace, but here’s another tutorial that shows you the results of braiding three of the same chain together. This gives you the effect of a thicker chain and slightly shortens the length of the original chain. I think the end result is minimalist cool that can be worn on its own or the perfect necklace to layer with different lengths of chain. Please note that this tutorial contains affiliate links.
You’ll need these tools and materials to make this cute braided chain necklace:
1: Three of the same style of chain all of the same length.

2: Pliers. I used my flat nose and round nose pliers for this piece.


3: A paperclip.

4: A bulldog clip.

Follow these steps to make your cute braided chain necklace:
1: Remove the clasps and jump rings from both ends of each chain except for one. Leave the clasp attached to this chain.


2: Open the jump ring that attaches the clasp to the chain and add the other two chains. Close the ring to secure the chains together.


3: Attach the paperclip to a table edge or other sturdy surface using the bulldog clip.

4: Add the chains to the paperclip by clipping the lobster clasp to it. This will allow you to pull your braiding tight and manage the tension better.

5: Braid the chains.

6: When you get close to the end of the chains, attach the ends together using one of the jump rings you removed from the necklaces earlier. Try to avoid letting the chains unravel.


Now your braided chain necklace is finished! How cute?!


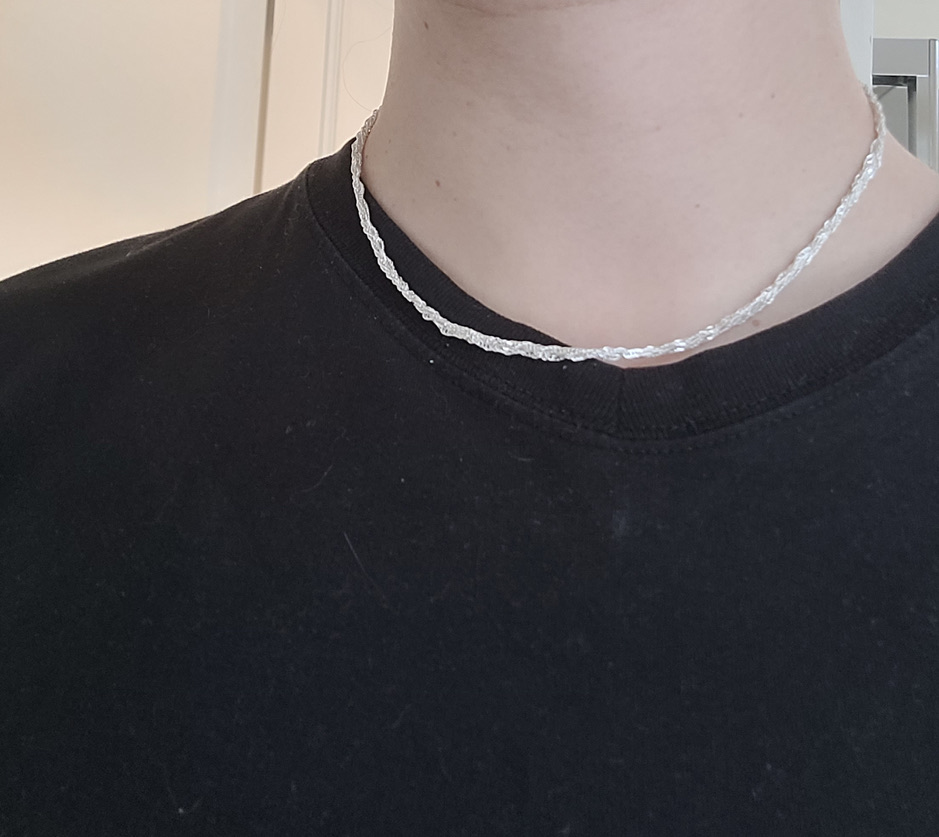
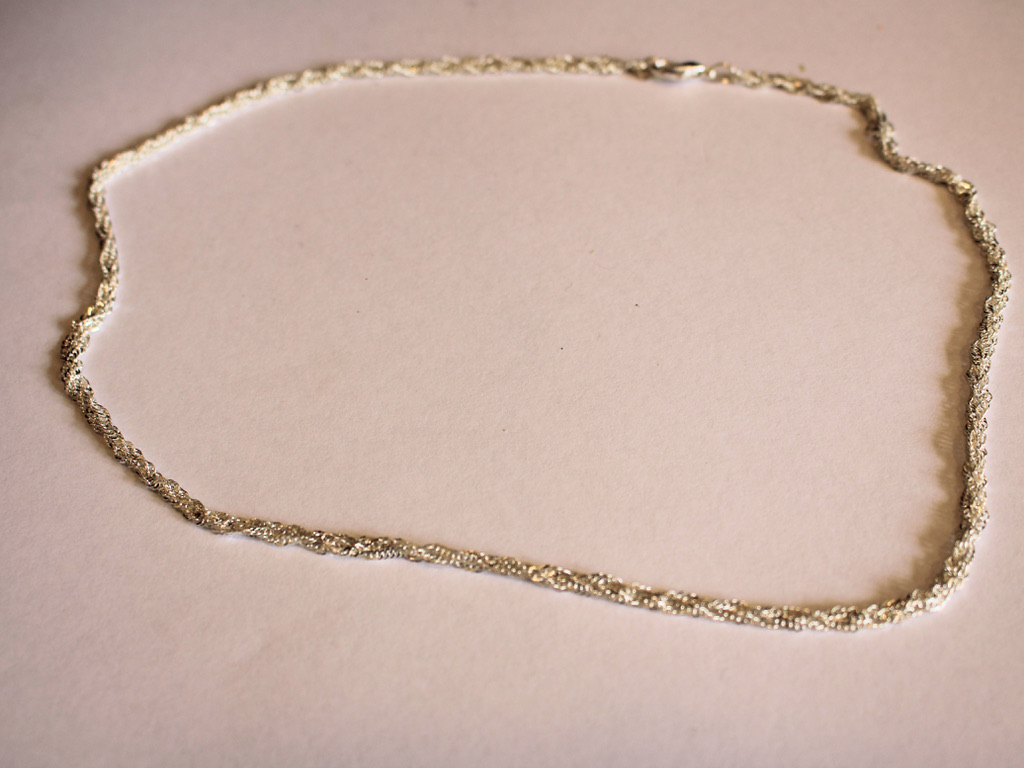
-
Do you love a lariat necklace? Here’s how to make a chunky chain lariat.
This chain lariat is really cool! using a strand of chunky chain you can make a cool statement necklace that packs a visual punch.
You’ll need these tools and materials to make this lariat:
1: A piece of chain that fits around your neck with a little extra to spare (the extra part will form the centre of your lariat.

2: Two jump rings.

3: Pliers. I used round nose and flat nose pliers for this design.
4: A lobster clasp. I used a big chunky lobster clasp to match my chain.

Follow these steps to make your chunky gold chain lariat:
1: Wrap the chain around your neck to determine how close you want the necklace to fit and how long you want the centre chain.
2: Open the end link of the chain.

3: Close the open link around the point where you want your necklace to form the ‘y’ shape of the lariat.


4: Separate the centre of the loop you just formed.

5: Add a jump ring to one side of the newly formed gap you just made.
6: Add the lobster clasp to the jump ring.


7: Add the remaining jump ring to the other side of the necklace to finish it off.

Now your chunky chain lariat is ready to wear!!!

This tutorial contains affiliate links
-
Can’t get enough of ankets? Here’s another cool anklet to DIY.

Anklets are a fun summer accessory you can adorn your legs with. Why not make this simple one to stack with other fun ankle accessories? This article contains affiliate links.
You will need the following tools and materials to make your anklet:
1: One piece of ankle length chain. I used this gold-tone chain.

2: Two jump rings.

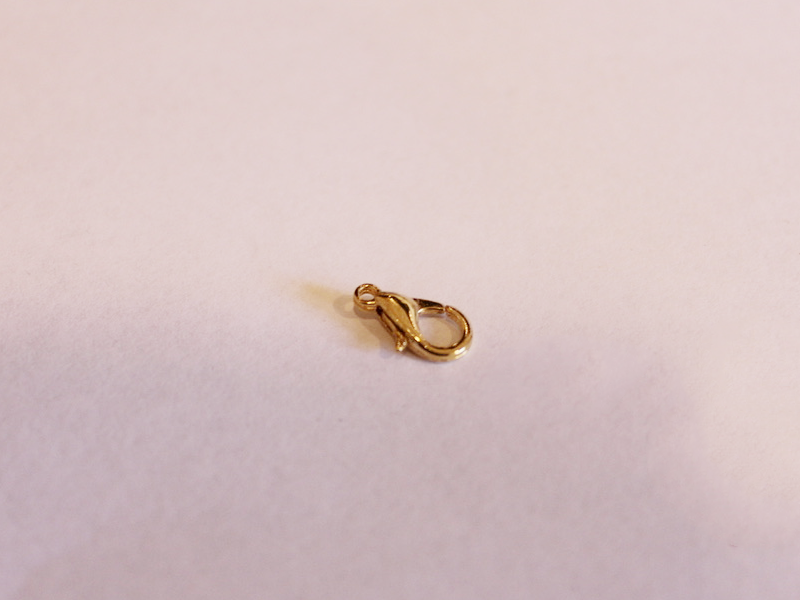
3: A lobster clasp.
4: A tube bead. I used this gold-tone tube bead.

5: Pliers. I used my round nose and flat nose pliers.
Follow these steps to make your new anklet:
1: Add the tube bead to the chain.
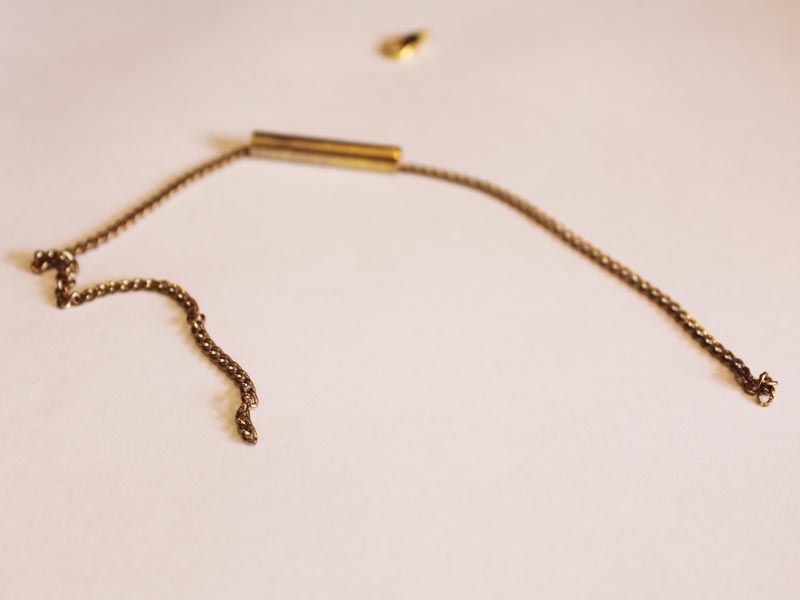
2: Attach one of the jump rings to one end of the chain. Do this by sliding the open jump ring through the end link of chain.

3: Add the lobster clasp to the open jump ring.

4: Close the jump ring to secure the clasp in place.

5: Add the other jump ring to the other side of the anklet and close it to finish it off.

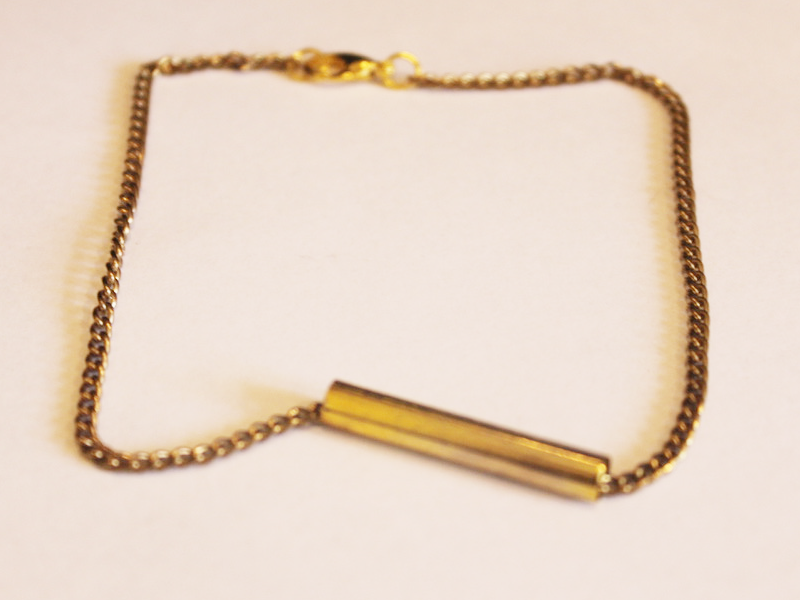
Now your anklet is finished and ready to wear!
Here’s another one I made using a curved silver bead.
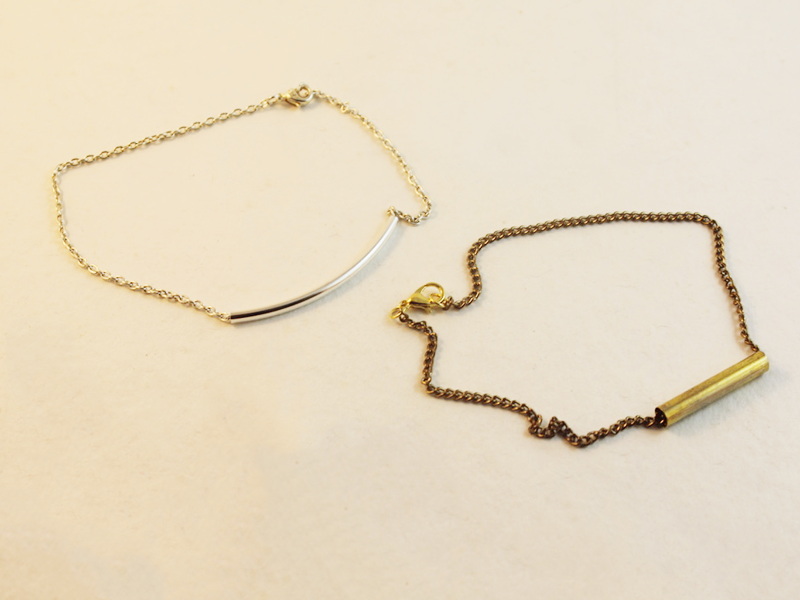
Here is a link so you can buy some curved silver beads if you like that look more!
Note: This article contains affiliate links
-
Do you love body chains? Here’s how to DIY a cool bra body chain!
This body chain is a bit sexy and cool. It uses chains to make the shape of a bikini bra and it looks hot as hell! And if one body chain isn’t enough here are a couple more tutorials you can DIY and add to your collection. Find them here and here.
You will need these tools and materials to DIY your gold bra body chain:
1: Pliers. You’ll need the round nose and flat nose pliers.
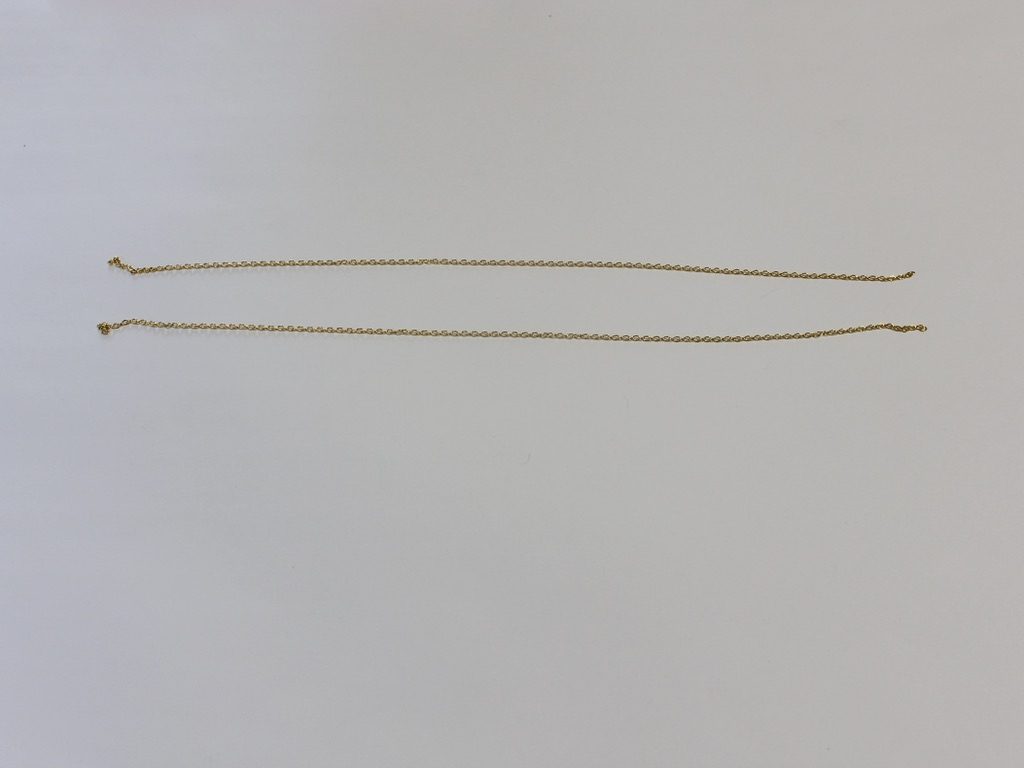
2: One long piece of gold chain that fits loosely around your ribcage. This will be the longest piece of chain.

3: One necklace length piece of gold chain that fits around your neck and down to the tops of the bra triangles.

4: Two pieces of gold chain the same length, measure your chest or against a bikini to get the right length to form the triangles of the bra.
5: Six small gold jump rings.


6: Four larger gold jump rings.

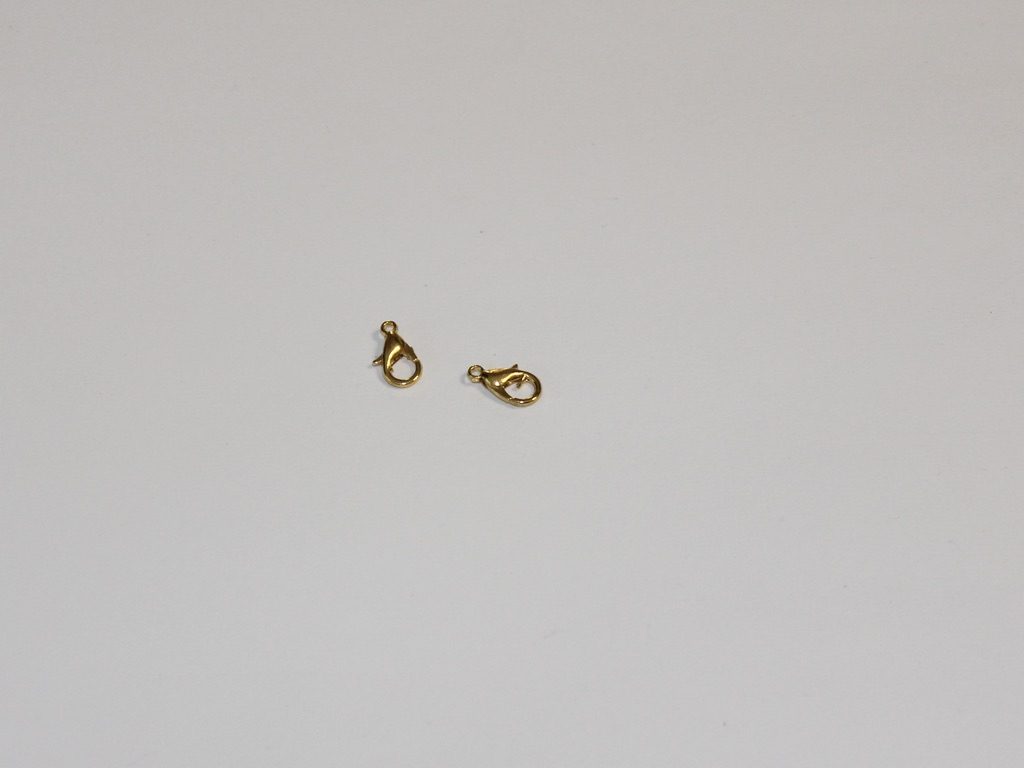
7: Two gold lobster clasps.
Now follow these steps to make your gold body chain bra:
1: Add one of the larger jump rings to one end of the longest piece of chain.

2: Add the first lobster clasp to this open jump ring. Close the jump ring to secure the clasp to the chain.


3: Add the other jump ring to the other side of the longest chain. Close it using your pliers to secure it in place.


4: Take one of the bra chains and place it slightly off centre of the longest chain. Attach it using one of the small jump rings. I selected the position by trying it on and measuring it against my body, however, checking against a triangle bikini top that fits you well.


5: Attach the second bra chain to the longest chain following the same process.
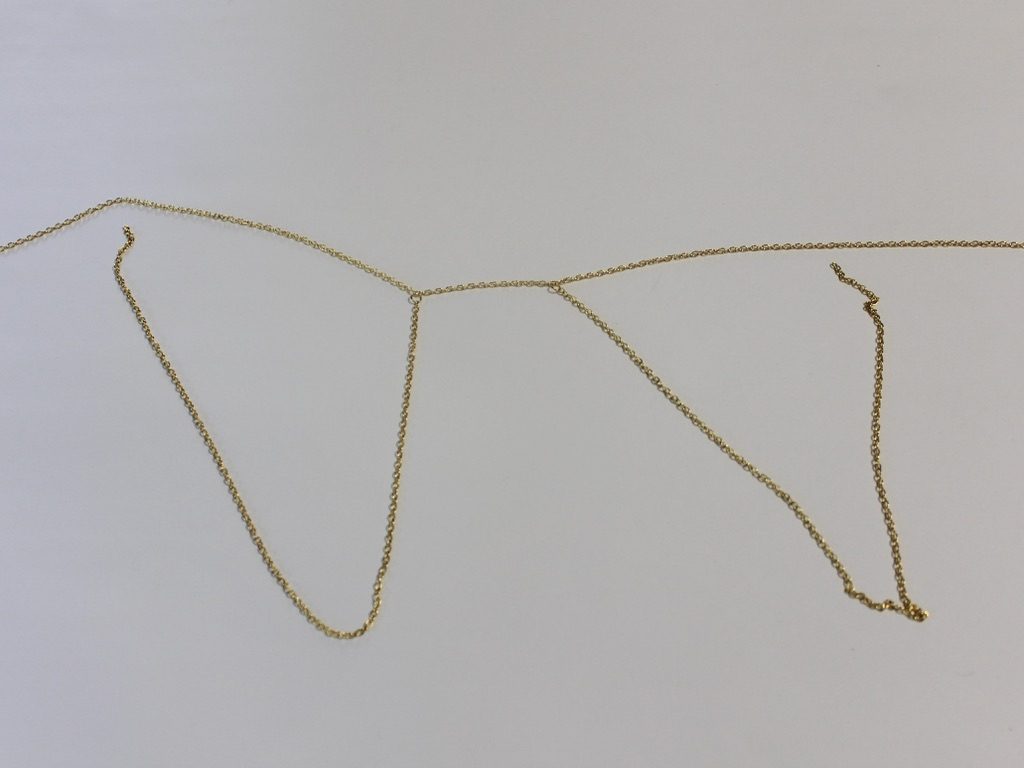
6: Measure out how wide you want the triangles to be by trying the bra chain on or comparing to a bikini and attach the other ends of the bra chains using the small jump rings.


7: Pull the bra chains into triangle shapes to find the middles.

8: Attach the necklace length chain to the middles of these triangles using the remaining small jump rings.


9: Separate the necklace length chain in half, now attached to the bra chains using your pliers.

10: Attach the second lobster clasp to one side of the separated chain using one of the larger jump rings.


11: Attach the last jump ring to the other side of the chain to finish the bra body chain off.

Now you can wear it!

How sexy and cool is this body chain design? I love it!
This tutorial contains affiliate links.
-
Anklets are awesome. Here’s how to make a double strand anklet.

Anklets are the jewelry accessory for the summer, here’s how to make a different version with two chain strands. Contains affiliate links.
You will need the following tools and materials to make your double strand anklet:
1: Pliers. You need your round nose pliers and flat nose pliers to make this anklet.
2: Two pieces of chain long enough to fit your ankle comfortably. I used two different shaped chains in the same color.

3: Two jump rings.

4: A lobster clasp.
Follow these steps to make your double strand anklet:
1: Open one of the jump rings and slide it on to the end of both chains.

2: Close the jump ring to secure the chains together.

3: Add the other jump ring to the other side of the chain.

4: Add the lobster clasp to the open jump ring.
5: Close the jump ring to secure the clasp in place.

Now your double strand anklet is finished! So cool!

-
Crystals are Classic… here’s how to make a crystal necklace.
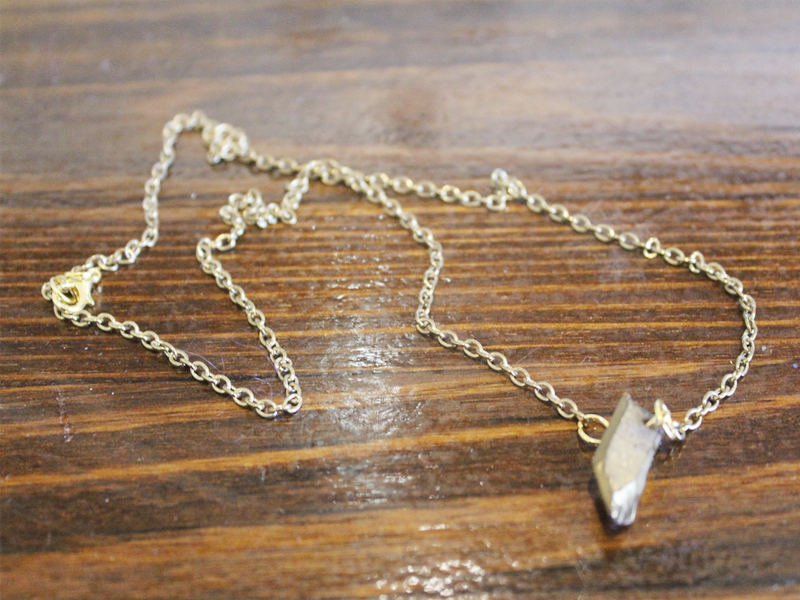
This crystal necklace is a classic piece that you can wear alone or layer with other pieces.
You will need the following tools and materials to make your crystal necklace:
1: Pliers. You will need your round nose pliers, flat nose pliers and cutting pliers.

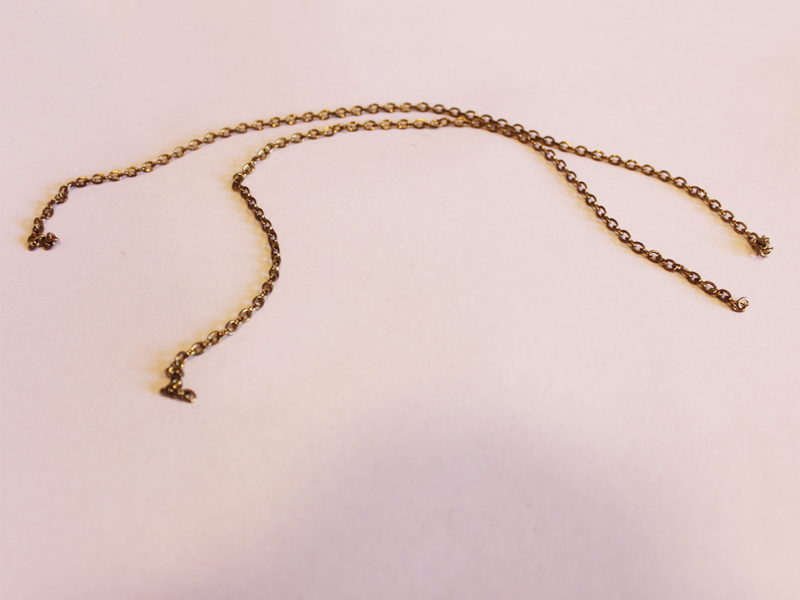
2: Two pieces of chain long enough to form a necklace.
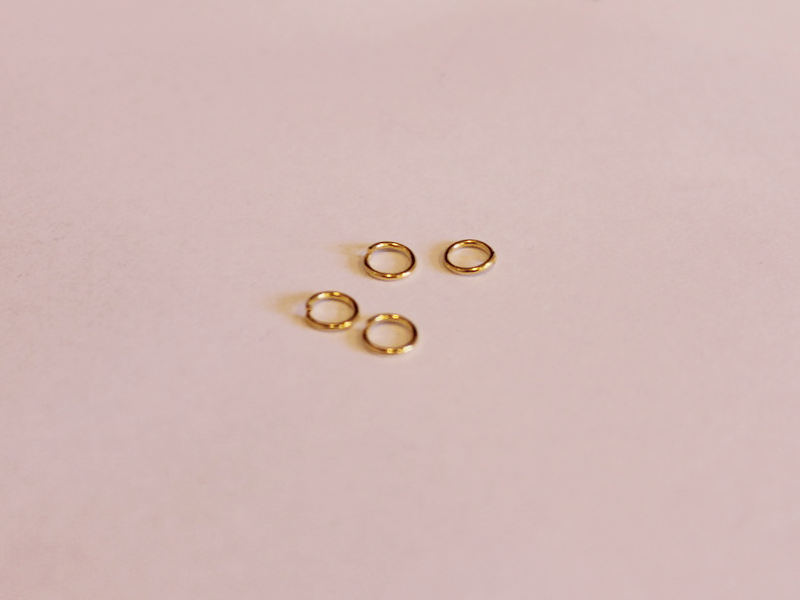
3: Four jump rings.
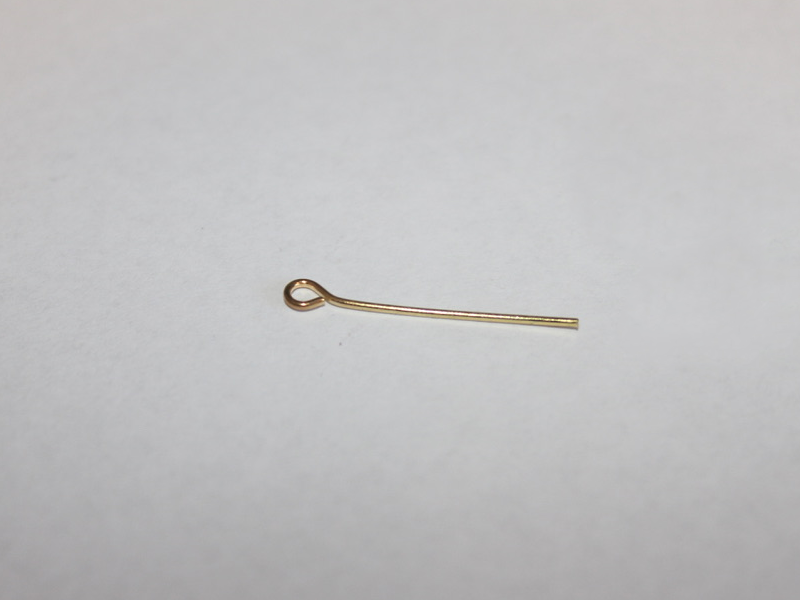
4: One eye pin.
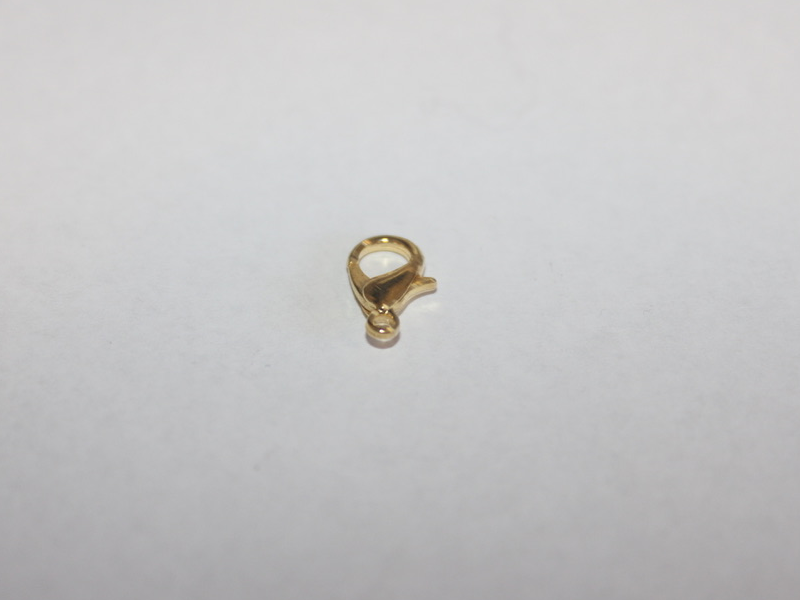
5: A lobster clasp.
6: A crystal bead. I used this crystal bead with a metallic coating on it.
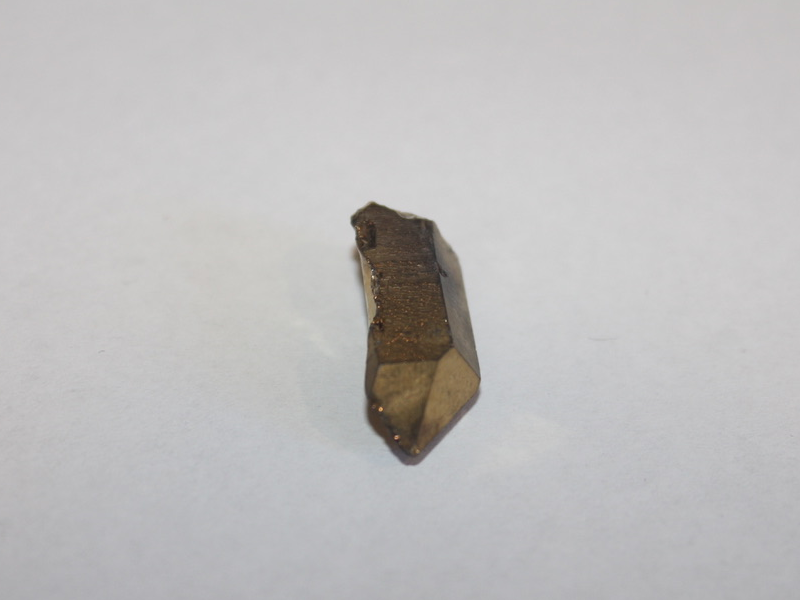
Follow these steps to make your crystal necklace:
1: Add the bead to the eye pin.
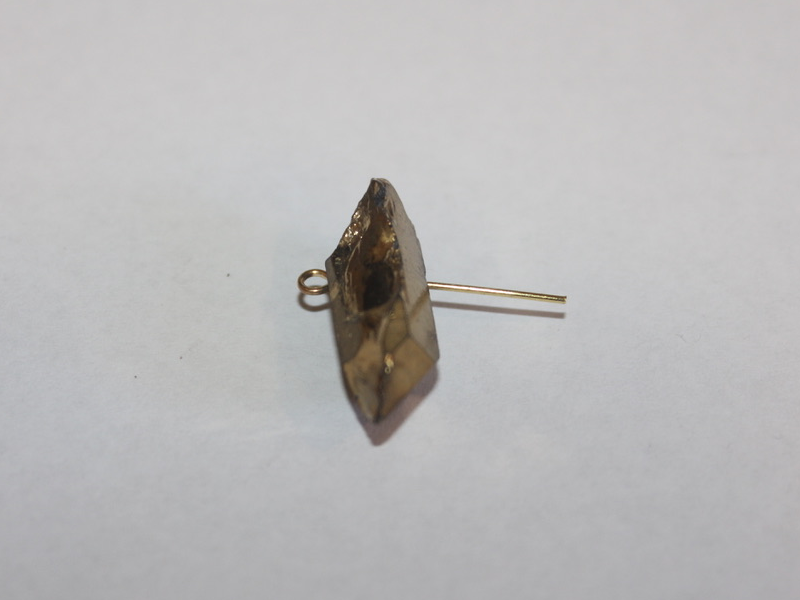
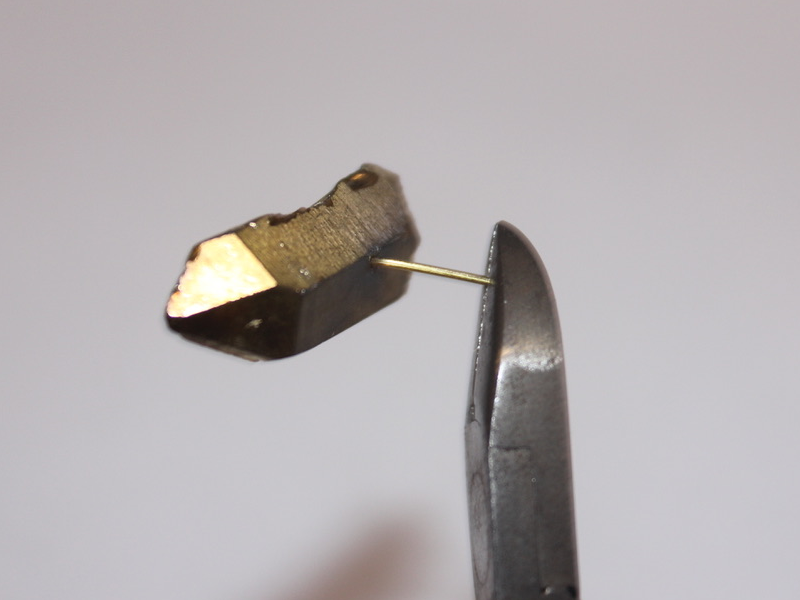
2: Trim the eye pin using the cutting pliers.
3: Create a loop at the end of the wire using the round nose pliers to secure the crystal bead on to the pin.
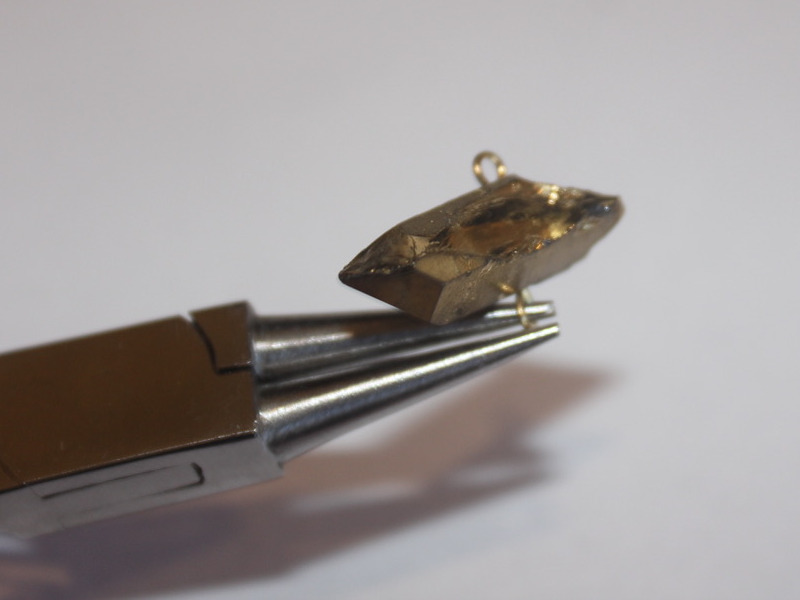
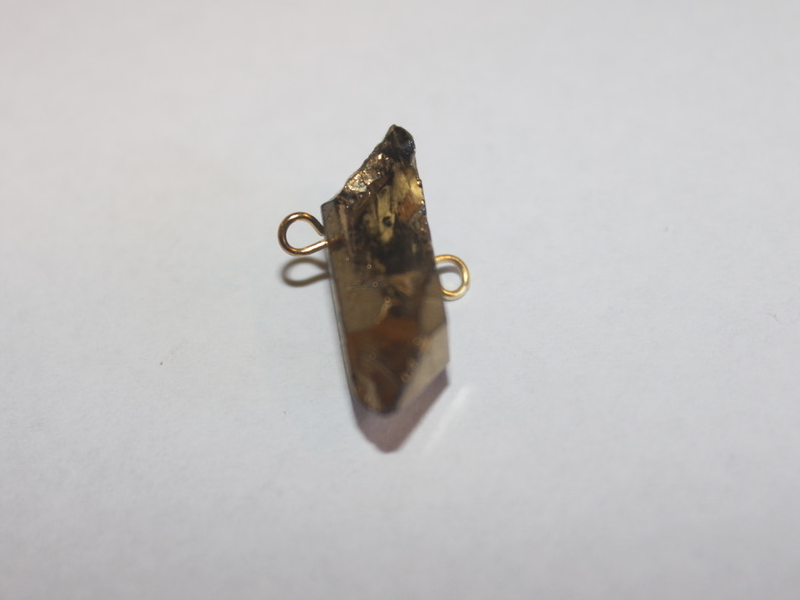
4: Attach one of the chains to one side of the crystal using one of the jump rings.
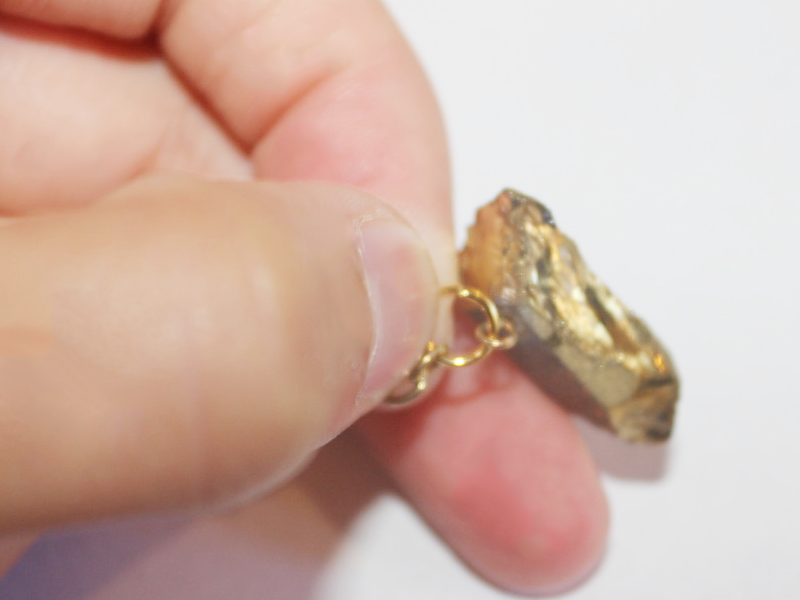
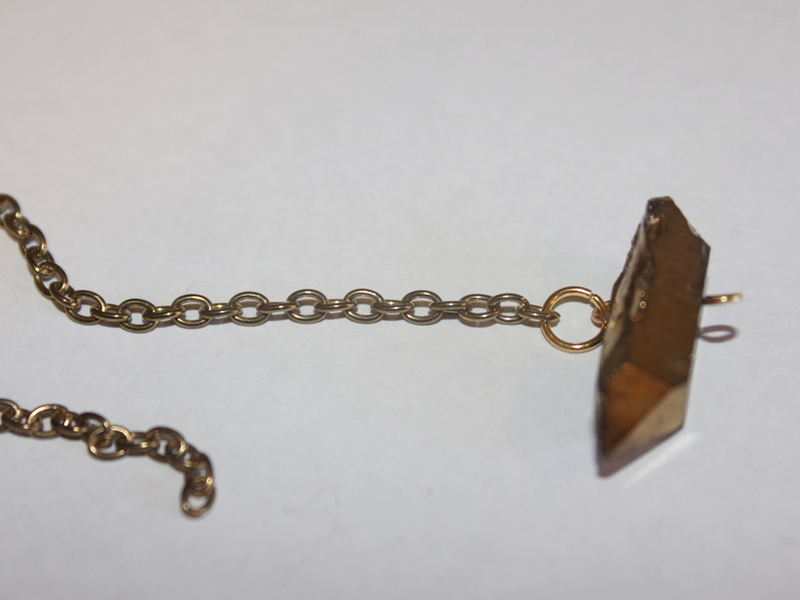
5: Attach the other chain to the other side of the crystal with another jump ring.
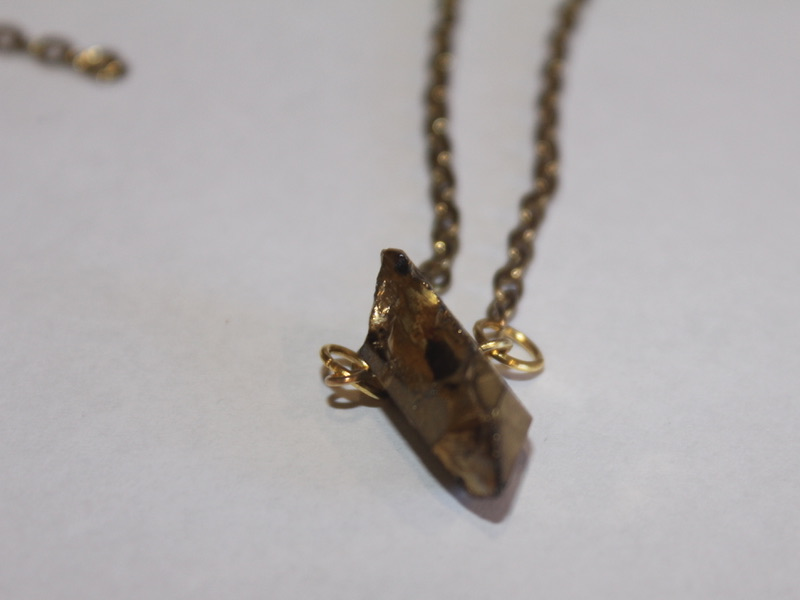
6: Add a jump ring to one of the ends of the chains and attach the lobster clasp.
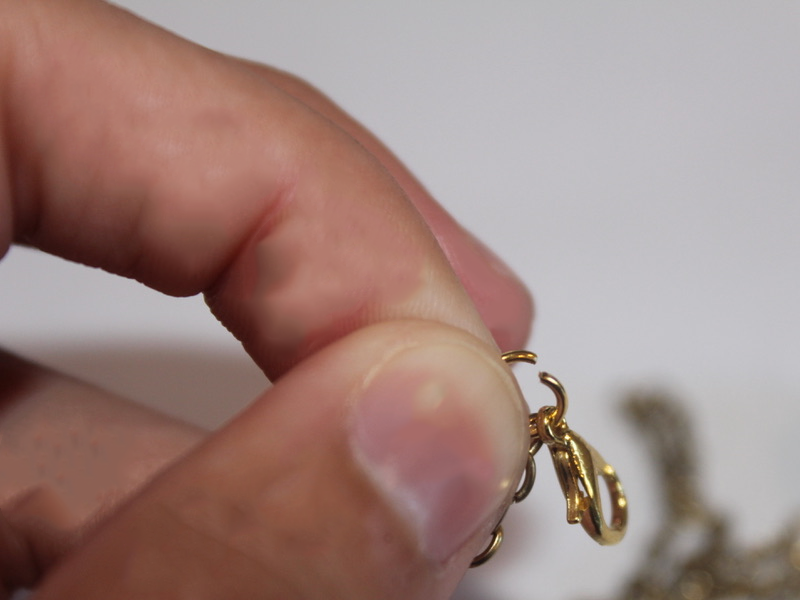
7: Add the other jump ring to the other side of the necklace to finish it off.
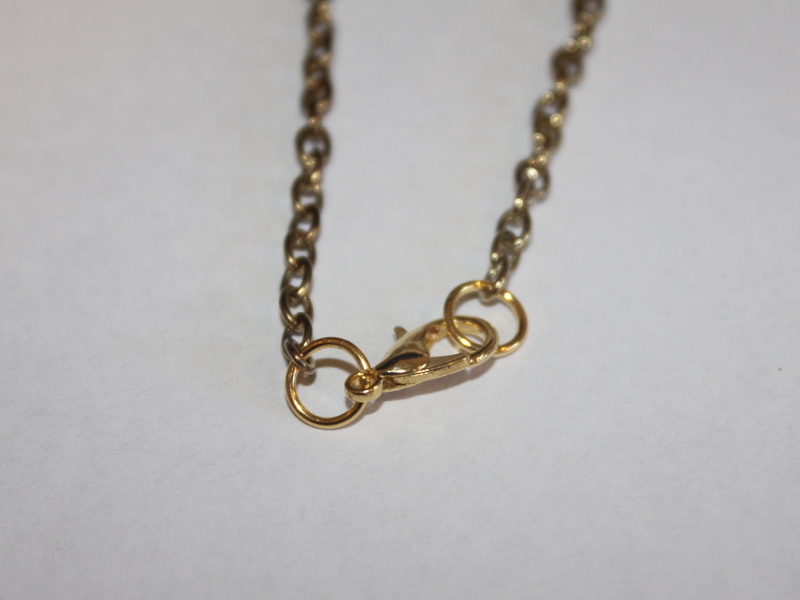
Now your crystal necklace is finished! How will you style yours?

-
Here’s another way to make a cool anklet for summer…

Like I said before, anklets are going to be a hot ticket accessory this summer, so here’s another way to make an anklet to add to your #ankleparty
You will need the following tools and materials to make your anklet:
1: Pliers. You’ll need flat nose pliers, round nose pliers and cutting pliers for this anklet design.
2: A broken pair of headphones. I used these headphones left over from a different project.

3: Two crimp ends.

4: Two jump rings.

5: A lobster clasp.

6: A long gold coloured bead.

Follow these steps to make your simple anklet:
1: Measure the headphone cord around your anklet and cut it to length using the cutting pliers.


2: Add the bead to the trimmed headphone cord.

3: Add a crimp to either end of the cord, folding it around the cord using the flat nose pliers.


4: Add a jump ring to one end of the anklet and attach the lobster clasp.


5: Add the other jump ring to the other side of the anklet.

Now your anklet is done! How cute is this simple design? Add it to your #ankleparty and dance the night away!