-
How to make a waist chain using leather cord and chains!
This is a really cool design! It combines delicate chains and leather to create a cool and edgy twist on the waist chain trend. This piece is pretty easy to put together and makes for a really cute look! Please note that this tutorial contains affiliate links.
You’ll need these tools and materials to make your chain and leather body chain:
1: A piece of leather. Mine was about 54.5cm long.

2: Two pieces of chain. These should add up with the length of the leather up to make the whole thing around your waist. My chains were approximately 20cm each.

3: Four jump rings.

4: A lobster clasp.

5: Pliers. I used my round nose and flat nose pliers.


6: Two leather crimp ends.

Follow these steps to make your leather and chain waist chain:
1: Add a crimp end to one of the ends of the leather cord. Do this by placing it around the leather and squashing one side down using the flat nose pliers.


2: Squash the other side of the crimp using the flat nose pliers to secure the crimp in place.

3: Repeat steps 1 and 2 for the other side of the piece of leather, attaching the other crimp.

4: Add a jump ring to one end of the piece of leather cord.

5: Slide on one of the pieces of chain to the open jump ring.

6: Close the jump ring to secure the chain to the leather.

7: Repeat steps 4 to 6 to attach the second piece of chain to the other end of the leather.

8: Add a jump ring to one end of the chains you just attached. Slide on the lobster clasp and close the ring to secure it in place. (Sorry about the blurry pic!)


9: Add another jump ring to the other side of the waist chain to finish it off!


Now your leather and chain waist chain is finished and ready to put on! How cute?!

-
Last Minute Handmade Gifts for Christmas 2018!
Have you left your gifts to the last minute? Why not make your friends and family some special accessories? Here are five DIY Christmas gift ideas.
A Festive Headband.
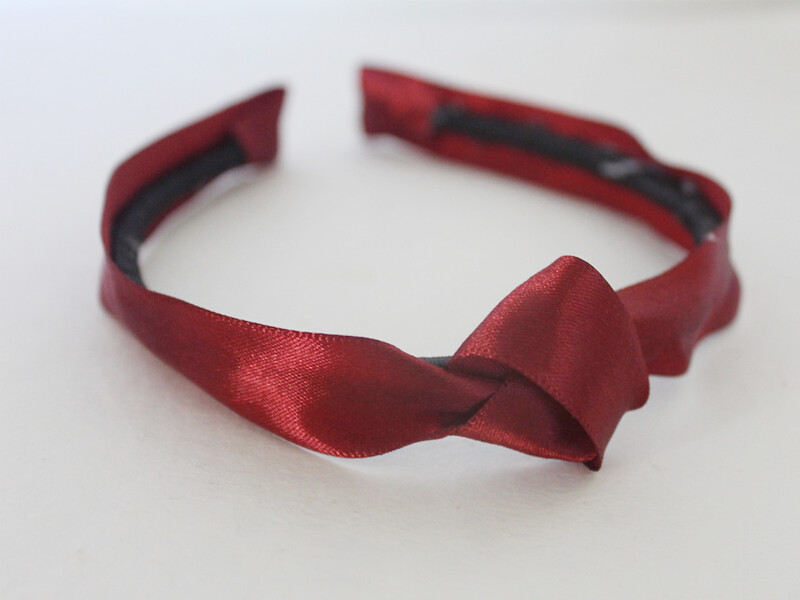
Headbands are back! This headband design uses some luxurious ribbon for a cool effect. Find all the steps here.
Collar clips for your stylish friend with all the flair!
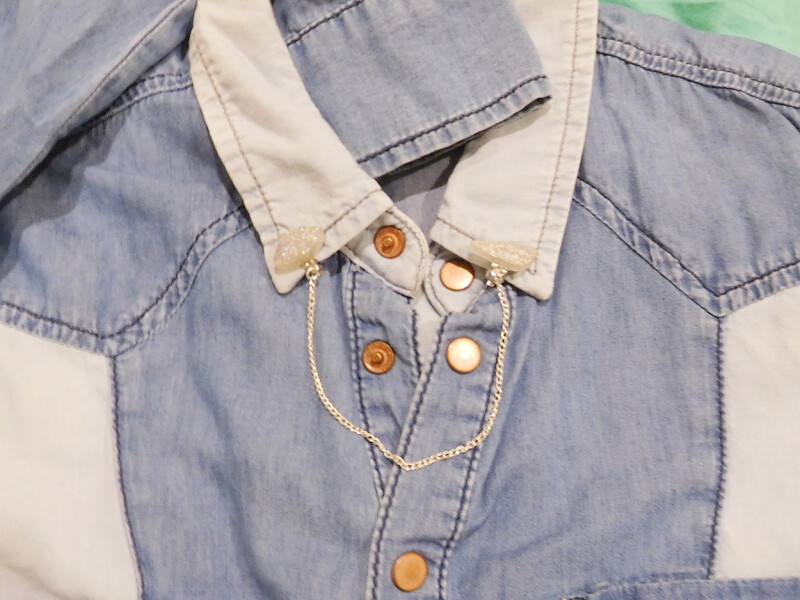
These collar clips make clever use of clip on earrings. They’re perfect for people who love quirky accessories. Find out how to make them here.
For the person who likes to keep it simple: curved threader earrings.
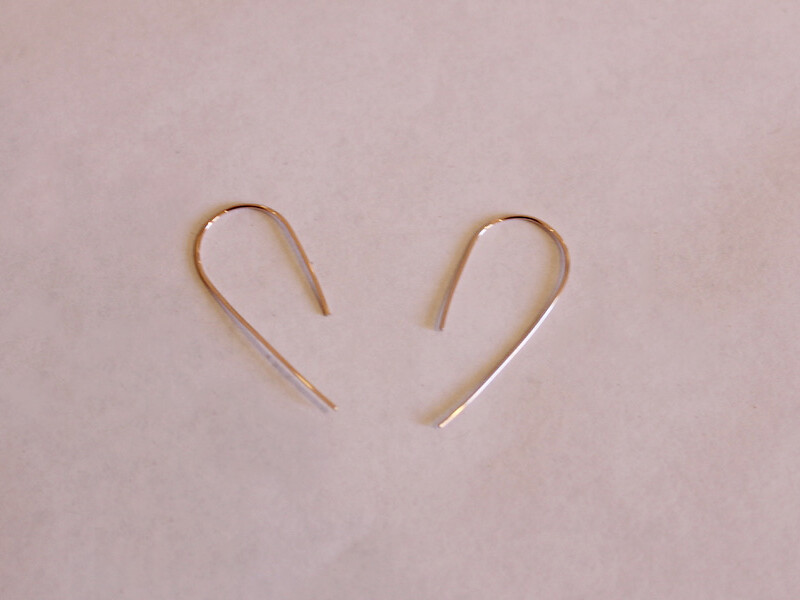
These earrings look so delicate and elegant! Make your own by following this tutorial.
For the crystal lover: a leather and crystal choker.
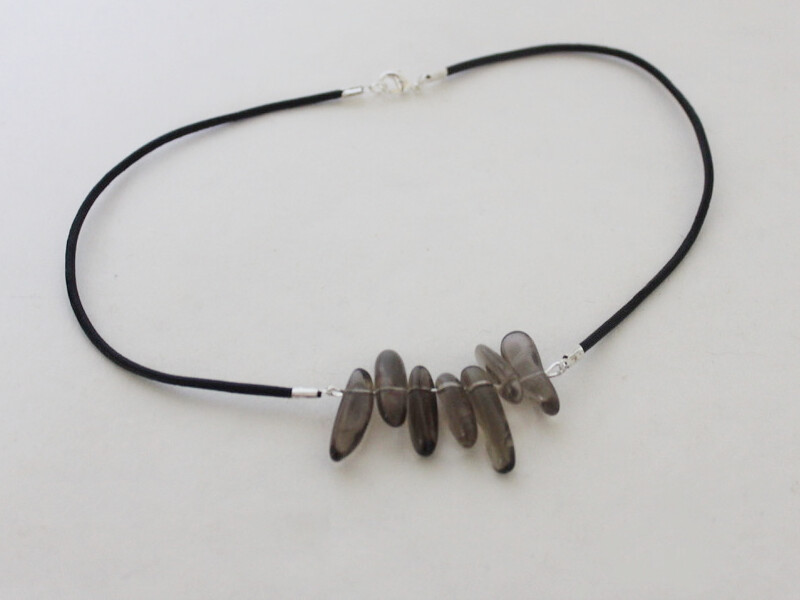
This choker design is perfect for showing off those protective crystals. Find all the steps here.
Here’s something for the sentimental: Earrings made with found feathers.
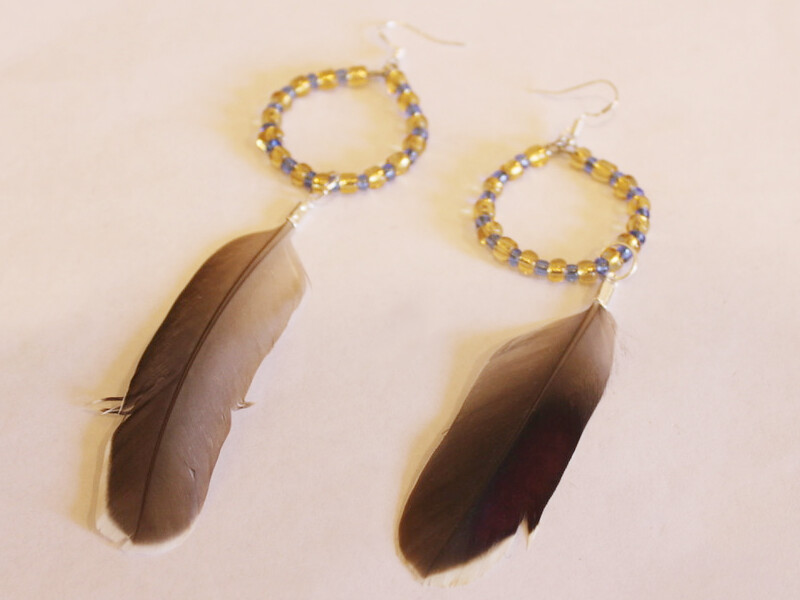
I made these earrings using feathers I found myself. Using found materials can make your designs extra special for the people who receive them. Here’s how to make these feather earrings.
-
All the steps to make your own triple strand leather necklace

Want to show off what’s under the collar? Why not enhance your decolletage with this amazing triple strand necklace?
You will need the following tools and materials to make your triple strand necklace:
1: Pliers. You’ll need your cutting pliers, flat nose pliers and round nose pliers.

2: Three pieces of leather cord, each one longer than the other. I used this brown leather cord.

3: Two flat crimp ends. I used two gold ones.

4: Two jump rings.

5: A clasp.

6: Beads that will fit on your leather cord. I used six of these gold tube beads.

Follow these steps to make your triple strand necklace:
1: Hold the ends of the cords together.

2: Place one of the crimps around the ends of the leather.

3: Squash the crimp around the leather using the flat nose pliers.


4: Add beads to each of the strands. I added one bead to the shortest strand, two to the middle strand and three to the longest one.

5: Line up the other ends of the strands.

6: Add the crimp to the other side of the necklace to secure the strands together.

7: Add a jump ring to one side of the necklace and attach the clasp.

8: Add the other jump ring to the other side of the necklace to finish the necklace.

Now it’s ready to wear! Gorgeous.
-
Need something tough but healing? Make this crystal choker necklace!
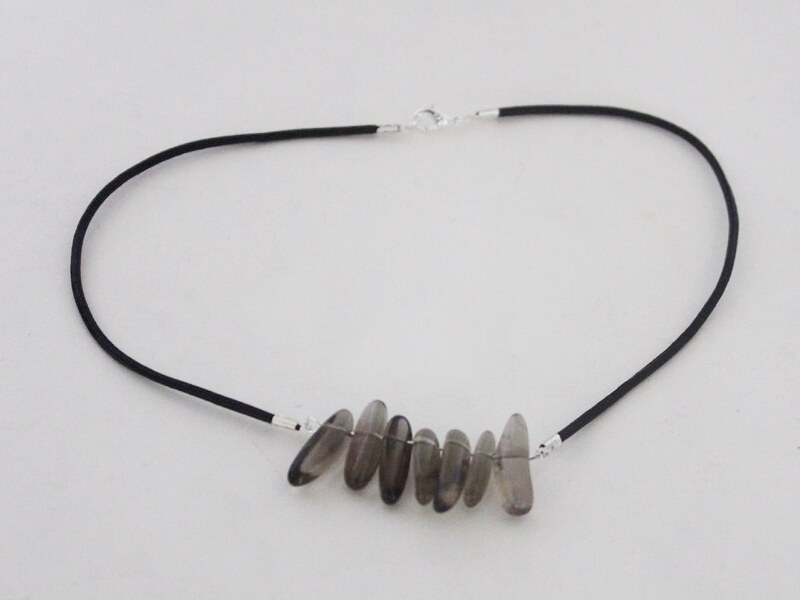
Do you need a cute new accessory to jazz up your jewelry collection? Make this awesome crystal choker necklace.
You will need the following tools and materials to make your crystal choker necklace:
1: Pliers. You will need your cutting pliers, flat nose pliers and round nose pliers.
2: A long eye pin.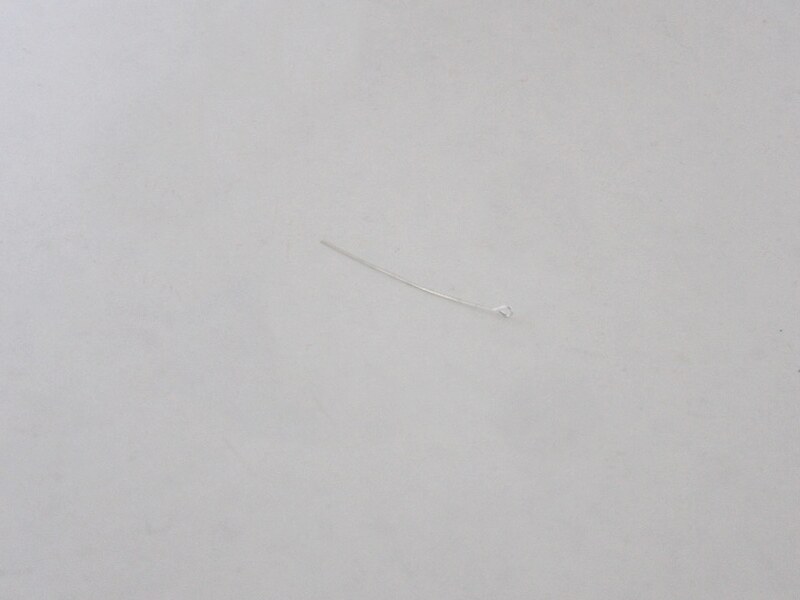
3: Gemstone beads. I used these smoky quartz beads.

4: Two pieces of leather cord. Approximately 15.5 cm long.
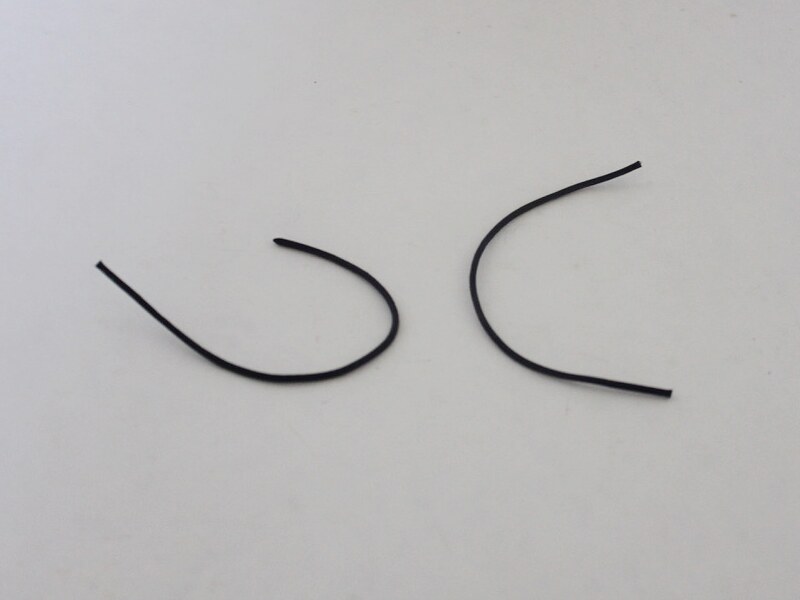
5: Four leather crimp ends.

6: Two jump rings.

7: A lobster clasp.

Follow these steps to make your crystal choker:
1: Add the beads to the eye pin.
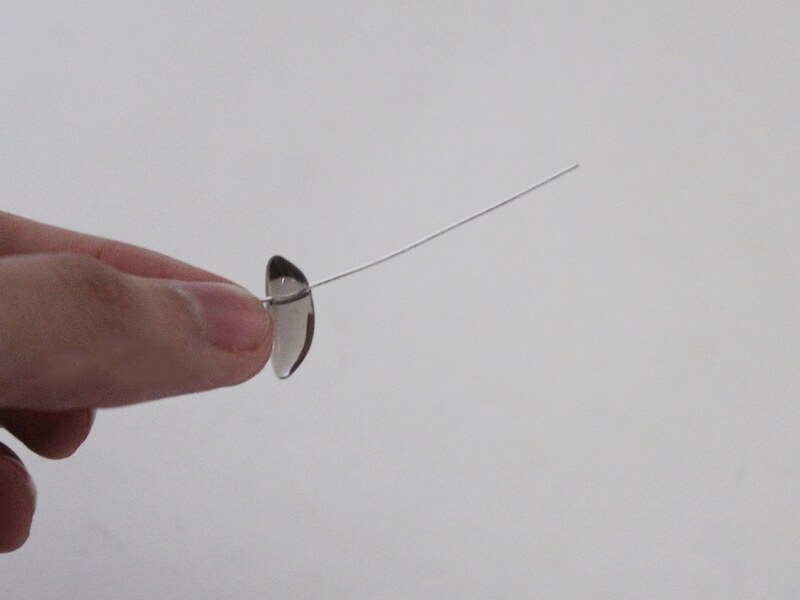
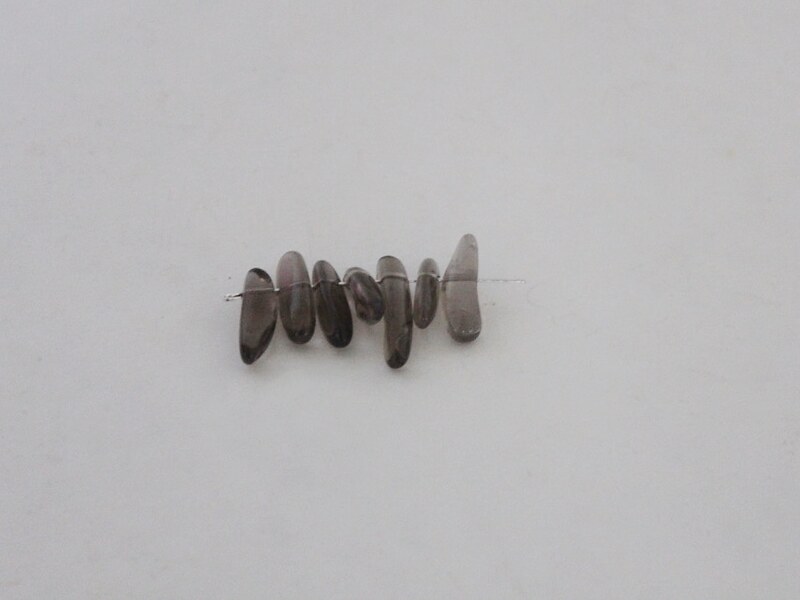
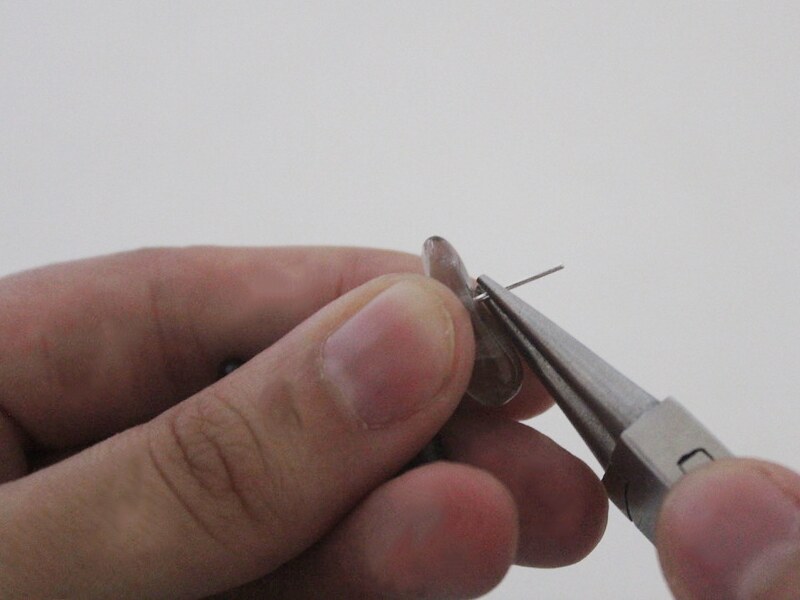
2: Bend the end of the pin to form a right angle using the round nose pliers.
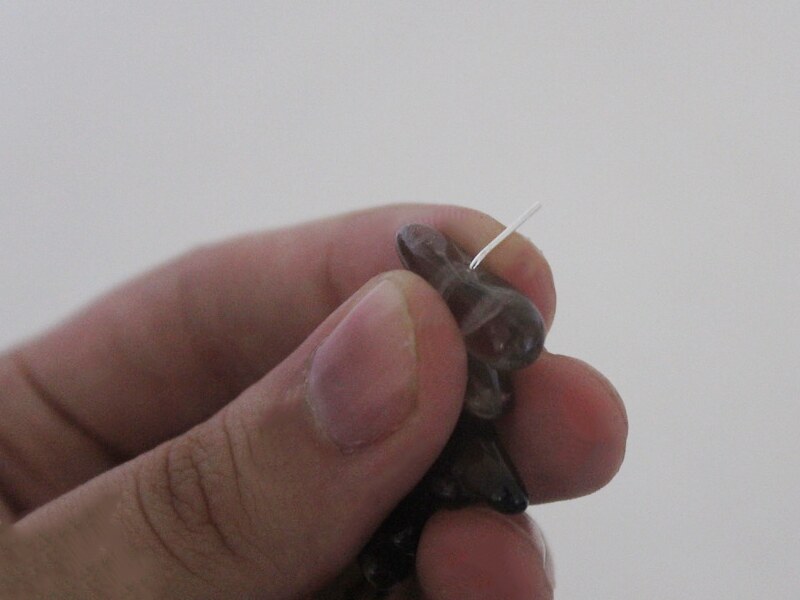
3: Create a loop at the end of the pin using the round nose pliers. This will secure the beads on the pin.
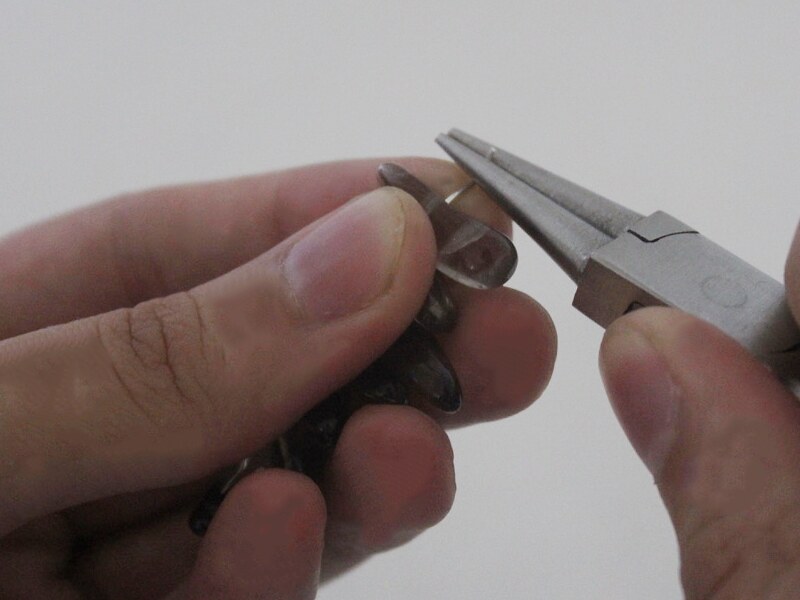
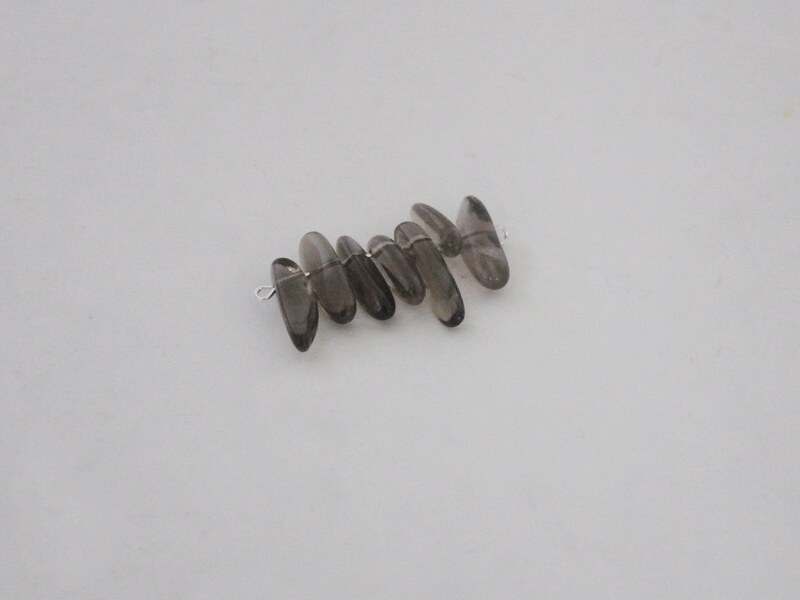
4: Add each of the crimp ends to the ends of the leather. Fold each side of the crimps around the leather using the flat nose pliers.
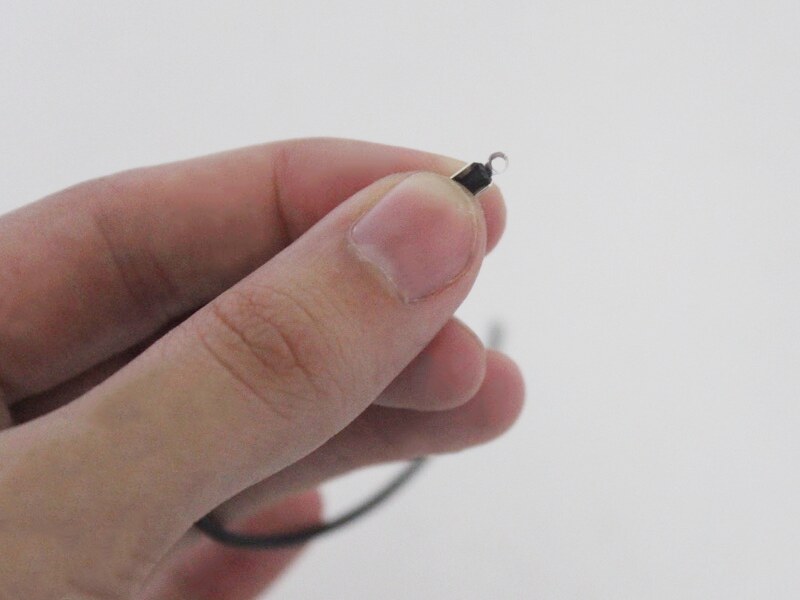
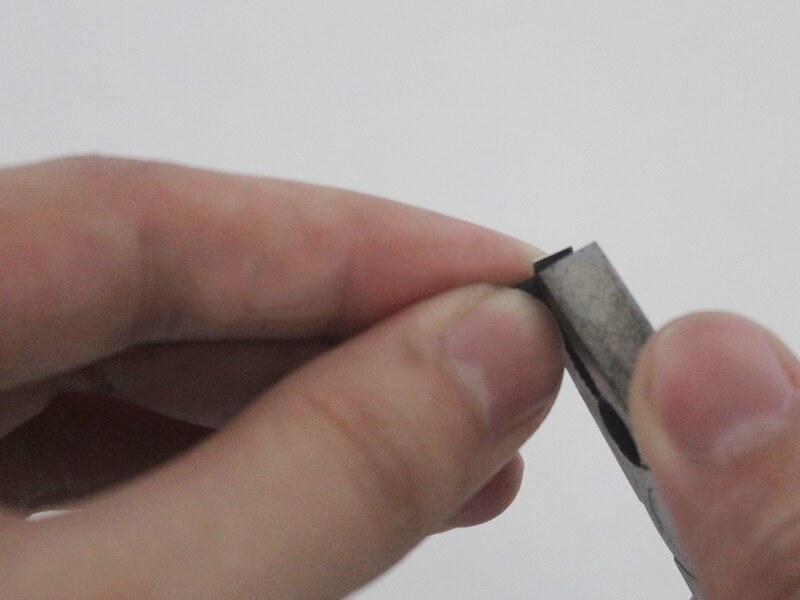
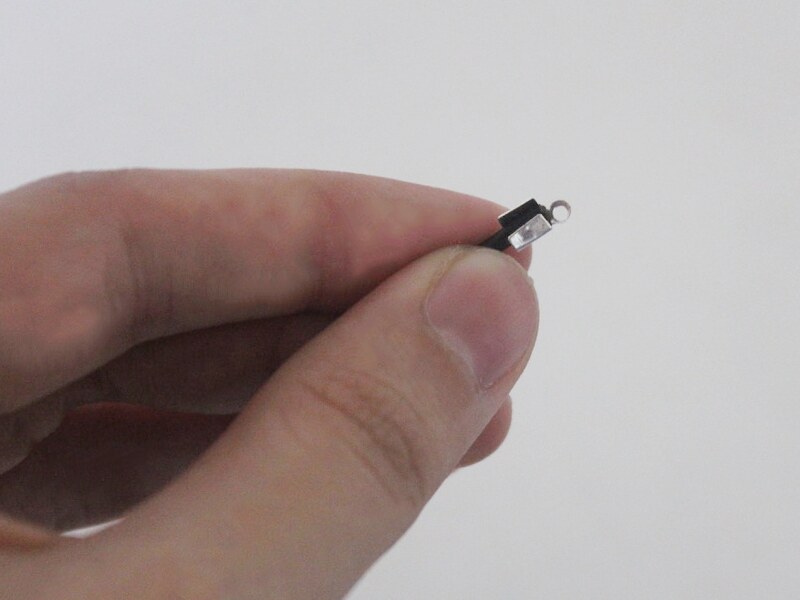
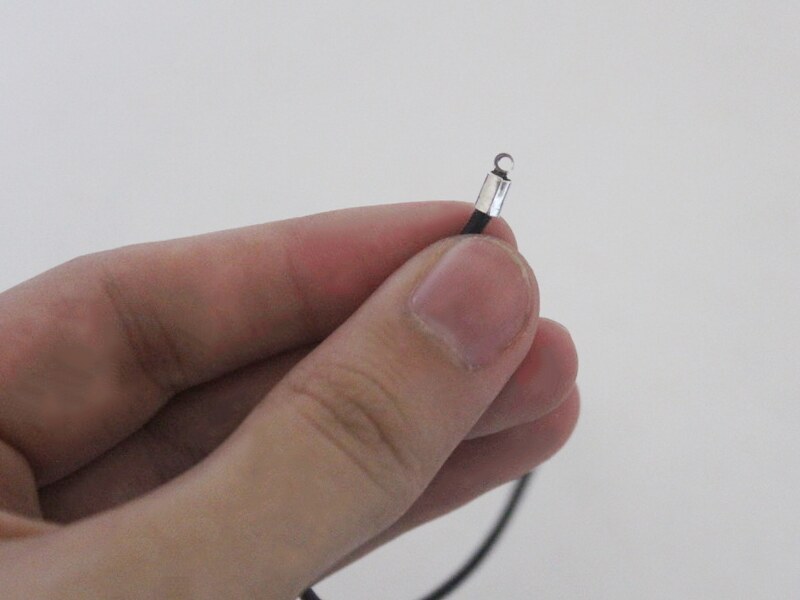
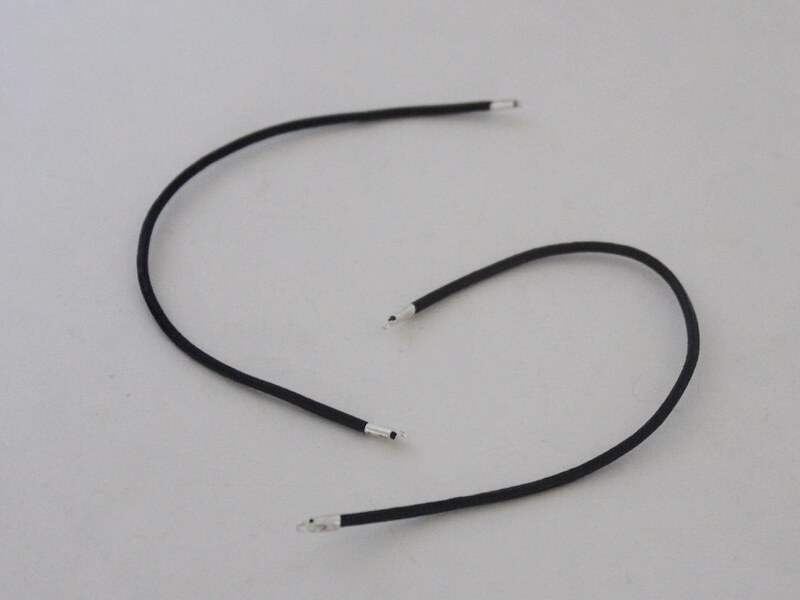
5: Attach a piece of leather to each side of the crystal beaded pin.
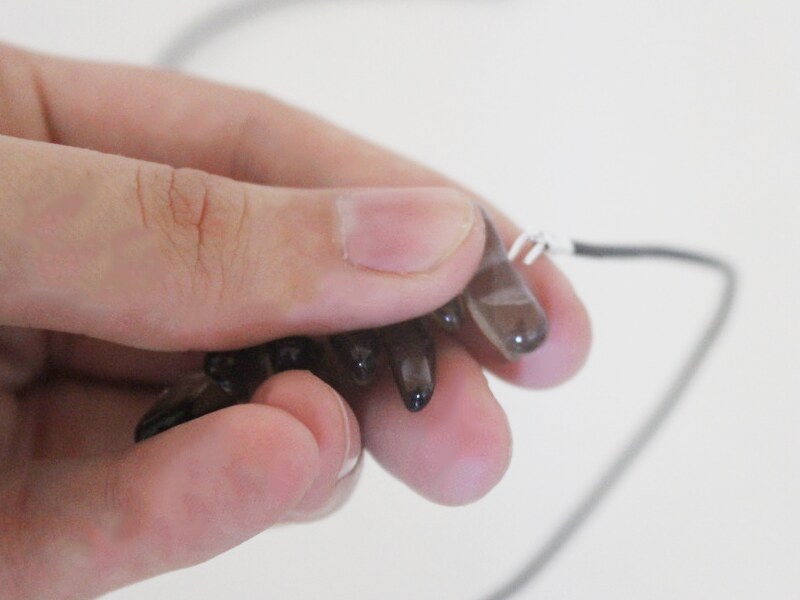
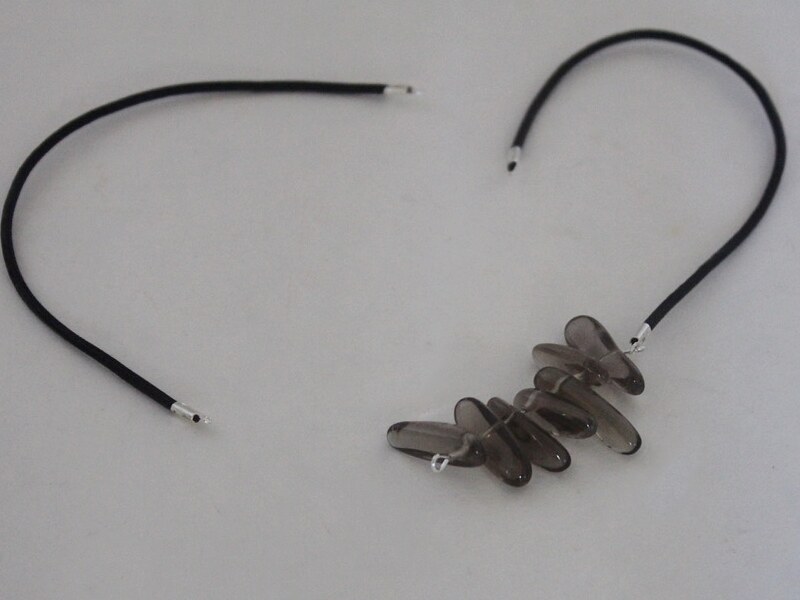
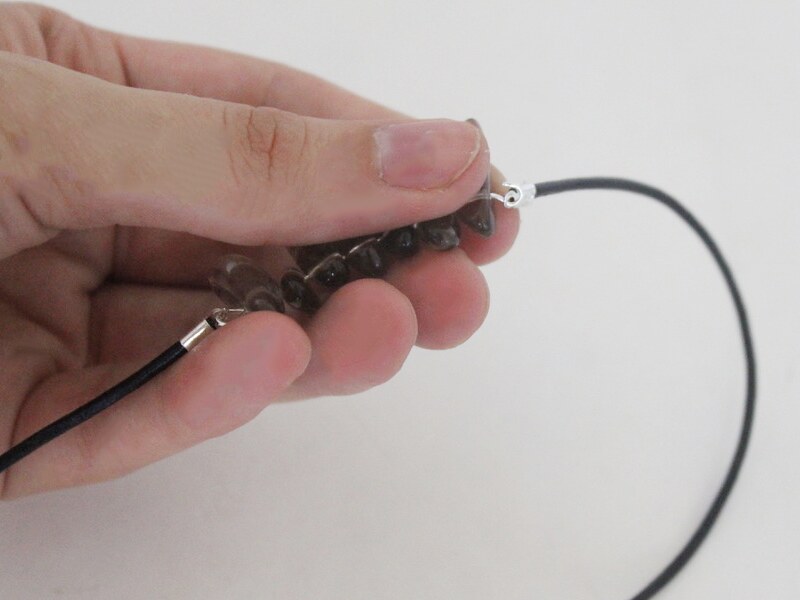

6: Add a lobster clasp to one side of the necklace using one of the jump rings.
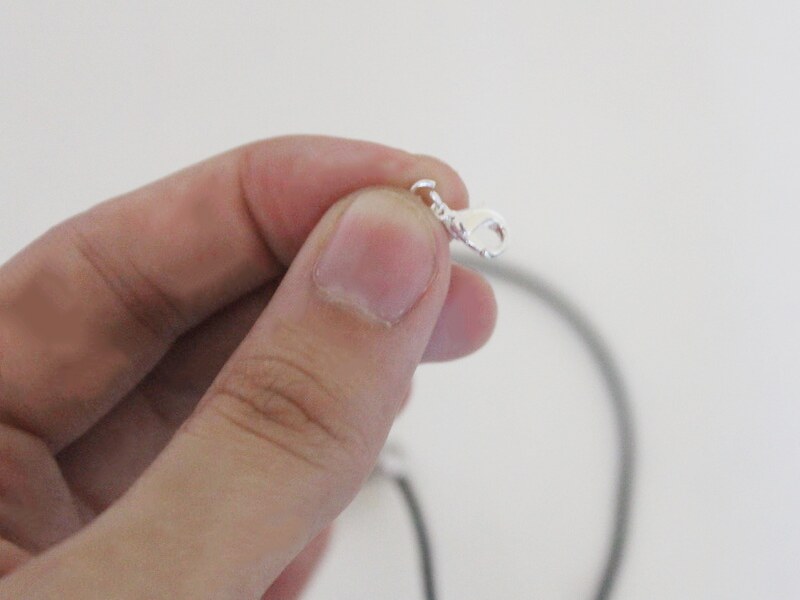
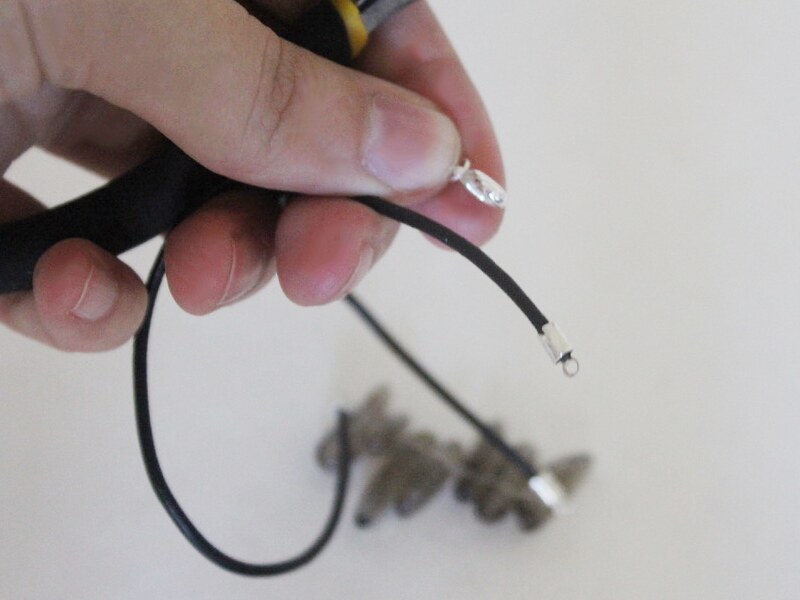
7: Add the remaining jump ring to the other side of the necklace to finish your necklace.
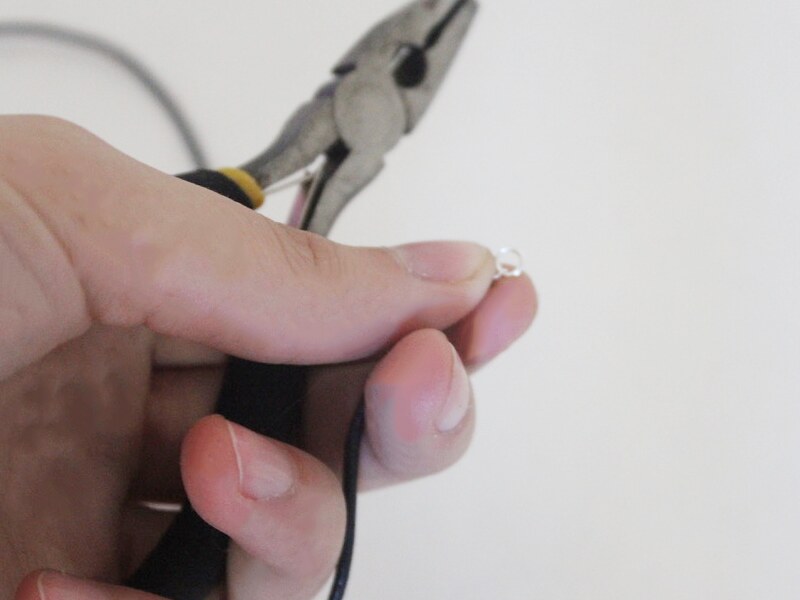
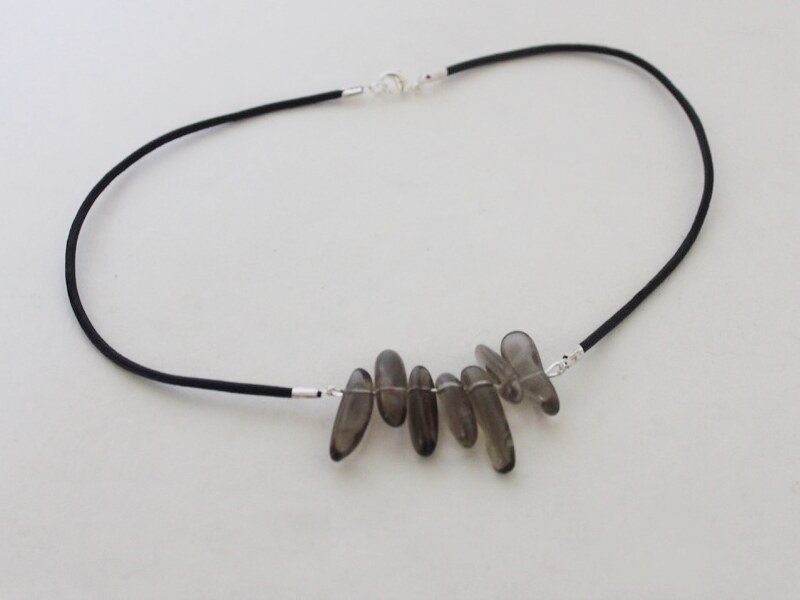
Now it’s ready to wear… a perfect combination of tough and whimsical!
-
Triangles are Great! Here’s how to Make a Triangle Pendant Necklace.

This pendant necklace looks so cool and such a great way to show off your favorite beads.
You will need the following tools and materials to make your triangle pendant necklace:
1: Pliers. You will need your round nose pliers and flat nose pliers to make this necklace.
2: A piece of leather cord to make your necklace.

3: One small jump ring.

4: One large jump ring.

5: Two medium jump rings.

6: Two leather crimp ends.

7: One lobster clasp.

8: Two small pieces of chain.

9: One eye pin.

10: Beads of your choice. I used two brown round beads and one fancy glass bead.


Follow these steps to make your triangle pendant necklace:
1: Add the beads to the eye pin.

2: Bend the pin to a right angle using the round nose pliers.


3: Form a loop at the end of the pin using the round nose pliers.


4: Add a chain to each end of the bead charm, sliding it onto each loop. Close the loop to secure the chains in place.


5: Use the smallest jump ring to link the loose ends of the chains together to form a triangle.


6: Add the largest jump ring to the top of the triangle and slide it onto the leather cord.


7: Add a leather crimp end to each end of the leather cord. Secure these crimp ends in place by using the flat nose pliers to fold the sides of the crimp around the cord.

8: Add a jump ring to one side of the leather necklace and add the lobster clasp before closing the ring.


8: Add the final jump ring to the other side of the leather cord to finish the necklace.
Now your triangle pendant necklace is finished and ready to wear!

-
The necklace you’ve always needed, here’s how to make a beaded curve necklace

This necklace is made using some memory wire and colorful beads added in a cool pattern.
You will need the following tools and materials to make this necklace:
1: Pliers. You will need your cutting pliers, flat nose pliers and round nose pliers to make this necklace.
2: Two pieces of cord.

3: Four crimp ends.

4: Four jump rings.

5: A piece of necklace length memory wire cut into a half circle.

6: A lobster clasp.
7: Beads of your choice. I used these different colored seed beads.

Follow these steps to make your beaded curve necklace:
1: Create a loop at one end of the memory wire using the round nose pliers.


2: Begin adding seed beads in your pattern of choice.

3: Continue adding beads until there is approximately 1cm (o.4 inches) of un-beaded wire.

4: Create a loop at the other end using the round nose pliers, this will secure the beads on the wire.


5: Add a crimp end to each end of the two pieces of cord. Do this by folding each side of the crimp around the cord using the flat nose pliers.


6: Attach each of the cords to either side of the beaded wire using two of the jump rings.


7: Add one of the jump rings to the other end of one of the cords and attach the lobster clasp. Secure the clasp in place by closing the jump ring.

8: Add the remaining jump ring to the other side of the necklace on the end of the second cord. Once you’ve attached this jump ring, the necklace is finished and ready to wear!


Here’s another version I made using leather cord and smoky quartz feature beads.

-
This Cluster Bracelet Design is so Fun and Pretty to Boot!

These cluster bracelets are so fun, to make and to wear! They look great when made with bright and colorful beads.
You will need the following tools and materials to make this bracelet:
1: Pliers. You will need your round nose pliers, flat nose pliers and cutting pliers to make this bracelet.
2: A piece of leather cord long enough to fit closely around your wrist. (Cut it to length using your cutting pliers).

3: Two leather crimp ends.

4: Five large jump rings.

5: Fifteen small head pins.

6: Two small jump rings.
7: A toggle clasp.

8: Beads of your choice. I used small yellow glass e-beads and some small natural colored wooden beads.


Follow these steps to make your beaded cluster bracelet:
1: Add one glass bead and one timber bead to each of the head pins.

3: Create a loop at the top of each pin to secure the beads in place. You can do this by curling the pin slowly around the barrel of the pliers.


4: Add three beaded charms to each of the large jump rings (five in total). Close the jump rings to secure the bead charms in place.


5: Set the cluster charms aside. Add a leather crimp end to one end of the leather. Do so by squashing one side down around the leather using the flat nose pliers, followed by the other side, folding it over the first.


6: Add each of the charms to the leather.

7: Add the other leather crimp end to the other end of the leather cord.

8: Add a jump ring to one side of the bracelet and attach one part of the toggle clasp. Close the jump ring to secure it in place.

9: Repeat this step for the other side of the bracelet, attaching the second part of the clasp using the remaining small jump ring.

Once your clasp is in place your bracelet is finished! What colors will you make yours in?


-
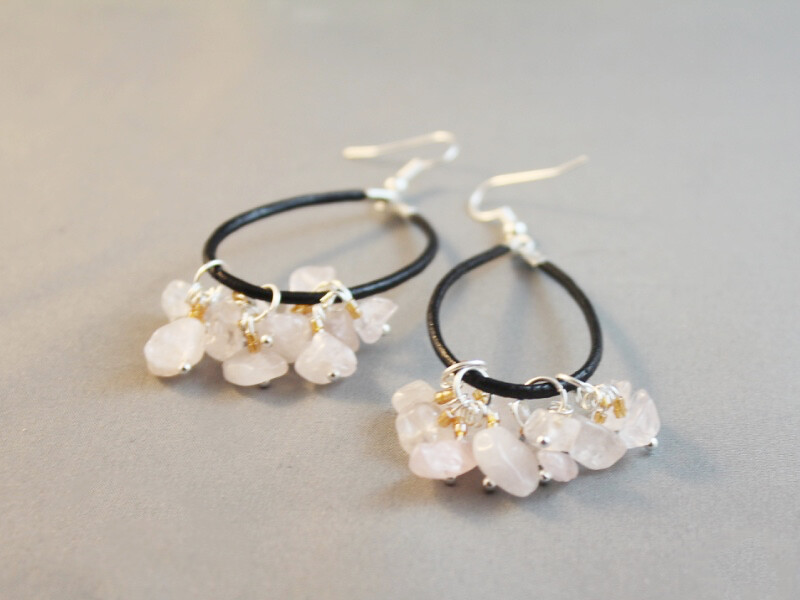
Leather Earrings? Here’s How to Make Some…
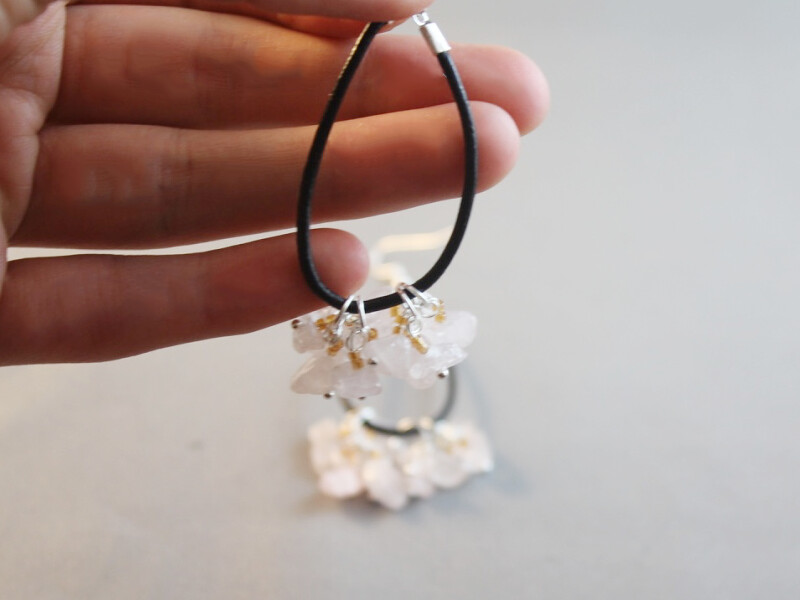
These leather earrings look so lovely and elegant!
You will need the following tools and materials to make these earrings:
1: Pliers. You will need your round nose pliers, flat nose pliers and cutting pliers.
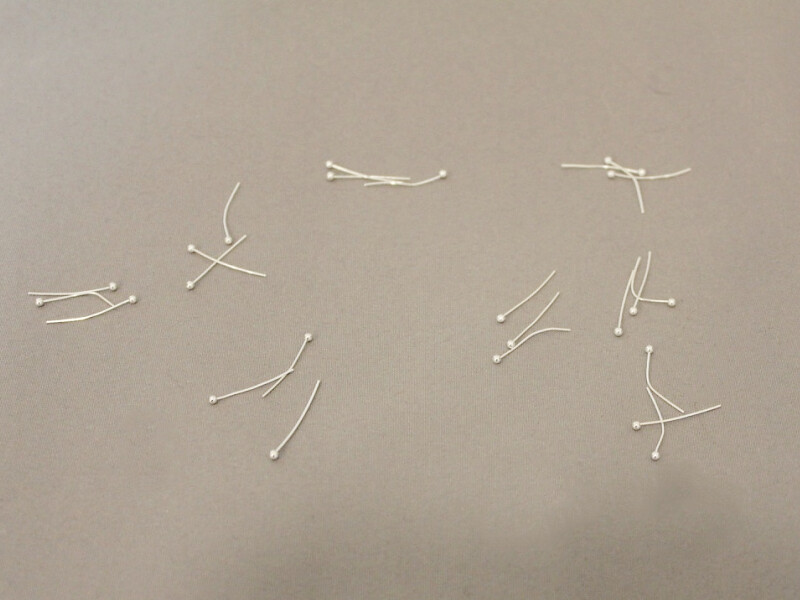
2: Twenty four head pins.
3: Eight jump rings.
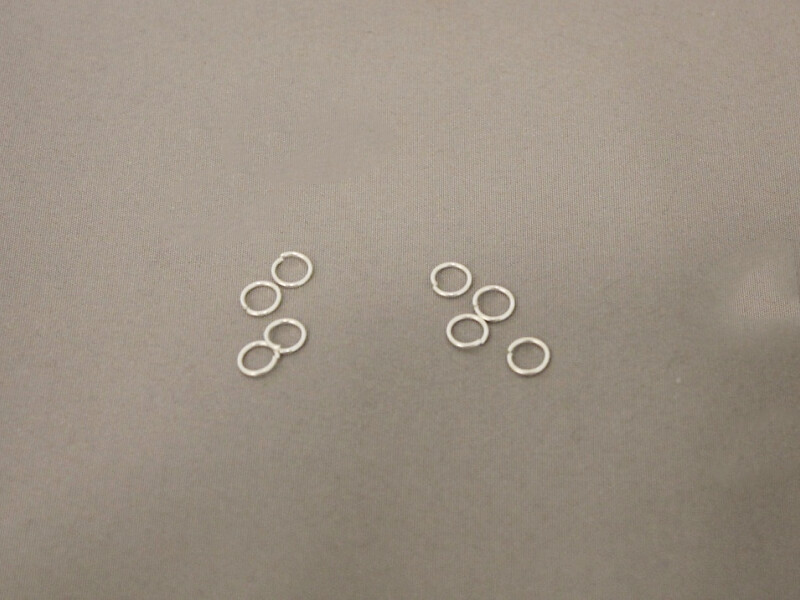
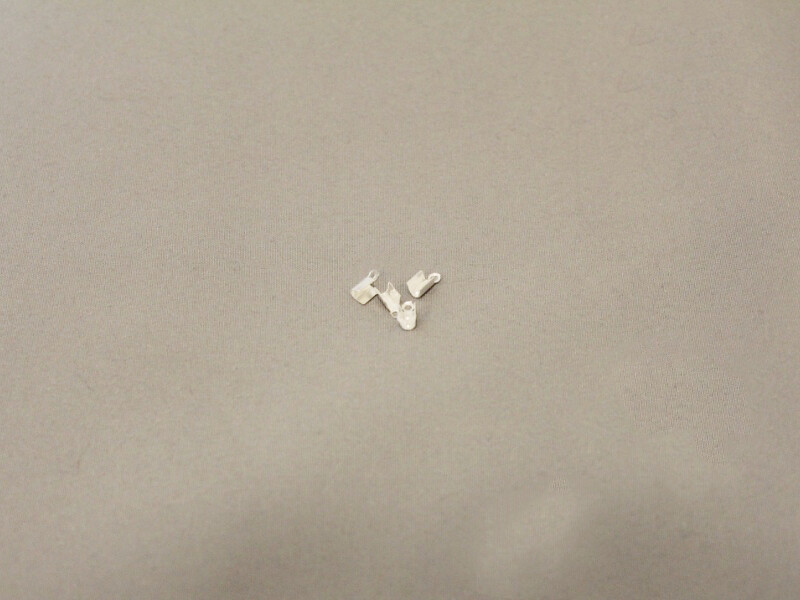
4: Four leather crimp ends.
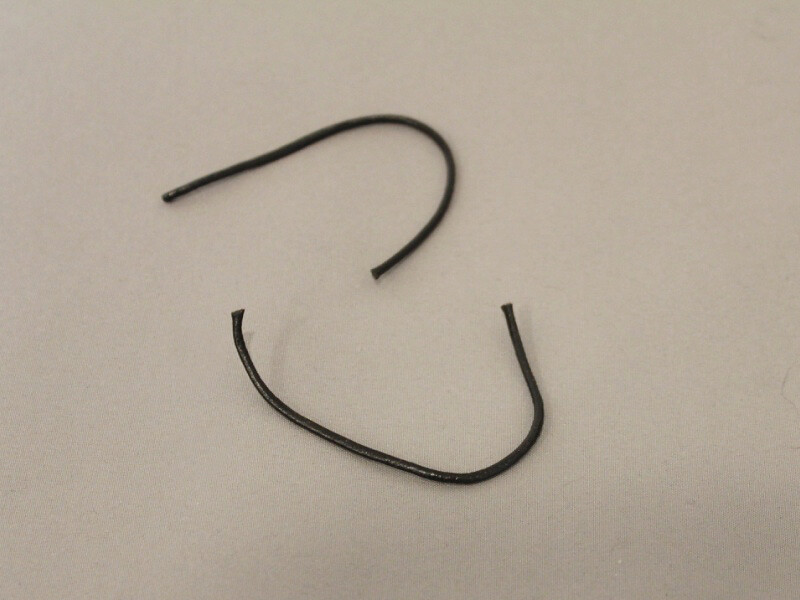
5: Two pieces of leather each about 10cm long.
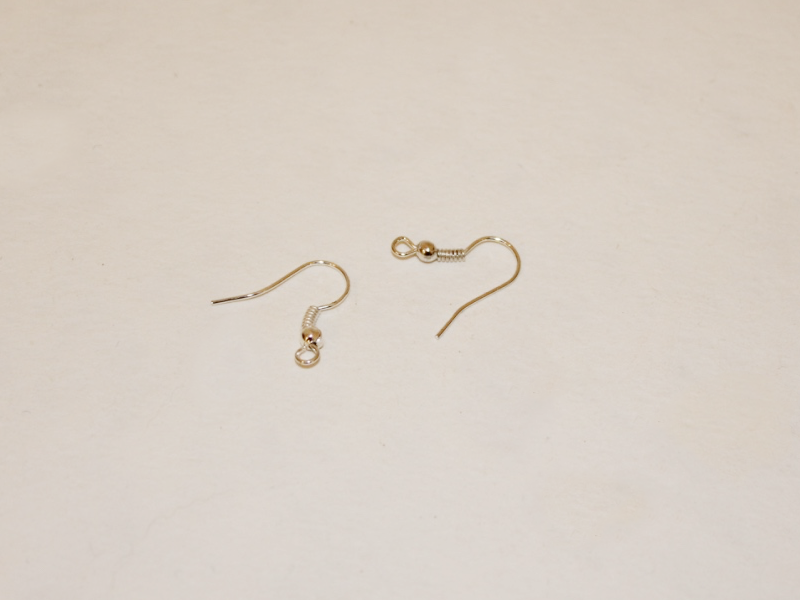
6: Two earring hooks.
7: Beads of your choice. I used these rose quartz chip beads and some orange colored seed beads.
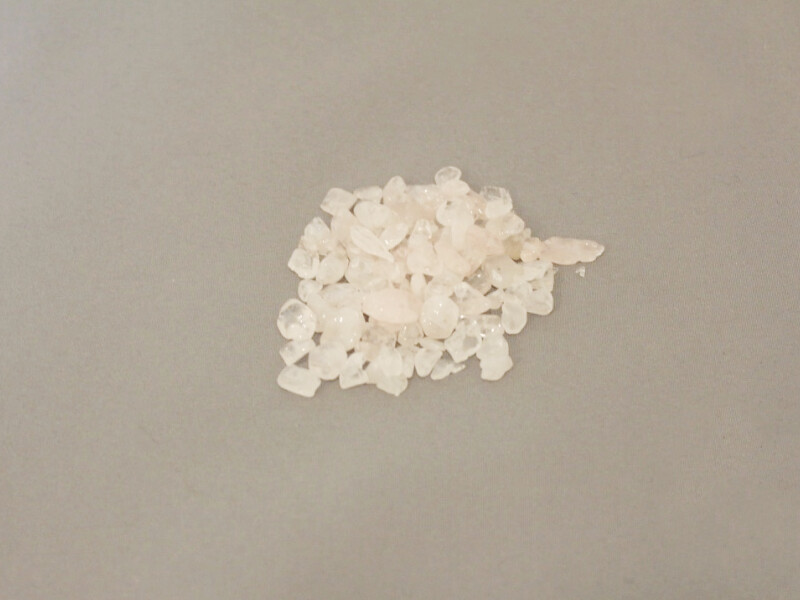
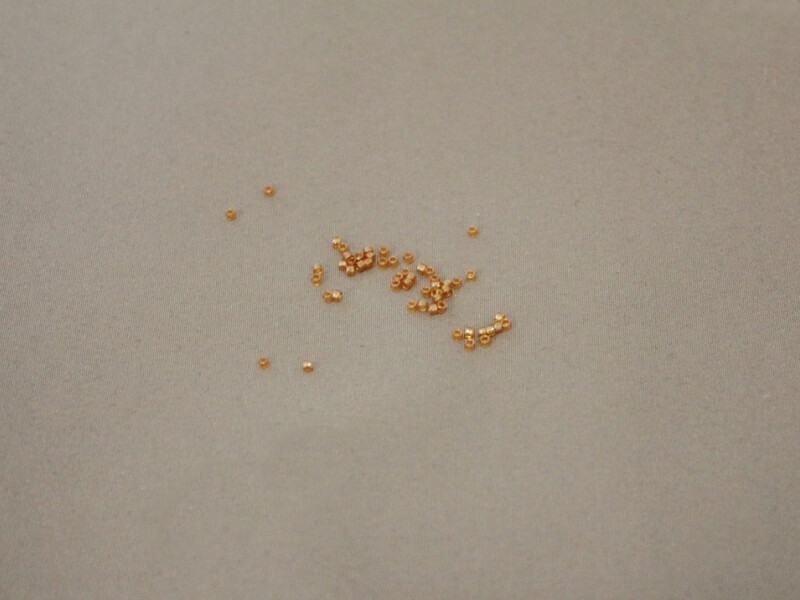
Follow these steps to make your leather earrings:
1: Add beads to each of the pins.
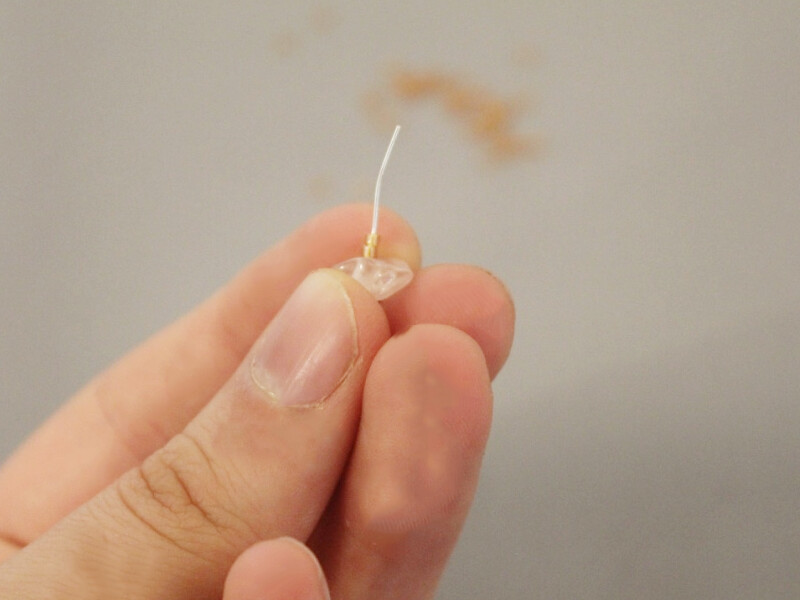
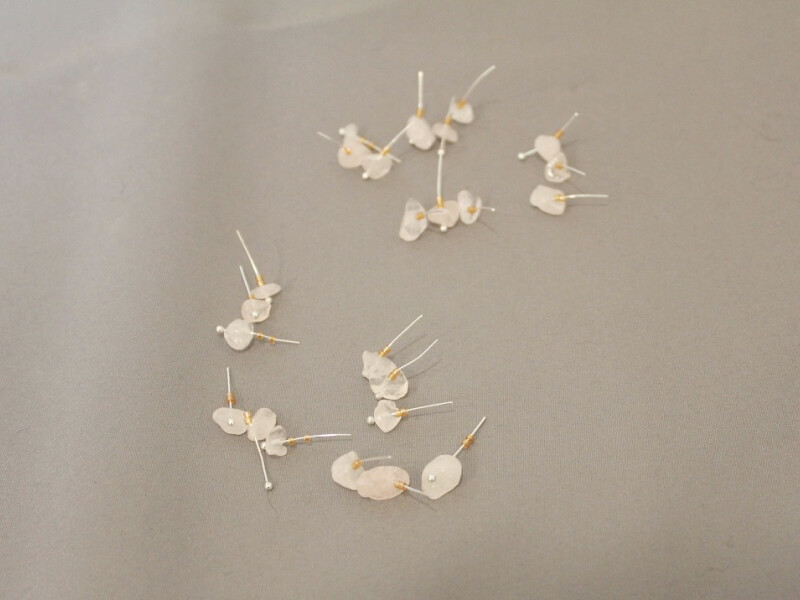
2: Create a loop at the top of each pin using the round nose pliers.
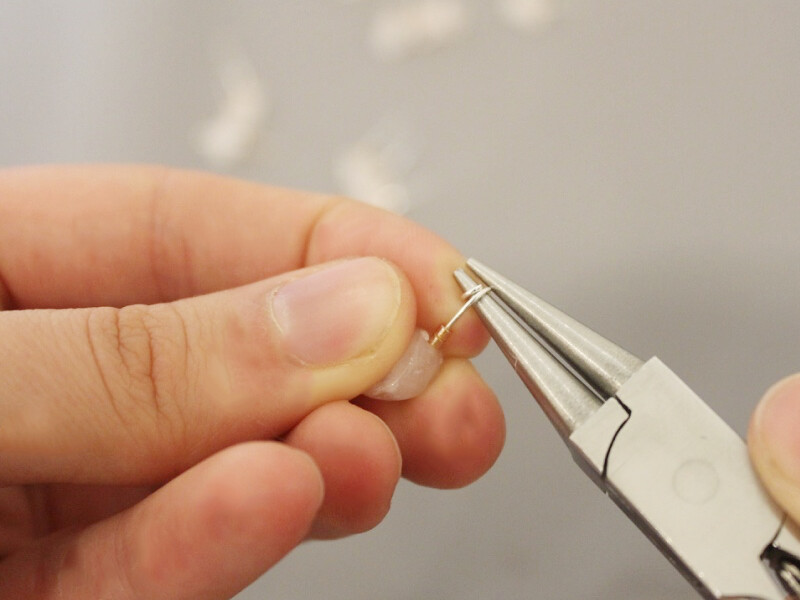
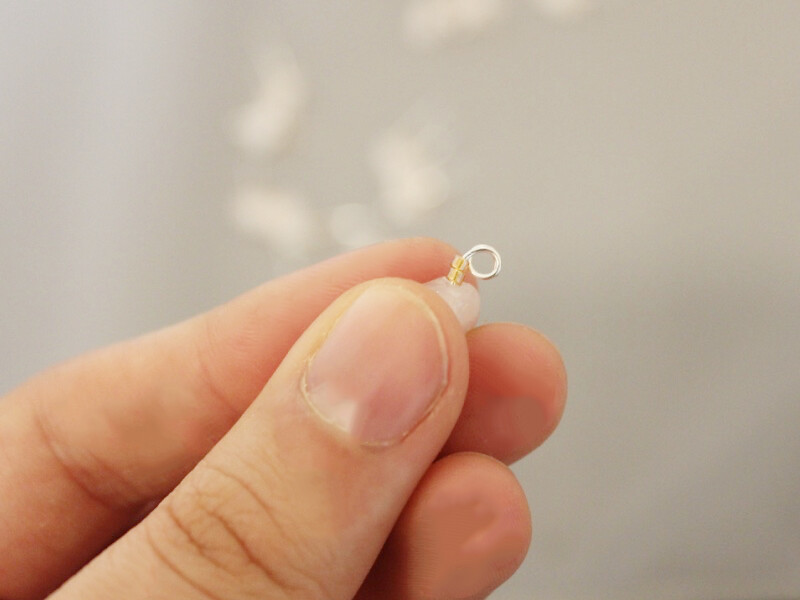
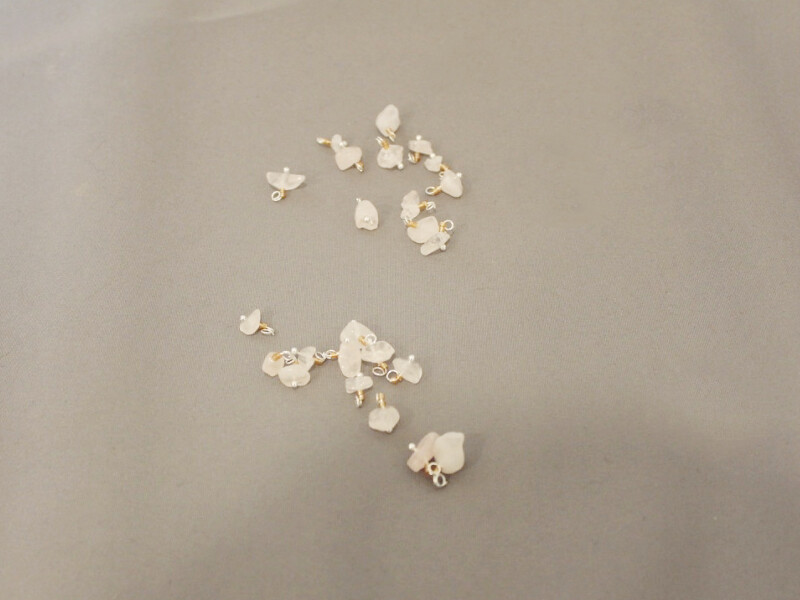
3: Add three bead charms to each jump ring. Close the jump rings to secure the charms in place.
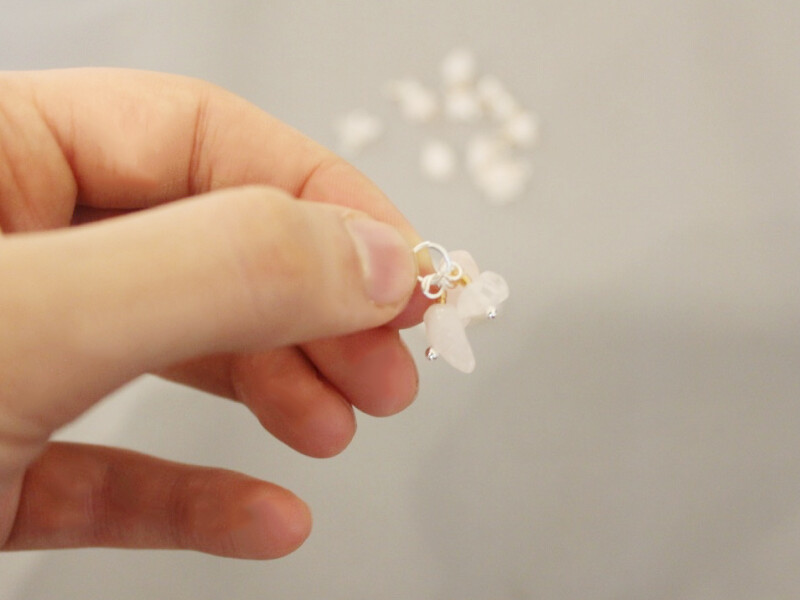
4: Add four beaded jump rings to each of the pieces of leather.
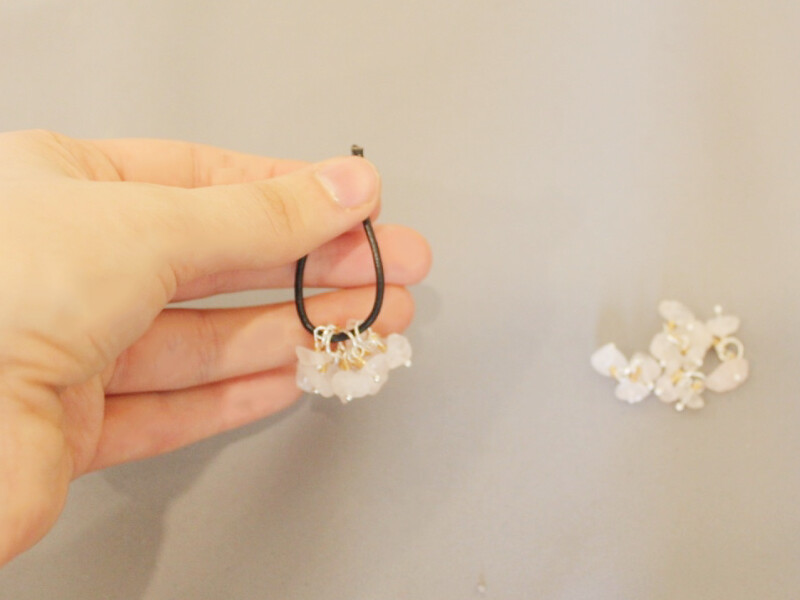
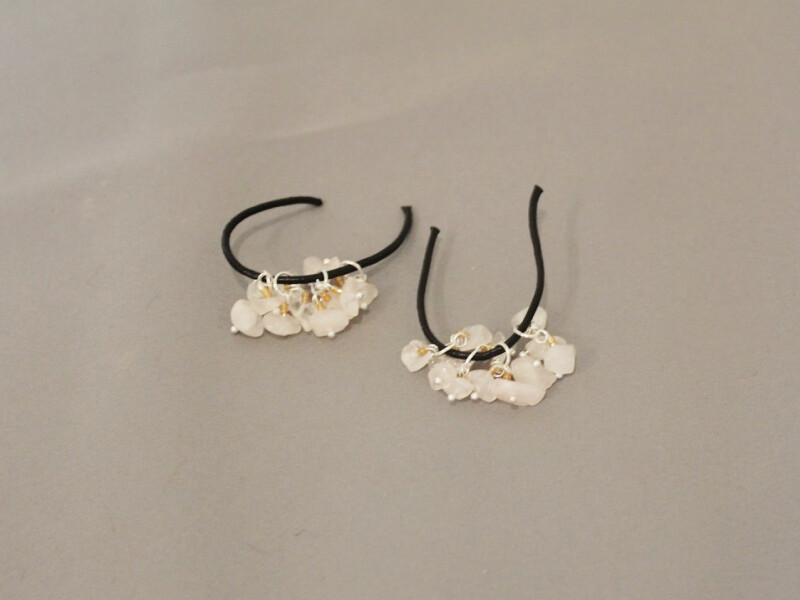
5: Add a leather crimp to each end of the pieces of leather. Squashing down one side and then the other using the flat nose pliers.
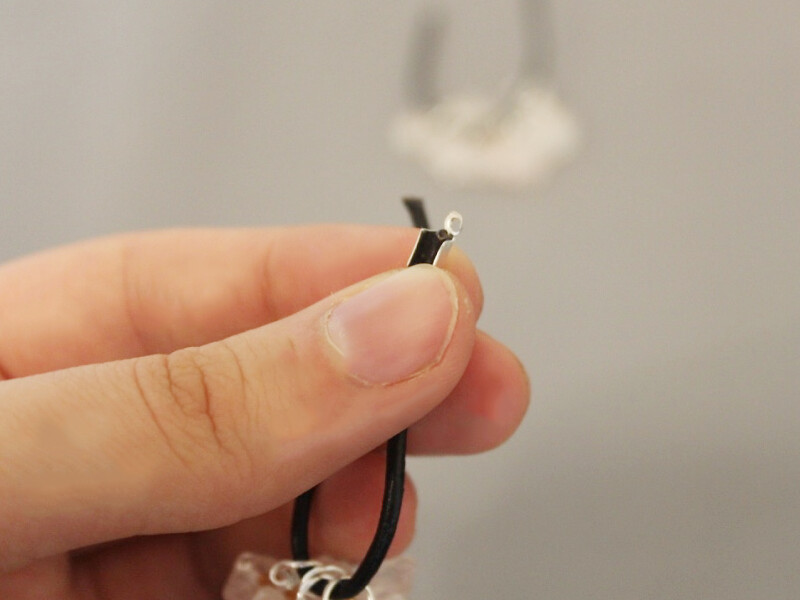
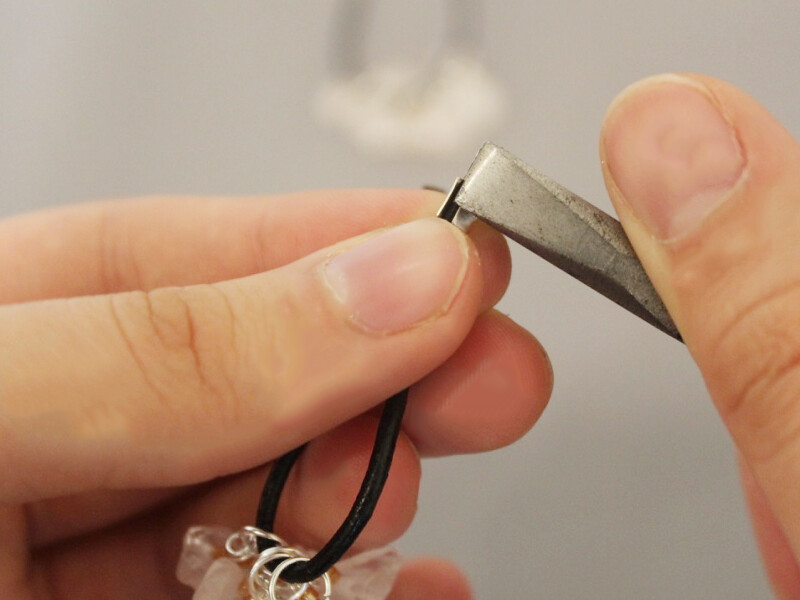
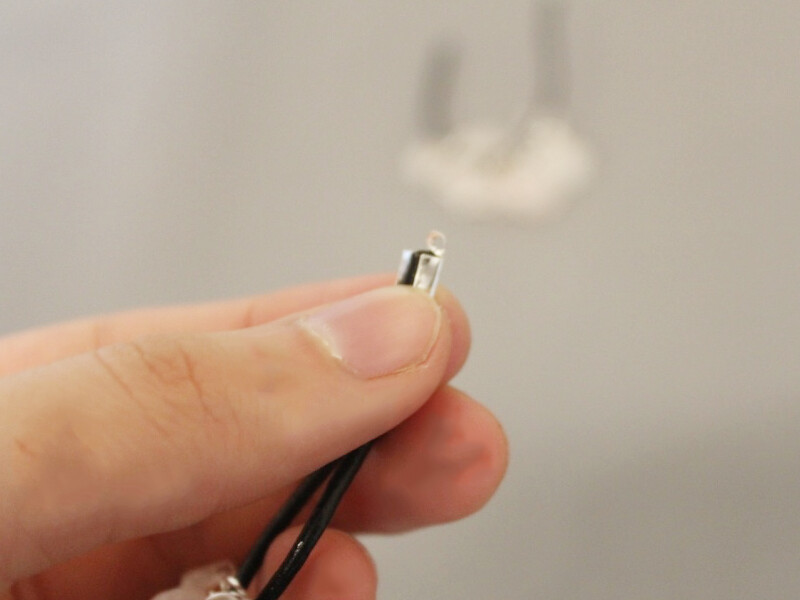
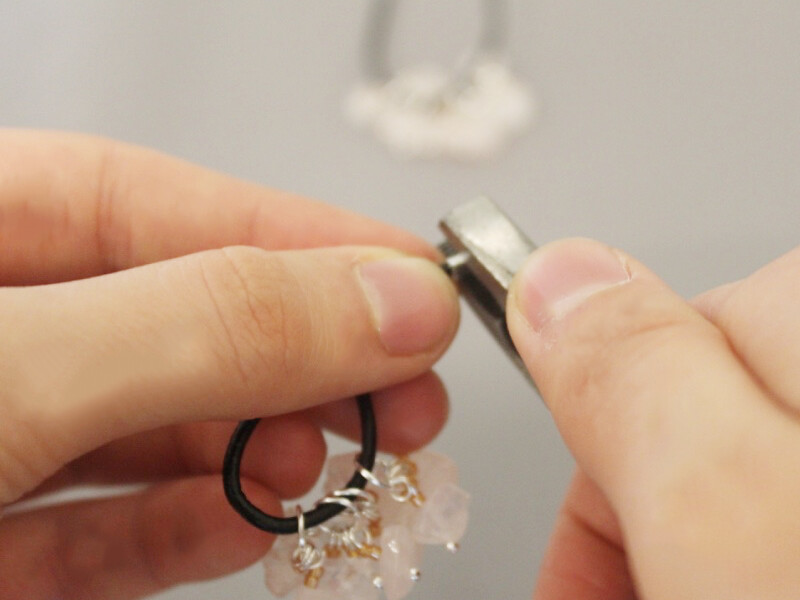
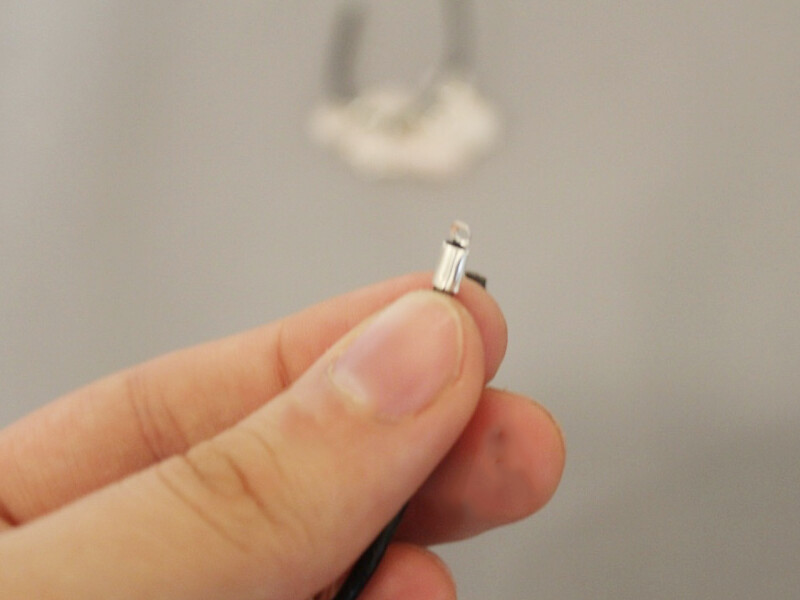
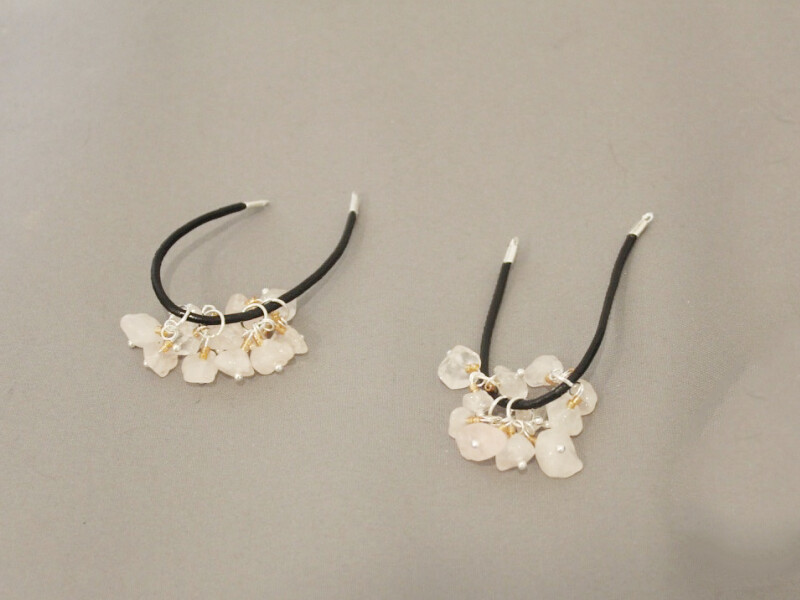
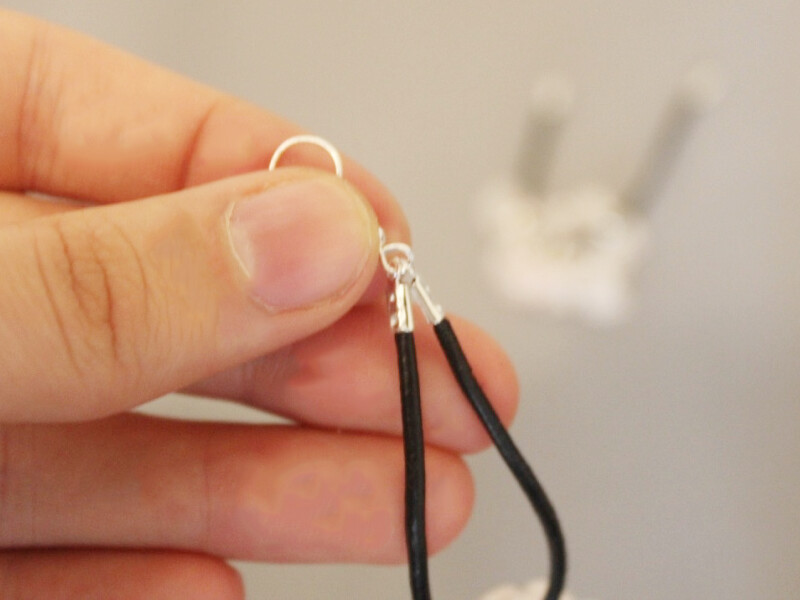
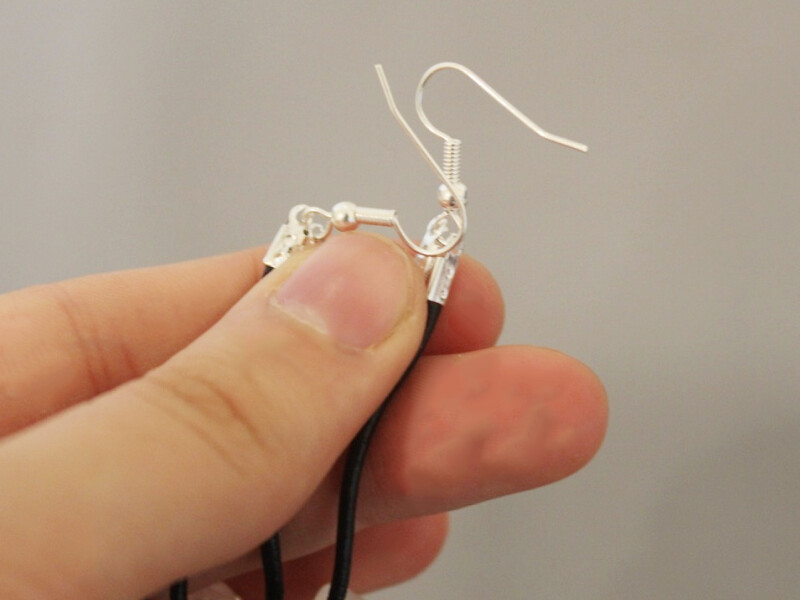
6: Attach both ends of the leather to the earring hook and close it to secure the leather in place.
7: Repeat step 6 for the other earring, securing the leather to the second earring.
Now you’re done!
-
Jewelry that does more than you think! Here’s how to make a convertible leather wrap bracelet.

This design looks great wrapped around your wrist or handing sweetly around your neck. However you choose to wear your leather wrap bracelet I bet you’ll look great. This design is also a great gift idea for someone this festive season!
You will need the following tools and materials to make this wrap bracelet:
1: Pliers. You will need all your pliers to make this wrap bracelet.
2: A piece of leather that wraps comfortably around your wrist three times.


3: Two leather crimp ends.
4: Two jump rings.
5: A toggle clasp.

6: Beads of your choice (make sure they have holes large enough to fit on the leather). I used these colored wooden beads.

Follow these steps to make your convertible wrap bracelet:
1: Add your beads to the piece of leather.


2: Once your beads are added, add a crimp end to either side of the leather, secure the crimps in place using your flat nose pliers.


3: Add a jump ring to one end of the leather. Add one part of the toggle clasp and secure it in place by closing the jump ring.

4: Repeat step 3 to secure the other side of the toggle clasp to the other end of the leather.

Now your bracelet is complete, and in so few steps! How will you wear yours, wrap bracelet or trendy necklace?


-
Need another choker for your collection? Make this leather number.

This leather choker is a stunner. Use a large or small feature bead to make a cool choker statement. I used this large diamond shaped resin bead to make mine.
You will need the following tools and materials to make this choker:
1: Pliers. You will need your cutting pliers and flat nose pliers.

2: Leather, long enough to fit closely around your neck with your beads.

3: Two leather crimp ends.
4: Two jump rings.
5: A lobster clasp
6: A bead or beads of your choice. I used this large resin bead.

Follow these instructions to make your new leather choker:
1: Add the bead to the leather strand.

2: Position one crimp end at one end of the leather.

3: Squash one side of the crimp around the leather using the flat nose pliers.

4: Squash the other side of the crimp in place using the flat nose pliers.


5: Repeat steps 2 to 4 for the other end of the leather.
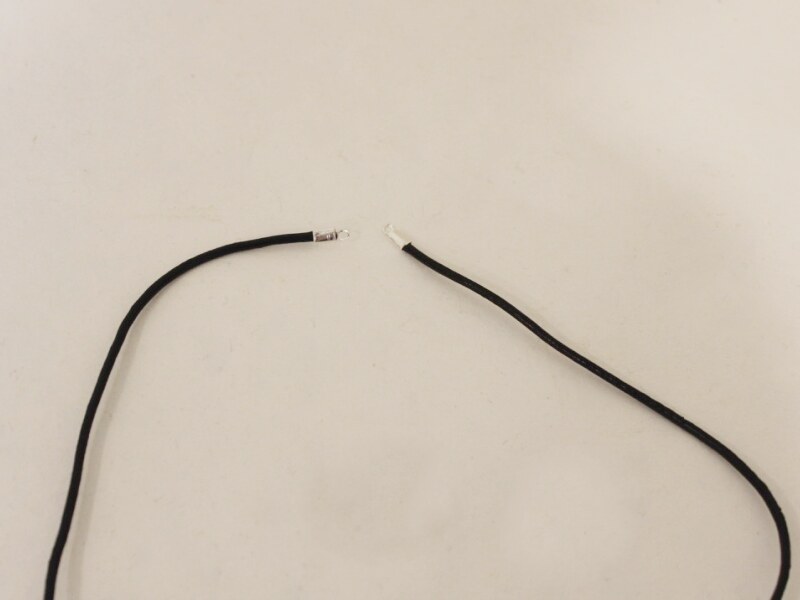
6: Add a jump ring to one of the crimp ends.

7: Slide the lobster clasp onto the open jump ring and secure in place by closing the jump ring.

8: Add a jump ring to the other side of the leather choker necklace.
Once the final jump ring is in place your leather choker is ready to wear! What kind of beads will you use on your choker design?