
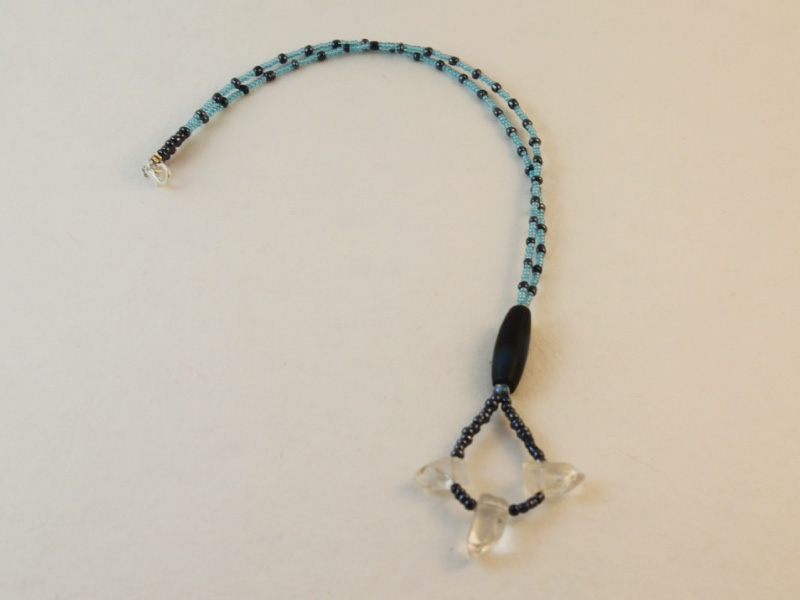
This is a pendant with a twist… literally! Making one way too fun.
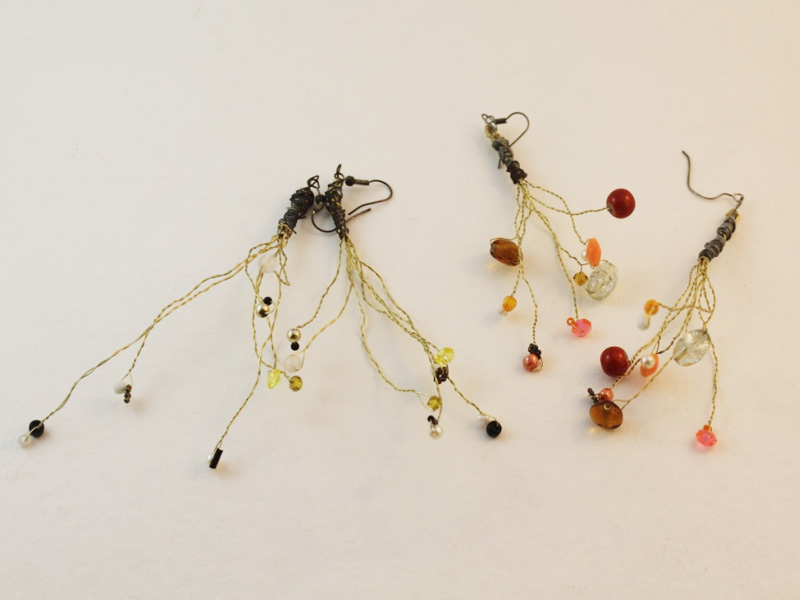
I recently rediscovered the earrings pictured above that I made way back when I was in high school (a fair few years ago now) and they inspired me to make this simple necklace pendant tutorial. Making this pendant requires minimal use of tools and extra findings. This pendant is made using 32 gauge wire which is fine enough to manipulate using your fingers! All you need are your cutting pliers to cut your wire to size. So grab a handful of beads and some cool colored wires and go make your own crazy, cute wire pendant.
You will need the following tools and materials to make this wire pendant:
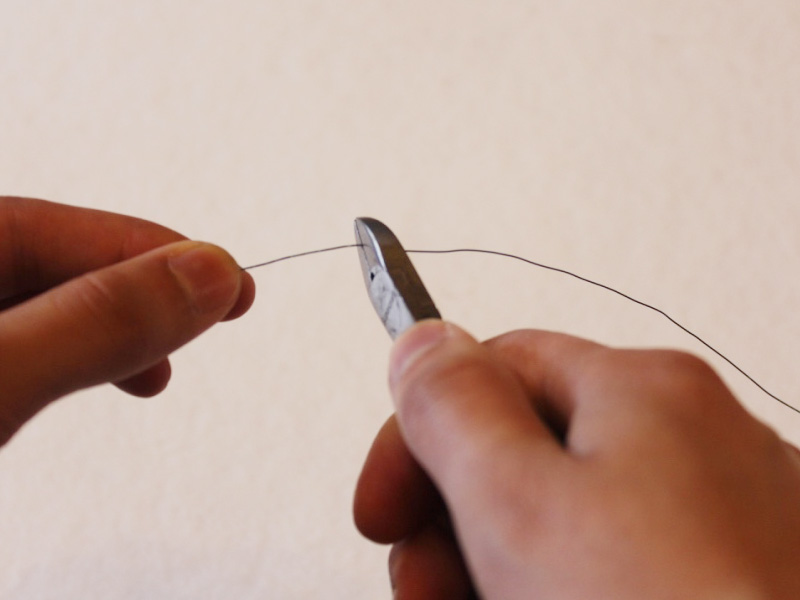
1: Cutting pliers.

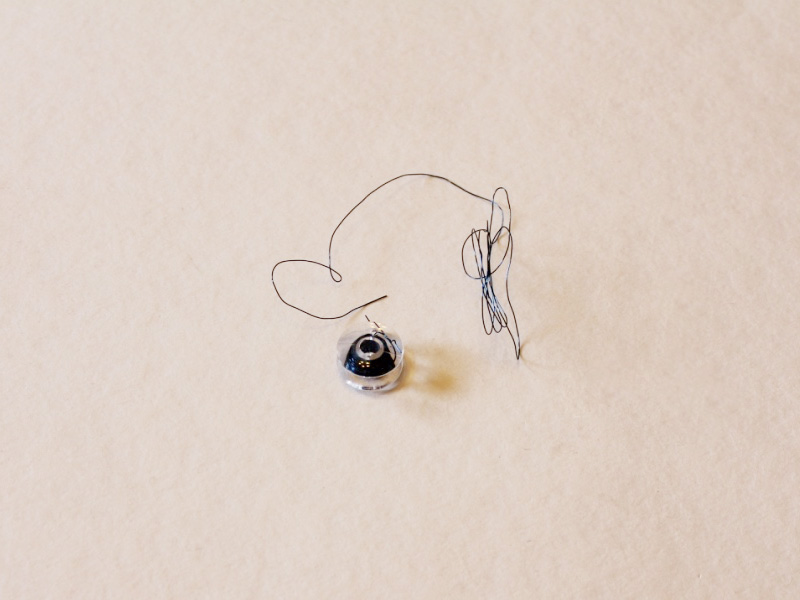
2: 32 gauge wire. I used this blue colored wire.
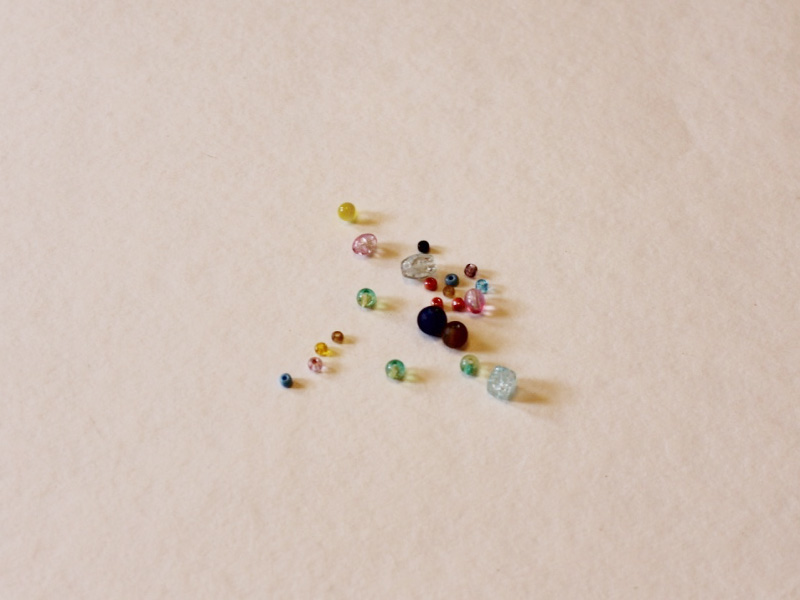
3: A selection of beads. I used this assortment of glass beads.
The Steps:
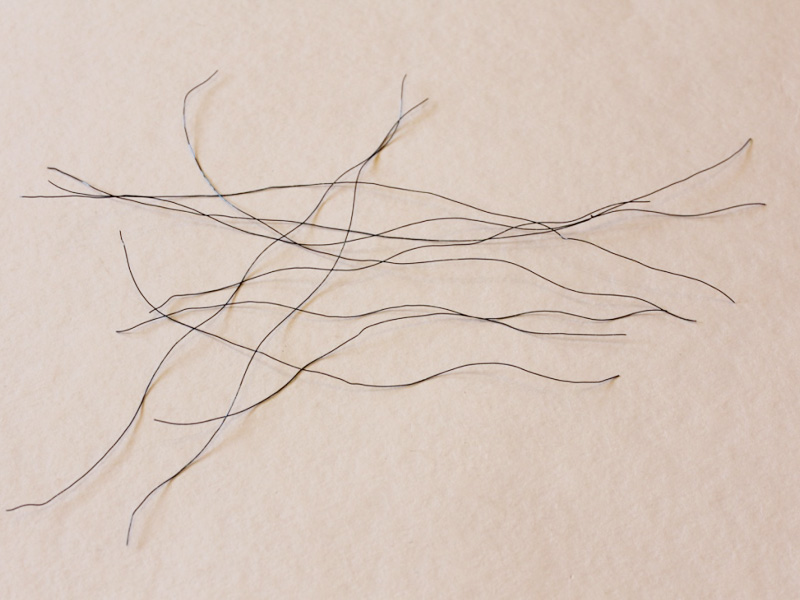
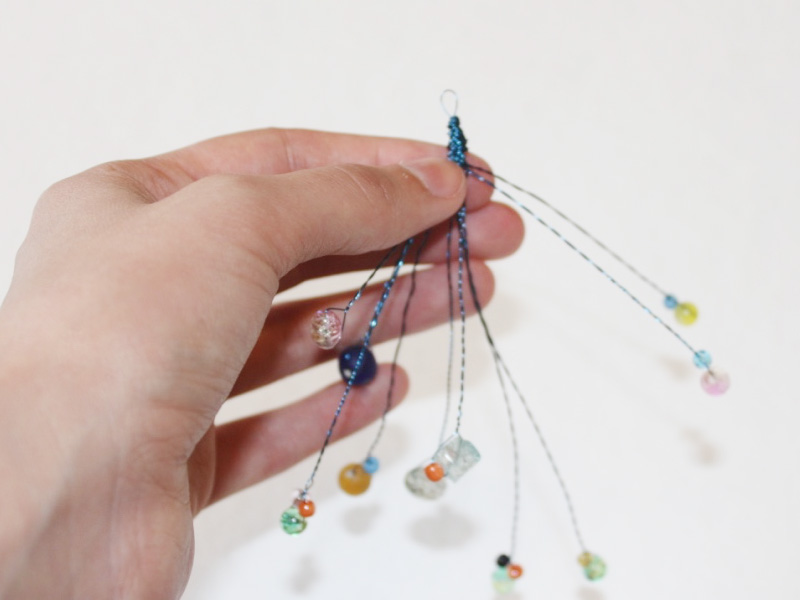
1: Cut the wire into different lengths using the cutting pliers. You can cut as many as you like. I cut eleven pieces of wire (one for finishing the top of the pendant).
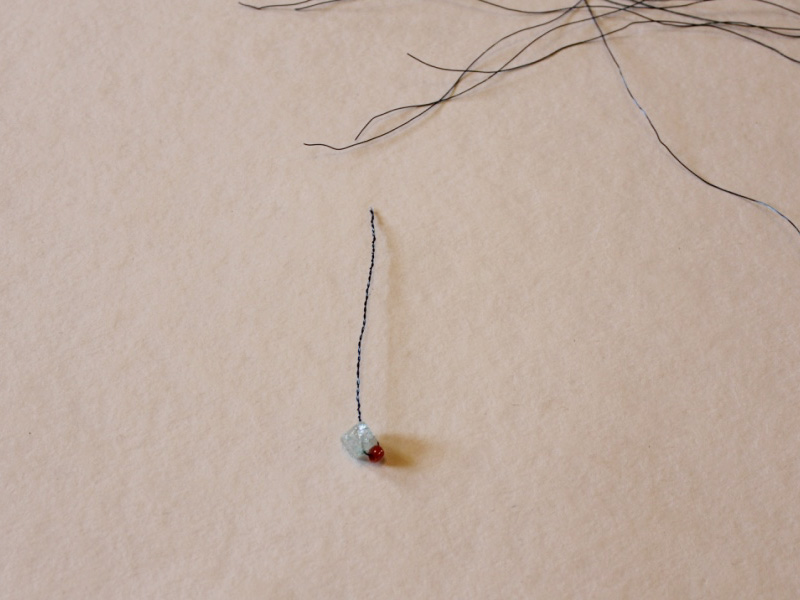
2: Take a bead or two and add them to the center of a piece of wire.
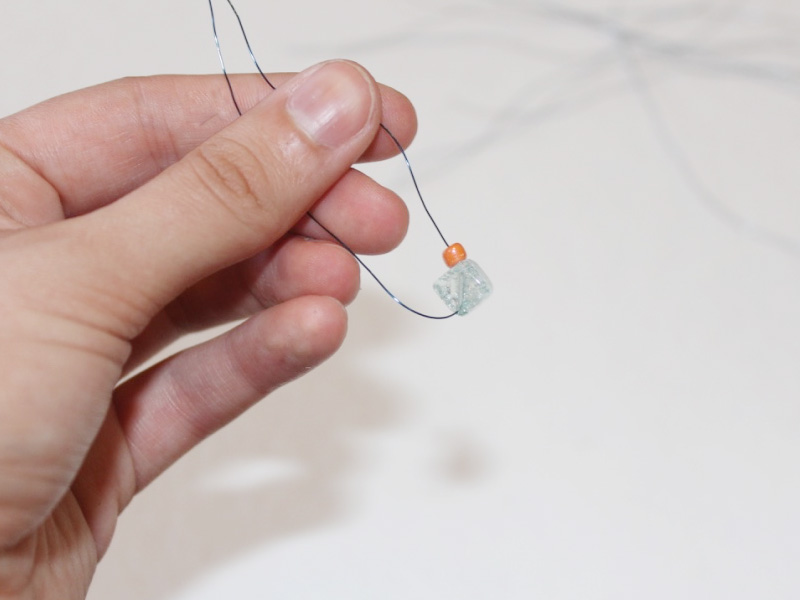
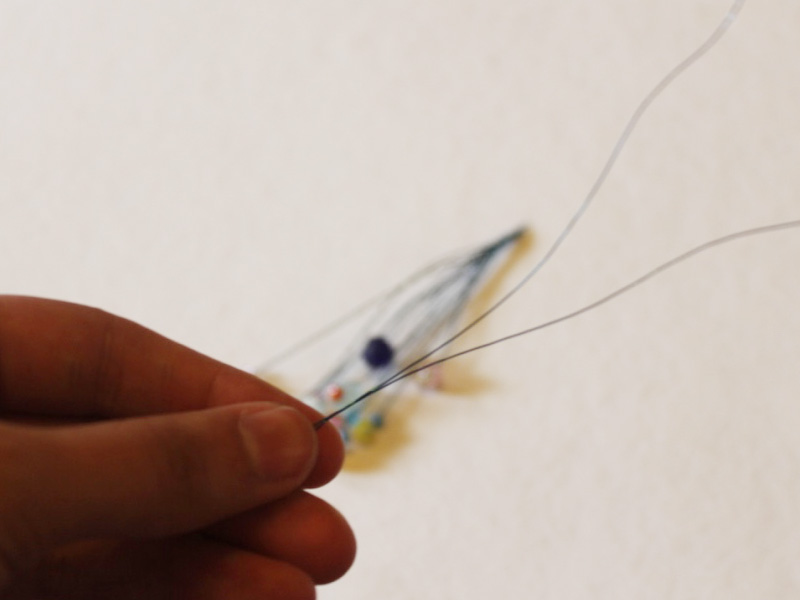
3: Twist the ends of the piece of wire together to hold the beads in place.
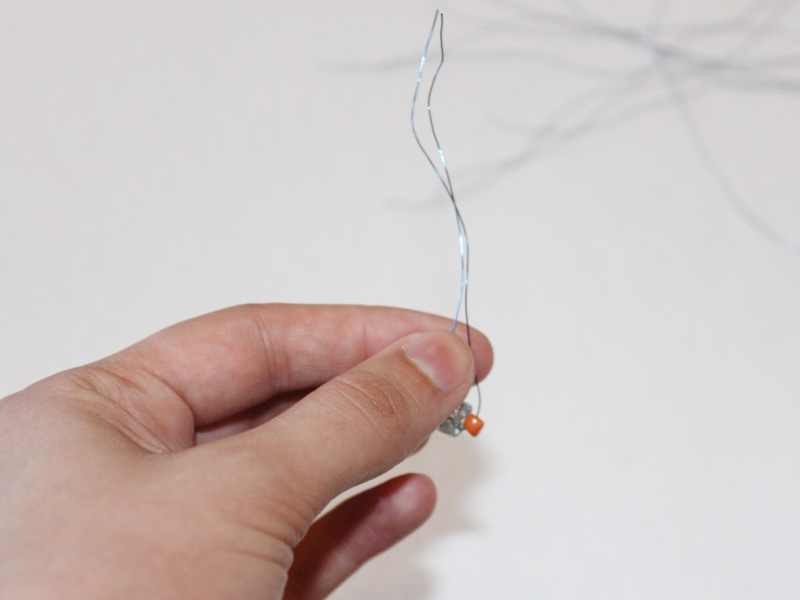
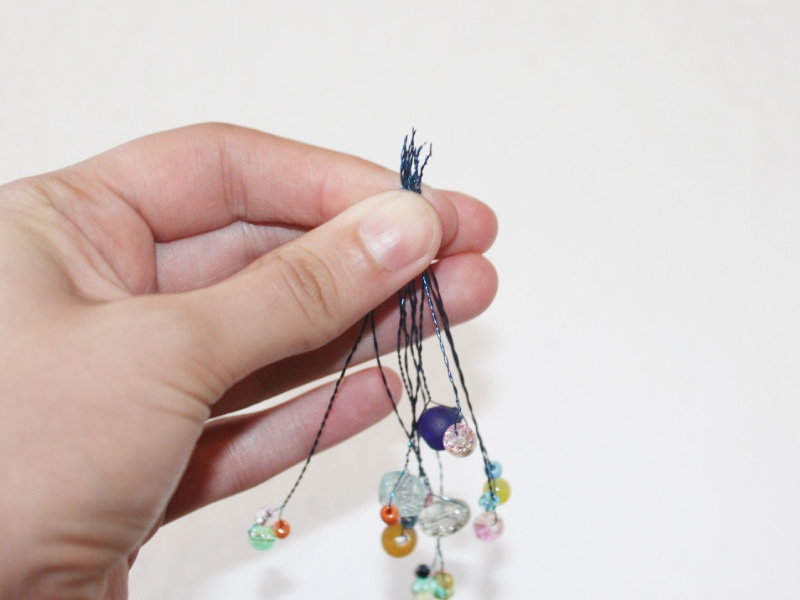
4: Repeat steps 2 and three until only one piece of wire remains.

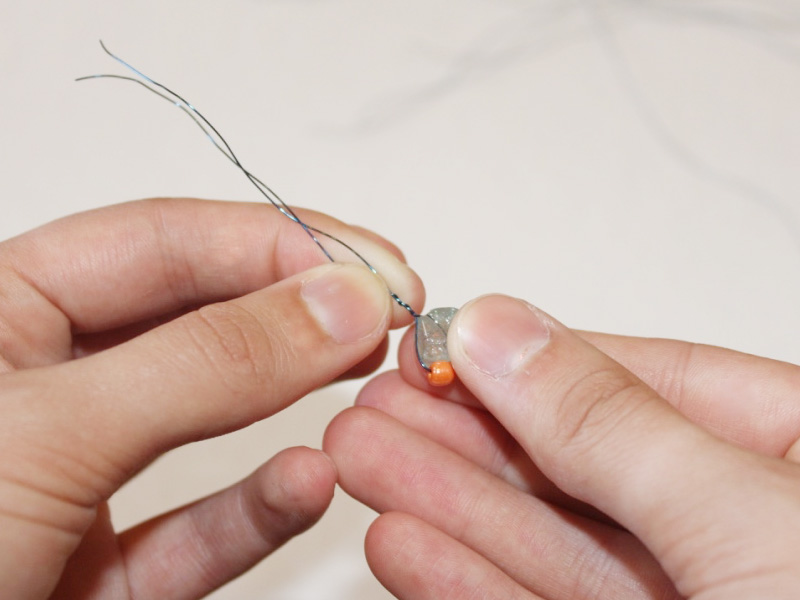
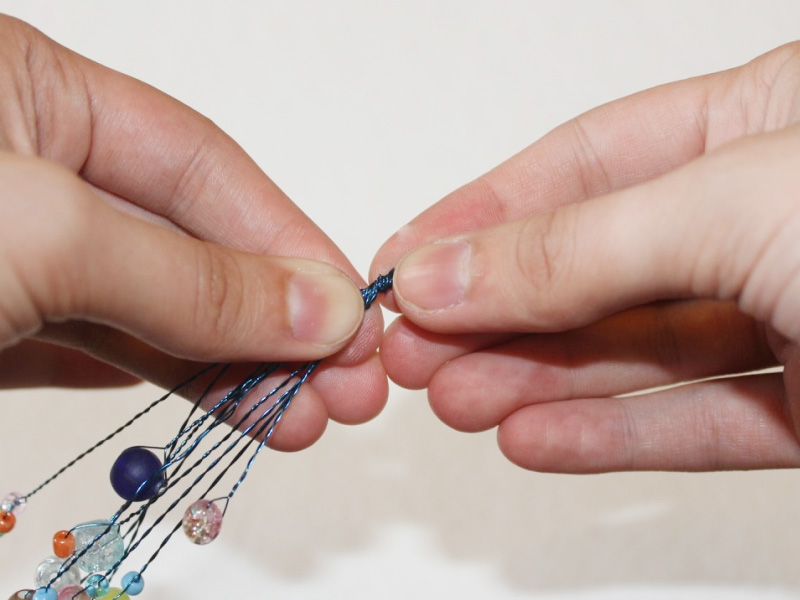
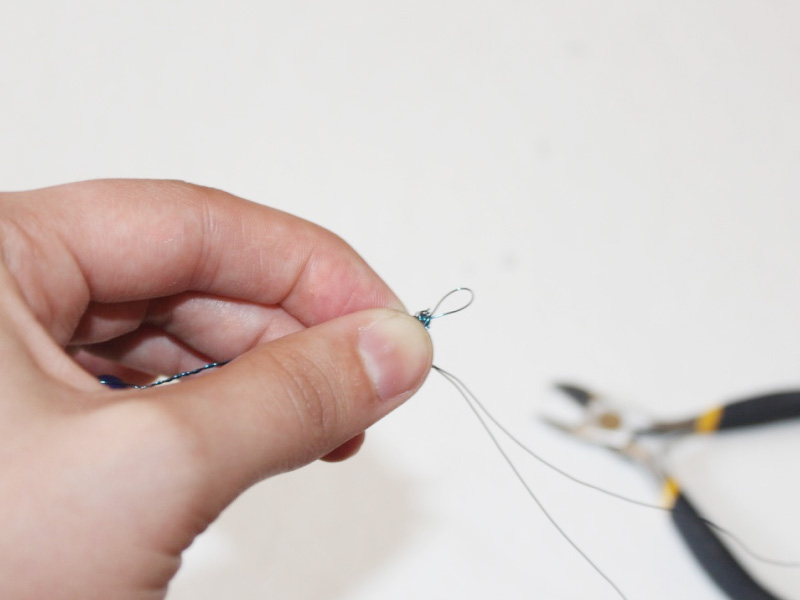
5: Gather all the wire pieces together and twist them together at the top.
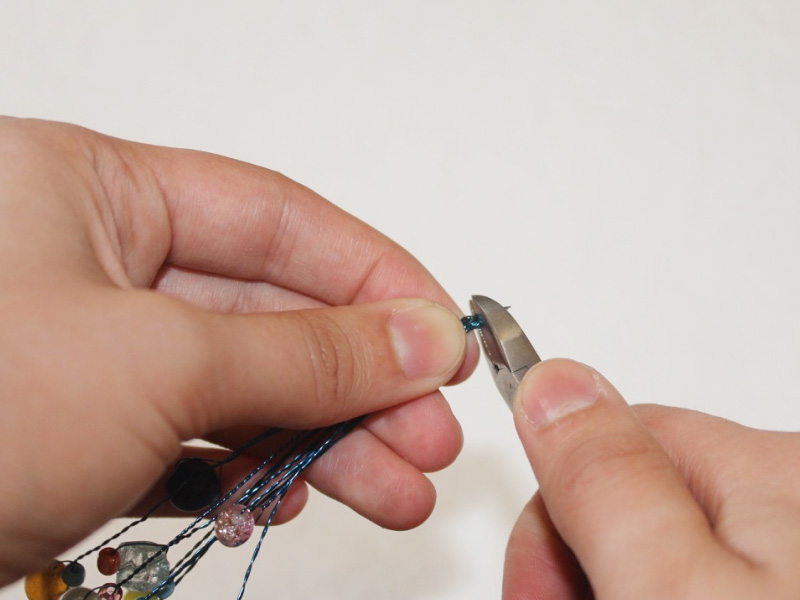
6: Trim the top of the bunch using the cutting pliers.
7: Take the remaining piece of wire and fold it in half.
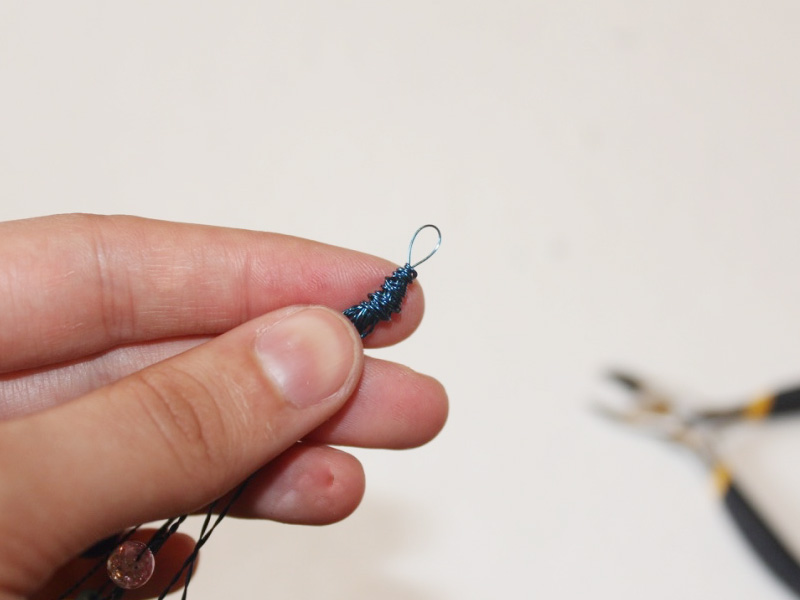
8: Place the loop at the top of the pendant and wrap the rest of the wire around the top to secure the bead bunch in place.
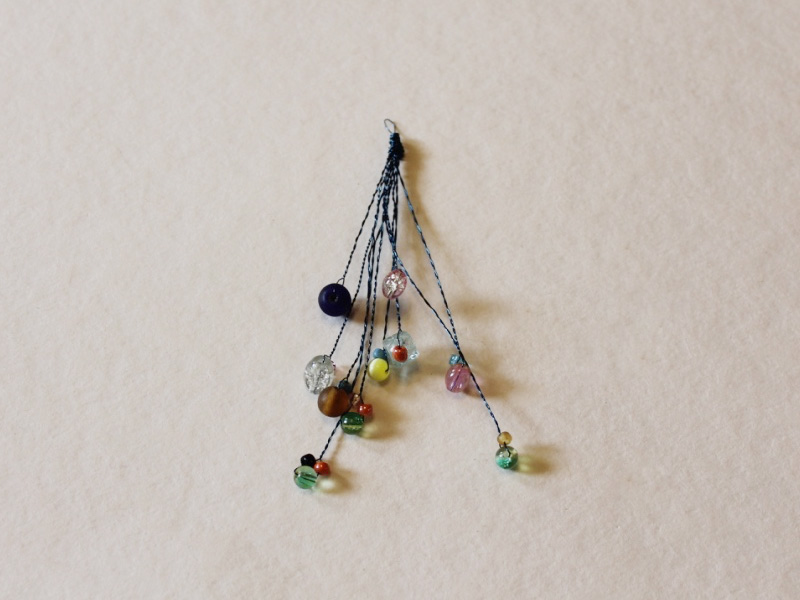
9: Once the pieces are secured at the top, gently pull and shape the bead wires into your preferred position to complete the pendant.
10: Once you have customized your pendant to your liking you can add it to a chain or cord and wear away!
DIY Jewelry Hub
Welcome to DIY Jewelry Hub. If you’ve ever wanted to learn how to make your own jewelry this is the place to start! Jewelry is a great way to show off your individuality and style. You’ll be surprised at how easy it is to create your own unique pieces! DIY Jewelry Hub will equip you with all the knowledge and inspiration you need to make your own jewelry.
You May Also Like

This charm will let you turn any necklace into a lariat!

Sequins are so pretty, here’s how to add some to a necklace.
