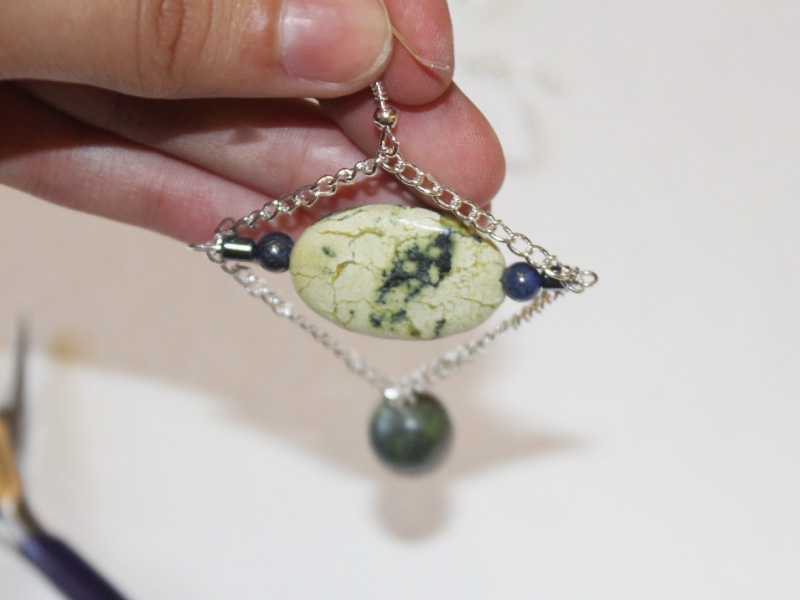
Shine Bright with These Diamond Shaped Chain Earrings!
This stylish earring design is really just a variation on my triangle drop earring tutorial, the only difference is that you need a little extra chain, a couple more pins and a few more beads! I think this design is really beautiful, giving you maximum impact with just a few easy jewelry making steps. I would recommend experimenting with some fancy gemstone or glass beads when you are making these earrings. The simple design means that your choice of beads will really stand out and make a special sartorial statement!
You will need the following tools and materials to make these diamond chain earrings:
1: Pliers. You will need to use your round nose pliers, cutting pliers and flat nose pliers to make these earrings.

2: Chain.

3: Two eye pins.
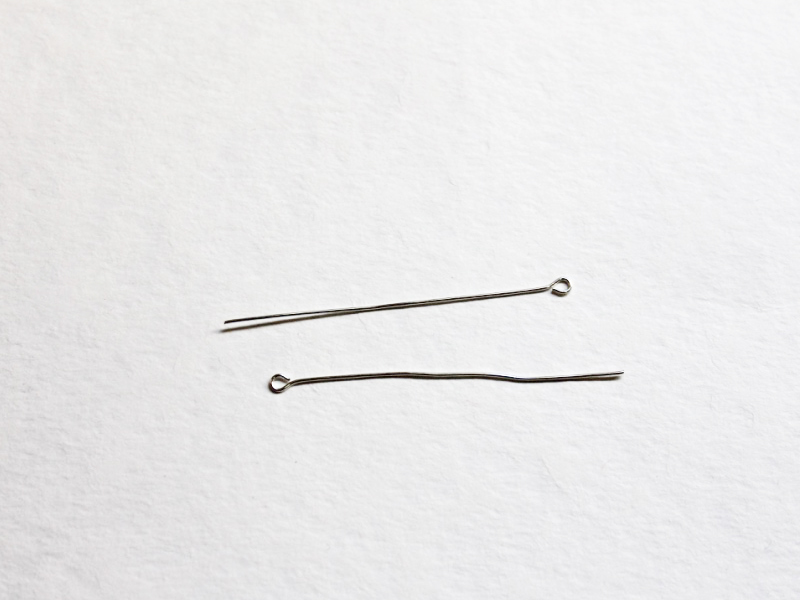
4: Two head pins.

5: Two Earring hooks.

6: Beads of your choice, for the center bar charm and bead drop at the bottom of the earring. I used a selection of gemstone beads.


The Steps:
1: Add your beads to each of the eye pins.


2: Once all the beads are added, bend the end of each pin at a right angle to the beads using the round nose pliers.

3: Create a loop at the end of each pin using the round nose pliers.


4: Add the remaining beads to the head pins.

5: Bend the head pins at a right angle to the beads using the round nose pliers.

6: Trim the head pins approximately 1cm (0.4 inches) from the bead using the cutting pliers.

7: Create a loop at the top of each head pin using the round nose pliers.

8: Separate the chain into four pieces, I used the shorter pieces at the top of the earring and the longer pieces at the bottom.

9: Take the beaded bar charms and open the loop slightly on one end. Slide a long and short piece piece of chain onto the open loop.


10: Close the loop to secure the chains in place and repeat to attach the chain on the other side. Make sure that the chains don’t cross over each other. Make sure you repeat steps 9 and 10 for both earrings.

11. Add earring hooks to the short chain at the top of the earring charms. Do this by opening the earring hook using your round nose pliers.

12: Secure the earring hook in place by closing the earring loop using the round nose pliers.

13: Open the loop at the top of the other bead charms. Slide the open loop into the center of the long bottom chain and secure it in place by closing the charm loop again.

14: Repeat step 13 for the second earring. Now your earrings are complete! Wear these with your fave outfit, or use them to jazz up an old one. Get creative and wear them with pride.


DIY Jewelry Hub
Welcome to DIY Jewelry Hub. If you’ve ever wanted to learn how to make your own jewelry this is the place to start! Jewelry is a great way to show off your individuality and style. You’ll be surprised at how easy it is to create your own unique pieces! DIY Jewelry Hub will equip you with all the knowledge and inspiration you need to make your own jewelry.

You May Also Like

Want Something Simple and Delicate for Your Ear Lobes? Make Some Dainty Threader Earrings!

Here’s how to make some beaded wire threader earrings!