-
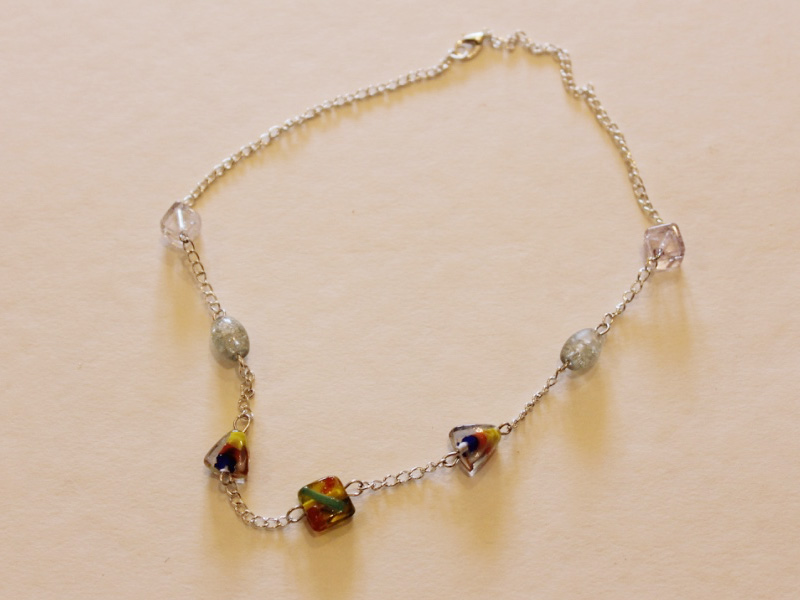
Here’s how to make a beaded necklace out of wire!
If you want to make a beaded chain necklace, but don’t have any head pins, or if you want to add some handmade flair to your work, here’s how you can use wire instead! This necklace tutorial uses the clasp from last month’s tutorial, you can follow it here.
Please note that this tutorial contains affiliate links
You’ll need these tools and materials to make your necklace:
1: Some wire. I used some copper wire that was about 1mm in diameter.

Here’s some silver wire if you prefer it: https://amzn.to/3M8DgL0
2: A clasp. I used the clasp made in this tutorial.

3: A selection of beads. I used a random selection of glass, plastic and clay beads.
4: A pair of flat-round pliers.

5: A pair of cutting pliers.

6: A pair of flat nose pliers or flat nose parallel pliers.

7: A file in case you want to smooth the ends of your wire. This isn’t totally necessary but adds to giving your work a quality finish.

Follow these steps to make your beaded wire chain necklace:
1: Bend the end of the wire using the flat nose pliers to form a right angle.


2: Loop the end of the wire using the round-flat pliers.

3: Add your first bead to the wire.

5: Trim the wire. I measured where to trim by holding the wire with the flat nose pliers and then cutting next to it.


6: At this point, you can file the end of the wire to flatten it, or you can simply create a loop at the top of the bead using the flat-round nose pliers.


7: Repeat steps 1-6 for the next bead link for the necklace. Once the link is formed, use the flat nose pliers to open the jump ring, slide it onto the first charm and close the link to start forming the chain.


8: Repeat these steps until you have a length you like for a necklace.


9: Open one of the loops at the end of the necklace and attach the clasp. Close the loop to secure the clasp in place. Add the clasp ring to the other side of the necklace to finish it off.


Now your necklace is finished! How fun to make your own jewellery without any pre-made findings?!


-
Got a project you don’t like anymore? Here’s one way you can take a piece apart so you can re-use the materials!
I have made many pieces of jewellery over the years. Some work out great… others not so much! So when I’ve got a piece that didn’t really work, or that I don’t like anymore, I take it apart and re-use the materials in other designs. This video shows you how to take apart a beaded chain design so that you can re-use the components and beads again! Please note that this tutorial video contains affiliate links.
The only tools you really need to take apart your old jewellery pieces are pliers and a pot to put the beads in so they don’t roll away!

And here’s where you can get a little pot to pop your beads in:
Watch this video to see how I took my beaded chain pieces apart.
Here are all the materials I ended up with that I can use again!


The pins won’t be completely straight, but you can trim them down and use them for smaller beads! I hope you found this video tutorial useful! I love taking apart my old work and transforming it into something new and I hope you do to!
-
How to make a letter bead chain bracelet!
Sometimes you need to be a bit subtle about how you communicate your feelings. So instead of saying it out loud, or showing it in your body language, why not show how you feel with your jewelry? Here are all the steps you can follow to make a cute letter bead bracelet that says a word on it. Mine says ‘grumpy’ because that’s how I feel a lot of the time ;). Please note that this tutorial contains affiliate links.
You’ll need these tools and materials to make your letter bead chain bracelet:
1: A bunch of eye pins. The number you need depends on the length of your bracelet.

2: Two jump rings.

3: A lobster clasp.

4: Letter beads that make up the word you want to spell. Mine spells G-R-U-M-P-Y.

5: Other beads. I used some black plastic beads recycled from an old necklace. The number of extra beads you need will depend on the length of your word.

6: A small jump ring.

7: A charm. I used this plastic banana charm and drew a little smile on it with permanent marker.

Follow these steps to make your own letter chain bracelet:
1: Add a letter bead to one of the eye pins.

2: Bend the eye pin to form an angle.

3: Bend the top of the pin over to form a loop that secures the bead onto the pin. Use your round nose pliers to do this.

4: Repeat steps 1 to 3 for the other letter beads until your whole word is on pins.

5: Attach each of the letter bead pins together to form a chain.


6: Set the letter chain aside and start making the side chains.
7: Add your other beads to the pins the same way you did for the letter beads. Make two chains so that the whole piece is long enough to wrap around your wrist. Make each chain an even length so that your word sits in the middle.


8: Add a lobster clasp to one end of the bracelet using one of the jump rings.


9: Add the other jump ring to the other side of the bracelet.

10: To finish the bracelet off, attach your charm using the small jump ring.


Now your bracelet is finished and ready to wear! So cute!


Here are some other letter bead tutorials you can follow:
-
Here’s how to make a fruity waist chain!
This waist chain can be adjustable and is embellished with fun polymer clay fruit beads to make you feel like a tropical human fruit salad! This tutorial shows you a way to put beads on a chain for a fun effect! Please note that this tutorial contains affiliate links.
You’ll need the following tools and materials to make your fruit salad waist chain:
1: Pliers. I used my round nose and flat nose pliers.


2: Chunky chain long enough to fit your waist. Make it a little longer to make your belt adjustable.

3: Two large lobster clasps.

4: Two large jump rings.

5: Some head pins.

6: Beads. I used polymer clay beads in the shape of different fruits and some yellow glass beads.

Follow these steps to make your fruity waist chain:
1: Attach a clasp to either end of your chain using each of the jump rings. Open the jump ring and slide it through the end of the chain and the clasp. Close the ring to secure the clasp to the chain.


2: Set the chain aside.
3: Add beads to a head pin. I used a few glass beads and a fruit bead on mine.

4: Bend the top of the pin to form a right angle.

5: Create a loop at the top of the pin using the round nose pliers. This will secure the beads on the pin.


6: Open the loop slightly and attach it to one of the chain loops. Close the loop to secure the charm to the chain.


7: Make another charm that features only glass beads and place it on the chain next to the first charm.


8: Continue making fruit and bead charms and attach them to the chain in your chosen pattern until you have a fully beaded chain.

Now your waist chain is finished and ready to wear! You can also wear this design as a necklace.


Here are some other waist chain designs you can make:
-
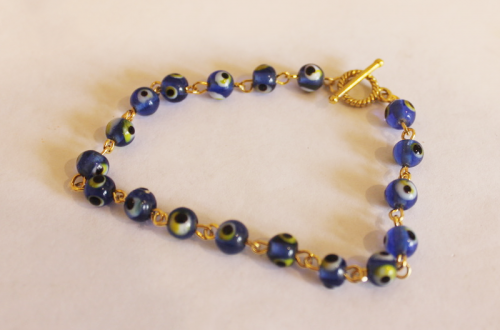
Like chains and beads? Why not mash them together to make this bead chain bracelet?
This bracelet uses wire and beads to make big loops that you then turn into a bracelet! This cute design is perfect for wearing with summer outfits.
You’ll need these tools and materials to make your bracelet:
1: Pliers. I used cutting pliers, flat nose pliers and round nose pliers.
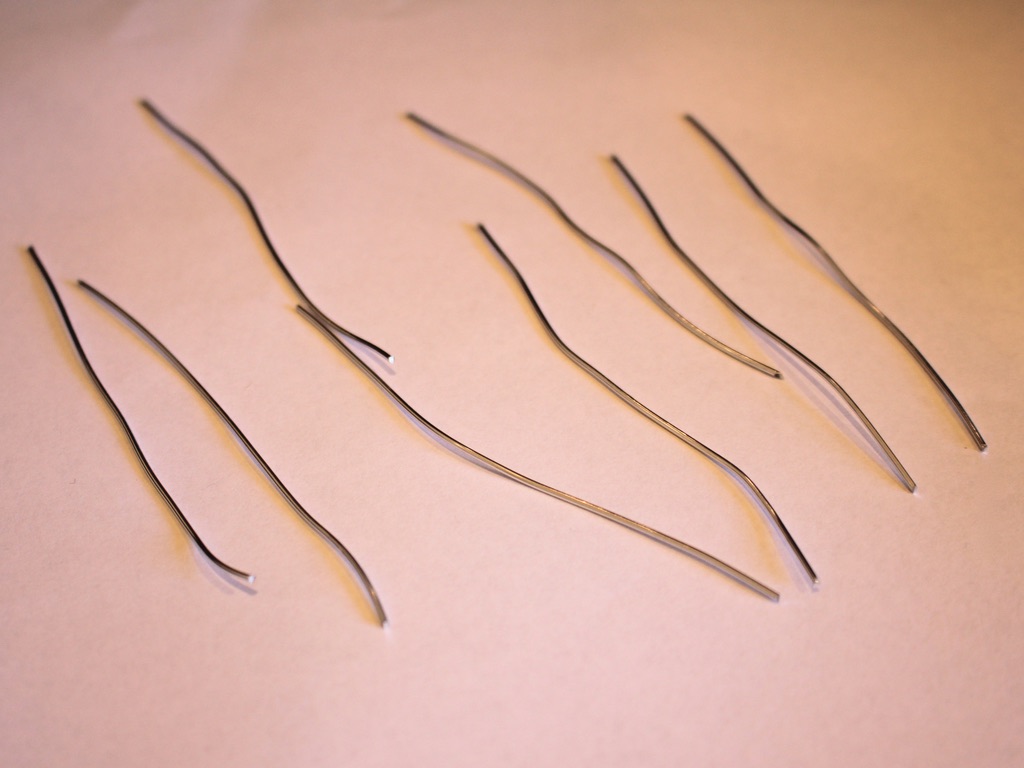
2: Some pieces of soft wire. I used eight pieces approximately 9cm long, but you may want to use more or less depending on the size of your wrist. My final bracelet was a little on the small size.
3: Two jump rings.

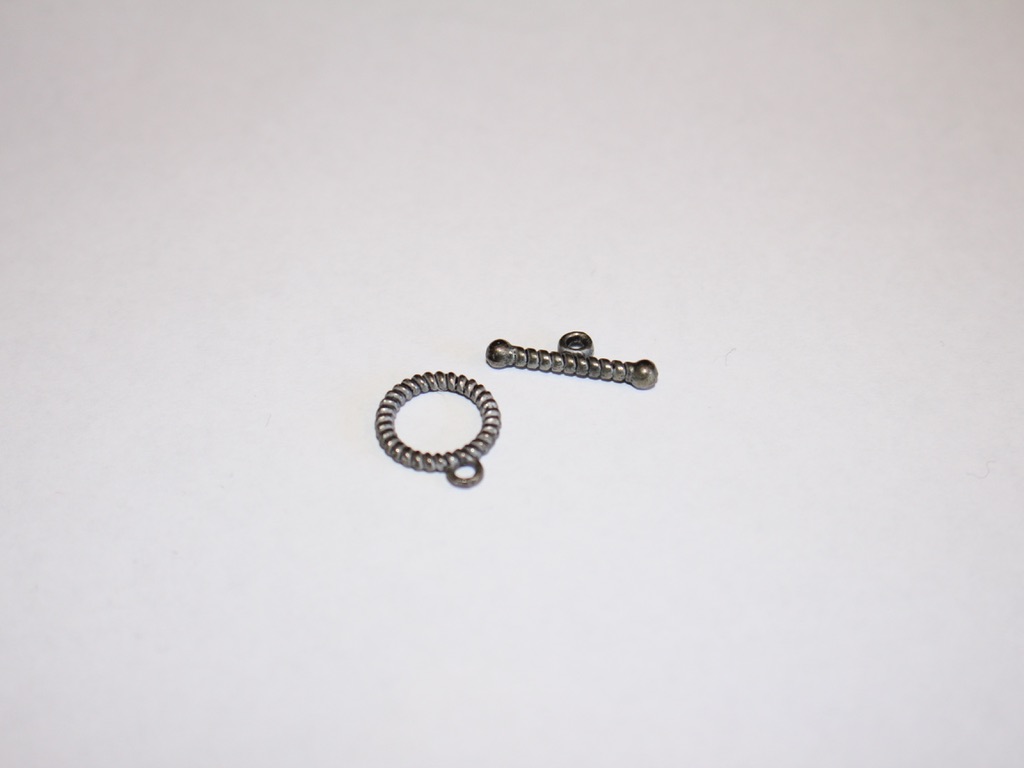
4: A toggle clasp.
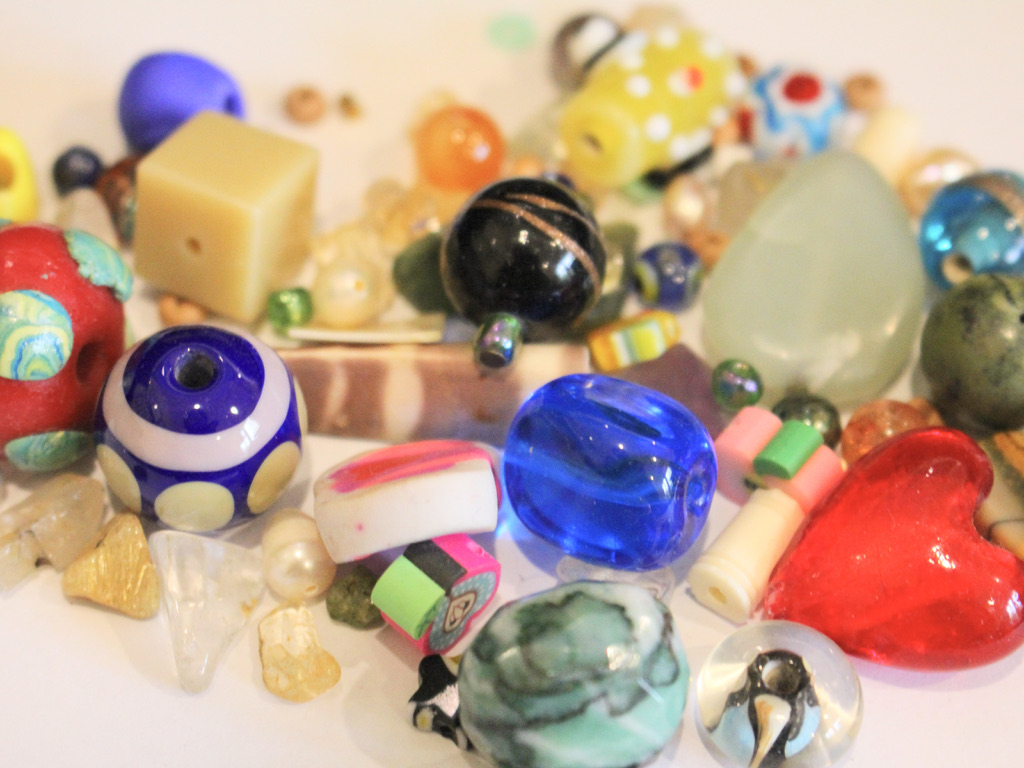
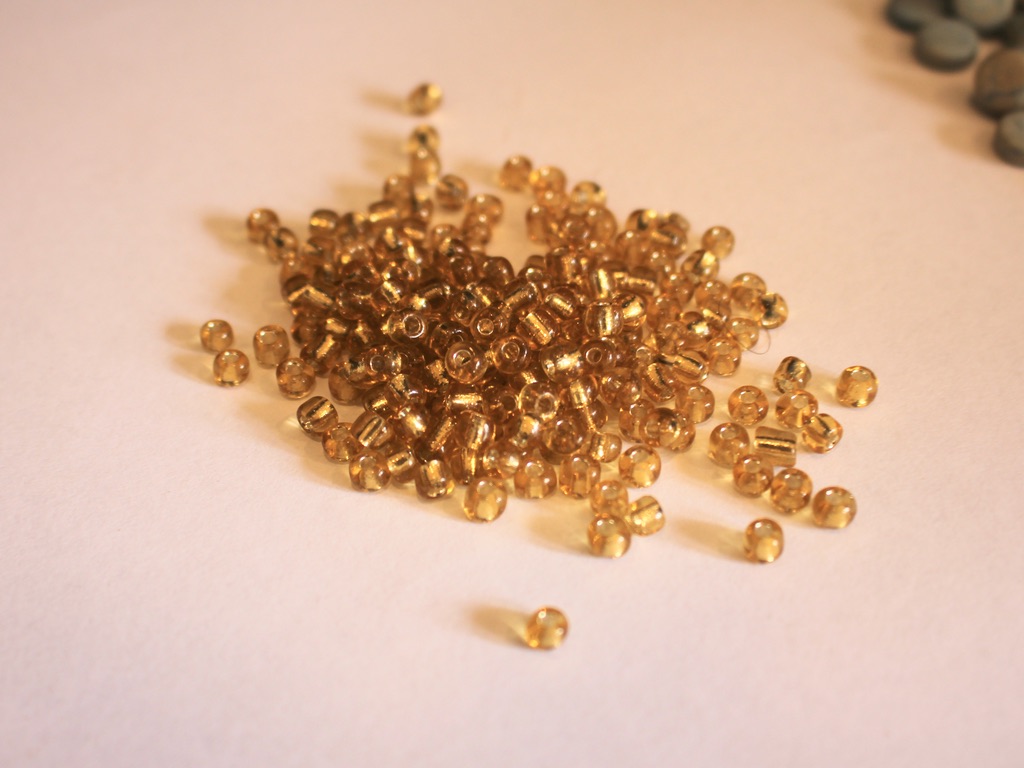
5: Beads. I used yellow glass e-beads.

Follow these steps to make your chain bracelet:
1: Take one of the pieces of wire and create a loop at one end using the round nose pliers. Do this by bending approx. 1cm of wire to form a right angle and then loop it around the round nose pliers.

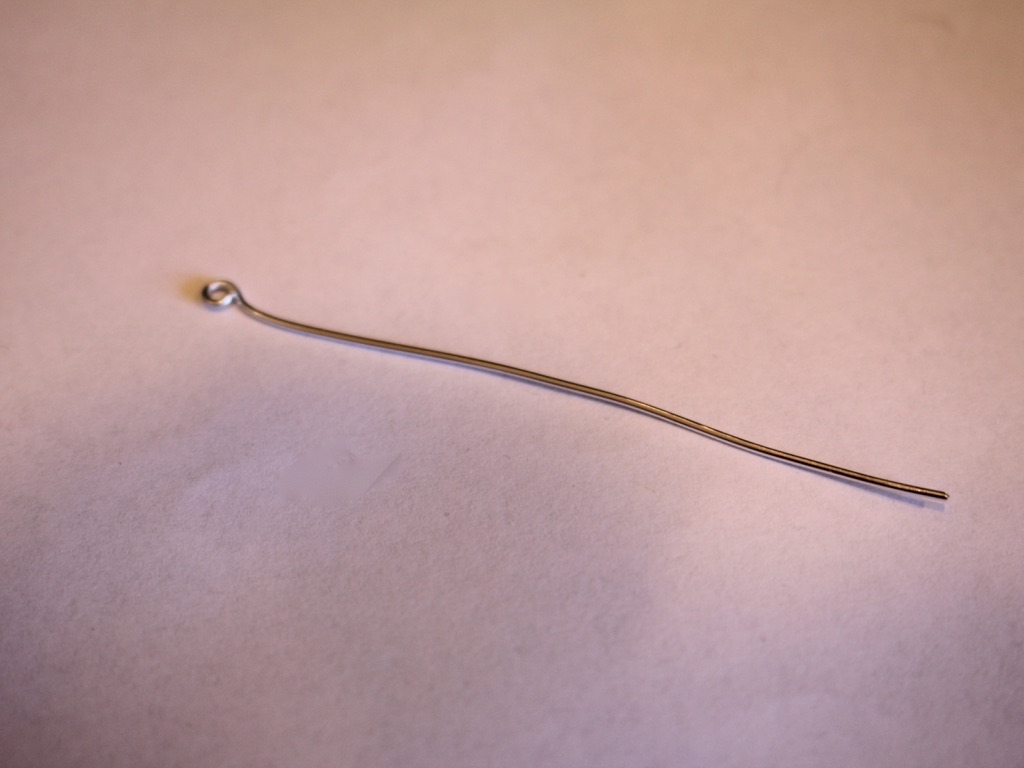
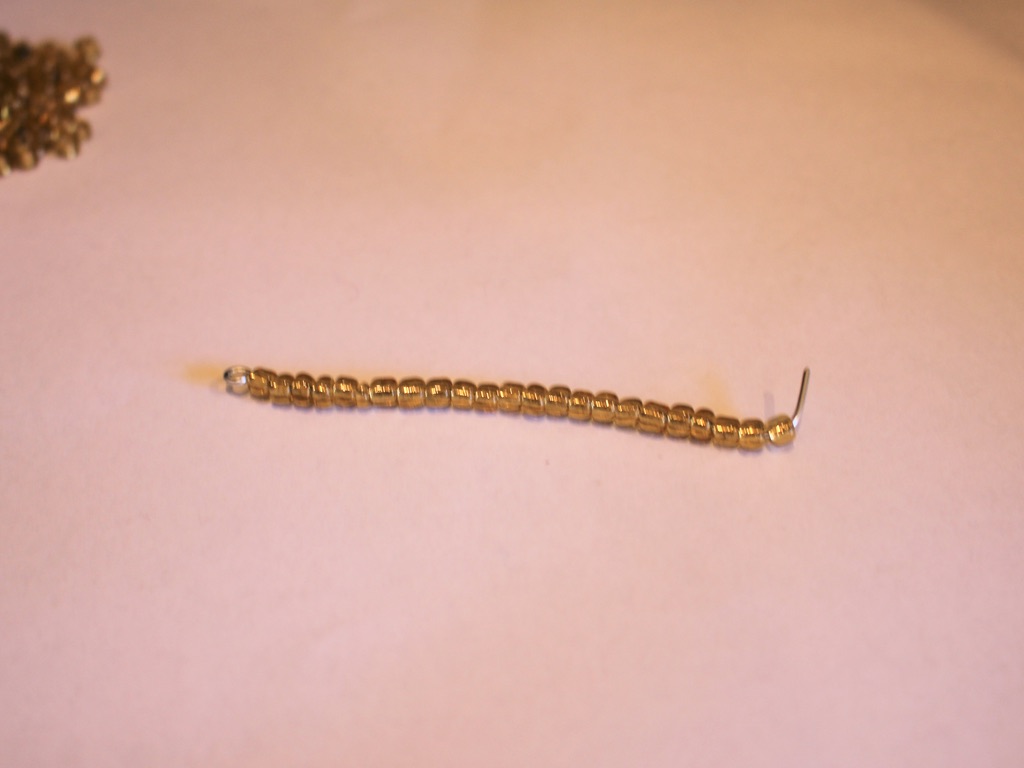
2: Add beads to the wire leaving 1cm unbeaded.


3: Create another loop at the other end of the wire.
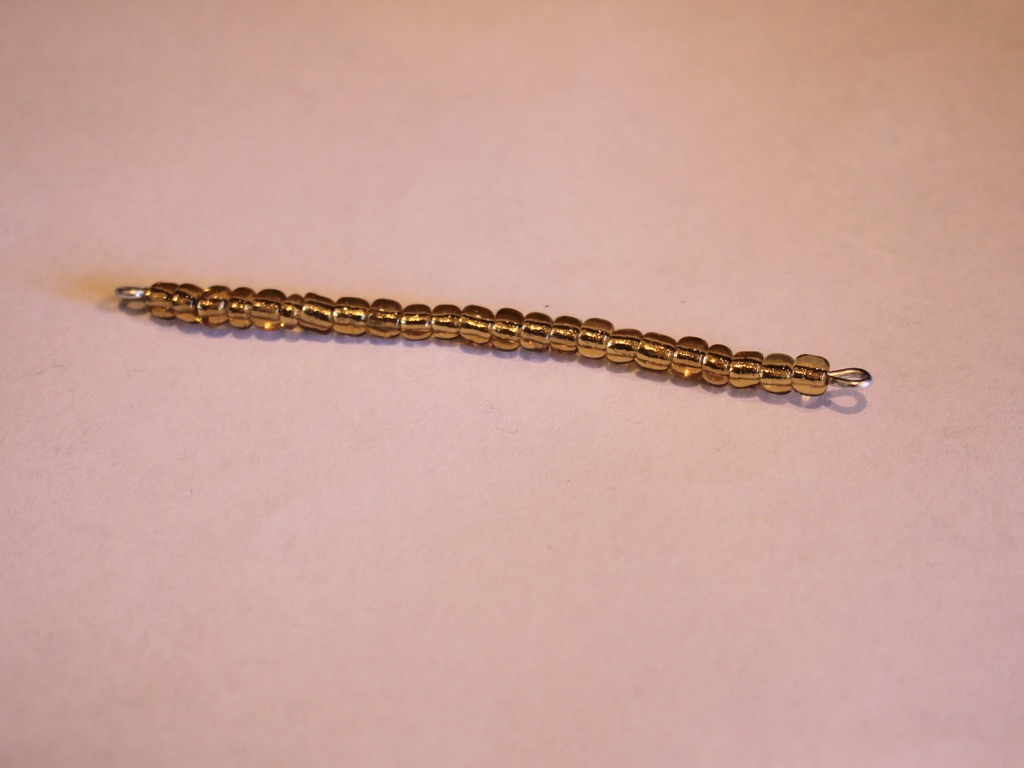
4: Bend the beaded wire into a circle shape.
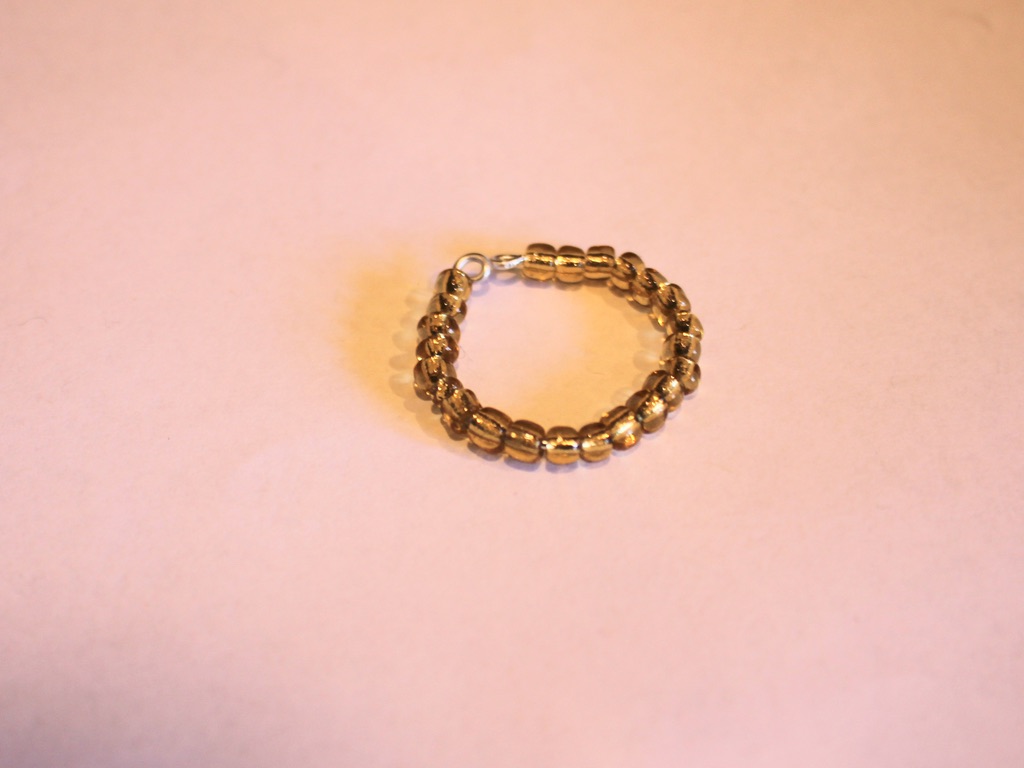
5: Open one of the end loops and thread it through the other end loop. Close it to create a closed circle.

6: Make another loop, but before closing it as you did in step 5, thread it through the first loop you made. Once it is threaded through you can close it.

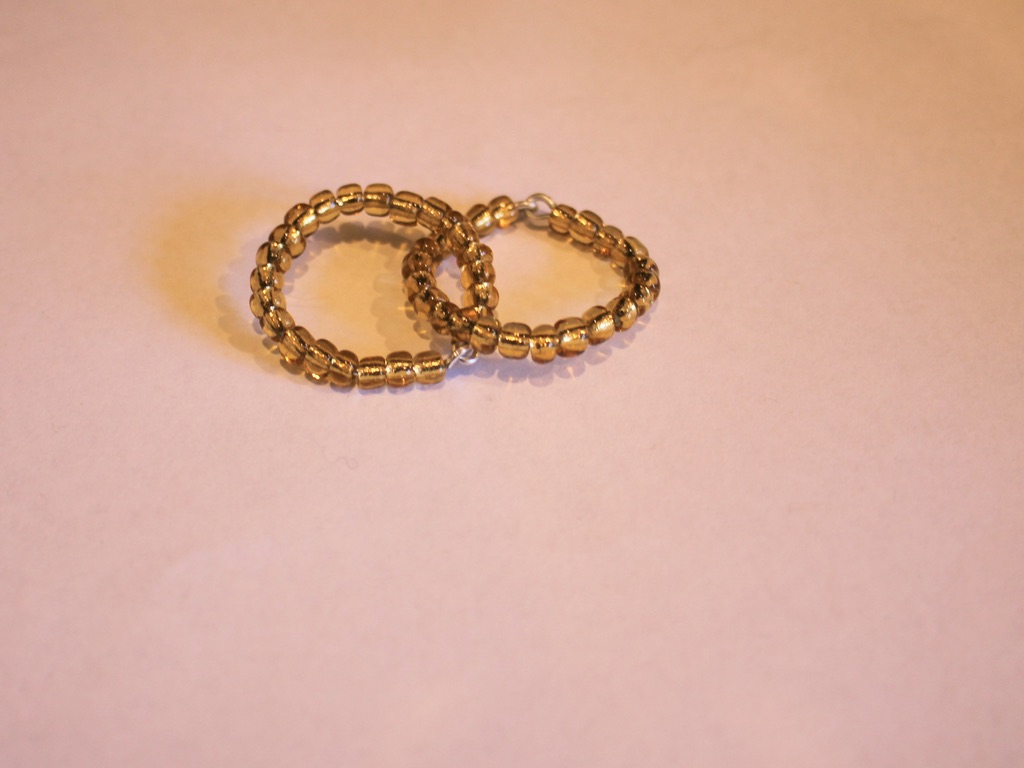
7: Continue steps 1-6 until you have created all your links.
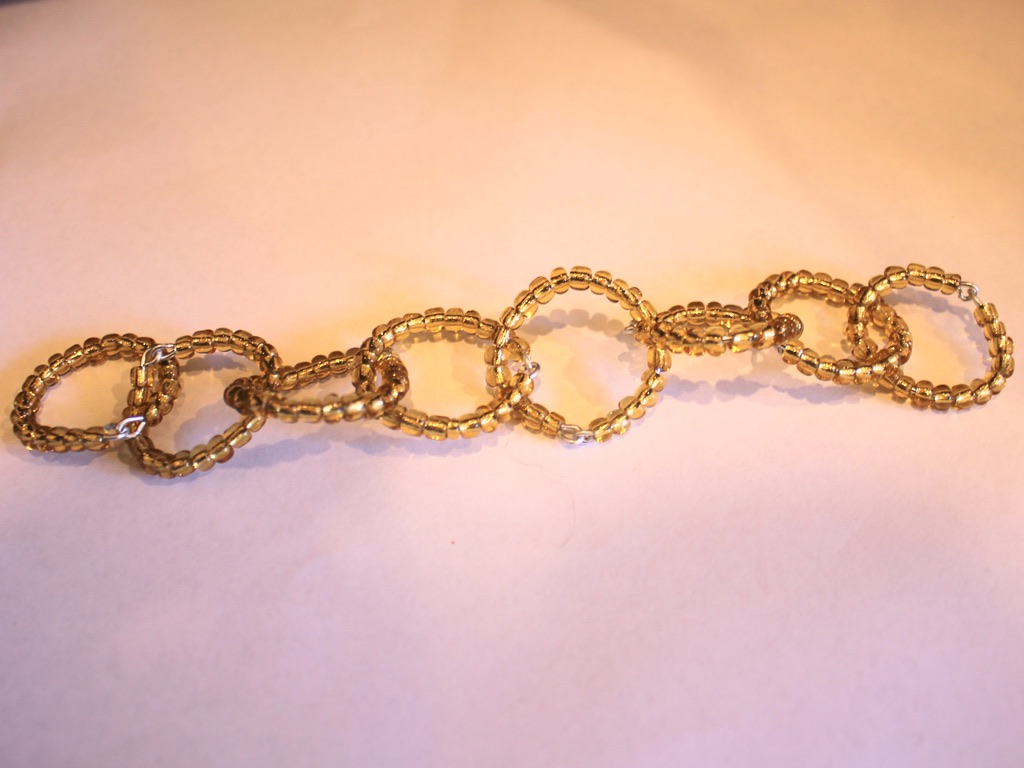
8: Take one of the end loops and rotate it so that the end loops face outward. Attach one of the jump rings and one side of the toggle clasp.
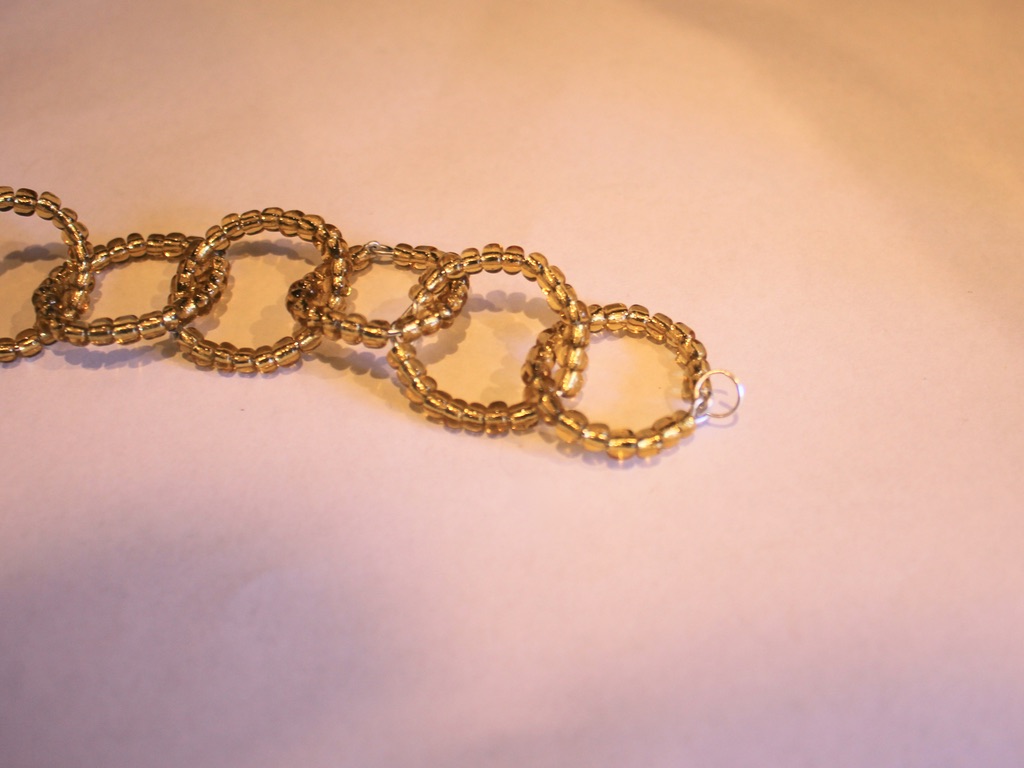
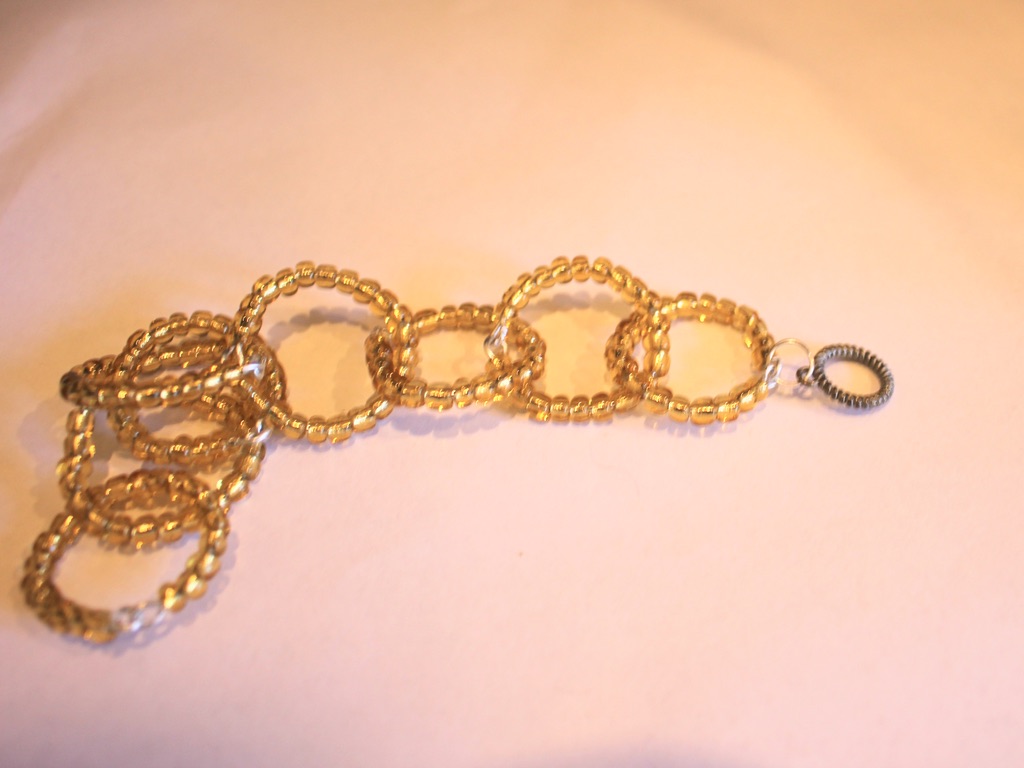
9: Attach the other side of the toggle clasp to the other end of the bracelet chain using the remaining jump ring.

Now your bracelet is finished!


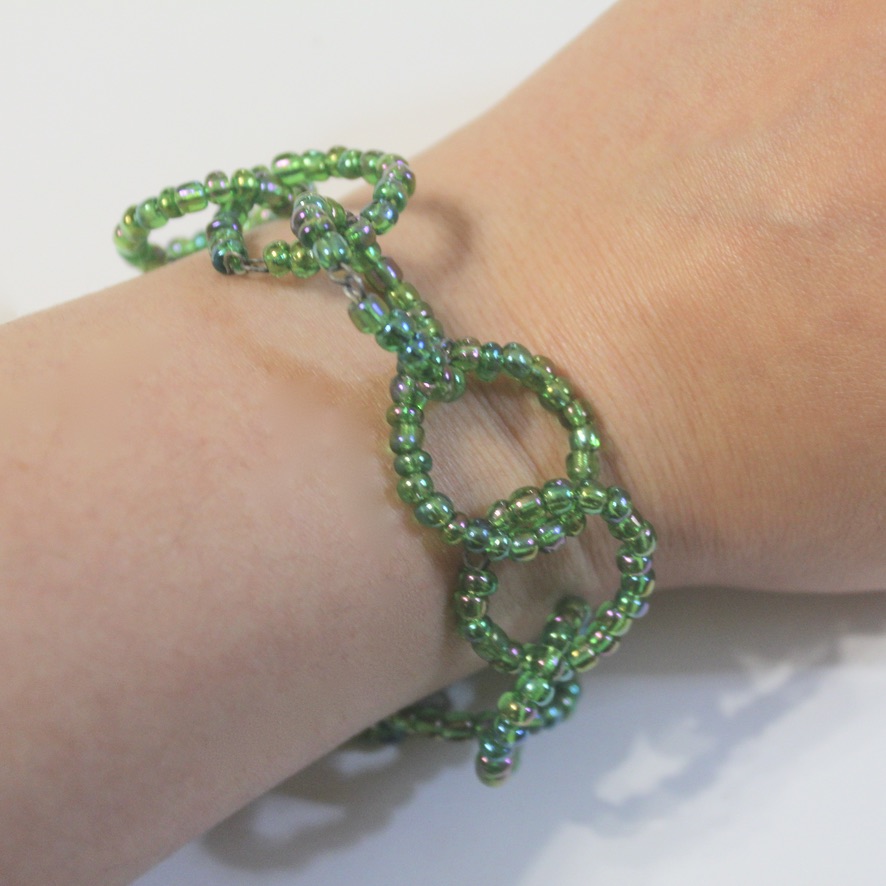
Here’s another one I made using green glass beads and soft thin wire.

This tutorial contains affiliate links.