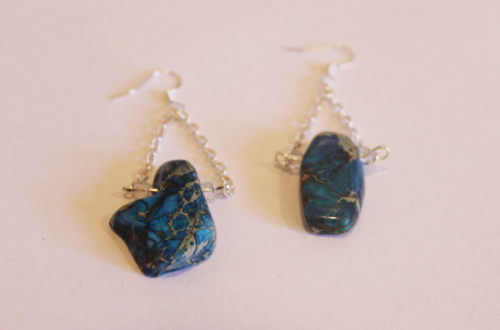
-
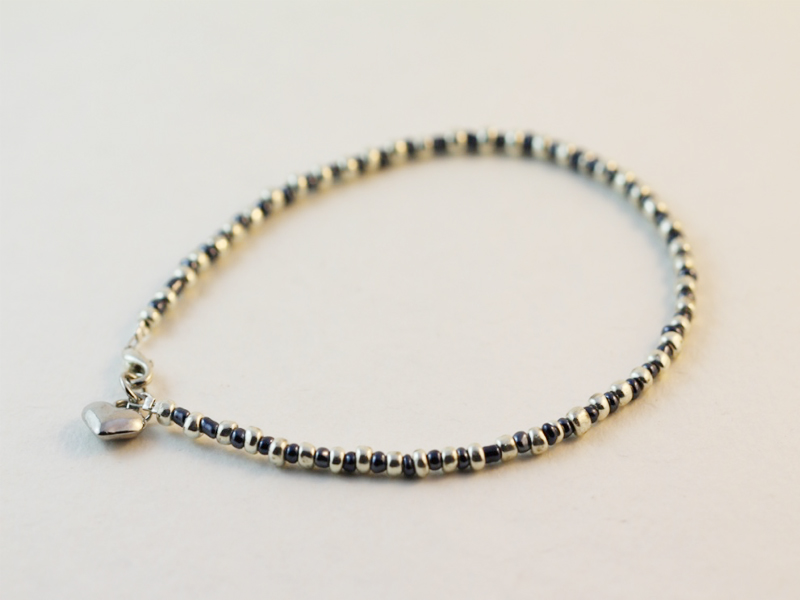
Here’s how to take apart your beaded jewellery so you can reuse the materials.
Do you have a beaded necklace or bracelet that you don’t like anymore? Here’s a video tutorial that shows you how to take that piece apart so that you can re-use the beads, the wire and most of the findings! Knowing how to take apart jewelry you don’t want anymore is a way to both save money and be a bit more eco friendly! Please note that this tutorial contains affiliate links.
You’ll need the following tools and materials to take apart your jewels:
1: A piece of jewellery you don’t want anymore. I took apart a beaded anklet.

2: A pair of cutting pliers.

3: A bowl to put your beads in so they don’t fly everywhere.
4: A pair of flat nose or round nose pliers for opening jump rings.


Watch this video to see all the steps:
Will you take apart your old creations, or maybe some vintage jewels you found at a market or online?
-
How to make a cute pair of beaded statement earrings!
These earrings are really cute, they are a twist on the typical beaded hoop, as they feature a beaded bar in the centre and are slightly oval in shape. I used some green and blue beads to make this pair of earrings. Please note that this tutorial contains affiliate links.
You’ll need these tools and materials to make these earrings:
1: Two pieces of bracelet sized memory wire, one coil for each earring.

2: Two long eye pins.

3: Two jump rings.

4: Two earring hooks.

5: Beads. I used four plastic blue beads and some green glass beads.

https://www.ebay.com.au/itm/263927947665?hash=item3d7354e191:g:cjMAAOSwrKBgh0ma&frcectupt=true

6: Pliers. I used my cutting pliers, round nose pliers and flat nose pliers.

Follow these steps to make your statement earrings:
1: Add beads to the eye pins in your chosen pattern.

2: Bend the top of the pin to form an angle.

3: Loop the top of the pin using the round nose pliers.


4: Repeat steps 1-3 for the second eye pin.

5: Take one of the pieces of memory wire and loop one end using the round nose pliers.


6: Add beads to the wire. Bead to about half-way through the hoop.

7: Add one of the eye pins to the wire.

8: Add beads to the rest of the memory wire, leaving about 1cm without beads.

9: Loop the other end of the wire using the round nose pliers again. Thread it through the first loop you made before closing it fully.

10: Open the top loop of the eye pin and thread it through the two loops at the top of the hoop. Close it to secure the pin in place.

11: Repeat steps 1-10 for the second earring.

12: Attach an earring hook to each hoop using the jump rings.


Now your statement earrings are finished and ready to wear!! So cute and pretty!


-
How to add cute square charms to a pair of hoop earrings!
These hoop earrings are really cute! Each hoop has a little dangly beaded square charm which moves prettily as you wear them! This is a really special way to upgrade a basic hoop finding. Please note that this tutorial contains affiliate links.
Grab these tools and materials to make your earrings:
1: A pair of hoop findings.

2: Eight eye pins.

3: Four head pins.

4: Four small jump rings.

5: Four large jump rings.

6: Glass beads. I used yellow glass e-beads.

7: Some accent beads, I used four blue seed beads and four silver-tone beads.


8: Pliers. I used my flat nose and round nose pliers for this pair of earrings.

Follow these steps to make your elevated hoop earrings:
1: Add beads to one of the eye pins.

2: Bend the end of the pin to form an angle.

3: Curl the end of the pin around the round nose pliers to make a loop. This secures the beads in place.


4: Repeat steps 1-3 for the remaining seven eye pins. Now you will have eight beaded pins.

5: Take four of the pins and join them together to form a chain.


6: Do this again for the second set of pins.

7: Attach the ends of each chain together to make a square shape.


8: Set the two squares aside.
9: Add two of the accent beads to the head pins.


10: Wrap the end of the pin around the round nose pliers to create a loop.


11: Repeat steps 9 and 10 for the other three pins, using up the rest of the beads.

12: Attach two of the charms you just made to the bottom corners of each of the squares using the small jump rings.


13: Add the larger jump rings to the top corners of the squares.


14: Using the larger jump rings, slide a charm onto each of the hoops.


Now your elevated hoop earrings are finished and ready to wear! How fun is this design? I love how they move and wiggle as I wear them!

Here are some other ways you can incorporate beaded squares into your jewelry:
-
How to turn a broken necklace into a waist chain!
This is a fun upcycling DIY! This DIY makes use of long broken necklaces and shows you how to transform them into cute waist chains! Unfortunately not all your broken necklaces are long enough to turn into body chains, but if you’ve got some long chains or bead strands that aren’t working as necklaces anymore, here’s a way to upcycle them and wear them in a new way! Please note that this tutorial contains affiliate links.
You’ll need these tools and materials to make your waist chain:
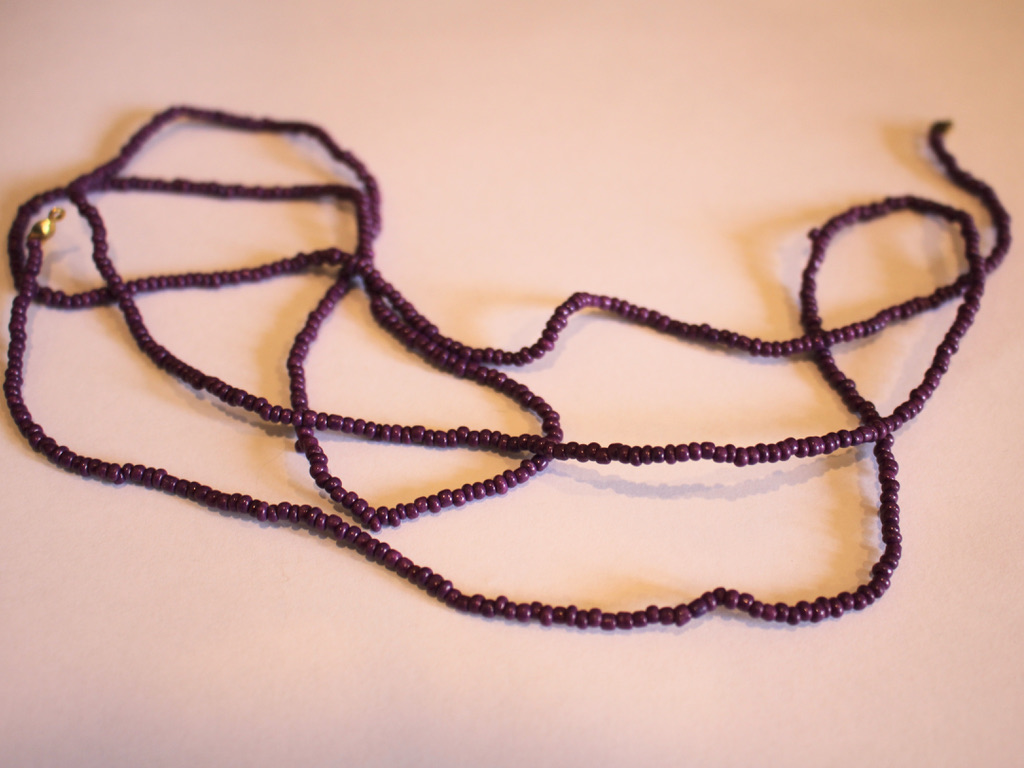
1: A long broken necklace. I used this beaded strand from a broken necklace. If you don’t have a strand like this, you could use a long chain or connect multiple broken necklaces together to get the length you like.
2: Some pliers. I used my round nose and flat nose pliers for this design.
3: A couple of jump rings.

4: A large lobster clasp.

Follow these steps to transform your broken necklace into a waist chain:
1: Add a jump ring to one end of the chain. Slightly open the ring using your pliers and slide it onto the loop at the end of the broken necklace.

2: Add the lobster clasp to the open jump ring that you just placed on the end of the strand.

3: Close the jump ring using your pliers to secure the clasp to the strand.

4: Add the other jump ring to the other end of the strand, close it with your pliers to secure it in place.


Now your upcycled waist chain is ready to wear! You can also wear this piece as a long length necklace or a wrap necklace. But I bet you’d prefer to wear it as a sexy cute waist chain?!

You can find some more body chain tutorials here.
-
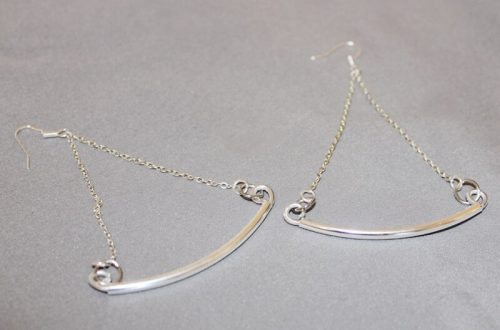
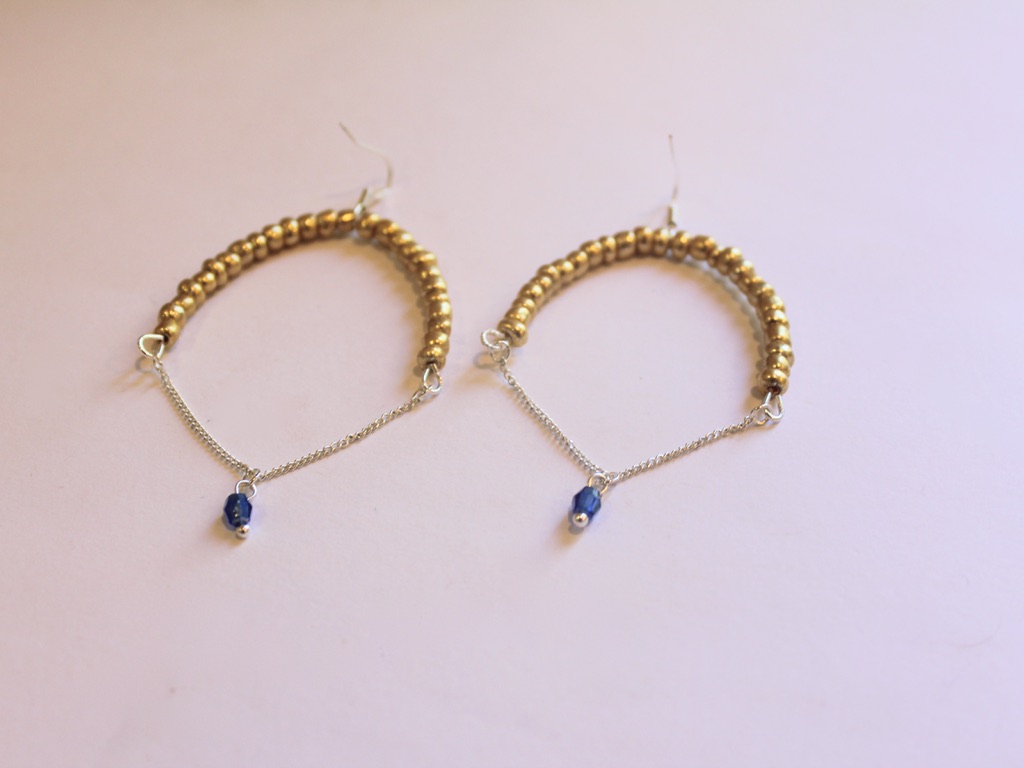
These arched and chain embellished earrings are so cool. Here’s how to make them.
We have made some different arch and chain earrings before, this one flips them around so that the arch sits at the top of the earring leaving the chain to dangle down gently. I really like the way these earrings move when you wear them. This tutorial contains affiliate links.
You’ll need the following tools and materials to make these earrings:
1: Pliers. I used my cutting pliers, round nose pliers and flat nose pliers.
2: Some bracelet length memory wire cut into half circles.

3: Two short pieces of chain.

4: Earring hooks.

5: Six jump rings.


6: Two head pins.

7: Beads. I used gold-tone e-beads and faceted blue plastic beads.


Follow these steps to make your own arch and chain dangle earrings:
1: Create a loop at one end of one of the pieces of memory wire using the round nose pliers.

2: Add beads so that approximately half of the wire is beaded.

3: Add one of the earring hooks.
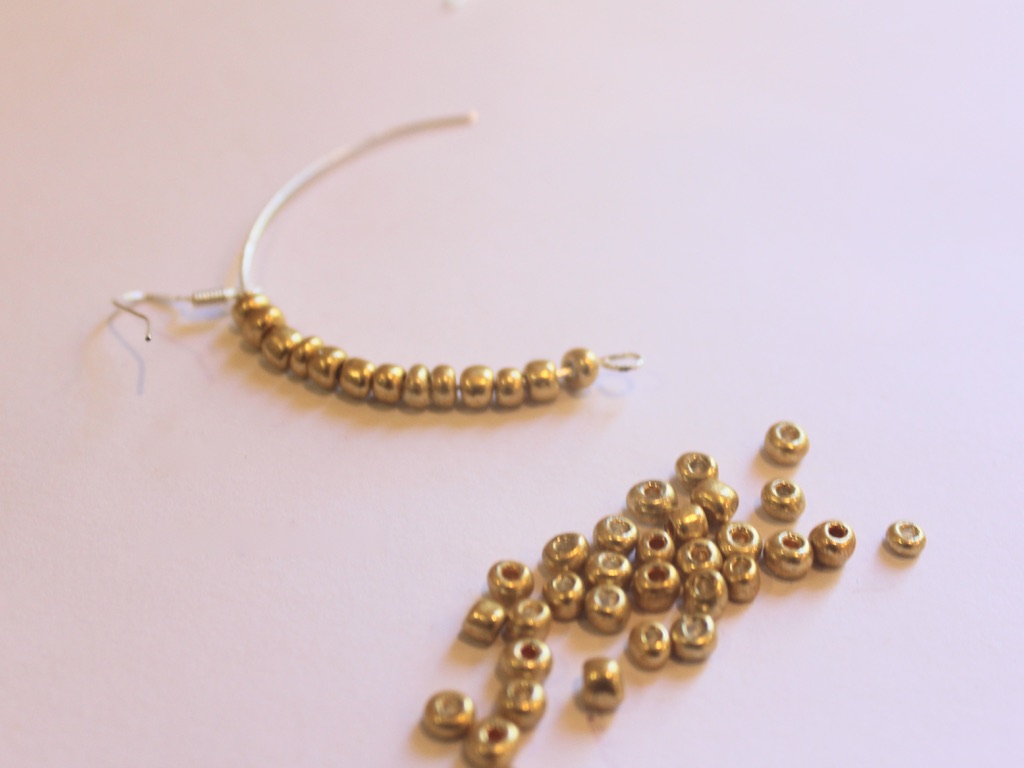
4: Add more beads to the wire until there is about 1cm left without beads.

5: Curl the end of the wire so that the beads and earring hook are secured in place. I squeezed my wire a bit at this point so that it formed a more narrow arch.

5: Repeat steps 1-5 for the second earring.

6: Add a jump ring to one end of the small chains.

7: Attach the end of the chain to the bottom of the beaded arch.

8: Repeat steps 6 and 7 for the other end of the chain to form a loop.


9: Repeat steps 6 to 8 for the other earring.

10: Add the faceted beads to each of the head pins and loop the tops using the round nose pliers to secure the beads in place.


11: Attach the newly formed bead charms to the chains with the remaining jump rings.

Now your dangling arch earrings are finished and ready to wear! So so cute!
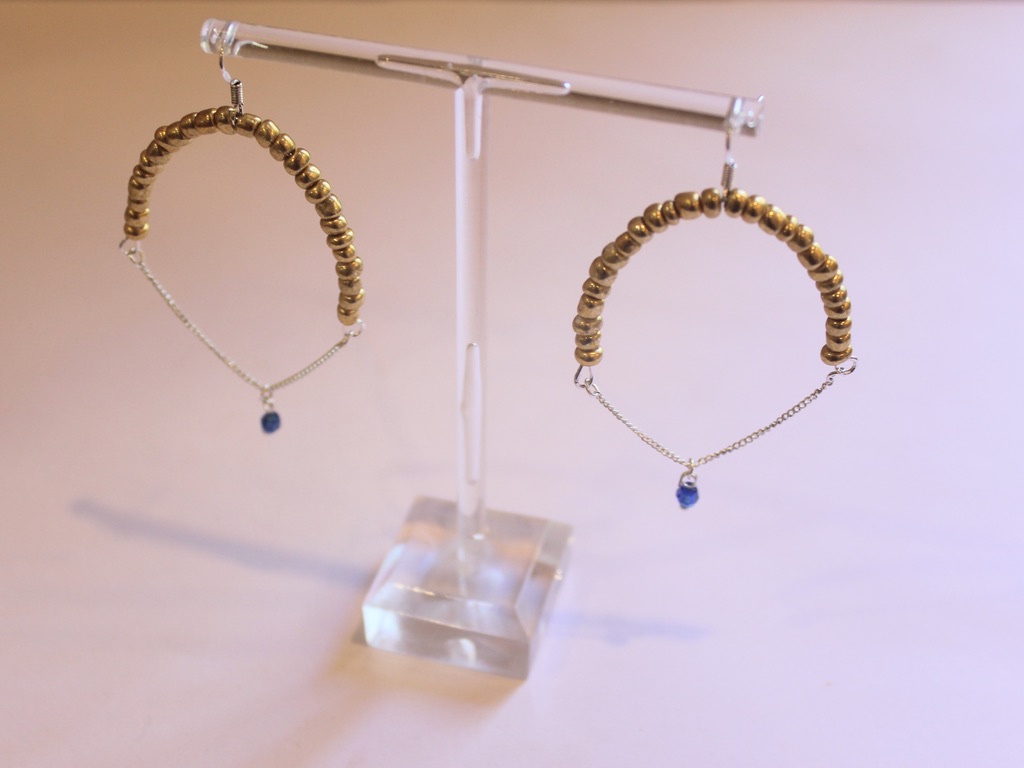
If you like this design here’s a different arch earring tutorial we made a little while ago.
This tutorial contains affiliate links.
-
Do you need more colorful jewelry in your life? Why not make this rainbow beaded choker with a feature pendant?

This choker necklace is super cool! Made with a rainbow of glass beads and a simple charm, it is sure to make an impact!
You will need the following tools and materials to make this choker necklace:
1: Pliers. You’ll need your flat nose pliers, round nose pliers and cutting pliers for this necklace.
2: Some tiger tail wire long enough to make a choker. Measure the length by wrapping the wire loosely around your neck. Make sure you leave enough length to allow space for securing the ends.

3: Four crimp beads.

4: Two small jump rings.

5: One bigger jump ring.

6: A lobster clasp.

7: Beads. I used these mixed glass beads in different colours.

8: A pendant. I used this pendant I made a while ago from a ring. Check out this tutorial to do this yourself.

Follow these steps to make your own colorful choker necklace:
1: Add two of the crimp beads to the end of the wire.
2: Fold the end of the wire around a jump ring and thread it back through the crimp beads.

3: Squash the crimp beads using the flat nose pliers.

4: Begin adding the beads to the wire. I added mine in random order.

5: Add the pendant. Depending on the size of your beads and the pendant bail you might need to add your pendant at half way so that it sits in the middle of your necklace when you wear it.

6: Add the remaining crimp beads and small jump ring to the end of the wire.
7: Fold the wire around the jump ring and thread it through the crimps and end beads.

8: Squash the crimp beads.

9: Trim the excess wire.


10: Add the lobster clasp to one end of the necklace, attaching it using one of the jump rings.
11: Add the larger jump ring to the other side of the necklace to finish it off.

Now your joyful beaded choker is ready to wear!


-
Stuck for Mother’s Day gift ideas? Here’s our DIY jewelry gift guide!
If you need some ideas for Mother’s Day, here are some tutorials that might inspire you to make the mother figure in your life something special and sentimental.
Gift idea one: A necklace made out of an upcycled brooch.
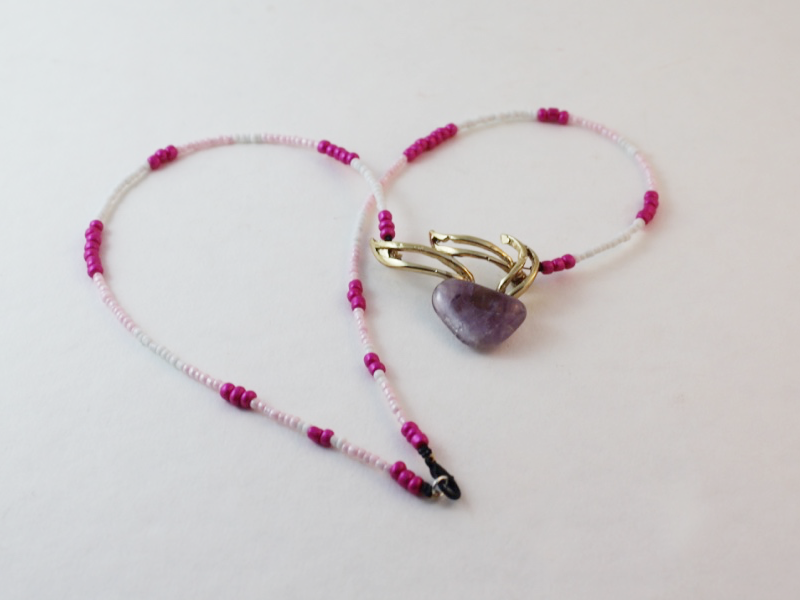
Find all the steps to make a brooch necklace here.
Gift idea two: A lock and key jewelry set.

This is such a cute idea, turn your childhood diary lock and key into a sweet jewellery set! Find the steps here.
Gift idea three: Some delicate wire threader earrings.

These are for the Mother who loves the simple things. The full threader earring tutorial can be found right here.
Gift idea four: An elegant floating pearl necklace.

This necklace is so cool! Find the tutorial here.
Gift idea five: A custom made charm.

Use a special bead or a handmade one and transform it into a one of a kind charm. All the steps to create this special charm are right here.
Gift idea six: A beachy pendant.

Fill this pendant with reminders of the beach or the bush. All the steps to make this sentimental pendant right here.
-
How to Make Pearl Tassels for Your Hoop Earrings

These pearl tassel hoops are a fun way to get on the pearl jewelry trend! Contains affiliate links.
You’ll need the following tools and materials to make your pearl tassel earrings:
1: Pliers. You will need round nose pliers and flat nose pliers to make these earrings.
2: A pair of small hoop earrings. I used these skinny silver hoops.

3: Two eye pins.

4: Six head pins.

5: Two jump rings.

6: Two pearl beads.

7: Mixed beads for the tassels.


Follow these steps to make your pearl tassel earrings:
1: Add the pearls to each of the eye pins.

2: Loop the ends of the eye pins using the round nose pliers to secure the beads on the pin.

3: Add beads to each of the head pins in your chosen design. Make two of each tassel so that your earrings match.

4: Loop the ends of each head pin with the round nose pliers to secure the beads in place.


5: Add three head pins to one of the jump rings and attach the tassel to the bottom of the pearl charm.

6: Repeat step five for the remaining head pins attaching them to the other pearl charm.

7: Slide a tassel on each hoop earring to finish them off.

How cute are these little hoops? Pop them on and turn heads!