-
Choosing bead stringing materials for your project…
Some people have strong preferences for the bead stringing materials they prefer to use when making their jewelry. I recommend playing around with different materials to find what you like using, but I thought I would share my thoughts on my preferred bead stringing threads. Please note that this blog post contains affiliate links.
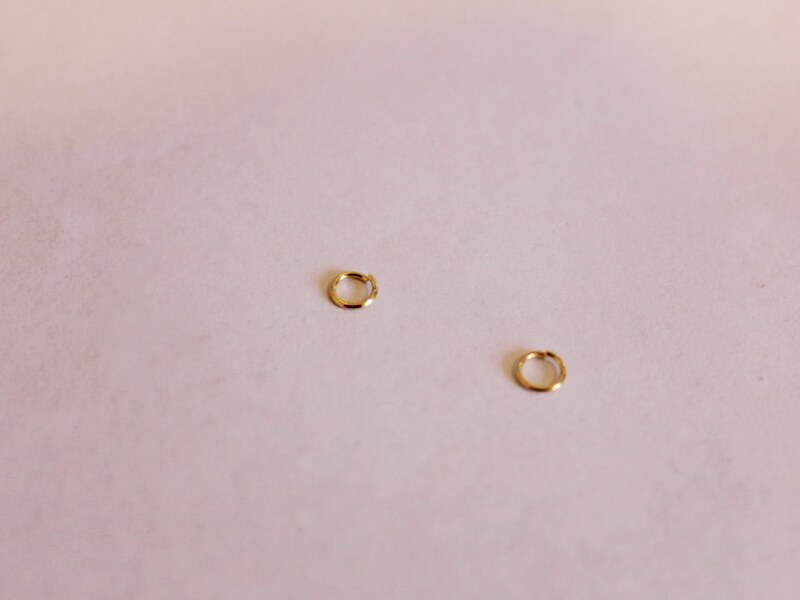
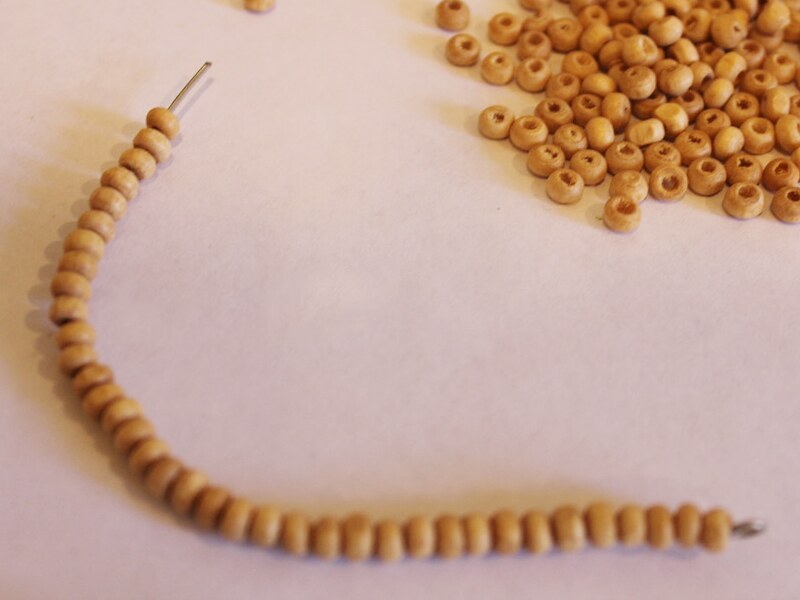
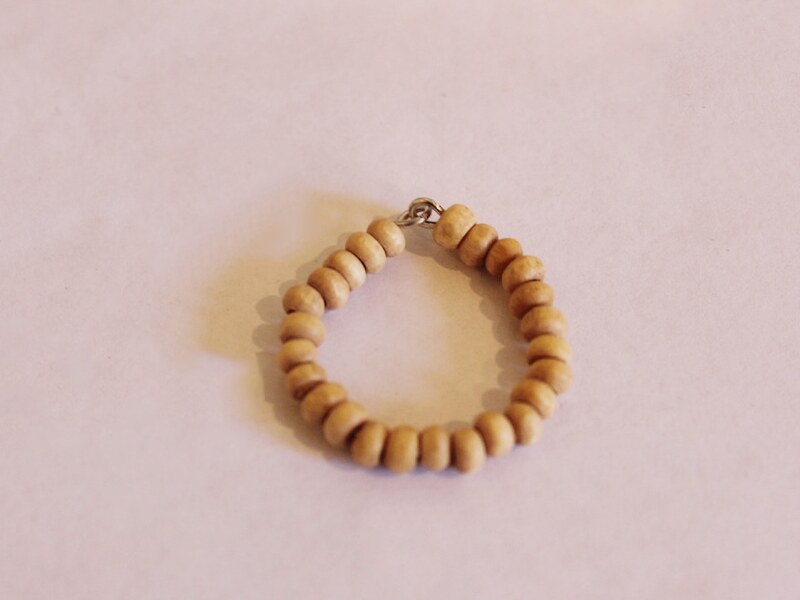
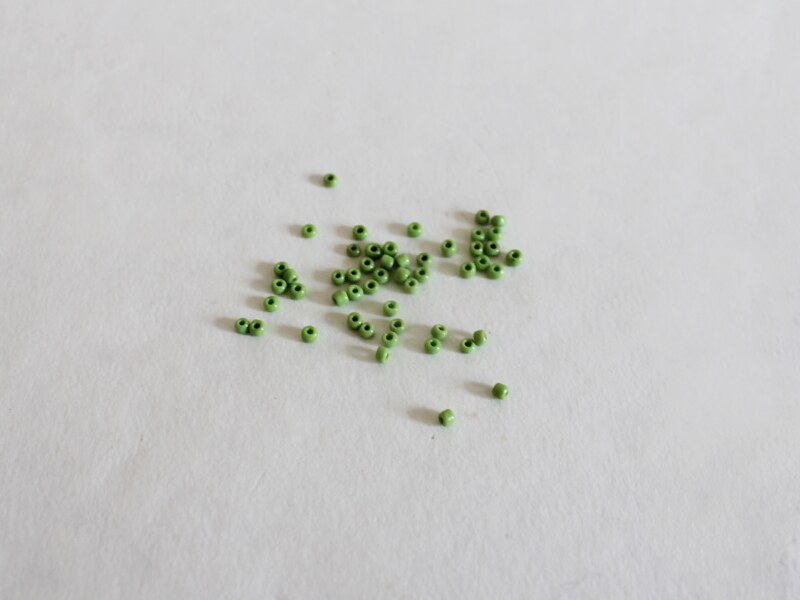
I was inspired to write this post after finding this broken bracelet…

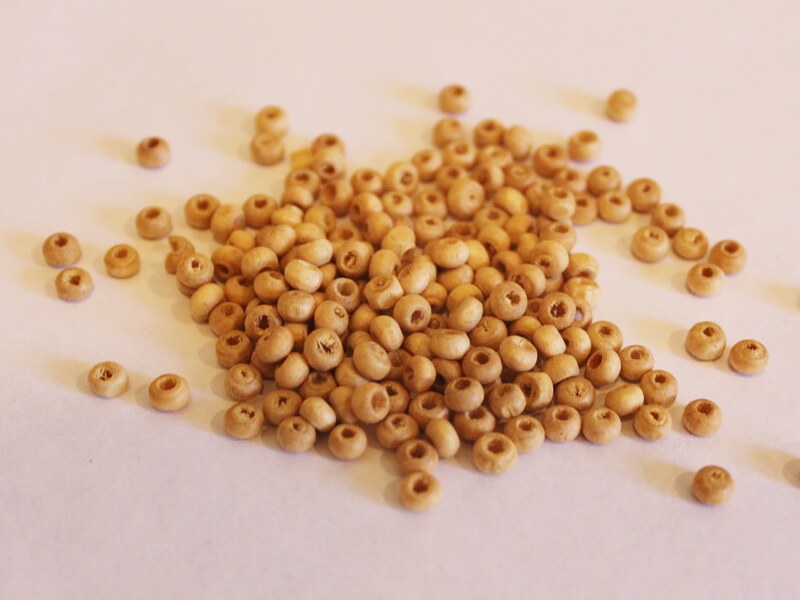
This bracelet was made from elastic thread tied to a jump ring at each end. When I found it, the elastic had broken or come undone at one end and there were beads spread all over the ground. I picked a few up to see if I could reuse them.
1: Beading elastic
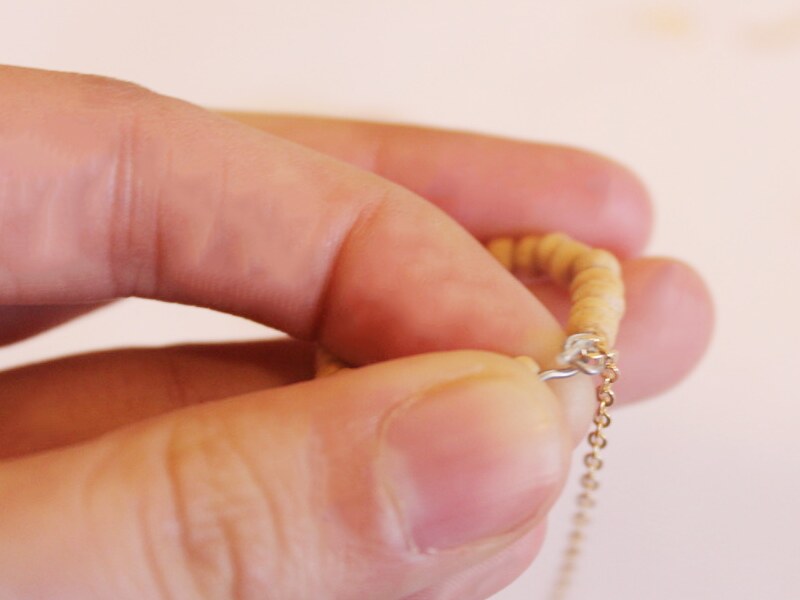
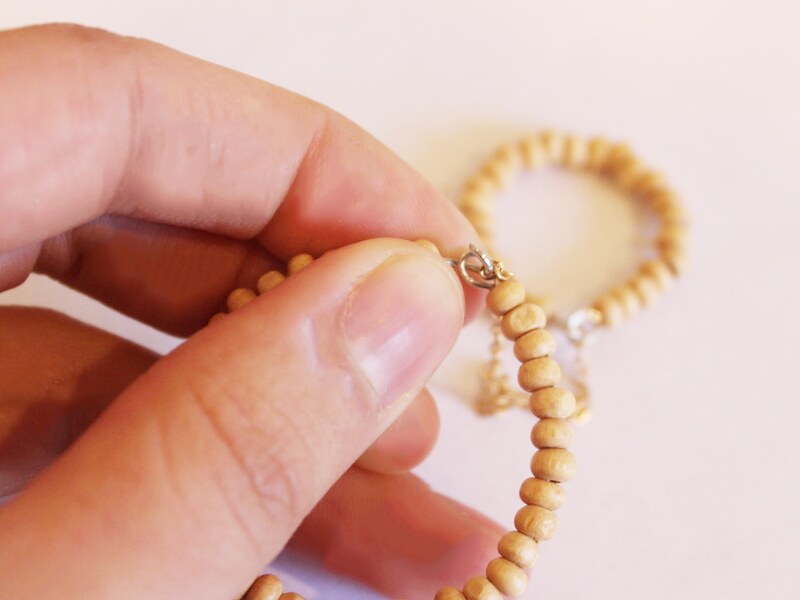
Here’s where I introduce the first stringing material that I’ll be discussing here, clear beading elastic. There are a few pros and cons to using elastic, one pro is that it is easy to secure the ends closed and that elastic beaded bracelets are easy to put on, they stretch over your hand so you don’t have to fiddle with any clasps. A downside (a big one in my opinion) is that elastic isn’t very hardwearing or sturdy. Elastic stretches out and loses its elasticity over time, it can also snap or untie easily, so you end up with the situation pictured above.
If you want to try out beading on elastic, you can follow our tutorial for making a beaded elastic bracelet here. If that doesn’t tickle your fancy, I’ve got some more bead stringing information for you below…
2: Tiger Tail wire
Another material that I often use for stringing beads is tiger tail wire. Tiger tail is a metal wire coated with nylon. It is flexible and can be bent into shapes. I find tiger tail wire a much stronger and sturdy material for beading compared to elastic. There are also a couple of cons to using tiger tail, you need a few more materials and tools to use it, and if you crease it, it is hard to get it back to its previous shape.
I have LOTS of tiger tail tutorials, so here’s one of my favorites that you can try out.
3: Nylon thread
A third bead stringing option is using nylon beading thread. This method is probably the most traditional and is useful when you are using delicate bead materials like pearls. Thread allows you to create knots between beads so that they don’t rub together on each other, knotting also means that if your piece does break, the beads won’t fall off and fly everywhere!
The downside of bead stringing onto nylon thread is that it can be a bit fiddly to work with and you need to use a needle to add beads to the string. Here’s a tutorial that shows you how to create a simple beaded necklace using nylon string.
Which bead stringing material do you like best?
-
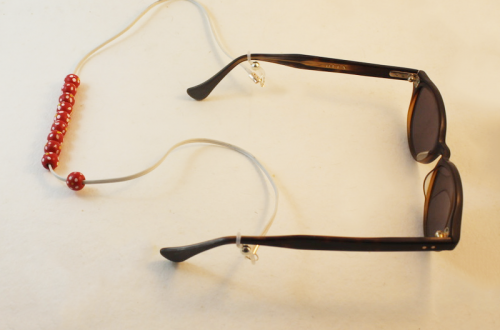
How to make a beaded glasses chain for summer
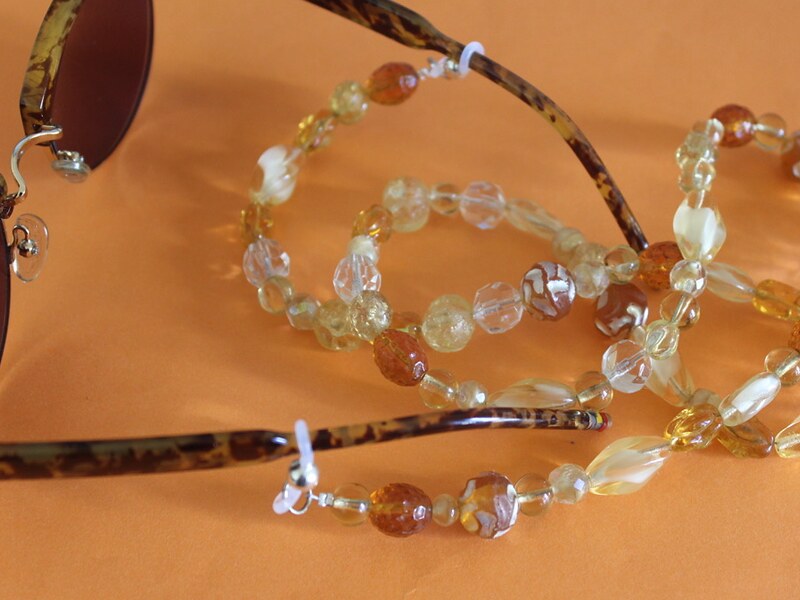
Do you love being able to hang your sunnies around your neck? This beaded glasses chain is perfect for keeping track of your sunglasses this summer. This tutorial contains affiliate links.
You will need the following tools and materials to make your beaded glasses chain:
1: Pliers. You will need your cutting pliers, flat nose pliers and round nose pliers to make this glasses chain.

2: A long piece of tiger tail wire (length depends on how long your want your chain to fall). I made mine approximately 50cm long.

3: Four crimp beads.
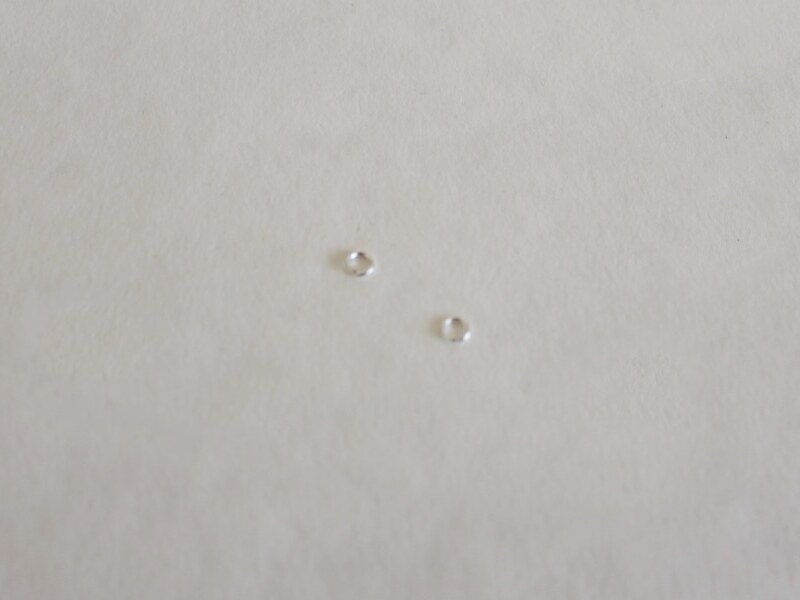
4: Two jump rings.

5: Beads of your choice. I used these vintage glass beads.

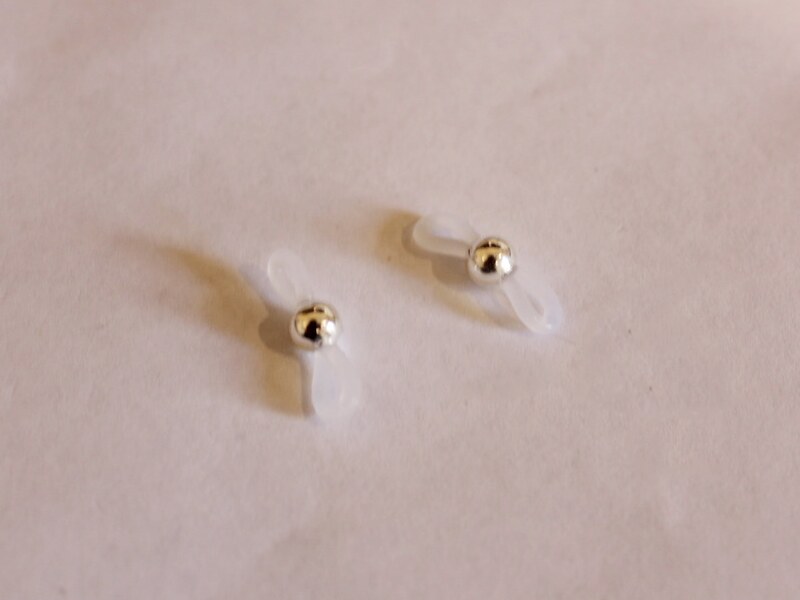
6: Two glasses holder findings.
Follow these steps to make your beaded glasses chain:
1: Add two crimp beads to one end of the wire.

2: Add one of the jump rings to the same end on top of the crimp beads.

3: Bend the end of the wire around the jump ring and through the crimp beads.

4: Squash the crimp beads using the flat nose pliers.


5: Add the beads to the strand. I added mine randomly but you might want to make a pattern.

6: Continue beading until it reaches the length you would like (leave enough wire to secure the strand closed).

7: Add the second set of crimp beads to the wire.

8: Add the other jump ring to the wire.

9: Loop the wire around the jump ring and back through the crimp beads and the first couple of beads pulling it tight.

10: Squash the crimps with the flat nose pliers.

11: Cut the excess wire using the cutting pliers.

12: Attach a glasses holder to each end of the strand.

Now your glasses chain is finished and ready for use! Use it all summer long!


-
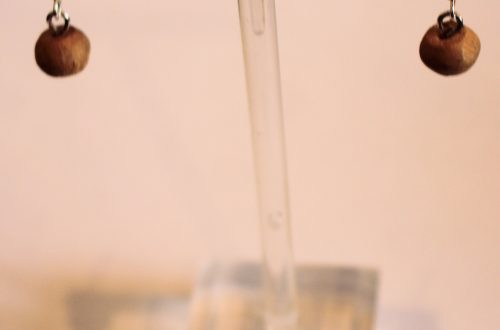
Fruity Hoops! Here’s how to get in on the fruit jewelry trend.

Fruity jewelry is all over the place, why not get in on the trend with some beaded fruit hoops?
You will need the following tools and materials to make your beaded fruit hoops:
1: Pliers. You will need your cutting pliers, flat nose pliers and round nose pliers to make your fruit hoops.
2: Two pieces of wire approximately 12cm long.

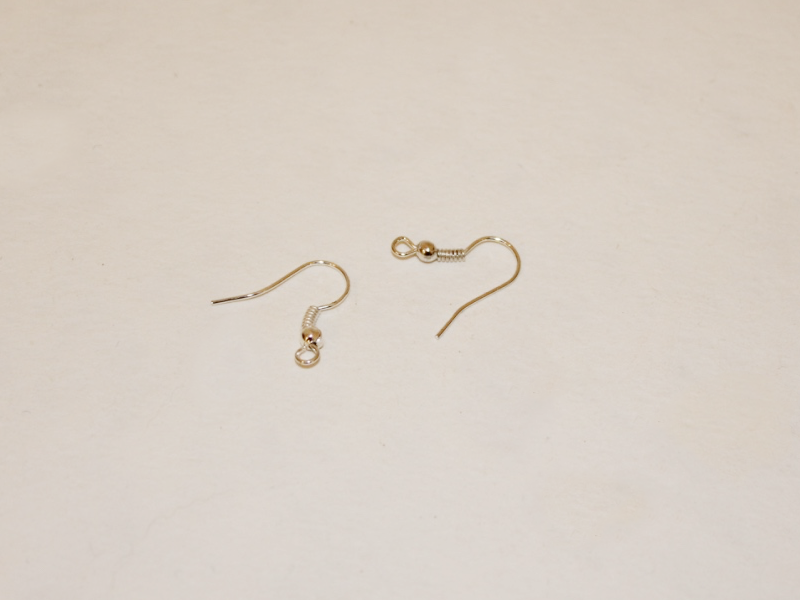
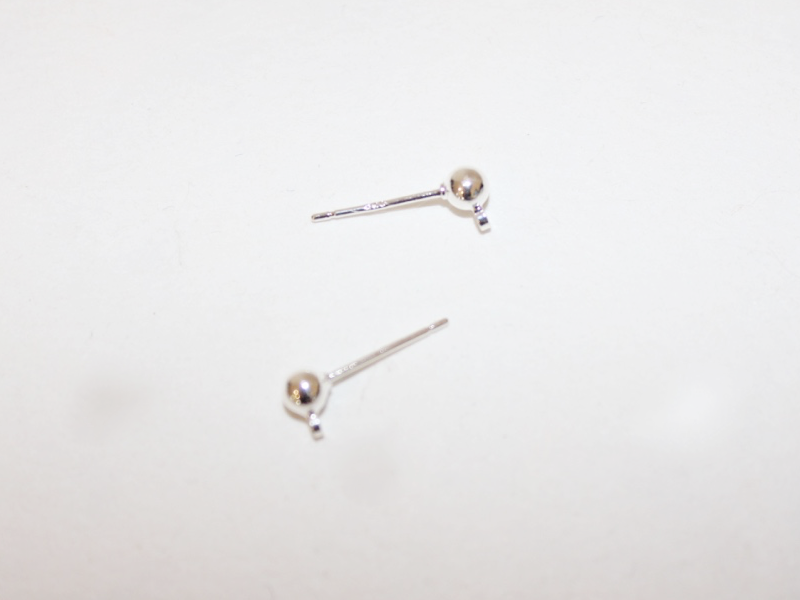
3: Two earring hooks.
4: Beads of your choice. I used some glass beads.

5: Glass fruit charms. I used these pairs of glass charms.

Follow these steps to make your beaded fruit hoop earrings:
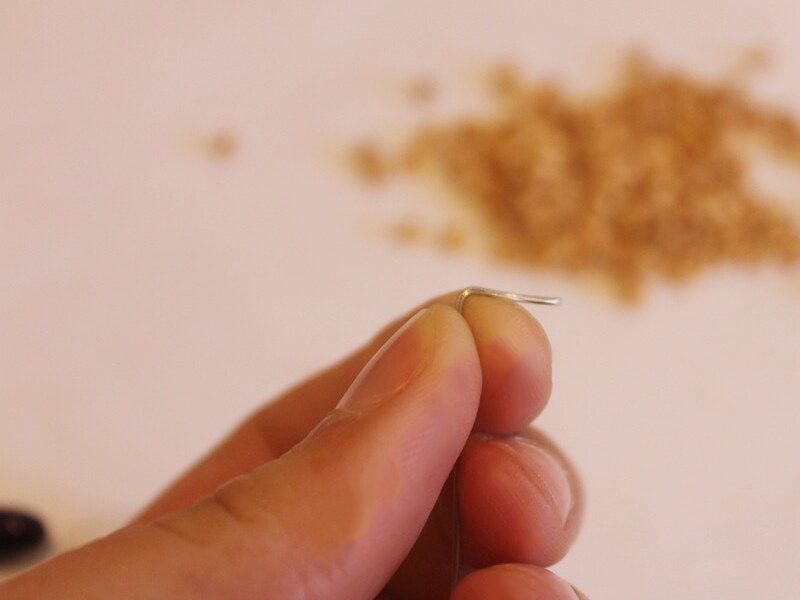
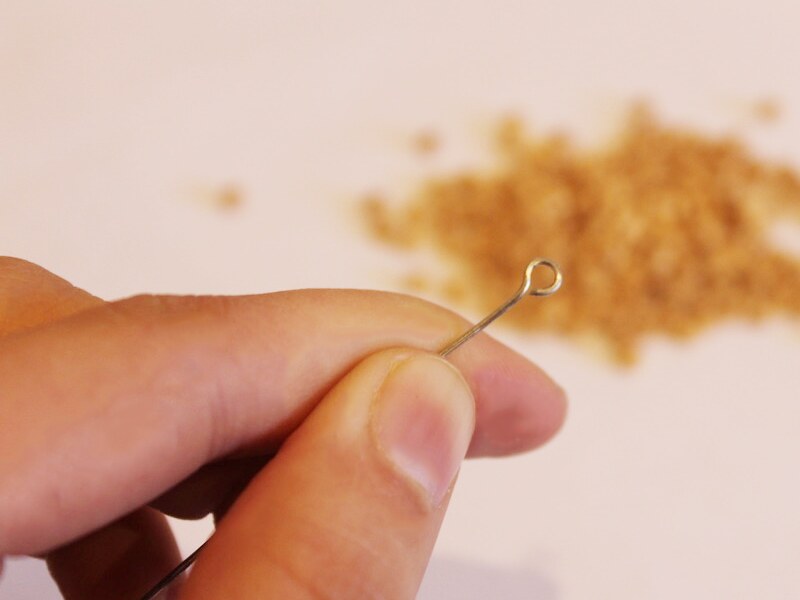
1: Create a loop at one end of one of the pieces of wire using the round nose pliers.

2: Add beads and glass charms to the wire in your pattern of choice.


3: Trim the excess wire so that there is only 1cm left.

4: Create a loop at the other end of the wire to secure the beads on the wire.

5: Bend the wire gently around to form a circle and link the end loops together.


6: Repeat steps 1-5 for the other piece of wire, making the second hoop.

7: Add an earring hook to the top of each hoop to finish your earrings off.

Now your fruity hoop earrings are ready to wear! How cute are they?

-
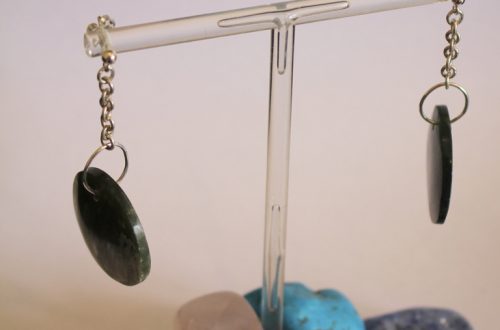
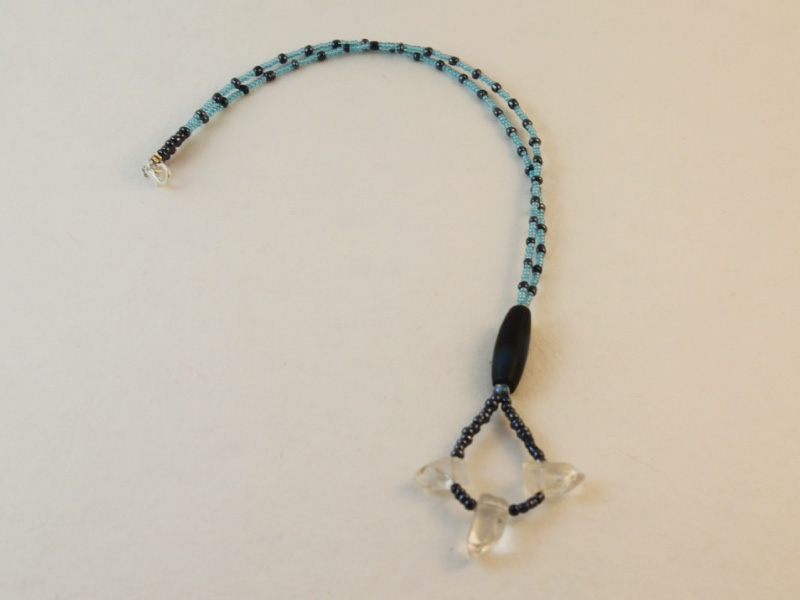
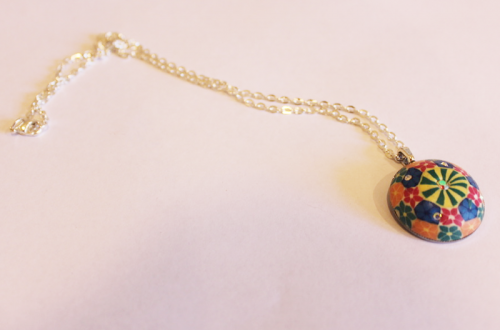
How to make a beaded teardrop pendant

Here’s how to make a cute beaded teardrop pendant using memory wire. If you’re sick of making chokers with your memory wire coil this is another way to use it!
You will need the following tools and materials to make your teardrop pendant:
1: Pliers. You’ll need your cutting pliers, flat nose pliers and round nose pliers.
2: A piece of memory wire, half of a necklace loop.

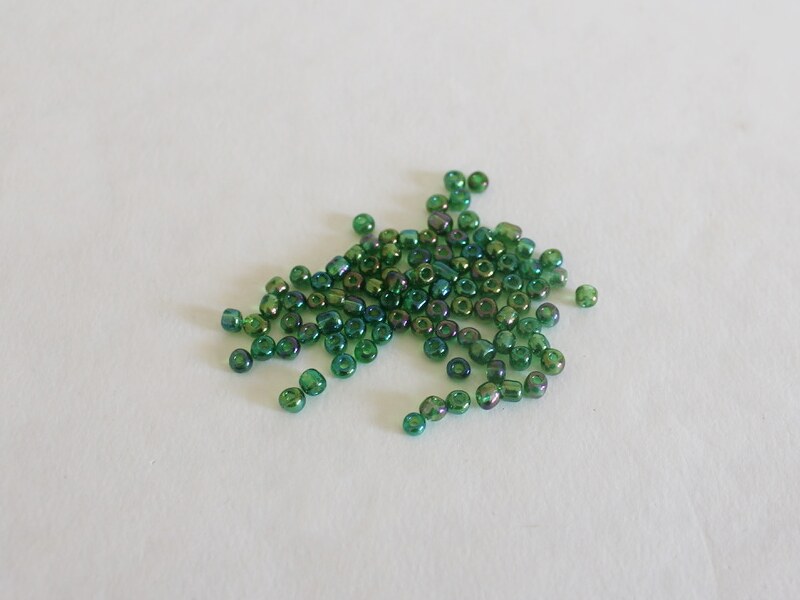
3: Beads. I used these mixed glass seed beads.

Follow these steps to make your teardrop pendant:
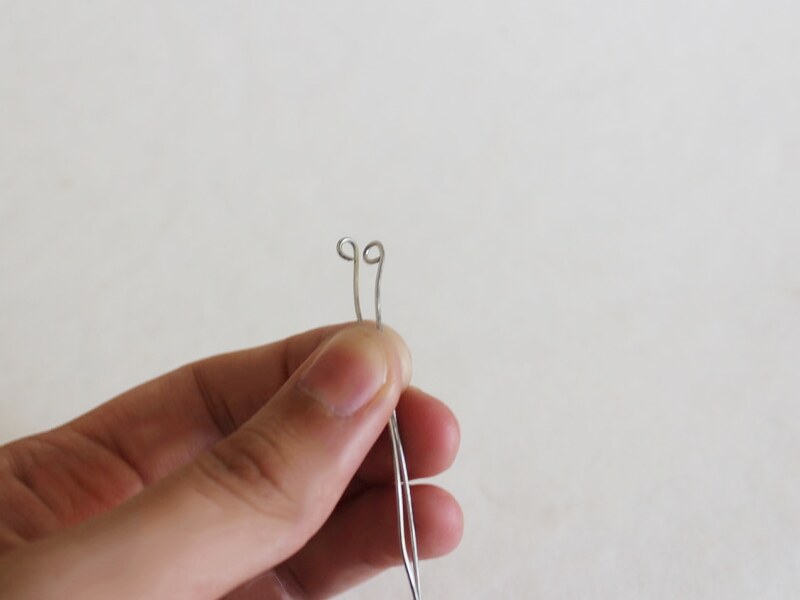
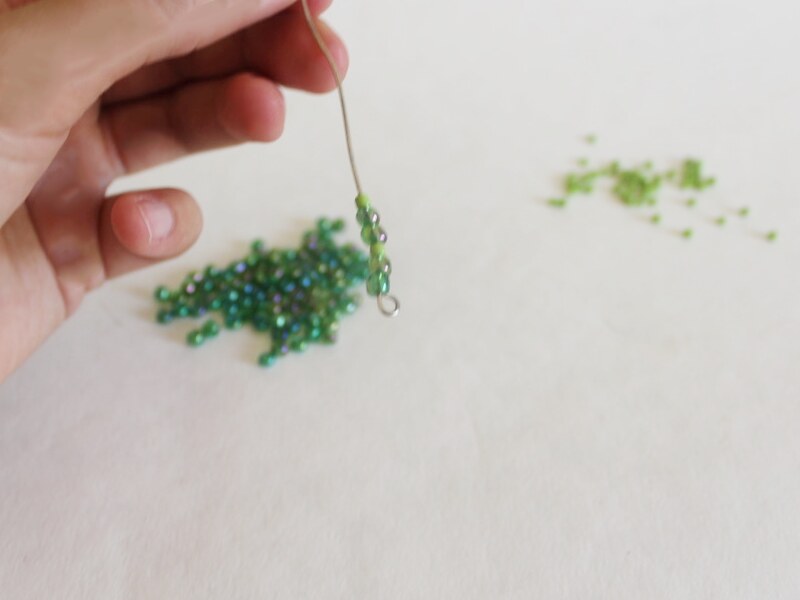
1: Create a loop at the end of one side of the piece of memory wire.


2: Add the beads to the wire until there is only 1cm left unbeaded.


3: Create a loop at the other end of the wire securing the beads in place.

4: Link the loops together to form the teardrop shape.


Now your pendant is finished you can attach it to a chain or beaded strand of your choice!

Here’s a pair of earrings I made using the same technique. Just add an earring hook to the top of each teardrop instead of a chain!

-
Here’s how to make a beaded circle lariat necklace. So cool!
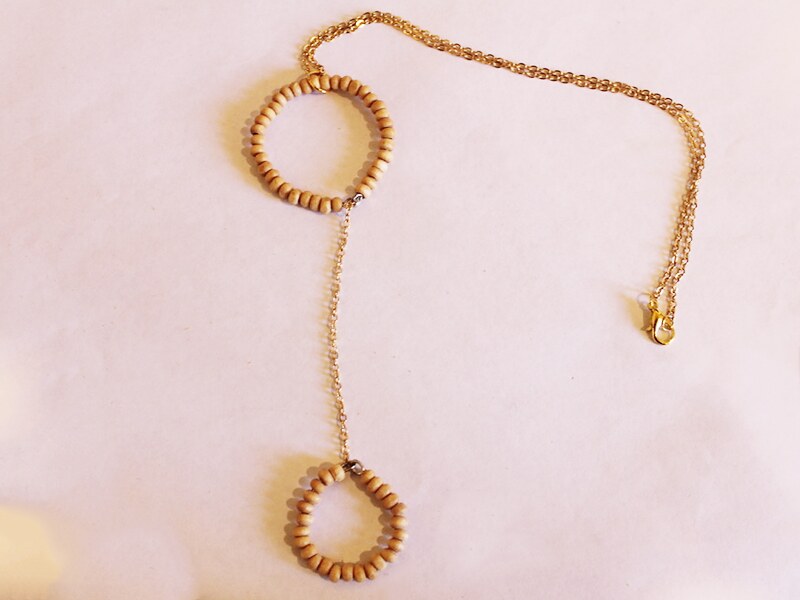
Do you remember the triangle lariat tutorial? Here’s how to make a beaded circle lariat to add to your collection!
You will need the following tools and materials to make this lariat necklace:
1: Pliers. You will need your cutting pliers to cut your wire, flat nose pliers and round nose pliers.
2: Two pieces of wire, one longer than the other.

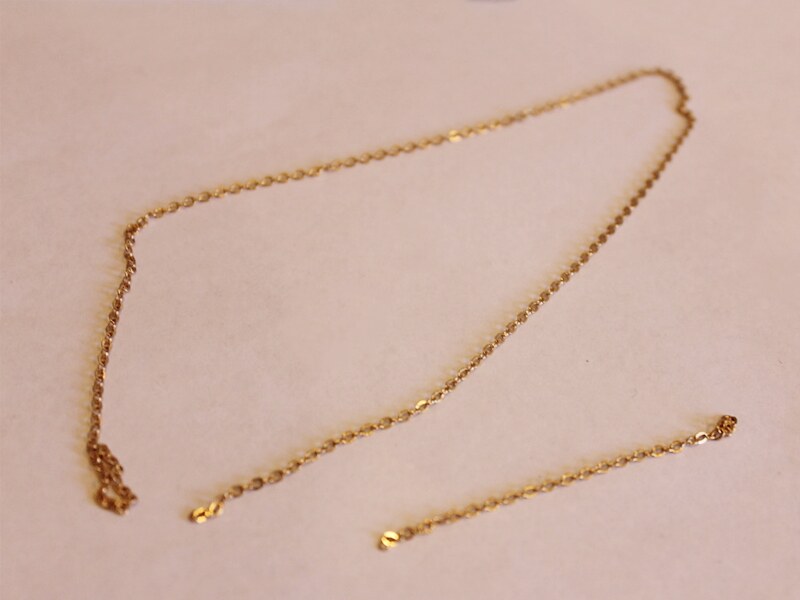
3: Two pieces of chain, a necklace length piece and another that is approximately 10cm long.
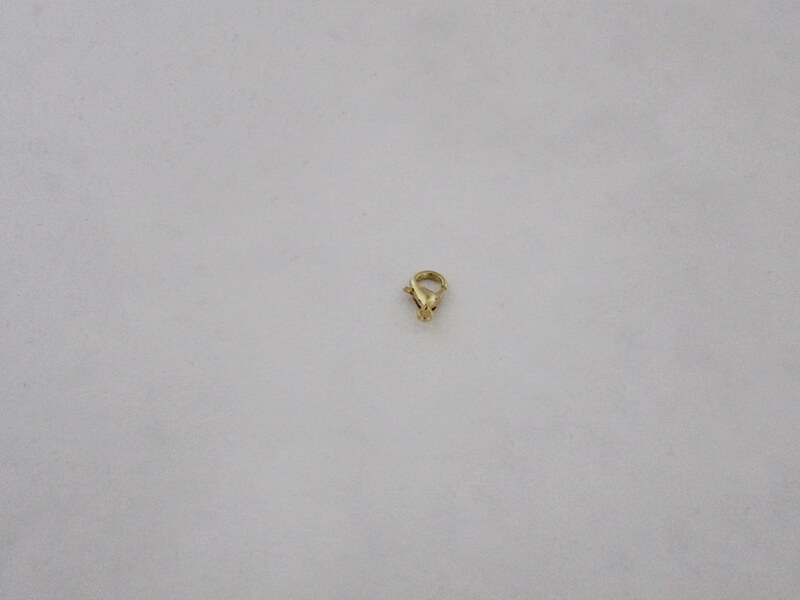
4: A lobster clasp.
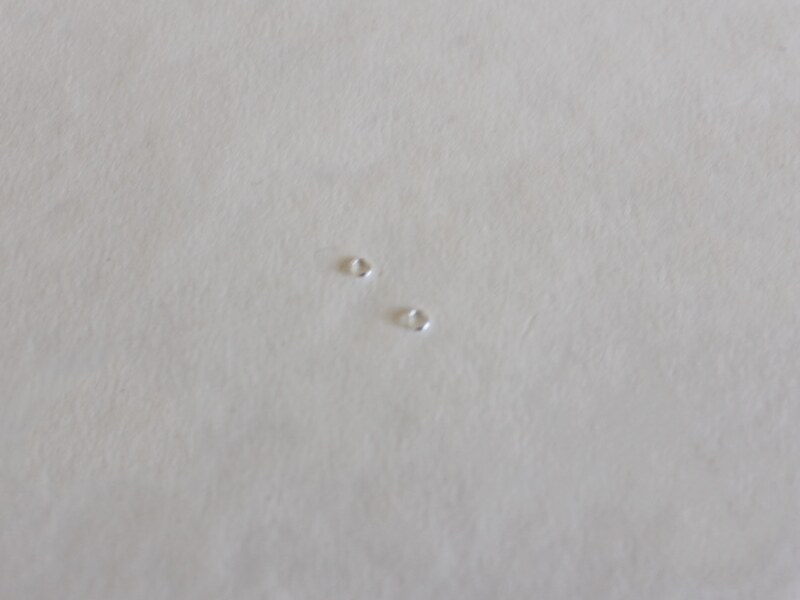
5: Two small jump rings.
6: One large jump ring.

7: Beads of your choice. I used some natural colored wooden beads.
Follow these steps to make your circle lariat necklace:
1: Create a loop at one end of the longer piece of wire using your round nose pliers.
2: Add beads to the wire until there is only 1cm left unbeaded.
3: Create another loop at the end of the wire to secure the beads in place.

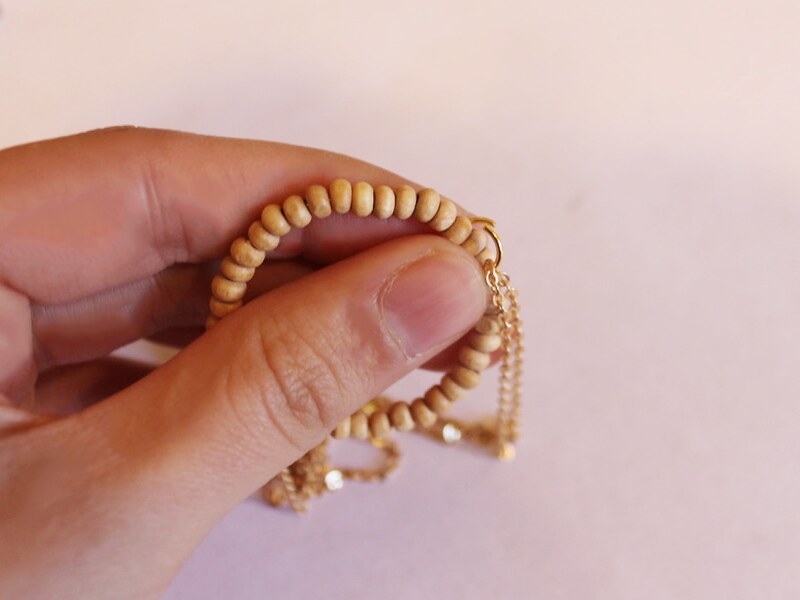
4: Gently bend the wire into a circle shape, carefully open one of the loops and link the two ends together to secure the circle shape in place.

5: Repeat steps 1-4 for the second piece of wire, making a smaller circle.
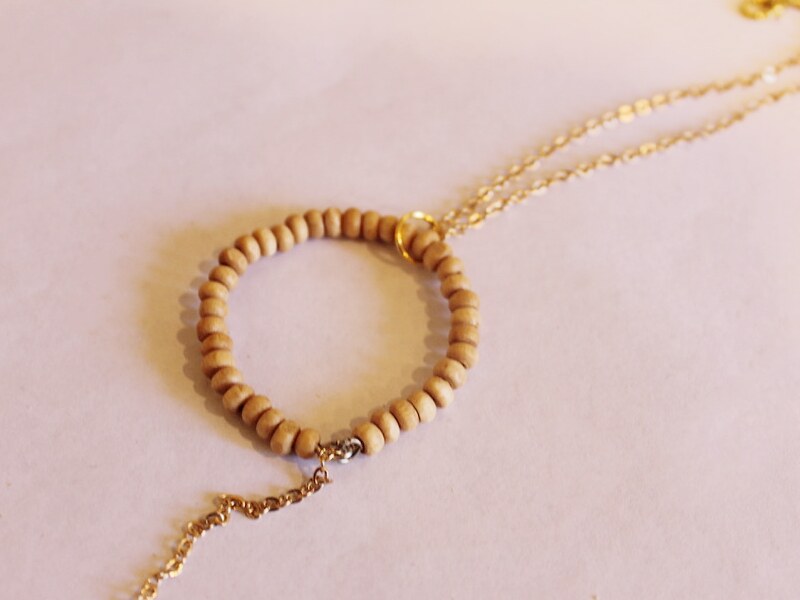
6: Open one of the loops on the smaller circle and attach one end of the short chain.

7: Attach the other end of the short chain the same way to the larger circle.
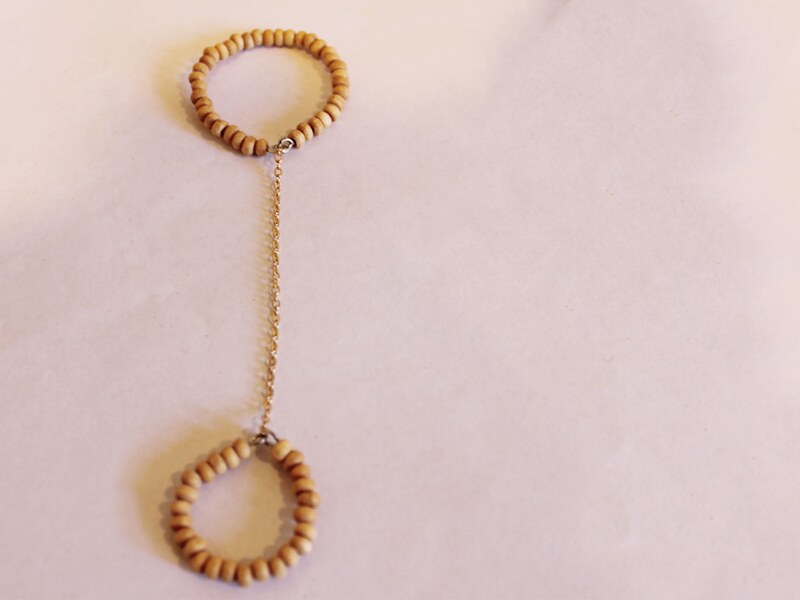
8: Add a small jump ring to one end of the long piece of chain and use it to secure the lobster clasp in place.
9: Add the other small jump ring to the other end of the long chain.
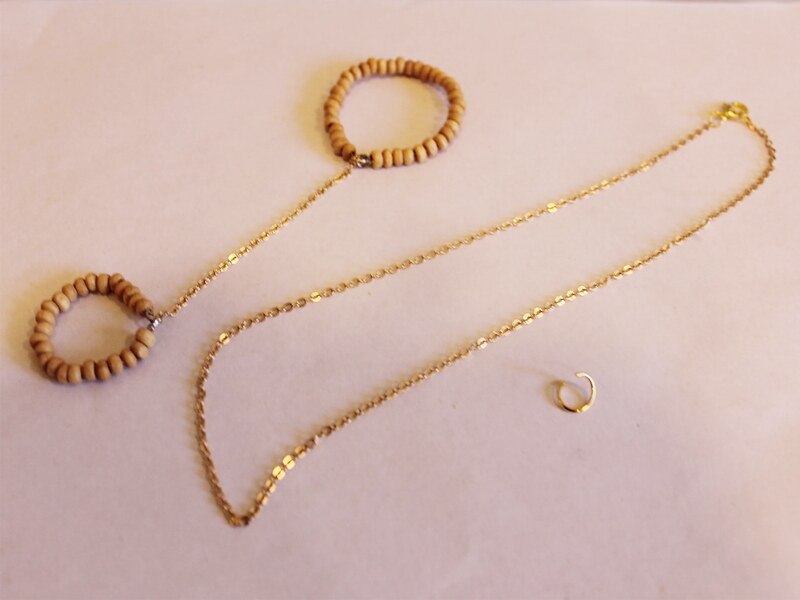
10: Use the large jump ring to attach the circle charms to the chain like you would a pendant.
Now your necklace is finished!
Here’s another circle lariat I made using copper chain and yellow and purple glass beads.

You May Also Like

This is the Easiest Necklace Ever! Learn How to Make a Leather Charm Necklace
Love the nostalgic craft-core style? If that sounds like you, here’s the perfect tutorial for you to follow.

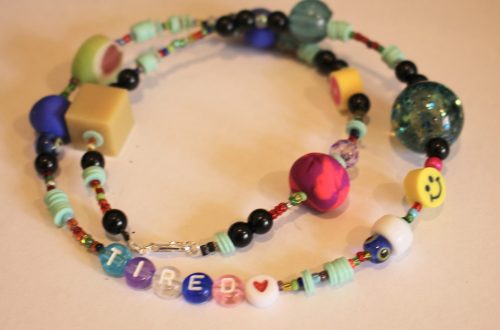
How to make a super cute letter bead necklace! Add your word to a chain for a cute twist on the y2k jewelry trend!
-
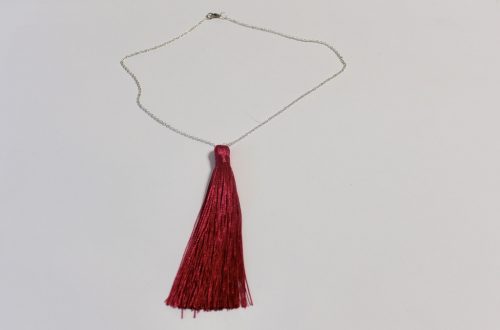
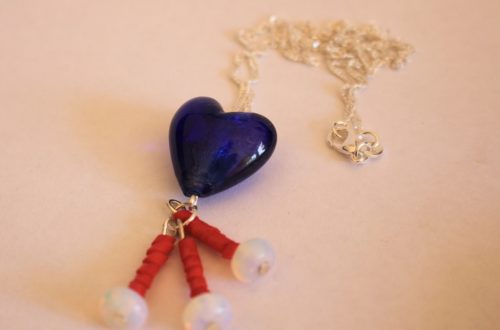
This necklace is special! Make one of your own today.
This necklace looks amazing, it’s a really cool way to use your favorite drop beads.
You will need the following tools and materials to make your necklace:
1:Pliers. You will need your flat nose pliers and round nose pliers.


2: Two pieces of chain to form the length of your necklace.

3: Two pieces of wire or two eye pins, one longer than the other.

4: A toggle clasp.

5: Four jump rings.

6: Beads of your choice. I used some frosted blue glass beads and a turquoise droplet bead.


Follow these steps to make your necklace:
1: If you are using wire, make a loop at the end of the longer piece of the wire.


2: Add the beads to the wire until there is only 1cm left without beads.


3: Create a loop at the other end of the wire.


4: Create a loop at the end of the shorter piece of wire.


5: Add the turquoise bead to the wire.

6: Create a loop at the other end of the wire using the round nose pliers to secure the bead on the wire.


7: Bend the longer beaded wire into a U shape and attach the drop bead to the inside of the U.


8: Attach each piece of chain to either side of the beaded U shape using two of the jump rings.


9: Attach each component of the toggle clasp to either end of the chain to finish the necklace. Secure them in place using the two remaining jump rings.


Now your necklace is finished!

Here’s another one I made with a longer U and a glass feature bead.


-
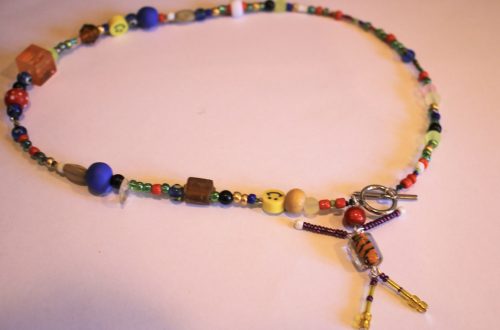
How to make a mixed media double strand necklace. Chains and beads for the win!

This necklace is another version of the double strand necklace. One strand is made using glass seed beads, the other with chain and gemstone beads!
You will need the following tools and materials to make your necklace:
1: Pliers. You will need your round nose pliers, flat nose pliers and cutting pliers to make your necklace.
2: A piece of tiger tail wire. Cut yours to your desired length, I made mine shorter than the chain component.

3: Glass seed beads. I used a mix of multi-colored beads.

4: Two pieces of chain.

5: An eye pin.

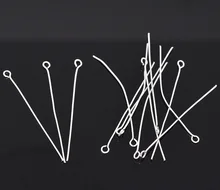 AliExpress.com Product – Free Shipping! 300PCs Silver Plated Eye Pins 50×0.7mm(21 gauge) (B01727)
7: A large feature bead. I used this gemstone slice bead.

8: Two medium sized jump rings.

9: A lobster clasp.

10: Four crimp beads.
Follow these steps to make your double strand necklace:
1: Put the gemstone bead onto the eye pin.

2: Bend the pin to form a right angle with the bead.

3: Create a loop using the round nose pliers to secure the bead onto the pin.


4: Add a piece of chain to each side of the eye pin.


5: Set the chain piece aside.

6: Add two crimp beads and a jump ring to the end of the tiger tail wire.


7: Loop the end of the wire around the jump ring and pull it through the crimp beads.

8: Squash the crimp beads using the flat nose pliers.


9: Start adding the beads to the wire. I added my beads in a random order but you can create any pattern you choose.

10: Continue adding beads until your necklace has reached your desired length.

11: Add the other two crimp beads and the remaining jump ring to the wire.

12: Loop the end of the wire around the jump ring and back through the crimp beads, pull the wire tight.


13: Squash the crimps.


14: Trim the excess wire.

Your beaded strand is now finished!

15: Open one of the jump rings and attach one side of the chain. Add the clasp to the open jump ring and then close it to secure the components together.

16: Add the other side of the chain component to the other side of the beaded strand. Once the other side is attached the necklace is finished and ready to wear.


Pretty cool huh?!

-
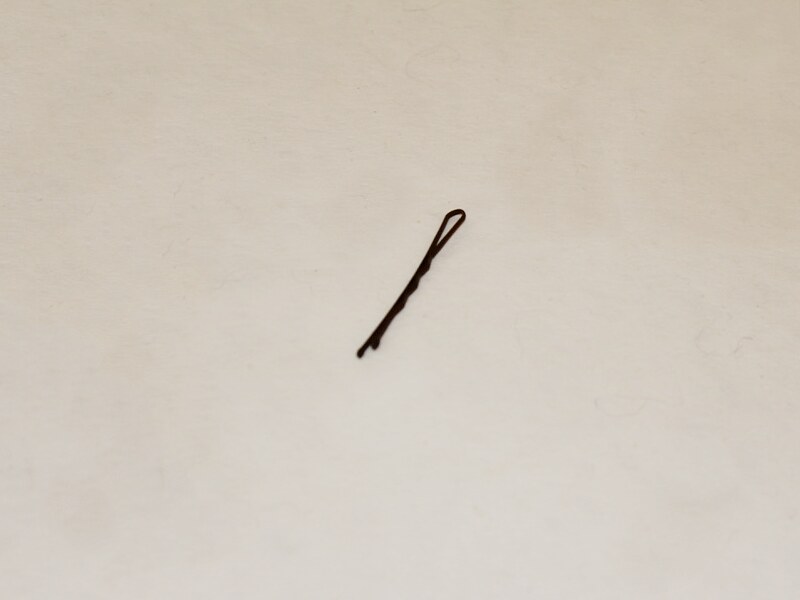
Make your next hairstyle special with a customized Bobby Pin
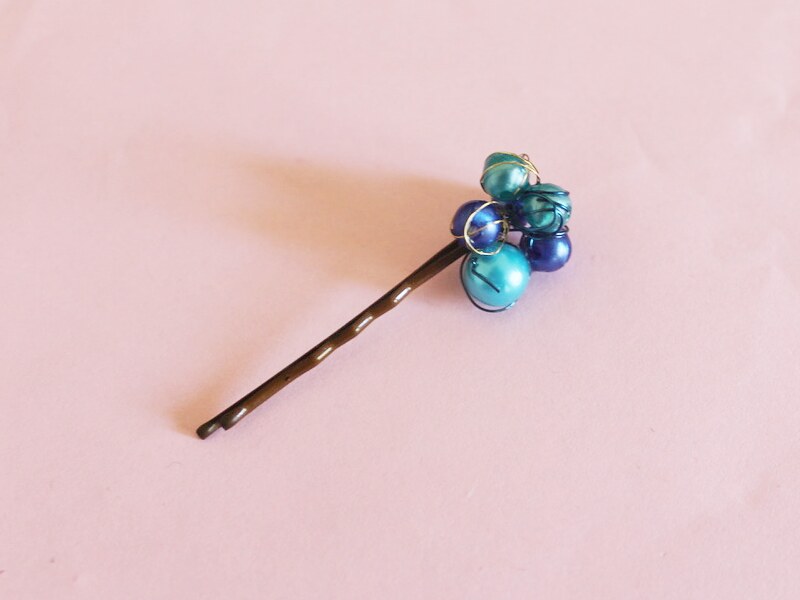
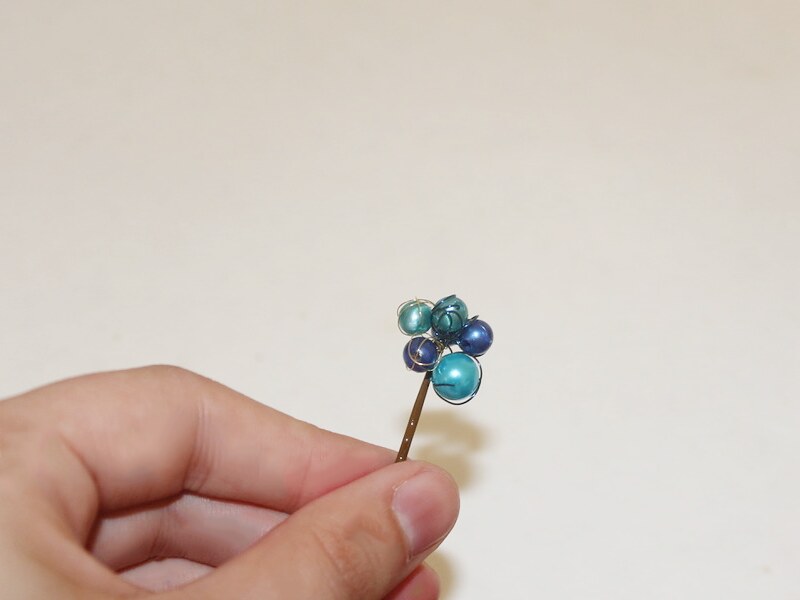
Do your up dos need something special? Why not make this beaded bobby pin to add something amazing to your hair styling.
You will need the following tools and materials to decorate your bobby pin:
1: Cutting pliers for cutting the wire.

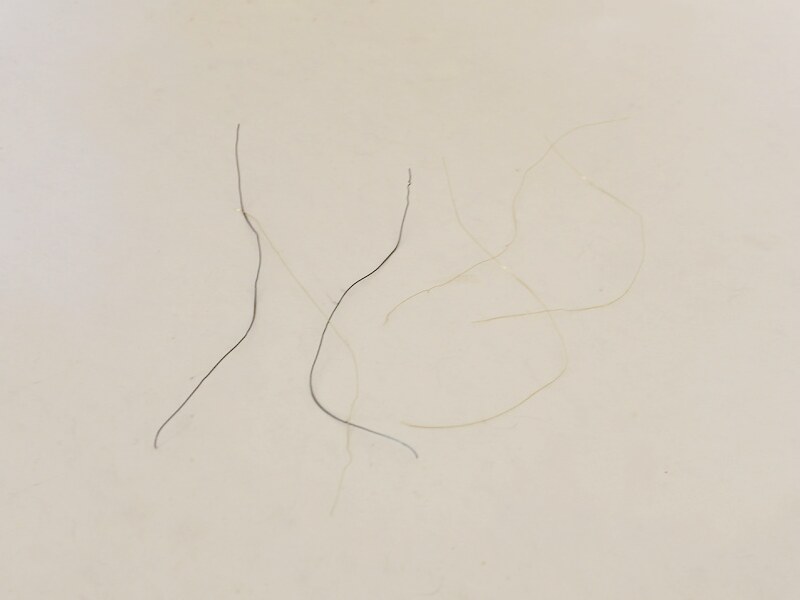
2: Pieces of thin wire cut to approximately 15cm long. You can cut as many as you like.
3: A Bobby Pin.
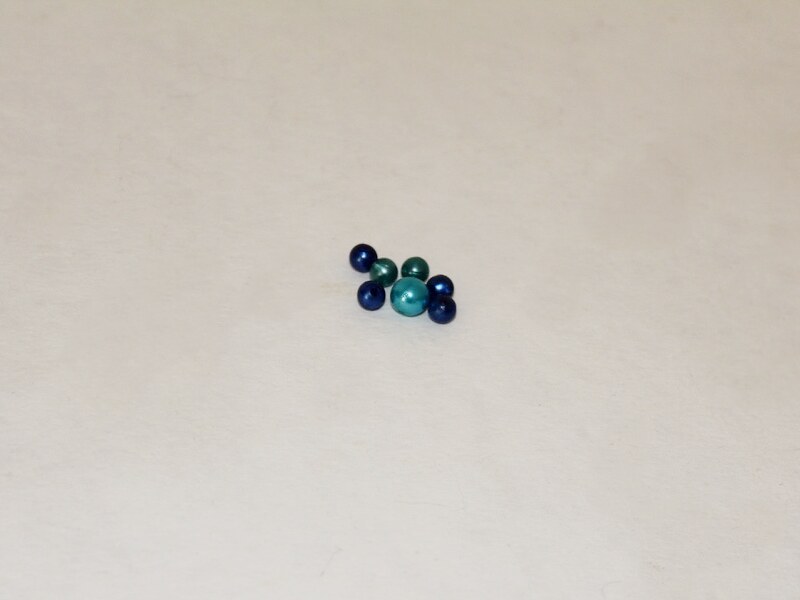
4: Beads of your choice. I used these plastic beads.
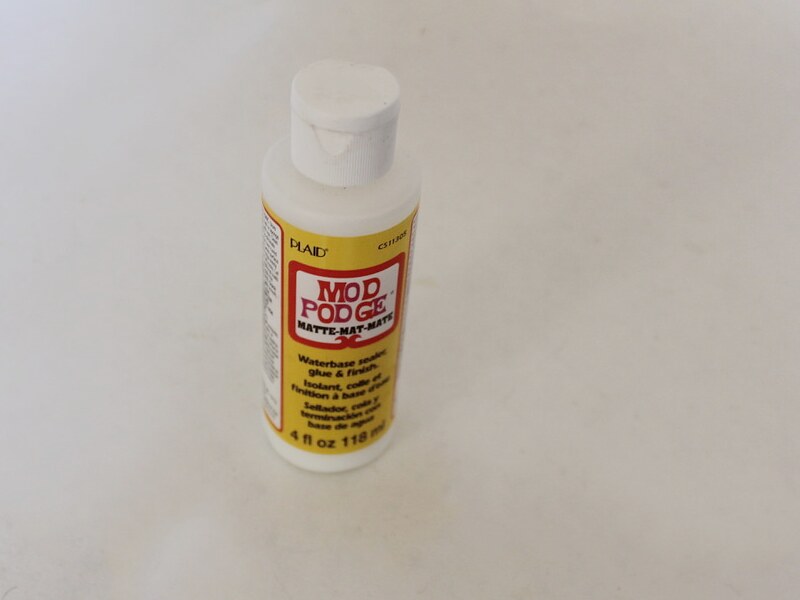
5: Water based glue. I used Mod Podge.
6: A Skewer.

Follow these steps to decorate your bobby pin:
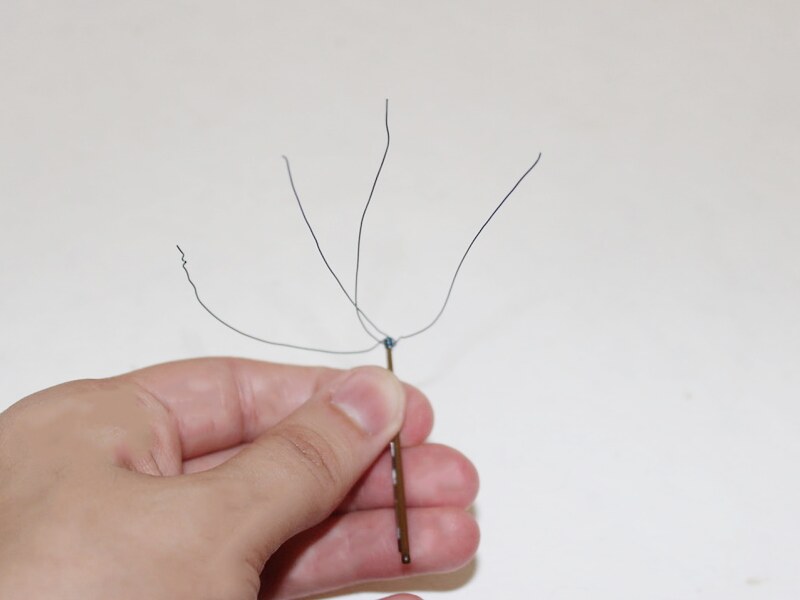
1: Put a piece of wire between both sides of the bobby pin, up near the bent part of the pin.

2: Wrap the piece of wire around the top of the pin where it bends over.

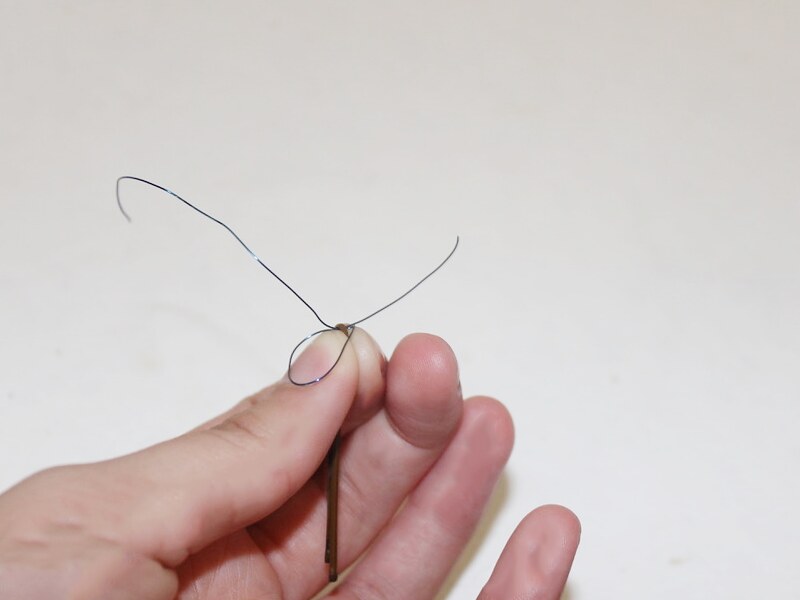
3: Add more pieces of wire in the same way. Add as many as you like depending on how many beads you want clustered on your bobby pin.
4: Add a bead to one of the ends of the wire.
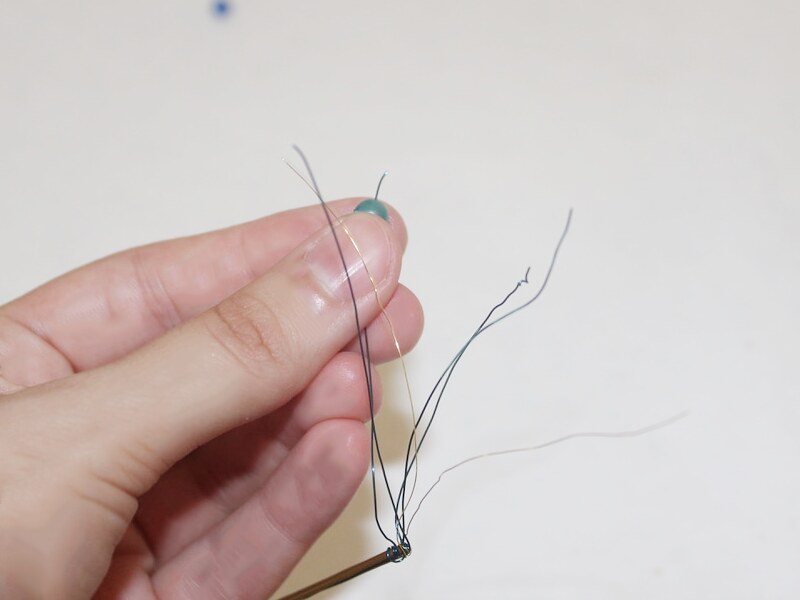
5: Wrap the wire around the bead so that it sits close to the pin.
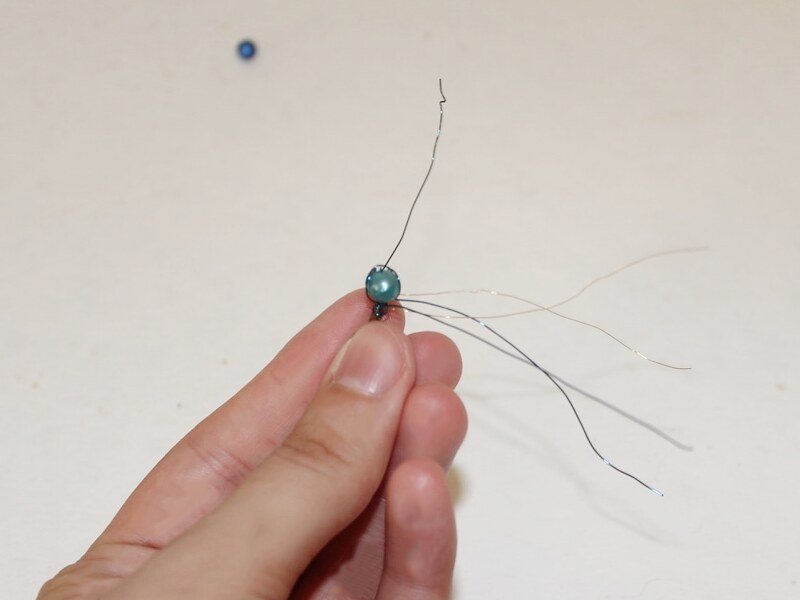
6: Repeat steps 4 and 5 until all the pieces of wire have been beaded and you have formed a cluster of beads on the bobby pin.
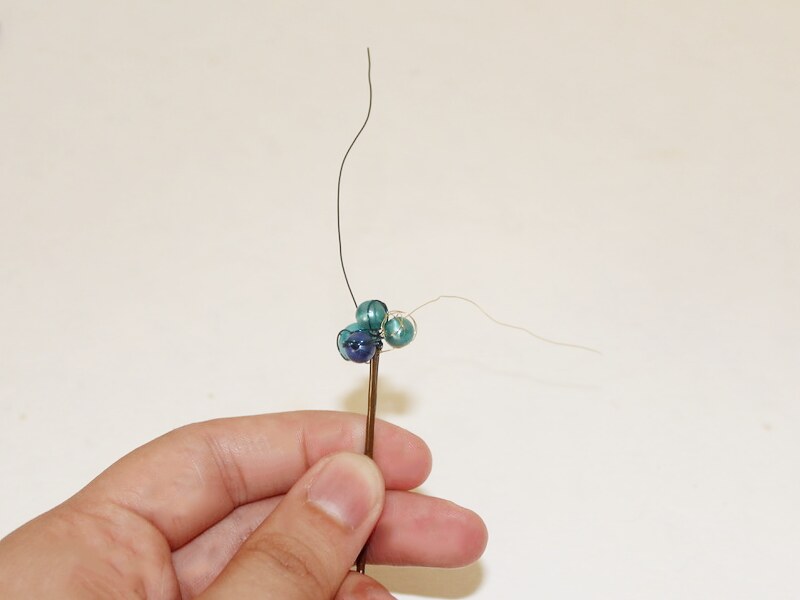
7: Add some PVA glue to the ends of the wire to secure the beads in place.
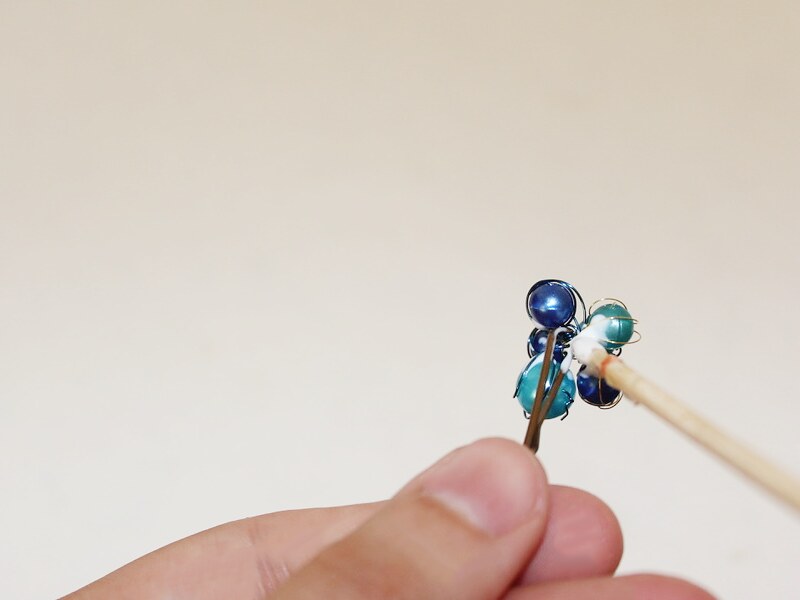
Once the glue is dry your bobby pin is finished and ready to wear!
-
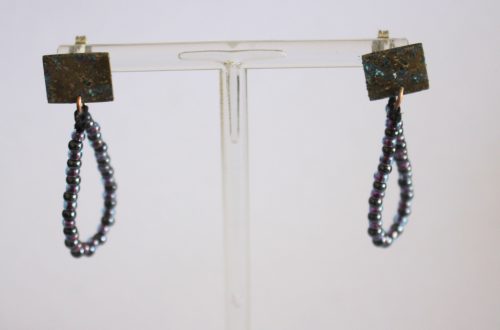
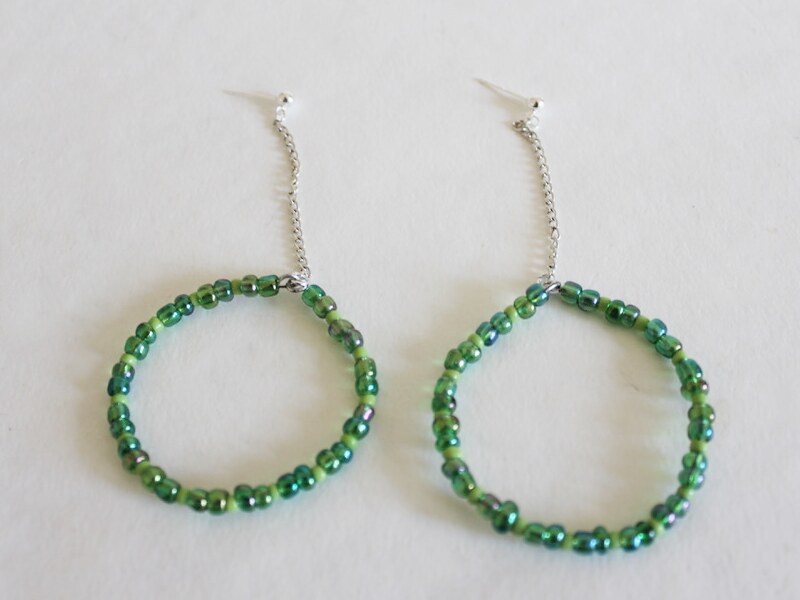
These earrings are SO Awesome! Here’s how to make some special chain dangle hoop earrings.
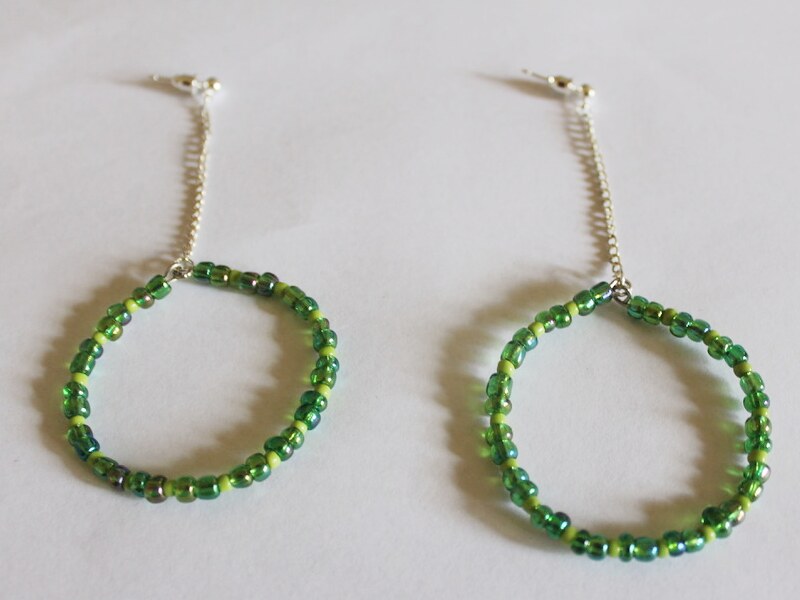
These earrings are hoops… with a twist. These beaded hoop earrings dangle down on some delicate chains. Features affiliate links.
You will need the following tools and materials to make your earrings:
1: Pliers. You will need your round nose pliers, flat nose pliers and jump rings to make these earrings.
2: Two pieces of wire approximately 12cm long.
3: Two short pieces of chain.

4: Two small jump rings.
5: Two larger jump rings.
6: Two charm connector earrings.
7: Beads of your choice. I used a selection of green glass beads.
Follow these steps to make your earrings:
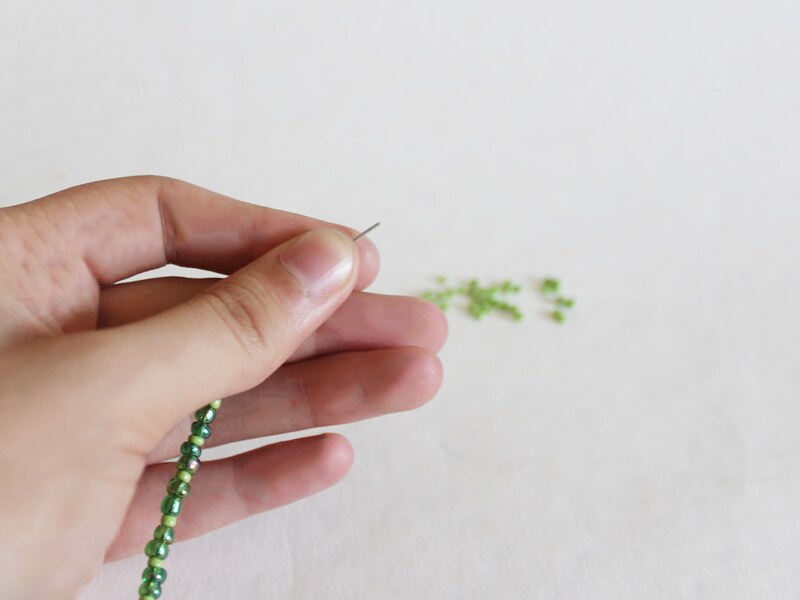
1: Create a loop at the end of each piece of wire using the round nose pliers.
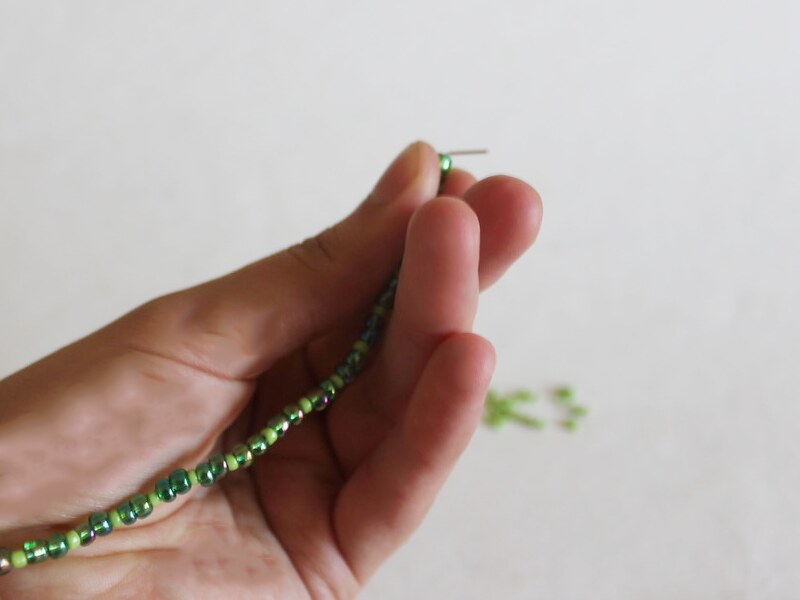
2: Add beads to both pieces of wire in pattern of your choice.
3: Once the pieces are beaded with 1cm of wire left unbeaded, create a loop at the end of each piece of wire.
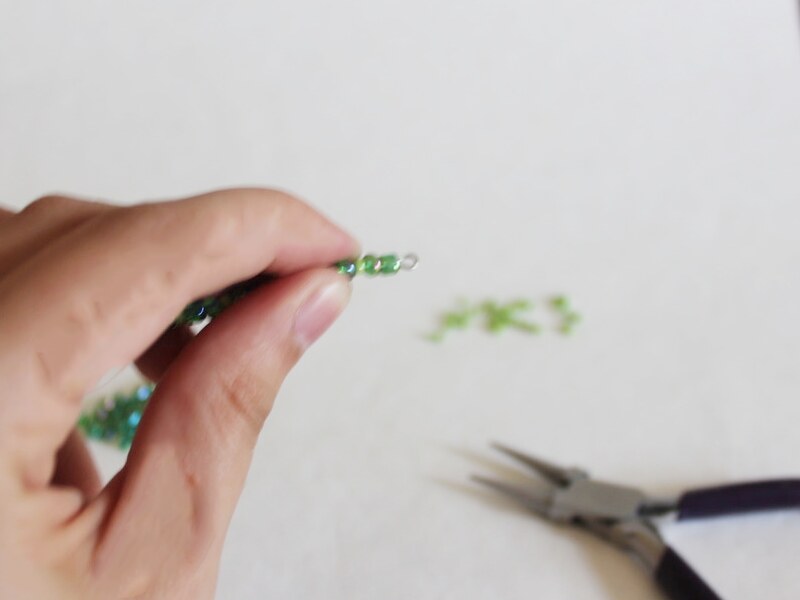
4: Attach each of the ends of the wire together by the loops. Secure them in place using the round nose pliers to close them.
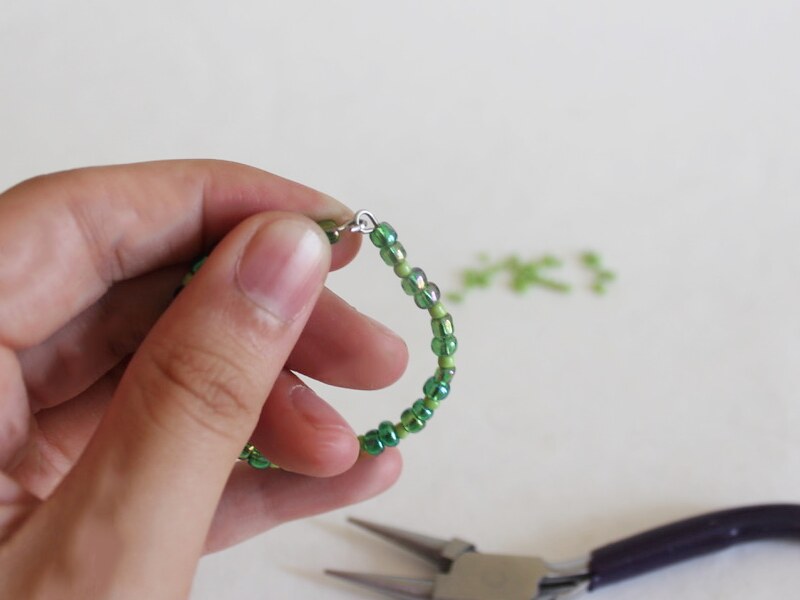
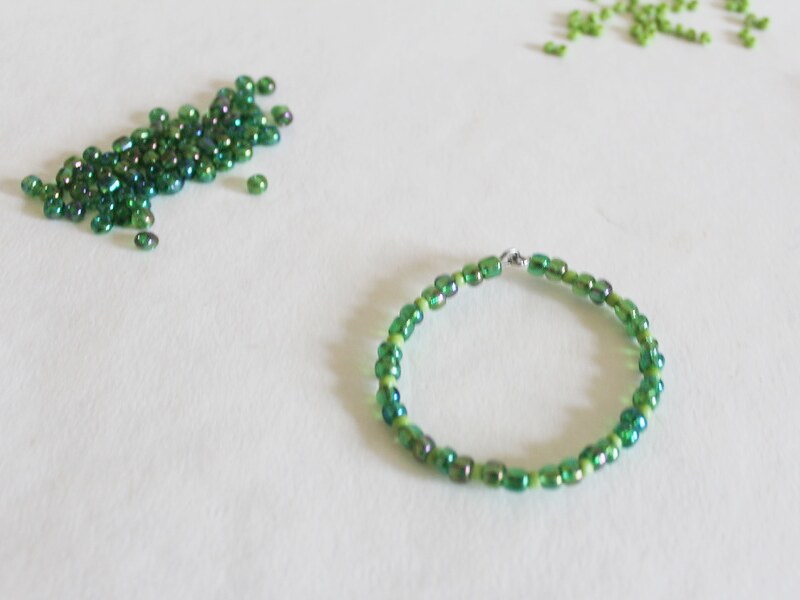
5: You will now have two beaded loops.
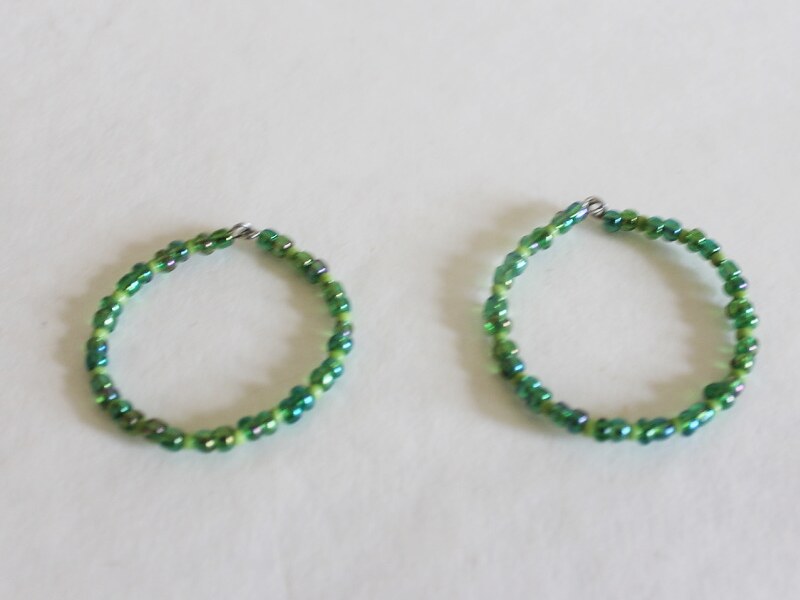
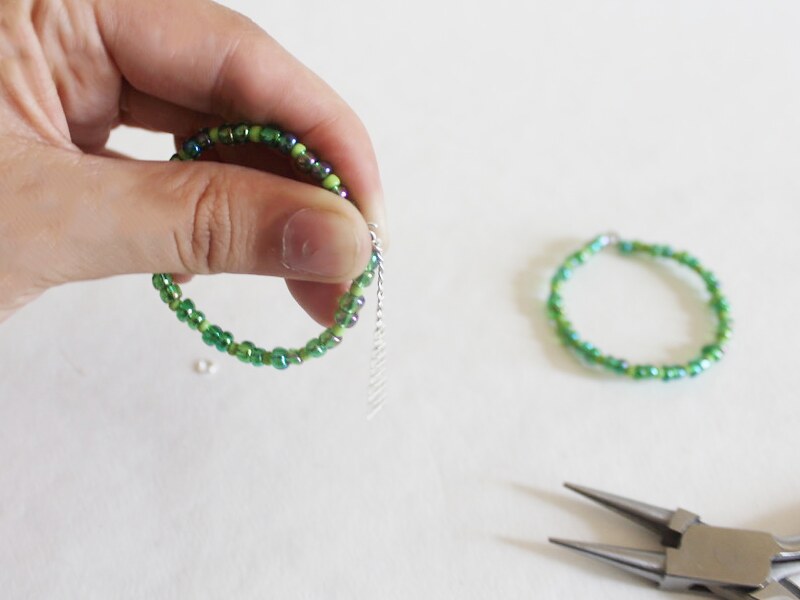
6: Attach a chain to each loop using the larger jump rings.
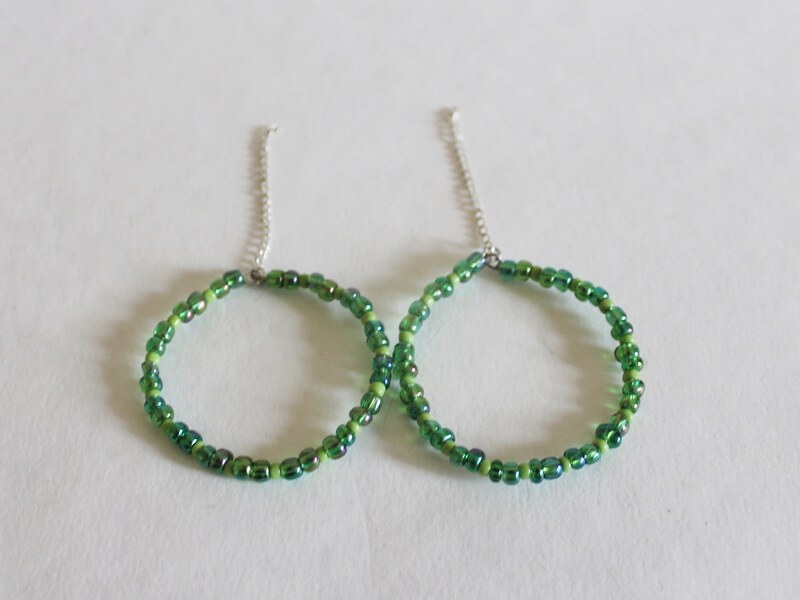
7: Attach the other end of the chains to each of the charm connector earrings to finish the earrings off. Connect the earring charms to the earring posts using the smaller jump rings.

Now the charms are attached to the earring posts your earrings are finished and ready to wear!
-
Do You Want More Special Charms In your life? Why not try making this free-form bead and wire charm?
This charm tutorial is a really fun way to use your special decorative beads. I like making them with unique glass beads! Note: includes affiliate links.
You will need the following tools and materials to make your bead charm:
1: Pliers. You will need your round nose pliers and cutting pliers to make this charm.
2: A hammer.

3: A steel hammer block.

4: Soft jewelry wire.

5: A file.

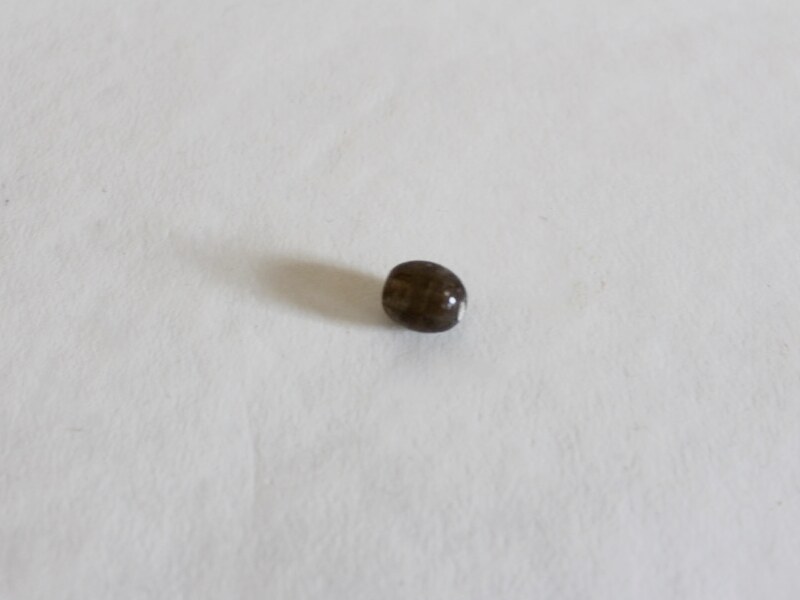
6: A bead of your choice. I used this glass bead.
Follow these steps to make your free form charm:
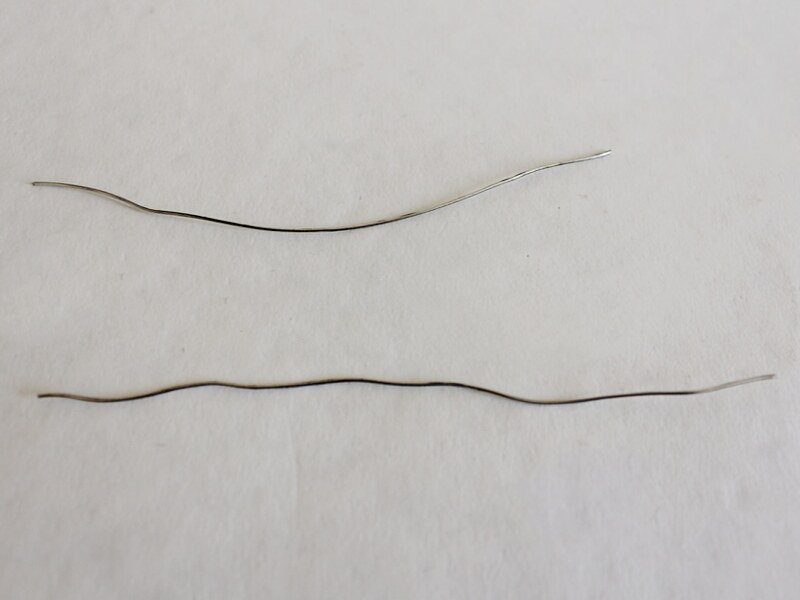
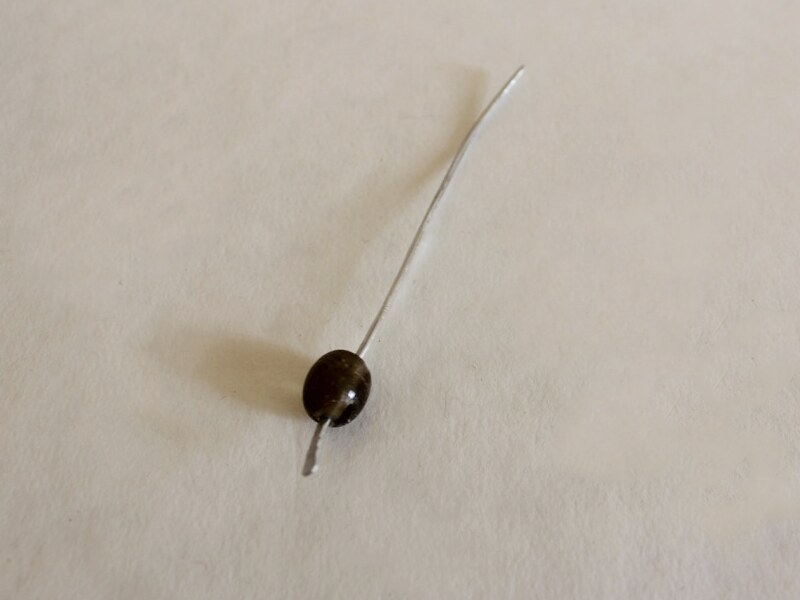
1: Cut the wire to be approximately 12-15 cm long using the cutting pliers.

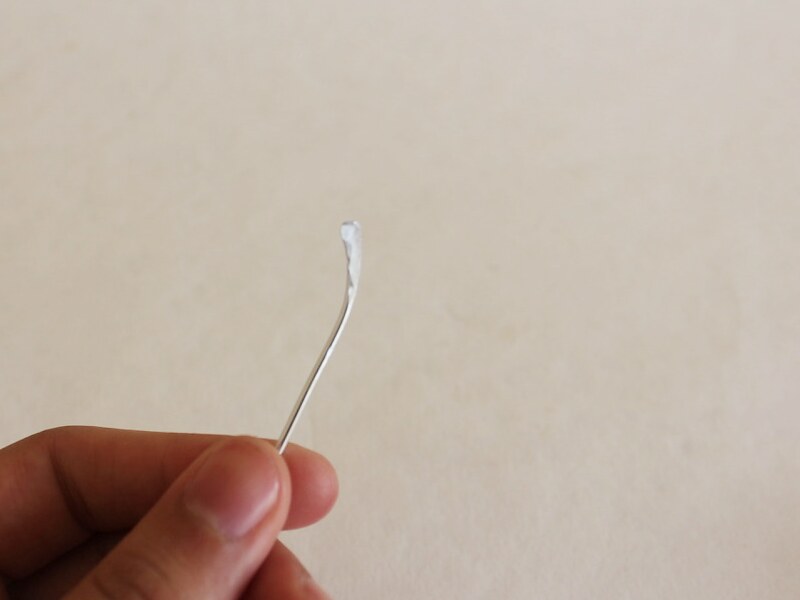
2: Hammer the end of the wire wide and flat using the hammer. It should be wide enough to keep your bead from falling off the wire.
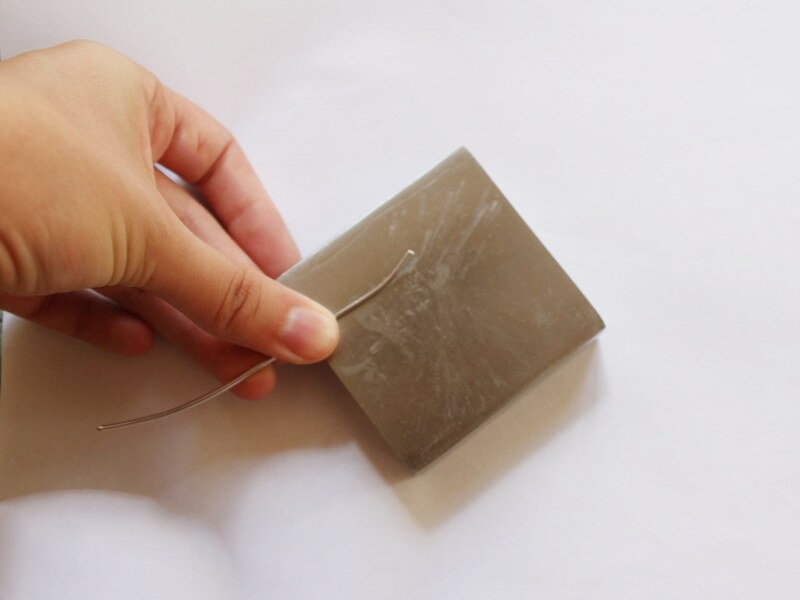
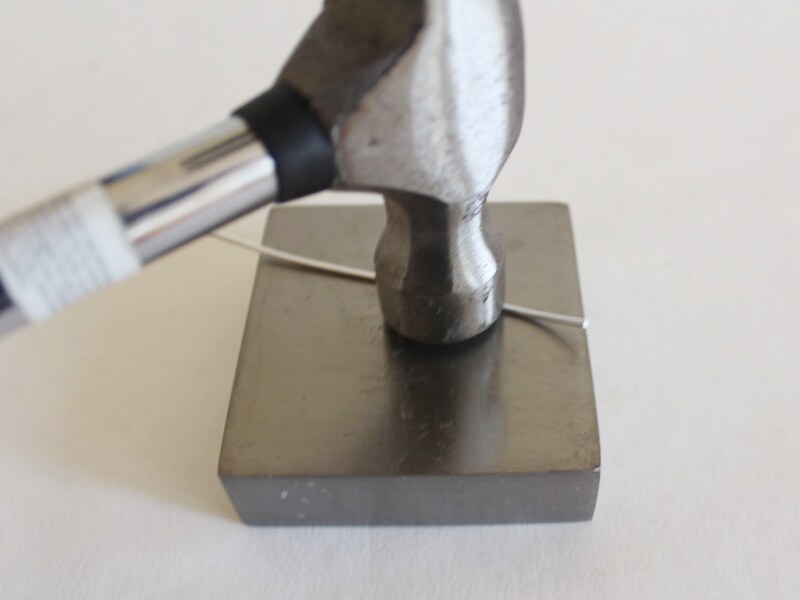
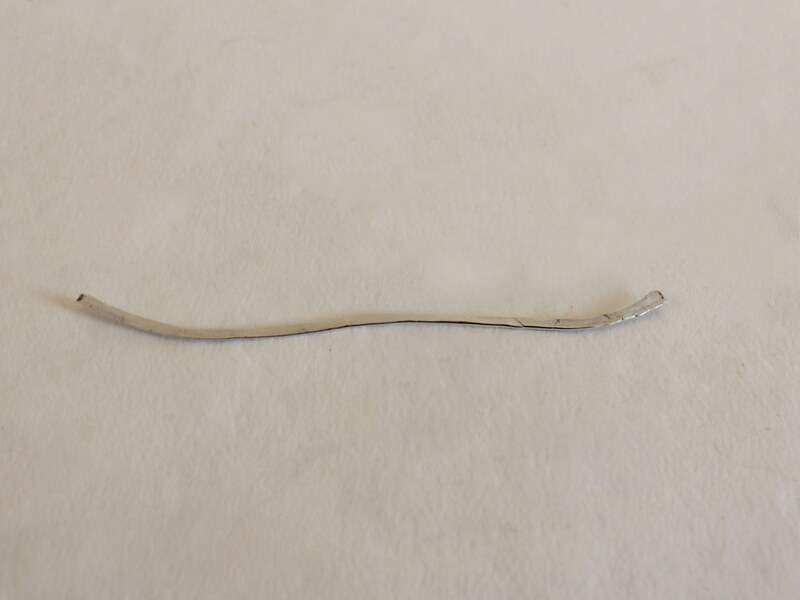
3: Hammer the rest of the wire flat but not so wide that your bead won’t go onto the wire.
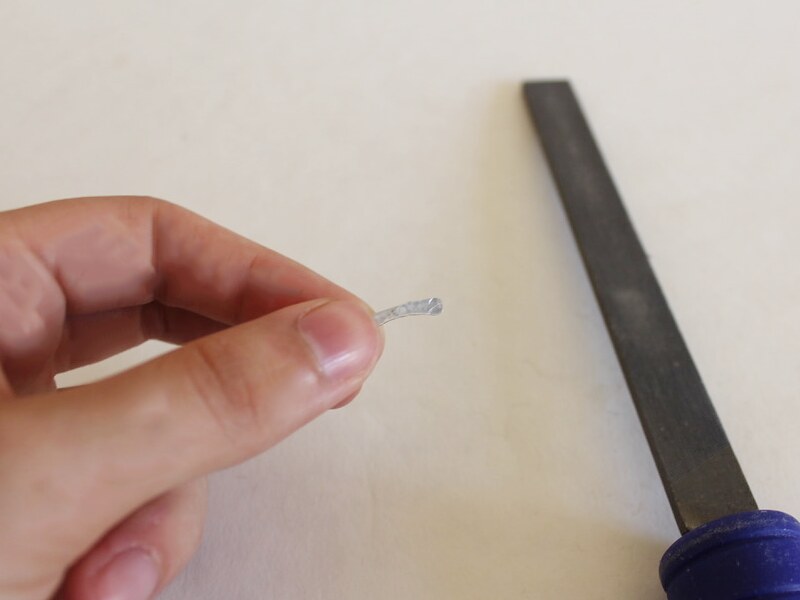
4: File the ends of the wire so that they are not sharp.
5: Add the bead to the wire, securing it against the widest end of the wire.
6: bend the wire around the bead in any formation you like.
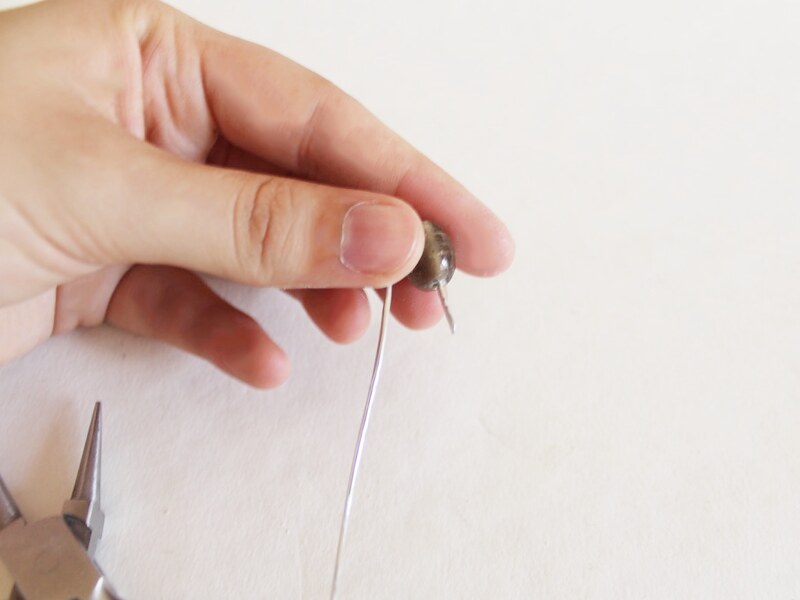
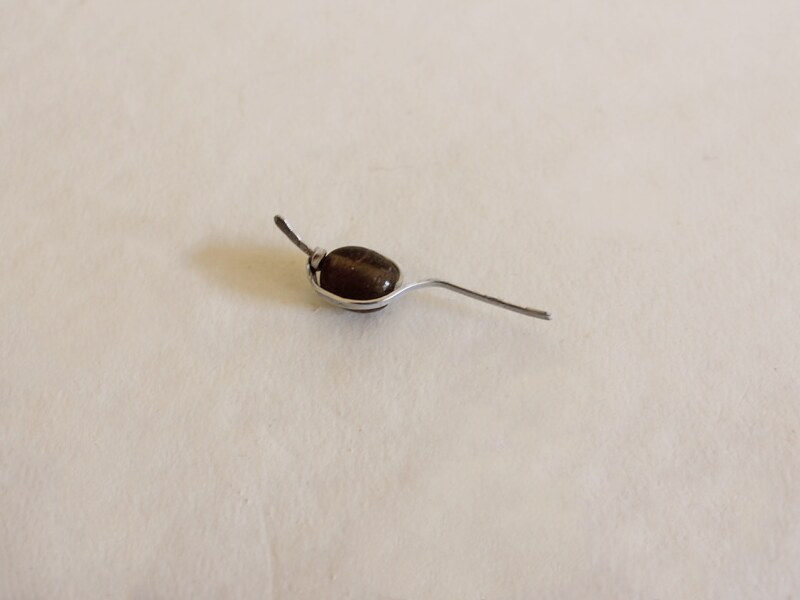
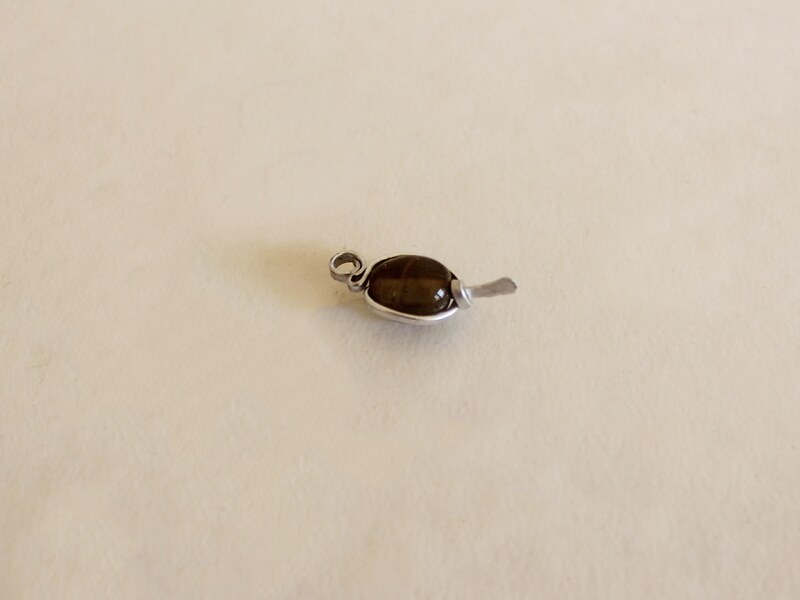
7: Bend the end of the wire into a bail at the top of your bead, you can use the round nose pliers to make this look neat.
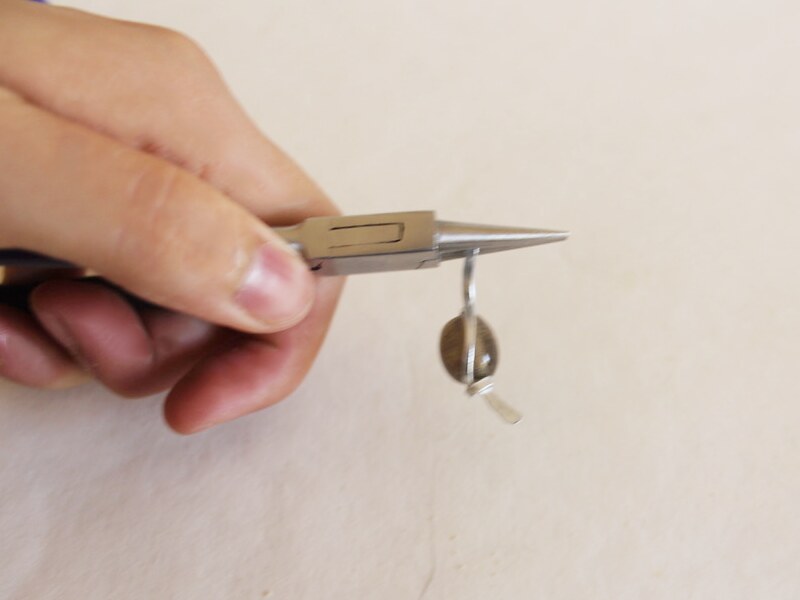

Once your bail has been made your pendant is complete! How will you form yours?
Here’s the charm on a memory wire beaded choker!