- Uncategorized
Here’s how to make a braided mask chain with beaded details!
If you’re like me, masks have become a long-term part of life. It can be annoying to keep track of your mask as you take it on and off during the day, so here’s piece you can make that helps you keep track of your mask! This mask chain features braid with beaded details for a cool, hippie look! Please note that this tutorial contains affiliate links.
You’ll need the following tools and materials to make your braided mask chain with bead details:
1: Scissors

2: Three pieces of hemp cord. I cut mine to be about a 1m long but didn’t use all of it, so I suggest cutting a bit shorter.

3: Beads with holes large enough to fit the cord. I used these painted red timber beads.

4: Two large lobster clasps.

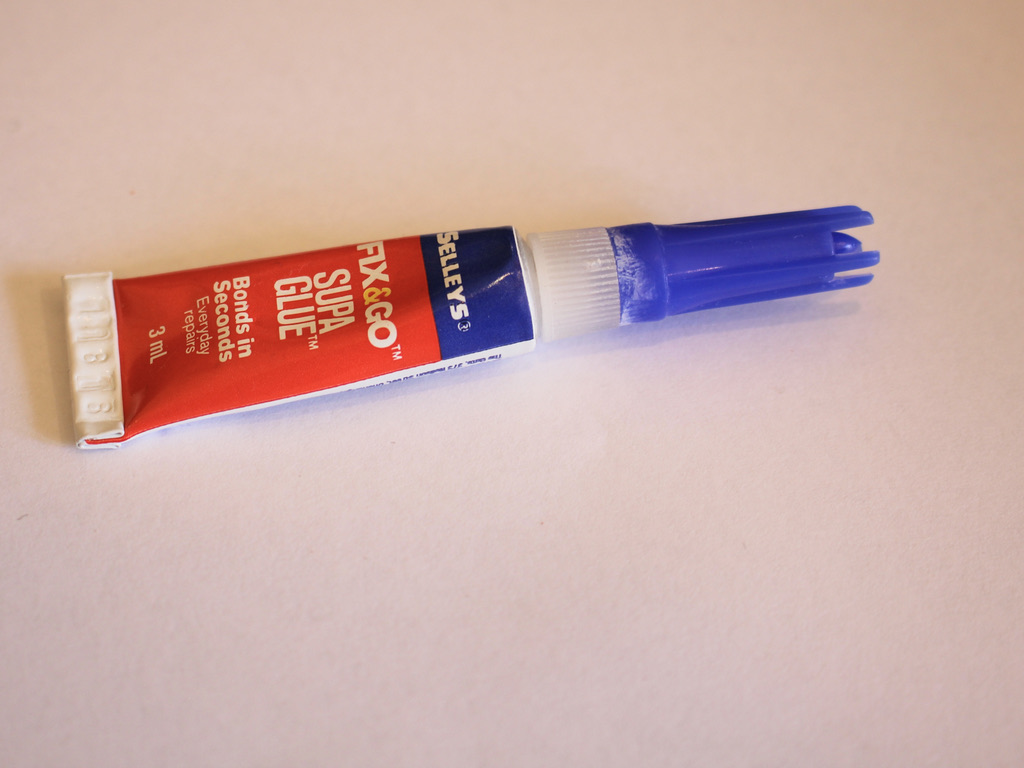
5: Super glue
Follow these steps to make your braided bead mask chain.
1: Thread the three pieces of cord through the end of one of the lobster clasps.
2: Tie a knot to secure the clasp.


3: Tie a second knot for extra security and trim the excess.

4: Start braiding the cord. It can be useful to clip the end of the piece to something so that you can pull the strings taught and make braiding easier.

5: Once you have braided a small section, approx. 4cm, add one of the beads to the centre cord.

6: Continue braiding, wrapping the next two strings around the bead and then continue braiding as usual.

7: Repeat steps 5 and 6 for the next bead and then the rest of the chain until it is the length you like.
8: Add the second clasp to the other end of the chain and knot it to secure it in place.


9: Knot the end again and trim the cord.
10: Add a dab of superglue to each end of the beaded chain and set it aside to dry.

Now your mask chain is finished and ready to use!


If you love braided designs, here are some other pieces you can make at home:
-
Do you have some string sitting in your kitchen drawers? Why not turn it into a braided charm bracelet?
Here’s how to turn some household string into a cool braided charm bracelet! This bracelet is super easy to make and looks great with a casual summer outfit!
You will need the following tools and materials to make this bracelet:
1: Pliers. You will need your cutting pliers, round nose pliers and flat nose pliers to make this bracelet.

2: Two crimp ends.

3: Three pieces of string. Cut each to approximately 25cm (9.8 inches) long.

4: Two jump rings.
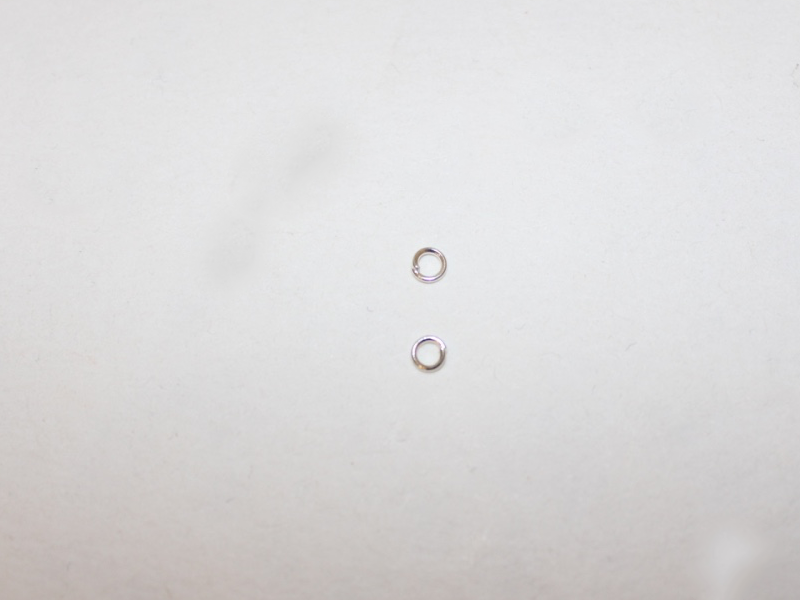
5: One large jump ring.

6: A clasp. I used this screw clasp.

7: Charms of your choice. I used this polymer clay charm and a wire charm that used to be an earring.


Follow these steps to make your bracelet:
1: Hold the ends of the three strings together and add a crimp end to secure them together. Add the crimp by folding it around the strings, squashing the sides down using the flat nose pliers as pictured.


2: Braid the strings until the bracelet reaches comfortably around your wrist.


3: Trim the strings using your cutting pliers or a pair of scissors.


4: Add the other crimp end to the end of the braid.


5: Add a jump ring to either side of the bracelet and attach the screw clasp, closing the jump rings to secure the clasp in place.


6: Add the charms to the large jump ring.

7: Add the large jump ring with the charms attached to one of the jump rings next to the clasp. Close the large jump ring to secure the charms to the bracelet.

Now that your charms are attached your fun summer beaded bracelet is finished!