-
Having Trouble deciding what to make? Here are my top 10 fave tutorials!
Here is a count down of my top 10 favorite tutorials on DIY Jewelry hub so far. I hope some of your faves are in here too!
10.
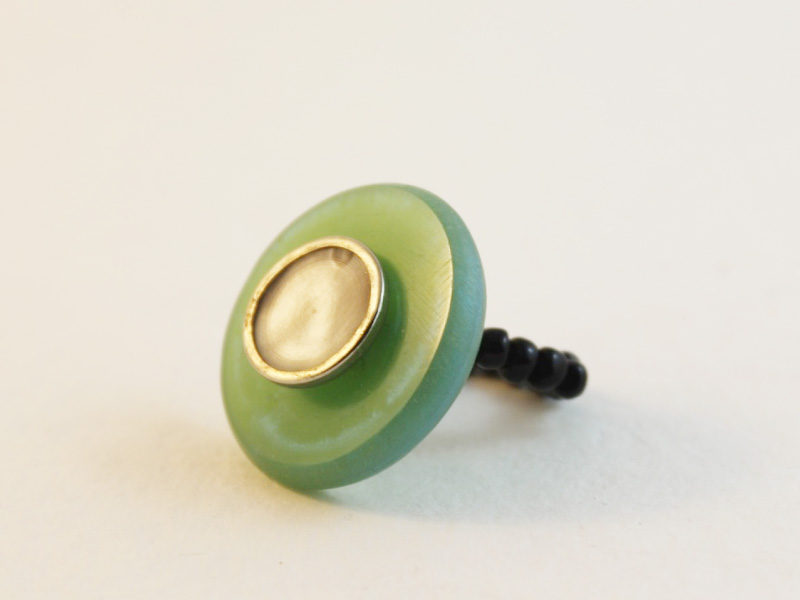
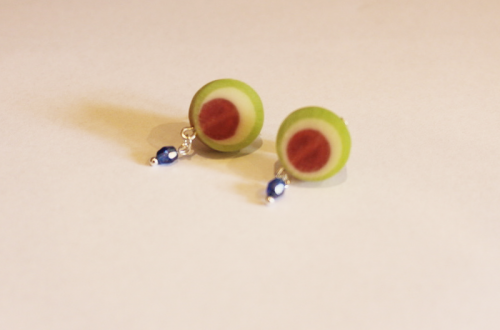
Transform beautiful buttons into stunning and unique earrings. This tutorial is a personal favorite of mine and I wear my button earrings all the time!
Check out the button earring tutorial out here!


9.
This one is for the fellas! A quick DIY that leaves you with some incredible and unique cufflinks. I gave a special pair to my Dad.
Click here to make your own unique cufflinks.


8.
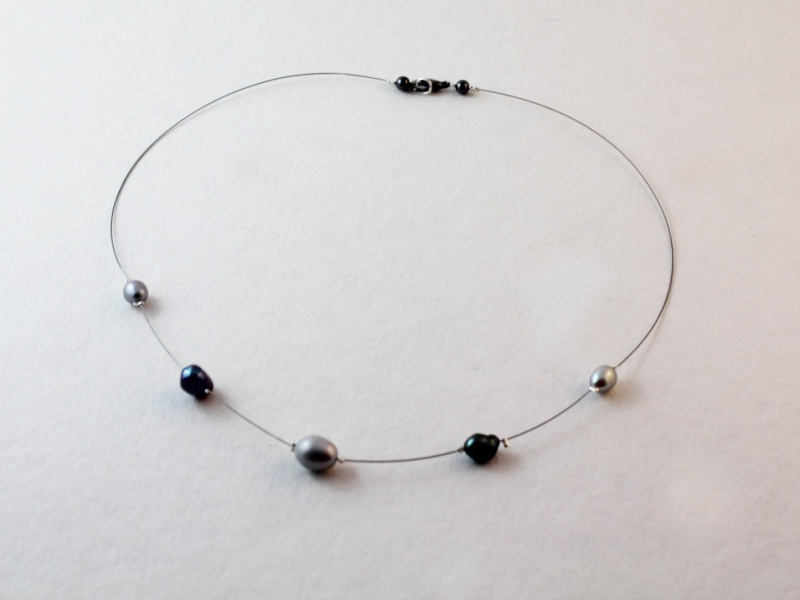
This design is pretty cool! Using memory wire and some crimp beads you can make your beads float across your chest.
Here are all the steps to make your own floating bead necklace.

7.
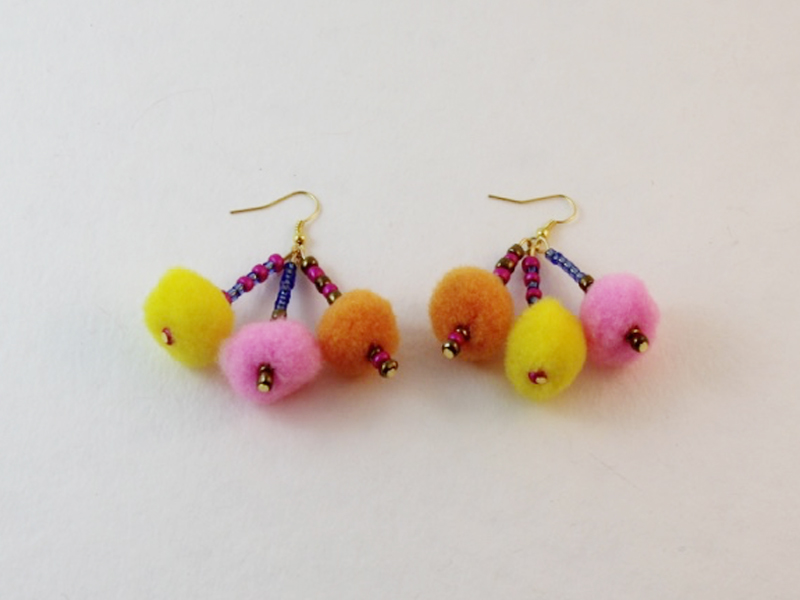
How cute are these? I love these festive pom pom earrings, especially as the silly season is coming up soon!
Make your own pom pom earrings, follow these steps.
6.
Recycling doesn’t have to be messy! I love upcycling old cardboard tubes and and plastic rings into jewelry.
Make yourself some recycled ribbon bangles!


5.
This beaded triangle pendant is one of my favorite designs! All you need are some awesome beads and three eye pins and you’re on your way.
Check out the triangle pendant tutorial video for some DIY inspiration!

4.
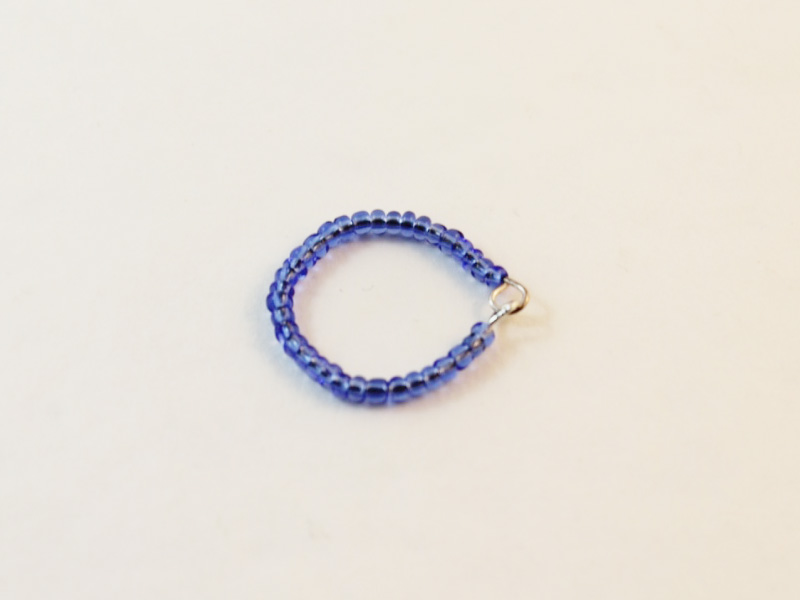
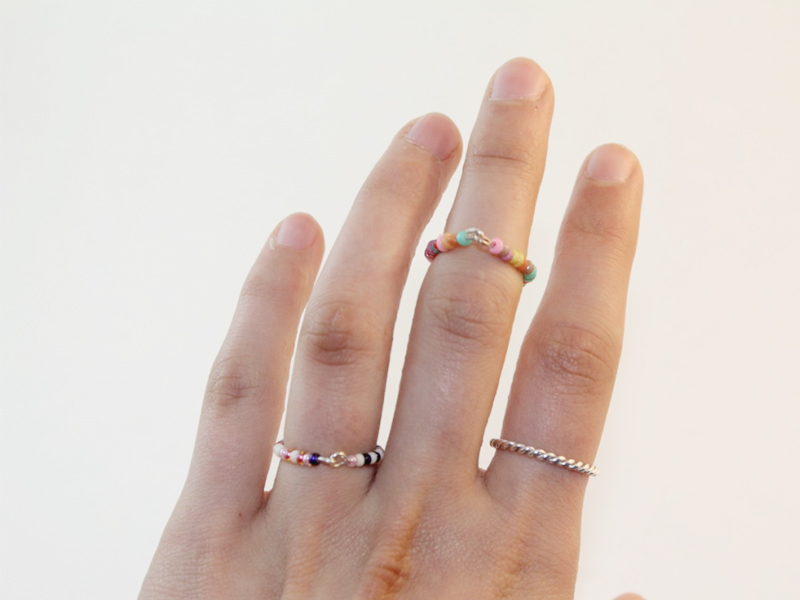
Want to make your own beaded rings without using a ring finding? Here’s how! You’ll be decorating your fingers with these delicate beauties.
All the steps to make beaded rings are right here.
3.
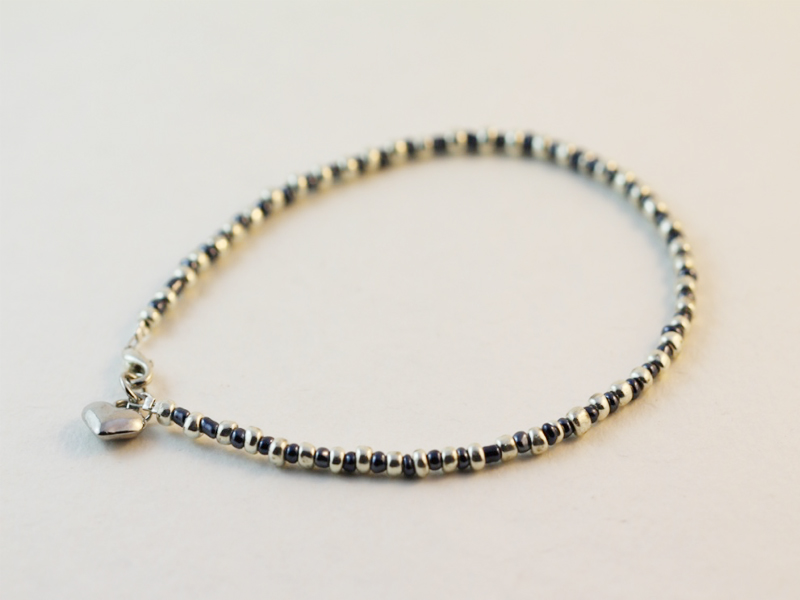
Anklets are great, especially in summer. This video tutorial shows you how to make a simple beaded anklet to make that ankle shine!
Follow the anklet making steps right here.
2.
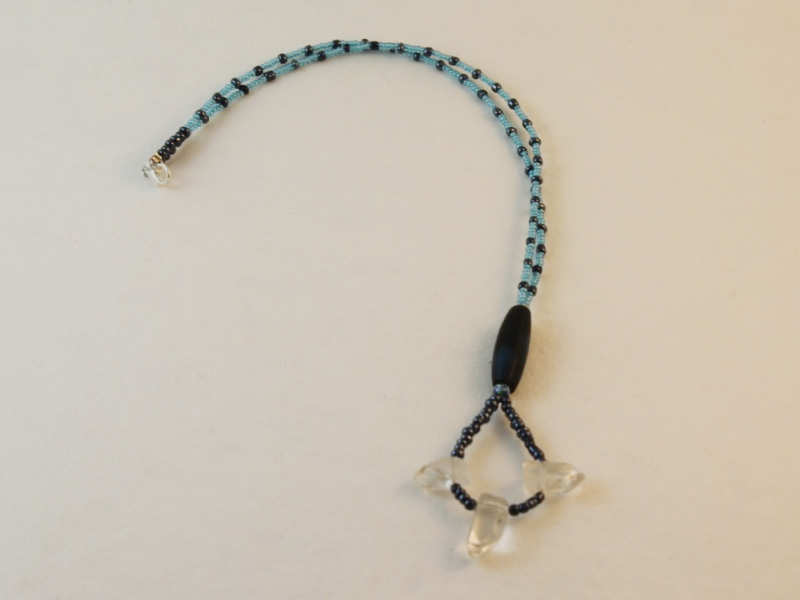
This looping technique is super easy to do and gives a great effect! I bet every necklace you make using this technique will look completely different. This tutorial is also perfect for making gifts.
Check the beaded loop necklace tutorial out right here!
1.
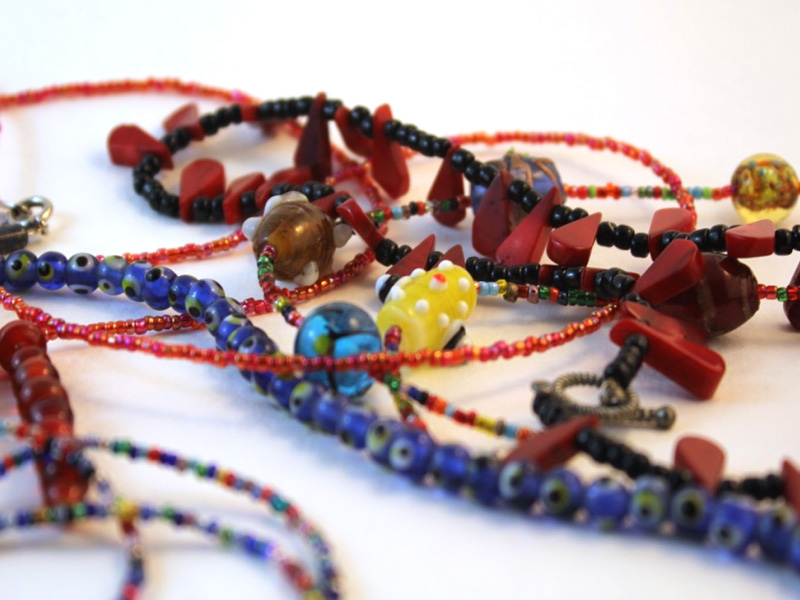
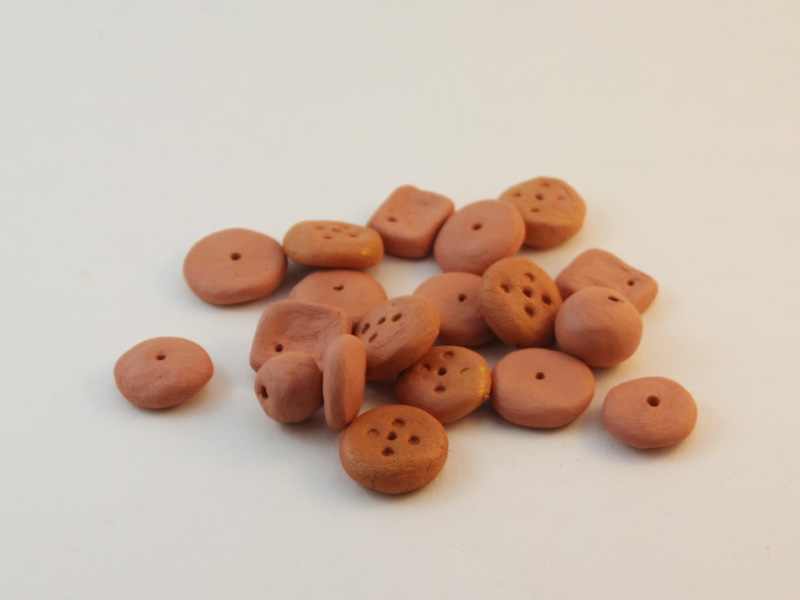
What’s more exciting than making your own bead jewelry? Making your own beads! Using air dry clay to make your own beads is easy, fun (and just the right amount of messy).
Get stuck into the bead making, all the steps are right here!


-
Got Some Old Buttons or plastic cabochons lying Around? Here’s How to Turn Them into Earrings!
Have you ever stumbled upon some cool buttons but don’t know what to do with them? Here are some instructions for turning your button collection into some cool stud earrings. Using some cutting pliers and a file you can turn those buttons into stunning decorations for those lobes.
You will need the following tools and materials to make your button earrings:
1: 2 flat bed earring posts.

2: Araldite Glue (I recommend wearing gloves and working in a ventilated space).

3: A Skewer.

4: A Scrap Piece of Paper.

5: Buttons or flat plastic cabochons of your choice. I used these plastic glitter buttons. If you do chose buttons, I suggest choosing ones with flat loops, otherwise you will need to go through the hassle of cutting the button loops off.

Here are some flat back pieces so you don’t need to cut or file anything.
Follow these instructions to make your cute button earrings:
1: Flip the plastic cabochons over.
2: Squeeze out some glue in equal parts onto the paper and quickly mix it with the skewer.
3: Apply some glue to both of the earring posts using the skewer.


4: Place the earrings carefully onto the backs of the buttons and wait for them to dry.


5: Once the earrings are dry they are ready to wear!
What fun decorations will you make your earrings with? I love these glittery buttons!

Here’s another pair made with some different glittery buttons!
Here are some other tutorials you can follow to make jewelry out of buttons:
This tutorial contains affiliate links.
-
Here’s something a bit different… how to make cufflinks

Customized cufflinks are closer than you think. You can make your own unique cufflinks using some cool buttons and a pair of silver cufflink findings.
You will need the following tools and materials to make these cufflinks:
1: A pair of cufflink findings.

2: Two buttons of your choice. I used these buttons because they had a flat back. You can use other buttons by cutting off the loop attachment.

3: Two part epoxy glue. I used Araldite.
4: Scrap paper for mixing the glue on.
5: a skewer.
Follow these steps to make your own cufflinks:
1: Squeeze out some glue onto the scrap paper.

2: Mix the glue using the skewer.

3: Apply some of the glue to the flat part of the cufflink finding.

4: Place the glue side of the finding down onto the backside of the button. Hold it in place for a little while to make sure that the cufflink doesn’t slide out of place.


5: Repeat steps 3 and 4 for the second cufflink.
6: Wait for the glue to dry.

7: Once the glue has dried the cufflinks are ready to wear.
These cufflinks have been decorated with some polymer clay leaves.

These cufflinks have been made using some vintage clip on earrings.
If you were inspired by this button cufflink tutorial here are some other ways that you can use buttons in your DIY jewelry designs:
- Button bracelets
- Transform buttons into stud earrings
- Use a button to decorate a ring
- Use buttons to add texture to handmade clay beads
This tutorial contains affiliate links.