-
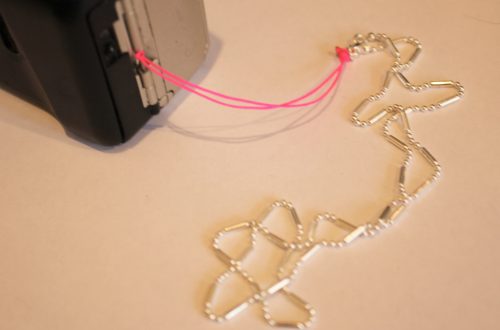
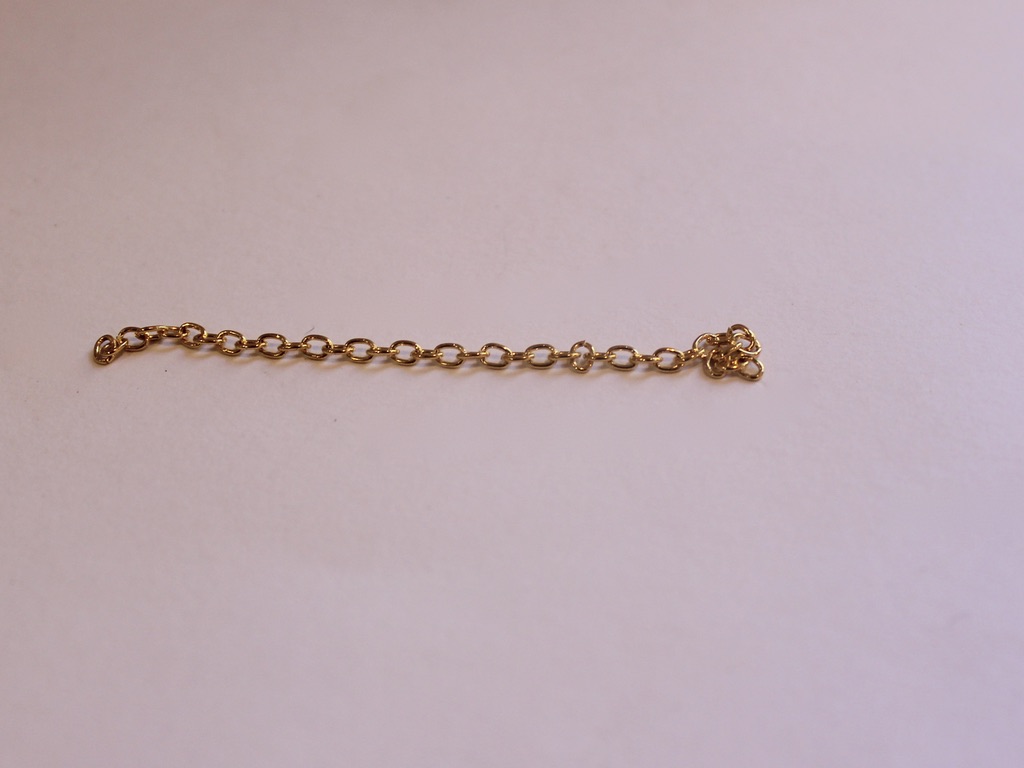
Like to keep track of your phone? Here’s how to make a handy chain phone strap.
This phone strap is minimalist in design and fairly easy to put together. Phone straps seem to be increasingly popular at the moment, so here’s how you can make one of your own. Please note that this tutorial contains affiliate links.
Grab these tools and materials to make your own chain phone strap:
1: Your jewellery pliers. I used my flat nose and round nose pliers.


2: Some chunky chain, I used about 42cm of chain but you could use less or more depending on the size you want your strap.

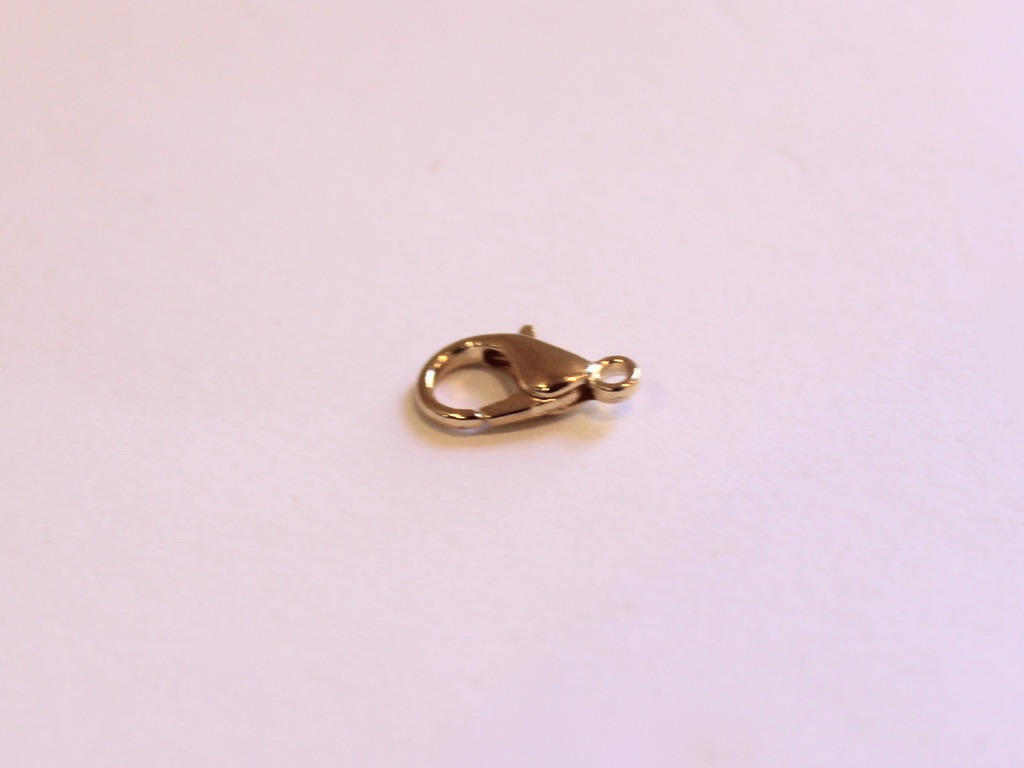
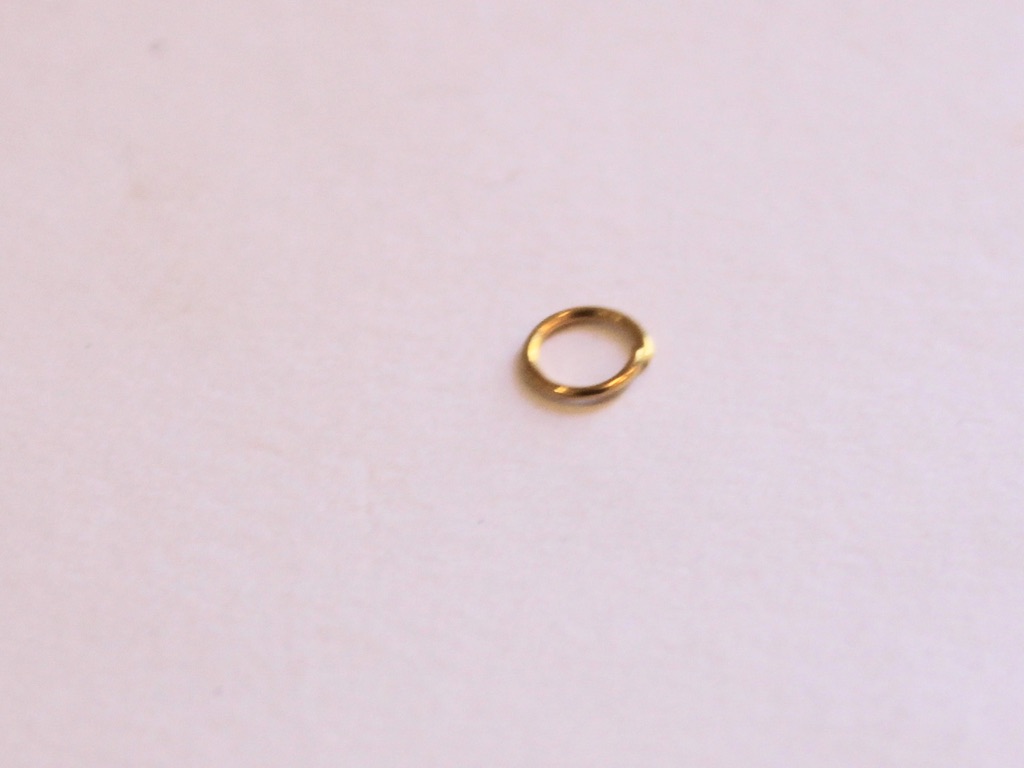
3: A sturdy jump ring.

4: A keychain with a phone loop.

Follow these steps to make your chunky chain phone strap:
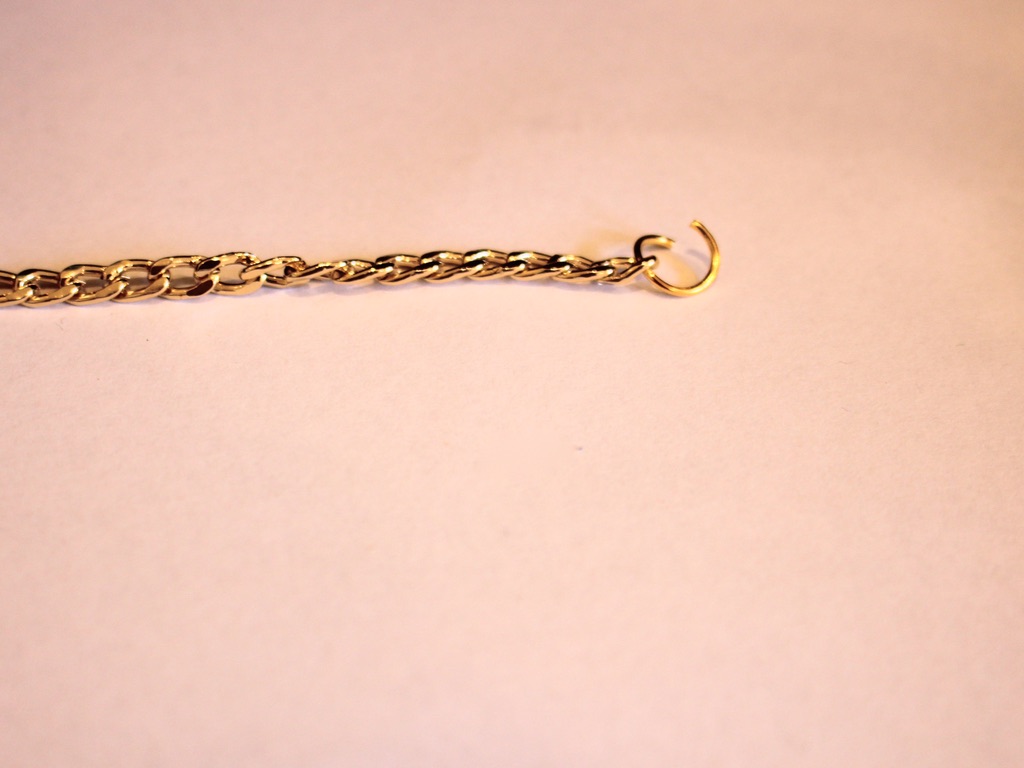
1: Add both ends of the chain to the jump ring.

2: Add the keychain to the jump ring.

3: Close the jump ring using your pliers.

And that’s it, done in three steps! Now you can attach it to your phone case by looping the little loop around a hole in your phone case, pulling the strap through and then pulling it tight.


Here is another phone strap tutorial in case you like some variety when it comes to your phone accessories!
-
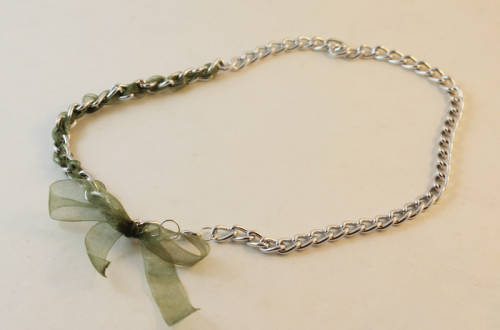
Do you love a waist chain? Here’s how to make one with an extra loop feature.
This design is really cool! I think chain belts or waist chains are a really fun way to add some 80s glam to your favorite dresses or skirts. Please note that this tutorial contains affiliate links.
You’ll need the following tools and materials to make your looped chain:
1: A length of chain long enough to fit around your waist with a little extra (approximately 20cm) to spare.

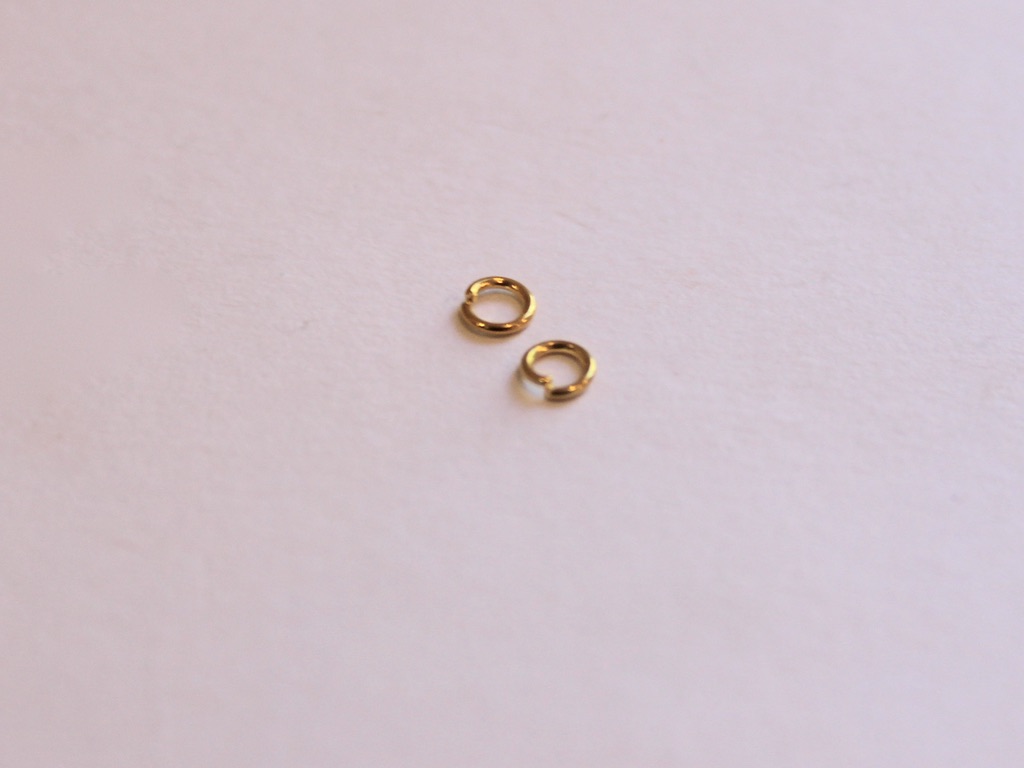
2: Three large jump rings.

3: A large lobster clasp.

4: Pliers. I used my round nose and flat nose pliers to make my chain belt.
Follow these steps to make your chunky waist chain:
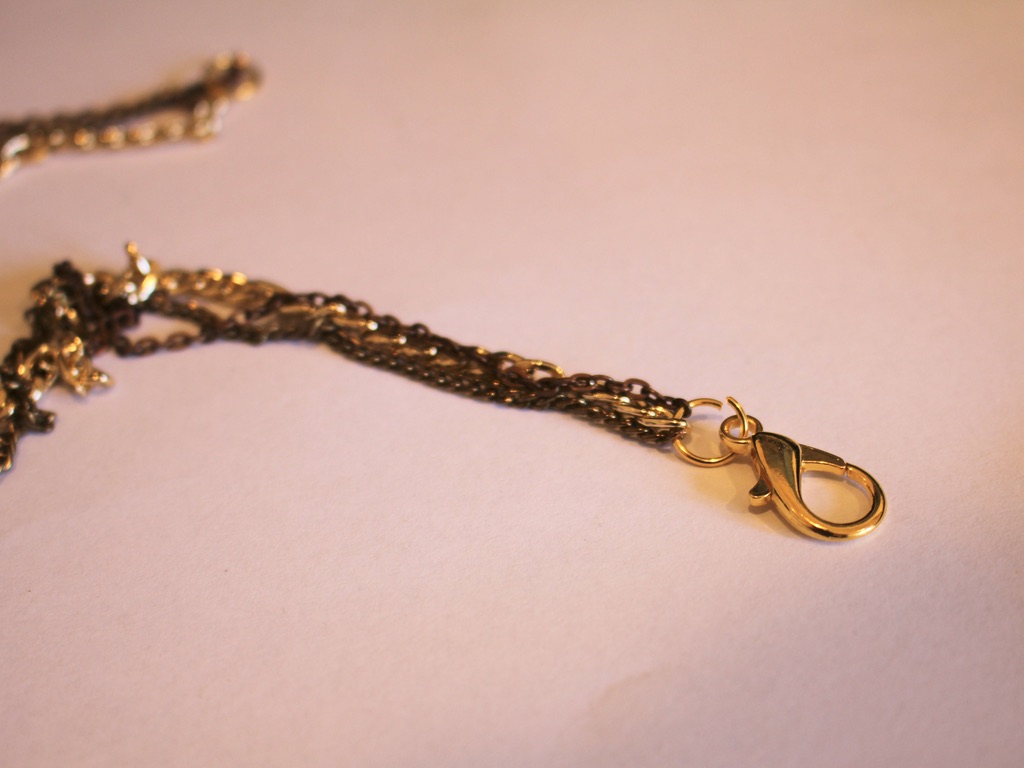
1: Add a large jump ring and lobster clasp to one end of the chain.


2: Wrap the chain around your waist and find the point where it fits.

3: Add another jump ring to the point where the chain fits your waist, you should have some extra chain that dangles beyond this point.


4: Take the extra bit of chain and fold it back towards the long waist part of the chain.
5: Take the last jump ring and use it to attach the end of the chain to the main waist part of the chain to form a loop. Once this extra part of the chain is secured your looped waist chain is ready to wear! So so cute!


Here are some of our other body chain tutorials:
-
How to make a three strand chain anklet. Super cute and simple!
This cute anklet is made from three different kinds of chain for a textured look. Combine your fave types of chain to create your own custom look. This tutorial contains affiliate links.
You’ll need the following materials to make your three chain anklet:
1: Pliers. I used my flat nose pliers and round nose pliers.
2: Three lengths of chain that are long enough to fit comfortably around your ankle. I used chunky gold tone curb chain, copper tone rolo chain and antique gold tone curb chain.


3: Two large jump rings.

4: A lobster clasp.

Follow these steps to make your three chain anklet:
1: Open one of the jump rings.
2: Add each of the chains to the open jump ring.

3: Close the jump rings to secure the chains together.


4: Open the other jump ring and put the other end of each chain onto the jump ring in the same order as the other end.
5: add the lobster clasp to the second jump ring before closing it.
Now your anklet is finished and ready to put on! Throw one together before your next social distanced hang.


-
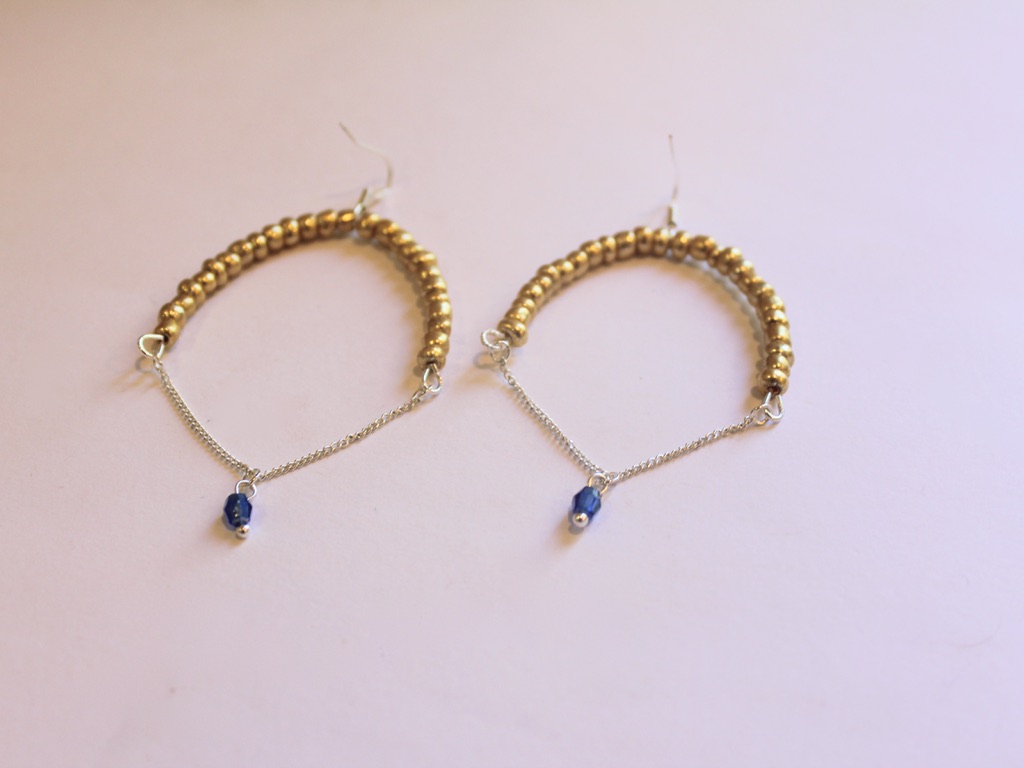
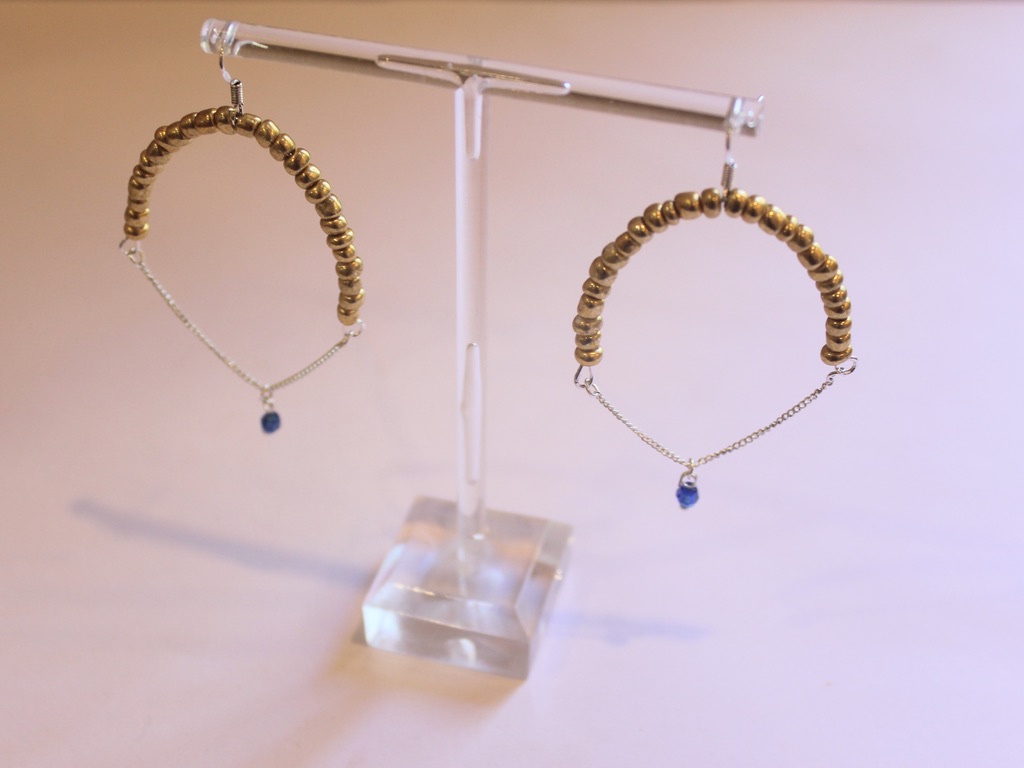
These arched and chain embellished earrings are so cool. Here’s how to make them.
We have made some different arch and chain earrings before, this one flips them around so that the arch sits at the top of the earring leaving the chain to dangle down gently. I really like the way these earrings move when you wear them. This tutorial contains affiliate links.
You’ll need the following tools and materials to make these earrings:
1: Pliers. I used my cutting pliers, round nose pliers and flat nose pliers.

2: Some bracelet length memory wire cut into half circles.

3: Two short pieces of chain.

4: Earring hooks.

5: Six jump rings.


6: Two head pins.

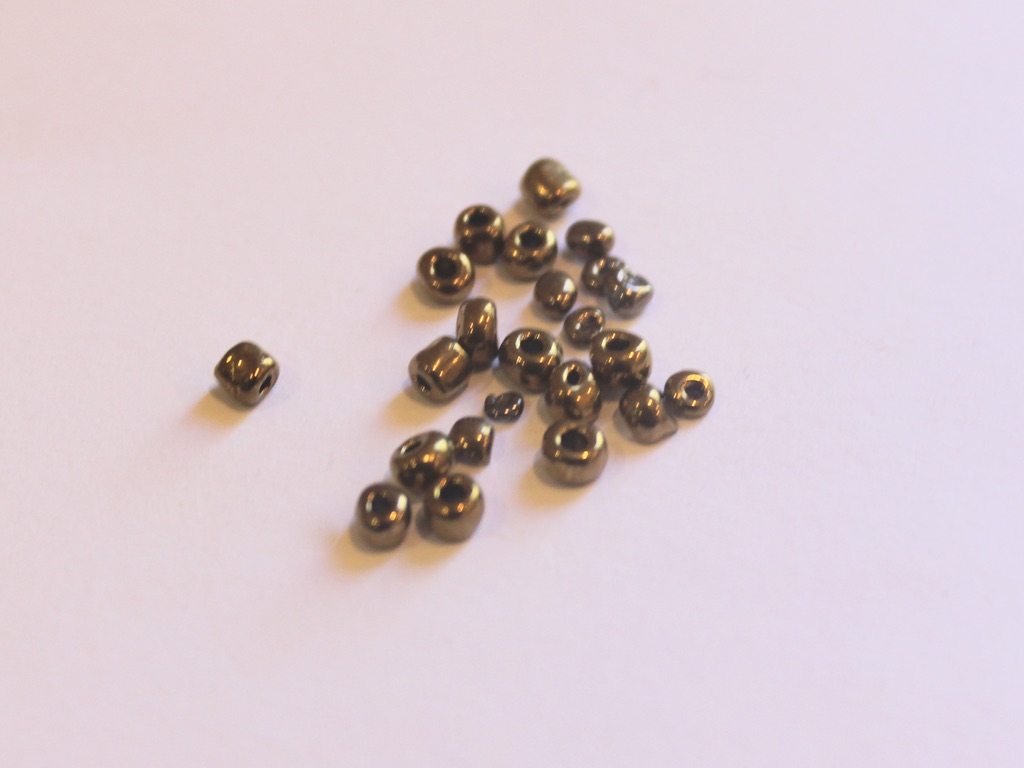
7: Beads. I used gold-tone e-beads and faceted blue plastic beads.


Follow these steps to make your own arch and chain dangle earrings:
1: Create a loop at one end of one of the pieces of memory wire using the round nose pliers.

2: Add beads so that approximately half of the wire is beaded.

3: Add one of the earring hooks.
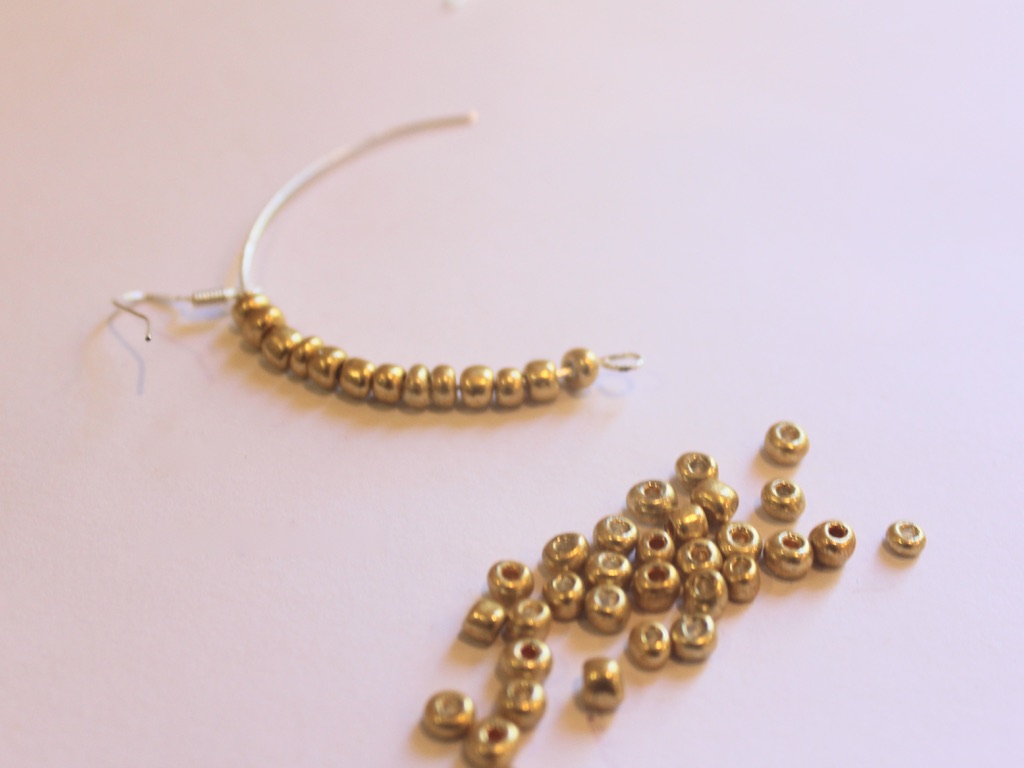
4: Add more beads to the wire until there is about 1cm left without beads.

5: Curl the end of the wire so that the beads and earring hook are secured in place. I squeezed my wire a bit at this point so that it formed a more narrow arch.

5: Repeat steps 1-5 for the second earring.

6: Add a jump ring to one end of the small chains.

7: Attach the end of the chain to the bottom of the beaded arch.

8: Repeat steps 6 and 7 for the other end of the chain to form a loop.


9: Repeat steps 6 to 8 for the other earring.

10: Add the faceted beads to each of the head pins and loop the tops using the round nose pliers to secure the beads in place.


11: Attach the newly formed bead charms to the chains with the remaining jump rings.

Now your dangling arch earrings are finished and ready to wear! So so cute!
If you like this design here’s a different arch earring tutorial we made a little while ago.
This tutorial contains affiliate links.
-
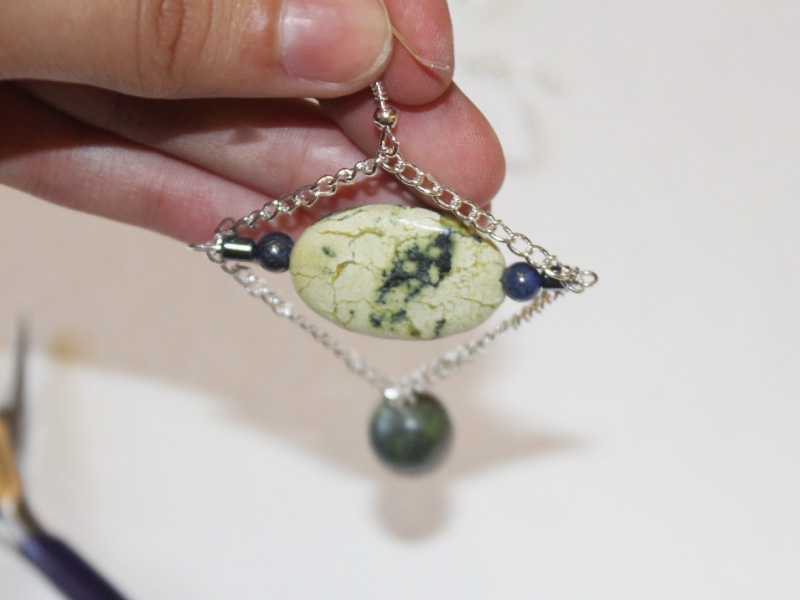
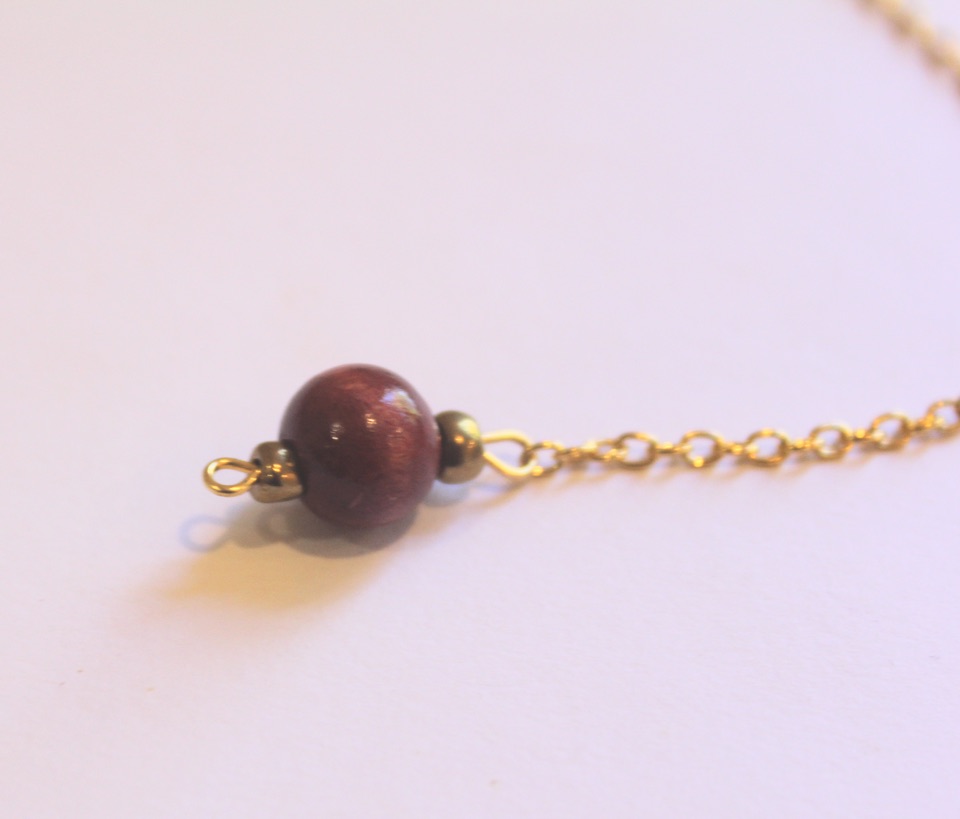
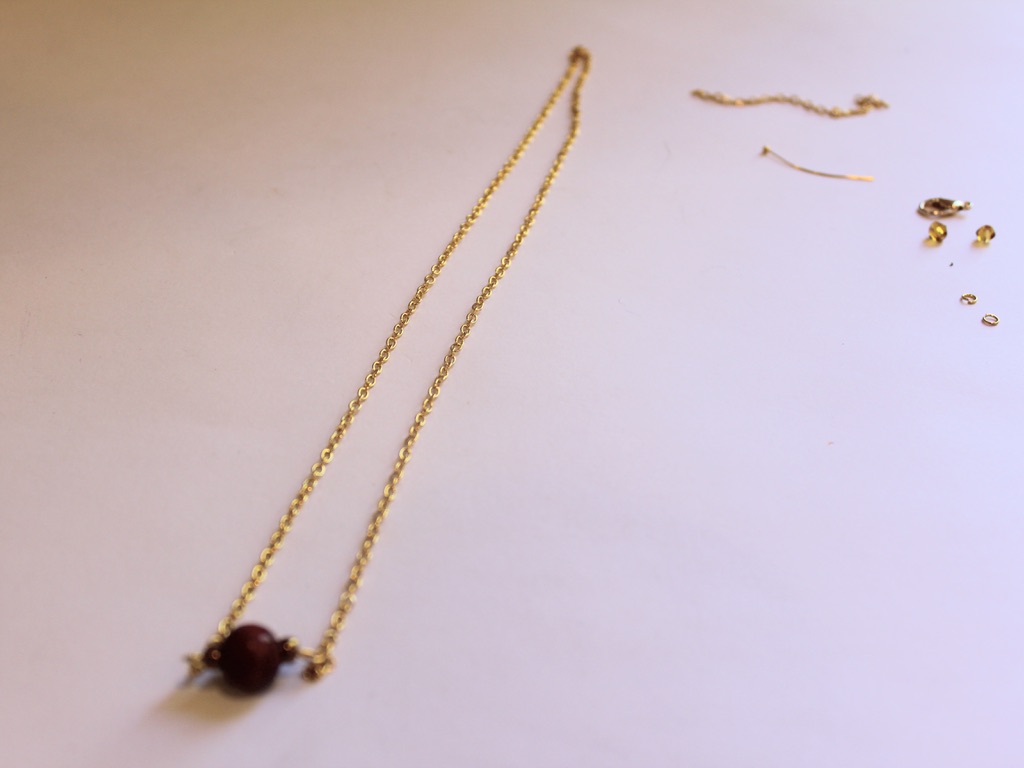
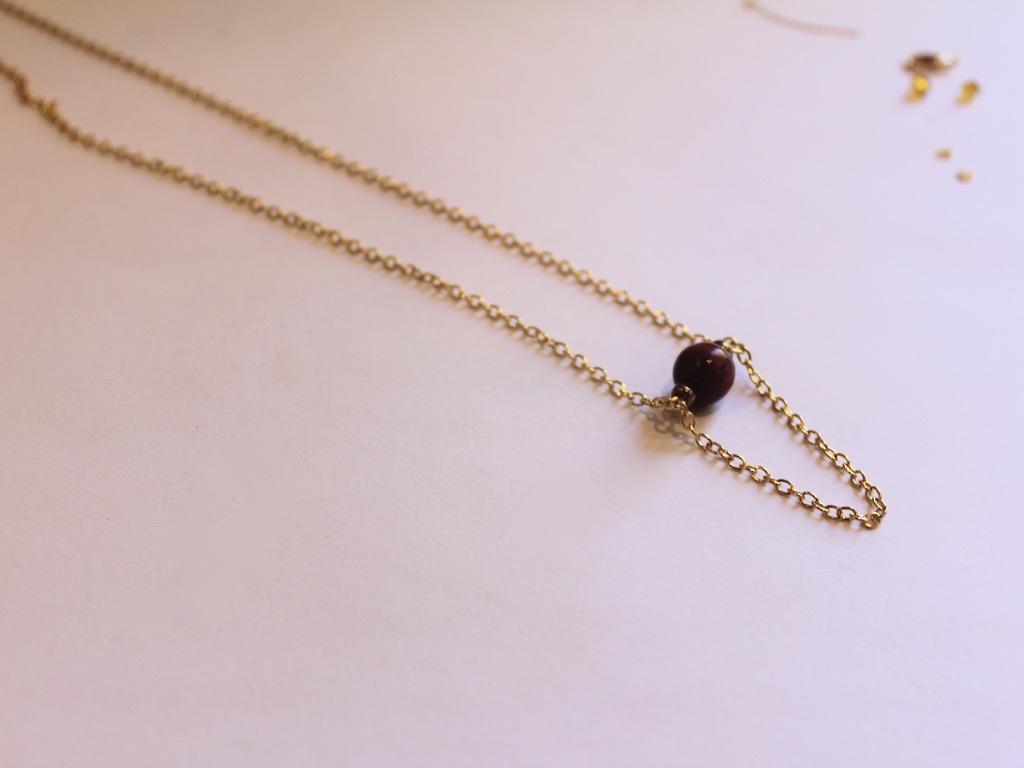
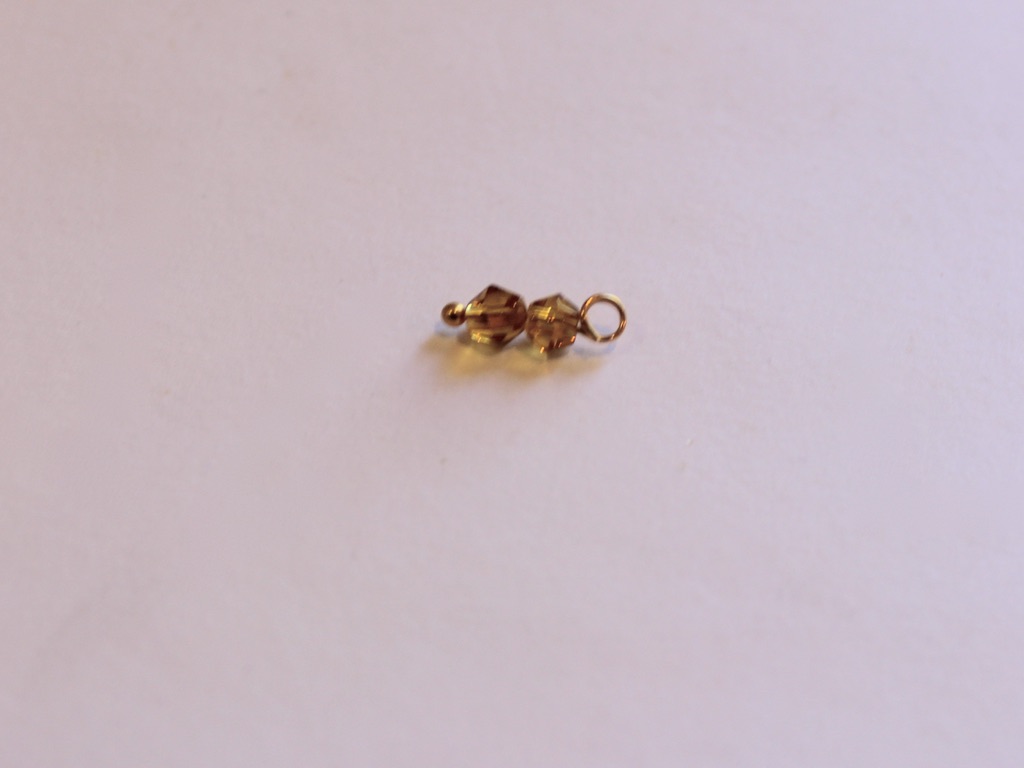
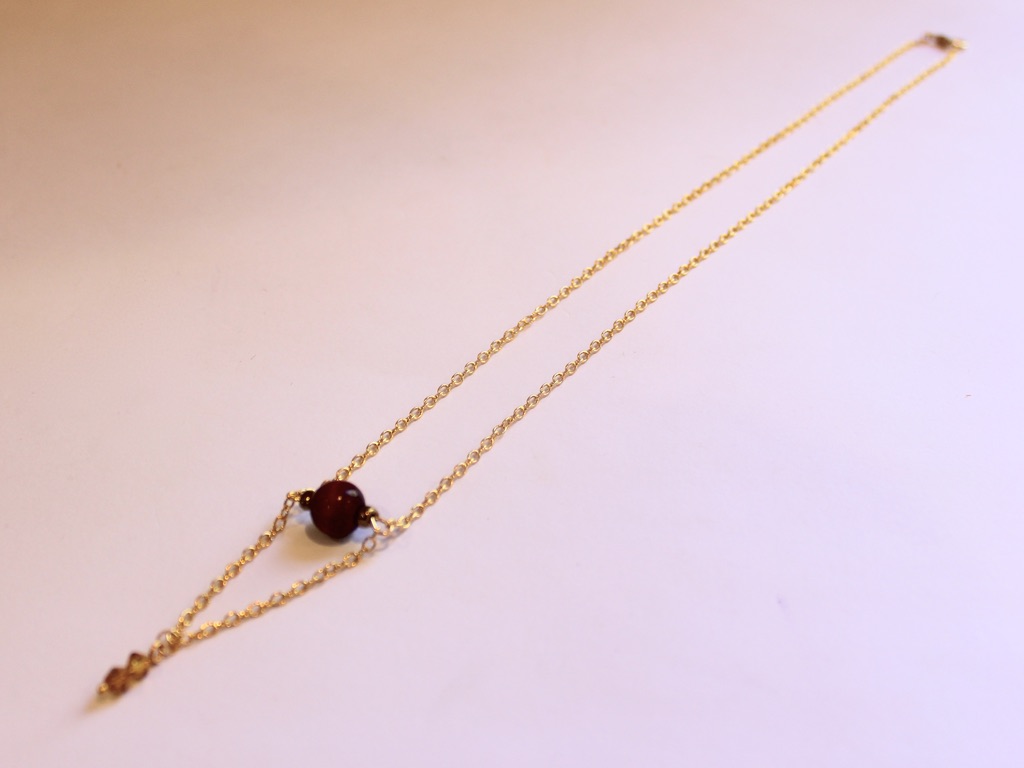
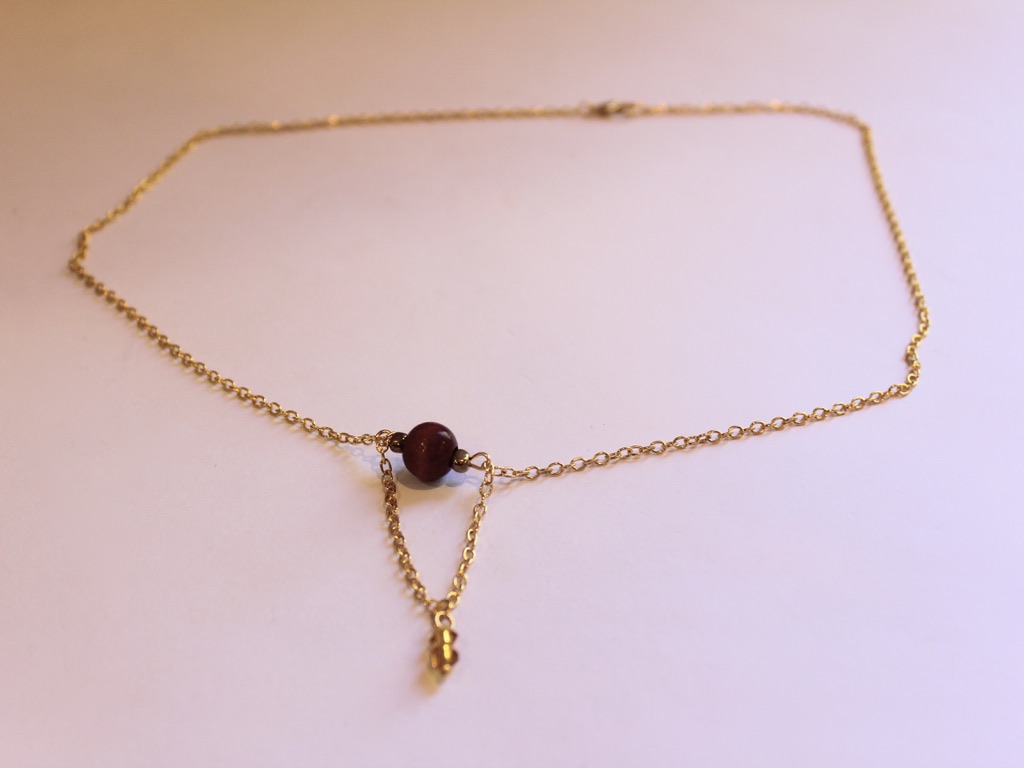
This necklace is kind of cute. It features a looped chain charm for something a little different.
I really like this necklace, it uses chains and pins to create a fun layered charm look. I used lots of different bead materials in this design, what kind of beads will you use? This tutorial contains affiliate links.
You’ll need these tools and materials to make this necklace:
1: Pliers. I used my round nose and flat nose pliers.
2: A necklace length chain and a shorter chain to make the bottom loop.
3: A lobster clasp that matches the metal tone of the chain.
4: Three jump rings, two small and one large.
5: One medium length eye pin.
6: One head pin.
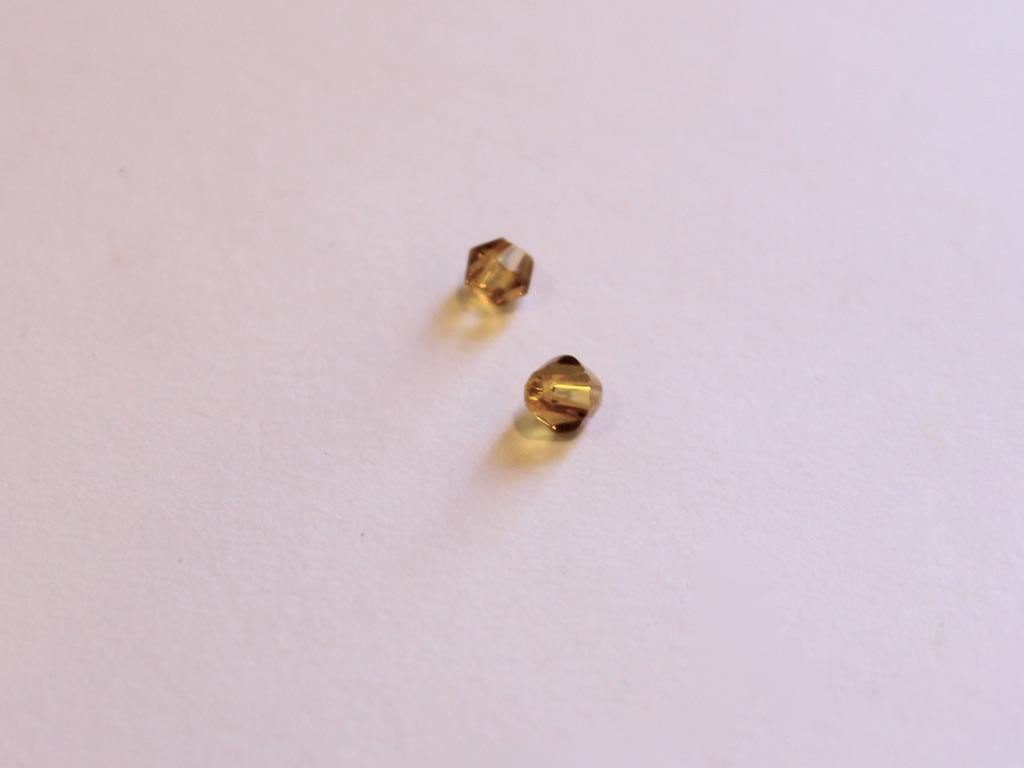
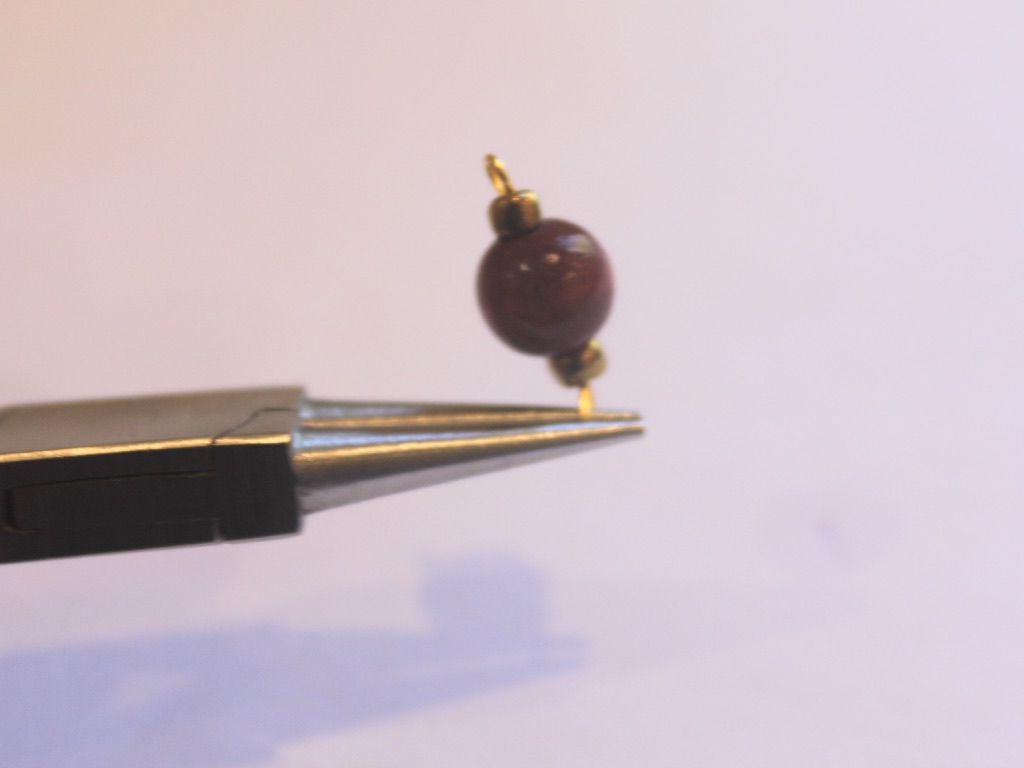
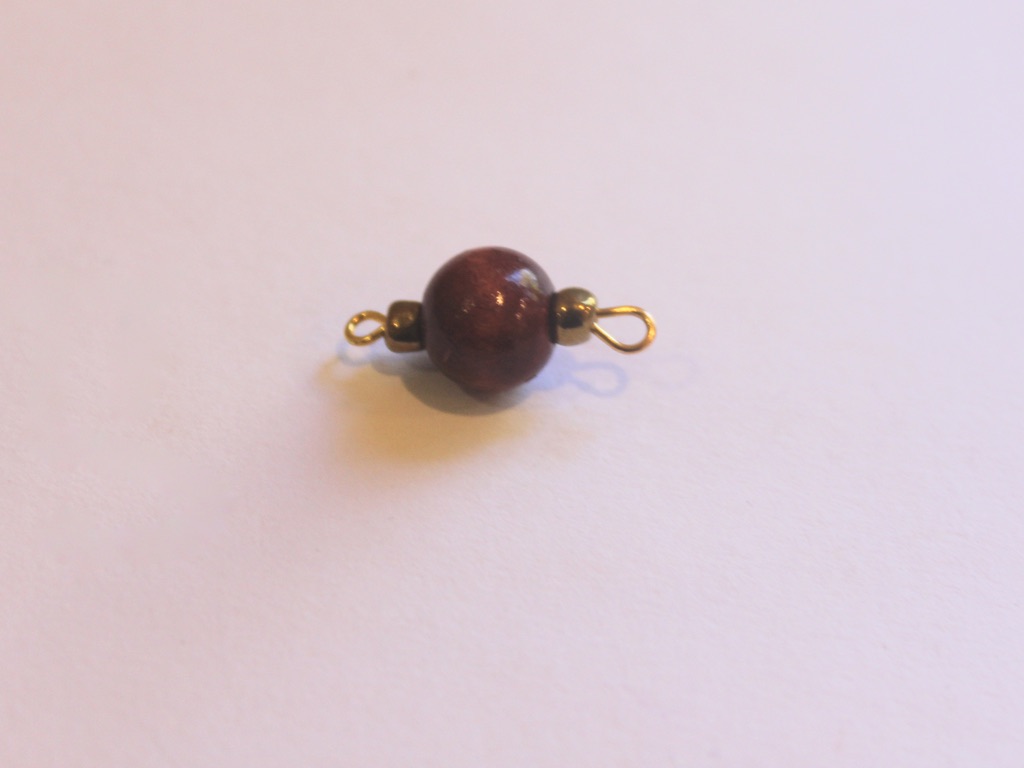
7: Beads. I used one red wooden bead, bronze tone e-beads and two yellow plastic faceted beads.
Follow these steps to make your new cute necklace:
1: Add the beads to the eye pin in your pattern of choice.

2: Bend the end of the pin into a loop using the round nose pliers.
3: Attach the long and short chains to the charm so that they fall either side of it.
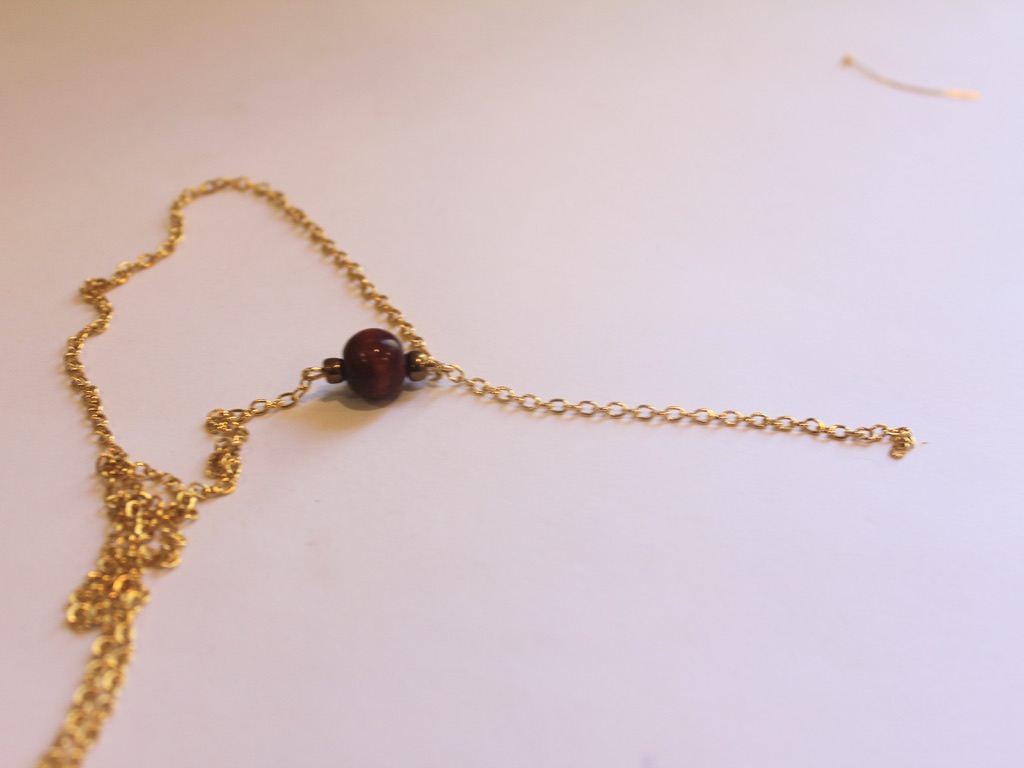
4: Add the other beads to the head pin and curl the top of it to secure the beads in place.

5: Attach the charm to the middle of the short chain with the larger jump ring.
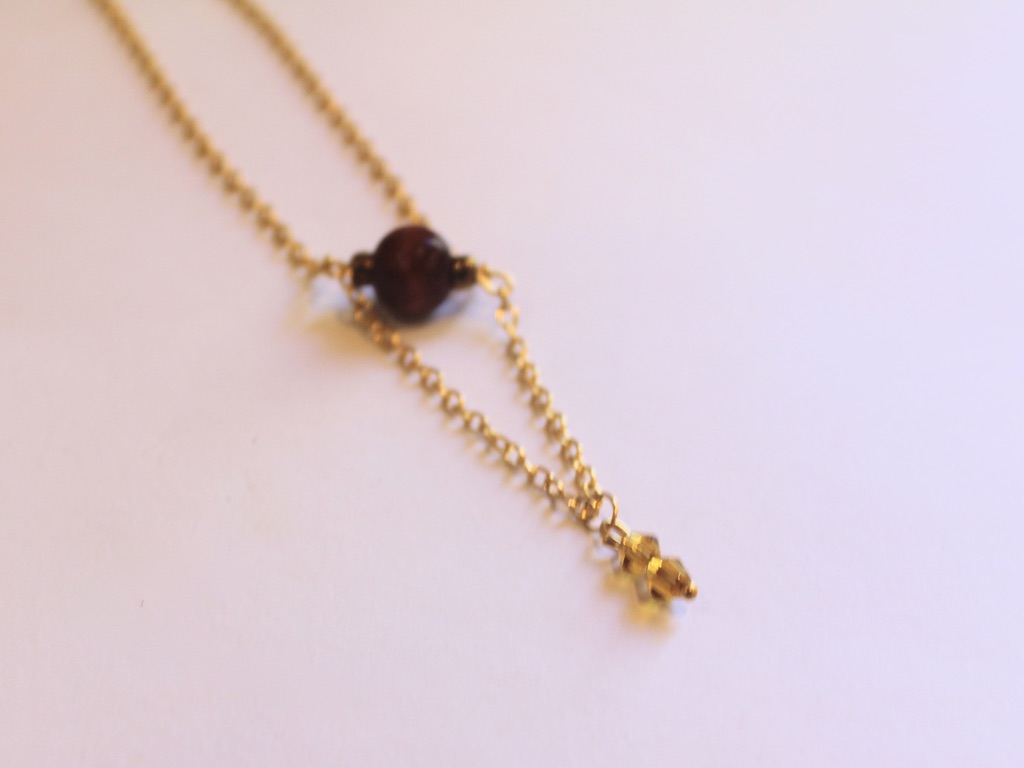
6: Split the necklace chain in the middle and use the small jump rings to secure the lobster clasp and a ring to close it on.
Now your new necklace is finished! I think this is a great design to showcase unique beads and charms.

This tutorial contains affiliate links.
-
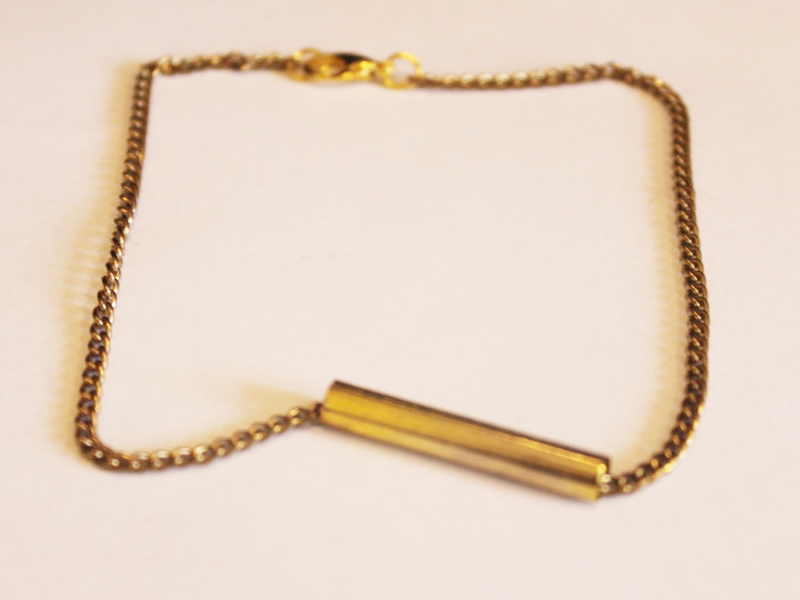
Can’t get enough of ankets? Here’s another cool anklet to DIY.

Anklets are a fun summer accessory you can adorn your legs with. Why not make this simple one to stack with other fun ankle accessories? This article contains affiliate links.
You will need the following tools and materials to make your anklet:
1: One piece of ankle length chain. I used this gold-tone chain.

2: Two jump rings.

3: A lobster clasp.
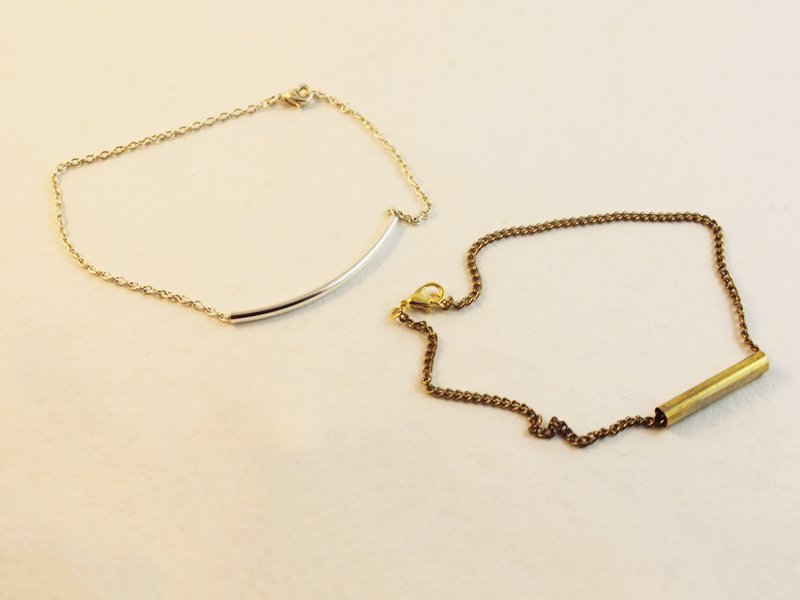
4: A tube bead. I used this gold-tone tube bead.

5: Pliers. I used my round nose and flat nose pliers.
Follow these steps to make your new anklet:
1: Add the tube bead to the chain.

2: Attach one of the jump rings to one end of the chain. Do this by sliding the open jump ring through the end link of chain.

3: Add the lobster clasp to the open jump ring.

4: Close the jump ring to secure the clasp in place.

5: Add the other jump ring to the other side of the anklet and close it to finish it off.

Now your anklet is finished and ready to wear!
Here’s another one I made using a curved silver bead.
Here is a link so you can buy some curved silver beads if you like that look more!
Note: This article contains affiliate links
-
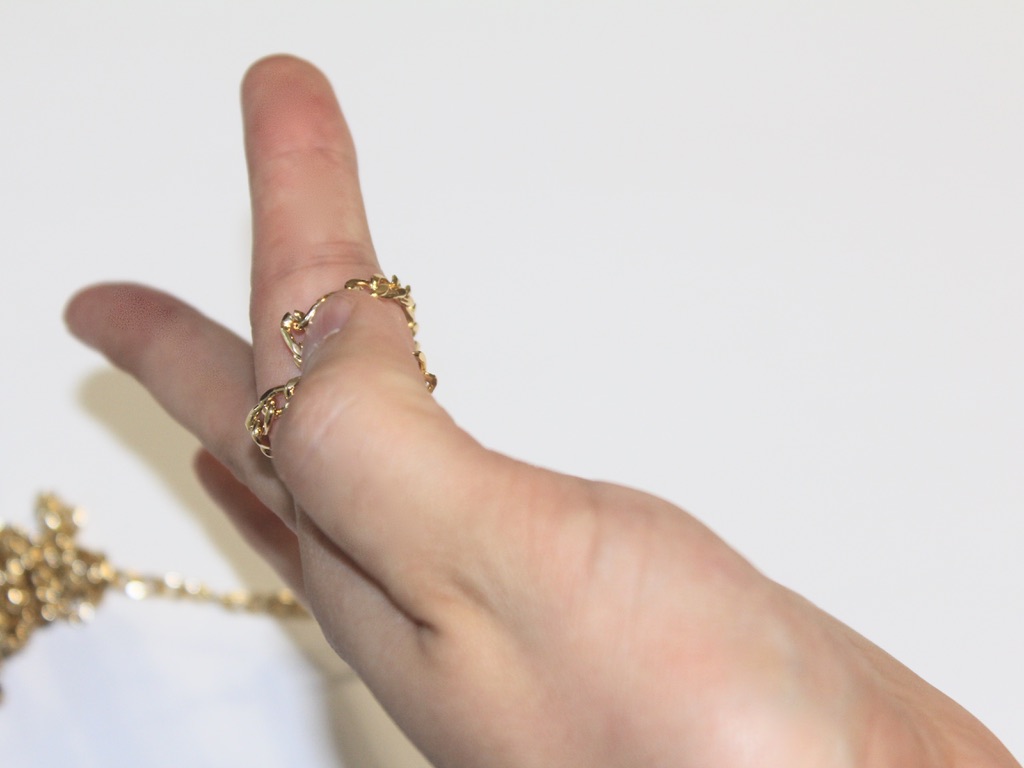
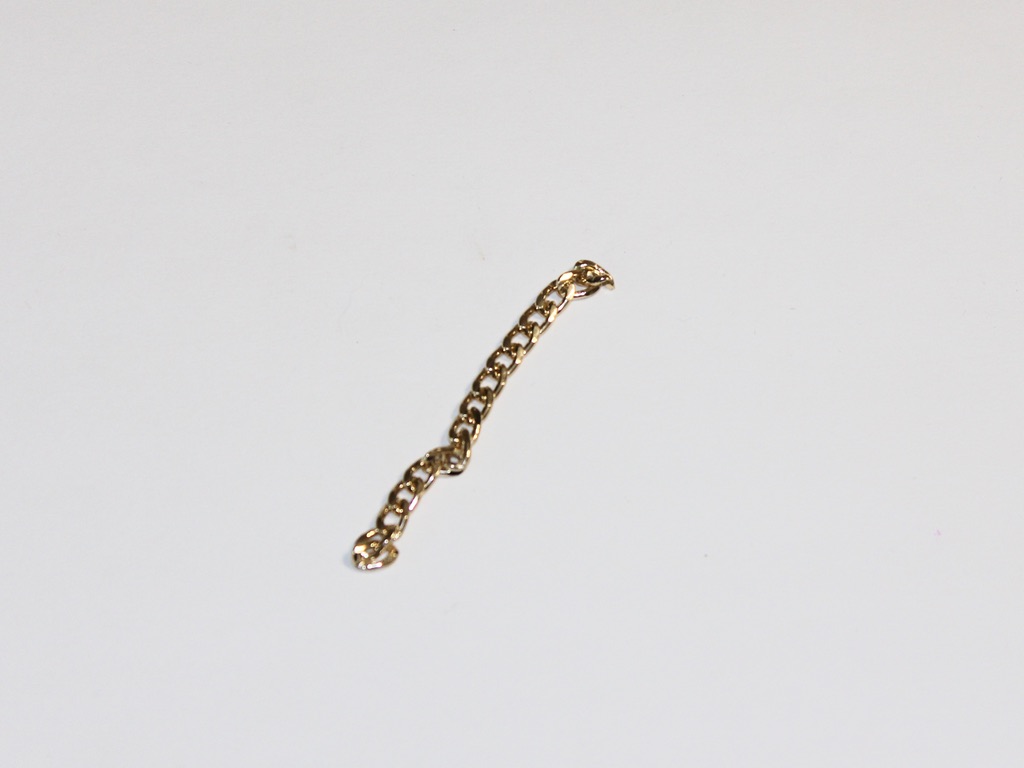
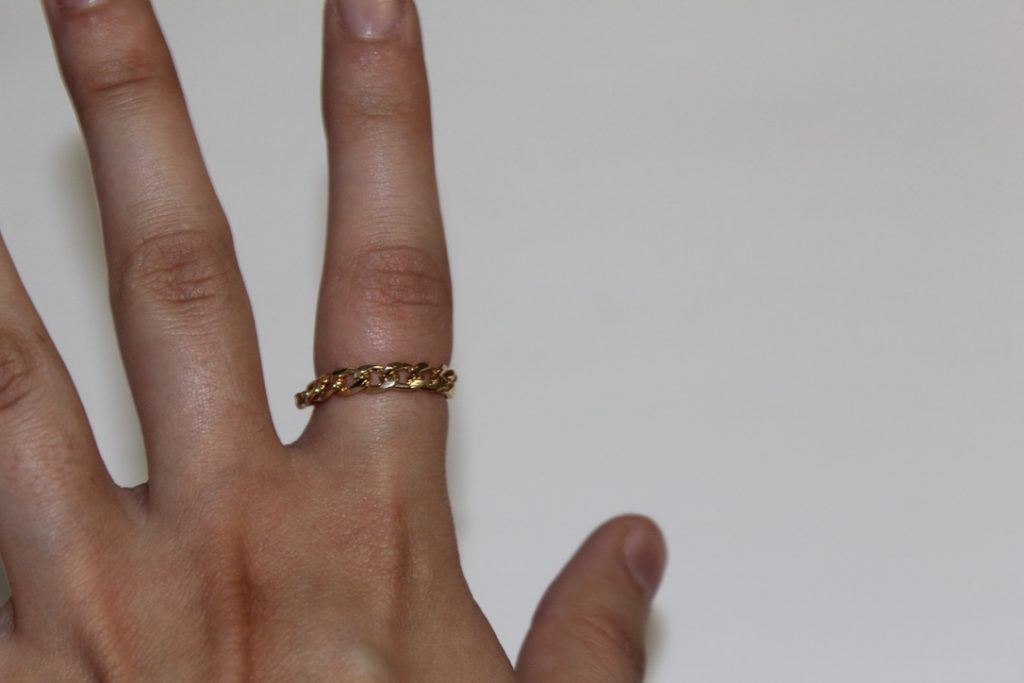
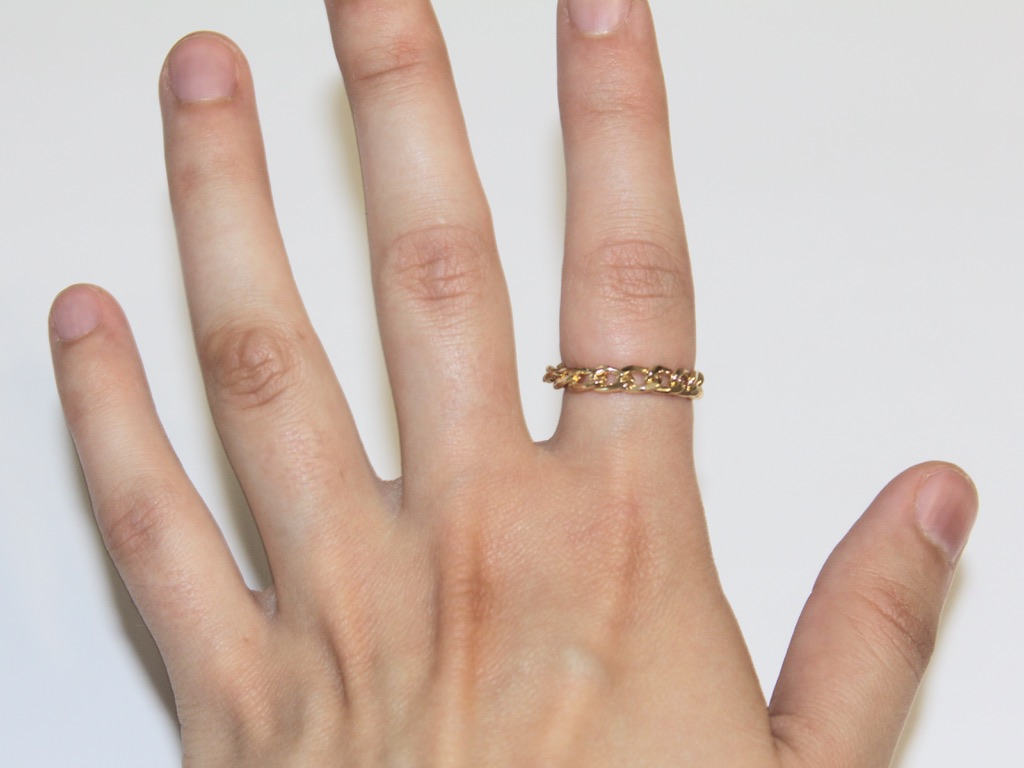
Want a cute new ring? Here’s a super easy way to make one out of chunky chain.
Are you ready for a super simple DIY? Make this chunky chain ring! I keep reading over and over that chunky chains are trendy right now. This ring tutorial is a fun way to dip your toe into this fun new jewelry trend.
You’ll need just a few tools and materials to make this cool chain ring:Pliers. I used my round nose and flat nose pliers.
1: Pliers. I used my round nose and flat nose pliers.
2: Some chunky chain
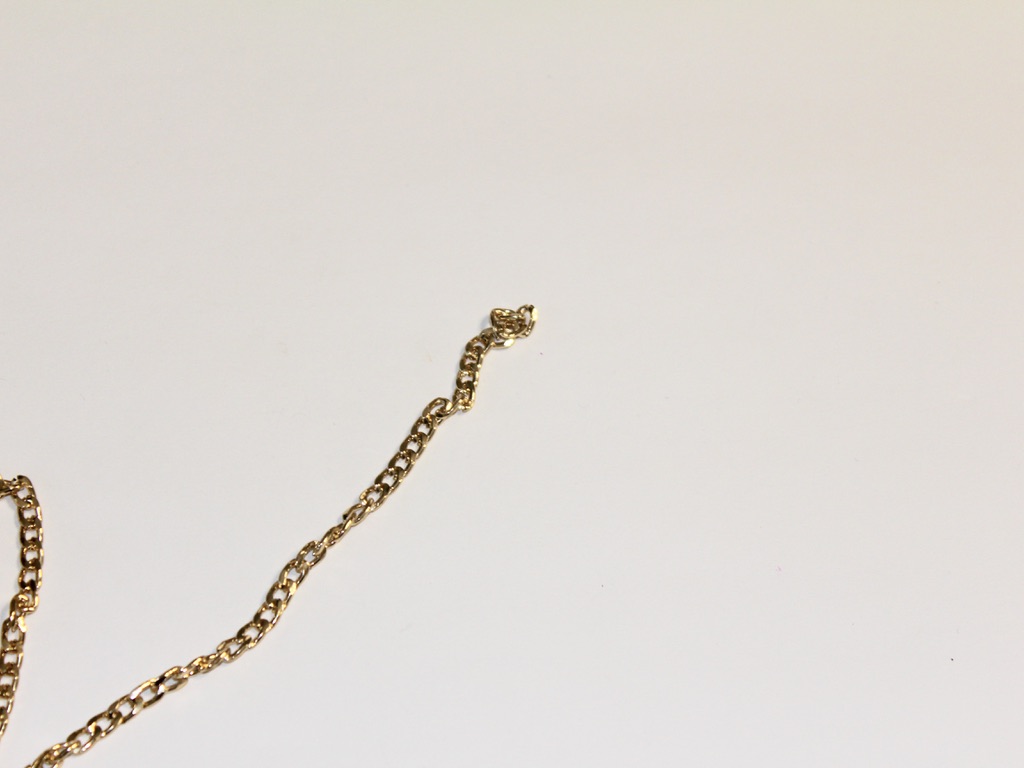
Now you can make your ring:
1: Wrap the chain around your finger to get the right size.
2: Open a link and detatch the short amount of chain that you measured out.
3: Form a loop and put the end link into the open one.
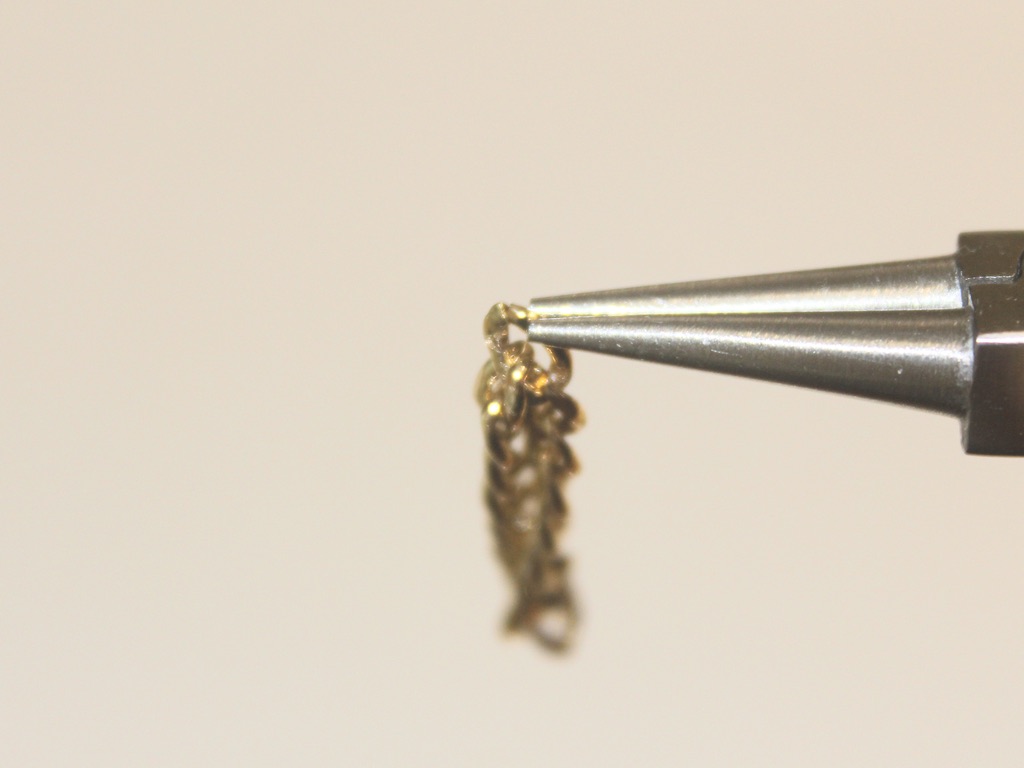
4: Close the link to form a circle.
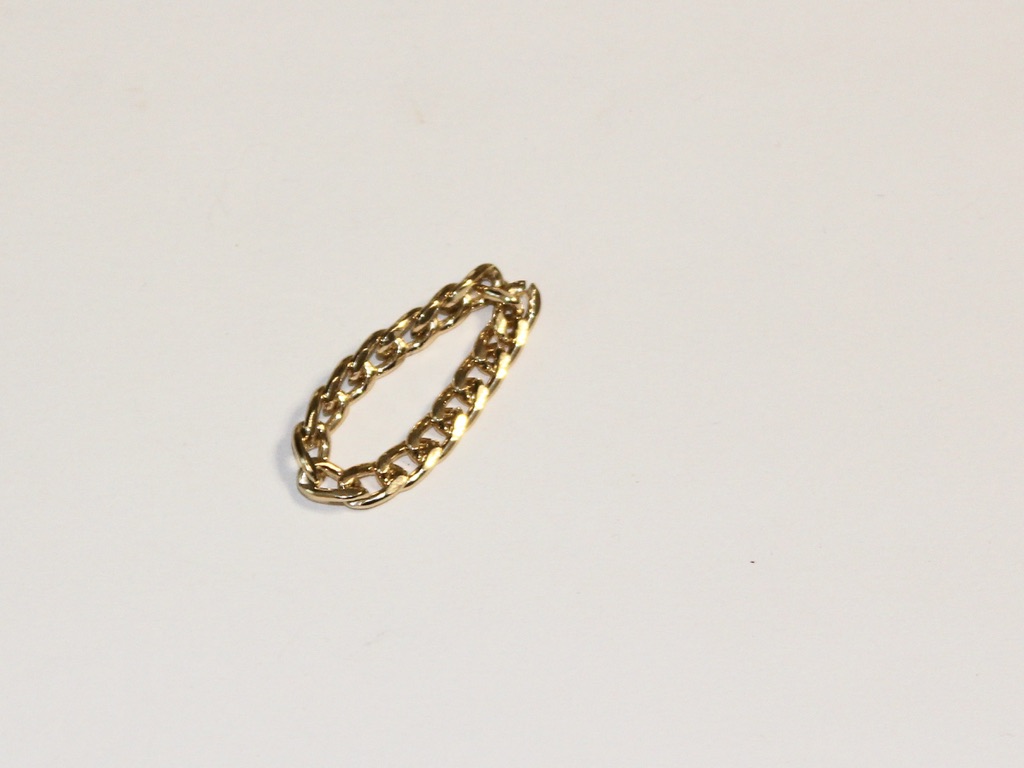
Now your ring is finished! How easy was that?
This tutorial contains affiliate links.
-
Sick of single color jewelry? Make this two-tone chain choker necklace.

This necklace uses two different colored metal chains for a cool two-tone effect.
You’ll need the following tools and materials to make your own two-tone choker necklace:
1: Pliers. You’ll need your round nose and flat nose pliers for this DIY.
2: Two pieces of choker-length chain, one slightly longer than the other. You can check the length by wrapping your chain closely (but loosely) around your neck. I used an antique gold chain and a copper colored chain.

3: Two jump rings.

4: A lobster clasp.

Now follow these steps to make your two-tone choker necklace:
1: Open one of the jump rings.

2: Add one of the chain to the open jump ring.

3: Add the second chain to the jump ring.

4: Close the jump ring.

5: Add the chains in the same order to the other jump ring, make sure that your chains don’t get twisted.

6: Add the lobster clasp to the second open jump ring.

7: Close the jump ring to secure the clasp in place.

Now your two-tone choker necklace is finished and ready to wear!

-
Chunky chains are taking over. Here’s a DIY to get you in on the trend.

Apparently chunky chains are taking over from dainty delicate jewelry. Getting in on this cool new trend is super easy… here’s how to make your own chunky chain necklace.
You will need the following tools and materials to make your chunky chain necklace:
1: Pliers. You’ll need your round nose and flat nose pliers.
2: A chunky chain long in a length of your choice. I used this lightweight silver chain and made it choker length (fitting closely around the neck).

3: Two jump rings.

4: A lobster clasp.

Follow these steps to make your chunky chain necklace:
1: Add one of the jump rings to one end of the chain. Close it to secure it in place.


2: Add the other jump ring to the other end of the necklace.

3: Add the lobster clasp to the open jump ring.

4: Close the jump ring to secure the clasp in place and finish your necklace.

IT IS THAT SIMPLE! Now your chunky chain necklace is ready to wear!

-
This adjustable chain belt can also be worn as a necklace.

An adjustable chain belt is a cool way to add some interest to your old outfits. This one is super easy to make and it could double as a lariat if you like!
You will need the following tools and materials to make this adjustable chain belt:
1:Pliers. You’ll need your cutting pliers, flat nose pliers and round nose pliers to make this chain belt.
2: A long piece of chunky chain. Long enough to fit around your waist with a little bit extra.


4: A large jump ring.

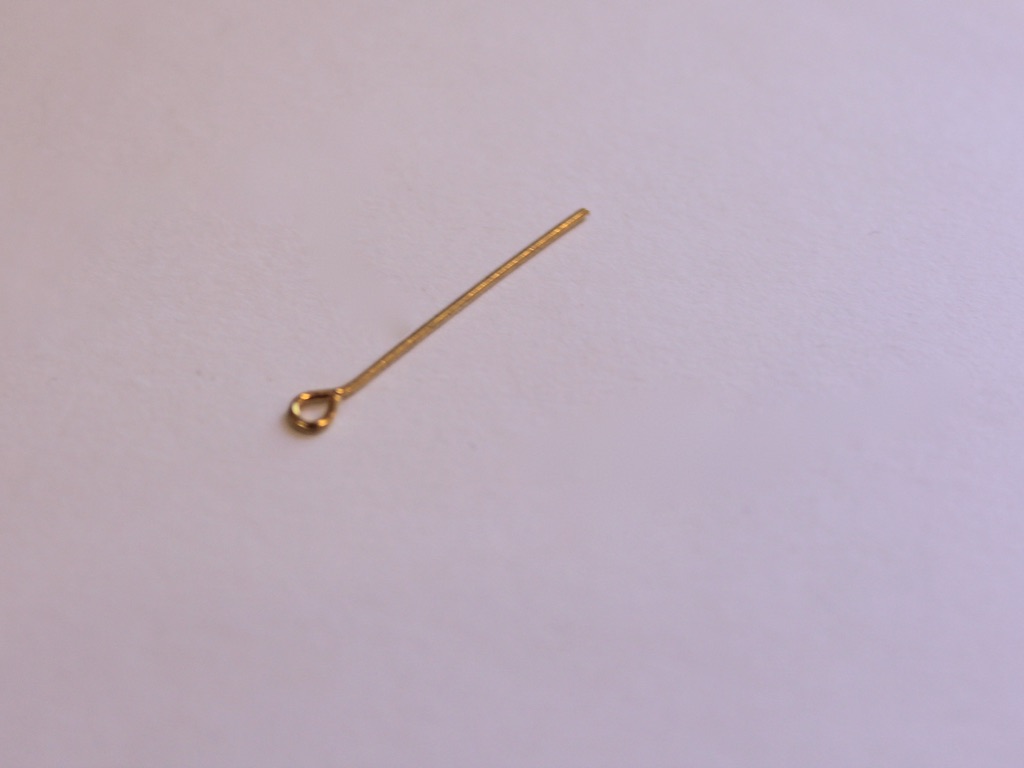
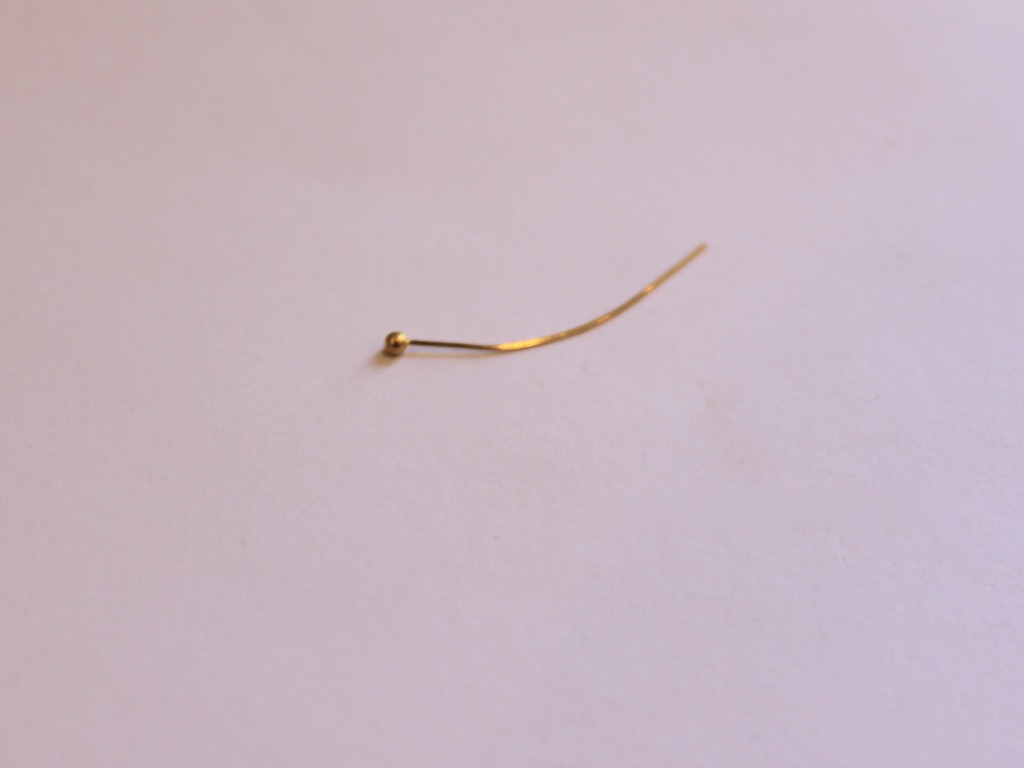
5: A head pin.

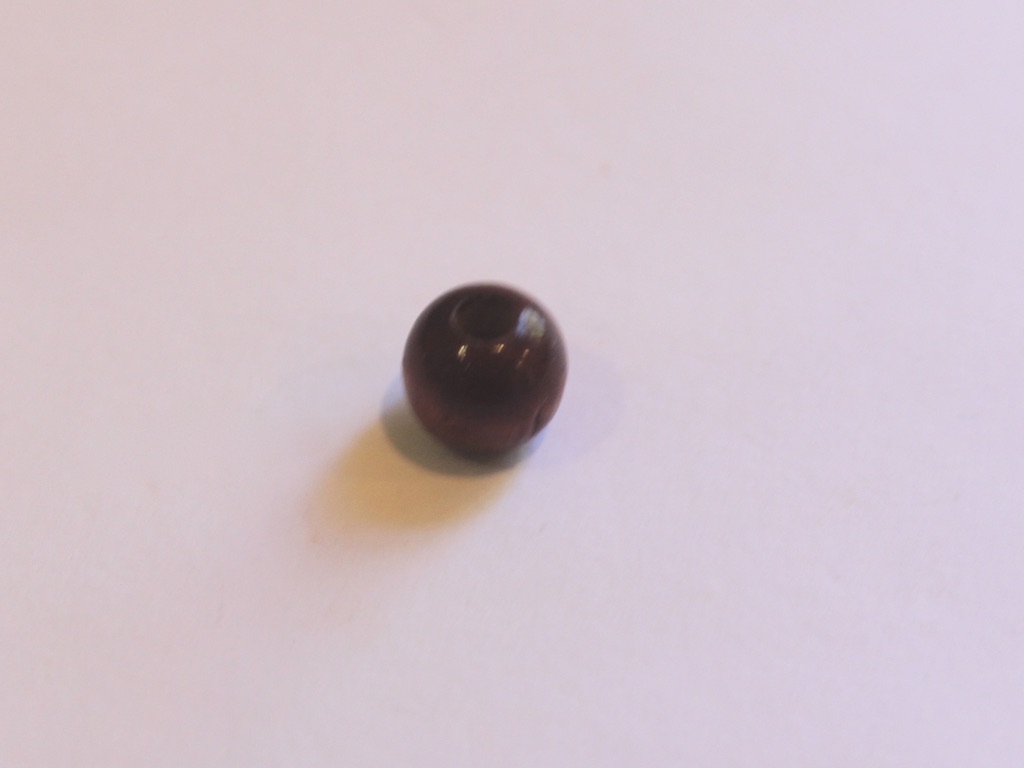
6: Beads of your choice. I used this metal cylinder bead and a pink glass e-bead.

Follow these steps to make your adjustable chain belt:
1: Add the beads to the head pin.

2: Bend the pin to form a right angle.

3: Trim the head pin so that only 1cm protrudes from the bead.


4: Curl the trimmed pin to form a loop. Once you have done this you can set the charm aside.

5: Add a lobster clasp to one side of the chain.


6: Add the charm to the other end of the chain using the jump ring.


Now your chain belt is done and ready to wear! Or throw it on as a statement necklace instead!

How will you wear your adjustable chain belt? What charm will you attach to yours?