-
Here’s how to make an amazing wire-wrapped fish charm. Such a cute little pendant.
Do you love the sea? I sure do. This wire-wrapped fish charm is easier to make than it looks and is so adorable. I am excited to wear mine on a gemstone beaded necklace. So cool! All you need is a carved fish bead and some thin silver wire (and some pliers and pizzaz!).
Please note that this tutorial contains affiliate links for which we may receive a commission.
You’ll need the following tools and materials to make your fish charm:
1: A carved gemstone fish charm with a hole drilled into the tail. I used a pink rose quartz fish.

You can get a similar fish charm here:
Or these ones which are more simple and drilled at the head:
2: Some wire. The hole in my charm was quite small so I used 26 gauge (0.4mm) round wire made from silver.

You can get silver wire here:
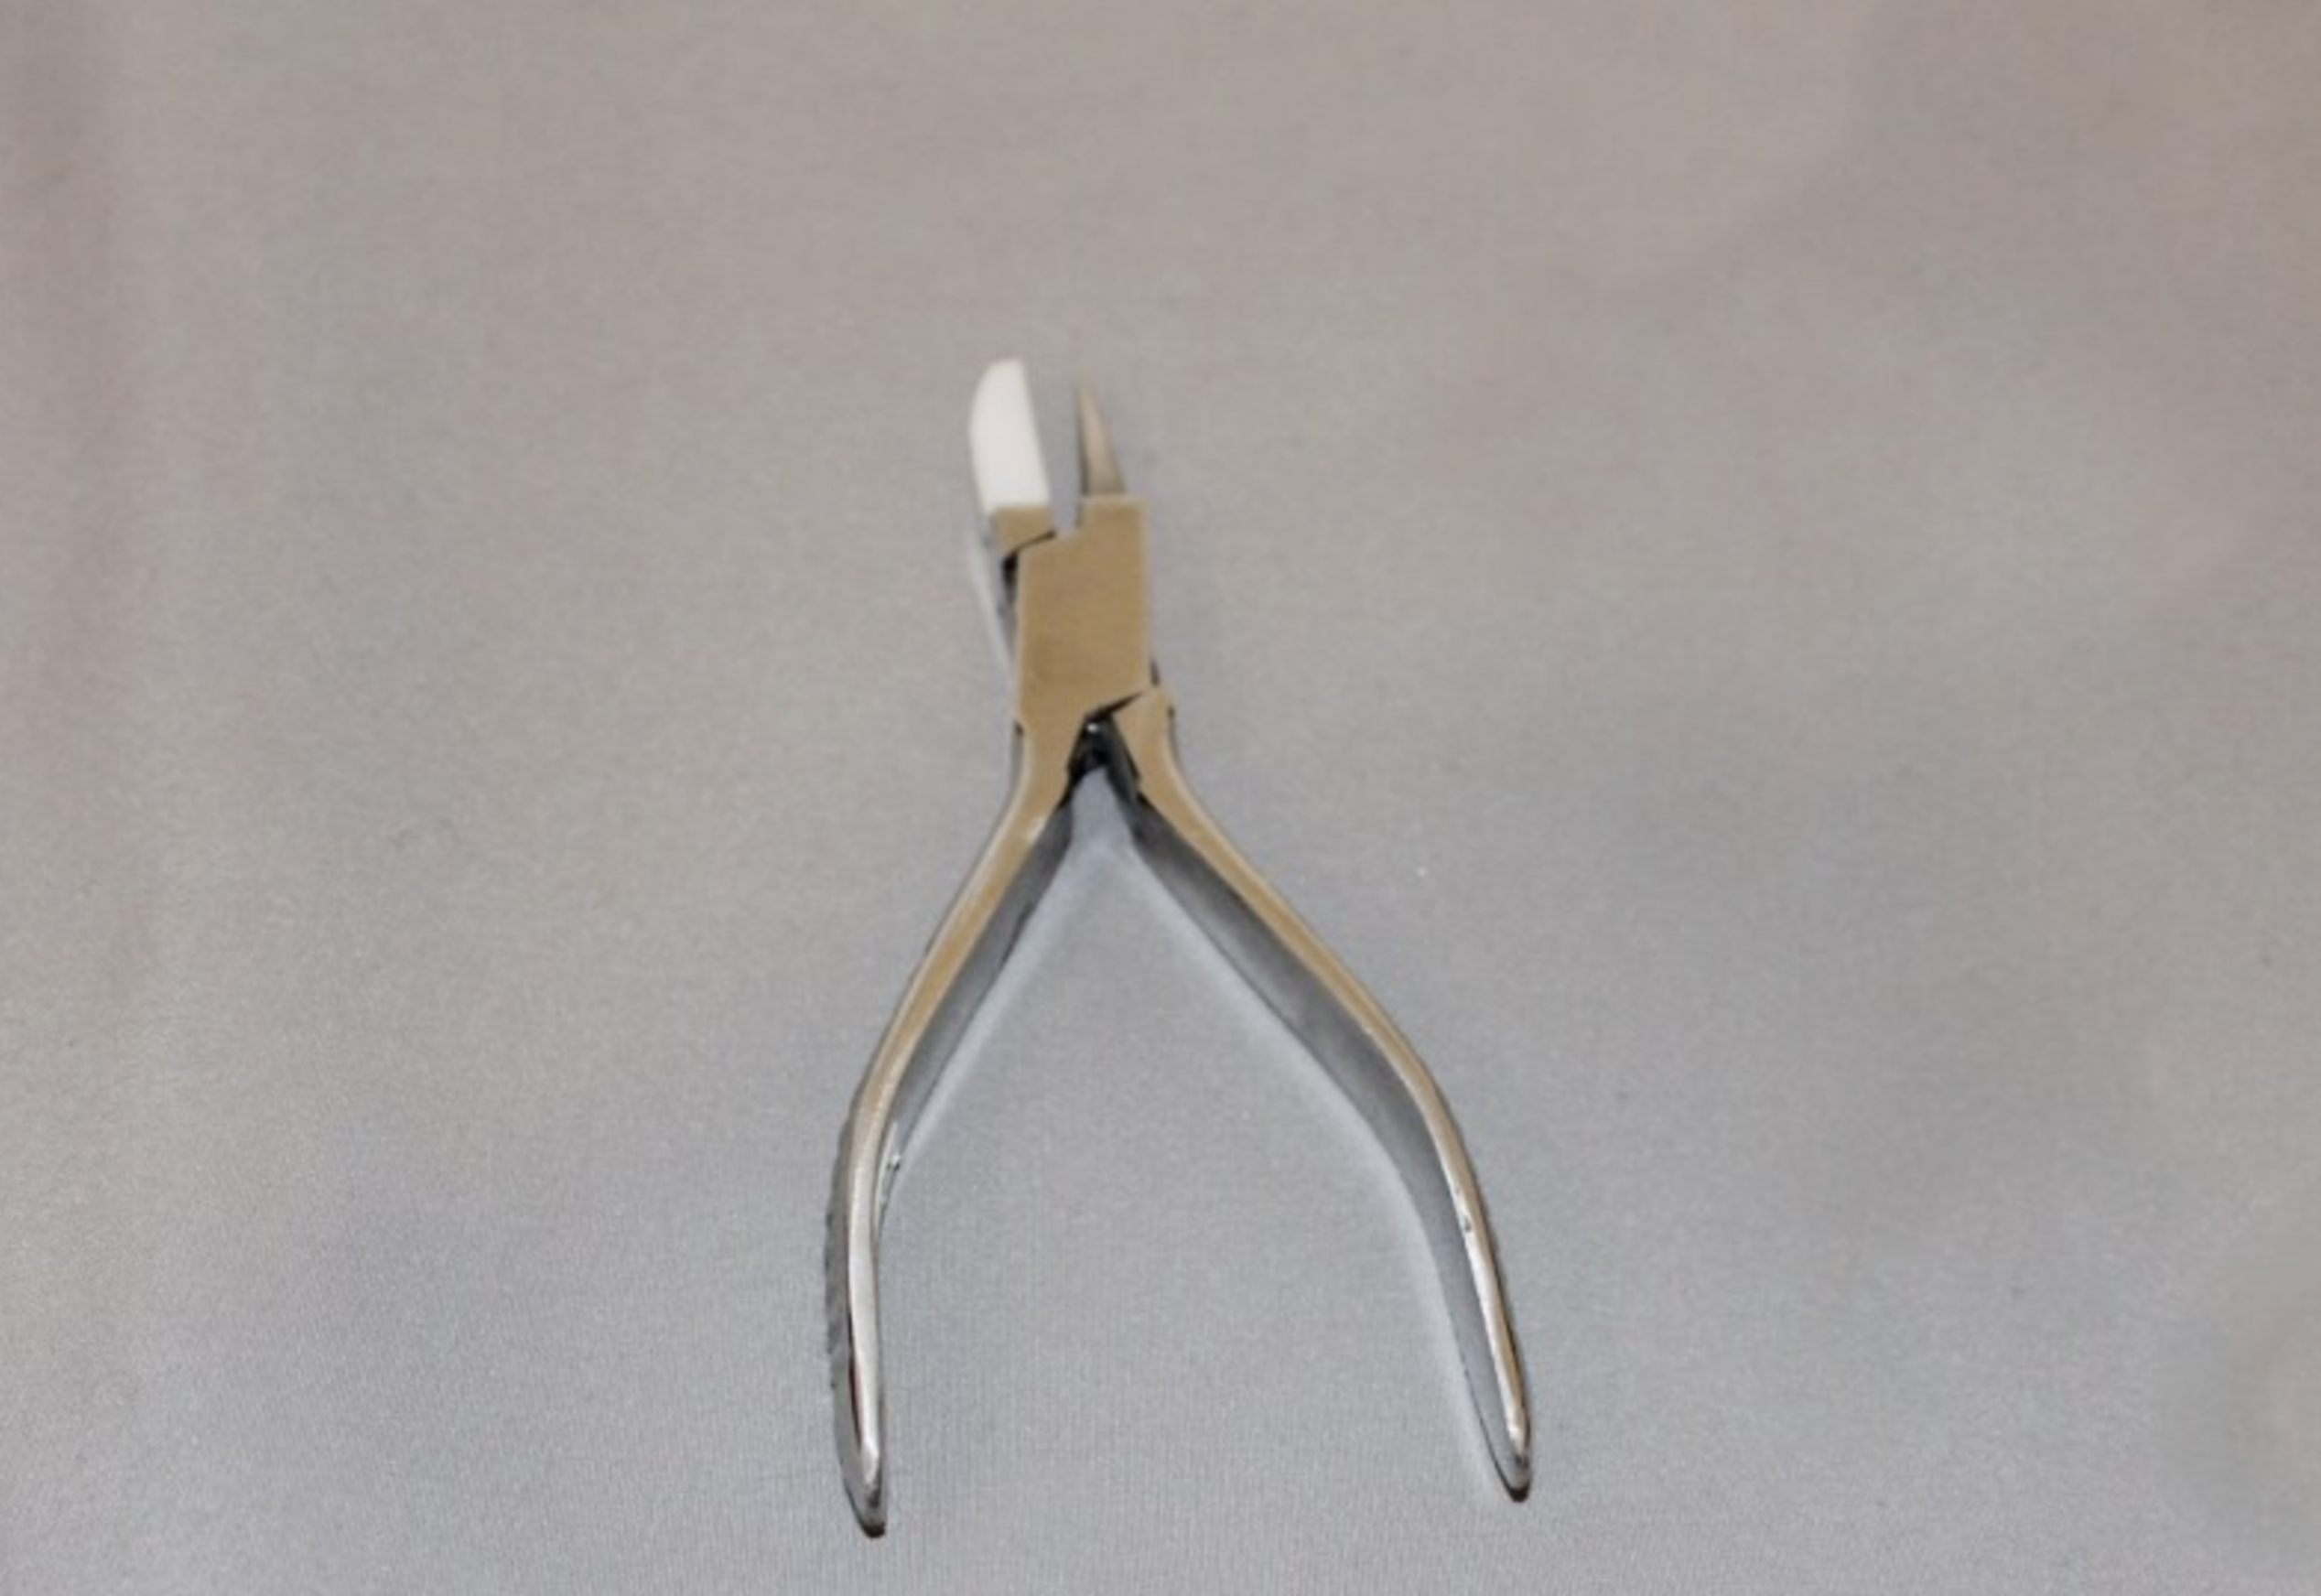
3: Pliers. For this charm I used my round flat pliers, cutting pliers and flat nose pliers.
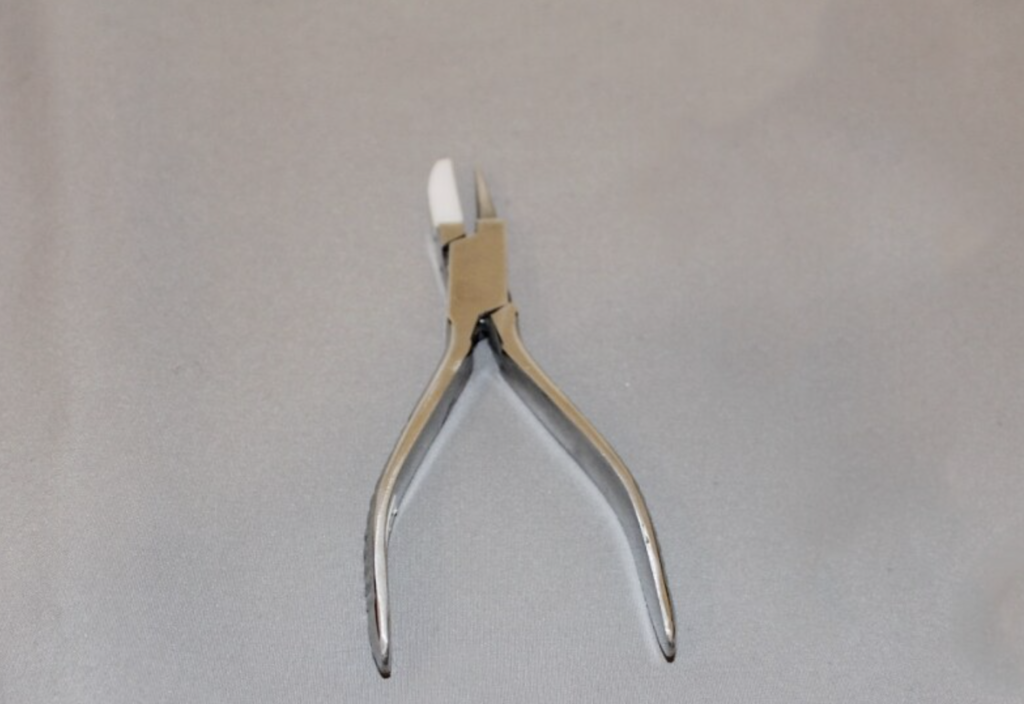
You can get a pair here:

You can get cutting pliers here:

You can get flat nose pliers here:
Here are the steps to follow to make your own adorable fish charm:
1: Take one end of the wire and loop it around the round side of your round flat pliers. If you don’t have any, you can use something small and round like the barrel of a pen or chopstick.

2: Wrap the short end of the wire around the longer end to secure the loop.

3: Thread the charm onto the long end of the wire so that the loop sits between the split of the tail. I forgot to photograph this step… sorry!
4: Wrap the wire around the thinnest part of the fish tail tightly

5: Bring the wire back up to the base of the loop you first made and wrap the long end around it to secure the wire in place.


6: Trim the end of the wire using cutting pliers and squash it down using flat nose pliers to secure the end and finish your charm.


Now your adorable fish charm is finished and ready to string onto your favourite chain or beaded necklace. So cool! I love this DIY so much.

Here’s another one I made using a labradorite carved fish.

-
Got two bracelets but want a necklace? Here’s how to convert what you’ve got into something new!
This is a simple tutorial that shows you how to turn two existing bracelets into a choker-length necklace! What a fun way to make your jewellery collection more versatile. Please note that this tutorial contains affiliate links.
You’ll need the following tools and materials to make your necklace:
1: Two bracelets, make sure they are long enough when clipped together to fit around your neck. I used a silver chain bracelet and a beaded bracelet.

Here are some silver bracelet options you can buy:

Here are some pre-made options you can buy:
and if you feel like making your own, you can follow this tutorial.
2: A charm, this is optional but you can clip a charm on for extra personality. I used this copper electroformed tiger’s eye pendant.

You can get a tiger’s eye charm here:
Follow these steps to make your necklace out of bracelets:
1: Unclip the ends of your bracelet.

2: Latch one of the bracelet clasps to the other end of the other bracelet, you will have a long strand now.

3: If you are adding a charm, slip it onto the clasp at the other end of the strand you just made.

4: Clip the ends of the strand together to form a choker, you can wear it with the charm at the front like this or without the charm for a mixed material effect.


Here’s what it looks like on

And here’s what it looks like without the charm.

What bracelets will you use to make your choker necklace?
If you love using your existing jewellery to make something new, here’s another tutorial for you:
- Turn an old ring into a pendant here and here
- This tutorial shows you how to swap earring hooks for charm connector studs to transform your earrings
- This tutorial shows you how to turn an old jar into jewellery storage
-
Here’s how to make a bohemian waist chain with cute charms!
Summer in the Northern Hemisphere might be held mainly at home, but that doesn’t mean that you can’t dress for the occasion. Make this charm embellished waist chain to add some summer fun to your wardrobe! This tutorial contains affiliate links.
You’ll need these tools and materials to make this waist chain with charm embellishments.
The Materials
1: Pliers. I used my round nose pliers (centre), flat nose pliers (right) and cutting pliers (left).

2: A piece of chain that fits comfortably around your waist. I used copper tone chain.

3: Jump rings. I used two.

4: Some head pins. I ended up using a couple more because I added some charms I had made previously (see the second picture below).


5: Beads. I used a mixture of glass beads and a metal butterfly-shaped bead.

6: A lobster clasp. This is a bad picture but I used one that matched the tone of my chain.

The Steps
Follow these steps to make your charm embellished waist chain:
1: Add the jump rings to either end of the chain and attach the lobster clasp. Secure the clasp by closing the jump ring using pliers.


2: Find the middle of the chain and set it aside for a minute.
3: Add each of the beads to the head pins.

4: Bend the head pins to form right angles.

5: Trim the pins so that there is only approximately 1cm left. Use your cutting pliers.


6: Loop the top of the pins using the round nose pliers. This will secure the beads on the pins.


7: Attach the beads to the chain by looping the top of each charm through the chain links. I added my first charm to the centre and then worked outwards.


Now the waist chain is finished and ready to wear in the sun! Don’t forget your sunscreen though, this cool piece of jewelry could leave a weird tan line 😉


Here are some other waist chain tutorials:
This tutorial contains affiliate links.
-
Half and Half for the best of both worlds? Here’s how to make a half bead half chain necklace!
This necklace is really cool! It is made using different materials for a half-half look. One side of the necklace is made with delicate chain while the other half features a rainbow of glass seed beads.
The Materials
You’ll need the following tools and materials to make your half and half necklace:
1: Pliers. I used my cutting pliers, round nose pliers and flat nose pliers.
2: A piece of tiger-tail wire.

3: Four crimp beads.

4: Three jump rings.

5: A lobster clasp.

6: Some chain. I used gold-tone rolo chain.

7: Beads. I used some mixed glass seed beads in different colors.

The steps
Follow these steps to make your half and half necklace:
1: Add two of the crimp beads and a jump ring to one end of the wire.

2: Fold the short end of the wire around it and back through the crimp beads.

3: Squash the crimp beads using the flat nose pliers.

4: Add beads and continue beading until you have a beaded section that is around half the length you want your necklace. I checked my length by measuring it against my neck, holding the secured end at the back of my neck and wrapping it loosely around the font of my neck.


5: Add two more crimp beads to the wire and a second jump ring.

6: Bend the wire around the jump ring and pull it tightly back through the crimps and a few of the beads.

7: Squash the crimp beads using the flat nose pliers again.

8: Trim the excess tiger tail wire using the cutting pliers.

9: Open a jump ring on one side of the beaded strand and attach one end of the chain.

10: Measure the chain so that it is the same length as the beaded strand and trim it.

11. Add the remaining jump ring to the other end of the chain, using it to secure the lobster clasp in place.

Now your half and half necklace is finished!


You can even add a charm to the middle to add some extra interest. I added this yellow clay and resin charm to mine.


This tutorial contains affiliate links.
-
Anklets are the coolest!!!!! Here’s how to make a simple chain charm anklet.
This anklet is super simple in design, add a cute charm to a plain chain and you’re ready to go! What kind of charms will you put on your DIY anklet? This tutorial contains affiliate links.
You’ll need the following tools and materials to make your simple chain charm anklet:
1: Some pliers. Use your flat nose and round nose pliers.


2: A piece of chain long enough to fit your ankle.

3: Two jump rings.

4: A lobster clasp.

5: Another jump ring.

6: A charm of your choice. I used an enamel peach charm.

Follow these steps to make your simple charm anklet:
1: Add a jump ring to one end of the chain.
2: Add the lobster clasp to the open jump ring. Close the jump ring to keep the clasp in place.


3: Add another jump ring to the other side of the anklet.


4: Add the remaining jump ring to the top of the charm.
5: Attach the charm to the jump ring that attaches the clasp to the chain.

6: Close the charm jump ring to secure the charm in place and finish off your anklet.

Now it is ready to wear! How cute is this little peach charm anklet? I am really into food and fruit themed jewelry at the moment 🙂

This tutorial contains affiliate links.
-
Isn’t This a Beauty? Make This Incredibly Simple Ribbon Choker Today!
I’ve already shown you some super simple ways to make jewelry, but this tutorial really takes the cake in the simplicity stakes. This necklace is so easy to make, all you need is a beautiful satin ribbon and a charm of your choice. I used this incredible agate charm that stands out on a silky satin ribbon. This necklace will be a flattering addition to any stylish look.
You will need the following tools and materials to make this choker necklace:
1: A satin ribbon long enough to be tied comfortably around your neck. I used this black satin ribbon.

Shop for some satin ribbon to make this beautiful choker length necklace right here:
2: A charm of your choice. I used this green agate and silver charm.
The Steps:
1: Add the charm to the piece of ribbon.

2: Slide the charm into the center of the ribbon.

3: Your choker necklace is ready to wear! How super easy was that? You’ll be the elegant envy of all your friends in this incredible piece of jewelry.