

How to Make a Beaded Necklace (Just quietly, It’s really easy)
Do you want to learn how to make a necklace? Well then you have come to the right place! Making your own necklace doesn’t to be an intimidating task… it’s easy as! In this DIY jewelry tutorial you’ll learn all the steps you need to make your own beaded necklace with the beads of your choice.
You will need the following tools and materials to make this necklace:
1. Pliers
To make this necklace you will need flat nose pliers, round nose pliers and cutting pliers.

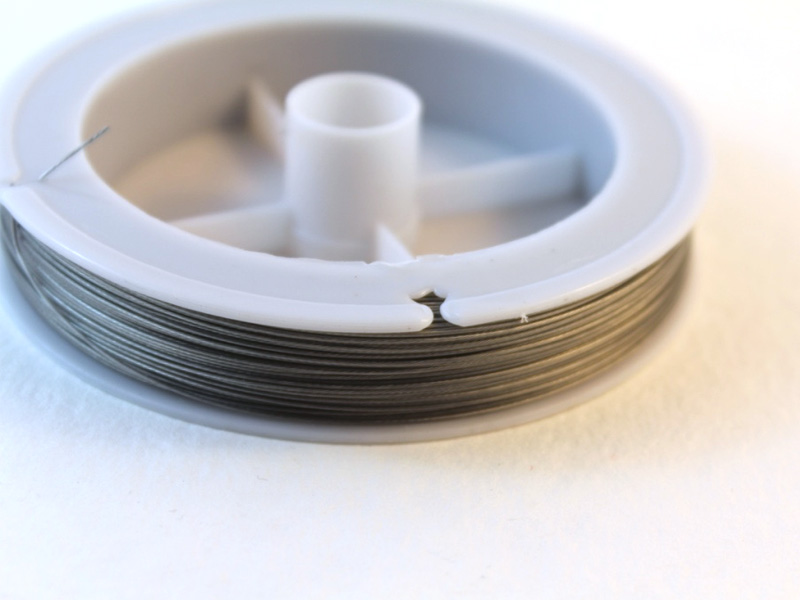
2. Tiger tail wire.
3. Four crimp beads.

4. A lobster clasp.

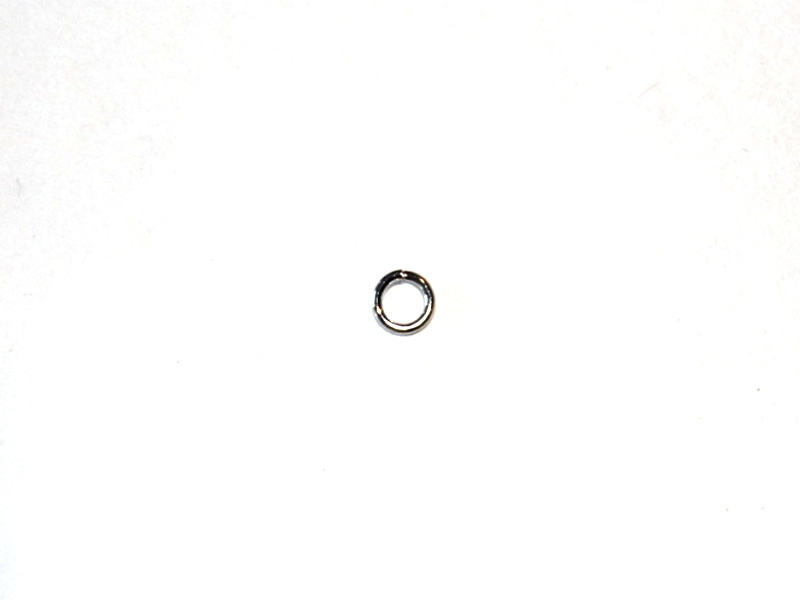
5. A jump ring.
6. A selection of beads.
In this design I have used three turquoise beads as feature beads and a selection of e beads, seed beads and metal beads.

The Steps
1. Cut wire the tiger tail wire to the length you want it. You can quickly measure and test your length by pulling the wire around your neck and checking where it falls on your chest before cutting. For this necklace I cut my wire to 46cm (approximately 18 inches). Remember to cut it slightly longer than you want the length of your necklace to be.

2. Add two crimp beads and the lobster clasp to the end of your tiger tail wire.

3. Bend the tiger tail wire around the clasp and into the crimp beads.

4. Squash the crimp beads using the round nose pliers to secure the clasp in place.

5. Start threading your beads.

6. When you start getting close to the middle of your length of wire, add the first of the three feature beads.

7. Continue your beading pattern until all feature beads have been added.

8. Continue beading until the necklace is beaded up to the length you want it and the middle feature bead hangs in the middle of your wire. It helps if you keep count of the number of beads you have used before the first feature bead to ensure that your necklace looks even.

9. Once the beading has been completed, add another two crimp beads and a jump ring. Bend the wire around the jump ring and back through the crimp beads and a few necklace beads.


10. Use round nose pliers to pull the wire tight.

11. Once the wire has been pulled all the way through, secure it in place by squashing the crimp beads using your round nose pliers.

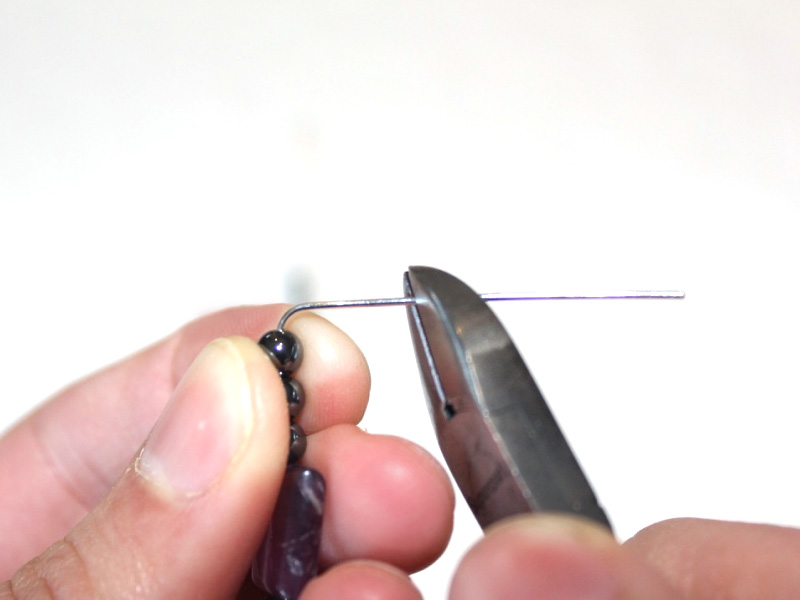
12. Once your crimps have been secured you can trim the extra tiger tail wire.

13. Open the jump ring using your pliers and slip on the clasp tag. Close the jump ring once the tag has been put into place.

14. Now your necklace is complete. How easy was that?!

DIY Jewelry Hub
Welcome to DIY Jewelry Hub. If you’ve ever wanted to learn how to make your own jewelry this is the place to start! Jewelry is a great way to show off your individuality and style. You’ll be surprised at how easy it is to create your own unique pieces! DIY Jewelry Hub will equip you with all the knowledge and inspiration you need to make your own jewelry.

You May Also Like

Here’s how to add eclectic charms to a chain to make a unique necklace.
Chunky chains are taking over. Here’s a DIY to get you in on the trend.
