-
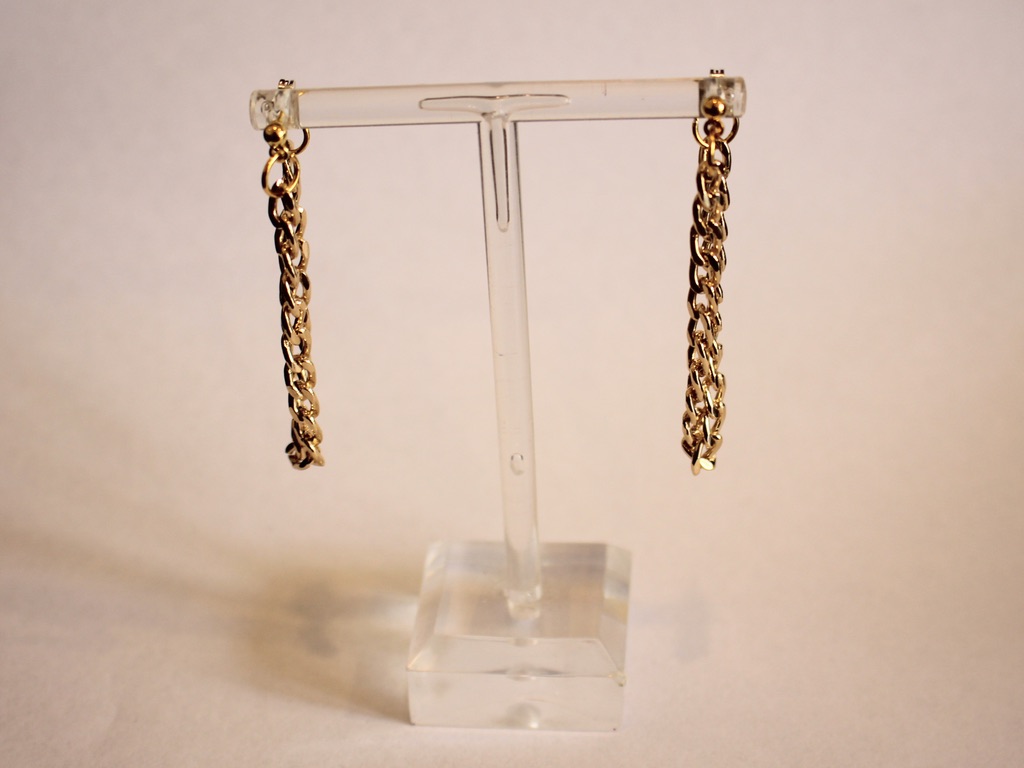
How to make some chunky chain loop earrings!
I think chain loop earrings are really cool! This DIY uses lightweight chunky curb chain to loop from the front to back of your ears. Please note that this tutorial contains affiliate links.
You’ll need the following tools and materials to make this pair of earrings:
1: Pliers. I used my flat nose pliers and round nose pliers.


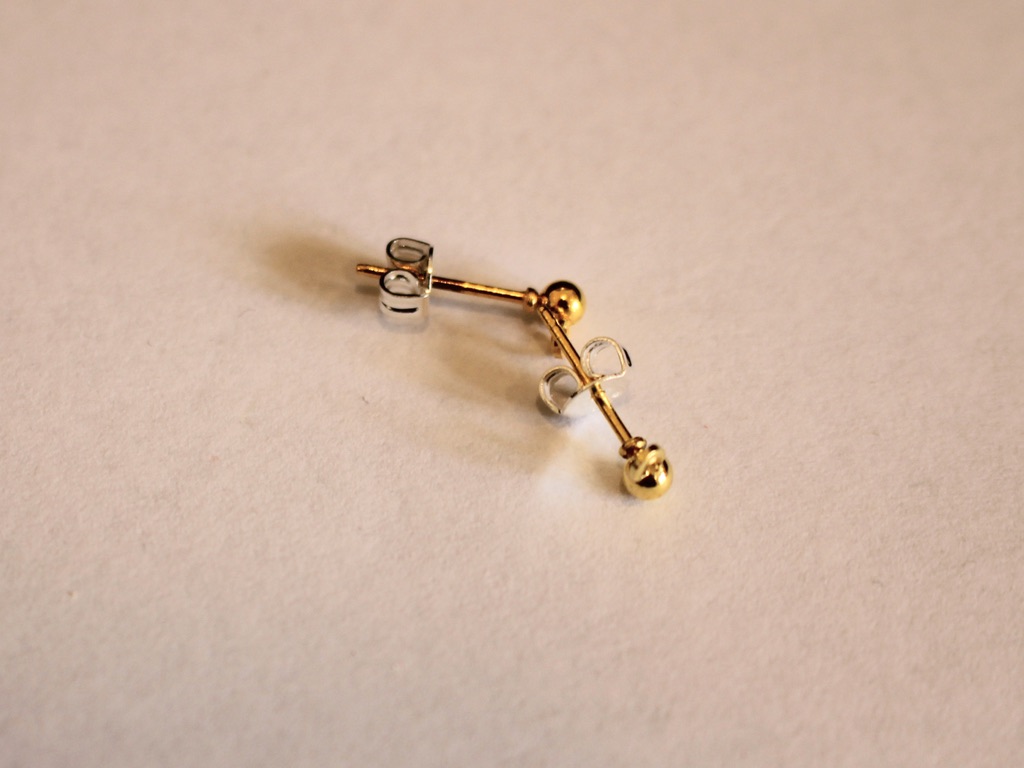
2: Two charm post earrings with butterfly backs.
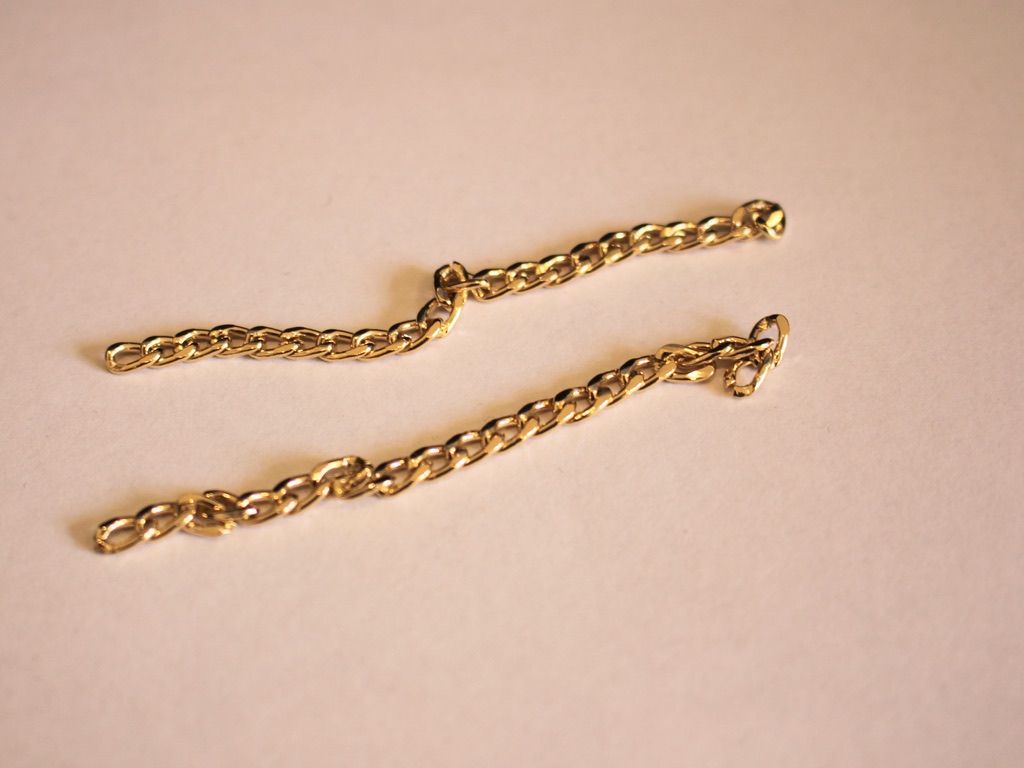
3: Two short pieces of chain, approximately 8cm long.
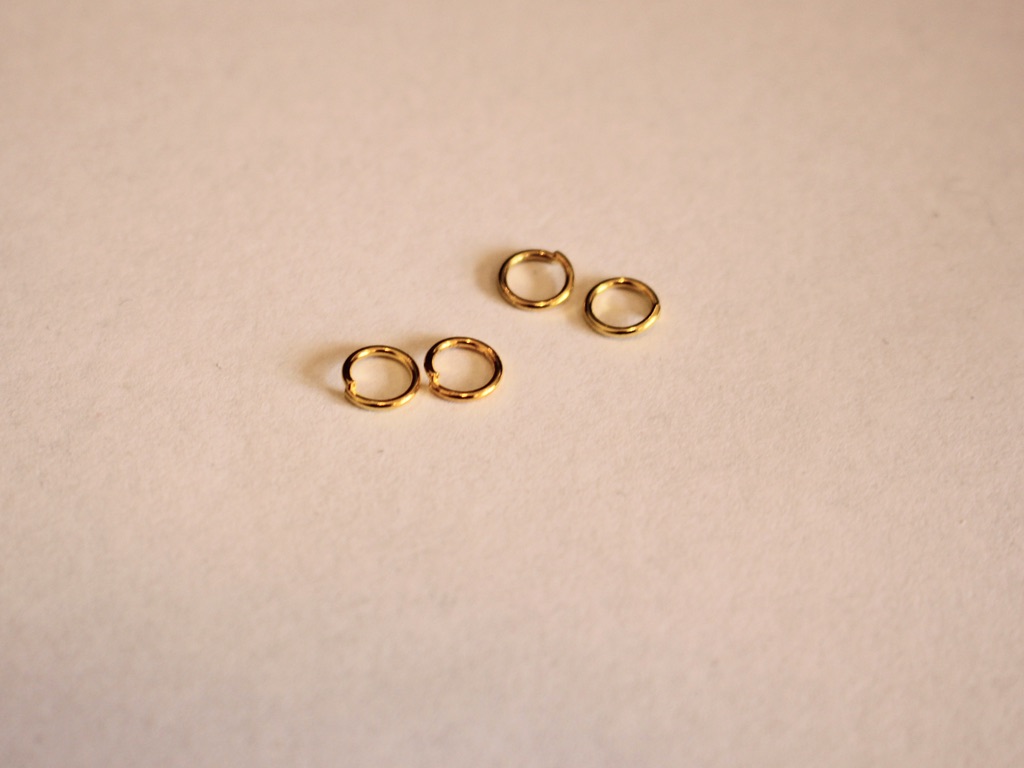
4: Four jump rings.
Follow these steps to make your chain loop earrings
1: Open one of the jump rings and slide it through the charm loop on one of the earrings.

2: Attach one end of a chain to the open jump ring.

3: Close the jump ring to secure the chain onto the earring.

4: Add another jump ring to the other end of the chain.
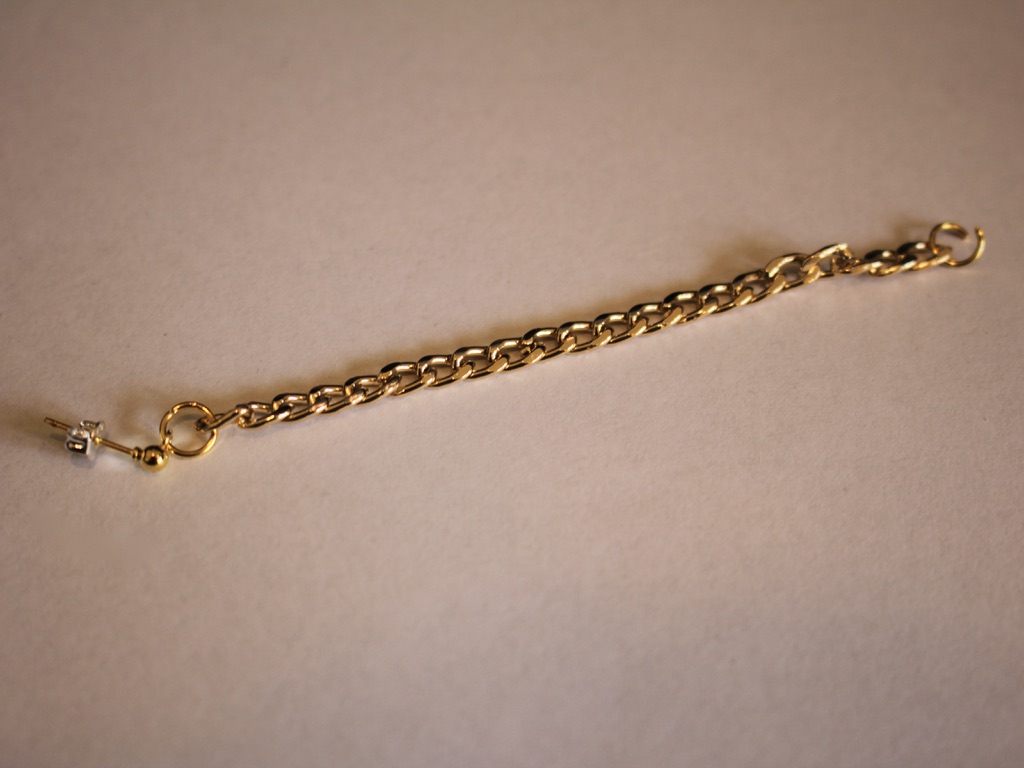
5: Secure the other end of the chain to the butterfly clasp by sliding the jump ring through and closing it using your pliers.

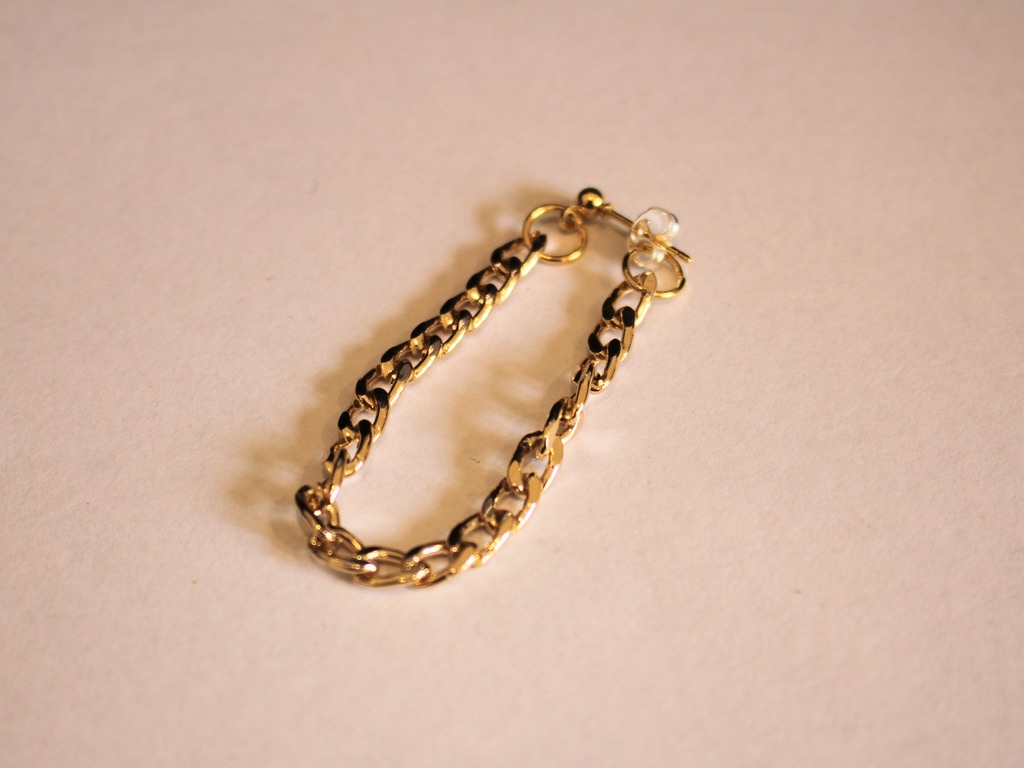
6: Repeat steps 1-5 for the second earring.


Now you can wear them (or give them to someone special)! 😉

Here are some other chain loop earring tutorials:
-
Like chains and beads? Why not mash them together to make this bead chain bracelet?
This bracelet uses wire and beads to make big loops that you then turn into a bracelet! This cute design is perfect for wearing with summer outfits.
You’ll need these tools and materials to make your bracelet:
1: Pliers. I used cutting pliers, flat nose pliers and round nose pliers.

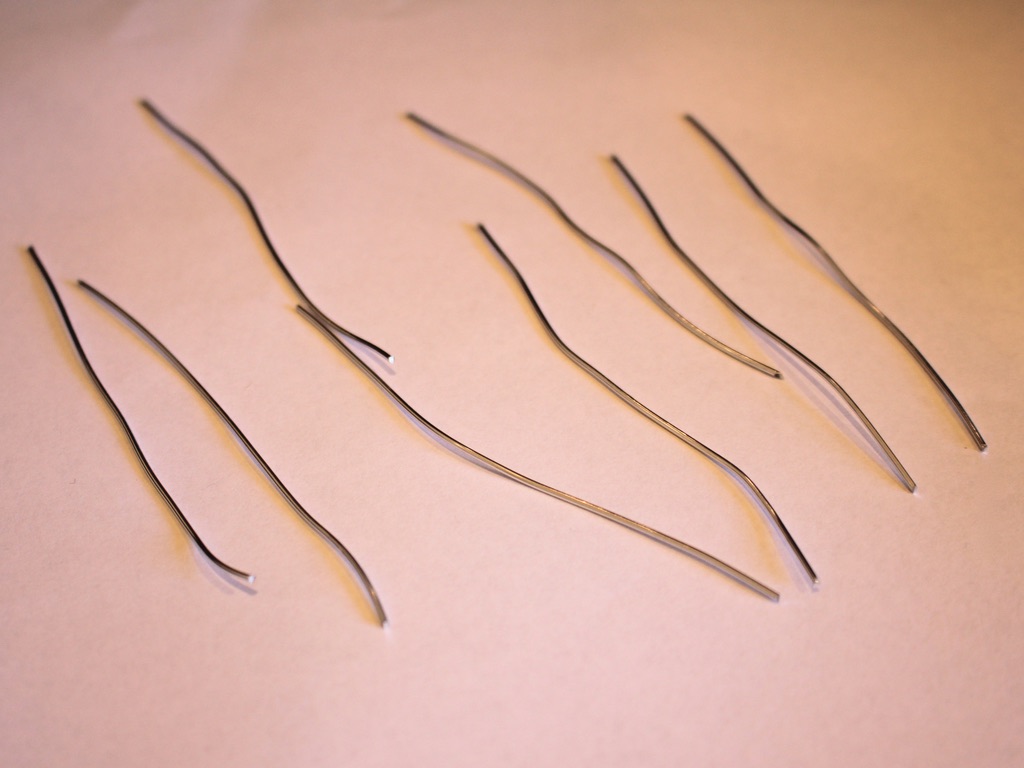
2: Some pieces of soft wire. I used eight pieces approximately 9cm long, but you may want to use more or less depending on the size of your wrist. My final bracelet was a little on the small size.
3: Two jump rings.

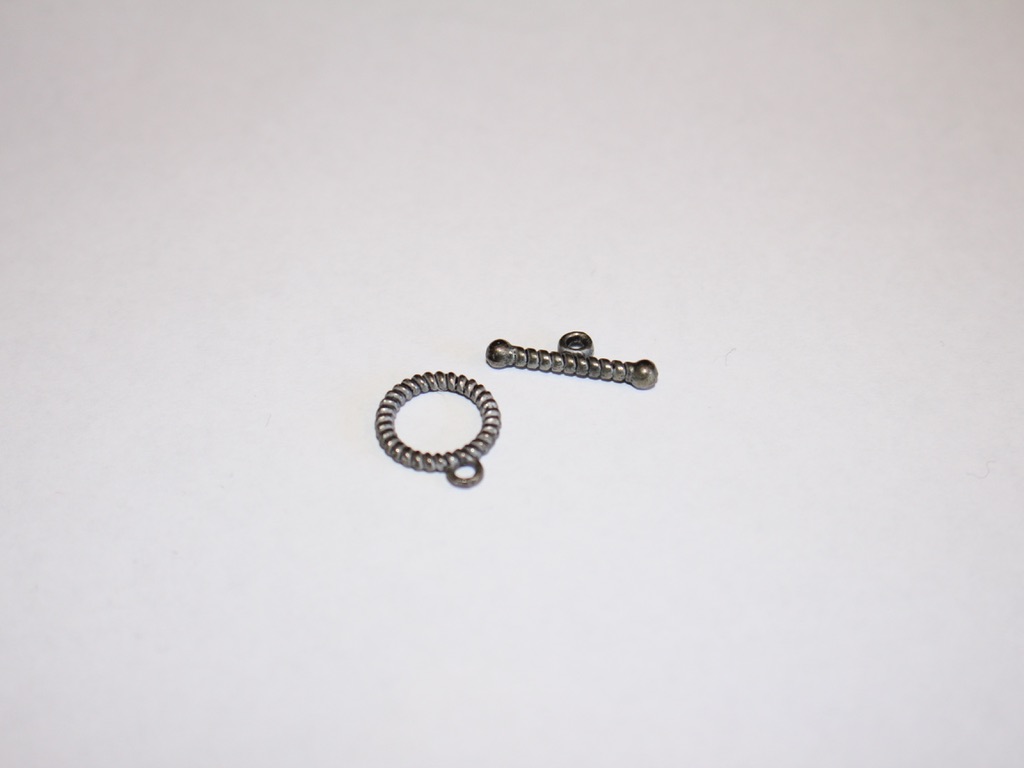
4: A toggle clasp.
5: Beads. I used yellow glass e-beads.

Follow these steps to make your chain bracelet:
1: Take one of the pieces of wire and create a loop at one end using the round nose pliers. Do this by bending approx. 1cm of wire to form a right angle and then loop it around the round nose pliers.

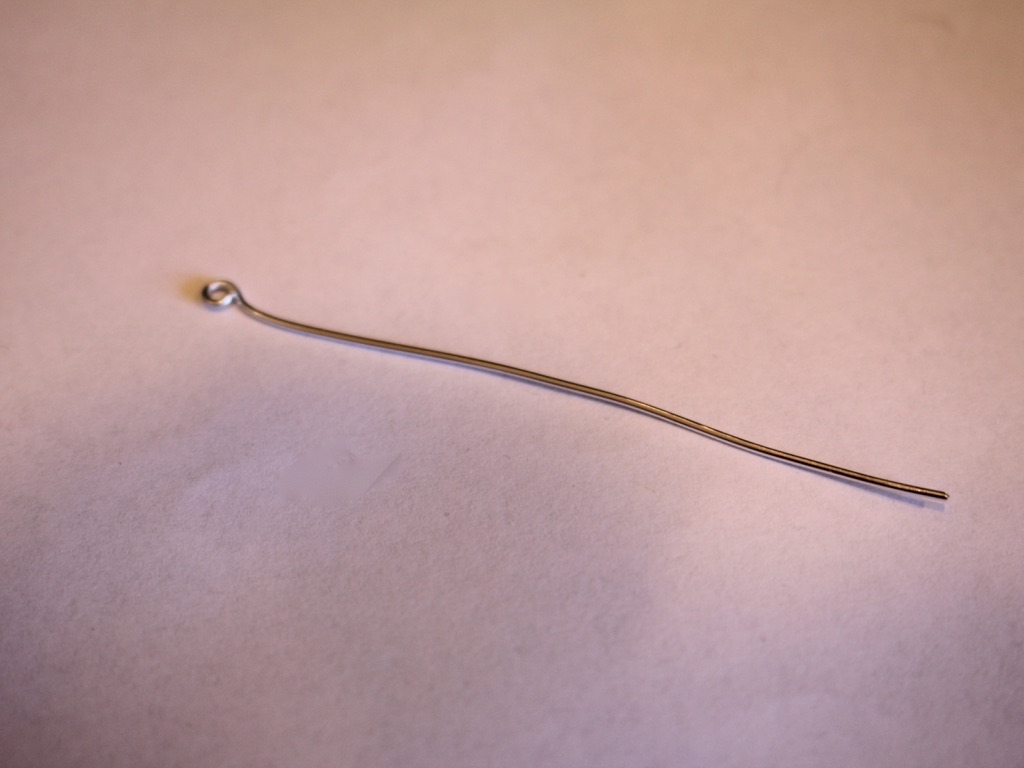
2: Add beads to the wire leaving 1cm unbeaded.


3: Create another loop at the other end of the wire.
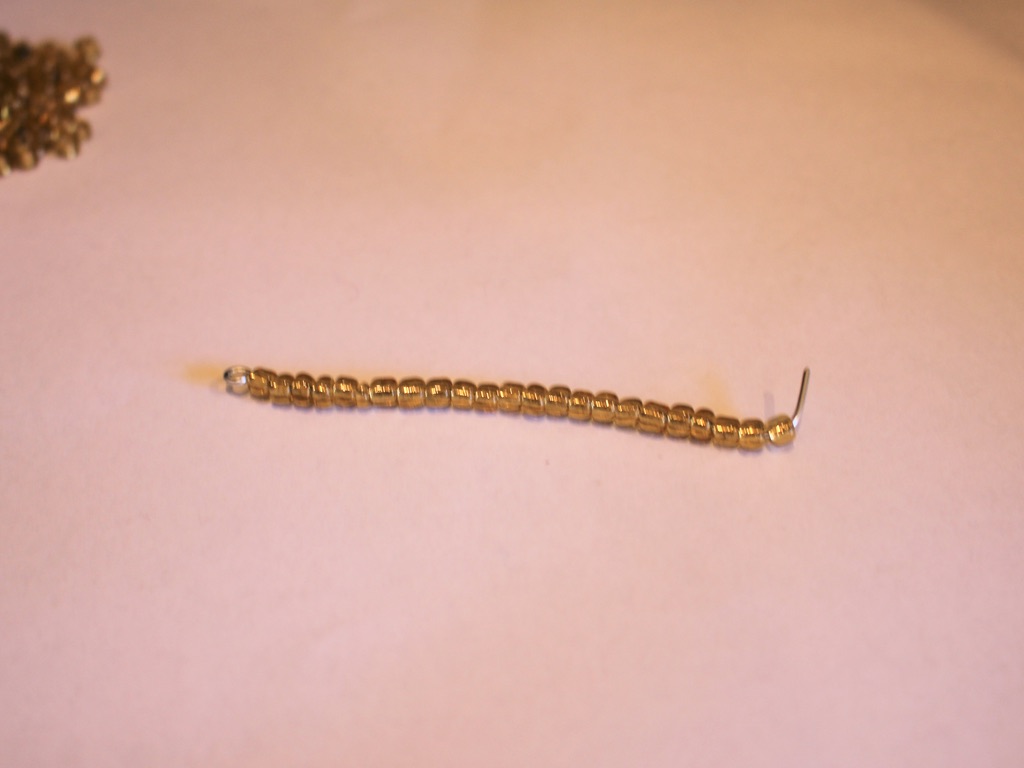
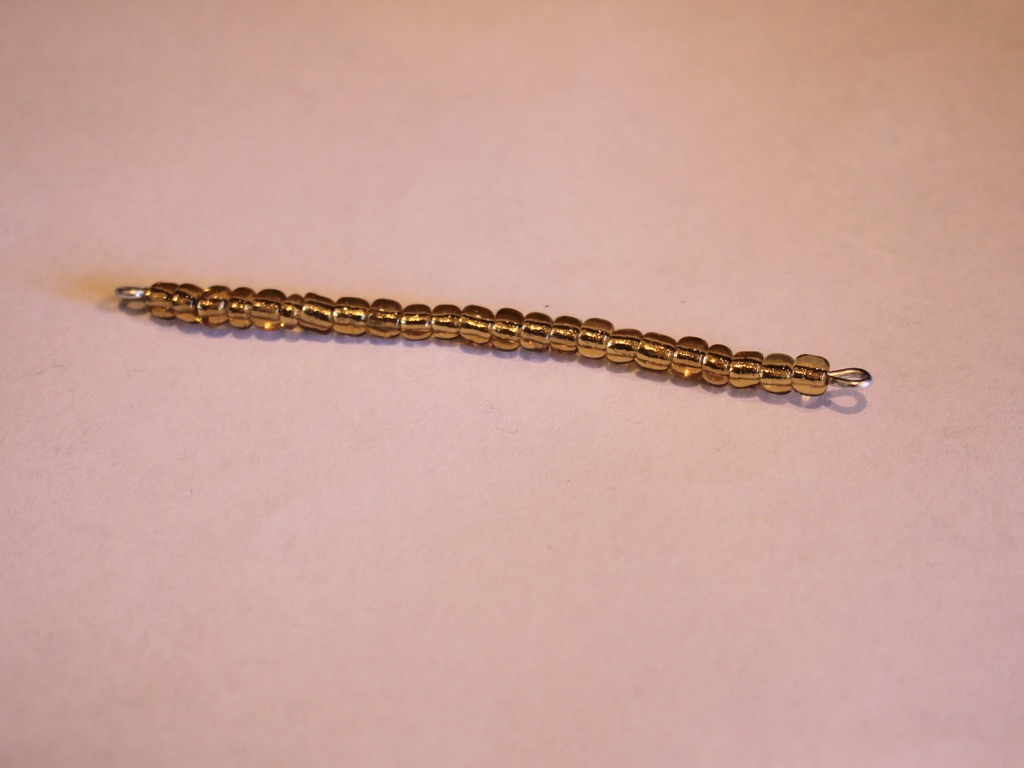
4: Bend the beaded wire into a circle shape.
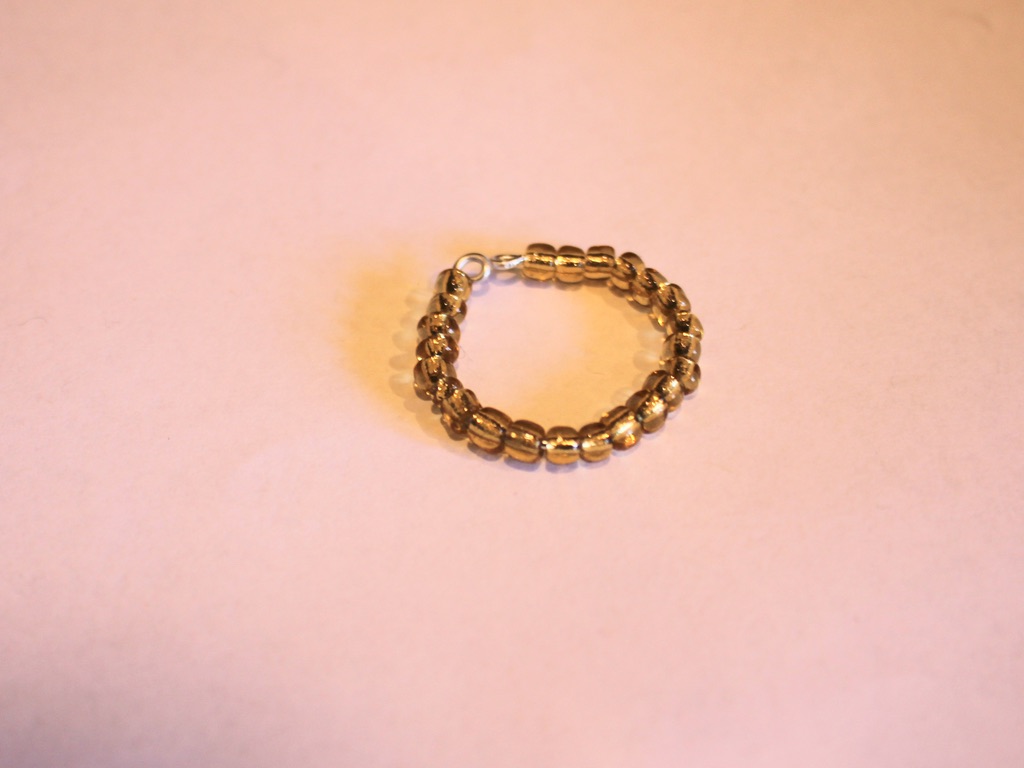
5: Open one of the end loops and thread it through the other end loop. Close it to create a closed circle.

6: Make another loop, but before closing it as you did in step 5, thread it through the first loop you made. Once it is threaded through you can close it.

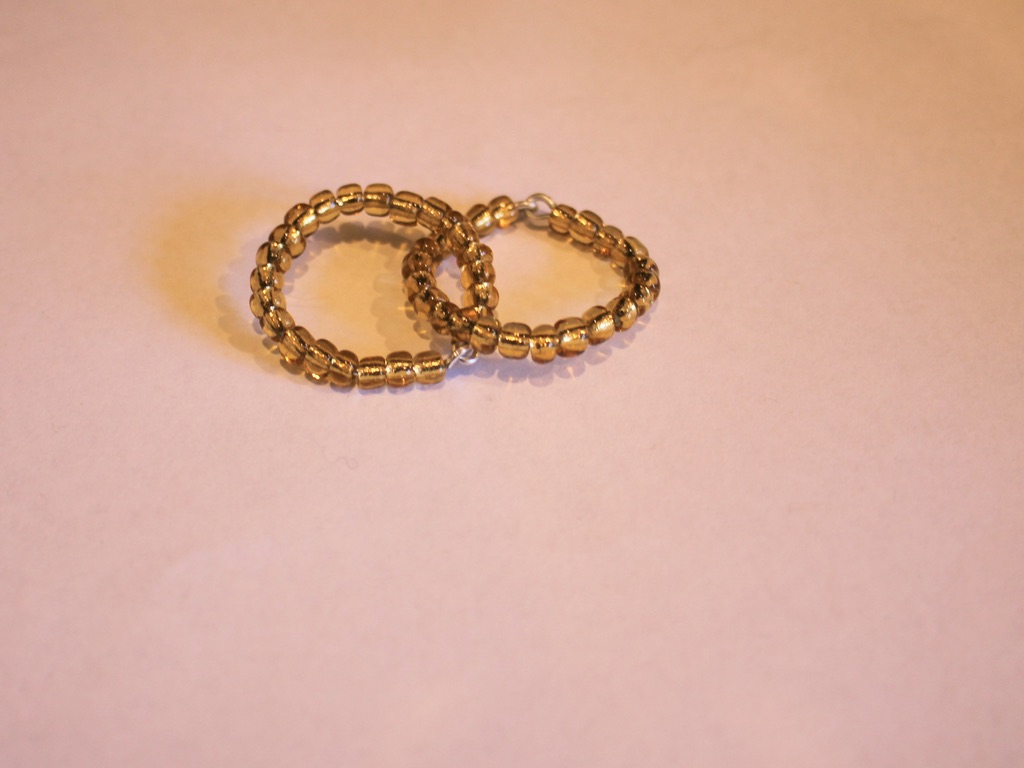
7: Continue steps 1-6 until you have created all your links.
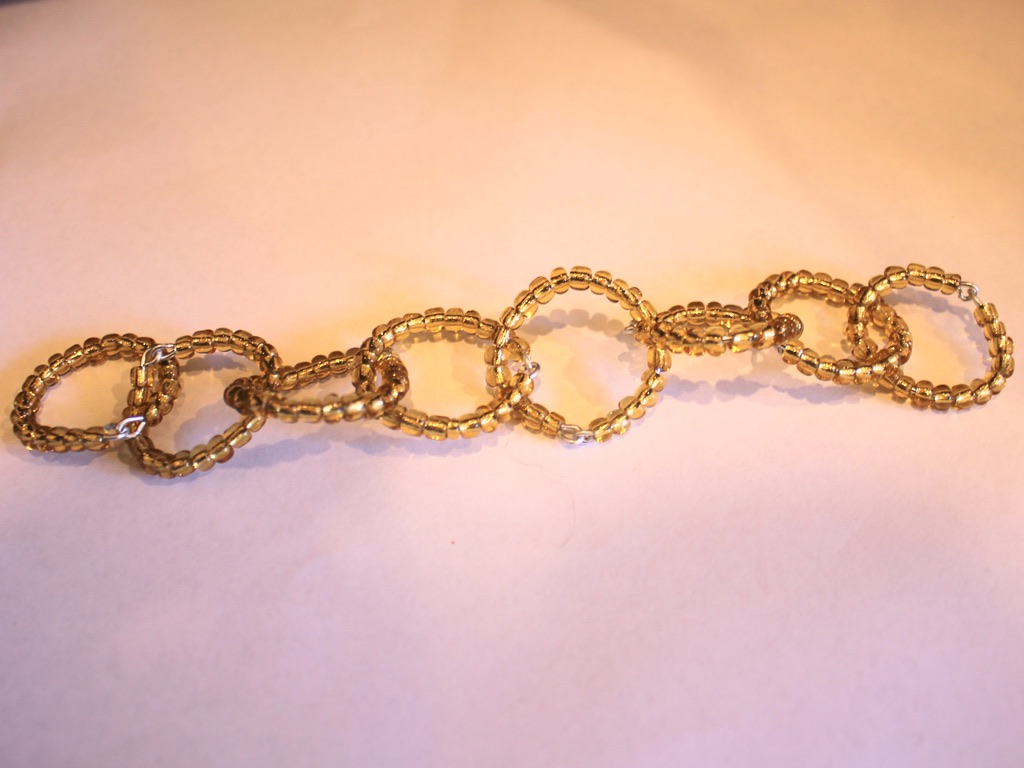
8: Take one of the end loops and rotate it so that the end loops face outward. Attach one of the jump rings and one side of the toggle clasp.
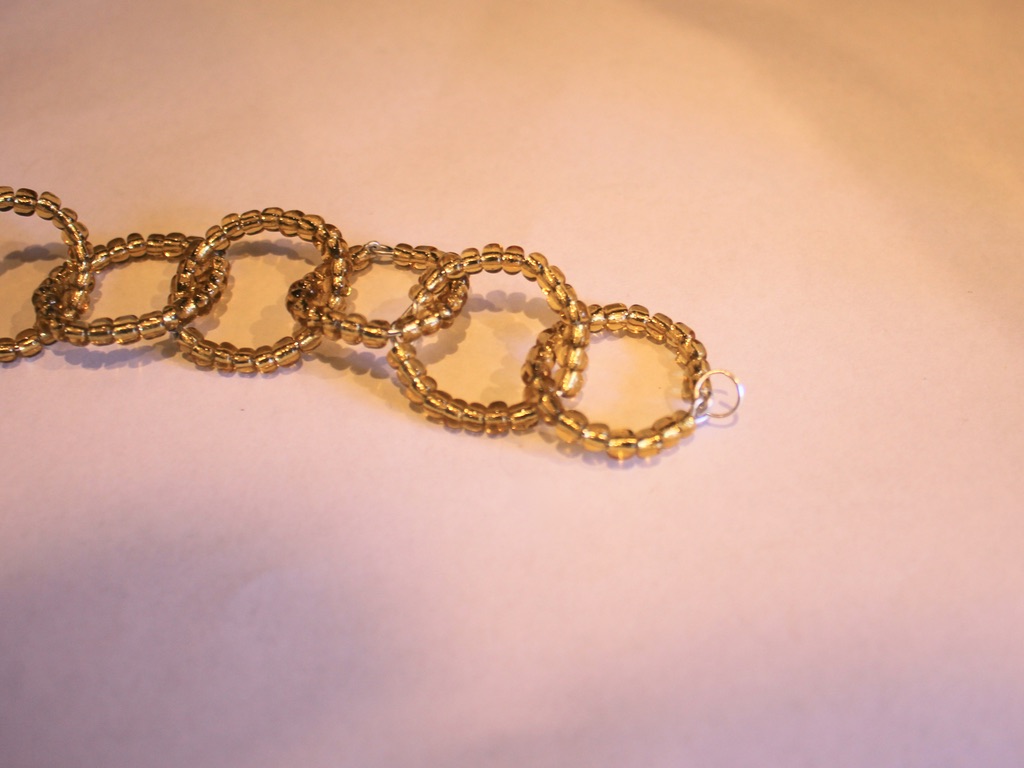
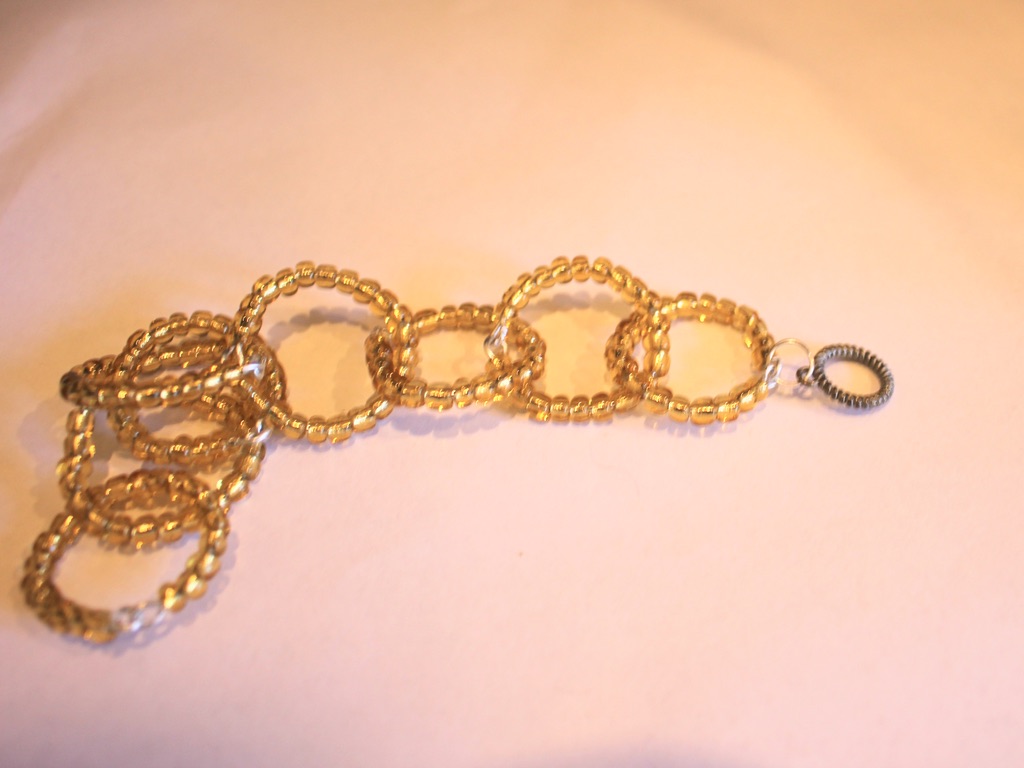
9: Attach the other side of the toggle clasp to the other end of the bracelet chain using the remaining jump ring.

Now your bracelet is finished!


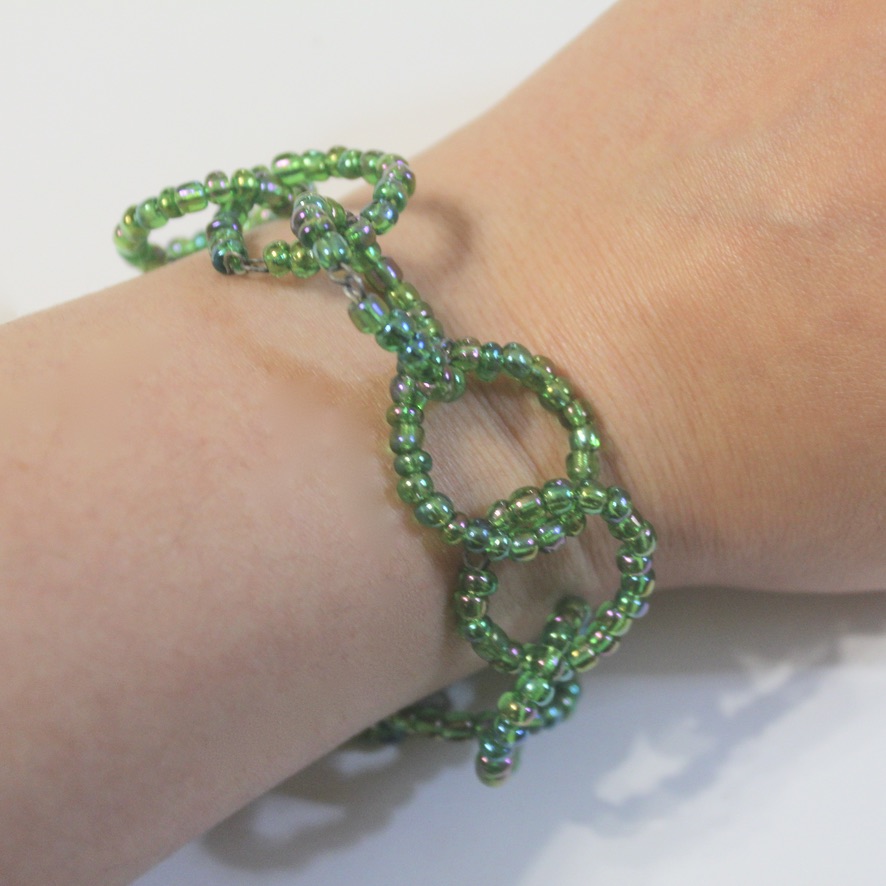
Here’s another one I made using green glass beads and soft thin wire.

This tutorial contains affiliate links.
-
Want a cute new ring? Here’s a super easy way to make one out of chunky chain.
Are you ready for a super simple DIY? Make this chunky chain ring! I keep reading over and over that chunky chains are trendy right now. This ring tutorial is a fun way to dip your toe into this fun new jewelry trend.
You’ll need just a few tools and materials to make this cool chain ring:Pliers. I used my round nose and flat nose pliers.
1: Pliers. I used my round nose and flat nose pliers.
2: Some chunky chain
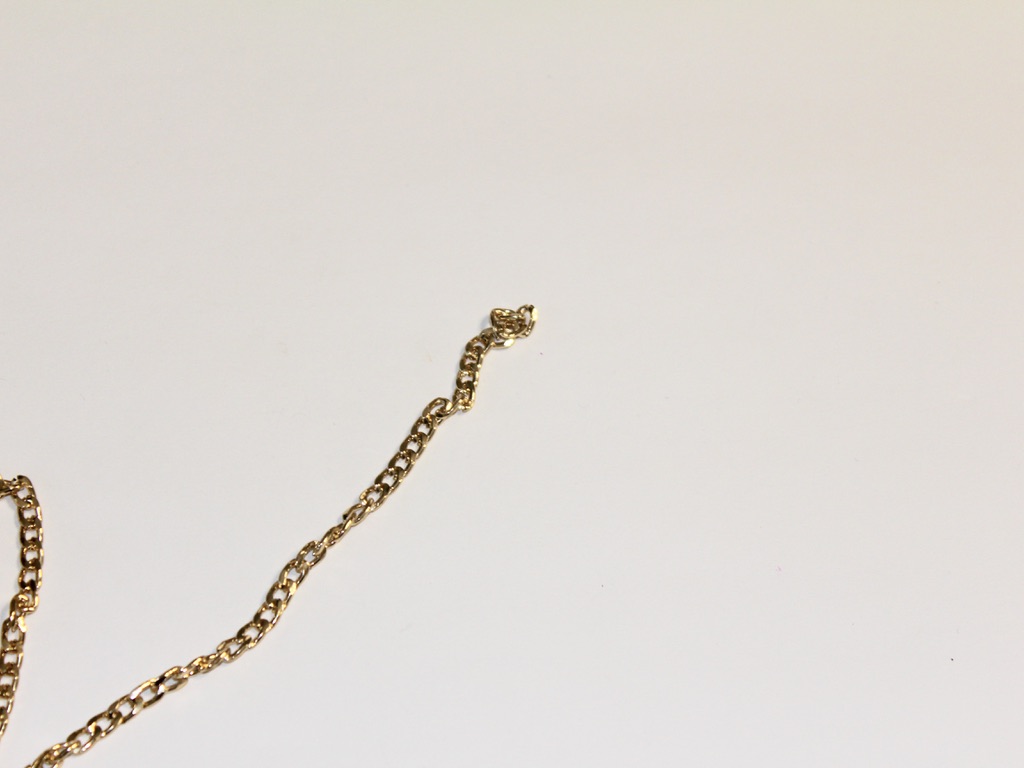
Now you can make your ring:
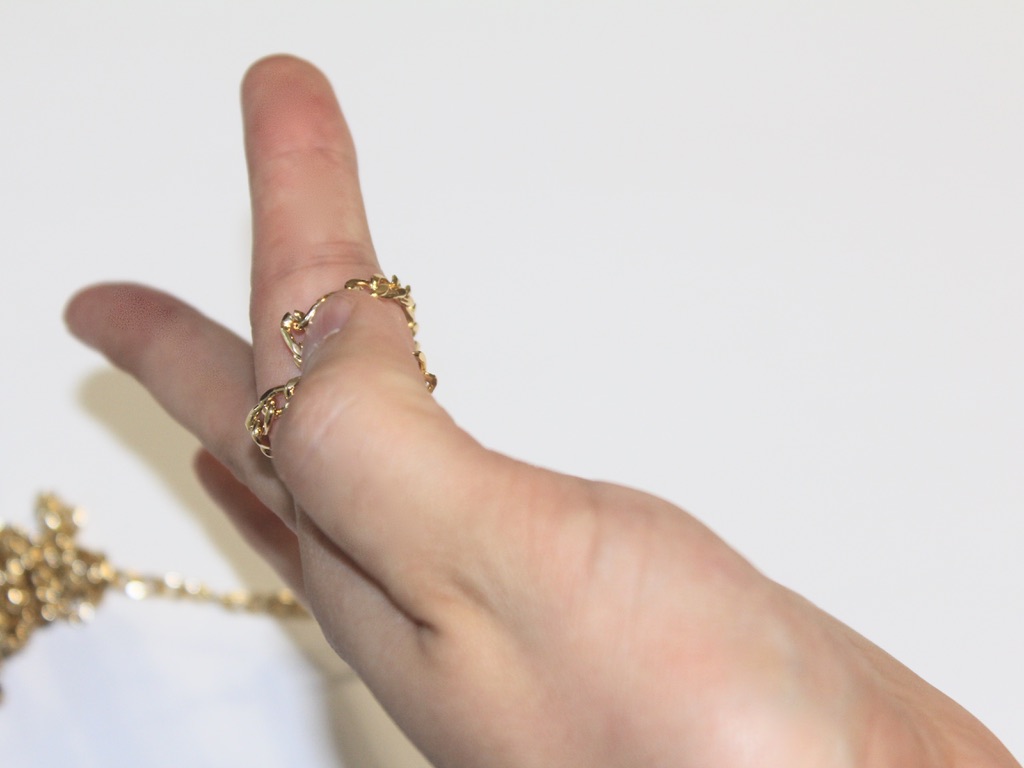
1: Wrap the chain around your finger to get the right size.
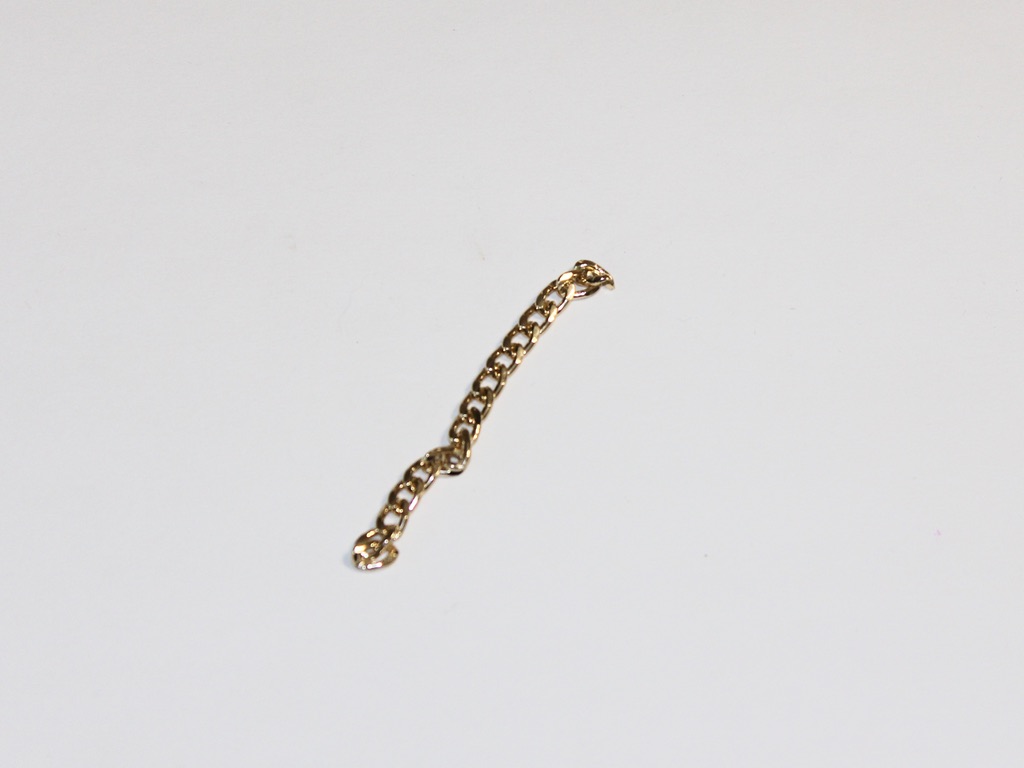
2: Open a link and detatch the short amount of chain that you measured out.
3: Form a loop and put the end link into the open one.
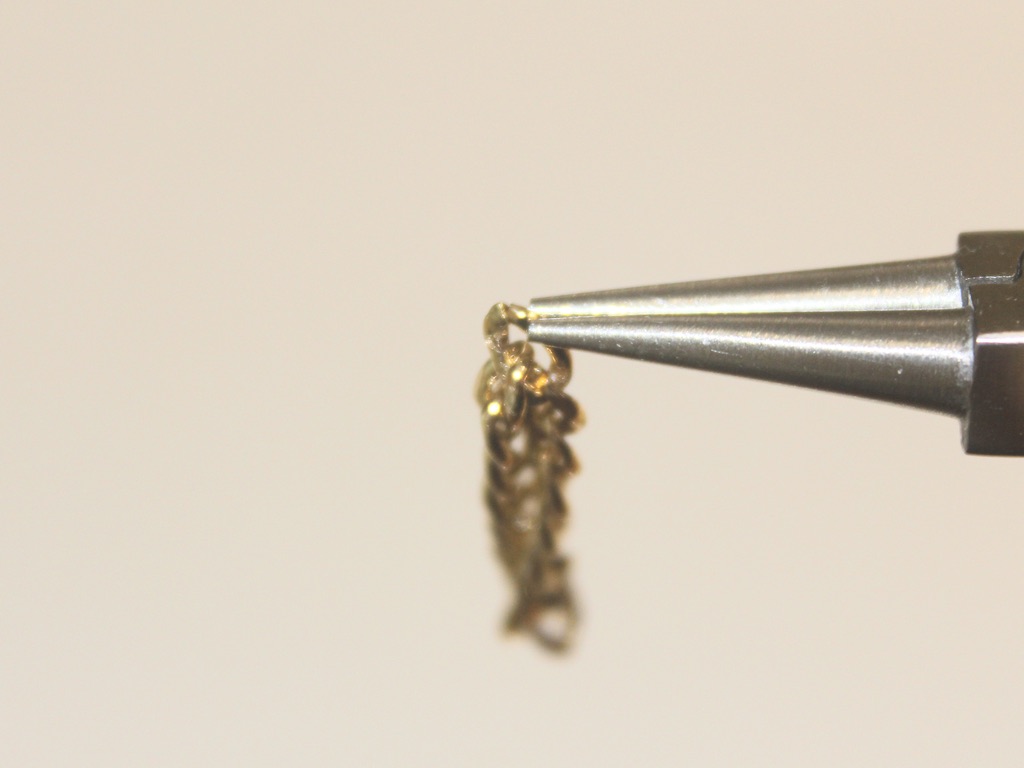
4: Close the link to form a circle.
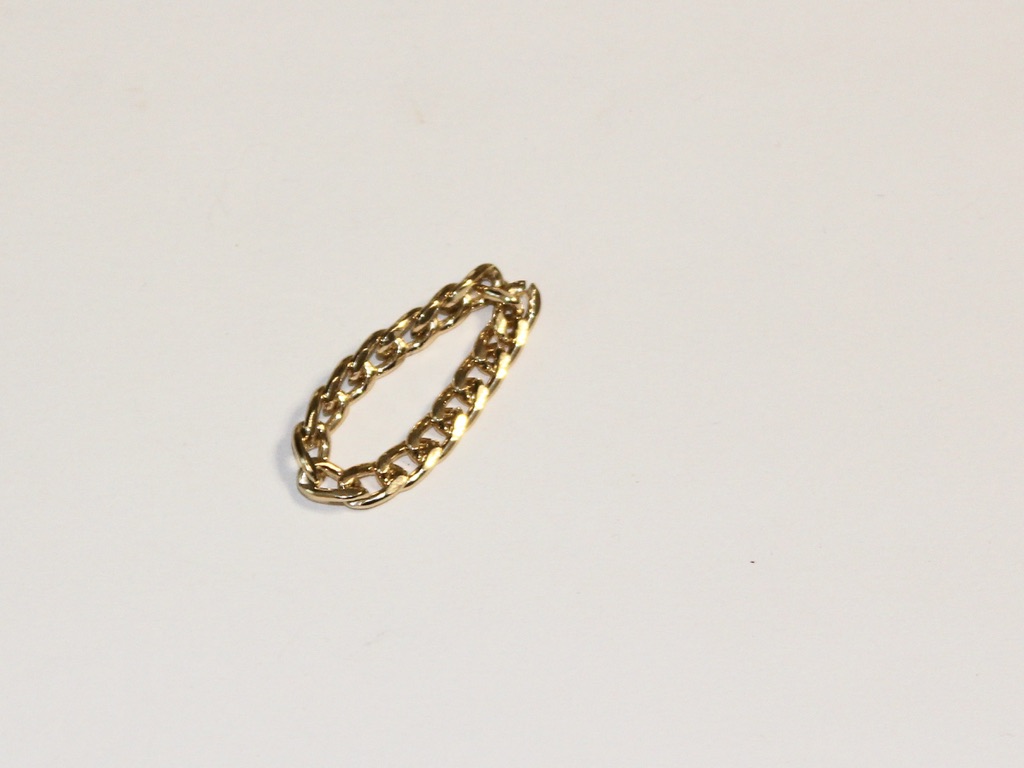
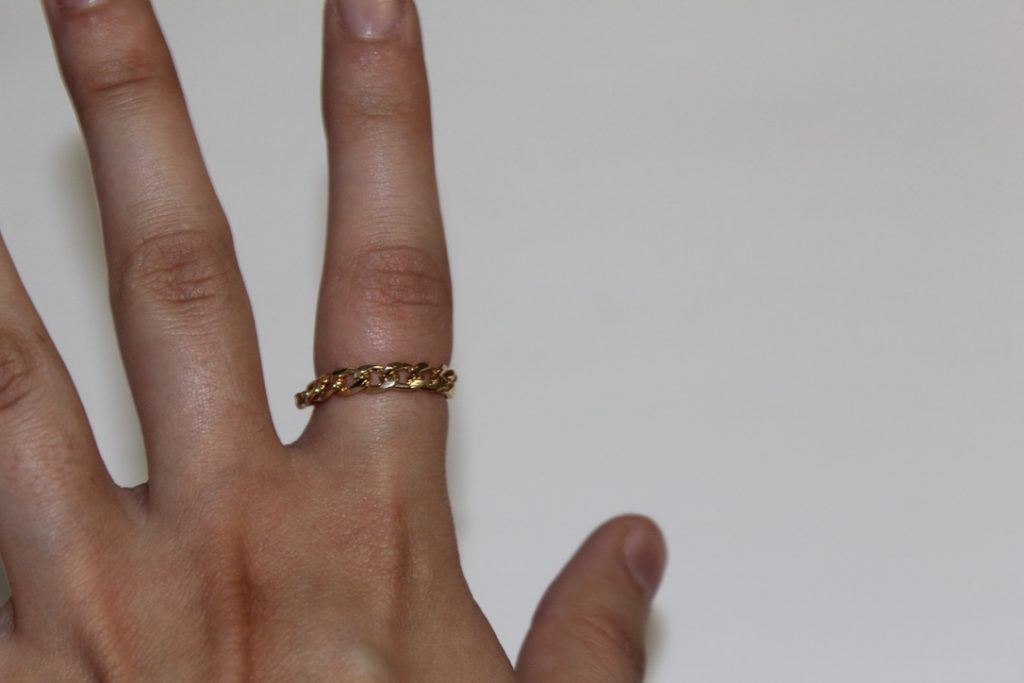
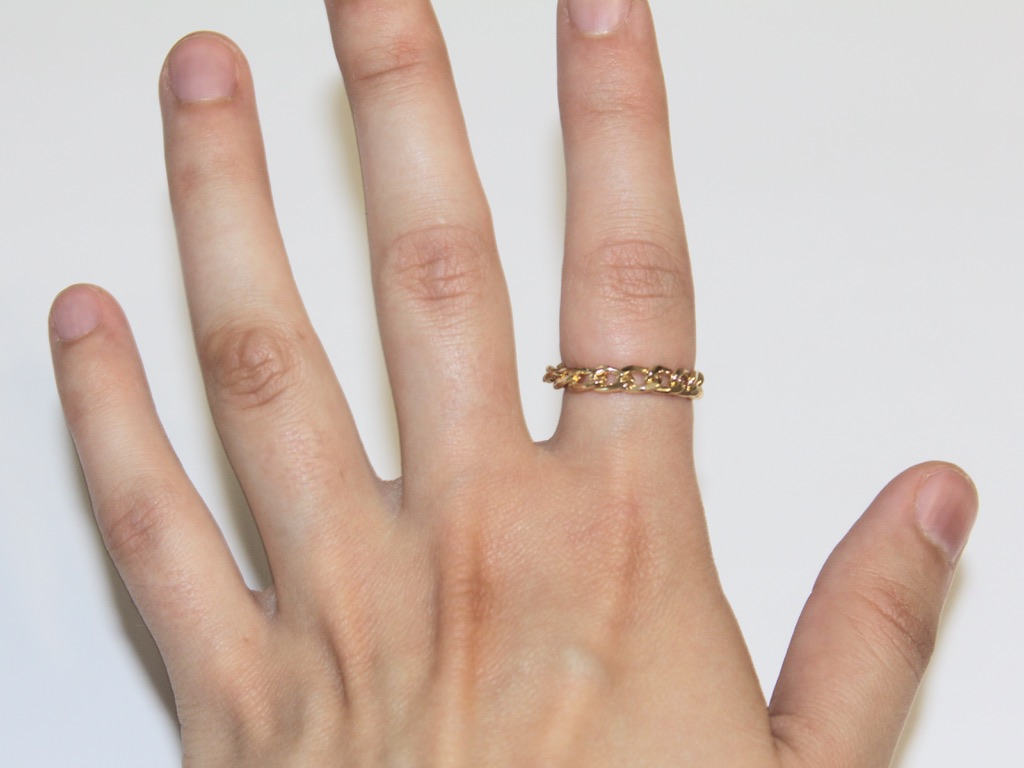
Now your ring is finished! How easy was that?
This tutorial contains affiliate links.