
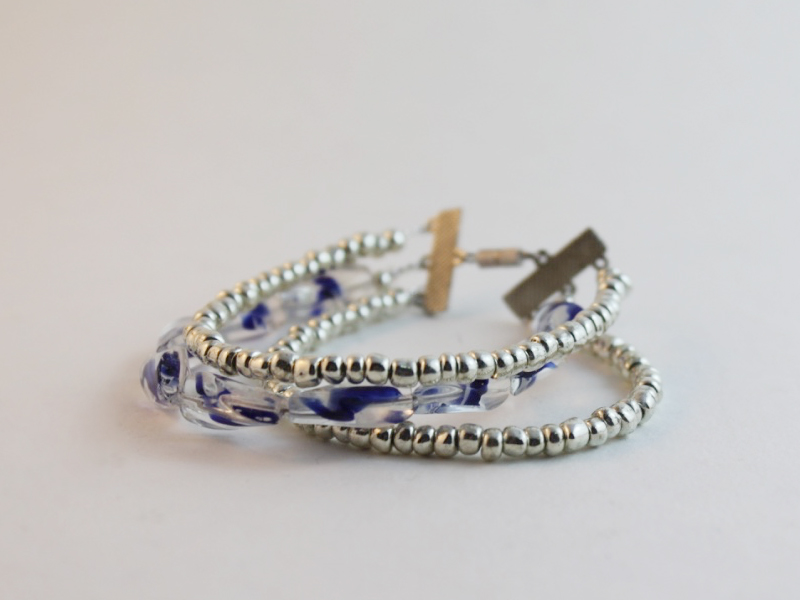
Because More Is Always Better, You Need to Know How to Make a Multi-Strand Bracelet
Multi strand bracelets are great for giving the illusion of a wrist that is stacked full of bracelets without having the hassle of putting them all on! The three-strand bracelet featured in this tutorial is so easy to make thanks to the use of some handy charm connectors. Follow these DIY jewelry instructions and you’ll be sporting an arm full of beads in no time.
You will need the following tools and materials to make this bracelet:
1. Pliers.
For this DIY jewelry project you will need your round nose pliers, flat nose pliers and cutting pliers.

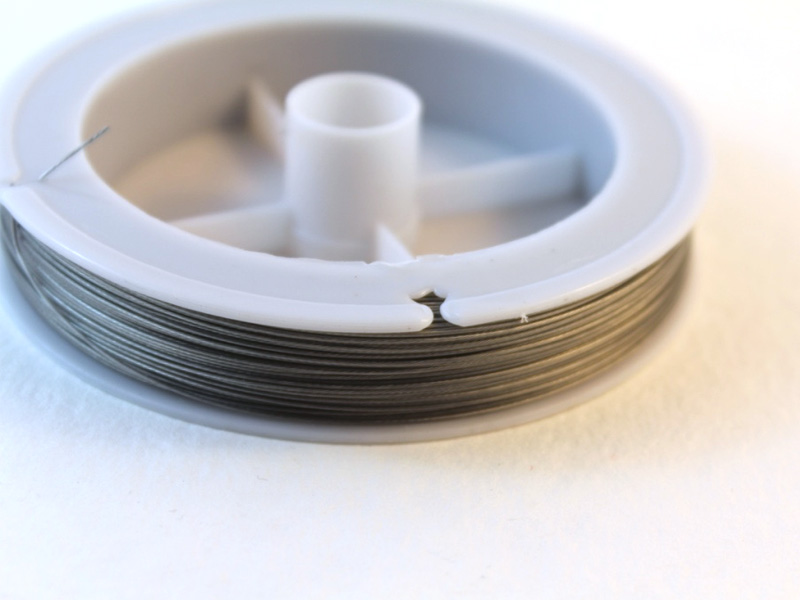
2. Tiger tail wire.
3. 12 crimp beads.

3. 2 charm connectors.

4. A clasp. For this bracelet I used a screw clasp but I usually use a toggle clasp when I am making bracelets as they are easier to operate with one hand.

5. Beads of your choice. In this design I used some silver e beads for the two outer strands and some twisted glass beads for the center strand.


The Steps:
1. Cut three strands of tiger tail wire so that they are slightly longer than the length you would like your bracelet to be. You can measure your tiger tail by wrapping the wire loosely around your wrist.

2. Once all the wire has been cut to size, start to attach the ends to one of the charm connectors. Do this by poking one of the wire through the hole and then bending it around the connector.


3. Add two crimp beads so that they sit close to the charm connector.

4. Once the crimps are in place use the flat nose pliers or round nose pliers to squash them and secure them in place. Repeat steps 2 to 4 for the two remaining strands so that all the wire pieces are secured to the charm connector.

5. Start adding beads to the first strand and continue beading until you have reached your desired length.


6. Once you’ve completed the beading add another two crimp beads to the strand.

7. After you have added the crimps, thread the end of the tiger tail wire through the second charm connector and pull the end back through the crimp beads.


8. Once the wire has been fully pulled through, use the round nose pliers to squash the crimp beads and secure the strand in place.

9. Use the cutting pliers to trim the excess wire.

10. Repeat steps 5 to 9 for the remaining strands.


10. Once the strands are secured to the charm connectors on both ends it is time to add the clasp. Open one end of the clasp using the round nose pliers.
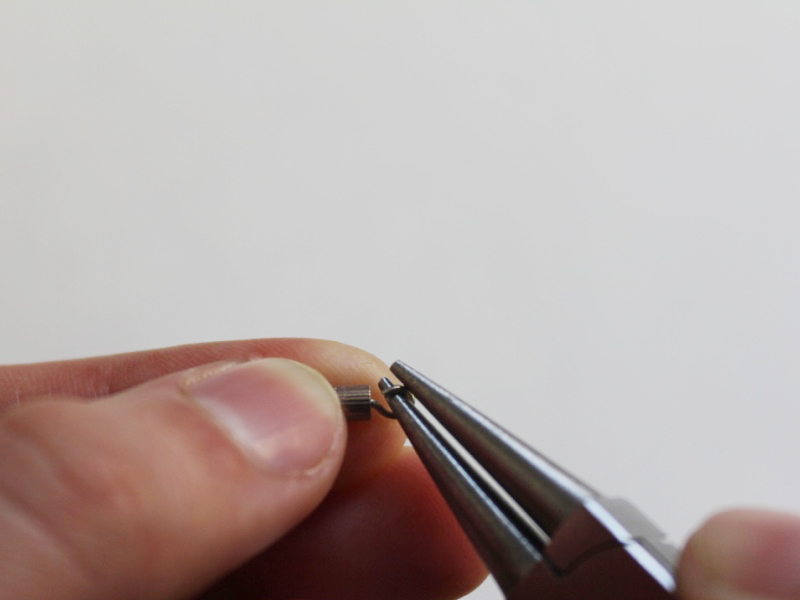
11. Slide the open loop onto the end of the bracelet and then close the clasp loop again using the round nose pliers.

12. Repeat steps 10 and 11 for the other end of the clasp to complete the bracelet.

13. Now you are done, wear and enjoy!

DIY Jewelry Hub
Welcome to DIY Jewelry Hub. If you’ve ever wanted to learn how to make your own jewelry this is the place to start! Jewelry is a great way to show off your individuality and style. You’ll be surprised at how easy it is to create your own unique pieces! DIY Jewelry Hub will equip you with all the knowledge and inspiration you need to make your own jewelry.

You May Also Like

The double hole bead is back! This bracelet is delicate and adorable.

Here’s how you can make a fun mixed bead bracelet to show off your personality!
