-
Here’s a wild beaded anklet that can also be worn as a shoe chain!
I love jewelry that can be worn multiple ways, so I created a tutorial that shows you how to make a beaded shoe chain that can also be worn as an anklet! It features clasps on either end so that it can be clipped to your shoelaces as a shoe decoration, or to each other to create an anklet effect. Please note that this tutorial contains affiliate links. Here’s a fun detail. This tutorial makes use of beads I made in this tutorial… so if you follow both you can have a completely custom piece of jewelry!
You’ll need these tools and materials to make this multi-use shoe chain/anklet:
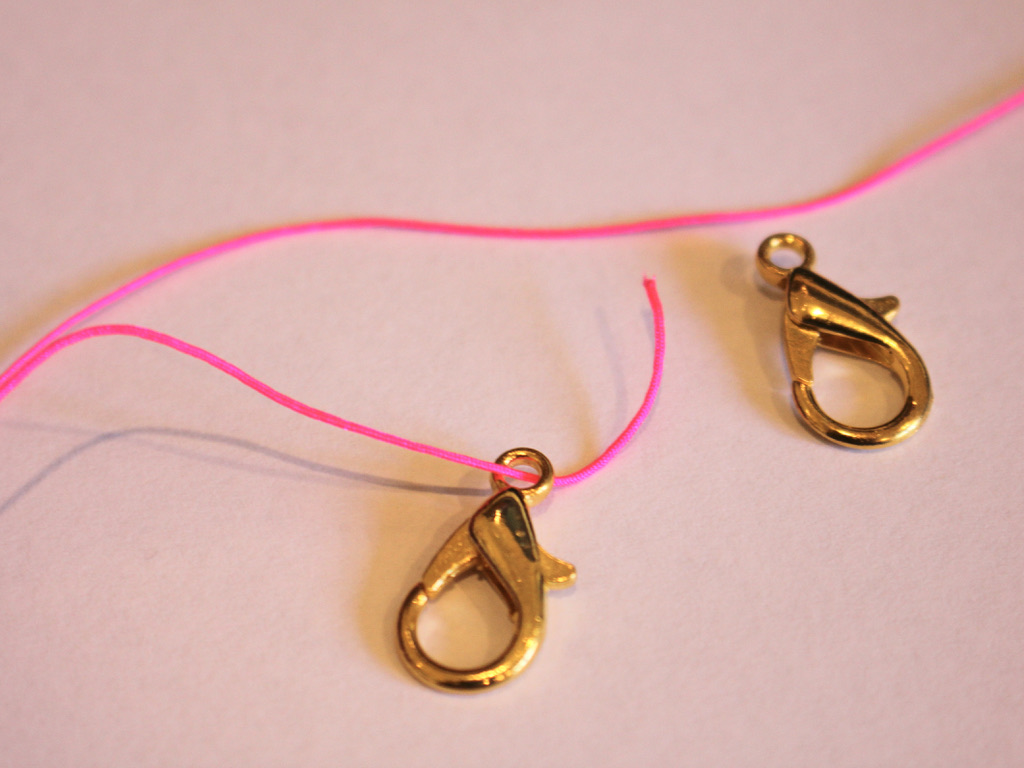
1: Some beading thread, I used this hot pink nylon string. Make it long enough to fit your ankle plus a bit extra.

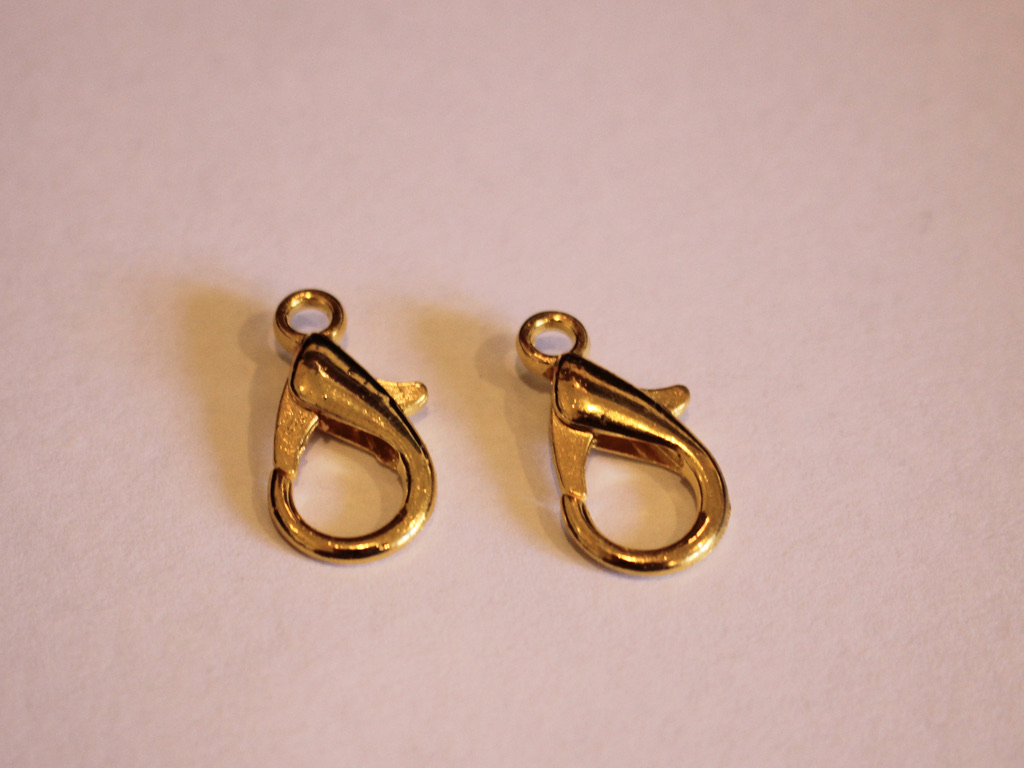
2: A pair of large clasps. I used these gold-tone clasps.
3: A selection of beads. I used a mixture of handmade resin and polymer clay beads, and other plastic beads.

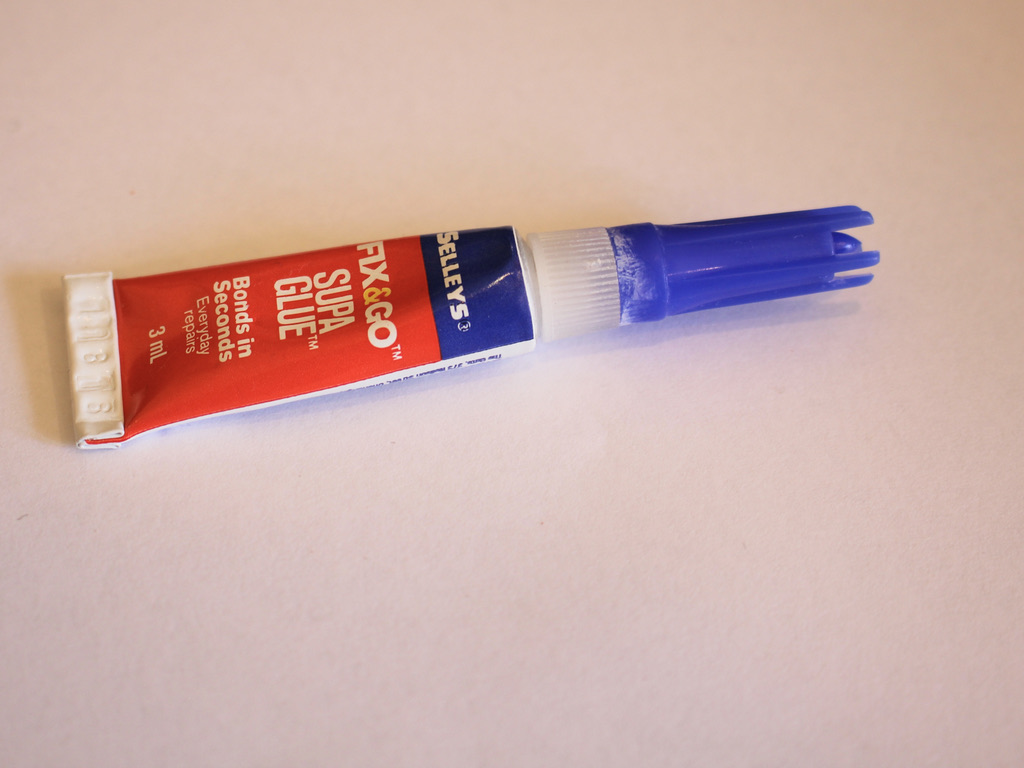
4: Super glue for securing the knots.
5: Some scissors for trimming the string.

Follow these steps to make your multi-purpose anklet shoe chain:
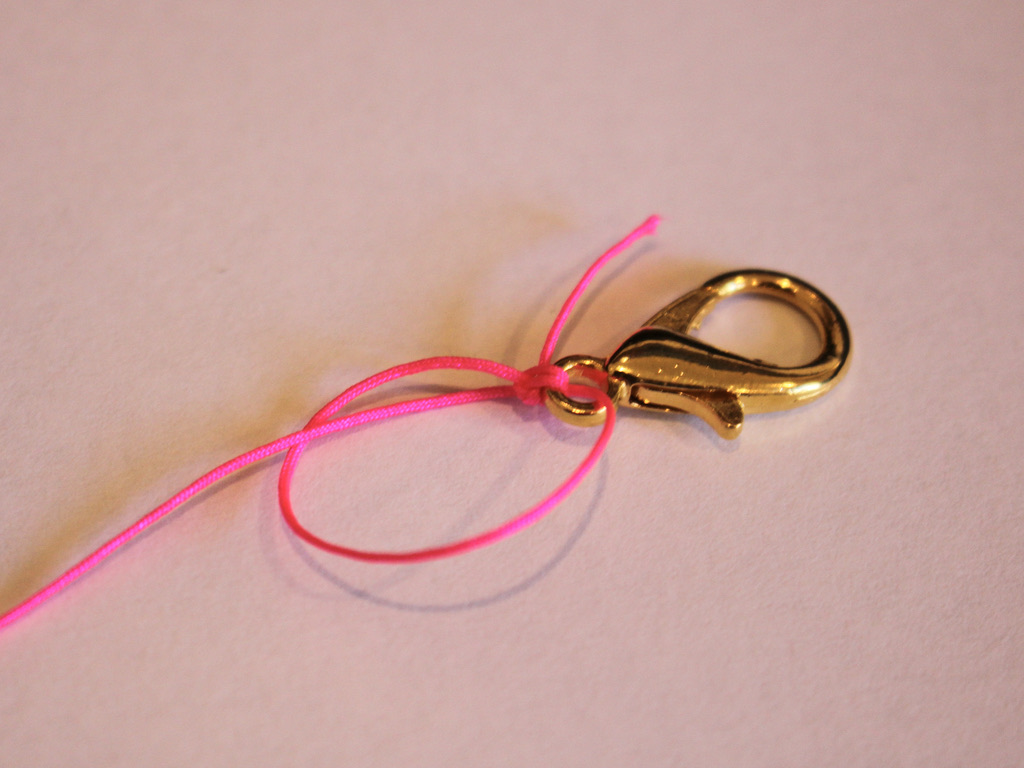
1: Tie the string to one of the clasps. Wrapping the string around the clasp a few times and making multiple knots can help keep it more secure for longer.



2: Add beads to the string in your chosen pattern. I added mine in random order.

3: Continue beading until you have a length you like. Then tie a knot at the end to secure the last bead in place

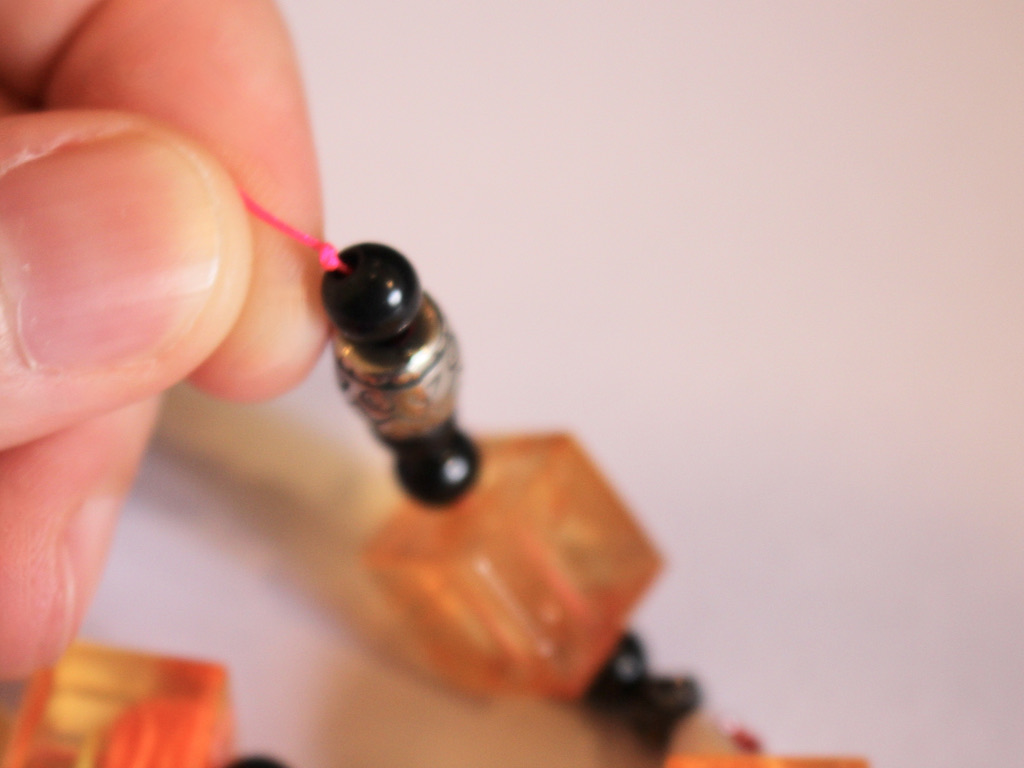
4: Add the second clasp to the end of the string.
5: Knot the second clasp in place, remembering to wrap the string through the end of the clasp a few times and securing it with multiple knots.


6: Trim the excess string on both ends of the shoe chain anklet.
7: Add a dab of superglue to each knot to keep it secure and set it aside to dry.

Once the glue is dry, your anklet is ready to wear! Which shoes will you clip yours to?
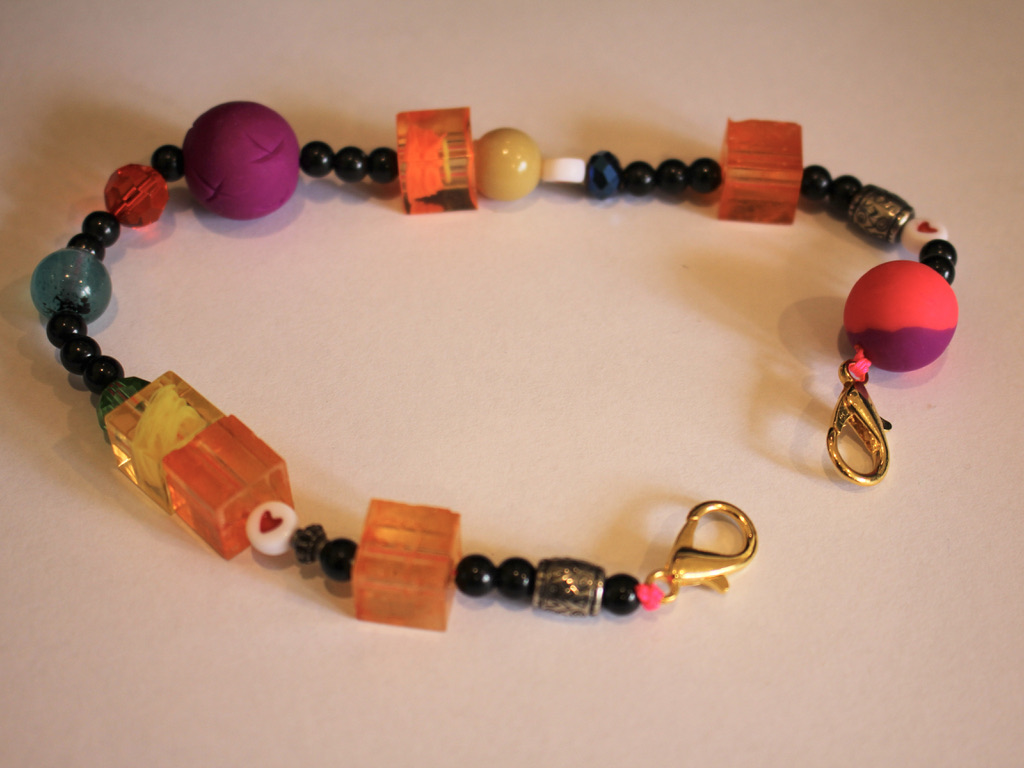
And here’s what it looks like (On some dirty old converse haha)

Here is the design as a shoe chain attached on one side to the lower laces 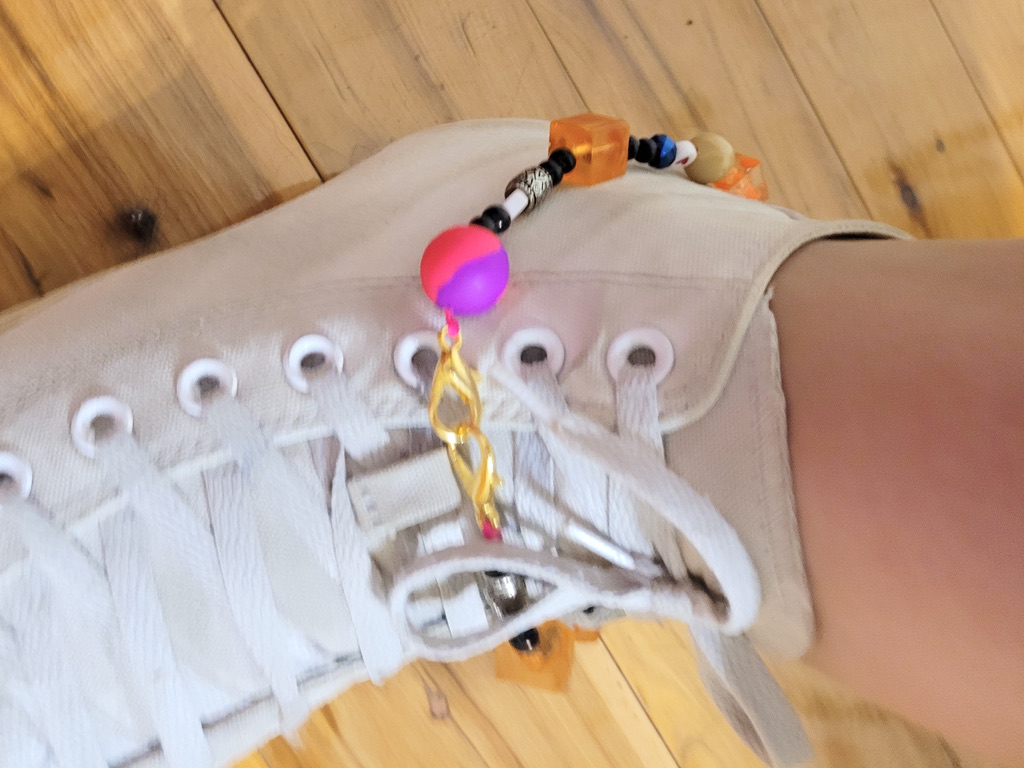
Here it is worn as an anklet over the shoe. 
Here is the design as a shoe chain attached on one side to the lower laces Here are some other shoe chain tutorials you can follow if you want to make some more:
-
How to make a super cute letter bead necklace! Add your word to a chain for a cute twist on the y2k jewelry trend!
This is a super cute necklace design that you can personalise to suit your preference. I’m stuck in lockdown right now so I decided to make sure everyone knows that I am ‘BORED’ haha. This super cute design is simple to construct and looks great worn on its own or layered with your other pieces. Maybe you can make a high-low statement by wearing this with your fine jewelry! Please note that this tutorial contains affiliate links.
You will need these tools and materials to make your letter bead necklace:
1: You’ll need two pieces of chain that make up your preferred necklace length. Please note that adding the letter bead chain will make it a little longer.

2: Enough eye pins for the length of your word. I used seven.

3: Enough small jump rings for the length of your word plus one extra. I used eight.

4: Two larger jump rings.

5: A lobster clasp.

6: Letter beads. I used seven beads, five to spell out the word BORED and a couple of white letter beads with hearts on them.

7: Pliers. I used my round nose and flat nose pliers to open and close jump rings and eye pins to complete this necklace.


Follow these steps to make your own letter bead necklace:
1: Add one of the letter beads to one of the eye pins.

2: Bend the pin using the round nose pliers to form a loop. This will secure the bead onto the pin.


3: Repeat this steps for the remaining letter beads until they are all secured onto eye pins.

4: Attach the beads together in order using the small jump rings, you should have two left over for each end of the letter bead chain to attach the necklace chains.


5: Add one of the remaining small jump rings to one end of the letter bead chain.

6: Attach one of the long necklace chains and secure it by closing the jump ring.

7: Repeat steps 5 and 6 for the second side of the necklace.

8: Add one of the larger jump rings to one end of the necklace and slide on the clasp. Close the jump ring to secure the clasp in place.


9: Add the second large jump ring to the other side of the necklace to finish it off!

Now your necklace is complete and ready to wear! What message will you send with yours? Hopefully it is more positive than mine!! 😉


Here are some other letter bead pieces you can make if you loved this one!
-
Here’s how to make a fruity waist chain!
This waist chain can be adjustable and is embellished with fun polymer clay fruit beads to make you feel like a tropical human fruit salad! This tutorial shows you a way to put beads on a chain for a fun effect! Please note that this tutorial contains affiliate links.
You’ll need the following tools and materials to make your fruit salad waist chain:
1: Pliers. I used my round nose and flat nose pliers.

2: Chunky chain long enough to fit your waist. Make it a little longer to make your belt adjustable.

3: Two large lobster clasps.

4: Two large jump rings.

5: Some head pins.

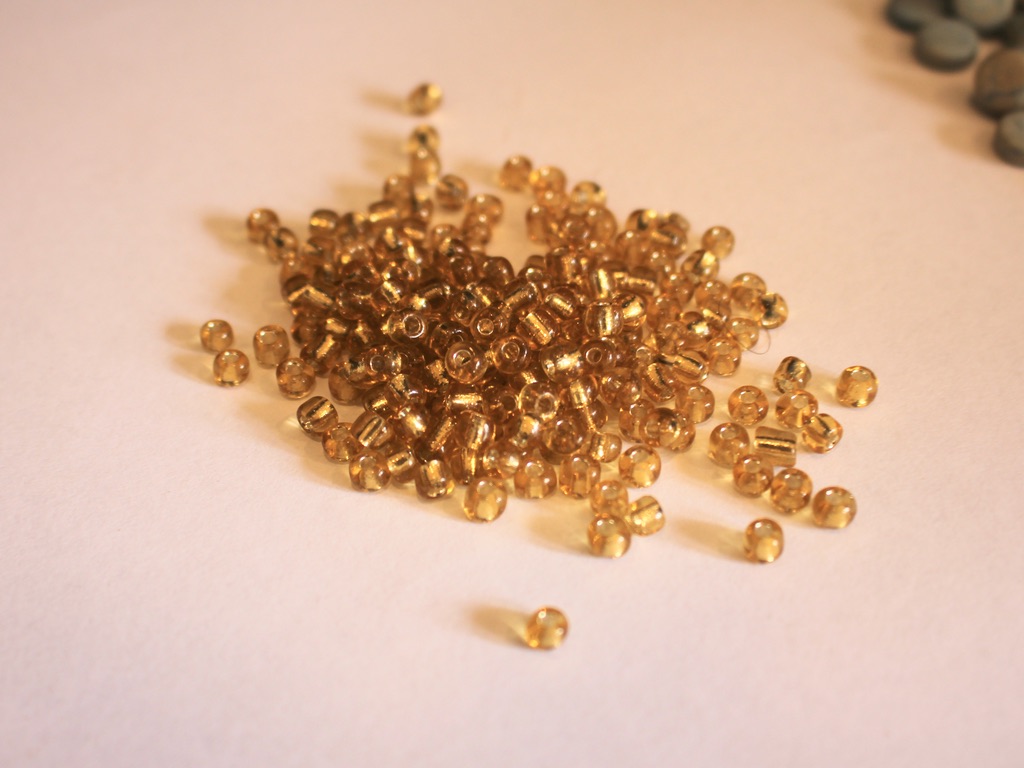
6: Beads. I used polymer clay beads in the shape of different fruits and some yellow glass beads.

Follow these steps to make your fruity waist chain:
1: Attach a clasp to either end of your chain using each of the jump rings. Open the jump ring and slide it through the end of the chain and the clasp. Close the ring to secure the clasp to the chain.


2: Set the chain aside.
3: Add beads to a head pin. I used a few glass beads and a fruit bead on mine.

4: Bend the top of the pin to form a right angle.

5: Create a loop at the top of the pin using the round nose pliers. This will secure the beads on the pin.


6: Open the loop slightly and attach it to one of the chain loops. Close the loop to secure the charm to the chain.


7: Make another charm that features only glass beads and place it on the chain next to the first charm.


8: Continue making fruit and bead charms and attach them to the chain in your chosen pattern until you have a fully beaded chain.

Now your waist chain is finished and ready to wear! You can also wear this design as a necklace.


Here are some other waist chain designs you can make:
-
Do you need more colorful jewelry in your life? Why not make this rainbow beaded choker with a feature pendant?

This choker necklace is super cool! Made with a rainbow of glass beads and a simple charm, it is sure to make an impact!
You will need the following tools and materials to make this choker necklace:
1: Pliers. You’ll need your flat nose pliers, round nose pliers and cutting pliers for this necklace.
2: Some tiger tail wire long enough to make a choker. Measure the length by wrapping the wire loosely around your neck. Make sure you leave enough length to allow space for securing the ends.

3: Four crimp beads.

4: Two small jump rings.

5: One bigger jump ring.

6: A lobster clasp.

7: Beads. I used these mixed glass beads in different colours.

8: A pendant. I used this pendant I made a while ago from a ring. Check out this tutorial to do this yourself.

Follow these steps to make your own colorful choker necklace:
1: Add two of the crimp beads to the end of the wire.
2: Fold the end of the wire around a jump ring and thread it back through the crimp beads.

3: Squash the crimp beads using the flat nose pliers.

4: Begin adding the beads to the wire. I added mine in random order.

5: Add the pendant. Depending on the size of your beads and the pendant bail you might need to add your pendant at half way so that it sits in the middle of your necklace when you wear it.

6: Add the remaining crimp beads and small jump ring to the end of the wire.
7: Fold the wire around the jump ring and thread it through the crimps and end beads.

8: Squash the crimp beads.

9: Trim the excess wire.


10: Add the lobster clasp to one end of the necklace, attaching it using one of the jump rings.
11: Add the larger jump ring to the other side of the necklace to finish it off.

Now your joyful beaded choker is ready to wear!