-
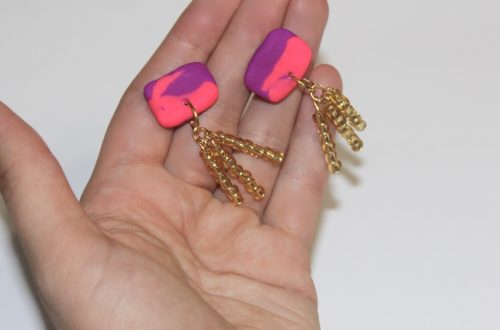
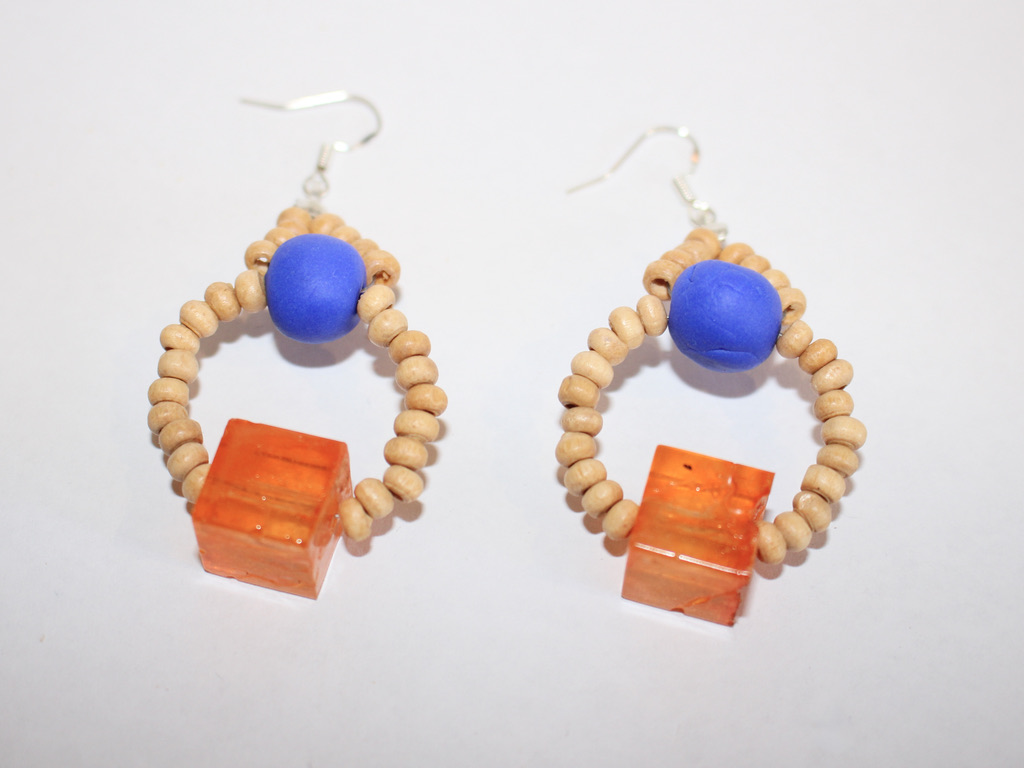
Here’s how to make some statement beaded earrings. These babies are special!
Do you love statement earrings? These statement earrings feature some gorgeous beads and some clever wire work to make a cute pair of bold earrings to wear on your next outing. Please note that this tutorial contains affiliate links.
You’ll need these tools and materials to make these earrings:
1: Two pieces of tiger tail wire about 20cm long.

2: Two crimp beads.
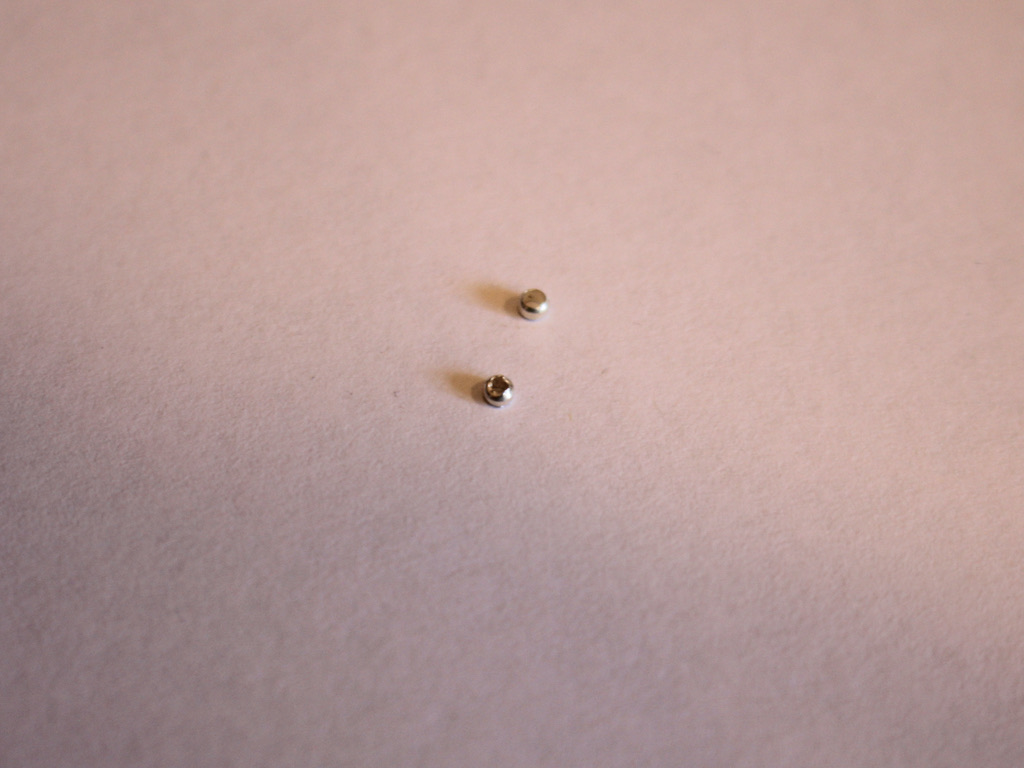
3: Two crimp cover ends.
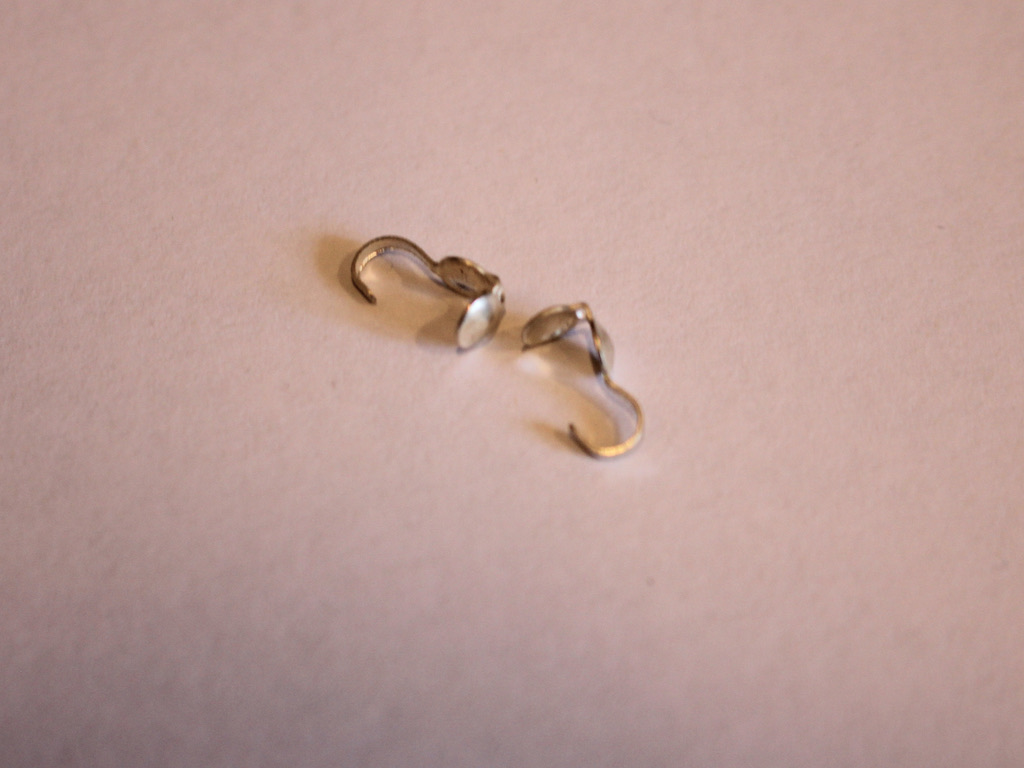
4: A pair of earring hooks.

5: Pliers. I used my flat nose, cutting and round nose pliers.

6: Beads. I used some resin cube beads, some handmade polymer clay beads (tutorial for these here), and some timber beads.


Follow these steps to make your statement earrings:
1: Add one of the cube beads to the middle of the wire.
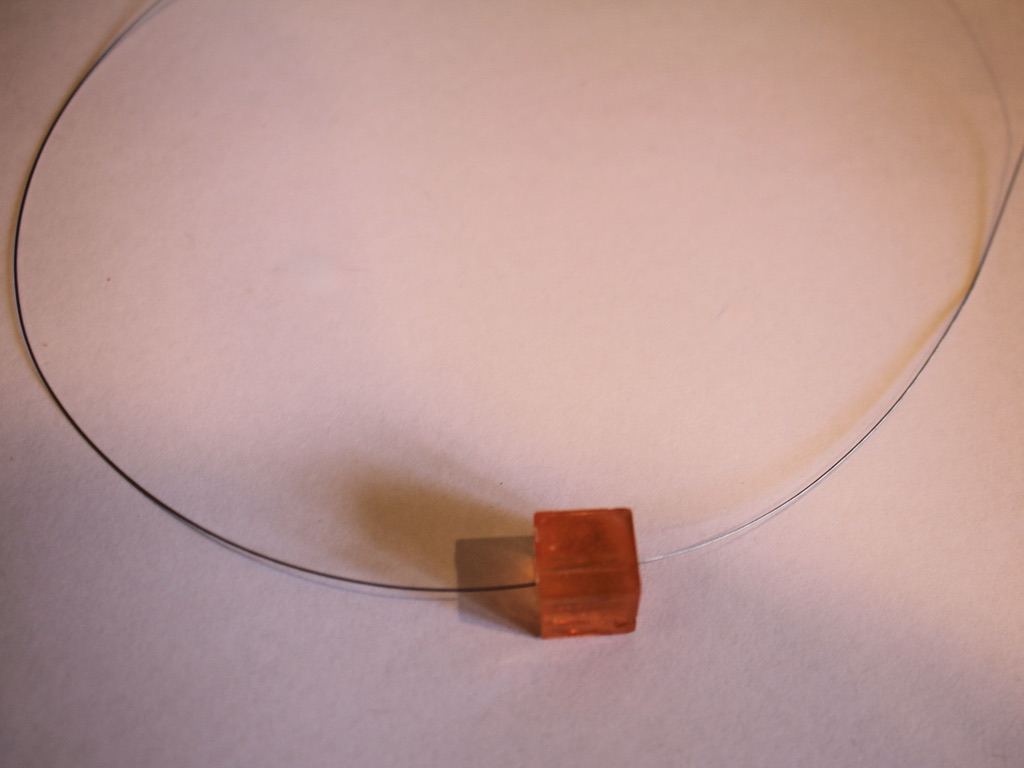
2: Add the smaller timber beads either side of the cube bead, I added 10 to each side, but you can add more or less depending on the size of the beads you are using. You’ll want to get a circle about 2.5cm in diameter.

3: Add one of the polymer clay beads to one side of the wire.
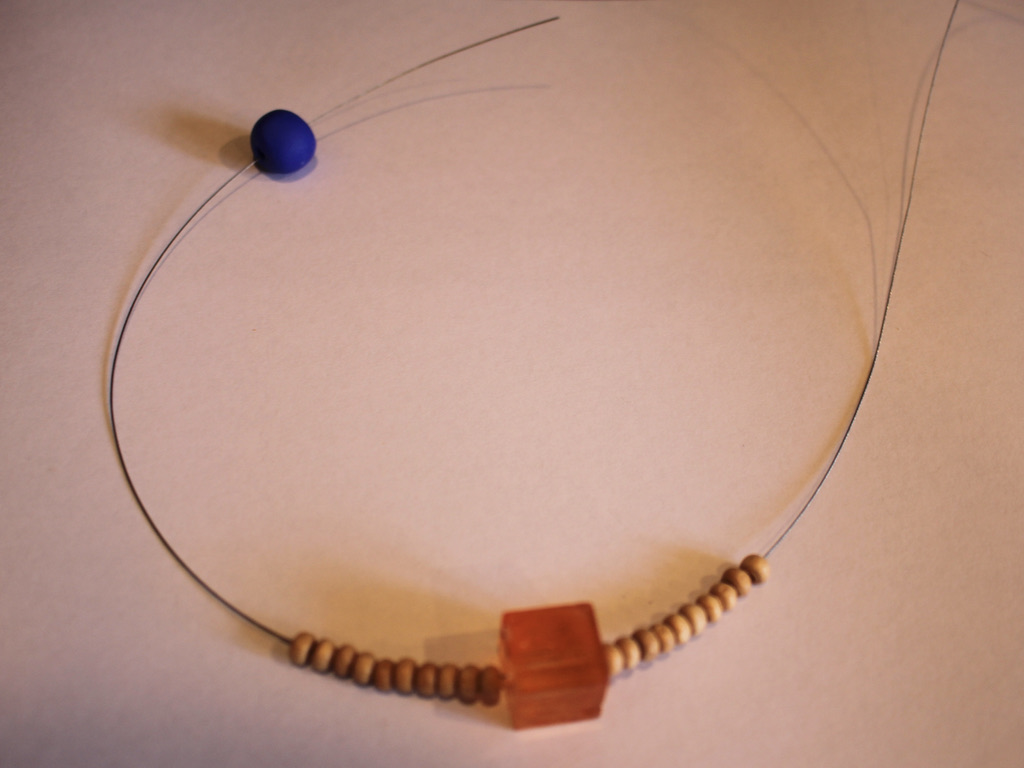
4: Thread the other side of the wire through the polymer clay bead to create a loop.


5: Add another four beads to each end of the wire.

6: Add the crimp cover to the two wires held together.
7: Keeping the crimp cover open, add a crimp bead to the wire.
8: Squash the crimp bead using flat nose pliers.

9: Trim the excess wire.


10: Squash the crimp cover around the crimp bead using the flat nose pliers.

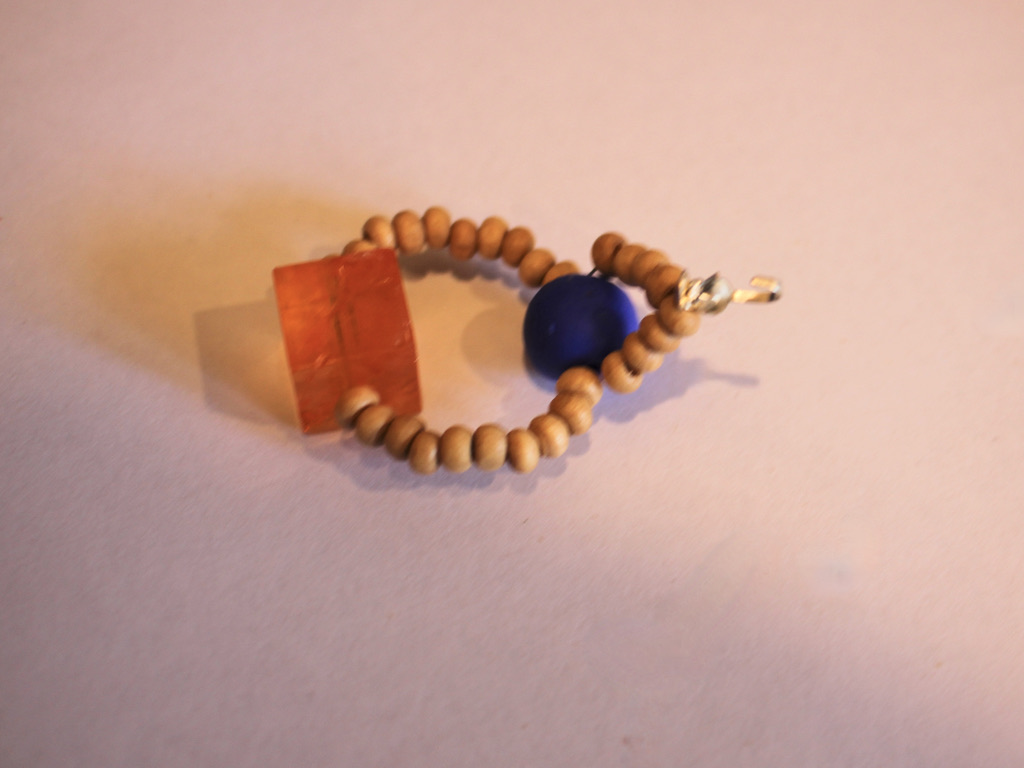
11: Use the wire at the end of the crimp cover to create a loop, thread on an earring hook and close it to secure the earring to the beaded design.
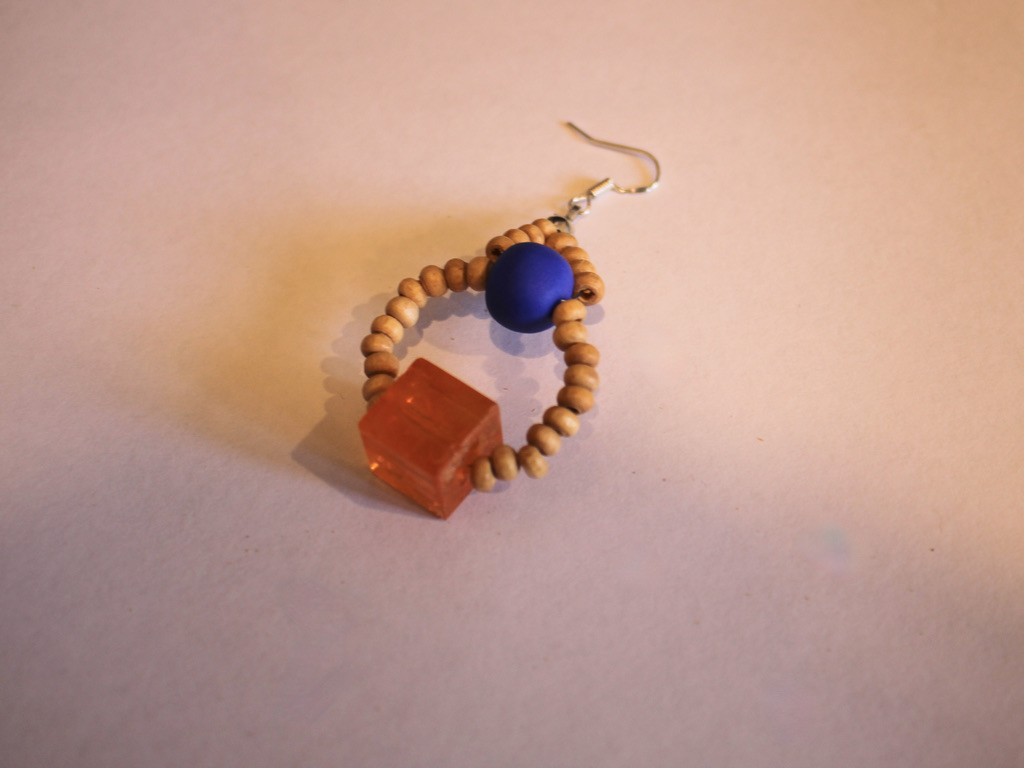
12: Repeat steps 1-11 for the second earring.
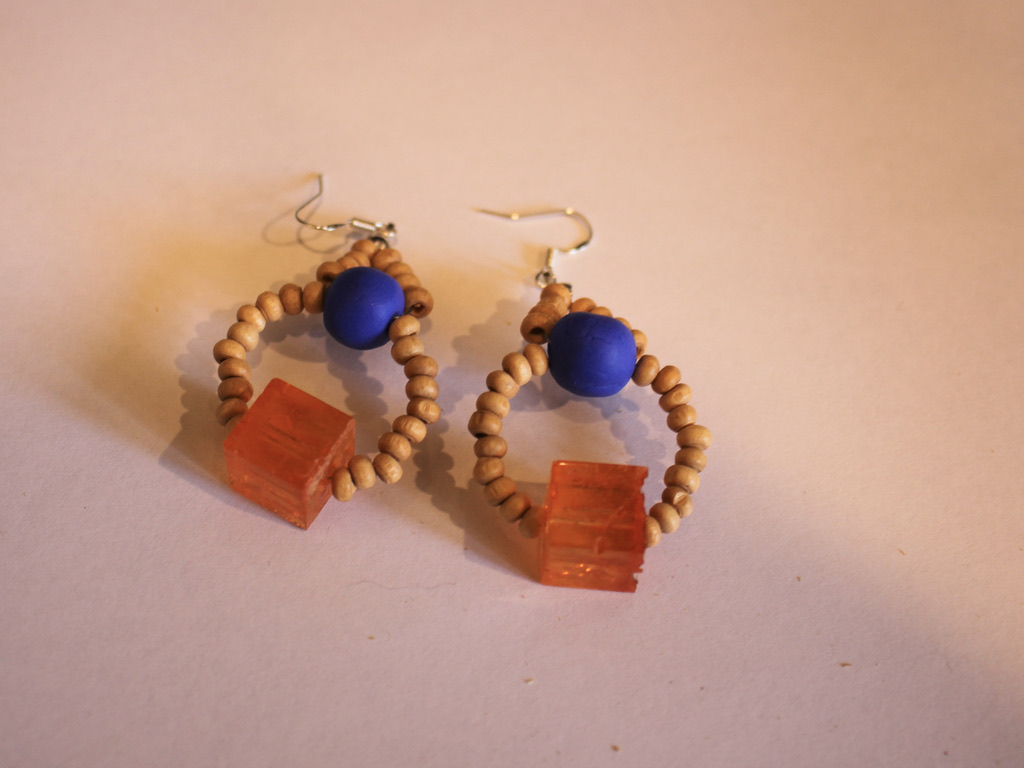
Now your beaded statement earrings are complete and ready to wear!


-
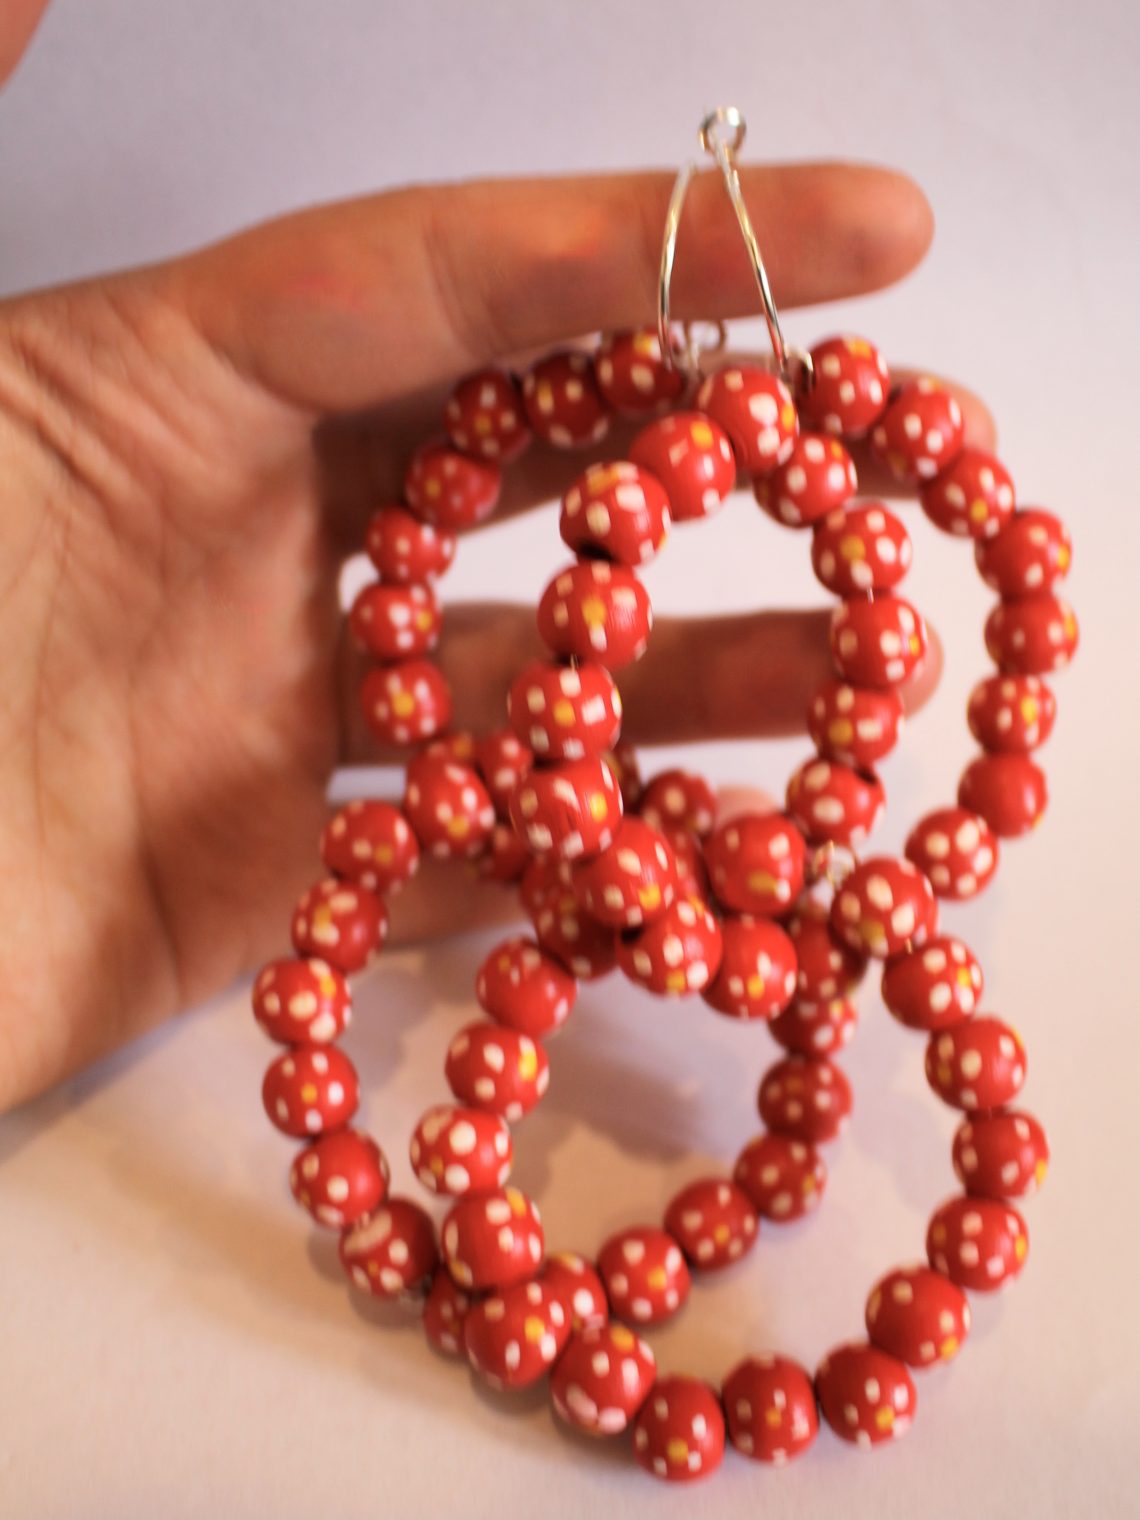
Here’s how to make some fun earrings… these mega hoops are super cute!
I think these earrings are pretty fun! You make some beaded mega hoops, link them together, and then thread them onto some hoop findings for a funky statement look. These earrings are such a statement they’ll add some fun to your next zoom outfit or real life party! please note that this tutorial contains affiliate links.
You’ll need these tools and materials to make your mega hoops:
1: Pliers. I used round nose pliers and cutting pliers.


2: Bracelet sized memory wire cut into four pieces.

3: Beads. I used these red painted wooden beads.

4: Two earring hoop findings. these ones have lever backs so they stay on securely.

Follow these steps to make your mega hoop earrings:
1: Take one of the pieces of memory wire and create a loop at one end using the round nose pliers.


2: Add beads to the wire until you’ve got about 1cm left of the wire without beads.


3: Loop the other end of the wire using the round nose pliers but don’t close the loop.

4:Thread the open loop through the first loop you made and then close it. This will secure the beads onto the wire and create a circle shape.


5: Repeat steps 1-3, before you attach the end loops together, thread the new circle through the first one.

6: Close the second beaded circle and set it aside.

7: Repeat steps 1-6 for the second set of hoops.


8: Add each of the beaded hoops you just made to each of the hoop earring findings.


Now your fun mega hoop statement earrings are ready to wear! So fun and eye catching!
Click here to find some other fun earring tutorials to make at home!
-
I really love this design! Make your own gemstone arch earrings.
These arch earrings are really really cool! You make them by hammering some pretty wire and add your fave gemstones to make your own version. I used some cute pink rhodonite gemstone chip beads, what kind of beads will you use? This tutorial contains affiliate links.
Here are the tools and materials I used to make my gemstone arch earrings:
1: Pliers. I used cutting pliers for this design. I also used flat nose and round nose pliers on the jump rings.
2: Two pieces of wire. I used some gold-filled wire, approximately 8cm long.

3: A file or sandpaper for getting rid of the rough edges of the wire.

4: A hammering block.

5: A hammer. I used a normal hammer but a jewelry specific hammer might be better ;).

6: Earring findings. I used these gold-tone stud earrings.

7: Two jump rings.

8: Beads. As mentioned before, I used eight rhodonite gemstone chip beads.

9: Something round to bend your wires around. I used a permanent marker.

Follow these steps to make your own wire arch earrings:
1: Hammer one end of each of the wires. Hammer on the steel block and hit the wire on both sides so that it becomes wide and flat.


2: Add four beads to each of the wires.
3: Push the beads to the hammered ends of the wires.

4: Hammer the other end of the wires the same way as you did in step 1. Make sure you make the wires wide enough so that your beads don’t slip off.

5: File or sandpaper the ends of the hammered wires so that they aren’t sharp.
6: Take your wires, find the mid point and bend them around the permanent marker to form an arch shape.


7: Add the earrings to each of the arches using the jump rings.


Now your arch earrings are finished!


Here’s another pair I made with some round gemstone beads.

Here’s a pendant version with thicker wire and glass beads.

This tutorial contains affiliate links.
-
Bohemian Hoop Earrings for Summer… Here’s the tutorial!

Do you rock linen all summer long and want your accessories to match your summer vibe? Here’s the tutorial for you, ribbon wrapped hoops with dangling charms!
You will need the following tools and materials to make your wrapped earrings:
1: Ribbon. I used some beige cotton ribbon.

2: Scissors for cutting the ribbon to length.

3: Two shells with holes in them. I used these shells that I collected myself a while ago.

4: Superglue.
5: Two hoop earrings. I used these small silver hoops with lever backs.

Follow these steps to make your boho wrapped hoop earrings:
1: Add some superglue to one side of the earring and attach the ribbon.

2: Wrap the ribbon tightly around the hoop so that it is fully covered (leave the earring post exposed).

3: Trim the end of the ribbon.

4: Add glue to the other end of the earring to secure the ribbon end in place.

5: Repeat steps 1-4 for the second earring.

6: Add the shells to each earring to finish them off!


Here’s some inspiration for you, some other pairs I made with satin ribbon.


Note: This article contains affiliate links
-
This video shows you how to make some fluttering silk earrings!
Check out this vid for all the tools, materials and steps you need to make a cute pair of earrings using silk. I made mine out of some silk recycled from a dress that I altered. If you have some old fabric or old worn out clothes this tutorial is one way that you can recycle those materials
Here are some affiliate links so you can buy some of the materials to make these silk earrings:
1: Eye pins
2: Wooden beads
3: Glass beads
4: Earring hooks
5: Crimp ends
Here are the finished earrings, what colours will you feature in your version of this cool DIY?


-
Rose Quartz Earrings… Perfect for Valentine’s Day.
These rose quartz earrings are simple but lovely and as rose quartz is the stone of love, they’ll be the perfect accessory to wear during the season for celebrating love! This tutorial contains affiliate links.
You will need the following tools and materials to make your rose quartz earrings:
1: Pliers. You’ll need your round nose pliers and flat nose pliers to make your earrings.
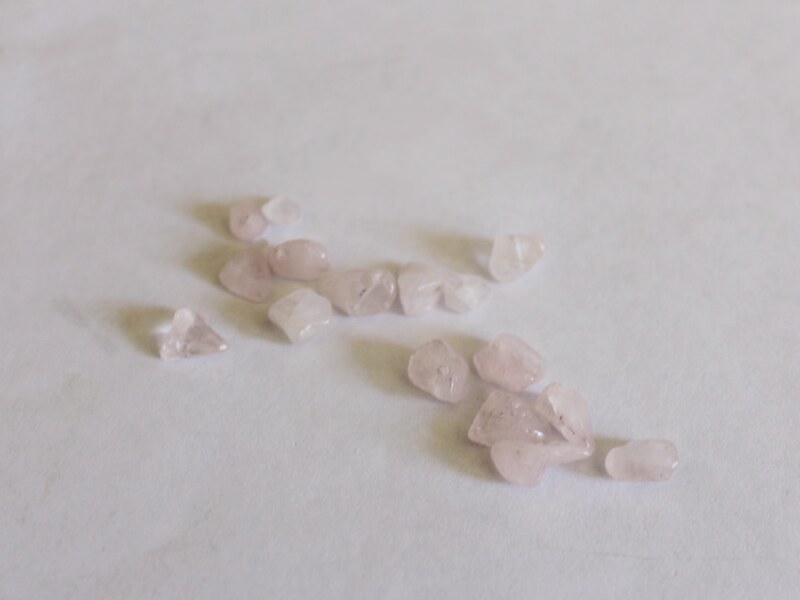
2: 16 rose quartz chip beads.
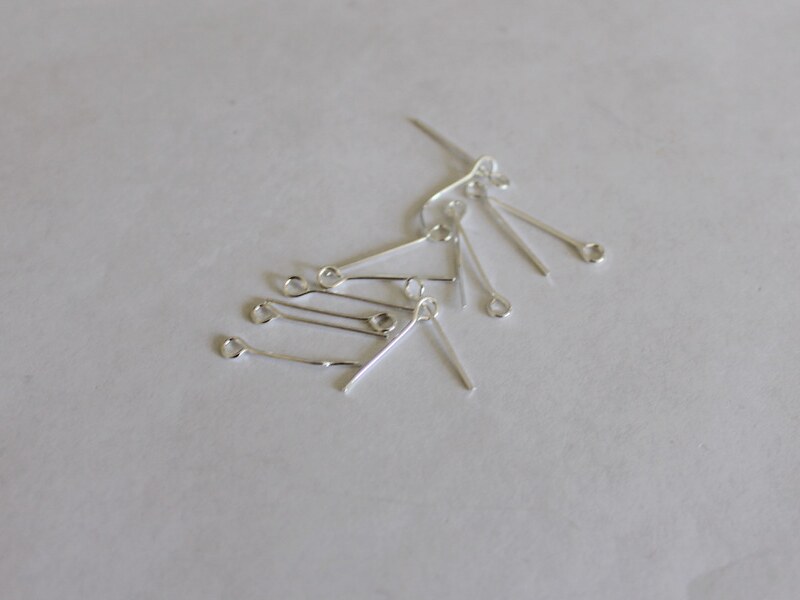
3: 14 short eye pins.
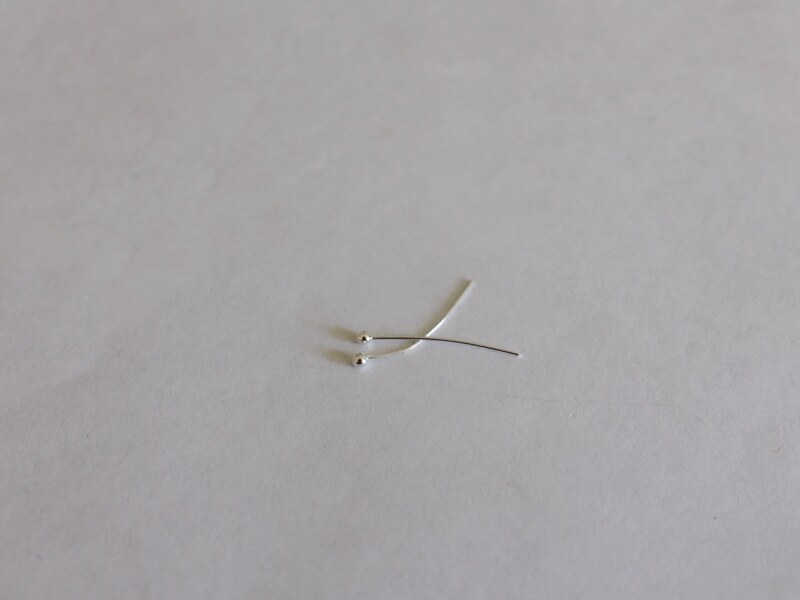
4: Two head pins.
5: Two earring hooks.
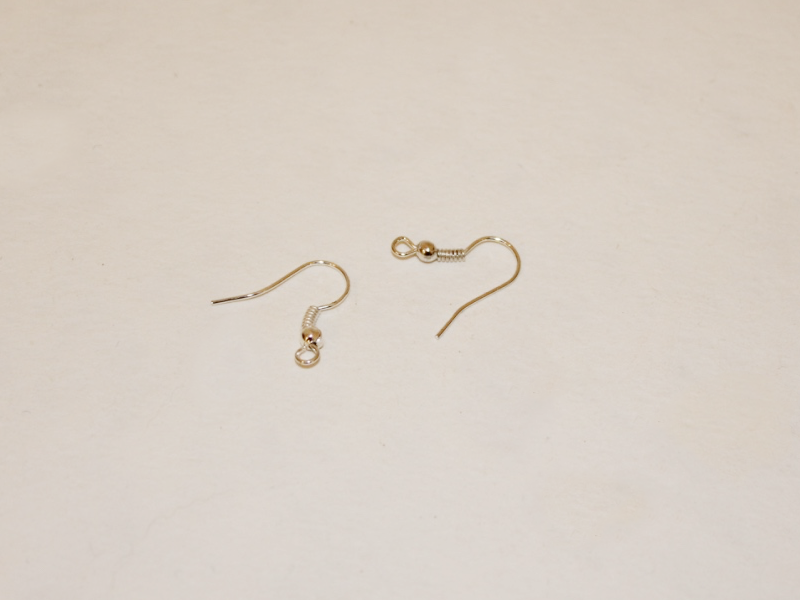
Follow these steps to make your romantic rose quartz earrings:
1: Add two of the beads to the head pins.
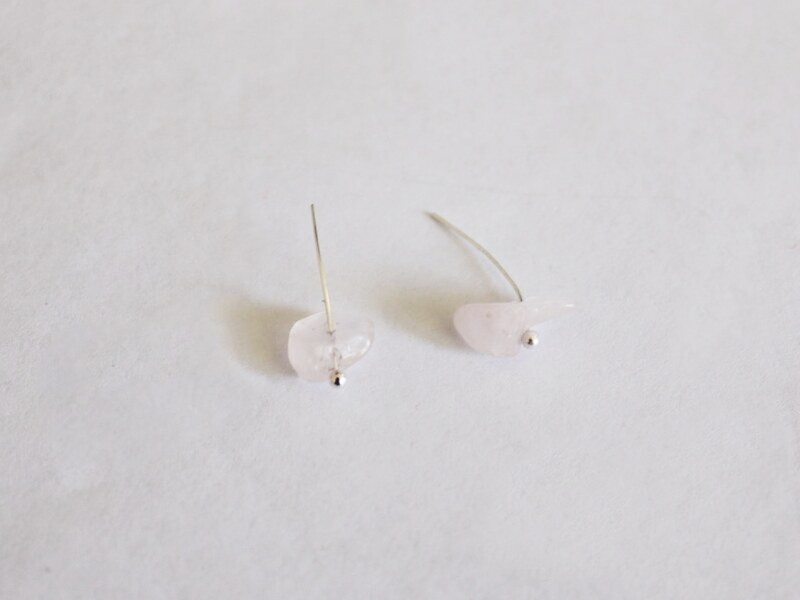
2: Create loops at the top of each pin using the round nose pliers to secure the beads in place.

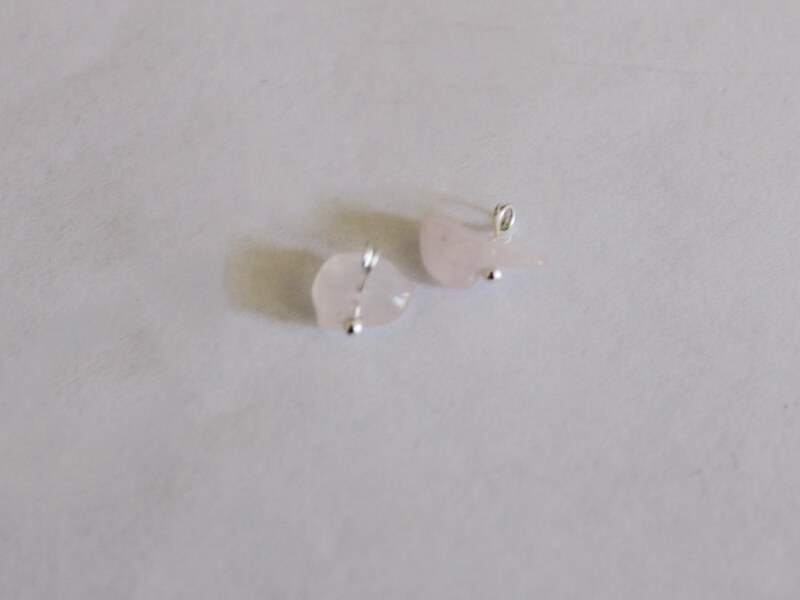
3: Put the rest of the beads on to the eye pins.
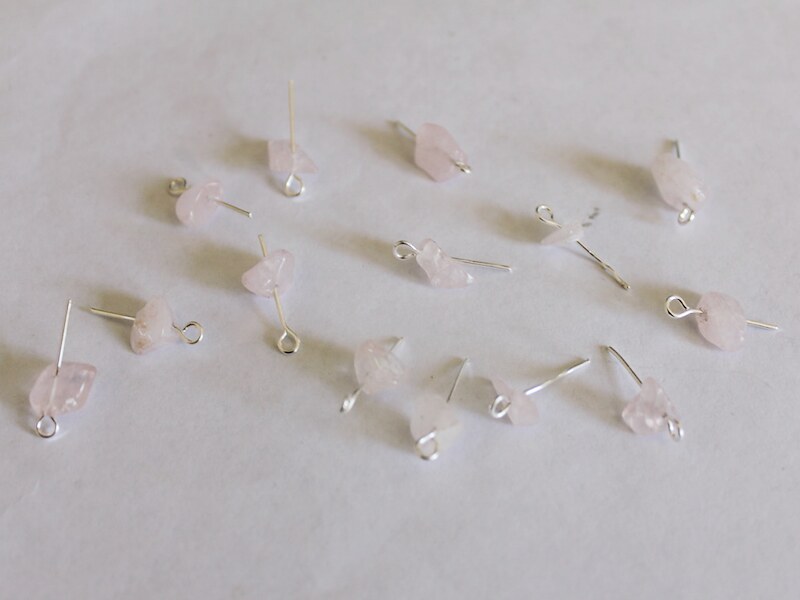
4: create loops at the end of each pin to secure the beads in place.

5: Start forming a chain by attaching one of the end beads (the ones on the head pins) to the eye pin charms. Continue attaching beads until you have a chain with eight beads on it.
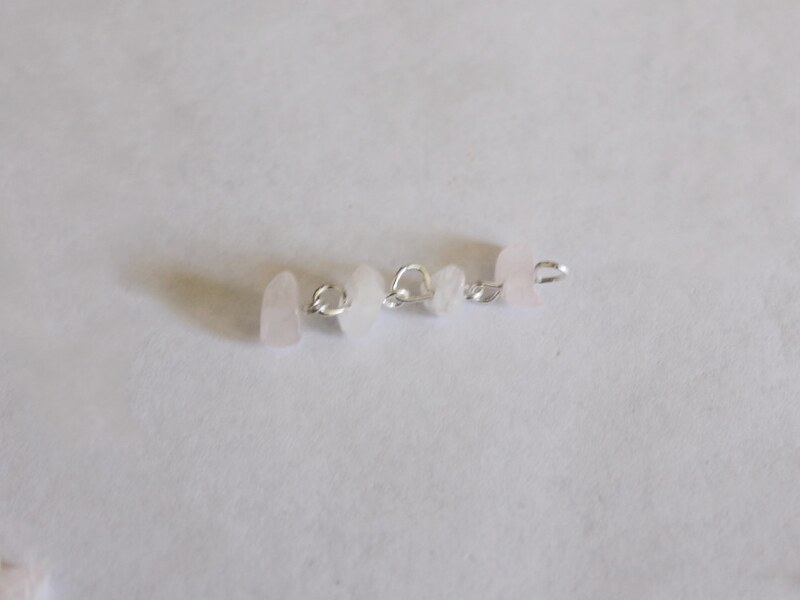
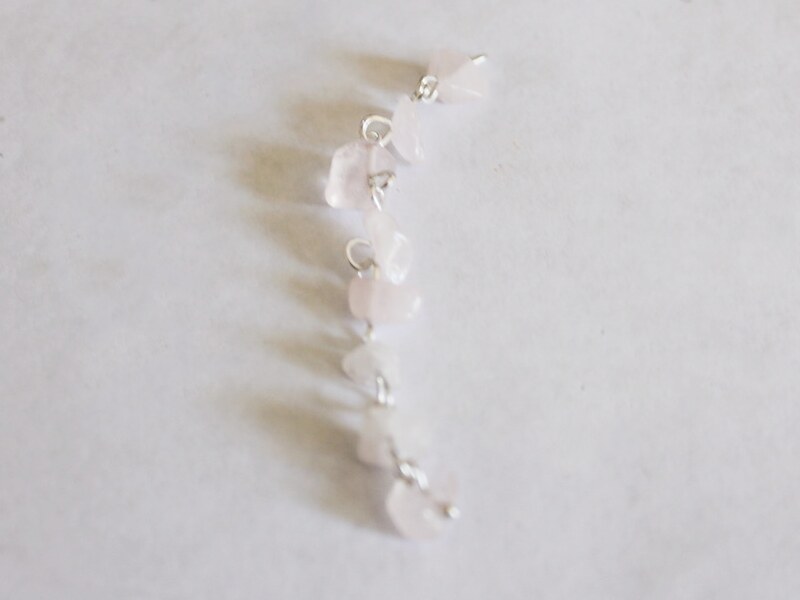
6: Repeat this for the other earrings using the remaining bead charms.

7: Add an earring hook to the top of each chain to finish your earrings.
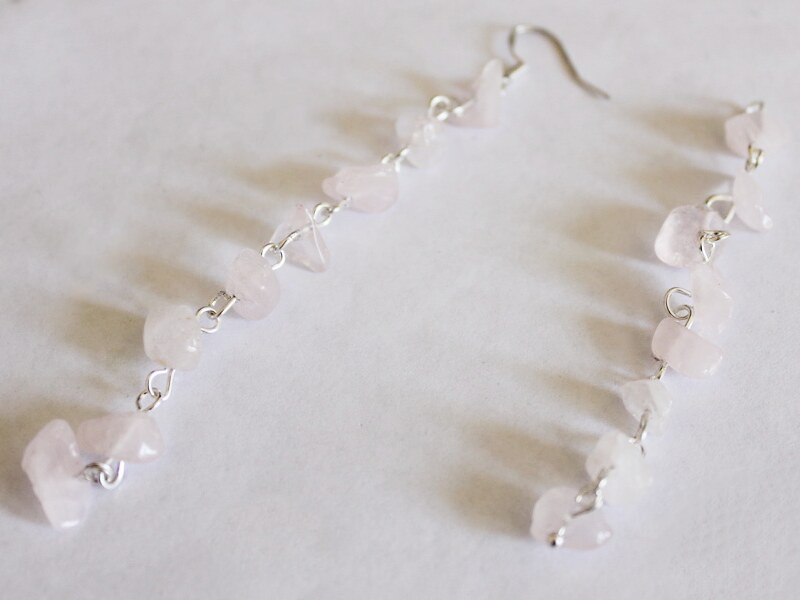
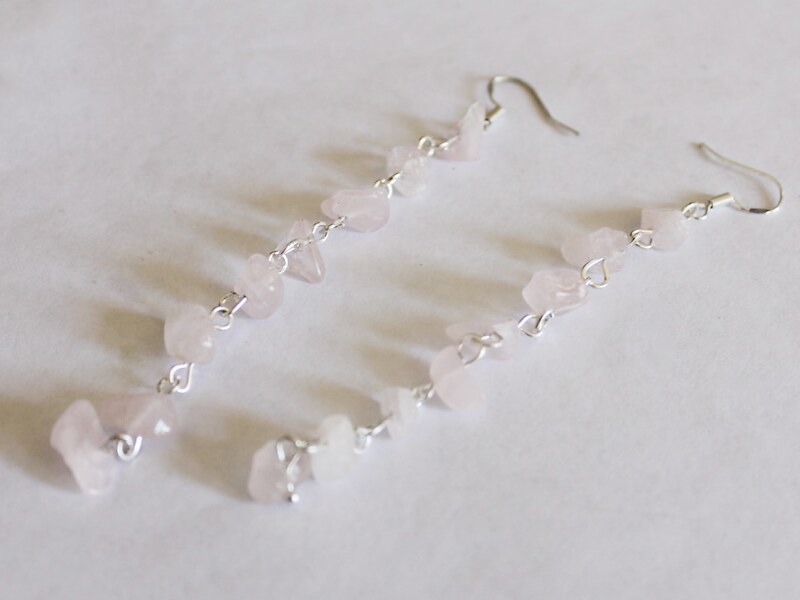
Now they’re ready to wear! Perfect for a friend date, or a romantic one!
-
If you had a secret diary this lock and key tutorial is perfect for you!
For some reason I had a lock and key from my childhood diary lying around, so I decided to turn it into something nostalgic and wearable! This tutorial contains affiliate links.

You will need the following tools and materials to make your lock and key jewelry set:
1: Pliers. You will need your flat nose pliers and round nose pliers.
2: Two small pieces of chain.

3: One long piece of chain long enough to form a necklace.

4: Six jump rings.

5: A lobster clasp.

6: Two charm connector earrings.

7: Two keys and a lock. I used these ones from an old lockable diary.


Follow these steps to make your lock and key jewelry set:
1: Add a key to the end of each small piece of chain, securing them using two of the jump rings.


2: Add an earring finding to the top of the small pieces of chain using another two jump rings.


3: Now your earrings are finished, set them aside and start on the necklace!
4: Add the lock to the long piece of chain.

5: Add a jump ring to one side of the chain.
6: Add the lobster clasp to the open jump ring and close the ring to secure the clasp in place.

7: Add the other jump ring to the other side of the necklace chain to finish the necklace.
Now your lock and key set is finished and ready to wear! So cute!
-
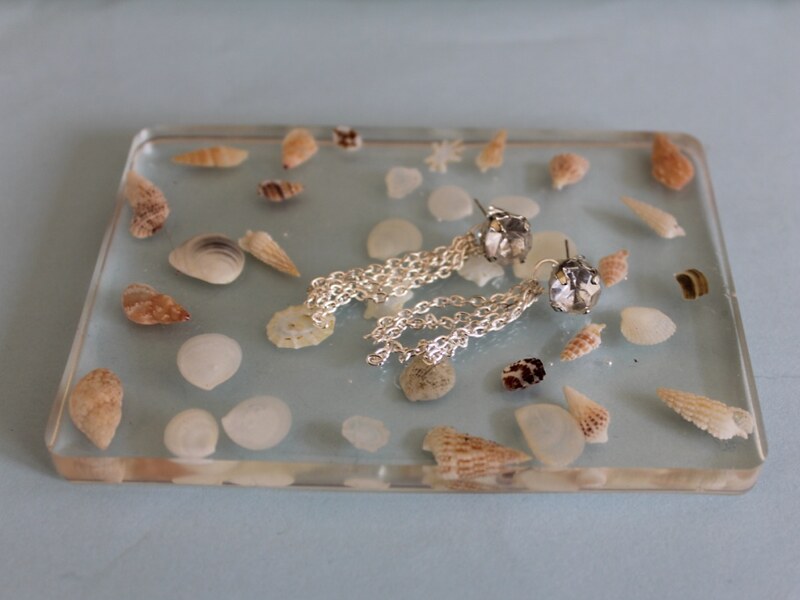
It’s hard to beat rhinestones when it comes to party earrings! Make these beauties today!
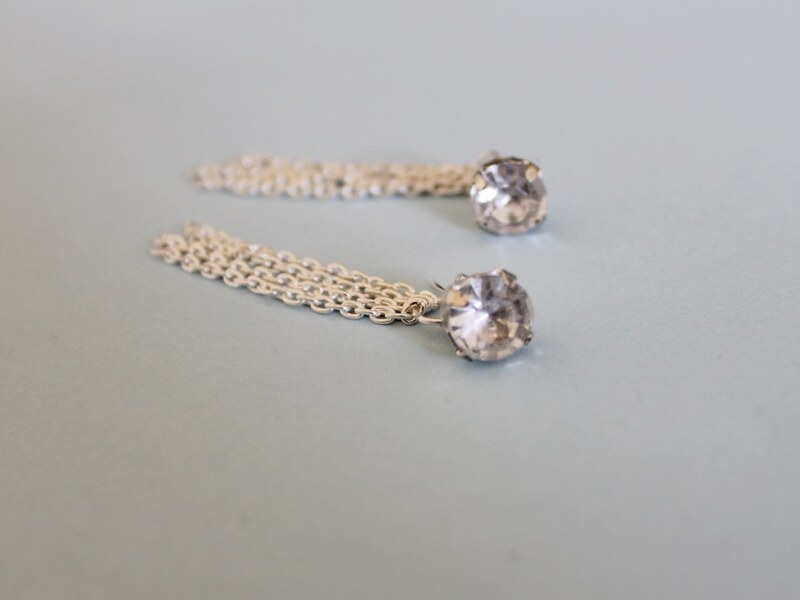
These rhinestone earrings with fun flirty chain ear jackets are super fun to wear on a night out!
You will need the following tools and materials to make your earrings:
1: Pliers. You will need your round nose and flat nose pliers.
2: Araldite glue.

3: A skewer.

4: A scrap piece of paper.

5: Two rhinestones.

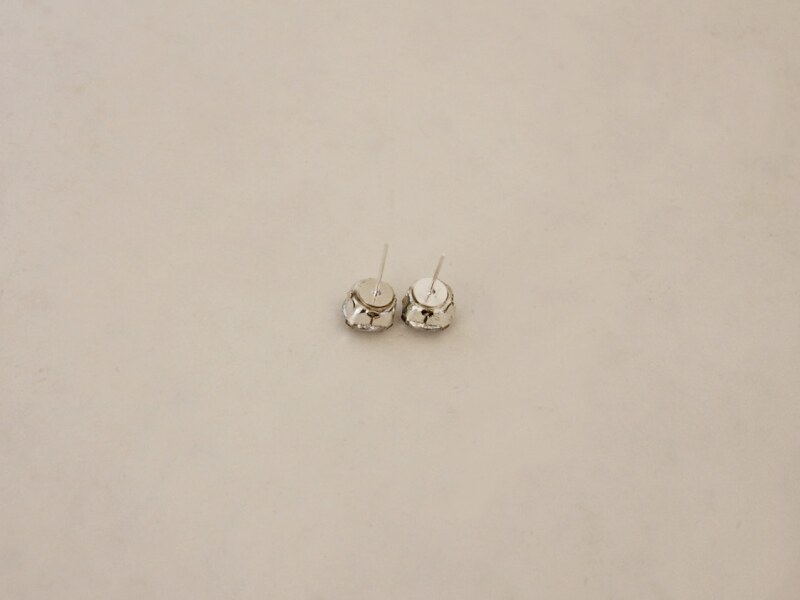
6: Two flat bed earring posts.

7: Two butterfly earring backs.

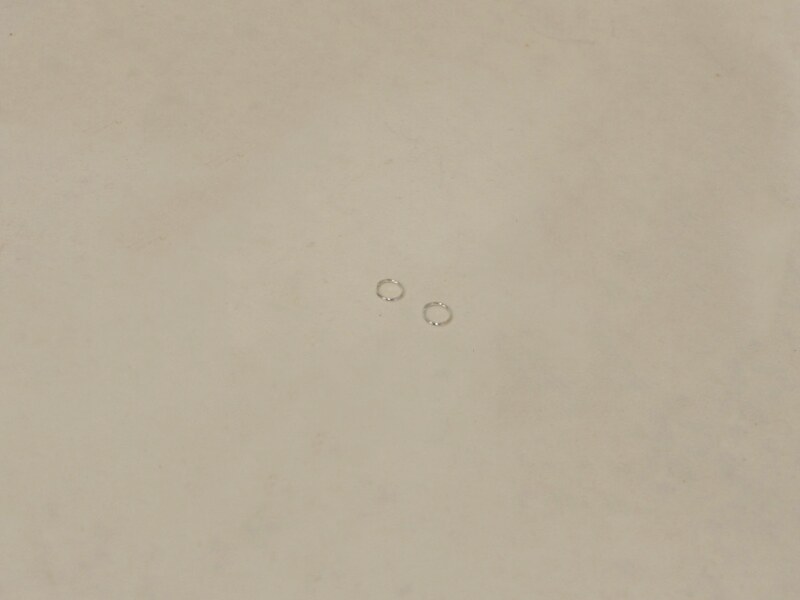
8: Two jump rings.
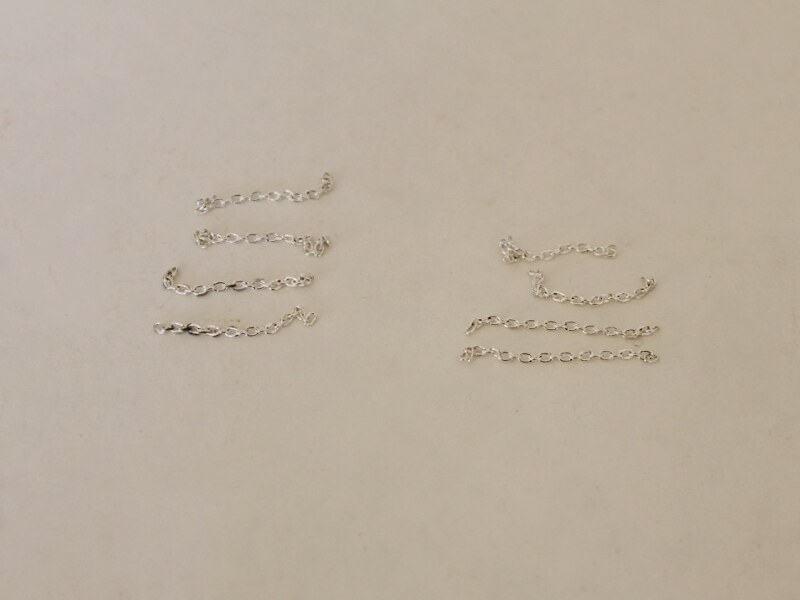
9: Eight small pieces of chain.
Follow these steps to make your earrings:
1: Squeeze out the Araldite glue onto the scrap paper in equal parts.


2: Mix the glue using the skewer.

3: Add the glue to the backs of each of the rhinestones and apply the earring posts.
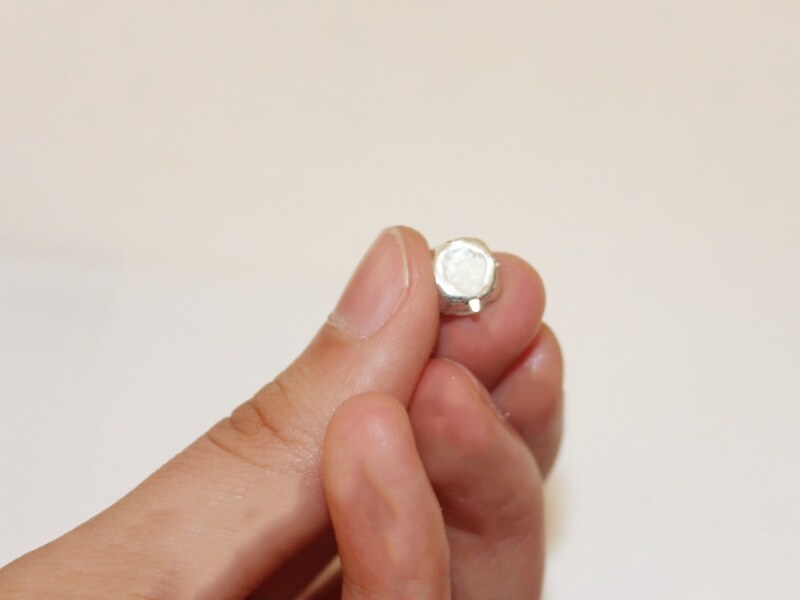

4: Leave the earrings to dry while you make the ear jackets.
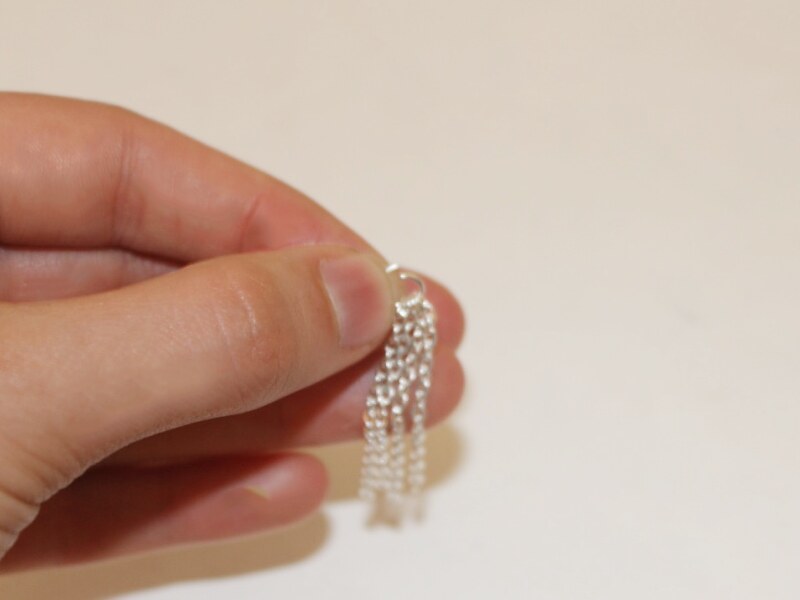
5: Open one of the jump rings and add four pieces of chain.
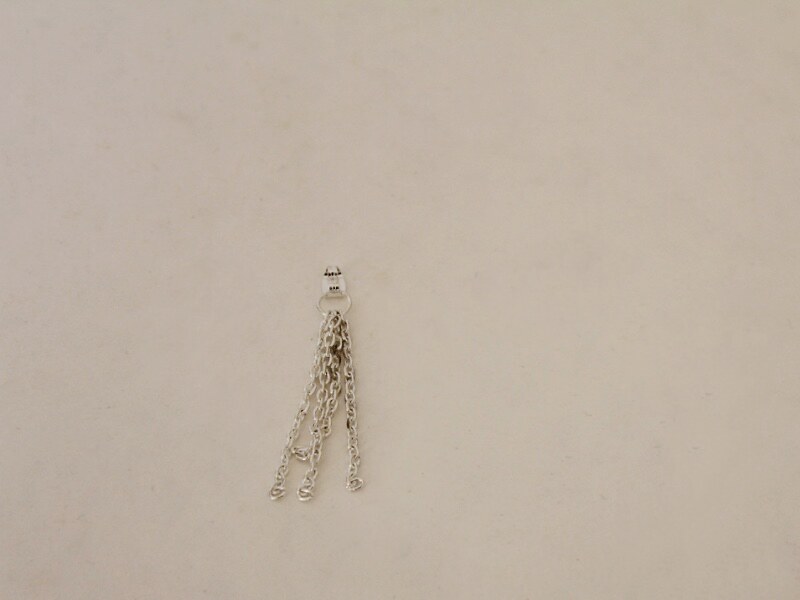
6: Slide the open jump ring onto the butterfly earring back and close it to secure the chains in place.

7: Repeat steps 5 and 6 for the remaining jump ring and last four chains.
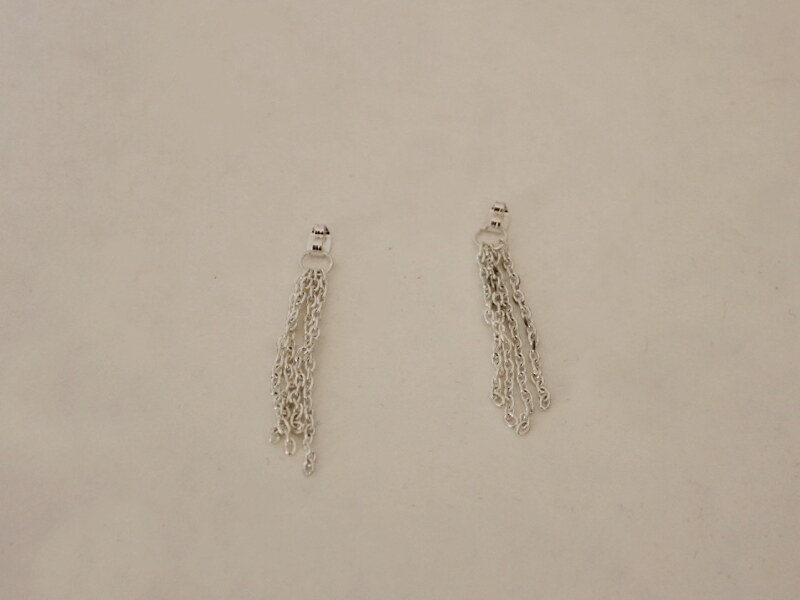
Once your earrings are dry, add the butterfly backs to each of them to complete the look! Pop them on for a fun and flirty evening look.