-
Here’s how to make a cool adjustable leather bracelet with gemstone beads on it.
This is so cool! No metal fixings required. All you need are some great gemstone beads and some leather cord. I love this because it is adjustable so it can fit different sized wrists. It could even double as an anklet!
Please note that this tutorial contains affiliate links for which we may receive a commission.
You’ll need the following tools and materials to make your bracelet:
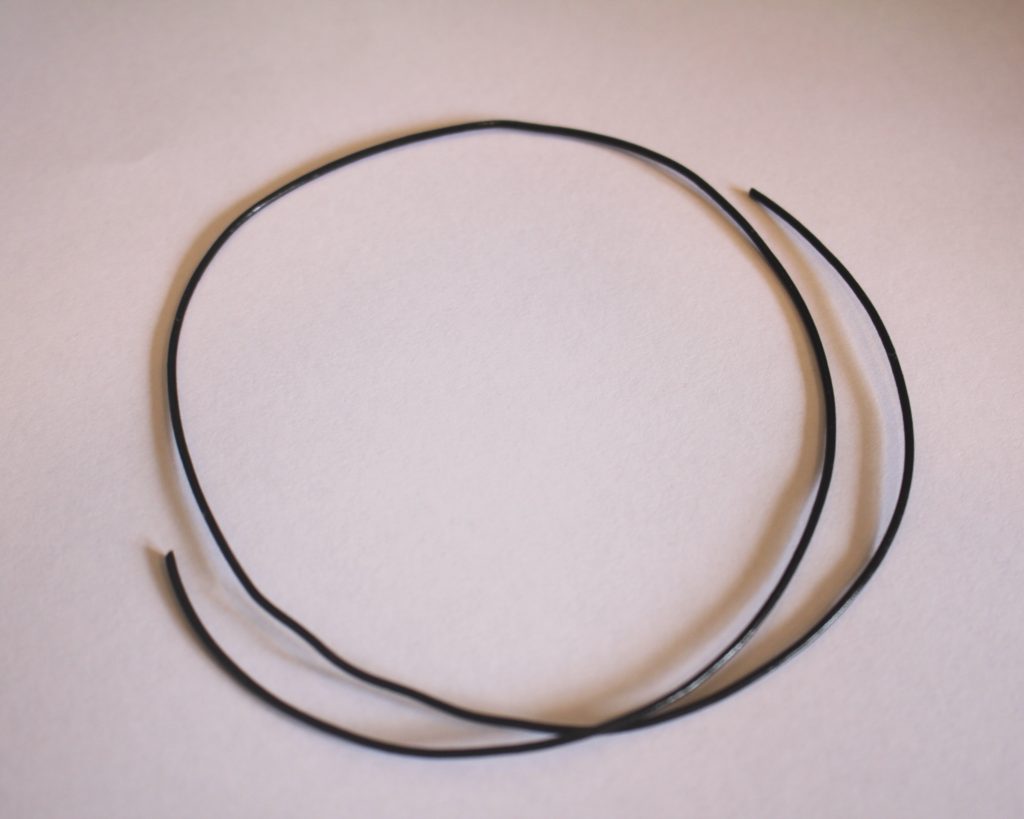
1: A length of 1.2mm thick leather cord. Approx 2.5x the length required to fit around your wrist.
You can get some here:
2: Some cutting pliers or scissors for cutting the cord.

You can get a pair here:
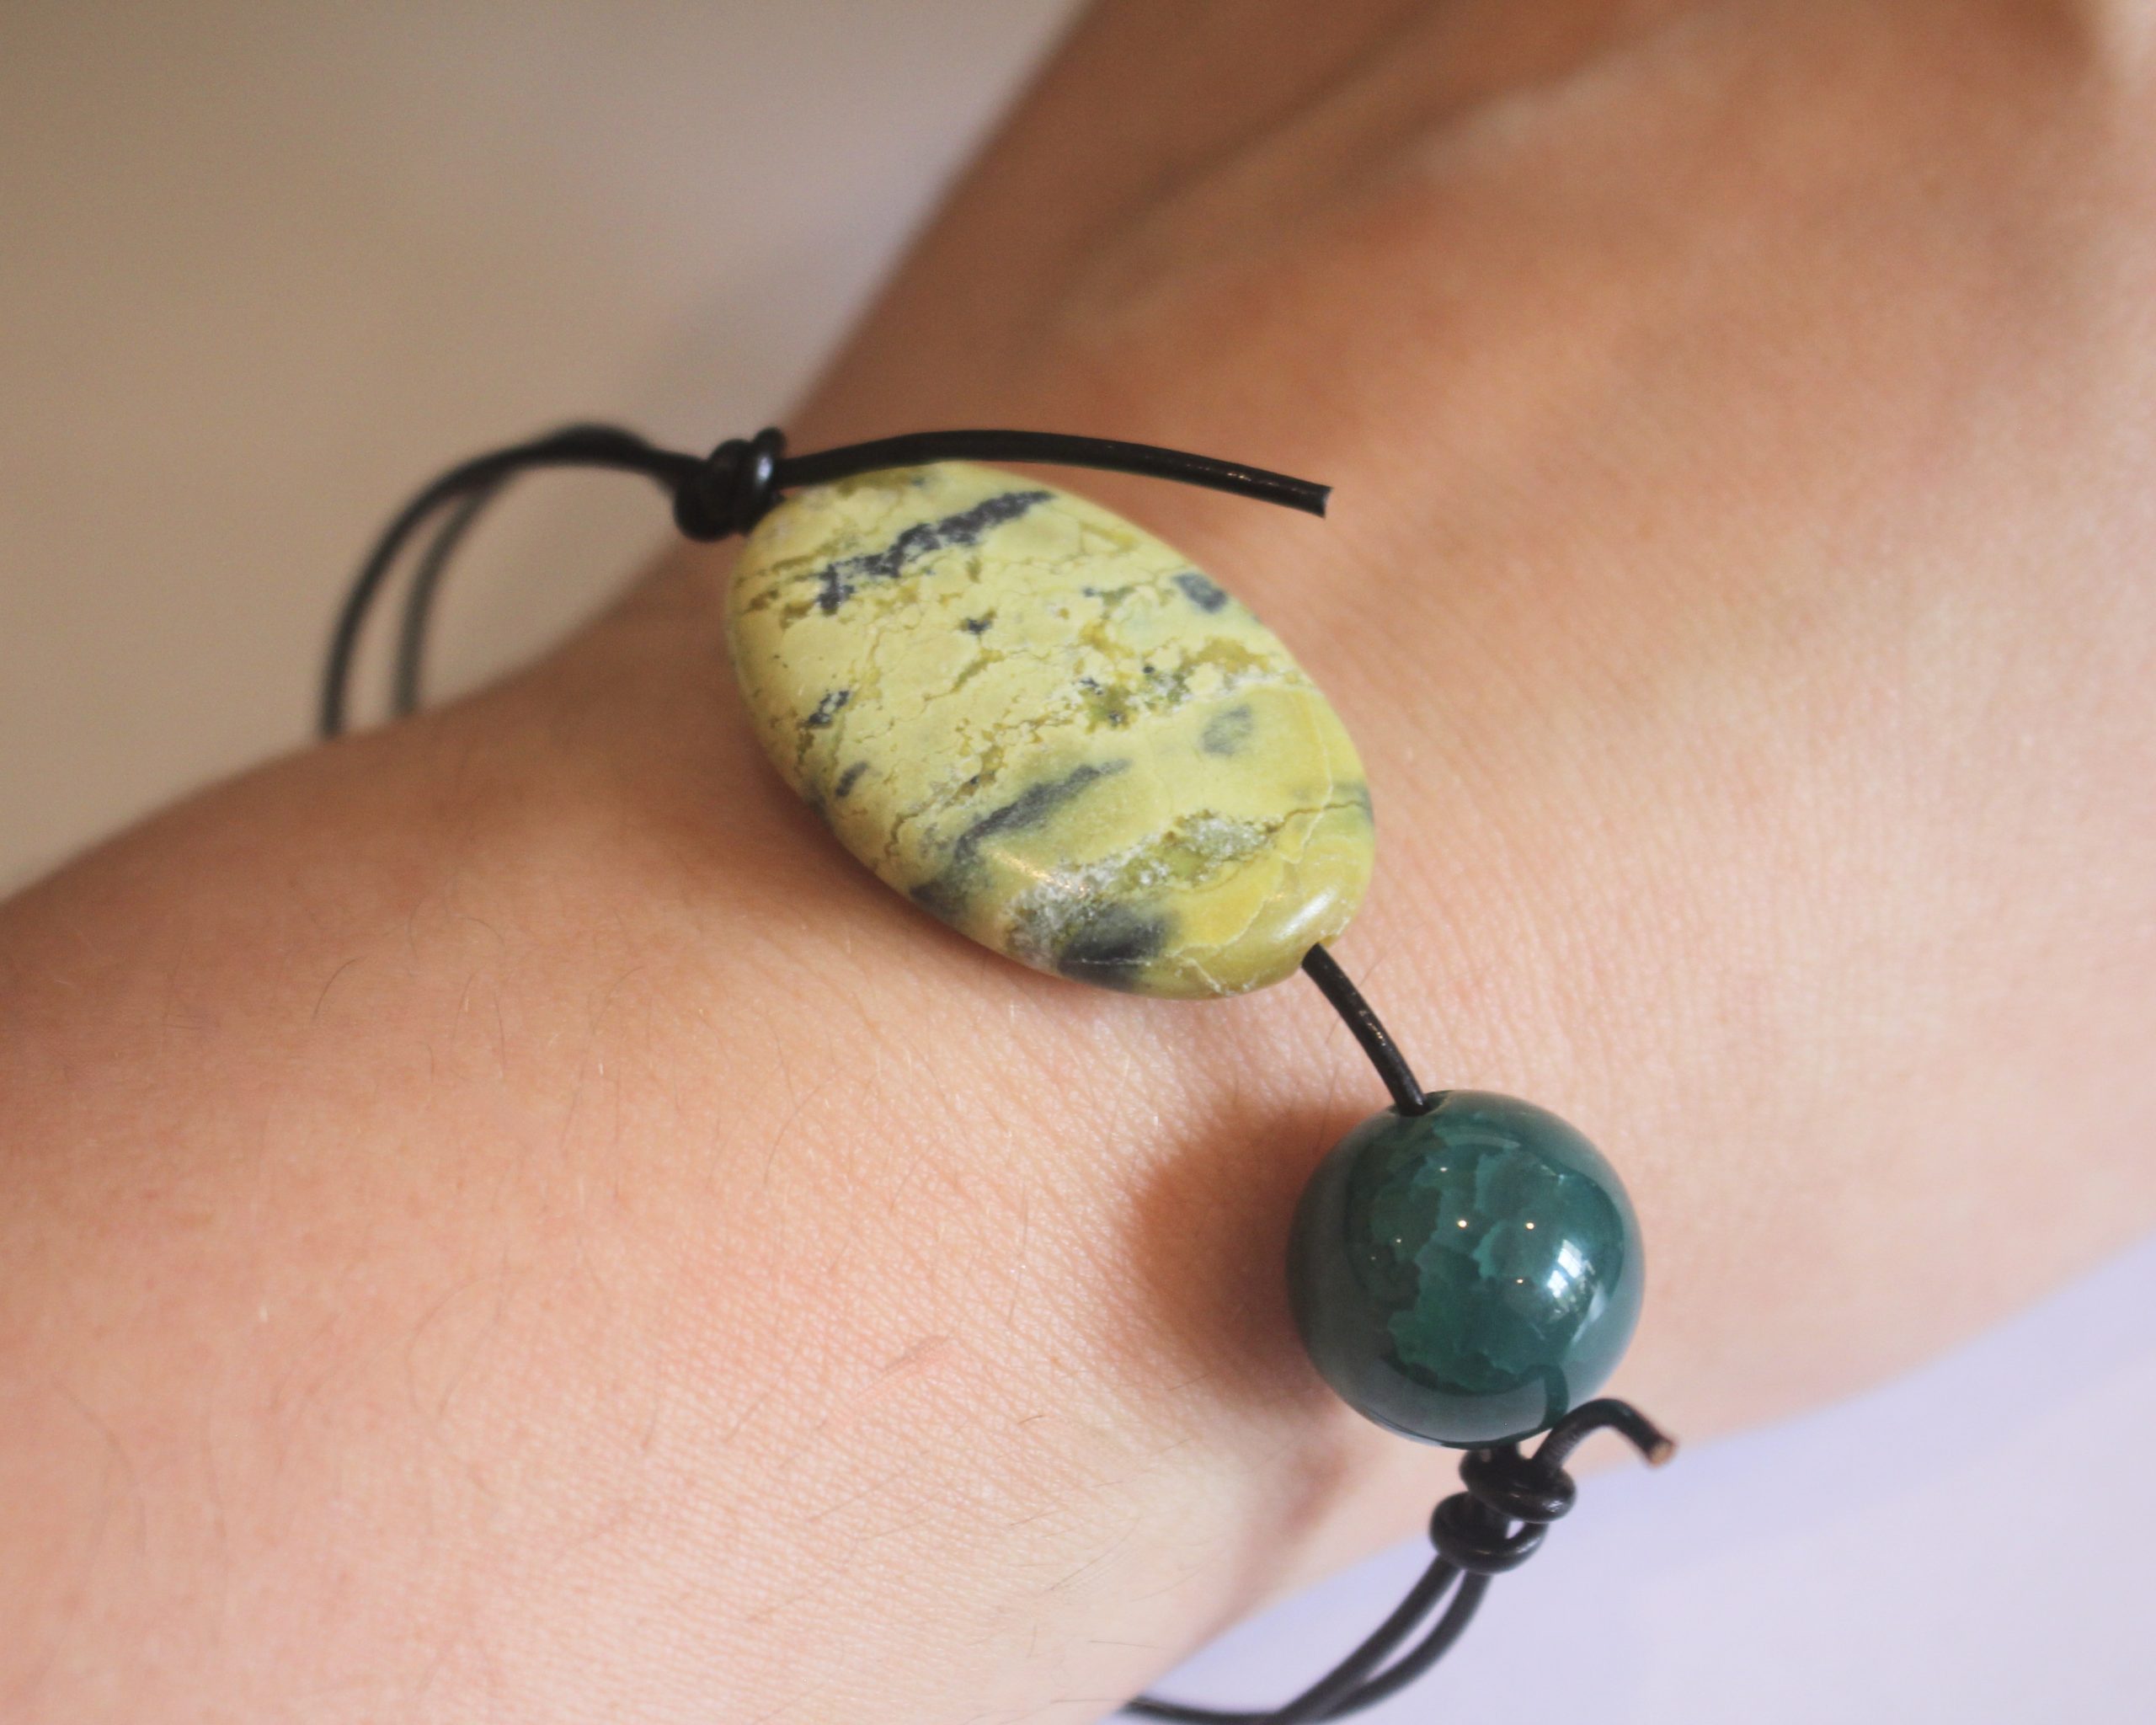
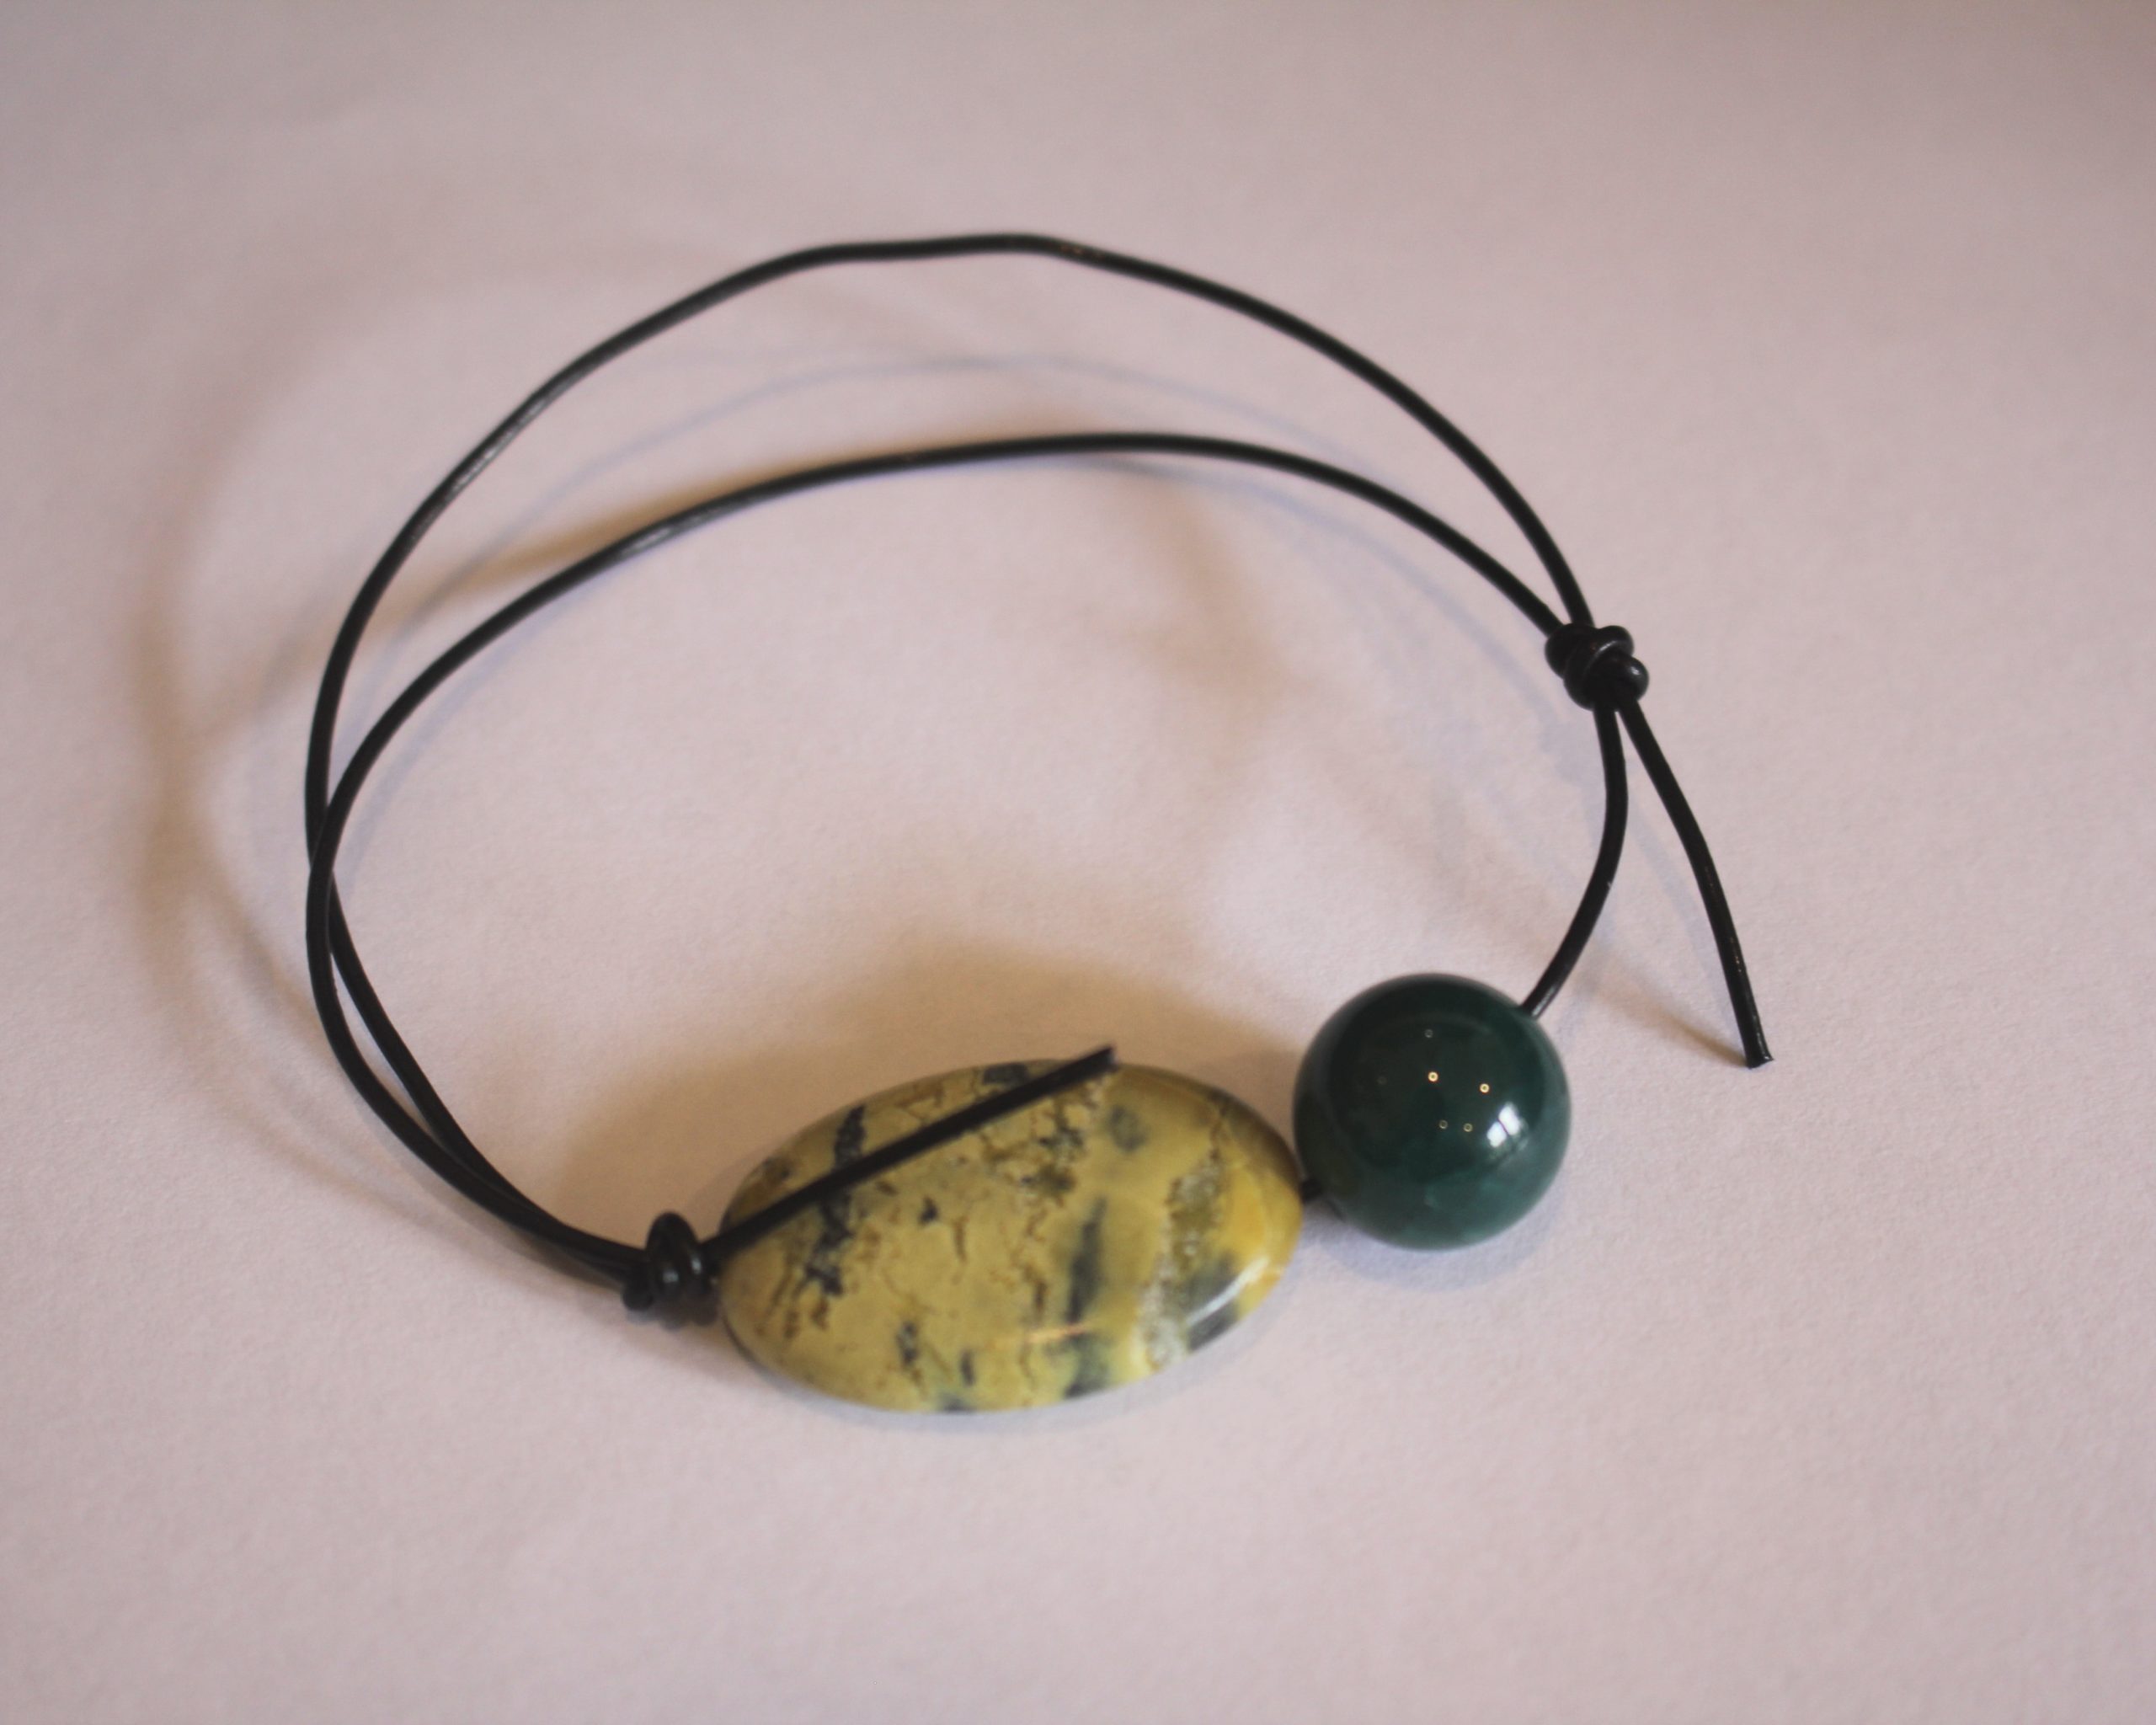
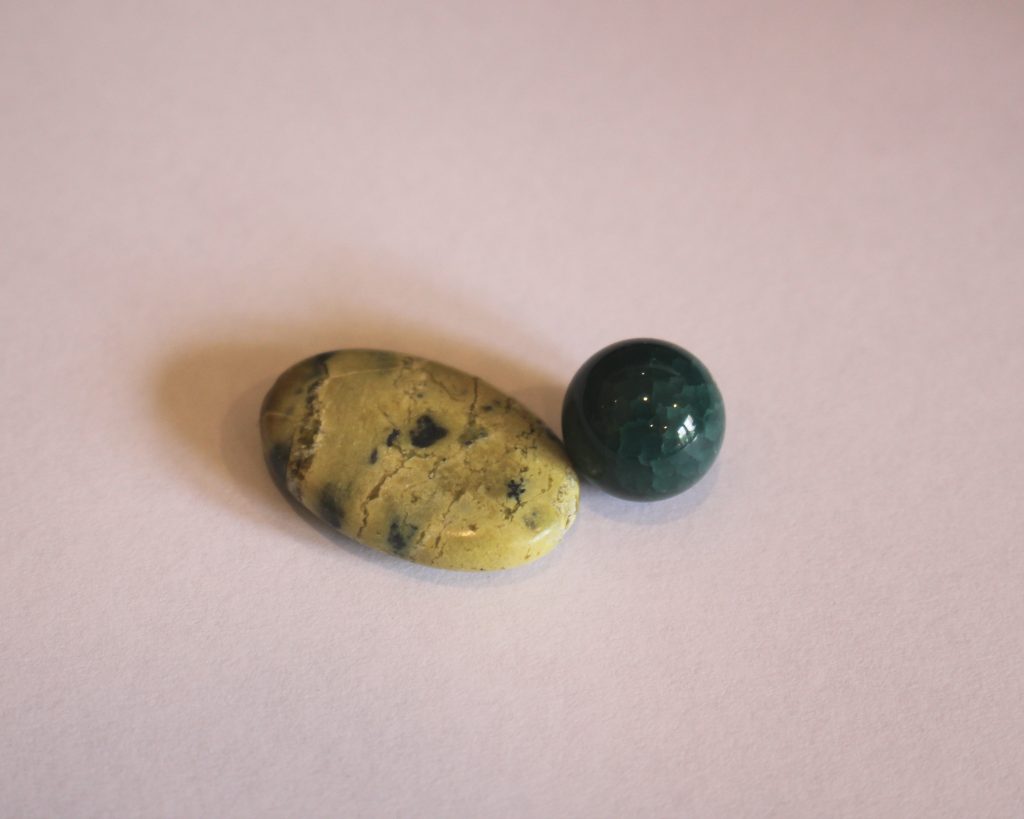
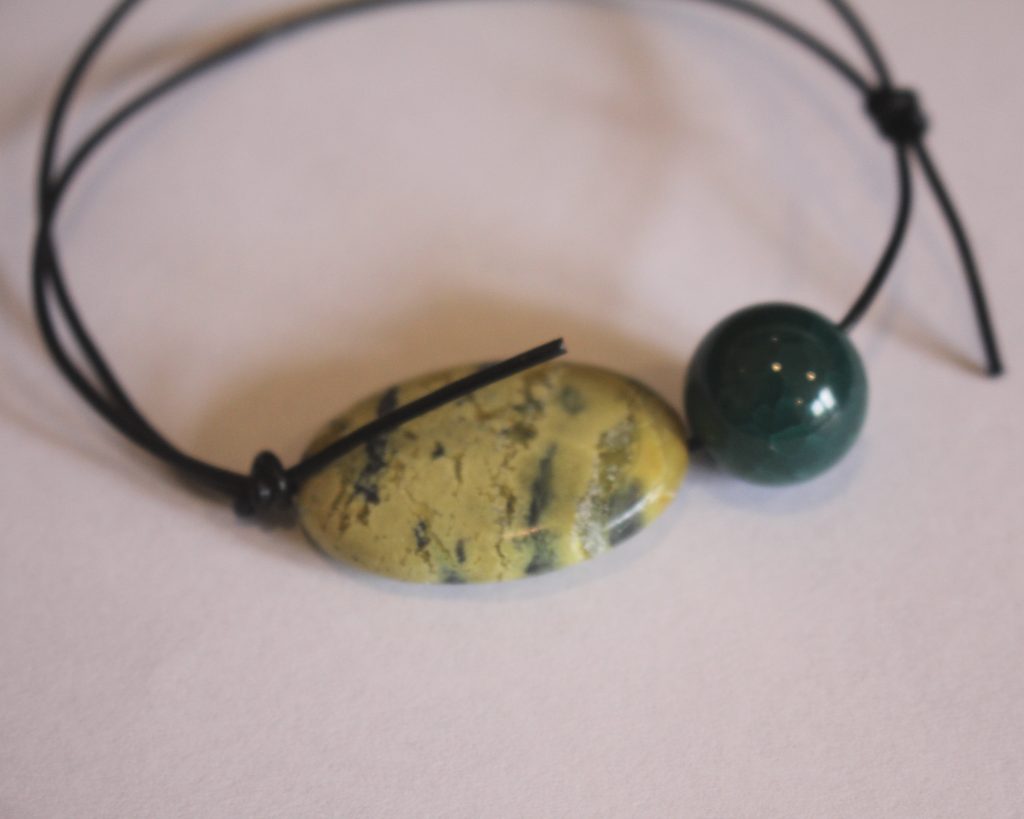
3: Beads with holes big enough to fit on your cord. I used a flat oval jasper bead and a round green agate bead.
You can get some similar beads here:
Green agate beads:
Green jasper beads:
Follow these steps to make your bracelet:
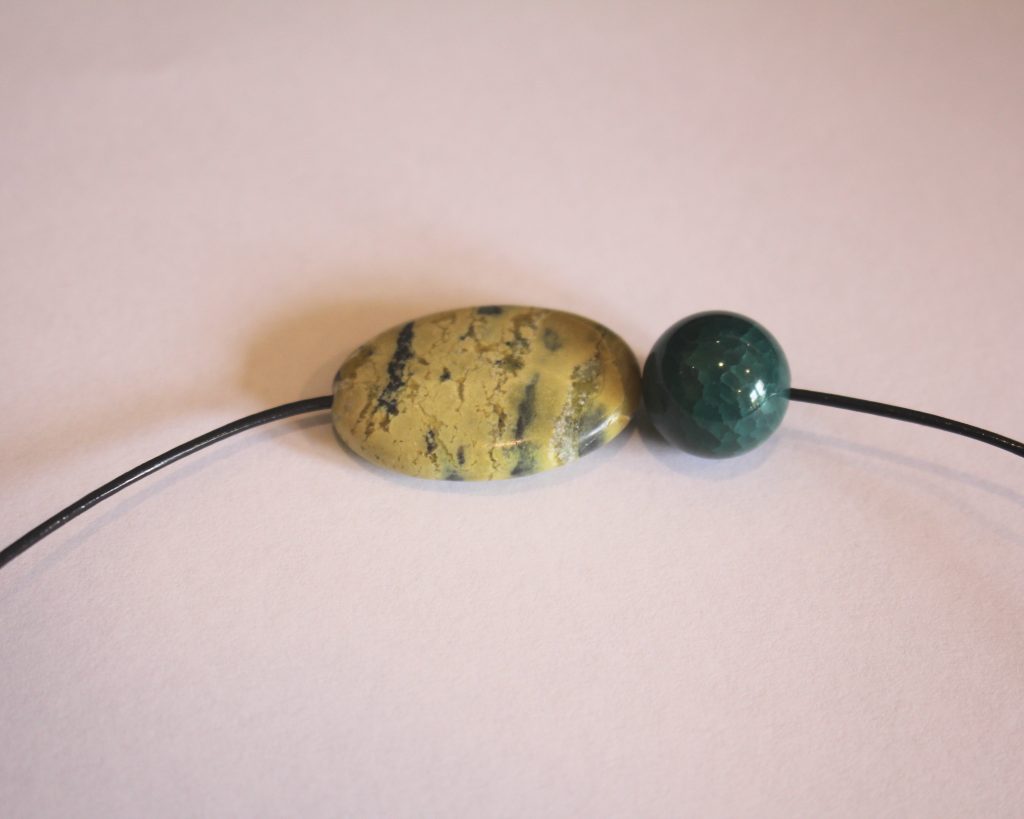
1: Add the beads to the cord.
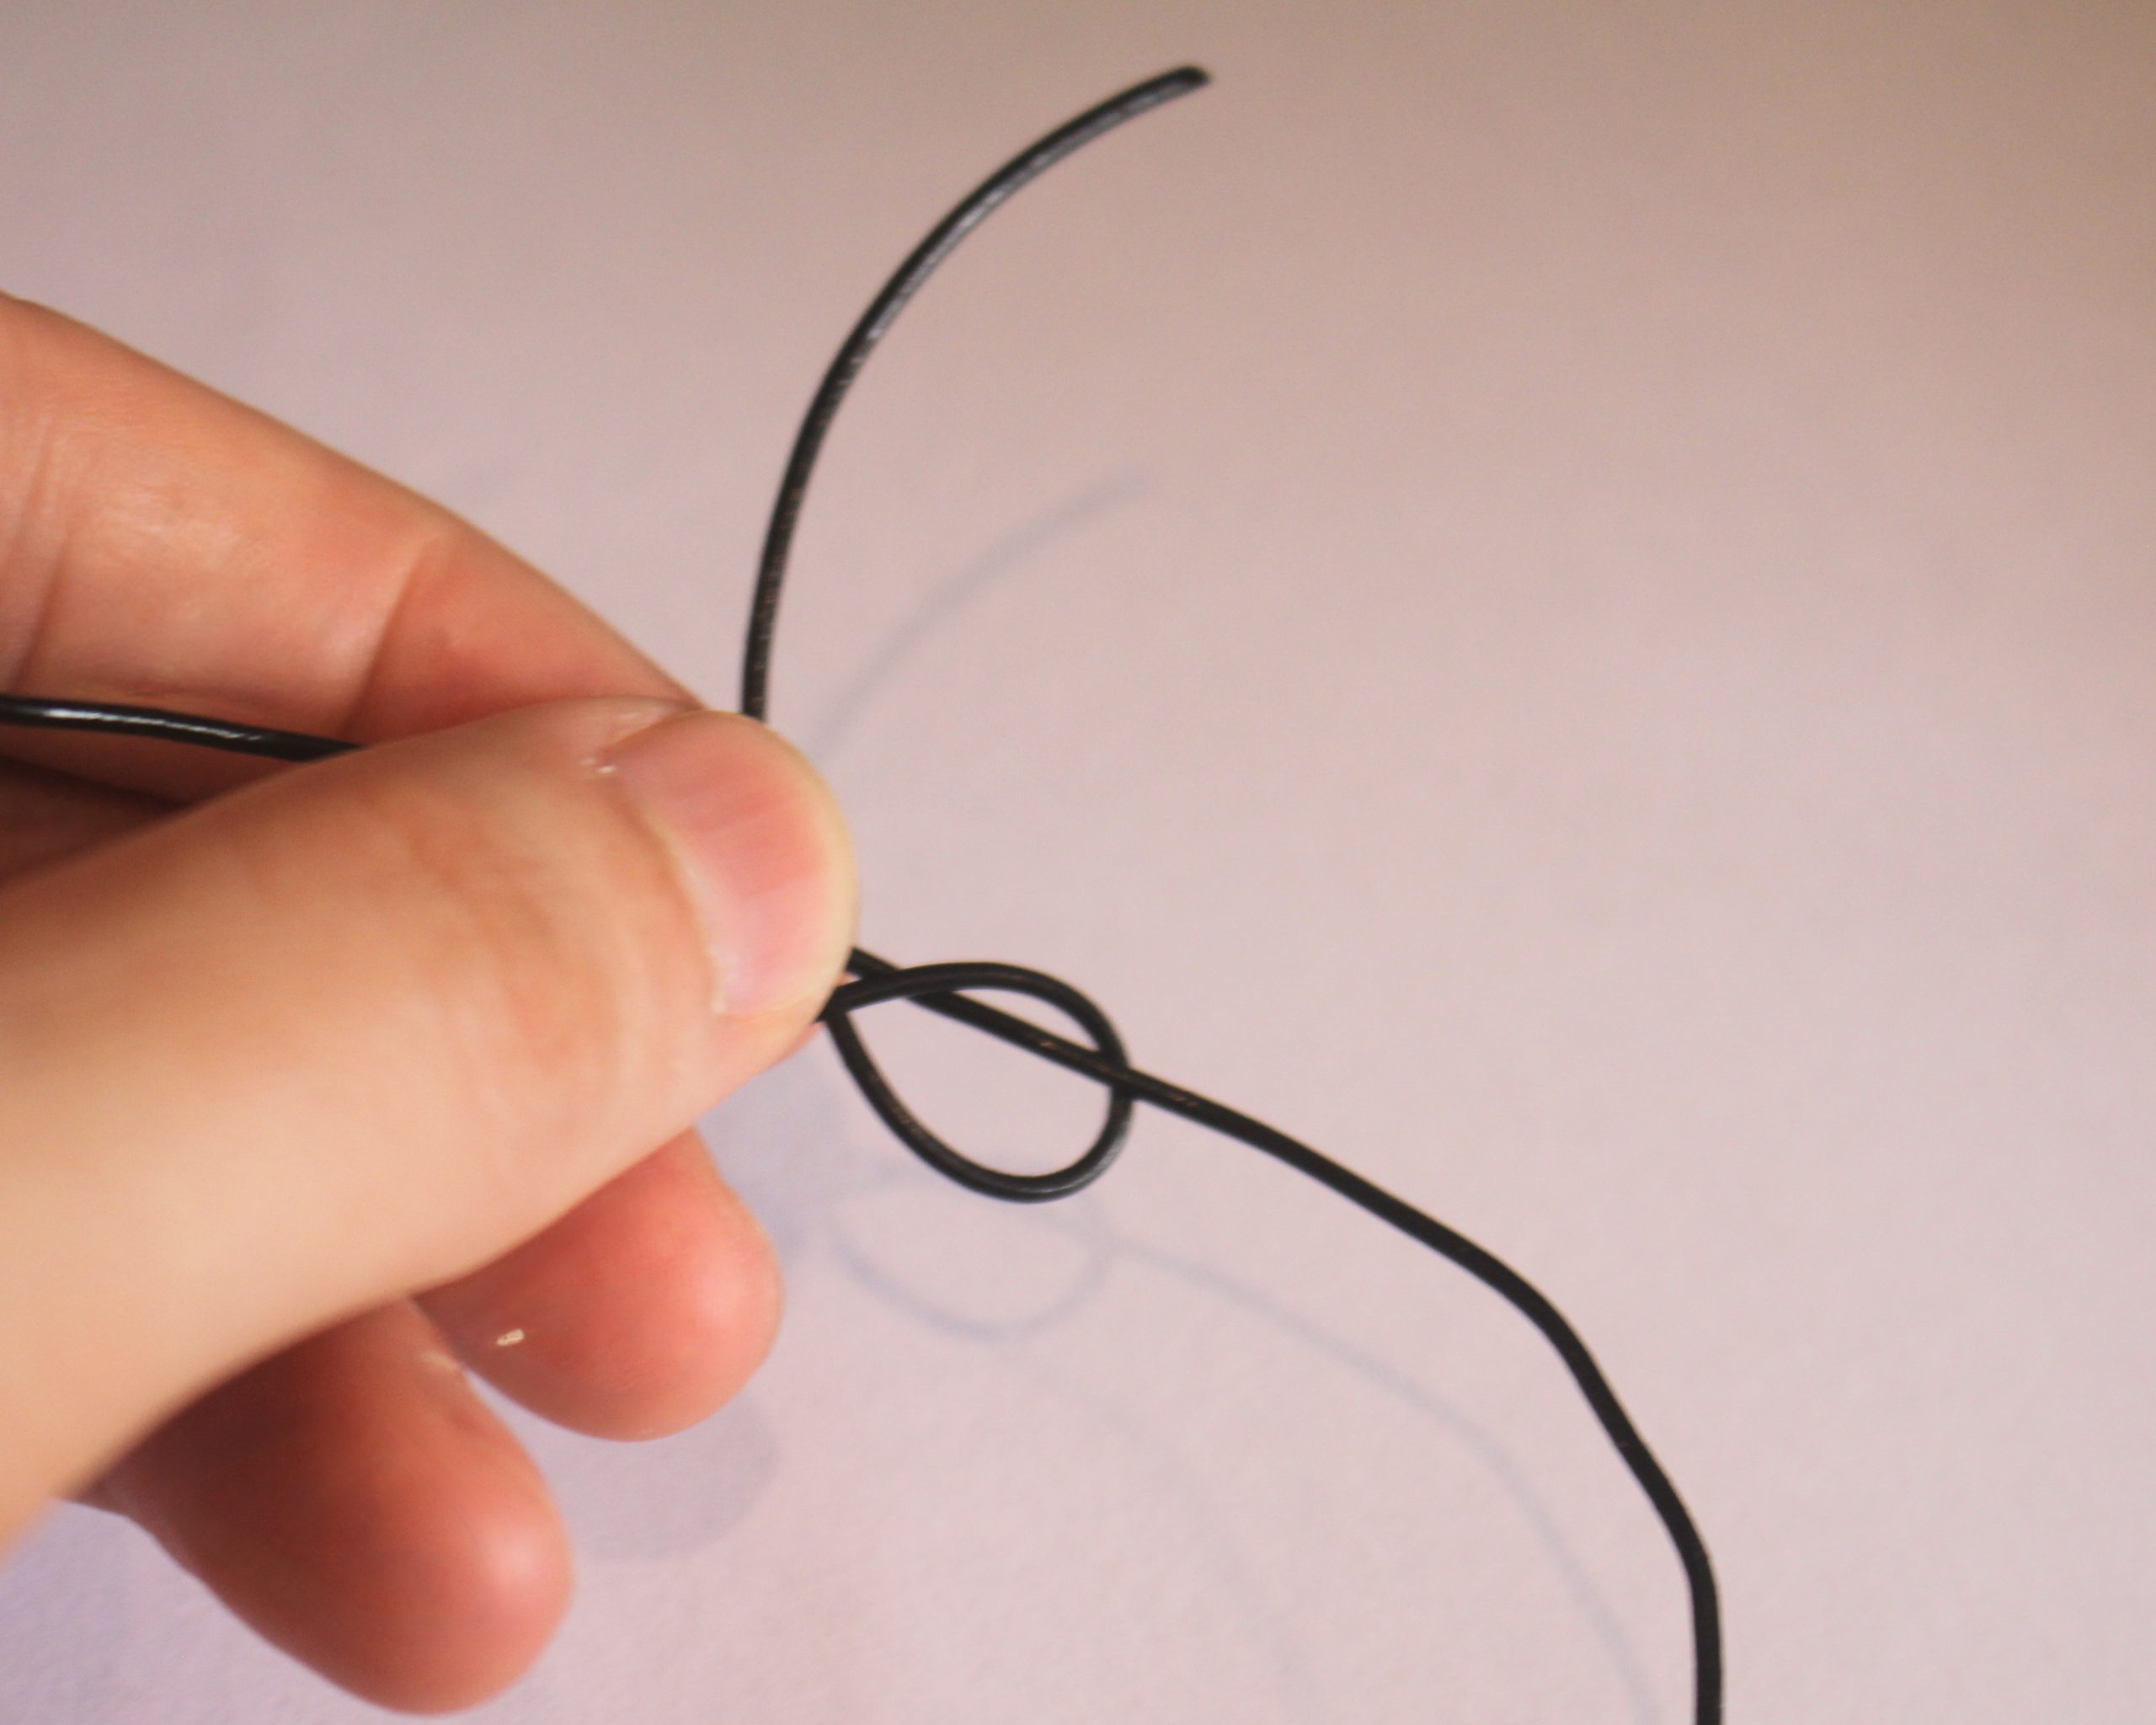
2: Now it is time to create the first sliding knot.
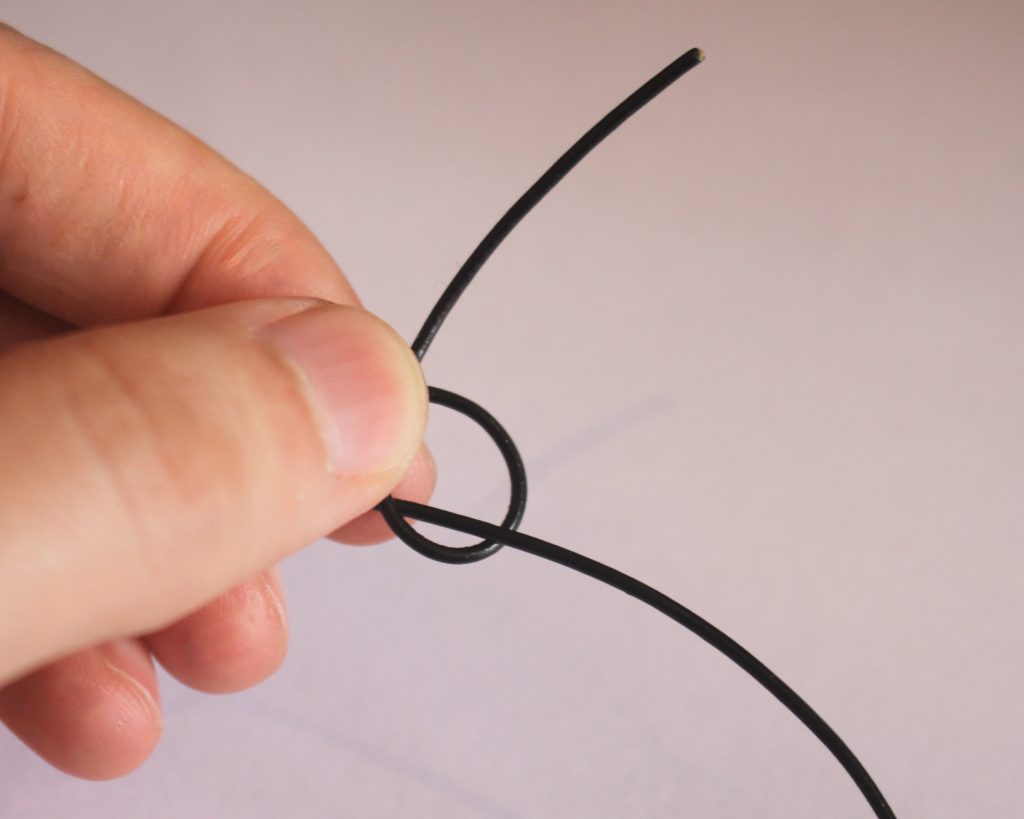
3: Take the left side of the cord and cross it over the right side.

4: Loop the end over the cord and around it.

5: Create another loop to the left of the first one.
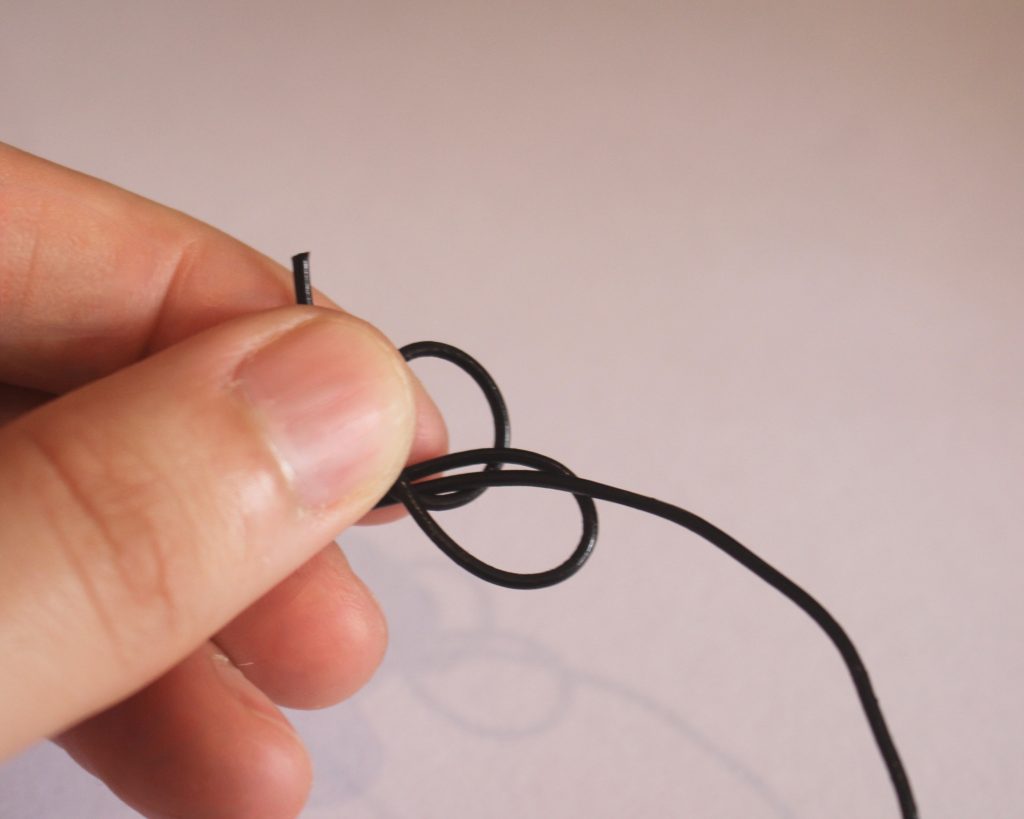
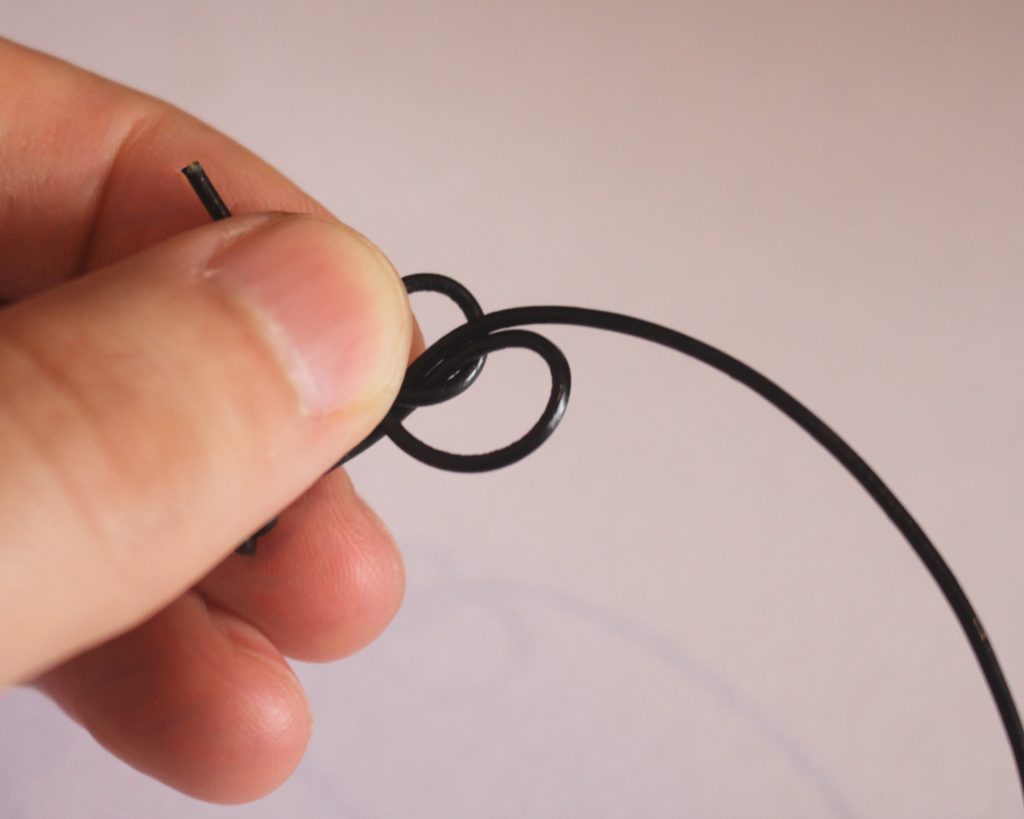
6: Poke the end of the cord through the loops and pull them tight.

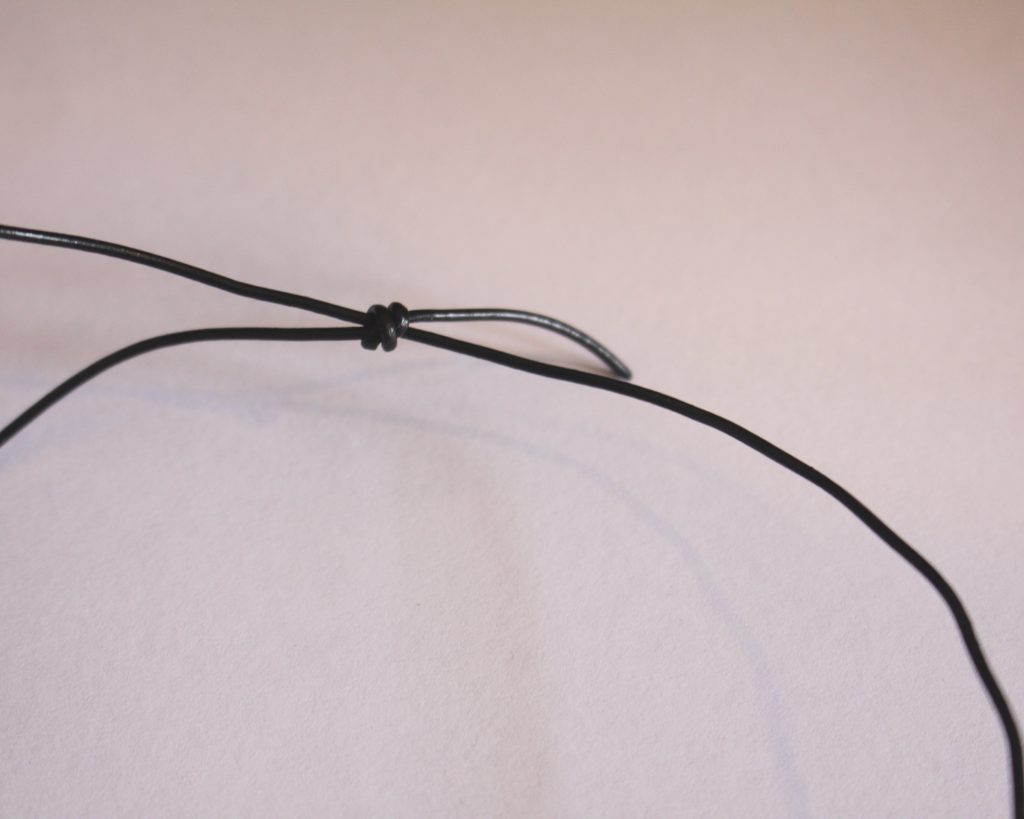
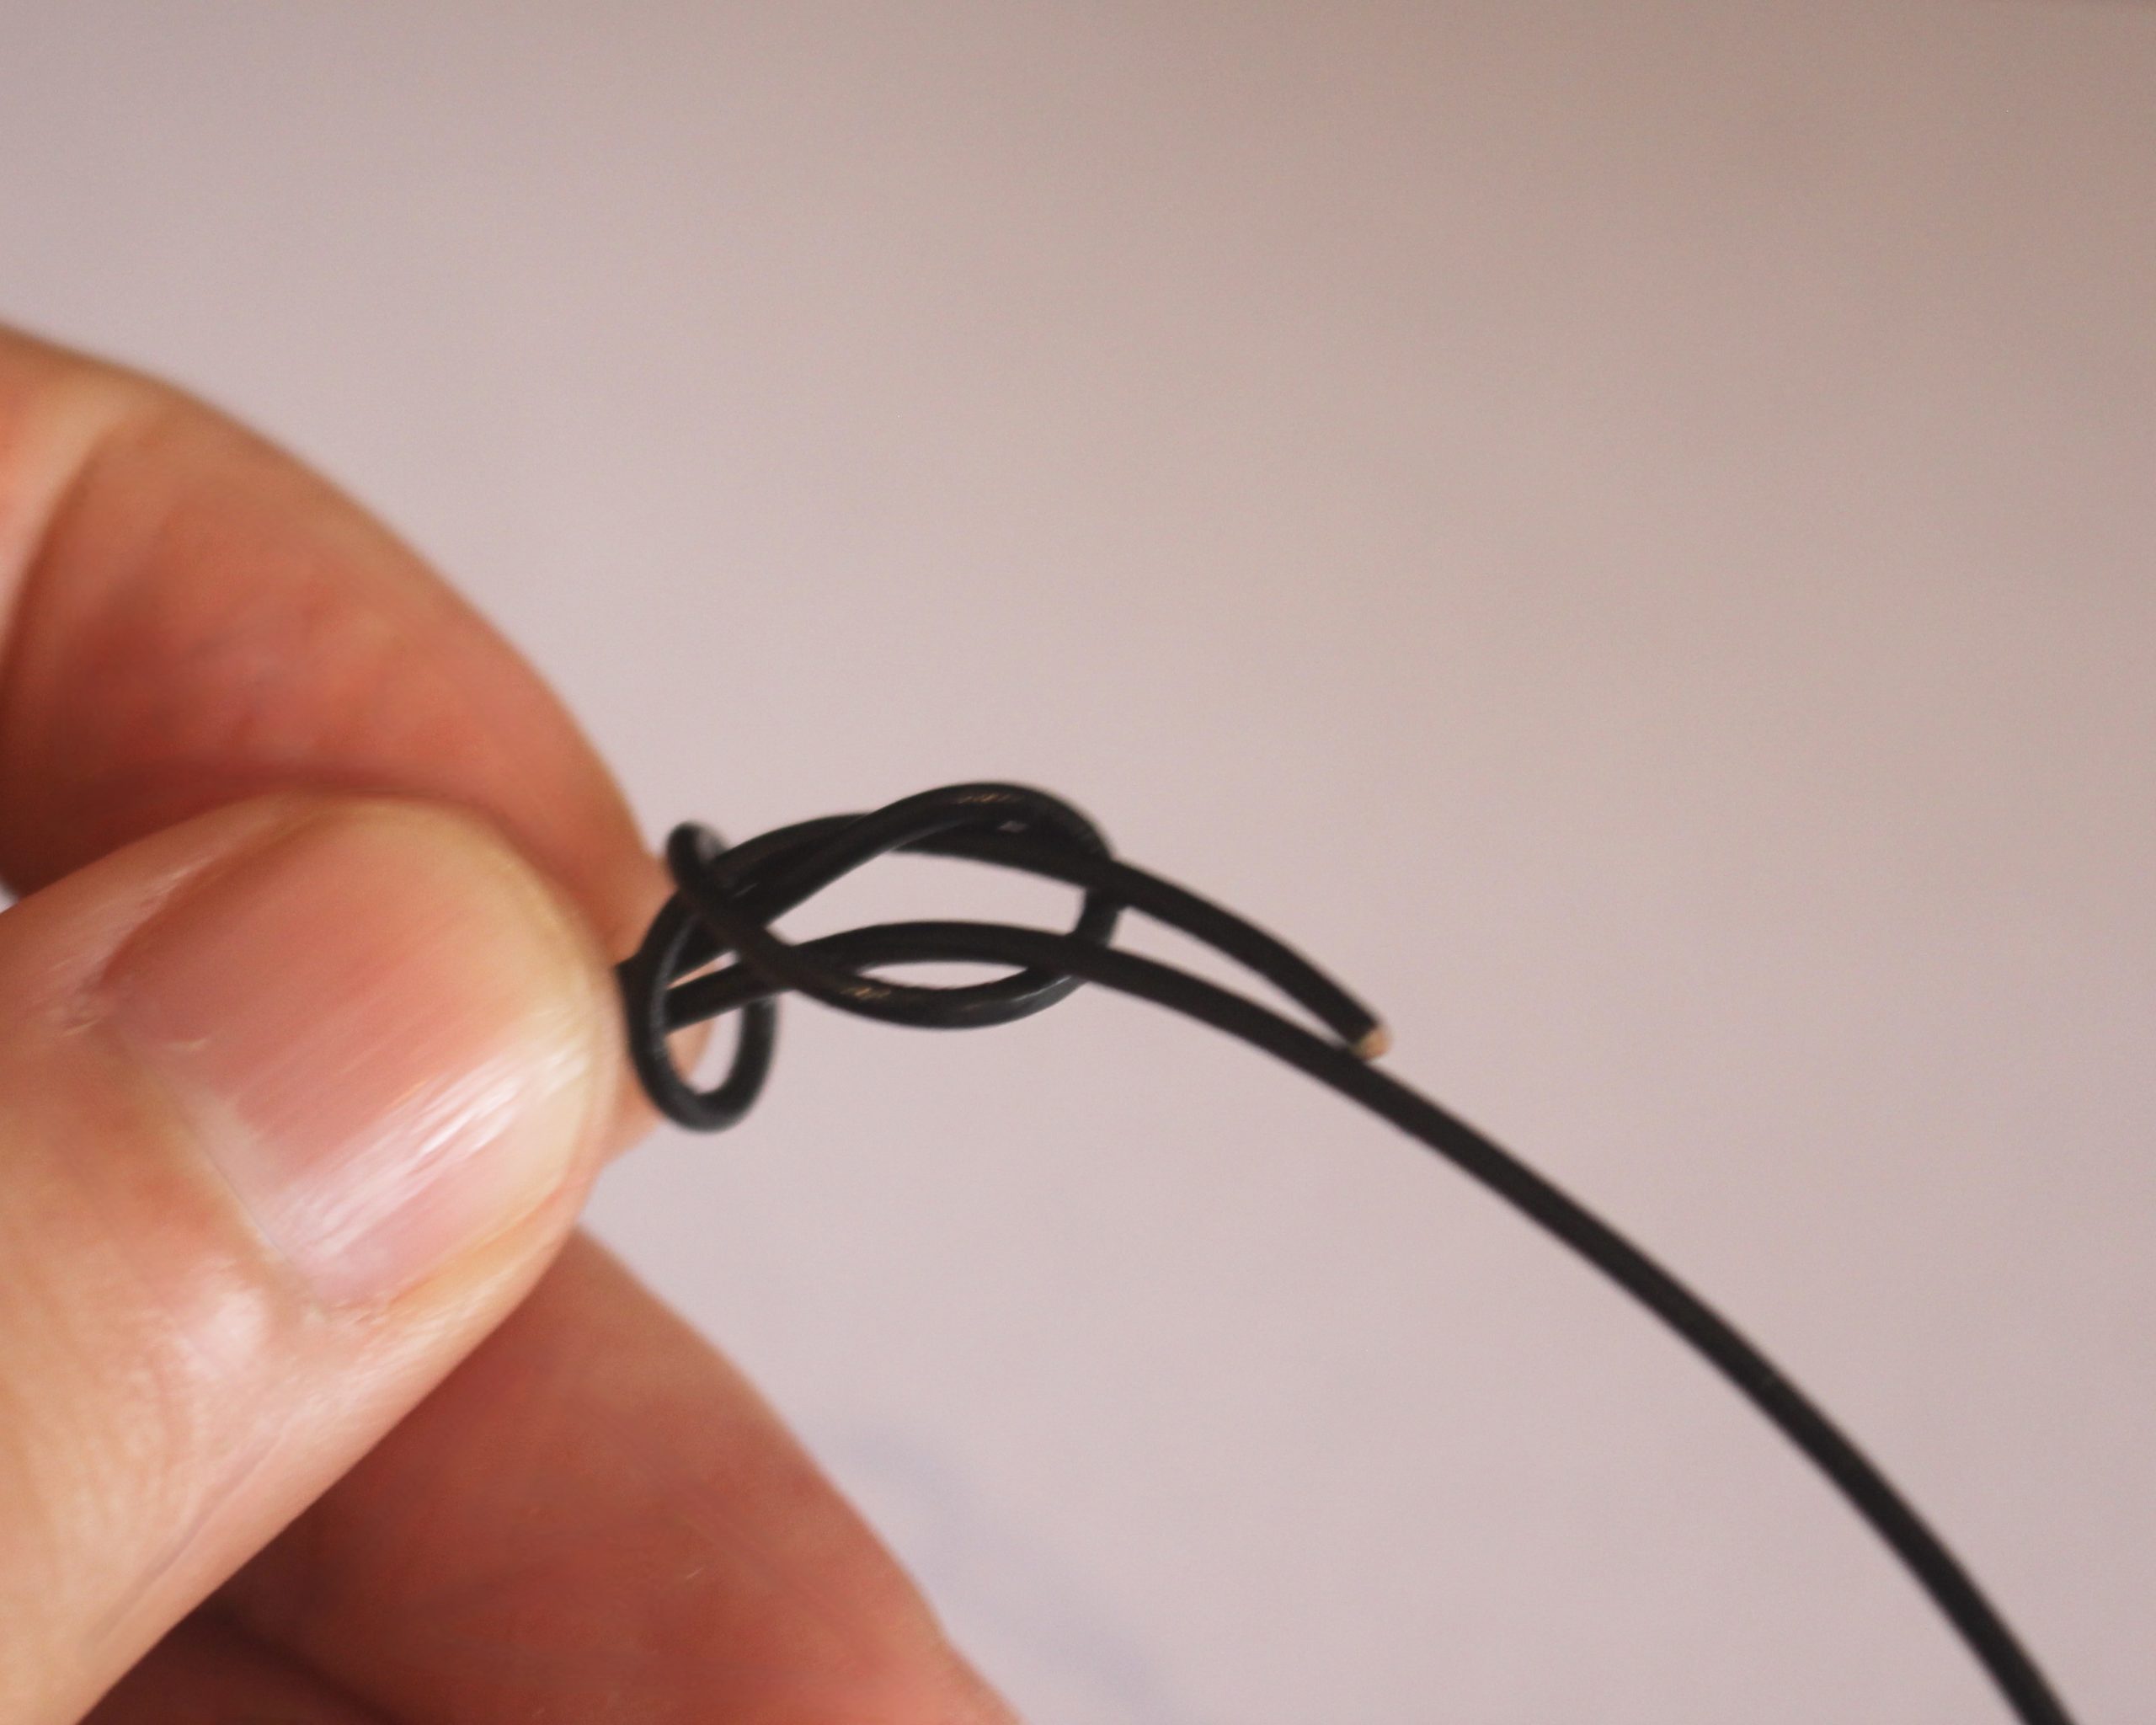
7: Repeat steps 3-6 for the other side. If you’re finding it tricky, it can help to flip your work so that you are working on the same side as the first knot… that’s what I did 😉

8: Once you have both knots in place, you can now adjust your bracelet to the desired size. I left the ends of my cord poking out, but you can trim them if you like.
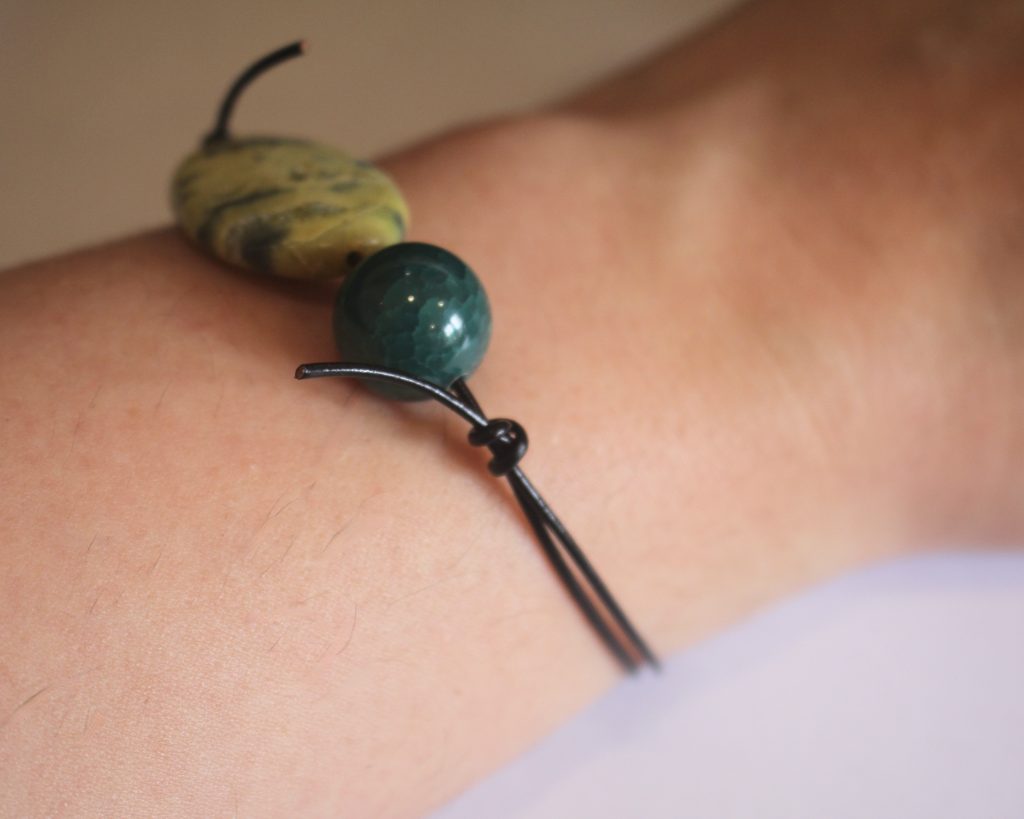

Now your bracelet is ready to wear! How simple but effective? I love it.


-
How to make a waist chain using leather cord and chains!
This is a really cool design! It combines delicate chains and leather to create a cool and edgy twist on the waist chain trend. This piece is pretty easy to put together and makes for a really cute look! Please note that this tutorial contains affiliate links.
You’ll need these tools and materials to make your chain and leather body chain:
1: A piece of leather. Mine was about 54.5cm long.

2: Two pieces of chain. These should add up with the length of the leather up to make the whole thing around your waist. My chains were approximately 20cm each.

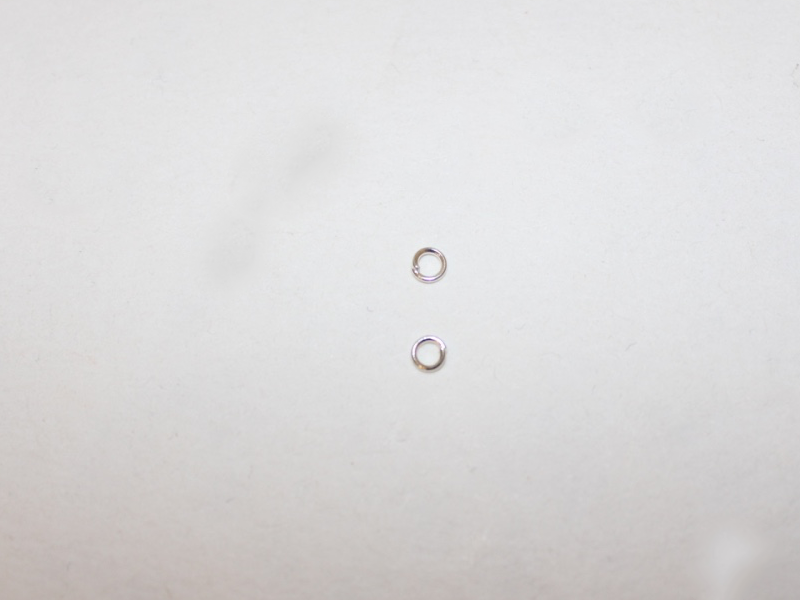
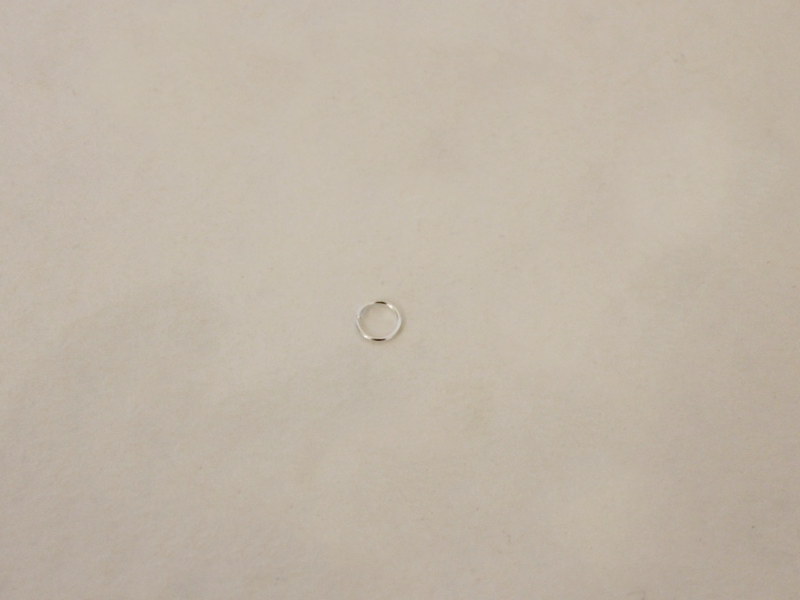
3: Four jump rings.

4: A lobster clasp.

5: Pliers. I used my round nose and flat nose pliers.


6: Two leather crimp ends.

Follow these steps to make your leather and chain waist chain:
1: Add a crimp end to one of the ends of the leather cord. Do this by placing it around the leather and squashing one side down using the flat nose pliers.


2: Squash the other side of the crimp using the flat nose pliers to secure the crimp in place.

3: Repeat steps 1 and 2 for the other side of the piece of leather, attaching the other crimp.

4: Add a jump ring to one end of the piece of leather cord.

5: Slide on one of the pieces of chain to the open jump ring.

6: Close the jump ring to secure the chain to the leather.

7: Repeat steps 4 to 6 to attach the second piece of chain to the other end of the leather.

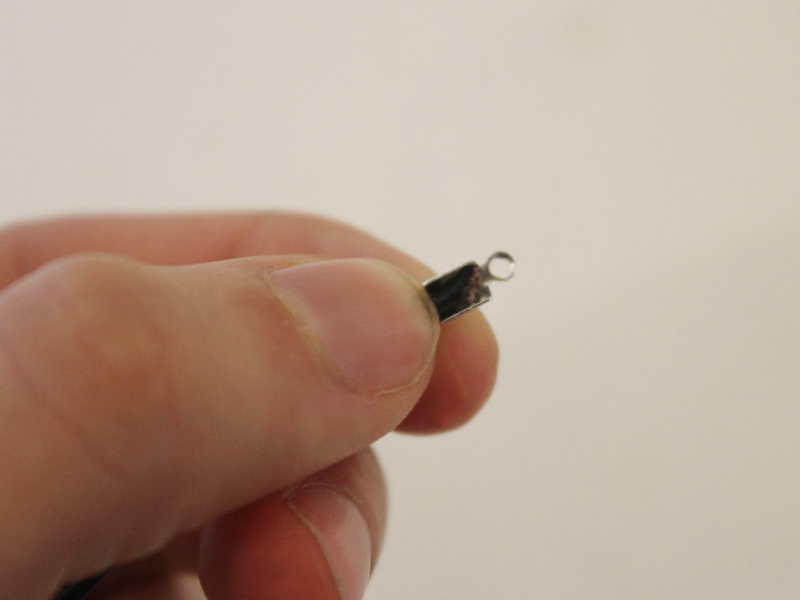
8: Add a jump ring to one end of the chains you just attached. Slide on the lobster clasp and close the ring to secure it in place. (Sorry about the blurry pic!)


9: Add another jump ring to the other side of the waist chain to finish it off!


Now your leather and chain waist chain is finished and ready to put on! How cute?!

-
Is your ankle looking too bare? Check out this cool leather anklet tutorial.

Anklets are a lot of fun! Is there a more perfect summer accessory than a flirty little anklet? This anklet design is made with some black leather cord and some bohemian glass beads!
You will need the following tools and materials to make this awesome leather anklet:
1: Pliers. You will need your cutting pliers (to cut your cord), flat nose pliers and round nose pliers to make this anklet.

2: A piece of leather cord long enough to fit comfortably around your ankle.

3: Two leather crimp ends.

4: Two small jump rings.
5: One larger jump ring.
6: One lobster clasp.

7: Two small head pins.

8: Beads of your choice. I used these blue glass beads and two small seed beads.


Follow these steps to make yourself a cute leather anklet:
1: Place a crimp end at the end of the leather cord and get ready to secure it in place.
2: Squash one side of the crimp end down using the flat nose pliers.


3: Squash the other side of the crimp down to secure the crimp in place.

4: Repeat steps 2 and 3 for the other end of the leather.

5: Add a jump ring to one end of the leather cord and add the lobster clasp. Secure the lobster clasp in place by closing the jump ring.

6: Add another jump ring to the other end of the anklet.

7: Add your beads to each of the head pins.


8: Bend each pin at a right angle to the beaded section.


9: Using the round nose pliers again, form a loop at the top of each beaded pin to secure the beads in place.


10: Add the beaded head pins to the larger jump ring.

11: Slide the larger jump ring onto the closed one that attaches the clasp to the anklet. Secure it in place by closing it using your pliers.


Once your bead charms are in place your anklet is complete! How will you make this design your own?

-
Want to give some edge to your wrist-wear? Make this leather beaded bracelet
This bracelet is simple to make but it has a brilliant impact! Made with some black leather cord and some beautiful beads of your choice this bracelet makes a statement. This tutorial is similar to the suede bracelet, but makes use of round leather cord for a cool look.

You will need the following tools and materials to make this leather beaded bracelet:
1: Pliers. You will need your flat nose pliers and cutting pliers (to cut your leather to length).
2: A piece of leather cord long enough to fit around your wrist. The crimp ends and clasp will add some extra length.

3: Two leather crimp ends.
4: Two jump rings.
5: A toggle clasp.

6: Beads of your choice. I used these jade beads. Make sure the beads you choose have a hole large enough to fit on the leather cord.

Follow these steps to make your leather bracelet:
1: Add the beads to the piece of leather.

2: Place a crimp end on one end of the piece of leather.
4: Squash the first side of the crimp using the flat nose pliers.
5: Squash the other side of the crimp end using the flat nose pliers.
6: Repeat steps 4 and 5 for the other side of bracelet.

7: Add a jump ring to one end of the bracelet.

8: Slide one part of the toggle clasp onto the jump ring and secure the clasp in place by closing it using your pliers.

9: Repeat step 8 for the other side of the bracelet.

10: Once the clasp is in place your bracelet is finished! Wear and enjoy.

-
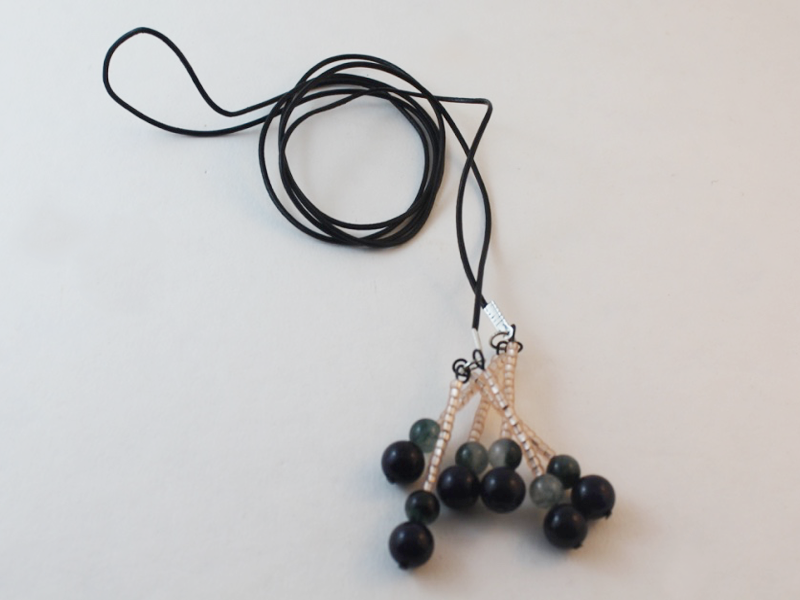
Add some edge to your look with this leather wrap necklace

Are you interested in the current choker trend but don’t want to look like everyone else? Why not try making this edgy leather wrap necklace? This necklace is super simple to put together but it sure does make a statement. Add a bead tassel to each end and you’ll be onto a winner. (I will say, be careful wearing this piece, it could tighten and start to become uncomfortable around your neck depending on how you wear it).
You will need the following tools and materials to make this leather wrap necklace:
1: Pliers. You will need your round nose pliers, flat nose pliers and cutting pliers.
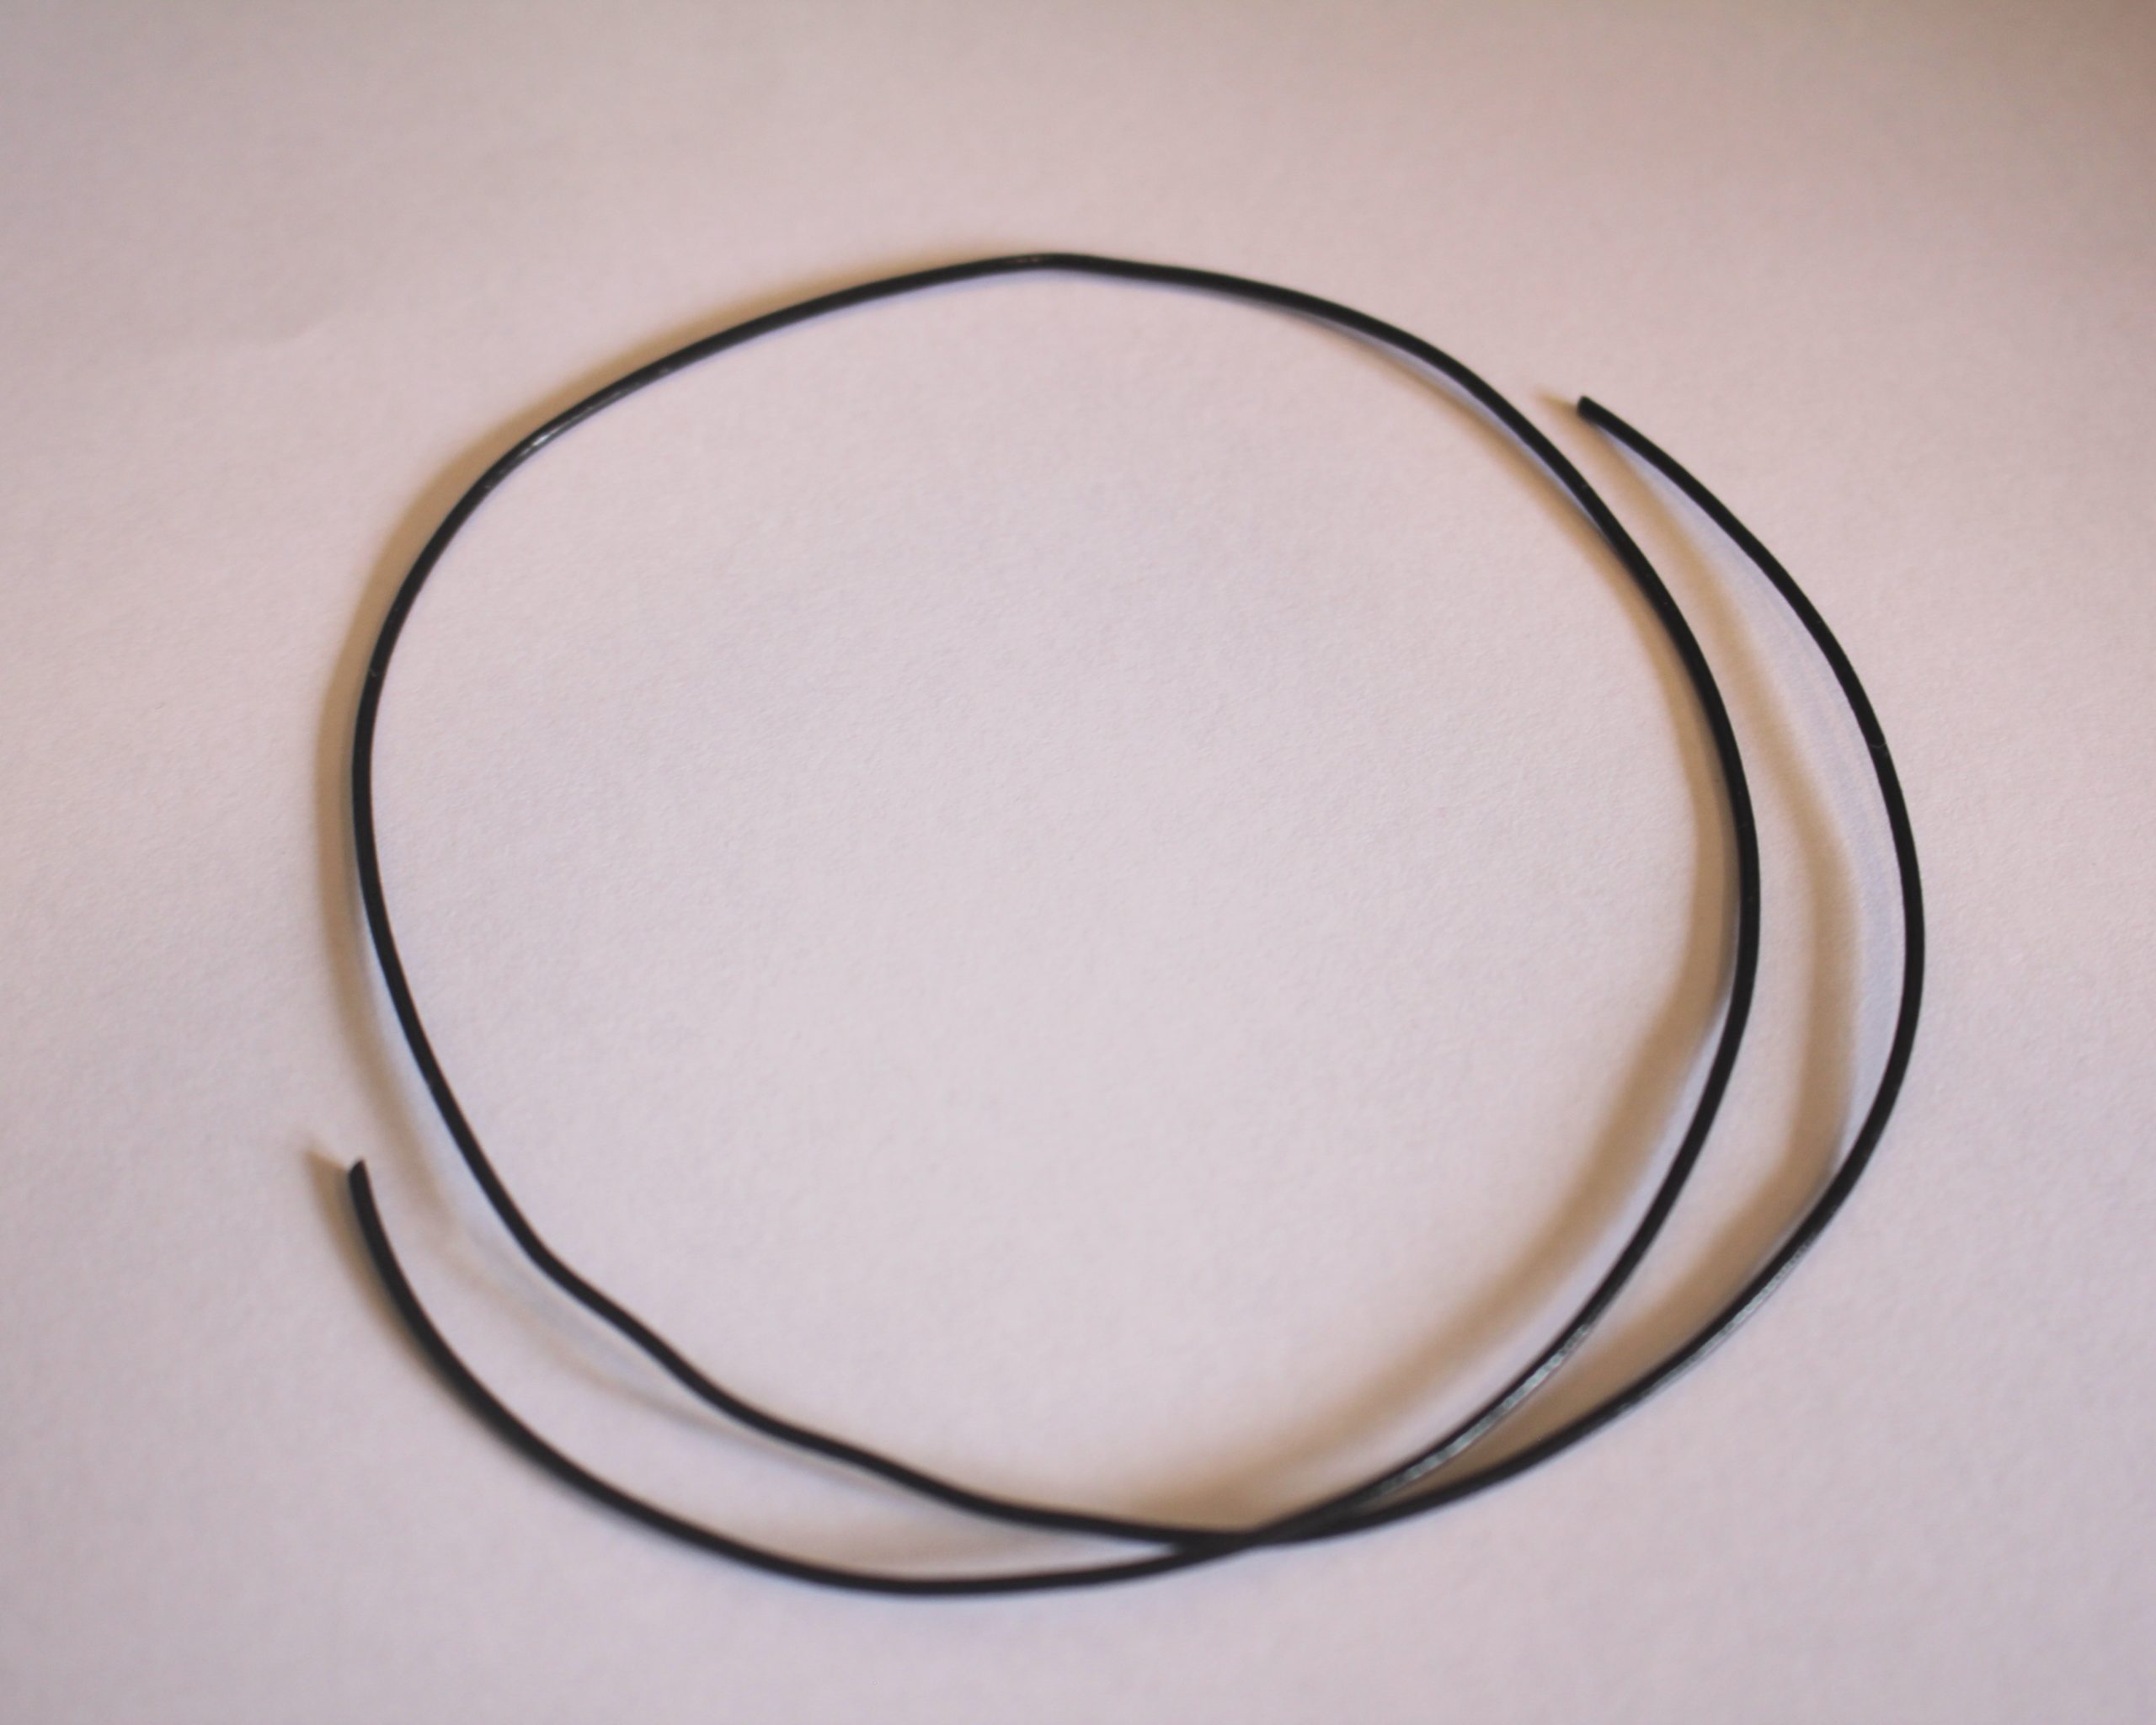
2: Leather cord. The cord should be long enough to wrap comfortably around your neck and hang down your front.

3: Two leather crimp ends.

4: Two jump rings.

5: Six head pins. I used these black painted head pins but you can use any color you like.

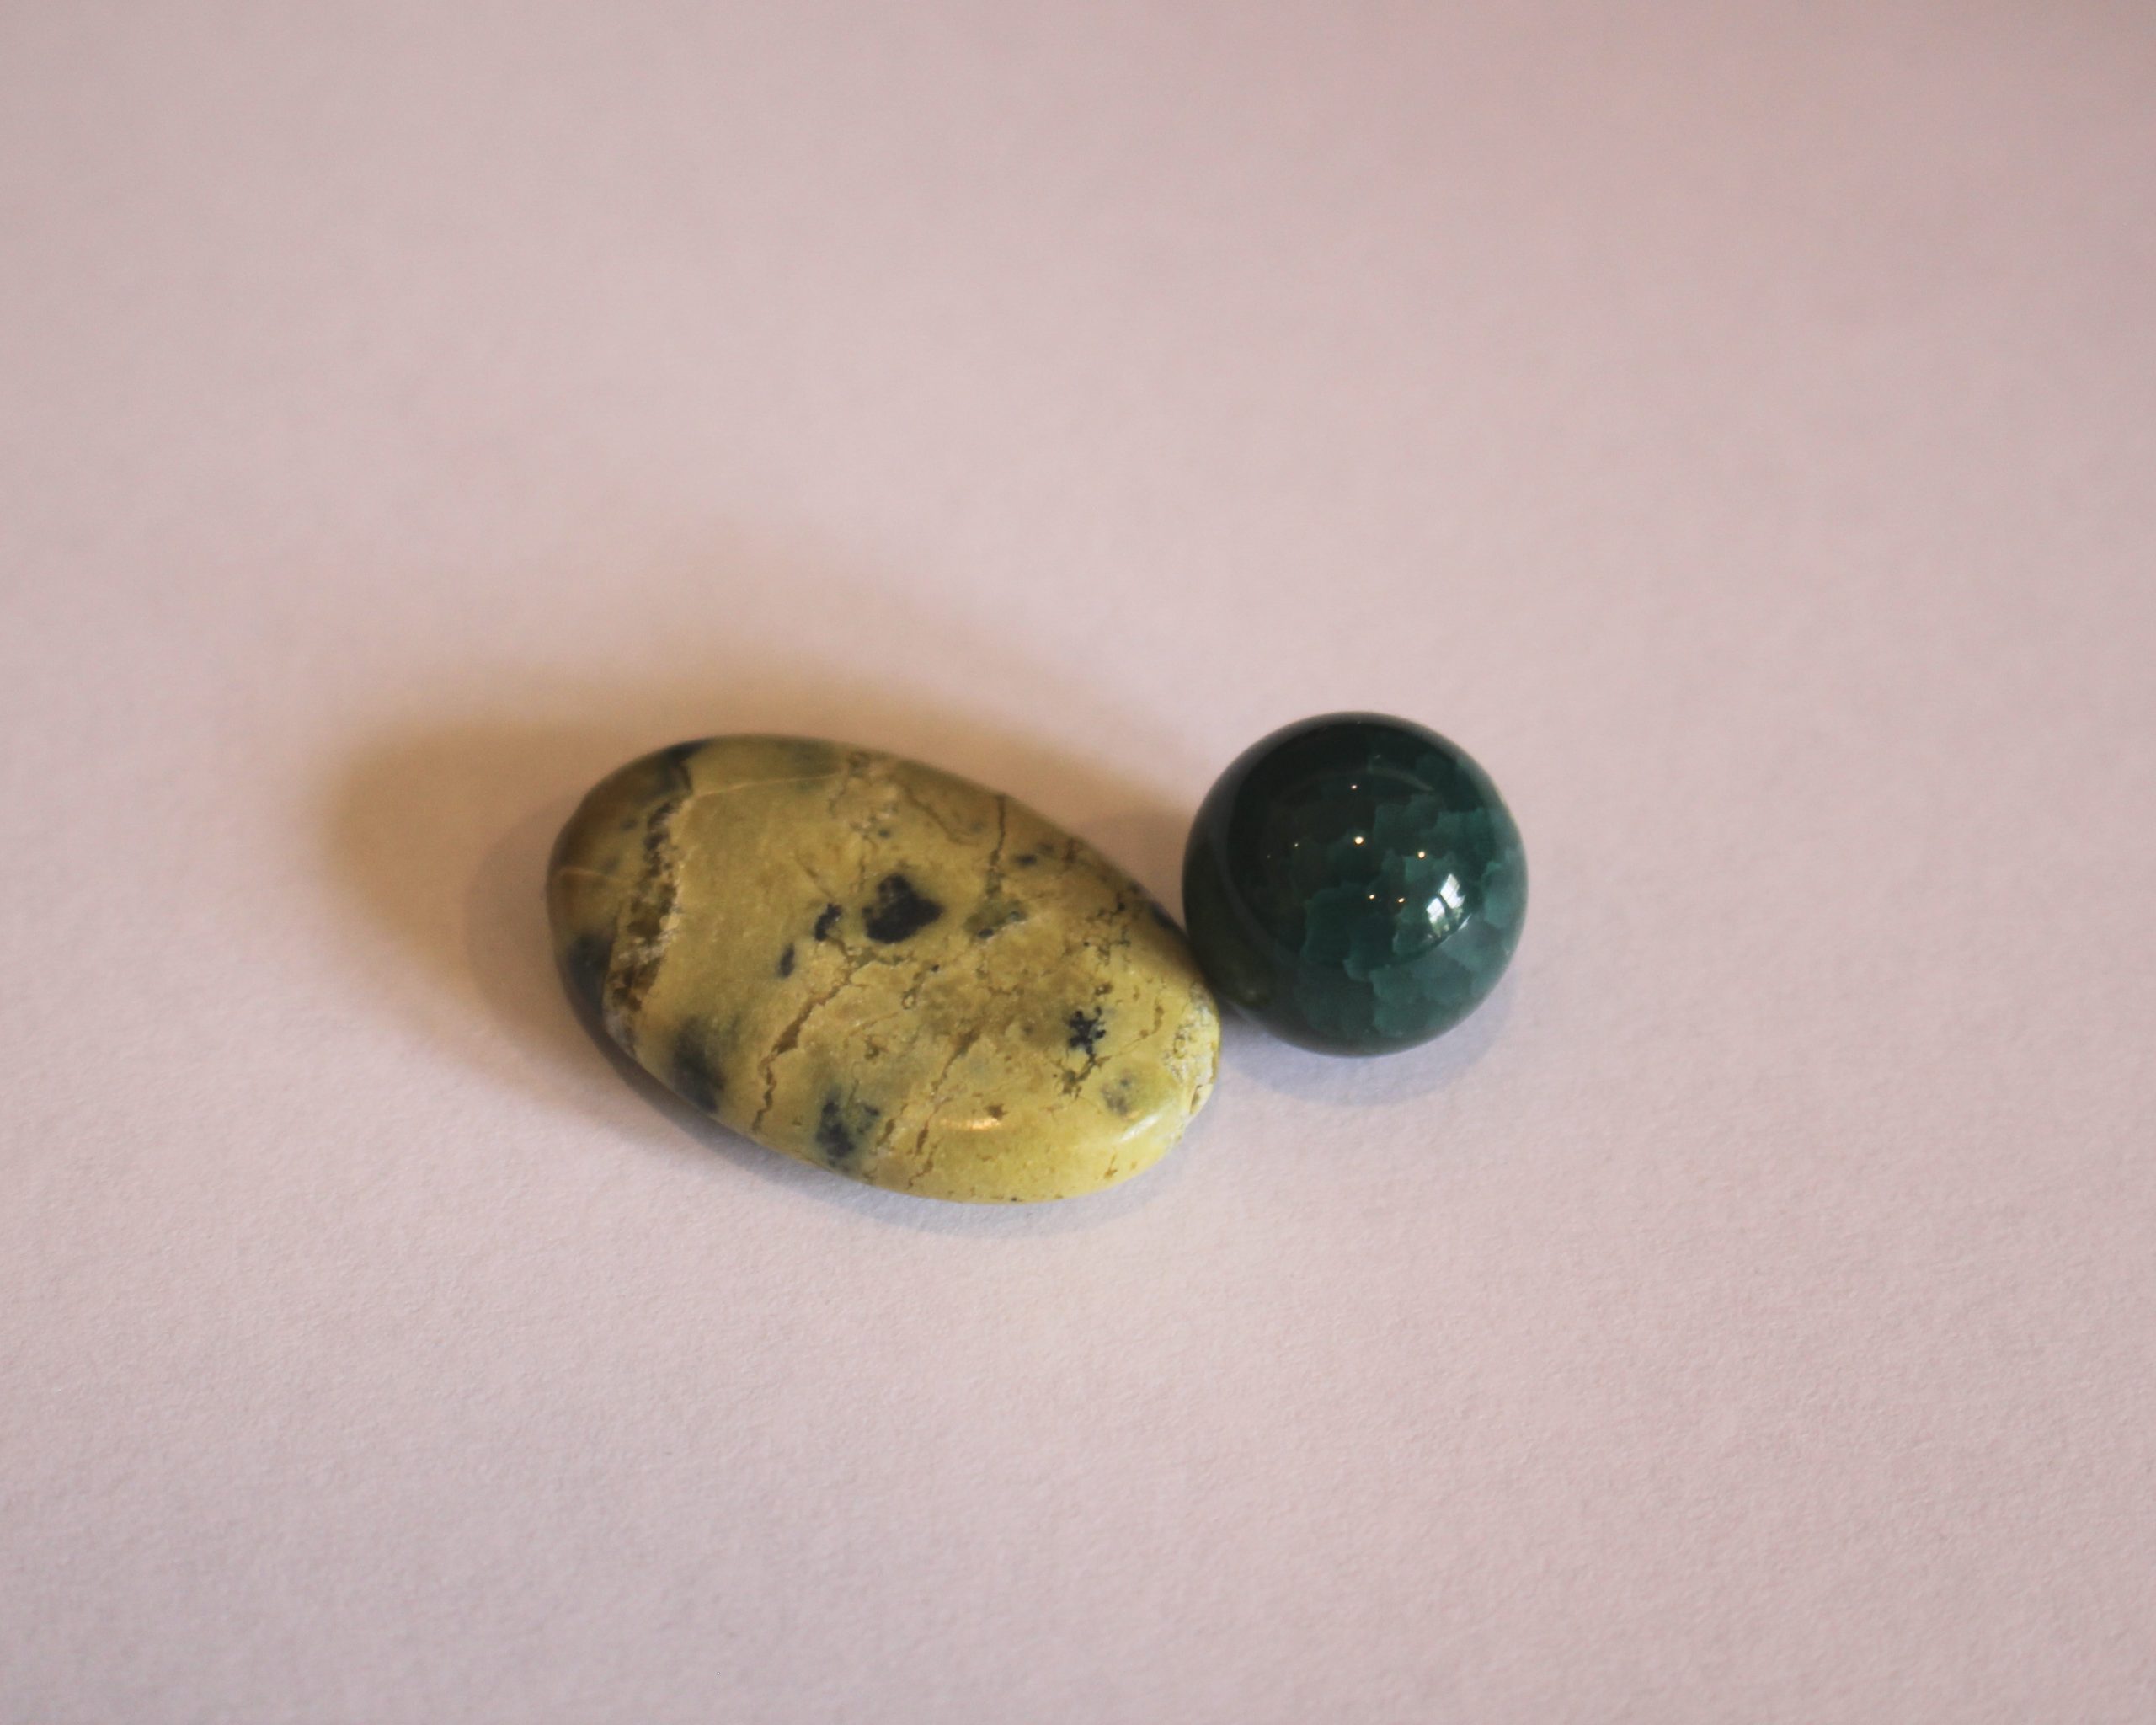
6: Beads of your choice. I used some blue goldstone beads, some green gemstone beads and pink glass seed beads.


Here are the instructions to make this cool leather wrap necklace:
1: Start adding beads to each of the head pins.


2: Once all of the beads have been added to each head pin, use the round nose pliers to bend the top of each pin at a right angle to the beaded section.


3: Create a loop at the top of each head pin using the round nose pliers to secure the beads in place.


4: Once all your pin charms have been completed you can trim the leather cord if you need to.

5: Take one of the leather crimp ends and squash one side around one end of the leather cord using the flat nose pliers.


6: Squash the other side using the flat nose pliers and secure the leather crimp end in place.


7: Repeat steps 5 and 6 for the other end of the leather cord using the remaining leather crimp end.

8: Add a jump ring to one of the leather crimp ends.

9: Add three beaded charms to the jump ring and close them to secure them in place.


10: Repeat steps 8 and 9 for the other side of the necklace.

11: Once all the beaded head pins have been secured in place your necklace is done. Have fun and make sure that you don’t let your necklace get too tight around your neck!