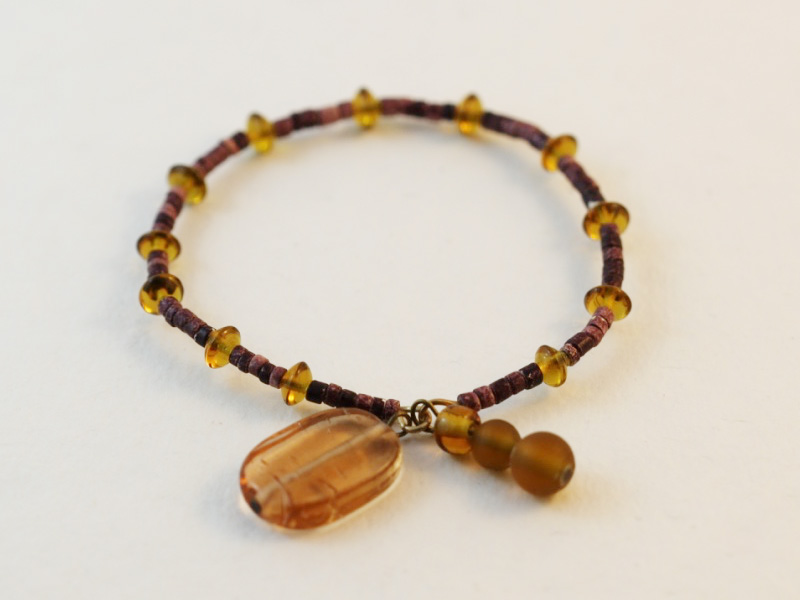
-
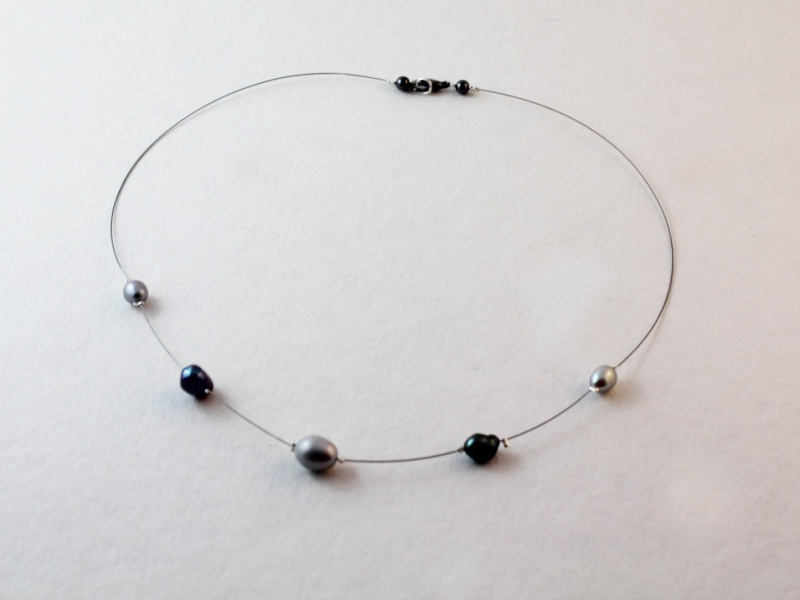
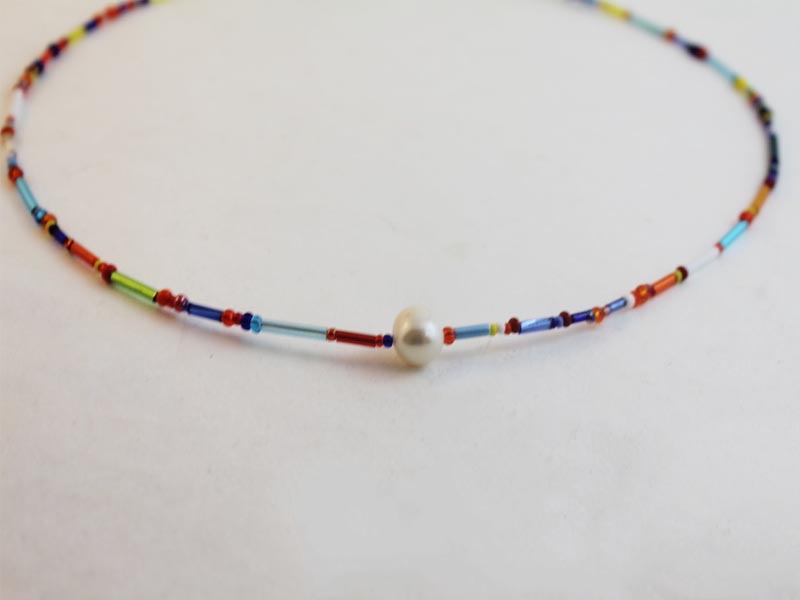
How to make a rainbow beaded pearl necklace

I’ve seen a lot of pearl and glass bead jewelry online lately so I thought it would be a good time to share a rainbow pearl necklace tutorial so you can DIY these expensive jewels at home. Contains affiliate links.
You will need the following tools and materials to make your rainbow pearl necklace:
1: Pliers. You’ll need your cutting pliers, round nose pliers and flat nose pliers.

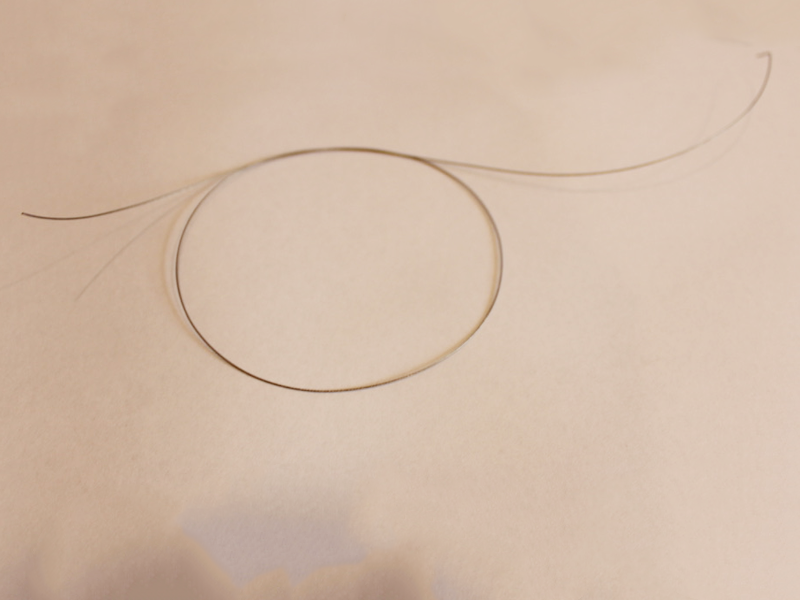
2: Tiger tail wire.
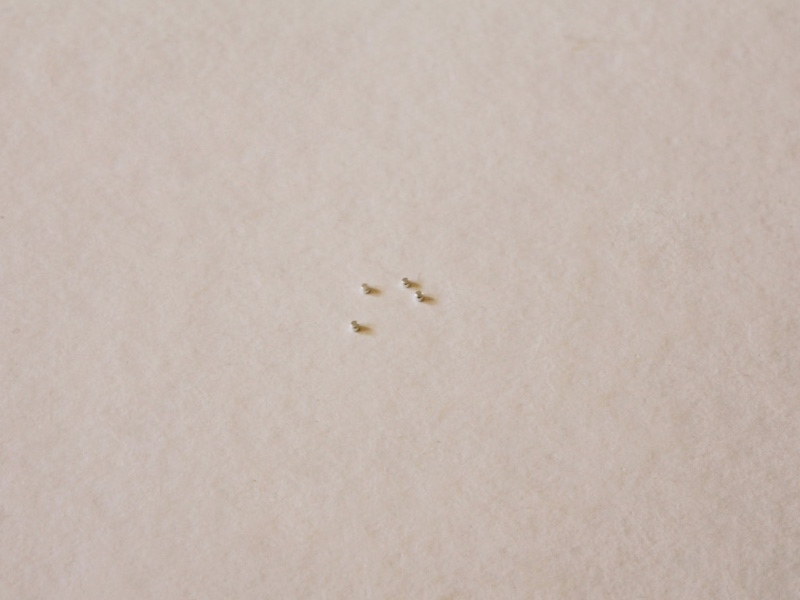
3: Four crimp beads.
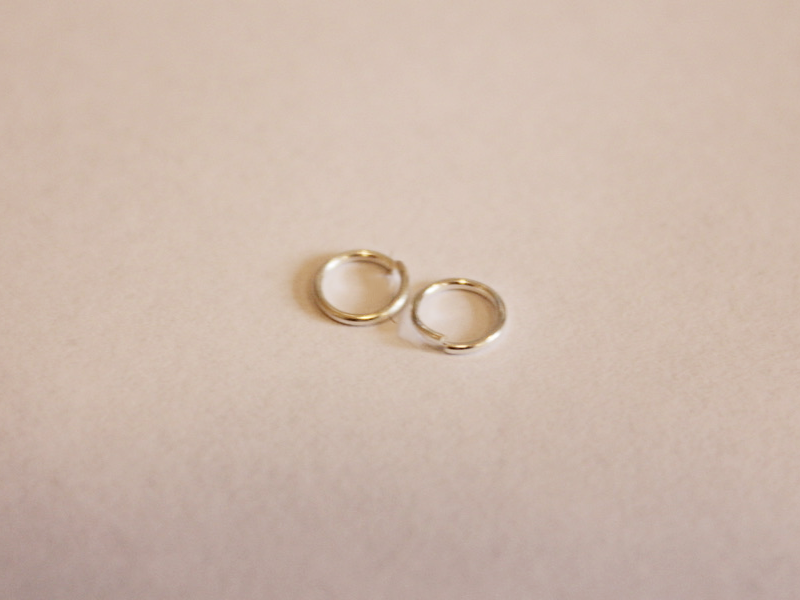
4: Two jump rings.
5: A lobster clasp.

6: Multicolored glass beads. I used these mixed glass beads.

7: A pearl bead. I used this white pearl bead.
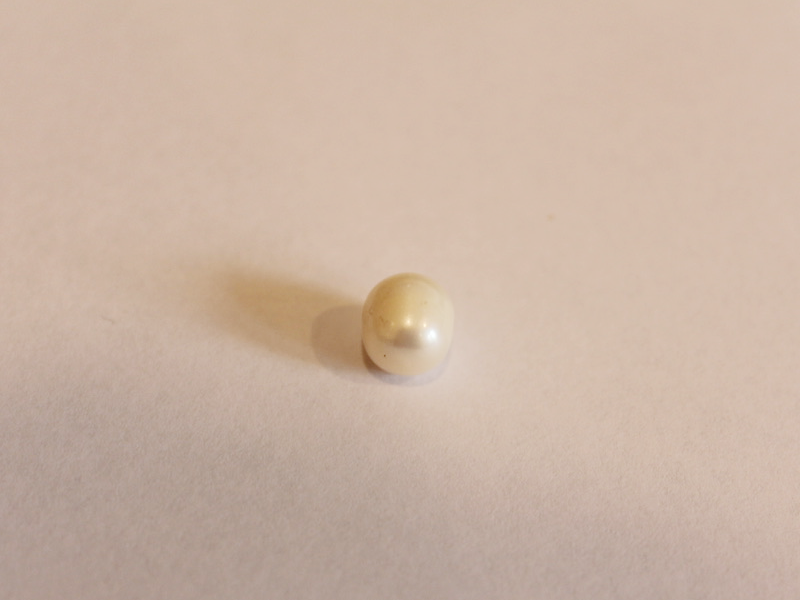
Follow these steps to make your rainbow pearl necklace:
1: Add two of the crimp beads to the tiger tail wire.
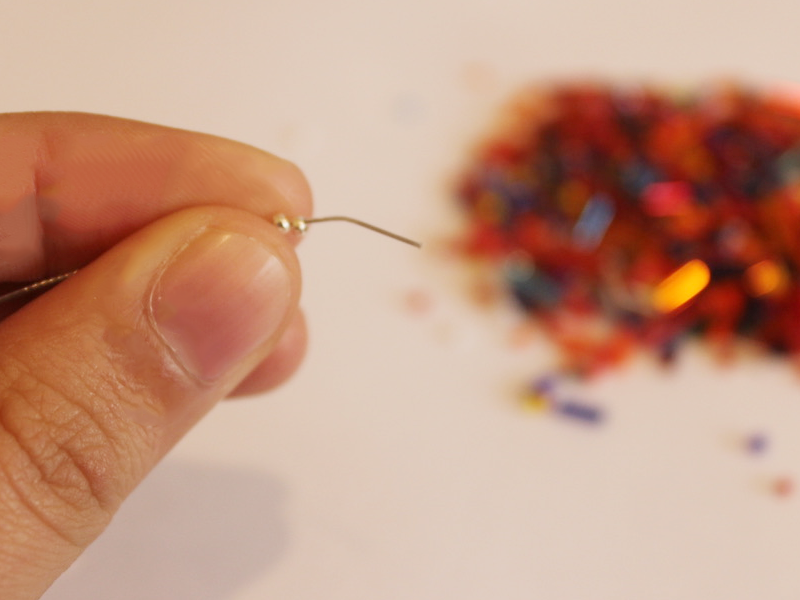
2: Add a jump ring to the wire.
3: Fold the end of the wire around the jump ring and through the crimp beads.
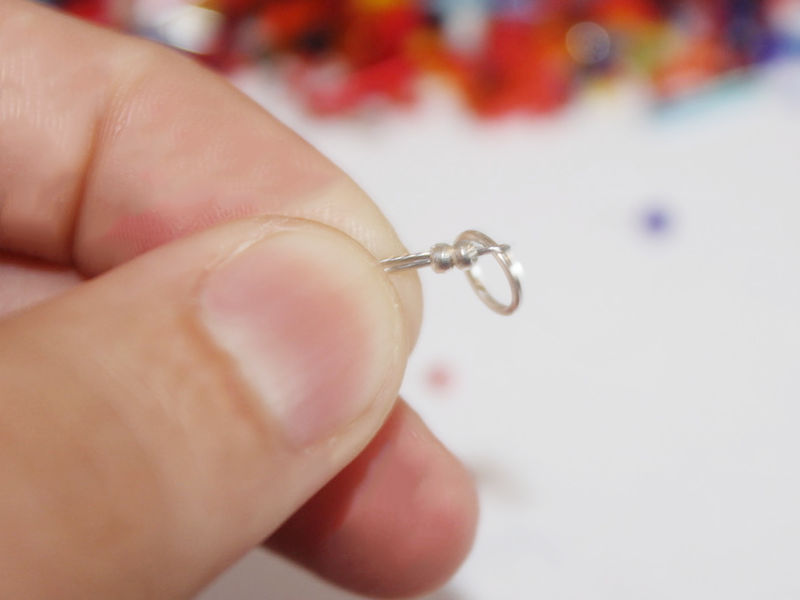
4: Squash the jump rings using the flat nose pliers.
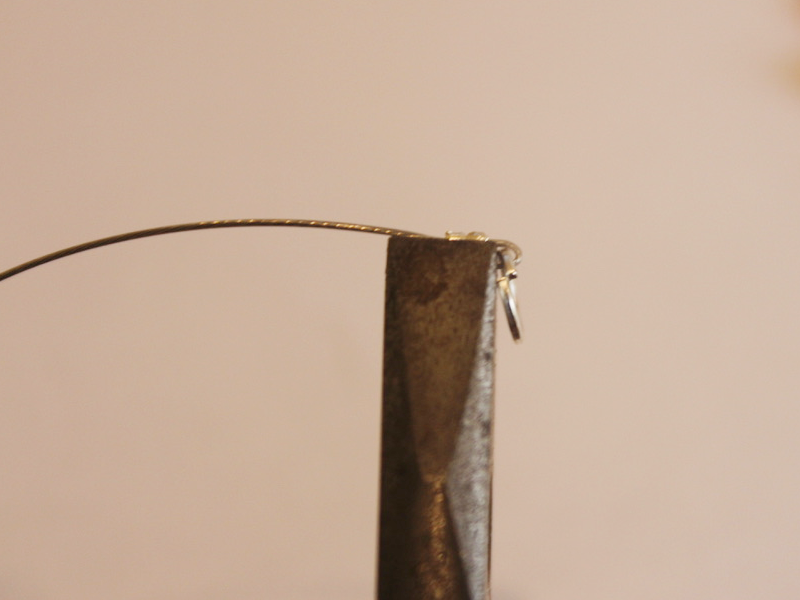
5: Start adding the glass beads to the wire.
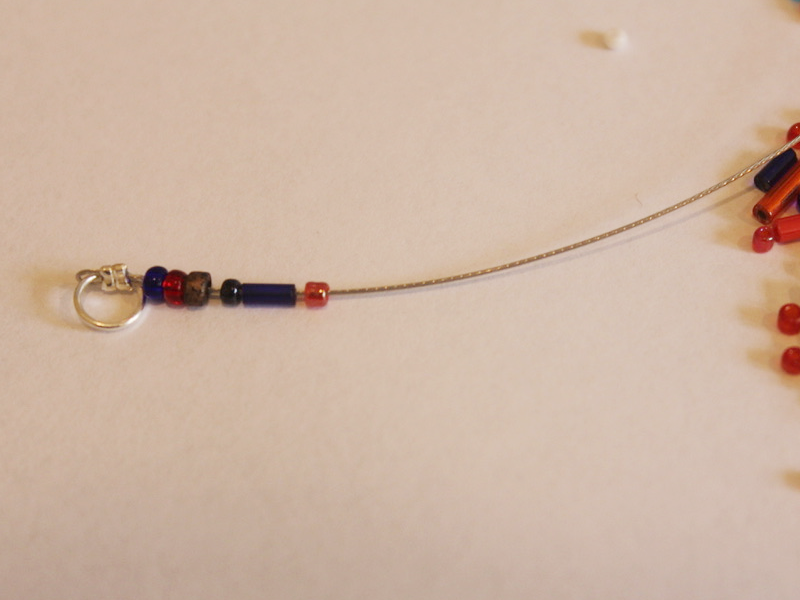
6: Add beads to half of the length you want your necklace and add the pearl. beads.
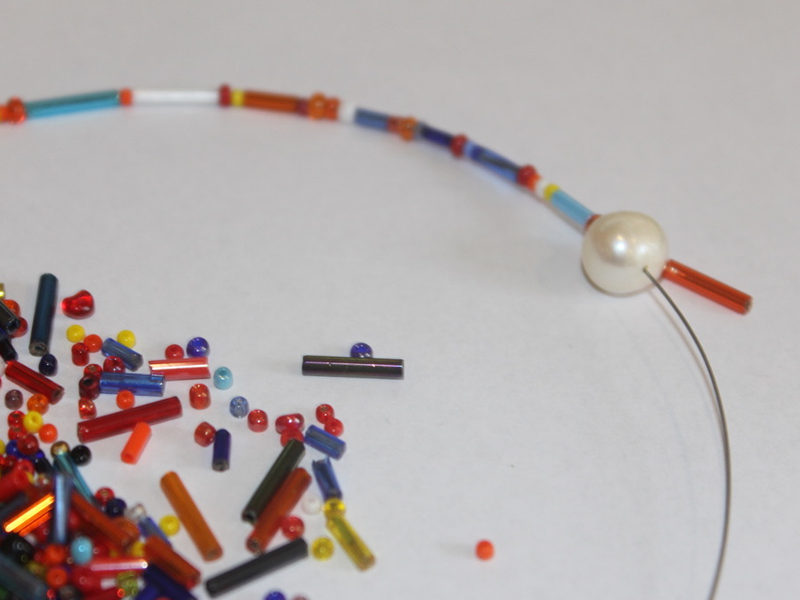
7: Add the glass beads to the rest of the wire so that the pearl sits in the middle.
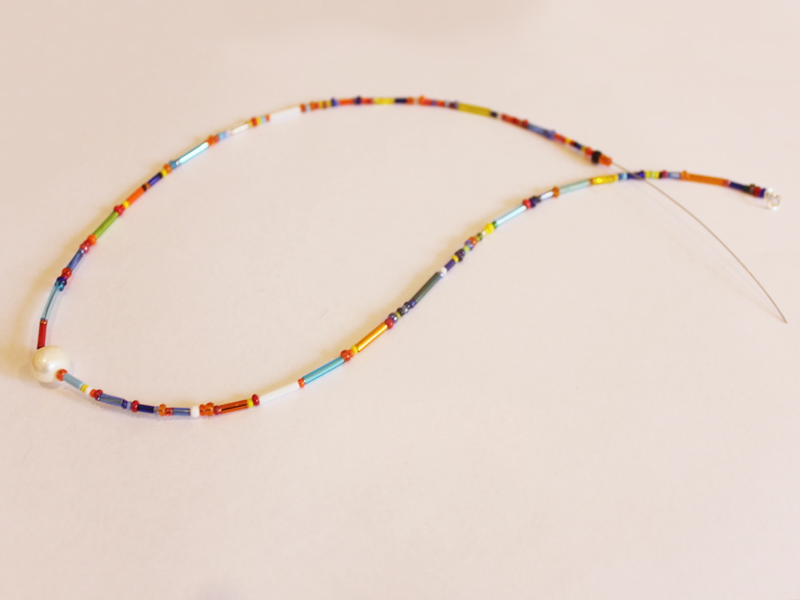
8: Add the remaining crimp beads and the other jump ring to the wire.

9: Fold the end of the wire around the jump ring and through the crimp beads and the last few glass beads.
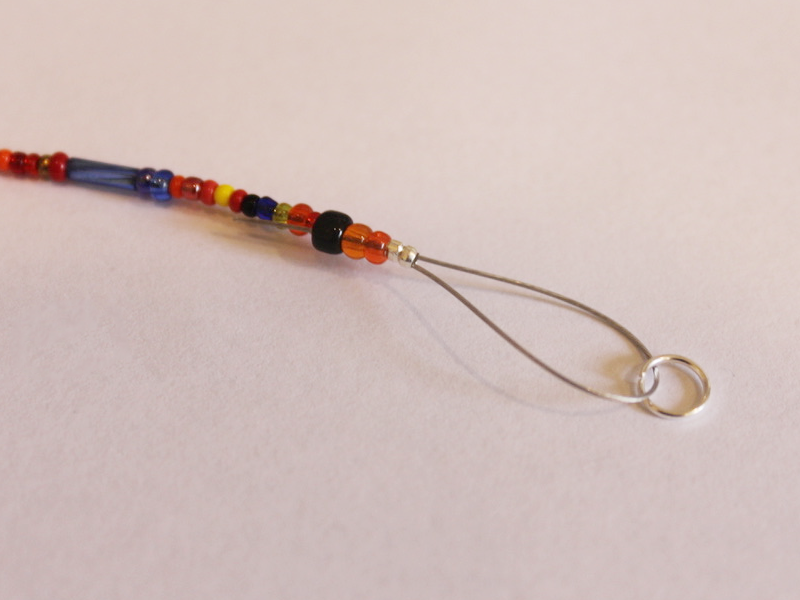
10: Pull the wire tight.
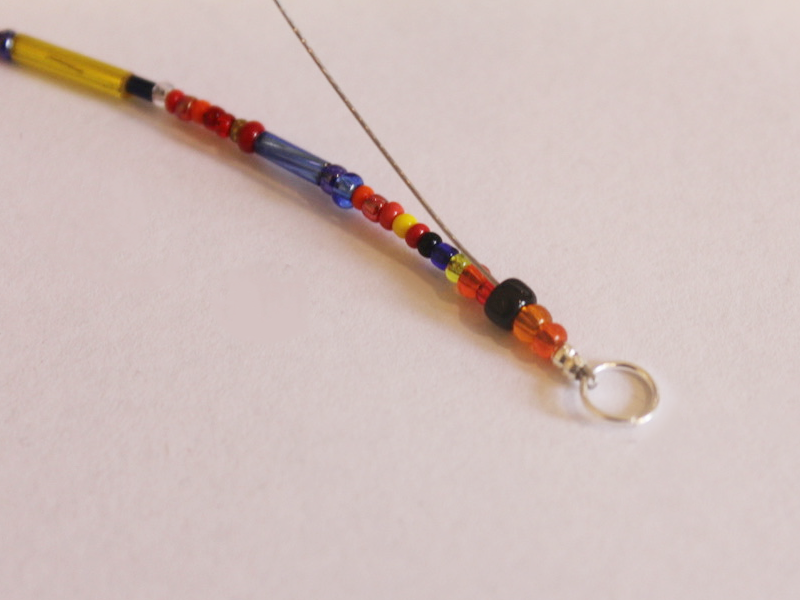
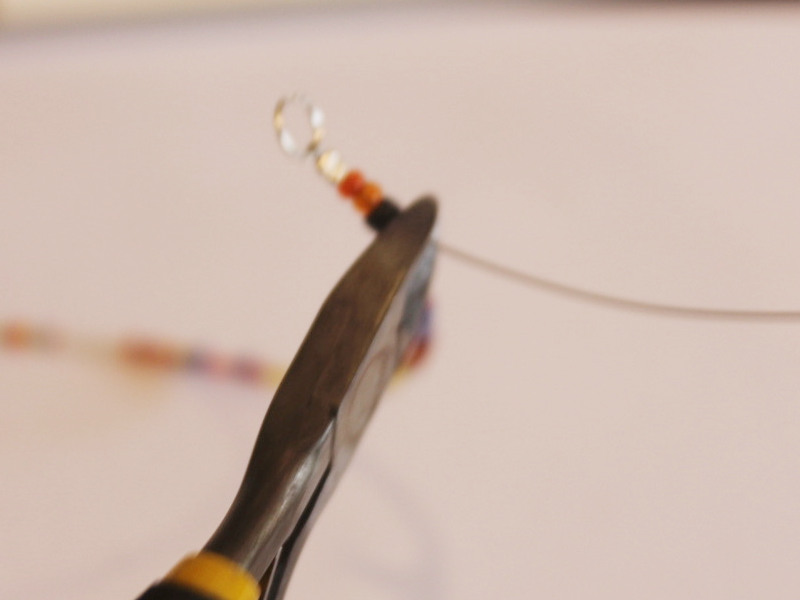
11: Squash the jump rings using the flat nose pliers.

12: Trim the excess wire using the cutting pliers.
13: Attach the lobster clasp to one side of the necklace onto one of the jump rings.
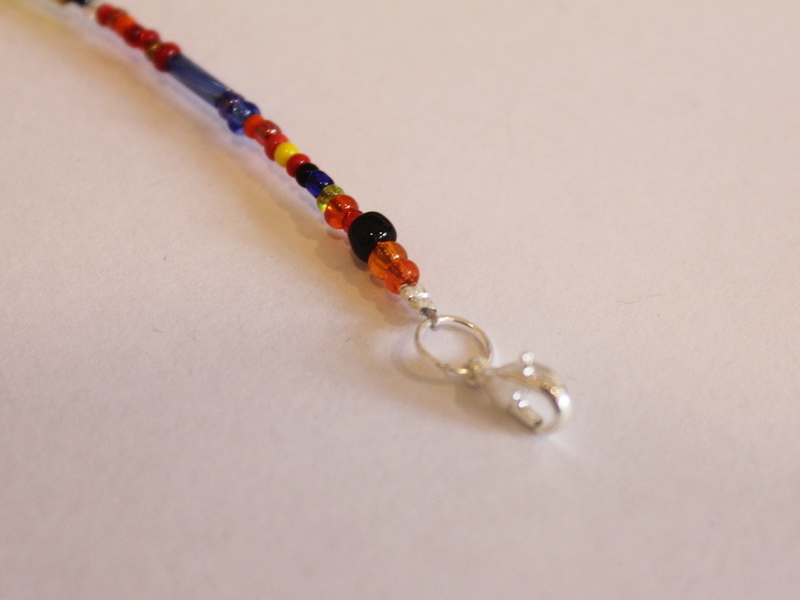
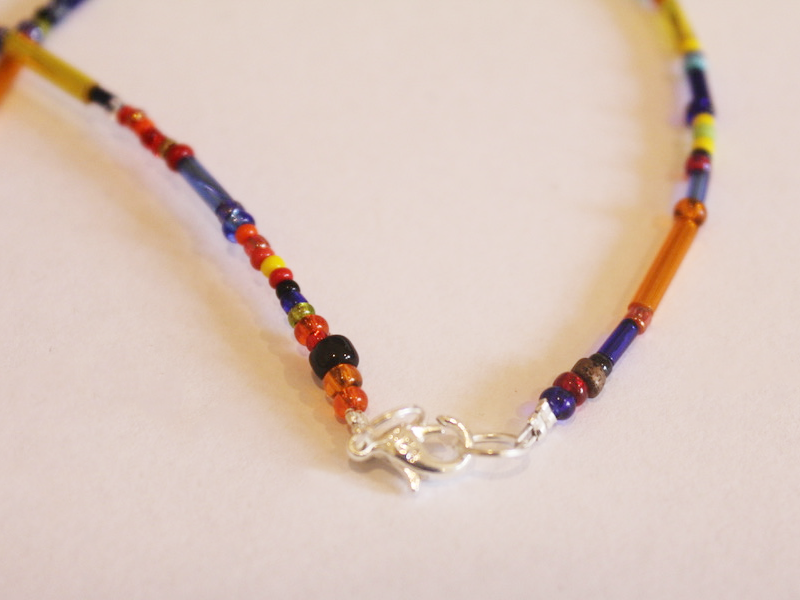
Now your rainbow pearl necklace is finished! How satisfying to get the look for less by making it yourself?
-
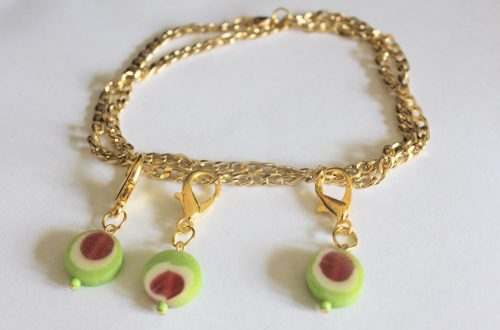
This necklace is special… gems and ribbons!
I really love the combo of gemstone beads on a ribbon to make a cool necklace. I made this one a statement using a bright orange ribbon. This tutorial contains affiliate links.
You will need the following tools and materials to make your ribbon gemstone necklace:
1: Pliers. You’ll need your flat nose pliers and round nose pliers to make your ribbon gemstone necklace.


2: A piece of ribbon long enough to be a necklace.

3: Two flat crimp ends.

4: A large jump ring.

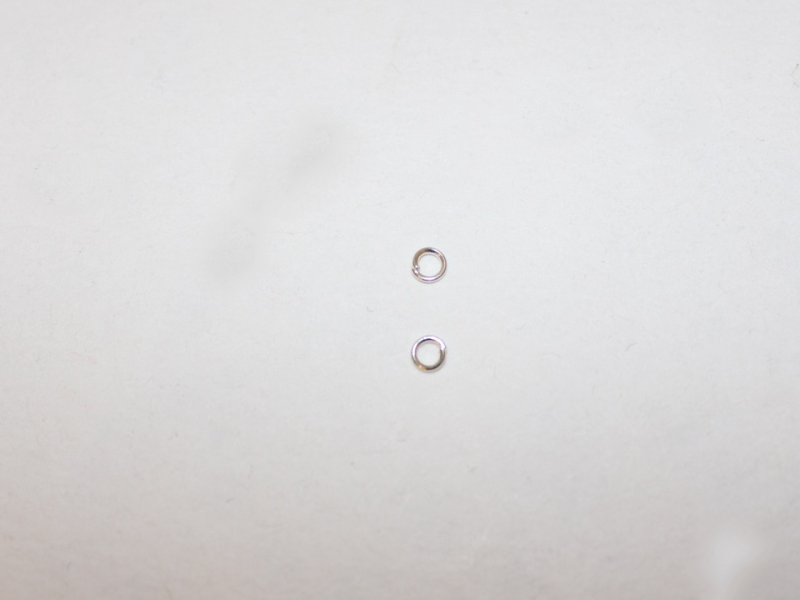
5: Two small jump rings.
6: Three head pins.

7: A lobster clasp.

8: Gemstone beads. I used this selection of beads including a shell bead and a coral bead.

Follow these steps to make your gemstone ribbon necklace:
1: Place each of the beads on the head pins.

2: Create a loop at the end of each pin using the round nose pliers to secure the beads in place.


3: Add the beads onto the large jump ring and close it.


4: Add the bead charm to the ribbon and tie a knot to secure it in the middle of the ribbon.


5: Add a crimp to either side of the ribbon ends using the flat nose pliers to squash it in place. I had to fold my ribbon a little to make sure it fit.


6: Add a jump ring to one side of the ribbon end and add the lobster clasp to the end.

7: Add the other jump ring to the other side of the necklace to finish it off.


Now your gemstone ribbon necklace is ready to wear! So cool!
-
Is your ankle looking too bare? Check out this cool leather anklet tutorial.

Anklets are a lot of fun! Is there a more perfect summer accessory than a flirty little anklet? This anklet design is made with some black leather cord and some bohemian glass beads!
You will need the following tools and materials to make this awesome leather anklet:
1: Pliers. You will need your cutting pliers (to cut your cord), flat nose pliers and round nose pliers to make this anklet.
2: A piece of leather cord long enough to fit comfortably around your ankle.

3: Two leather crimp ends.

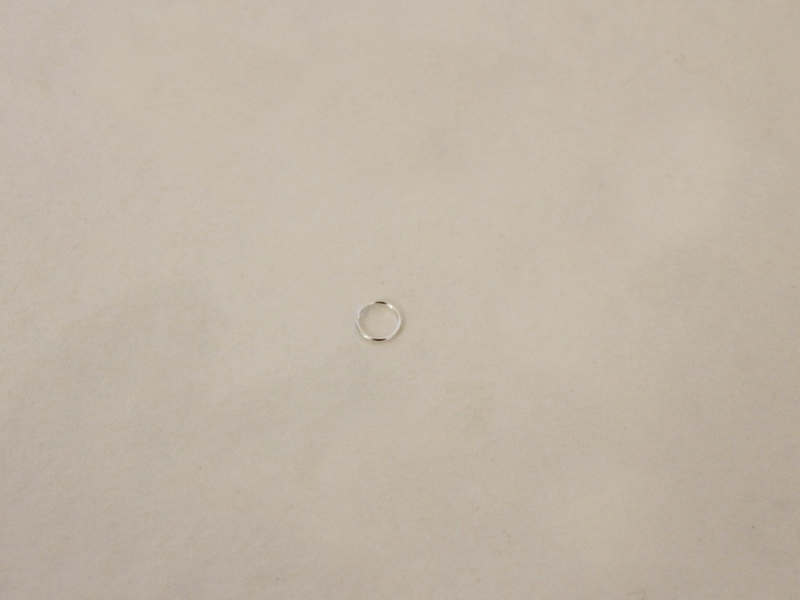
4: Two small jump rings.
5: One larger jump ring.
6: One lobster clasp.
7: Two small head pins.

8: Beads of your choice. I used these blue glass beads and two small seed beads.


Follow these steps to make yourself a cute leather anklet:
1: Place a crimp end at the end of the leather cord and get ready to secure it in place.
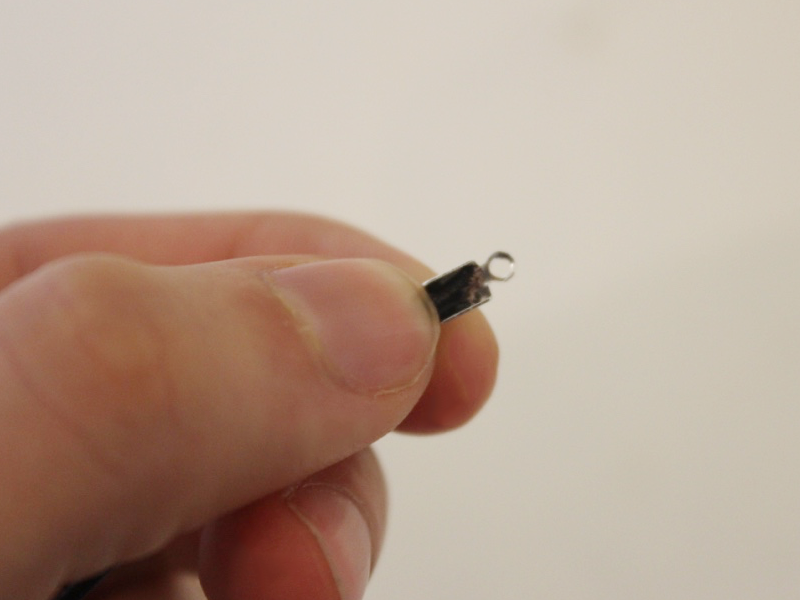
2: Squash one side of the crimp end down using the flat nose pliers.


3: Squash the other side of the crimp down to secure the crimp in place.

4: Repeat steps 2 and 3 for the other end of the leather.

5: Add a jump ring to one end of the leather cord and add the lobster clasp. Secure the lobster clasp in place by closing the jump ring.

6: Add another jump ring to the other end of the anklet.

7: Add your beads to each of the head pins.


8: Bend each pin at a right angle to the beaded section.


9: Using the round nose pliers again, form a loop at the top of each beaded pin to secure the beads in place.


10: Add the beaded head pins to the larger jump ring.

11: Slide the larger jump ring onto the closed one that attaches the clasp to the anklet. Secure it in place by closing it using your pliers.


Once your bead charms are in place your anklet is complete! How will you make this design your own?

-
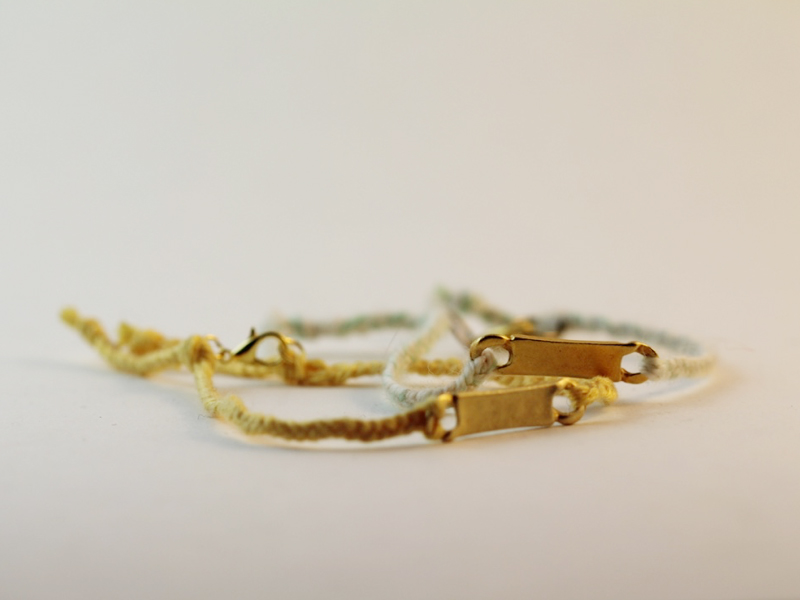
Braiding the Night Away… How to Make A Braided Charm Bracelet
This braided charm bracelet is really simple to make. I think that mixing cotton thread with metal findings makes for some sweet and wearable accessories. You could use a pre-fabricated charm connector, or maybe try making your own beaded charm bar to wear across your wrist! Get experimental and make lots to stack up your arms.
You will need the following tools and materials to make this bracelet:
1: Scissors.

2: Flat nose pliers.
2: Colorful cotton thread cut to length. I used three long pieces of yellow cotton so that I could create a double thickness braid. Make sure you add a little extra length before you cut your thread to make sure that your bracelet fits.

3: One charm connector.

4: One Lobster Clasp.

5: Two Jump Rings.

The Steps:
1: Thread the cotton yarn through each end of the charm connector.


2: Separate the thread into three sections and begin braiding. Try to keep the braiding tight at the start to make sure that the braid is consistent. Continue braiding until the braid is long enough to wrap halfway around your wrist.

3: Once the braid is long enough, secure the end with a knot.


4: Repeat steps 2 and 3 for the other side of the bracelet.

5: Open each jump ring and carefully slide it into the knot at each end of the bracelet.


6: Slide the lobster clasp onto one jump ring and secure them both closed using your flat nose pliers.

7: Once the clasp has been secured, begin braiding again starting from the end knot. Braid for approximately 1.5cm (0.6 inches) and then secure again with a knot.

8: Trim the excess cotton thread using the scissors.

9: Once the ends have been trimmed your bracelet is complete!
Click here to buy this yellow braided beauty!