-
This necklace is special! Make one of your own today.
This necklace looks amazing, it’s a really cool way to use your favorite drop beads.
You will need the following tools and materials to make your necklace:
1:Pliers. You will need your flat nose pliers and round nose pliers.


2: Two pieces of chain to form the length of your necklace.

3: Two pieces of wire or two eye pins, one longer than the other.

4: A toggle clasp.

5: Four jump rings.

6: Beads of your choice. I used some frosted blue glass beads and a turquoise droplet bead.


Follow these steps to make your necklace:
1: If you are using wire, make a loop at the end of the longer piece of the wire.


2: Add the beads to the wire until there is only 1cm left without beads.


3: Create a loop at the other end of the wire.


4: Create a loop at the end of the shorter piece of wire.


5: Add the turquoise bead to the wire.

6: Create a loop at the other end of the wire using the round nose pliers to secure the bead on the wire.


7: Bend the longer beaded wire into a U shape and attach the drop bead to the inside of the U.


8: Attach each piece of chain to either side of the beaded U shape using two of the jump rings.


9: Attach each component of the toggle clasp to either end of the chain to finish the necklace. Secure them in place using the two remaining jump rings.


Now your necklace is finished!

Here’s another one I made with a longer U and a glass feature bead.


-
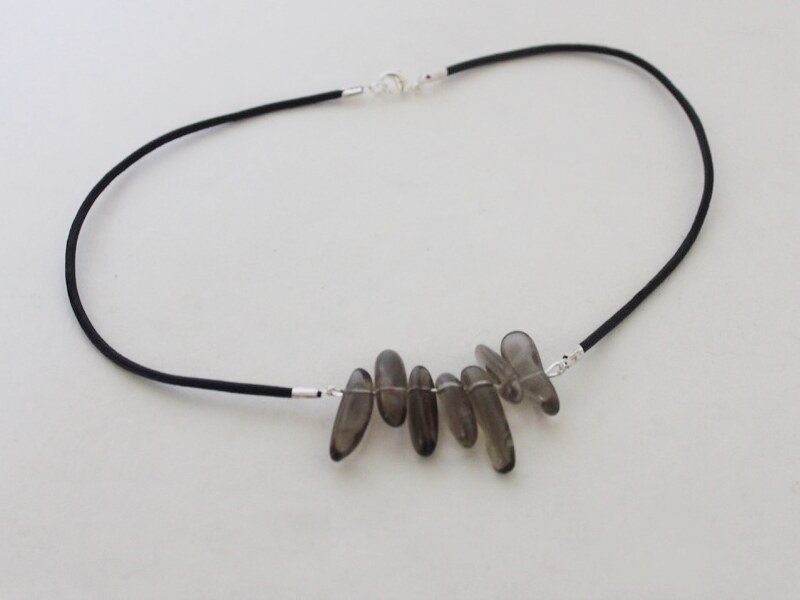
Need something tough but healing? Make this crystal choker necklace!
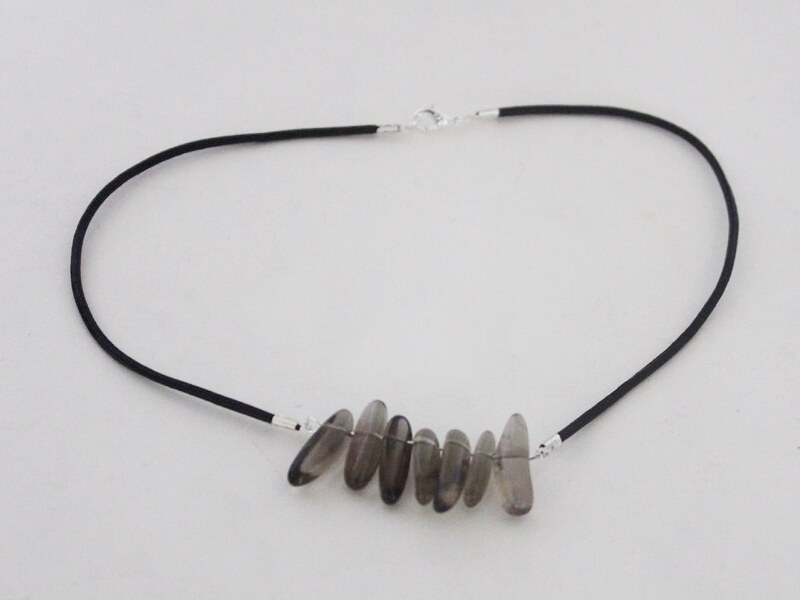
Do you need a cute new accessory to jazz up your jewelry collection? Make this awesome crystal choker necklace.
You will need the following tools and materials to make your crystal choker necklace:
1: Pliers. You will need your cutting pliers, flat nose pliers and round nose pliers.
 2: A long eye pin.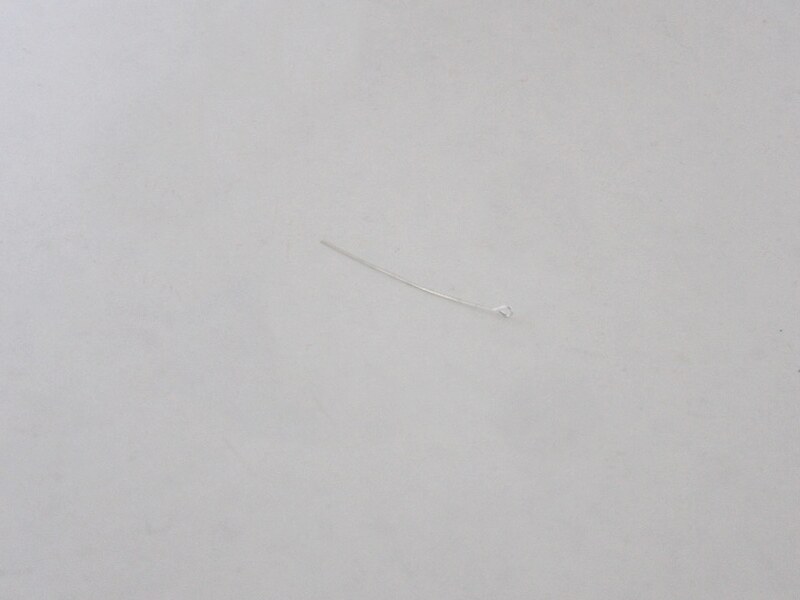
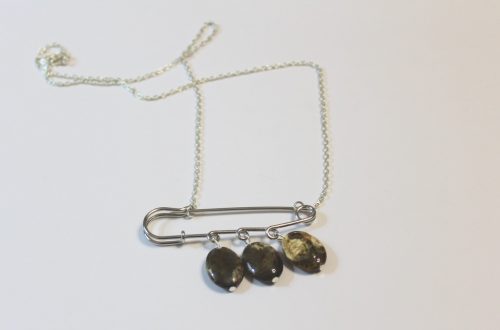
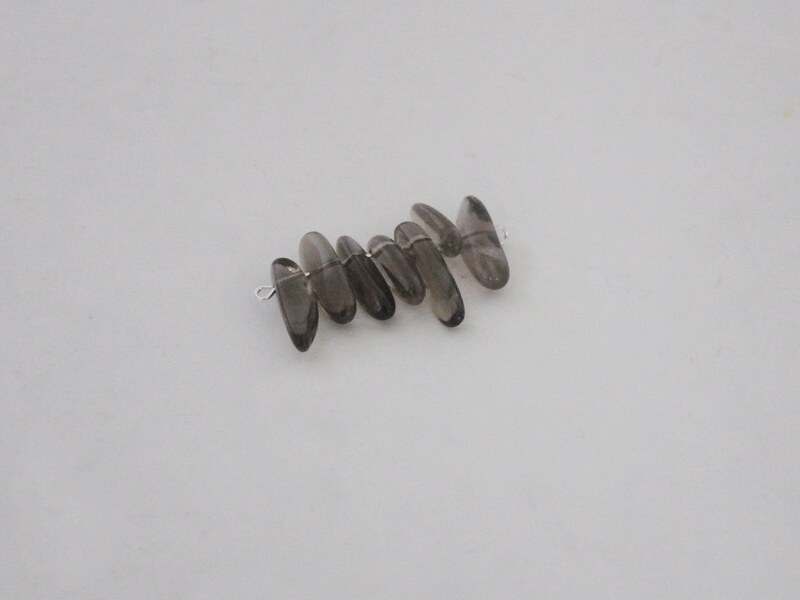
3: Gemstone beads. I used these smoky quartz beads.

4: Two pieces of leather cord. Approximately 15.5 cm long.
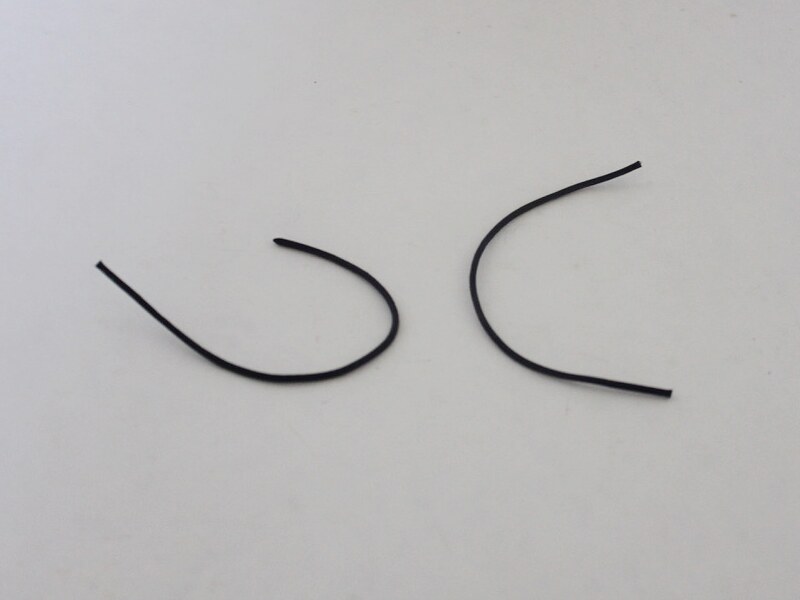
5: Four leather crimp ends.

6: Two jump rings.

7: A lobster clasp.

Follow these steps to make your crystal choker:
1: Add the beads to the eye pin.
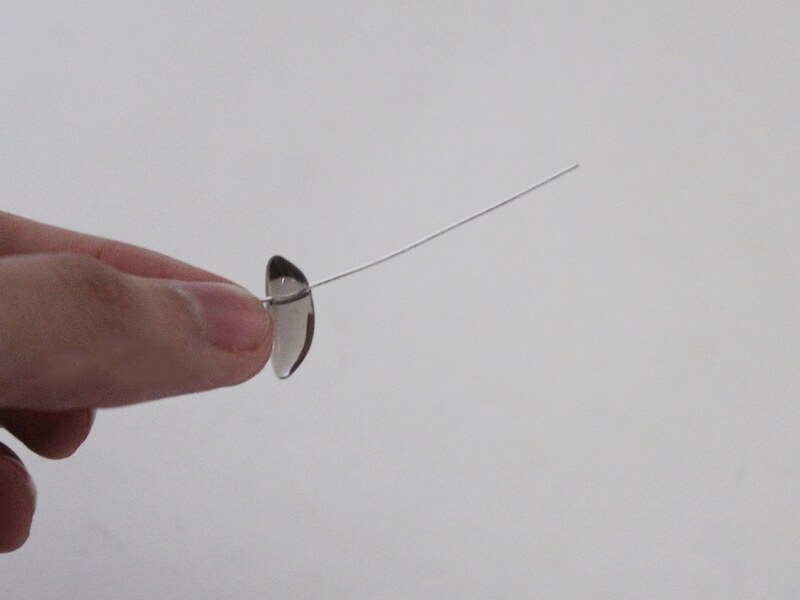
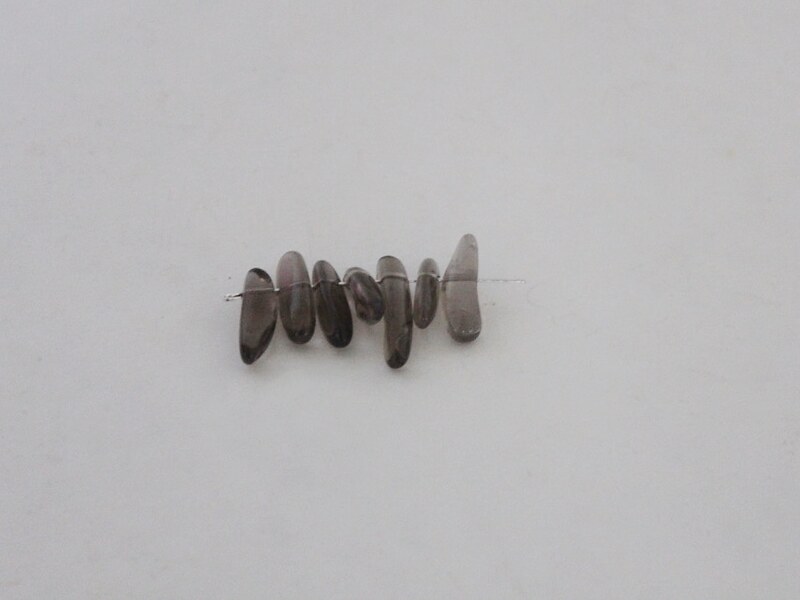
2: Bend the end of the pin to form a right angle using the round nose pliers.
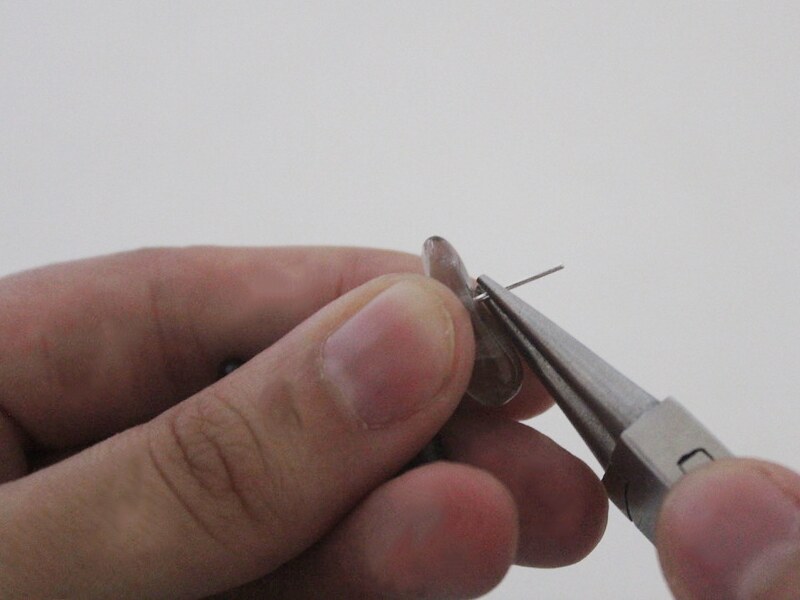
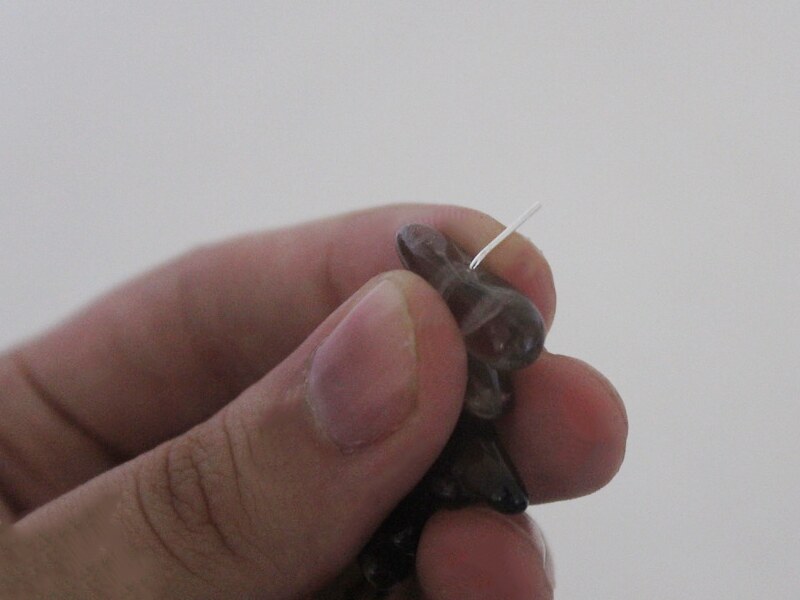
3: Create a loop at the end of the pin using the round nose pliers. This will secure the beads on the pin.
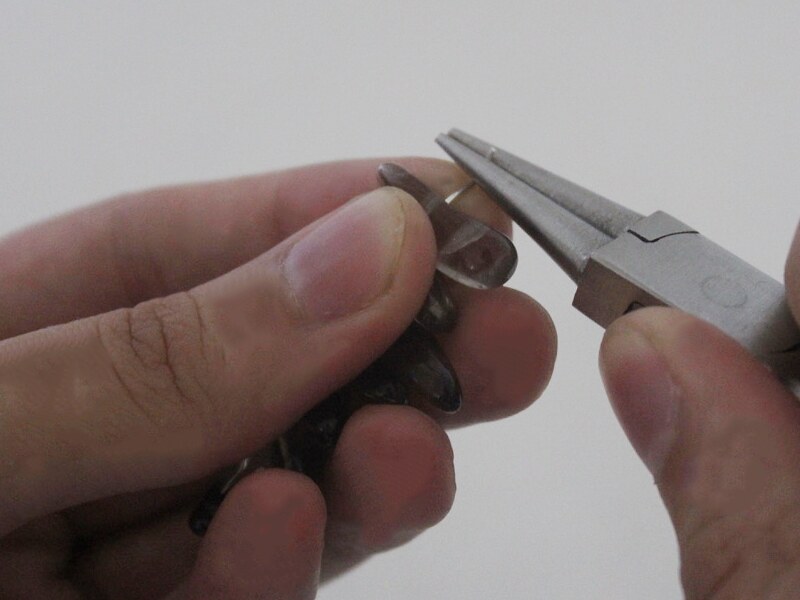
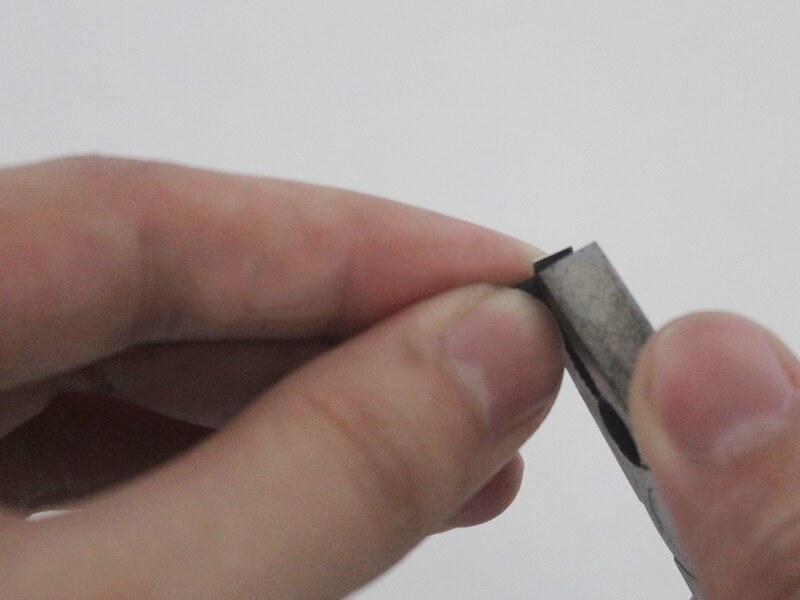
4: Add each of the crimp ends to the ends of the leather. Fold each side of the crimps around the leather using the flat nose pliers.
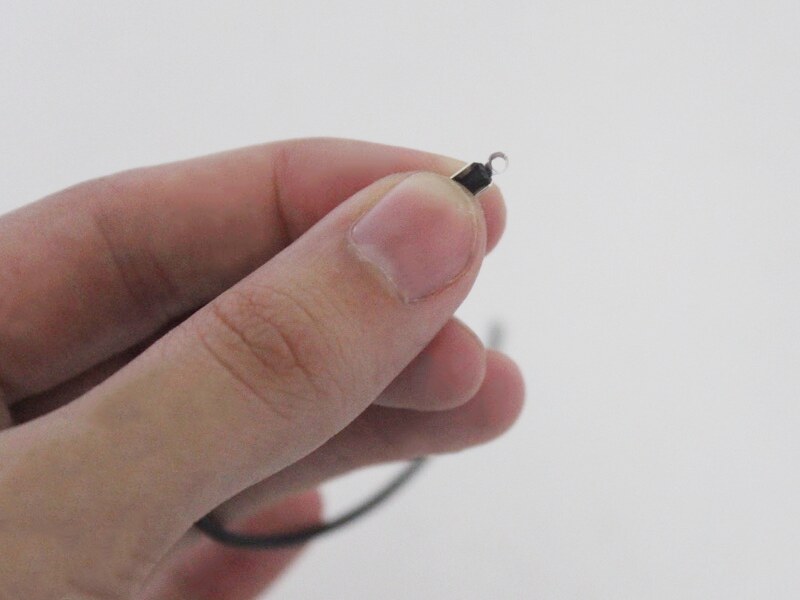
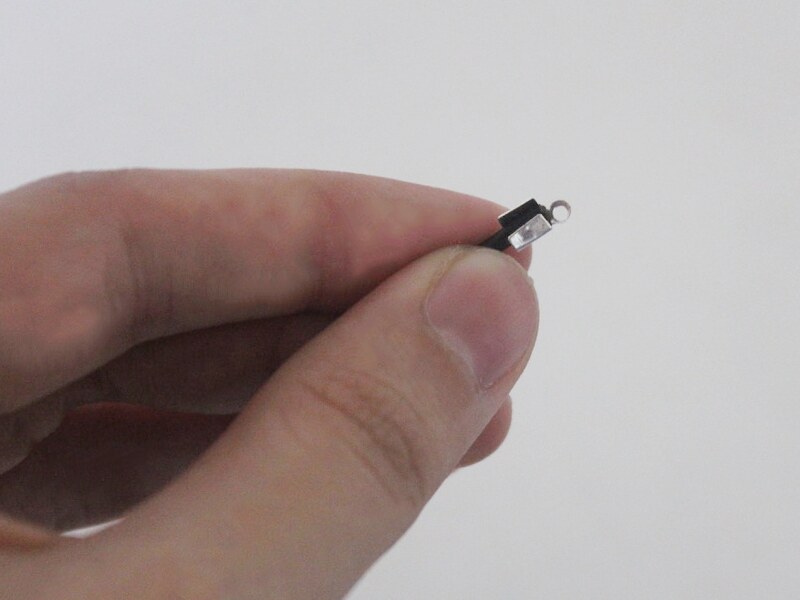
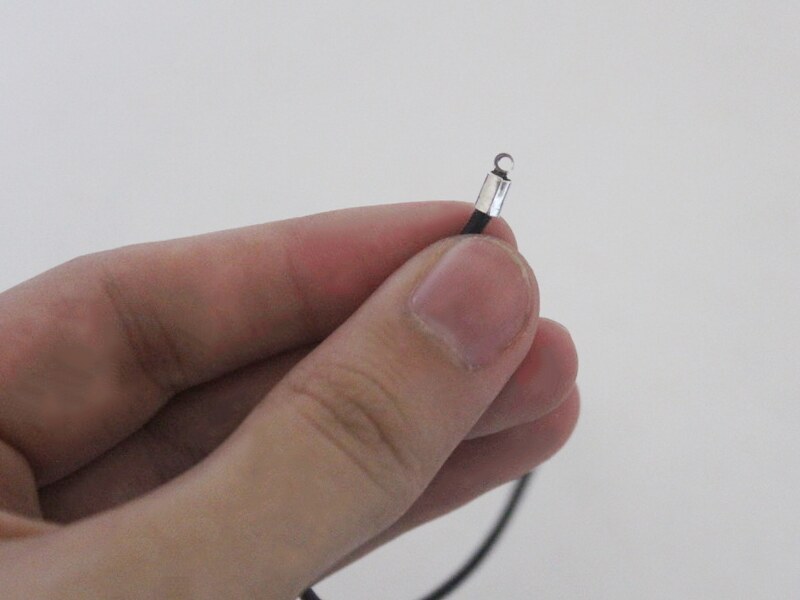
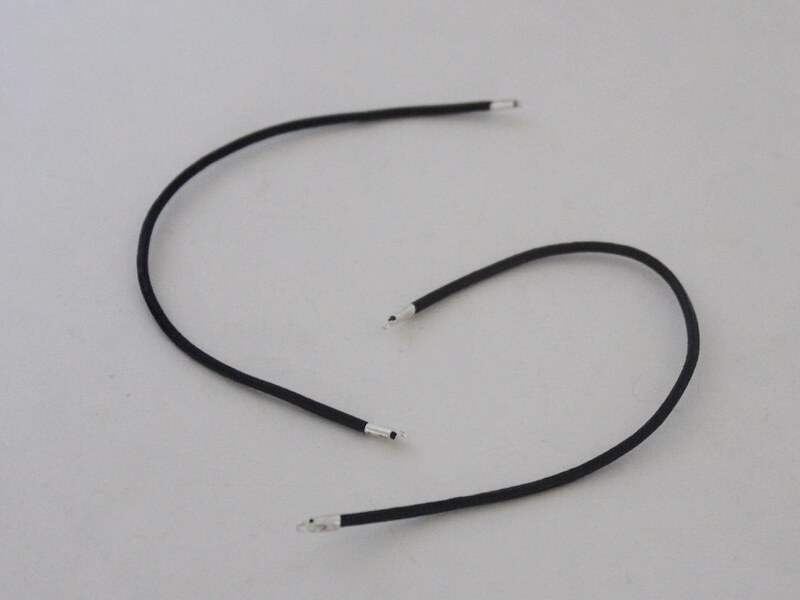
5: Attach a piece of leather to each side of the crystal beaded pin.
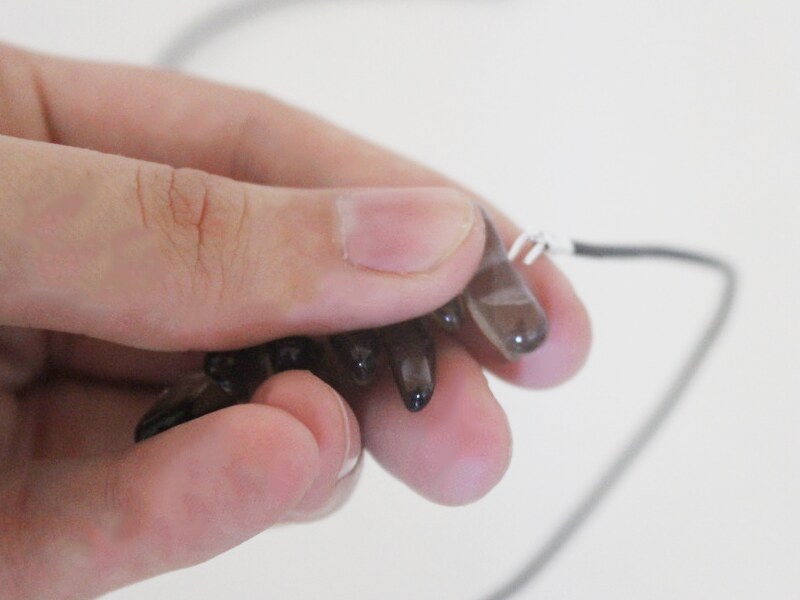
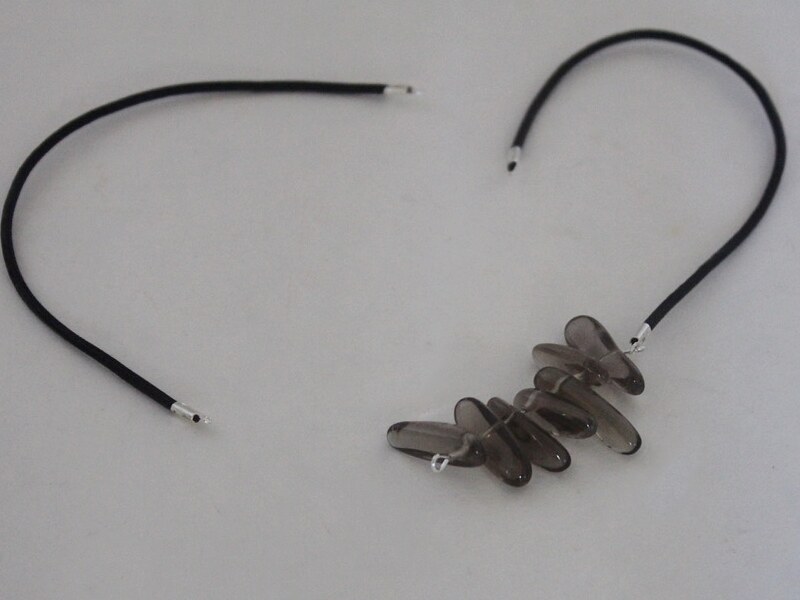
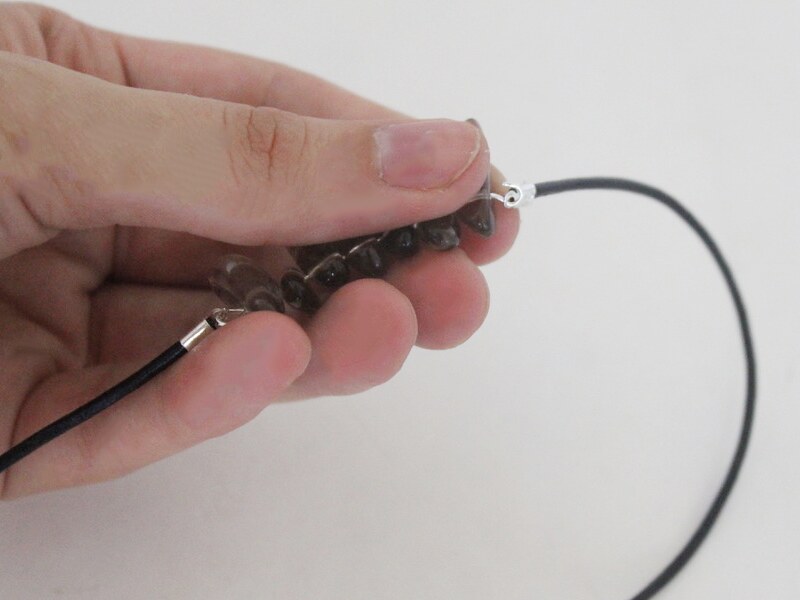

6: Add a lobster clasp to one side of the necklace using one of the jump rings.
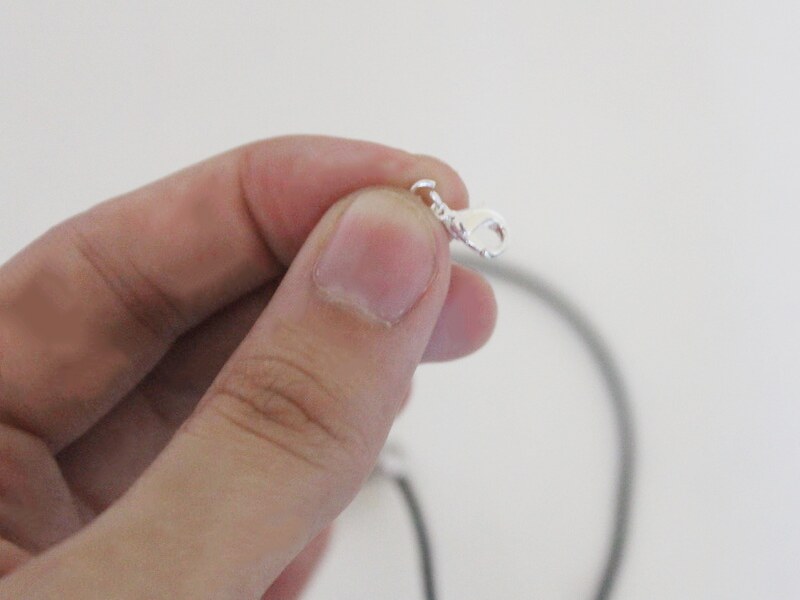
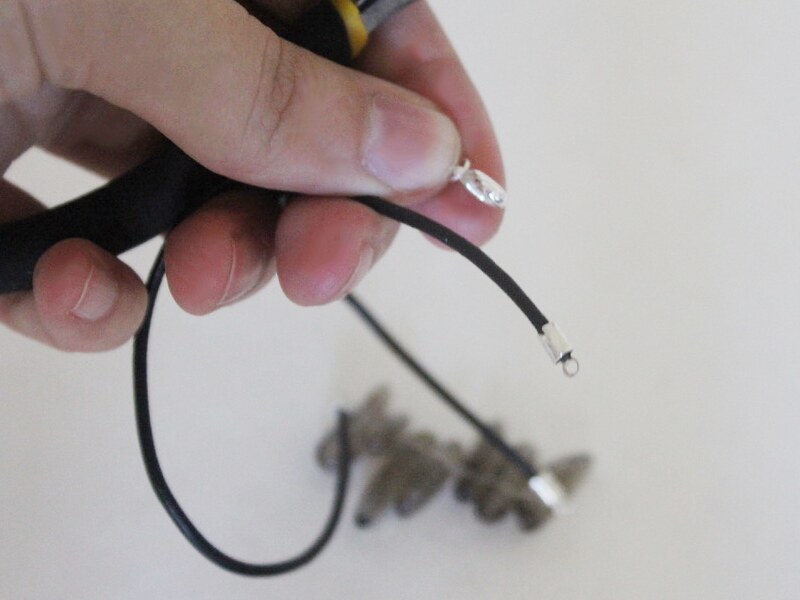
7: Add the remaining jump ring to the other side of the necklace to finish your necklace.
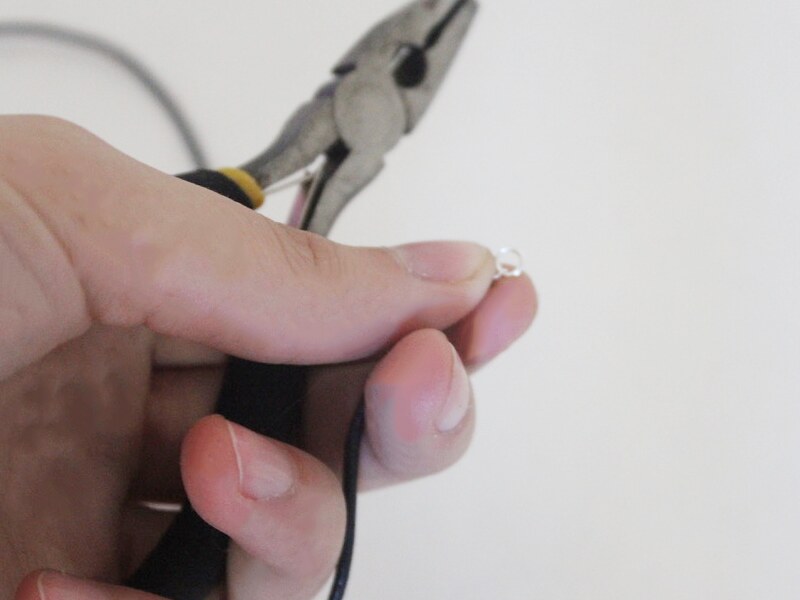
Now it’s ready to wear… a perfect combination of tough and whimsical!
You May Also Like

I keep hearing that chunky chain necklaces are trendy right now… here’s how to make a gold chunky chain necklace that makes a statement.

Half and Half for the best of both worlds? Here’s how to make a half bead half chain necklace!

How to Make a Double Strand Necklace, For When One Strand Just Isn’t Enough
-
How to make a mixed media double strand necklace. Chains and beads for the win!

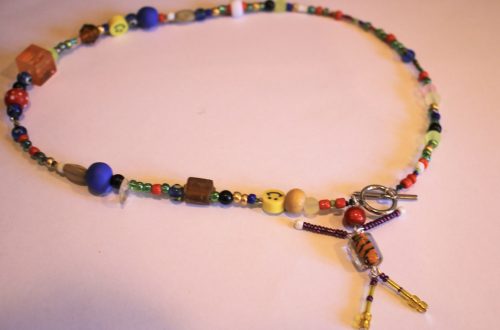
This necklace is another version of the double strand necklace. One strand is made using glass seed beads, the other with chain and gemstone beads!
You will need the following tools and materials to make your necklace:
1: Pliers. You will need your round nose pliers, flat nose pliers and cutting pliers to make your necklace.
2: A piece of tiger tail wire. Cut yours to your desired length, I made mine shorter than the chain component.

3: Glass seed beads. I used a mix of multi-colored beads.

4: Two pieces of chain.

5: An eye pin.

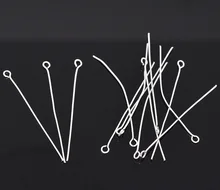 AliExpress.com Product – Free Shipping! 300PCs Silver Plated Eye Pins 50×0.7mm(21 gauge) (B01727)
7: A large feature bead. I used this gemstone slice bead.

8: Two medium sized jump rings.

9: A lobster clasp.

10: Four crimp beads.
Follow these steps to make your double strand necklace:
1: Put the gemstone bead onto the eye pin.

2: Bend the pin to form a right angle with the bead.

3: Create a loop using the round nose pliers to secure the bead onto the pin.


4: Add a piece of chain to each side of the eye pin.


5: Set the chain piece aside.

6: Add two crimp beads and a jump ring to the end of the tiger tail wire.


7: Loop the end of the wire around the jump ring and pull it through the crimp beads.

8: Squash the crimp beads using the flat nose pliers.


9: Start adding the beads to the wire. I added my beads in a random order but you can create any pattern you choose.

10: Continue adding beads until your necklace has reached your desired length.

11: Add the other two crimp beads and the remaining jump ring to the wire.

12: Loop the end of the wire around the jump ring and back through the crimp beads, pull the wire tight.


13: Squash the crimps.


14: Trim the excess wire.

Your beaded strand is now finished!

15: Open one of the jump rings and attach one side of the chain. Add the clasp to the open jump ring and then close it to secure the components together.

16: Add the other side of the chain component to the other side of the beaded strand. Once the other side is attached the necklace is finished and ready to wear.


Pretty cool huh?!

-
Do you want to keep the ocean close? Here’s how to make a bottle charm filled with shells and sea glass

This pendant is so cute, fill it with your fave beach combing finds, or perhaps with some other special pieces. Affiliate links included
You will need the following tools and materials to make your own sea bottle charm:
1: A small glass bottle with a cork top.

2: Shells and sea glass to fill the bottle.

3: A small eye pin.

4: A large jump ring.

5: A wire collar necklace.

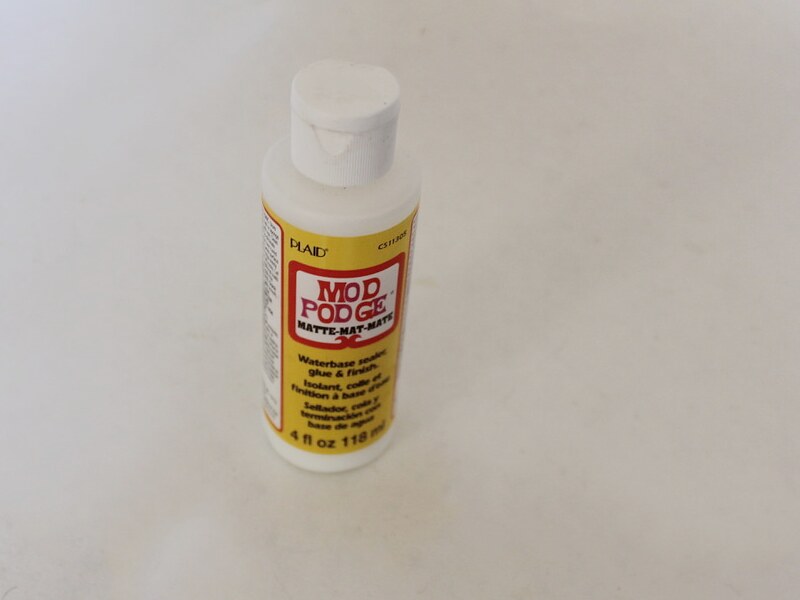
6: Water based glue, I used Mod Podge.
7: A skewer.

Follow your steps to make a sea bottle charm:
1: Take the cork out of the bottle.

2: Fill the bottle with sea glass and small shells.

3: Add some glue to the cork using the skewer.

4: Put the cork back in the bottle and wipe off excess glue.

5: Push the eye pin into the middle of the cork.


6: Add some glue around the eye pin to secure it to the cork.

7: Add the large jump ring to the eye pin.


8: Add the charm to the collar necklace to finish the design off!

Now your charm is ready to wear!
-
This Circle Pendant Is Simple and Beautiful, Load Yours up With Your Favorite Beads!

The highlight of this necklace is a lovely beaded circle pendant! You can use all kinds of lovely beads to make this design your own. note: contains affiliate links.
You will need the following tools and materials to make your necklace:
1: Pliers. You will need your cutting pliers, round nose pliers and flat nose pliers to make your necklace.
2: Wire. I used some copper wire to make my circle pendant. I cut mine to approximately 12cm in length.

3: Three jump rings.

4: A piece of chain at the length you want your necklace. I used copper chain to match the wire.

5: A lobster clasp. I used this copper colored one.
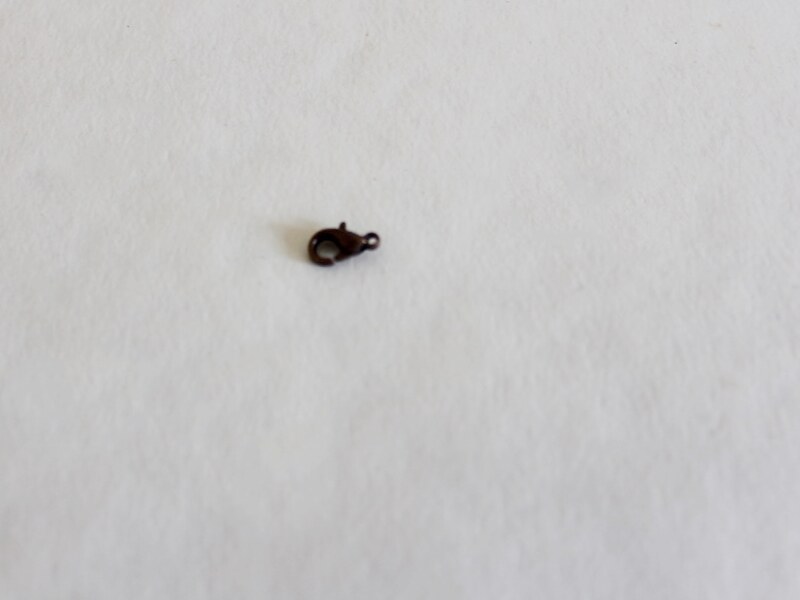
6: Beads of your choice. I used some red glass seed beads and some small timber beads.


Follow these steps to make your circle pendant necklace:
1: Create a loop at one end of the wire using the round nose pliers.


2: Add the beads to the wire in your choice of pattern.

3: Continue beading until there is approximately 1cm of wire remains unbeaded.

4: Bend the end of the wire so that it is at a right angle to the beaded section.

5: Create a loop at the end of the wire using the round nose pliers.
6: Attach the two loops together and close them to create a circle shape. You might need to gently reshape the loop to make it more of a circle shape.


7: Attach a jump ring to one of the loops at the top of the circle pendant.
8: Slide the ends of both chains onto the open jump ring.


9: Close the jump ring to secure the chain in place.

10: Split the chain in the middle opposite the place where the pendant is attached.
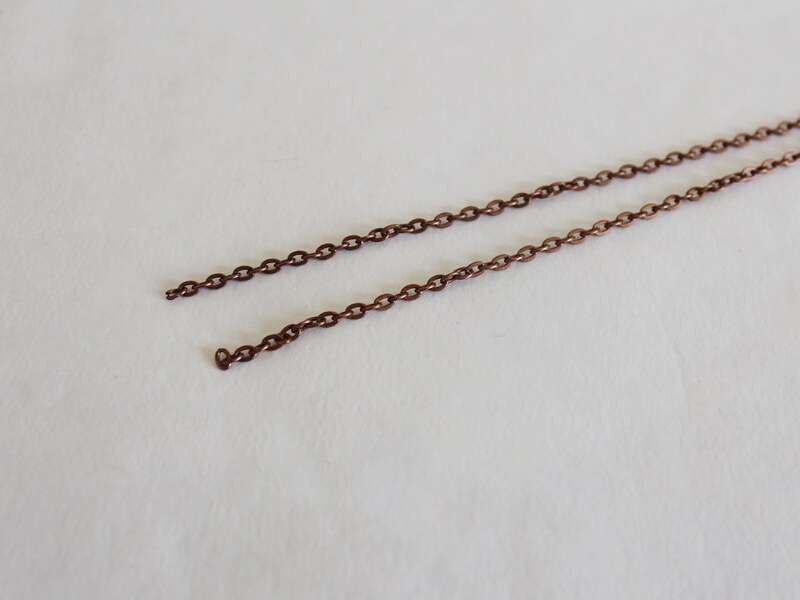
11: Add a jump ring to one side of the chain and add the lobster clasp. Close the jump ring to secure the lobster clasp in place.

12: Add the remaining jump ring to the other side of the chain to finish the necklace!

-
Make your jewellery work for you, this necklace is also a bracelet!

This choker necklace can also be worn as a cool bracelet. It’s super cool and easy to make.
You will need the following tools and materials to make your choker/bracelet:
1: Pliers. You will need your flat nose pliers, round nose pliers and cutting pliers to make this choker/bracelet.
2: A piece of leather or faux leather long enough to fit closely around your neck.

3: Two flat crimp ends.

4: Two jump rings.

5: A toggle clasp.

6: A head pin.

7: A bead or charm of your choice. I used this glass bead.

Follow these steps to make your convertible choker bracelet:
1: Add a crimp to each end of the leather, securing it in place by squeezing it around the leather using the flat nose pliers.


2: Add a jump ring to one end and attach one part of the toggle clasp.


3: Add the other jump ring and the second part of the clasp to the other end of the leather.


4: Put the bead onto the head pin.

5: Bend the head pin so that it is at a right angle to the bead using the round nose pliers.


6: Trim the end of the pin if required (it should extend approximately 1cm from the top of the bead). If no trimming is required, curl the pin into a loop using the round nose pliers.


8: Open the charm loop slightly and attach the charm to one of the jump rings that connects the leather and the clasp.

9: Close the charm loop to secure it in place. Once your charm is secured in place your creation is ready to wear, either as a choker or a bracelet!

Here’s the design worn as a bracelet.


And here it is as a choker necklace.

-
Use Special Charms and Some Awesome beads to make this stunning necklace.

This pendant necklace is so cute! Use a pre-made pendant, or make your own, and surround it with some pretty accent beads to make a lovely little necklace!
You will need the following tools and materials to make this necklace:
1: Pliers. You will need your cutting pliers, round nose pliers and flat nose pliers to make this necklace.
2: A piece of chain long enough to fit around your neck. You can make your chain longer or shorter depending on where you want your necklace to sit.

3: Two eye pins.

4: Two smaller jump rings.
5: One medium sized jump ring.

6: A lobster clasp.
7: A pendant or charm. I used this bent wire charm that used to be an earring.

8: Extra beads. I used two silver colored metal beads. You can use any beads that you think will complement your chosen pendant or charm.

Follow these steps to make your necklace:
1: Split the piece of chain in half, you will have two equal length pieces of chain.

2: Add each of the accent beads to each of the eye pins.

3: Bend each eye pin at a right angle to the beaded section using the round nose pliers.


4: Trim each pin if required, the angled part of the pin should be approximately 1cm in length.


5: Create a loop at the top of the pin using the round nose pliers to secure the beads onto the pins.


6: Add the beaded pins to one end of each chain.


7: Attach the other ends of each beaded pin to the larger jump ring and slide the charm on in the middle of the two chains.

8: Close the jump ring to secure the chains and charm together.

9: Add a smaller jump ring to the other end of one of the chains and add the lobster clasp to the same jump ring. close the jump ring to secure the clasp in place.


10: Add the other jump ring to the other side of the necklace, close it to secure it in place.

Now your necklace is finished! How simple but beautiful is this design?


Here’s another accent bead necklace made using a resin charm.

-
This fringe pendant necklace is so bright and fun! Make one as a fun christmas present!

Here’s all the steps you need to follow to make an awesome fringe pendant! Contains affiliate links.
You will need the following tools and materials to make your fringe pendant necklace:
1: Pliers. You will need your cutting pliers, flat nose pliers and round nose pliers to make this necklace.
2: One long eye pin.

3: Seven head pins that decrease in length, this will give your pendant a triangle shape.

4: A piece of chain that is at the length you would like your necklace to be.

5: A lobster clasp.

6: Two jump rings.

7: Beads of your choice. I used seven opalite beads and some orange and yellow glass beads.


Follow these steps to make your fringe pendant necklace:
1: Add an opalite bead to each of the head pins.


2: Add the orange beads to each of the head pins leaving approximately 1cm exposed.

3: Bend each pin at a right angle to the beads using the round nose pliers.

4: Create a loop at the top of each pin using the round nose pliers to secure the beads in place.


5: Add a yellow bead to the eye pin, followed by a beaded pin. Continue adding beads and pins in this pattern until you have added all the pins to the eye pin.

6: Bend the eye pin to a right angle using the round nose pliers.

7: Trim the pin using the cutting pliers.

8: Create a loop at the end of the eye pin to secure the beads and head pins in place.


9: Attach each end of the chain to each side of the eye pin.


10: Split the chain in the middle.

11: Attach a jump ring and the lobster clasp to one side of the newly opened necklace chain.

12: Attach a jump ring to the other side of the chain to finish off your necklace.


Once the final jump ring is in place your fringe pendant necklace is finished and ready to wear!

Here’s another necklace where the pins decline in the opposite direction.

-
Add Some Sparkle for the Summer. Make This Waist Chain You can Also Wear as a Necklace
This waist chain is SUPER easy to make, and the perfect addition to your summer wardrobe. Pop it over your swimsuit, or add it when you’re wearing your favorite crop top for some extra cool.
You will need the following tools and materials to make this waist chain:
1: Pliers. You will need your round nose and flat nose pliers to make this waist chain.
2: A piece of chain long enough to fit around your waist. I used this chunky chain.

3: Two large jump rings.
4: A lobster clasp.
Follow these steps to make your waist chain:
1: Add a jump ring to one end of the chain and slide on the lobster clasp. Close the jump ring to secure the clasp in place.

2: Add the other jump ring to the other side of the chain and close it to secure it in place.

Once the jump rings are added the waist chain is finished and ready to wear!! How easy was that? And you can also wear it as a simple necklace too!


-
Triangles are Great! Here’s how to Make a Triangle Pendant Necklace.

This pendant necklace looks so cool and such a great way to show off your favorite beads.
You will need the following tools and materials to make your triangle pendant necklace:
1: Pliers. You will need your round nose pliers and flat nose pliers to make this necklace.
2: A piece of leather cord to make your necklace.

3: One small jump ring.

4: One large jump ring.

5: Two medium jump rings.

6: Two leather crimp ends.

7: One lobster clasp.
8: Two small pieces of chain.

9: One eye pin.

10: Beads of your choice. I used two brown round beads and one fancy glass bead.


Follow these steps to make your triangle pendant necklace:
1: Add the beads to the eye pin.

2: Bend the pin to a right angle using the round nose pliers.


3: Form a loop at the end of the pin using the round nose pliers.


4: Add a chain to each end of the bead charm, sliding it onto each loop. Close the loop to secure the chains in place.


5: Use the smallest jump ring to link the loose ends of the chains together to form a triangle.


6: Add the largest jump ring to the top of the triangle and slide it onto the leather cord.


7: Add a leather crimp end to each end of the leather cord. Secure these crimp ends in place by using the flat nose pliers to fold the sides of the crimp around the cord.

8: Add a jump ring to one side of the leather necklace and add the lobster clasp before closing the ring.


8: Add the final jump ring to the other side of the leather cord to finish the necklace.
Now your triangle pendant necklace is finished and ready to wear!