-
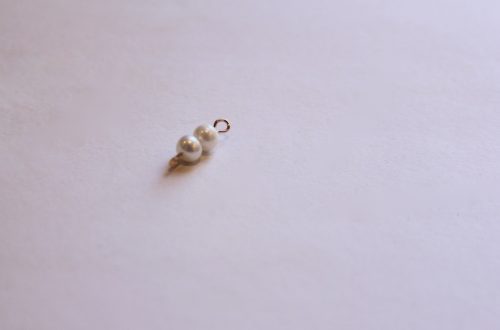
How to make a beaded teardrop pendant

Here’s how to make a cute beaded teardrop pendant using memory wire. If you’re sick of making chokers with your memory wire coil this is another way to use it!
You will need the following tools and materials to make your teardrop pendant:
1: Pliers. You’ll need your cutting pliers, flat nose pliers and round nose pliers.

2: A piece of memory wire, half of a necklace loop.

3: Beads. I used these mixed glass seed beads.

Follow these steps to make your teardrop pendant:
1: Create a loop at the end of one side of the piece of memory wire.


2: Add the beads to the wire until there is only 1cm left unbeaded.


3: Create a loop at the other end of the wire securing the beads in place.

4: Link the loops together to form the teardrop shape.


Now your pendant is finished you can attach it to a chain or beaded strand of your choice!

Here’s a pair of earrings I made using the same technique. Just add an earring hook to the top of each teardrop instead of a chain!

-
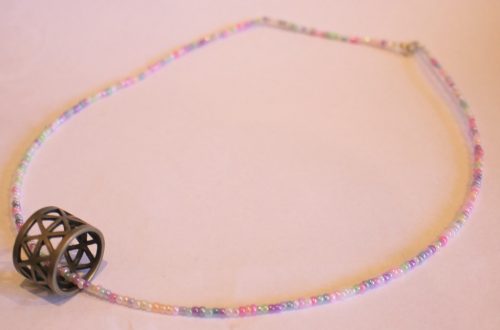
All the steps to make your own triple strand leather necklace

Want to show off what’s under the collar? Why not enhance your decolletage with this amazing triple strand necklace?
You will need the following tools and materials to make your triple strand necklace:
1: Pliers. You’ll need your cutting pliers, flat nose pliers and round nose pliers.
2: Three pieces of leather cord, each one longer than the other. I used this brown leather cord.

3: Two flat crimp ends. I used two gold ones.

4: Two jump rings.

5: A clasp.

6: Beads that will fit on your leather cord. I used six of these gold tube beads.

Follow these steps to make your triple strand necklace:
1: Hold the ends of the cords together.

2: Place one of the crimps around the ends of the leather.

3: Squash the crimp around the leather using the flat nose pliers.


4: Add beads to each of the strands. I added one bead to the shortest strand, two to the middle strand and three to the longest one.

5: Line up the other ends of the strands.

6: Add the crimp to the other side of the necklace to secure the strands together.

7: Add a jump ring to one side of the necklace and attach the clasp.

8: Add the other jump ring to the other side of the necklace to finish the necklace.

Now it’s ready to wear! Gorgeous.
-
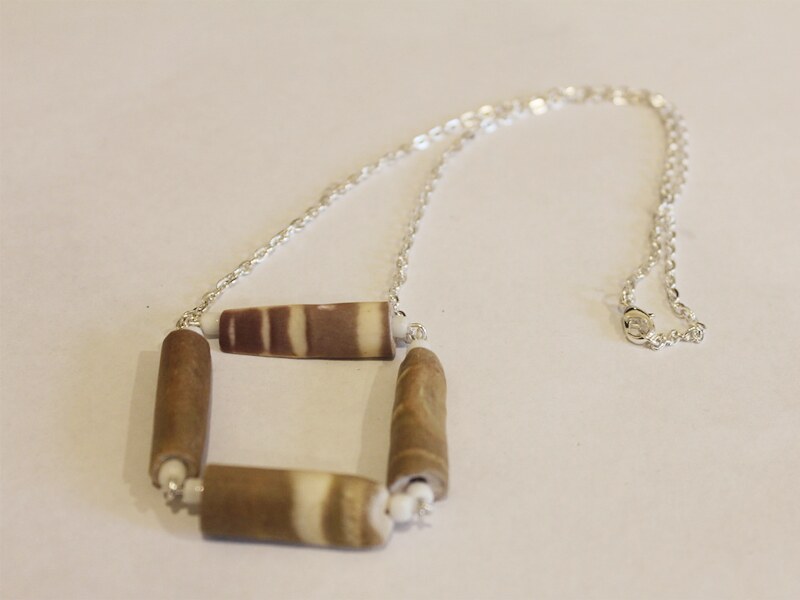
Here’s how to make a cute square pendant necklace
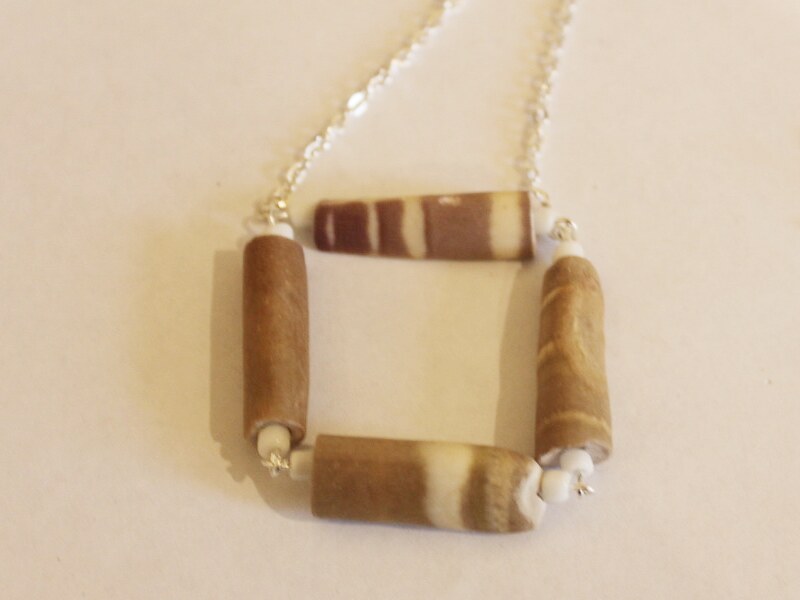
Remember the square earrings? Well here’s how you can make a square beaded pendant! This tutorial contains affiliate links.
You will need the following tools and materials to make your square pendant necklace:
1:Pliers. You will need your round nose pliers, flat nose pliers and cutting pliers.
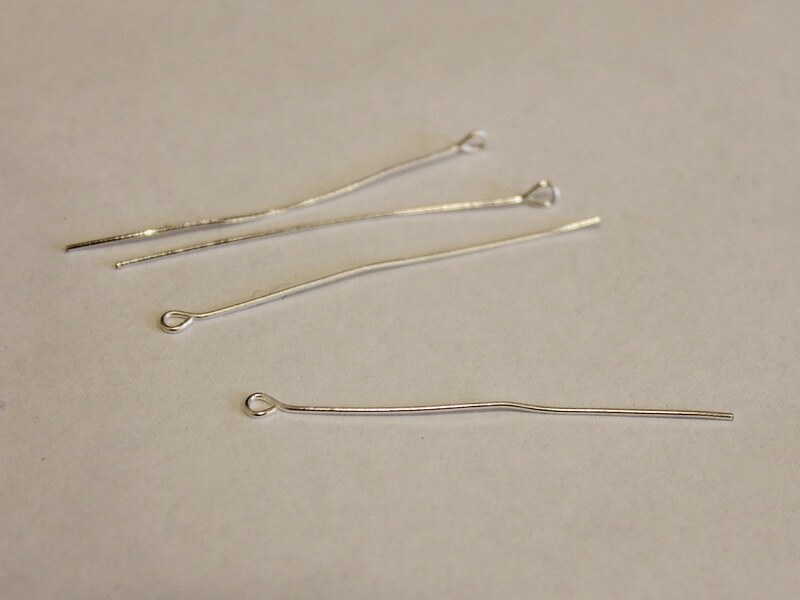
2: Four eye pins.
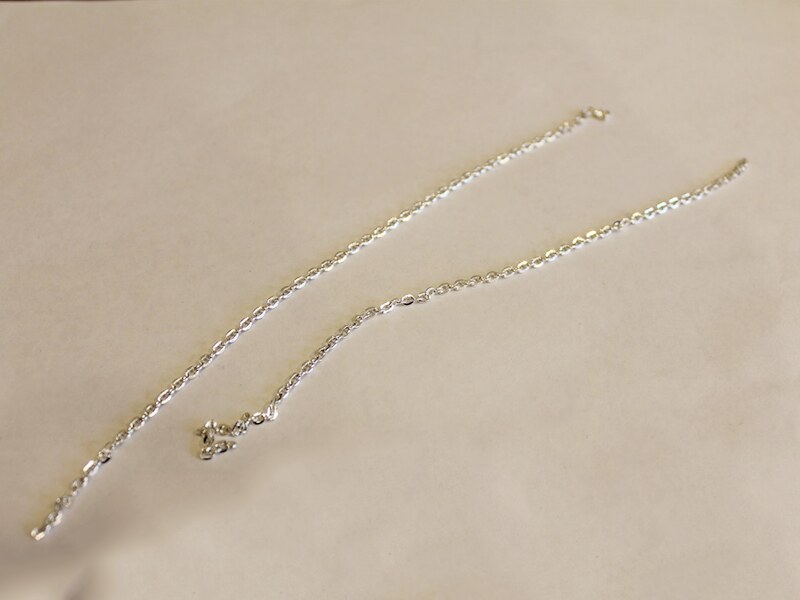
3: Two pieces of chain made to a length of your choice. I made mine approximately 15cm long.
4: A lobster clasp.

5: Two small jump rings.

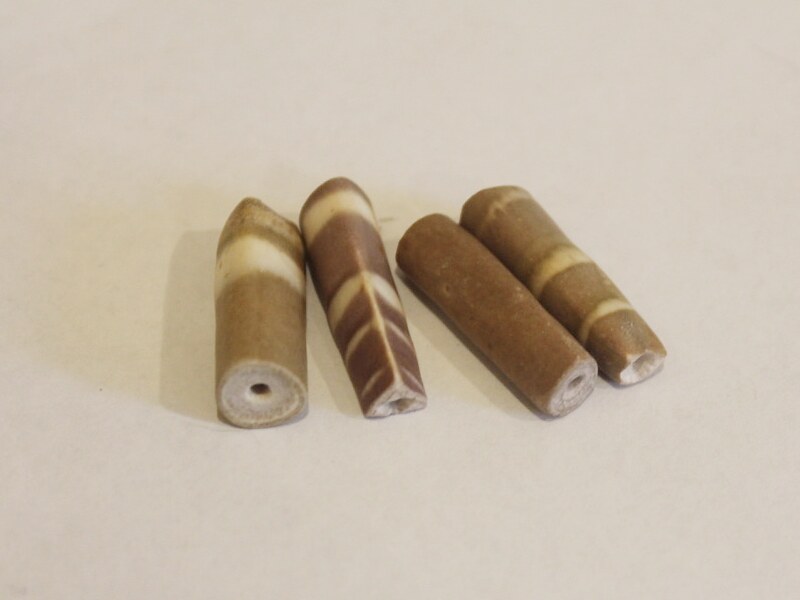
6: Beads of your choice. I used these long vintage beads with some white e-beads.

Follow these steps to make your square pendant necklace:
1: Add the beads to each of the pins.
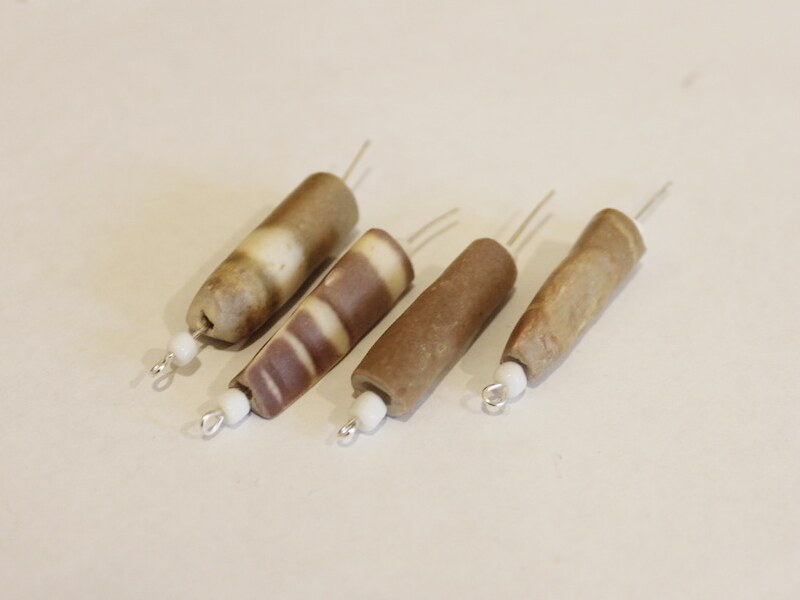
2: Bend the ends of each pin to form a right angle.
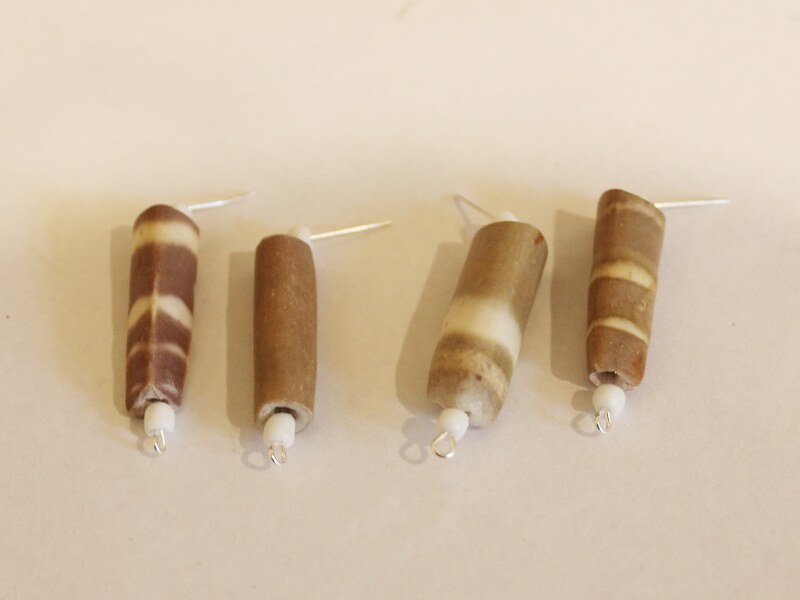
3: Trim each of the bent ends so that they are approximately 1cm long.

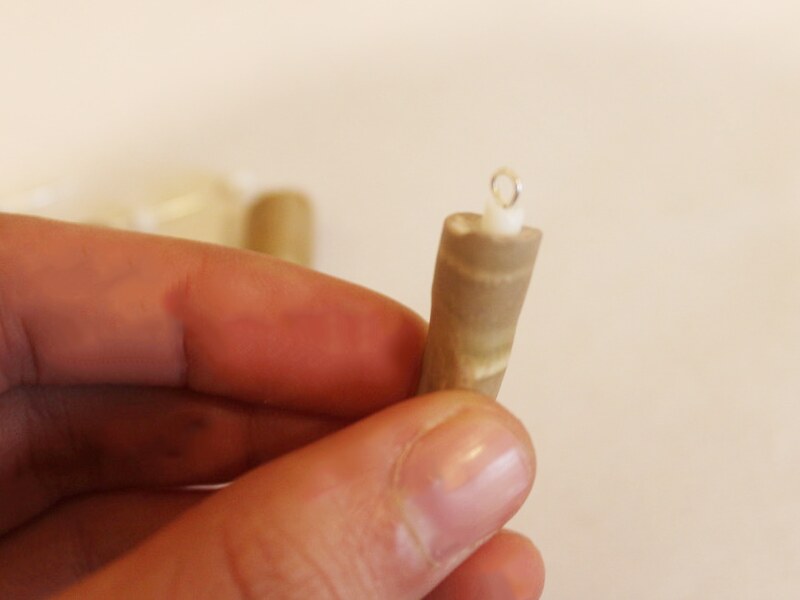
4: Create a loop at the top of each pin using the round nose pliers. This will secure the beads in place.
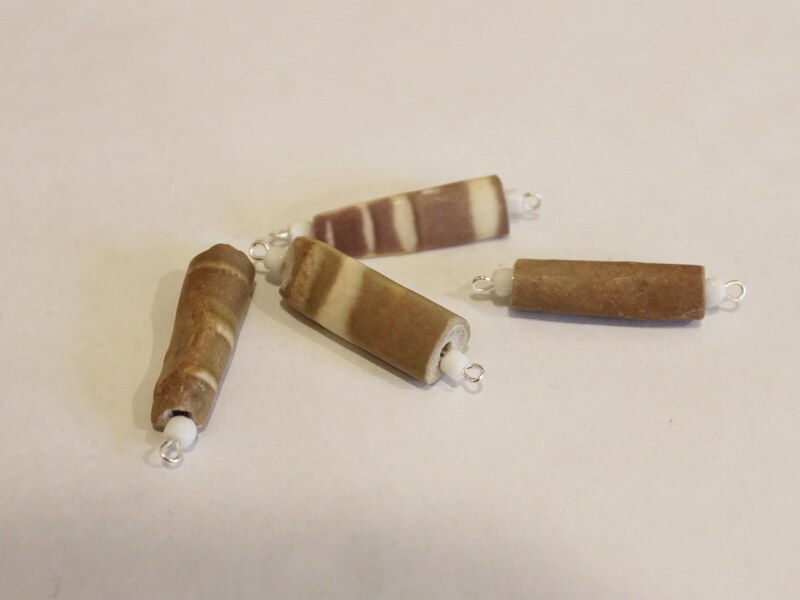
5: Link each of the beaded pins together.

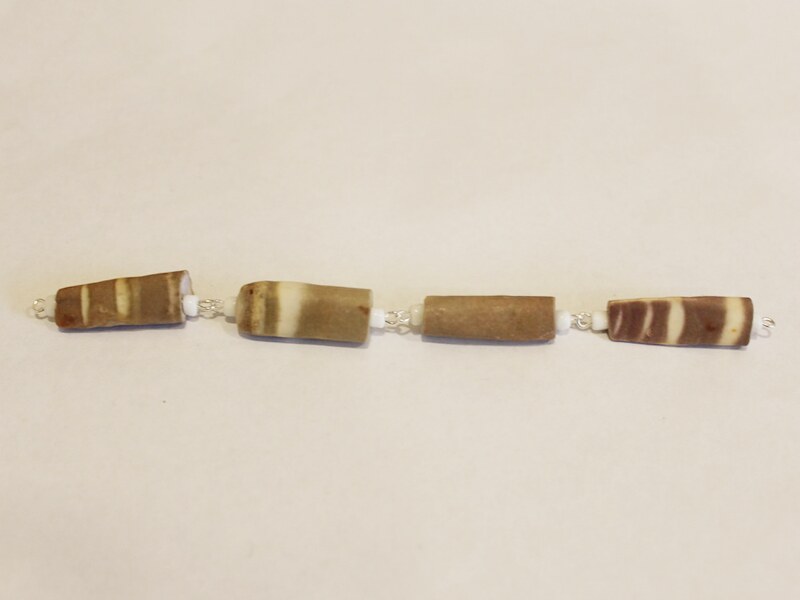
6: Link the two end pins together to form a square.
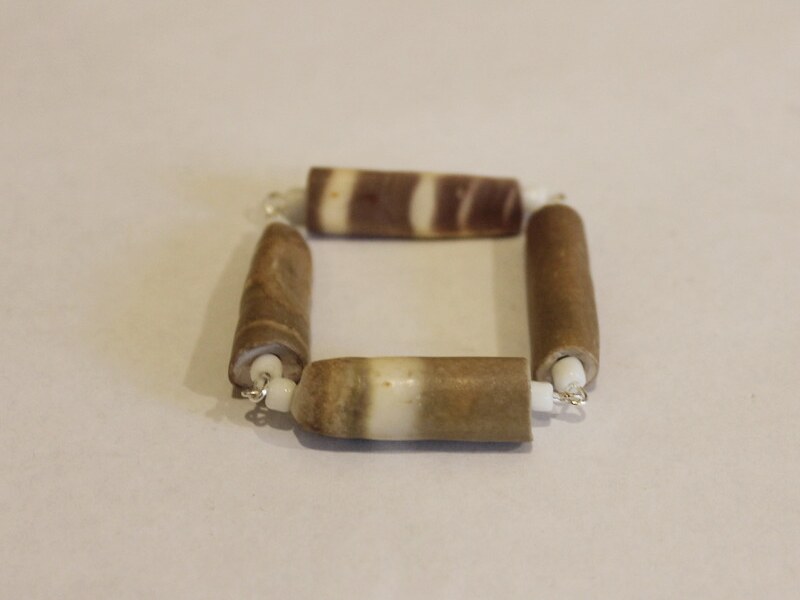
7: Add a piece of chain to either side of one of the eye pins.


8: Add a lobster clasp to one side of the chain using one of the small jump rings.

9: Add the remaining jump ring to the other side of the chain to finish the necklace.
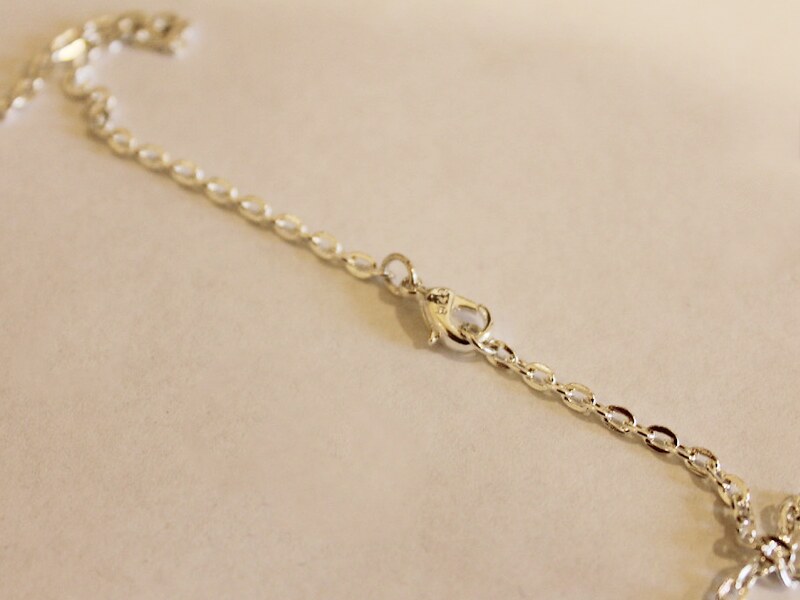
Now your square pendant necklace is finished and ready to wear!
-
Here’s how to make a braided bead choker, perfect for the beach!
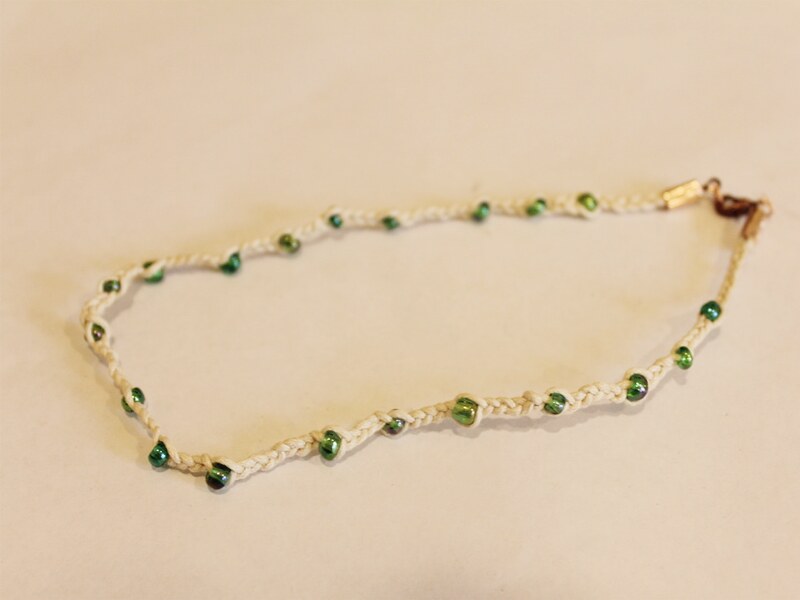
Do you love the look of boho braids? Why not make this super cute braided bead necklace?
You’ll need the following tools and materials to make your braided necklace:
1: Scissors or cutting pliers to cut the string.


2: Pliers. You’ll also need your flat nose pliers and round nose pliers.


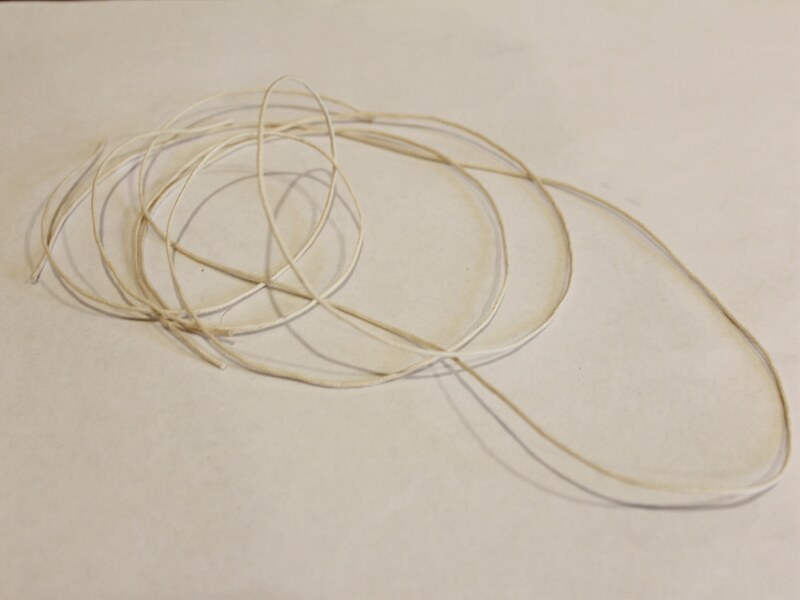
3: Three pieces of string the same length. I made mine approximately 60cm long.
4: Crimp ends. I used these rose gold colored ones.

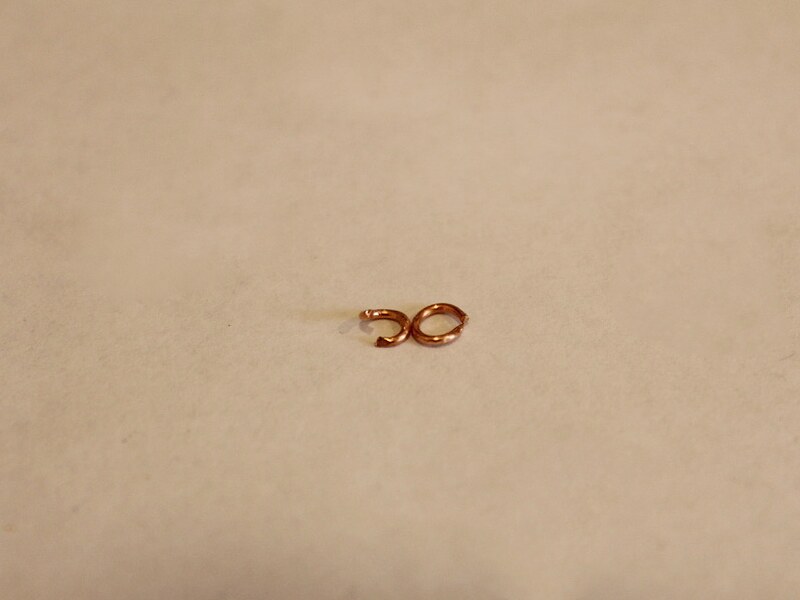
6: A lobster clasp.

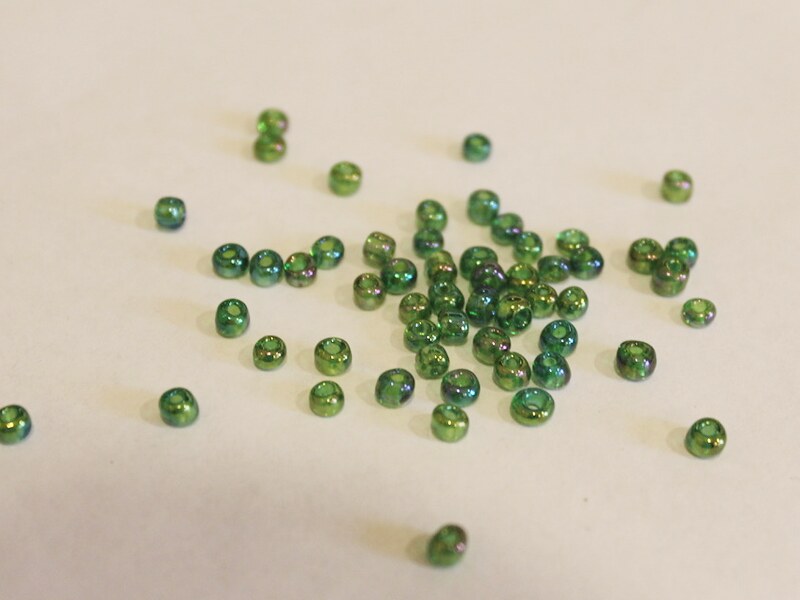
7: Beads of your choice. I used these green glass e-beads.
Follow these steps to make your braided bead necklace:
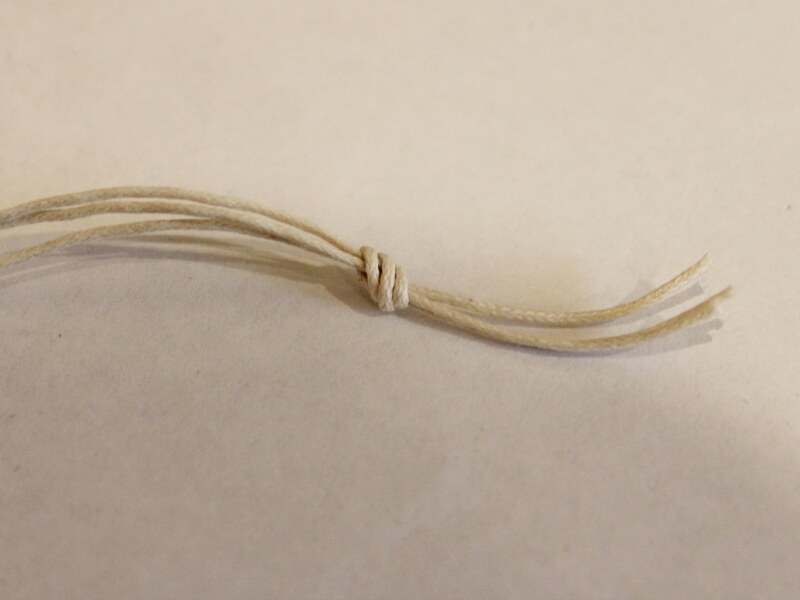
1: Gather the three strings together and create a knot at one end.

2: Begin braiding the strings.
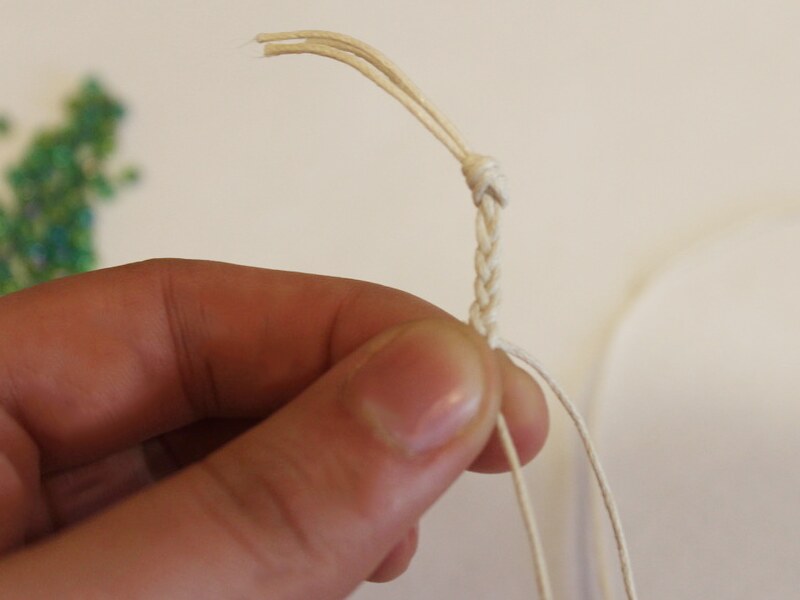
3: Add a bead to the string currently at the center of the braid.
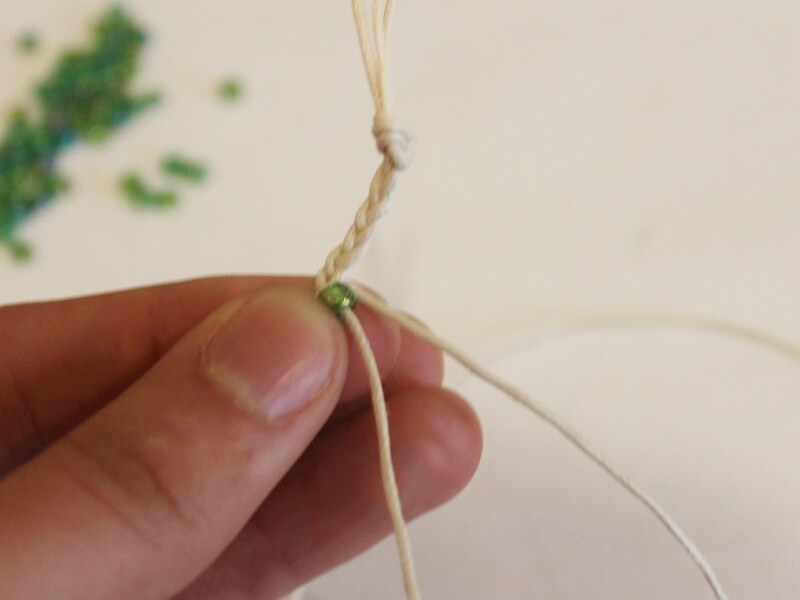
4: Braid around the bead to secure it in place.
5: Continue steps 3 and 4, adding beads in whatever pattern you like. I added mine fairly randomly.
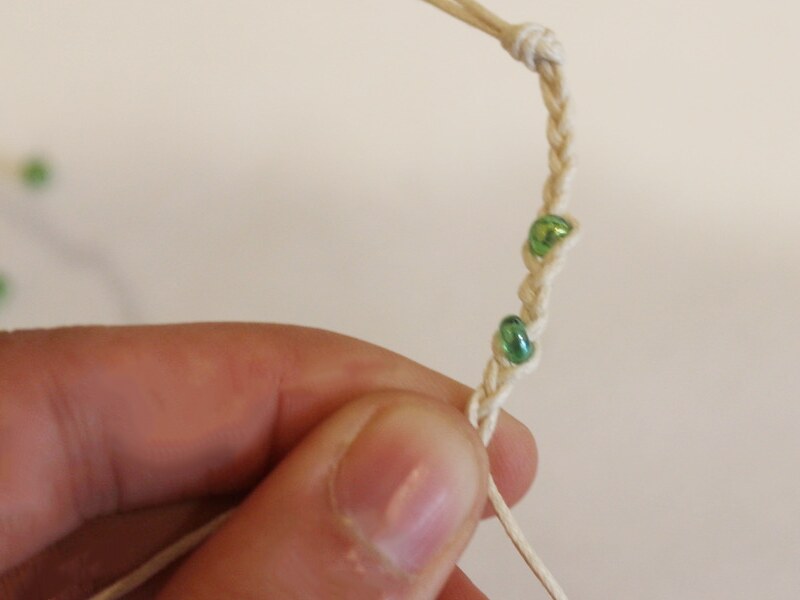
6: Once you’ve made your braid long enough create a knot to the other end of the braid.


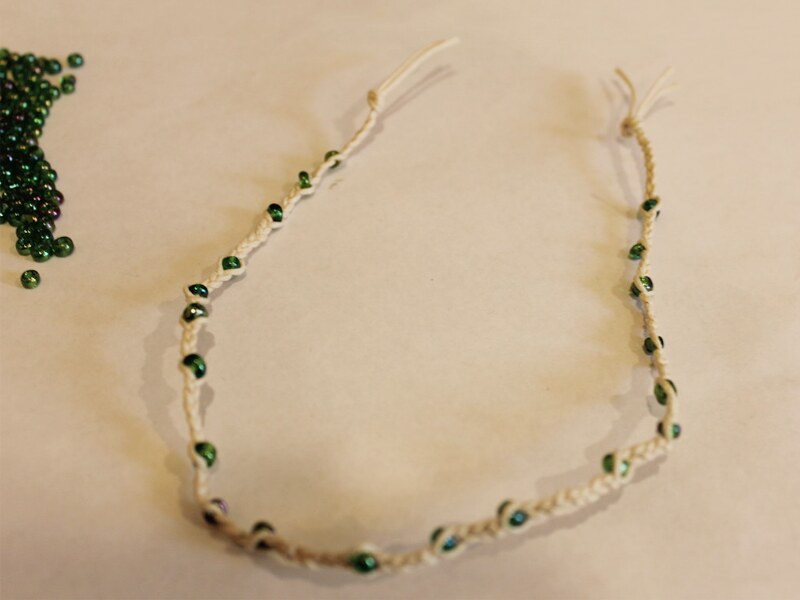
7: Trim the ends of the strings off.
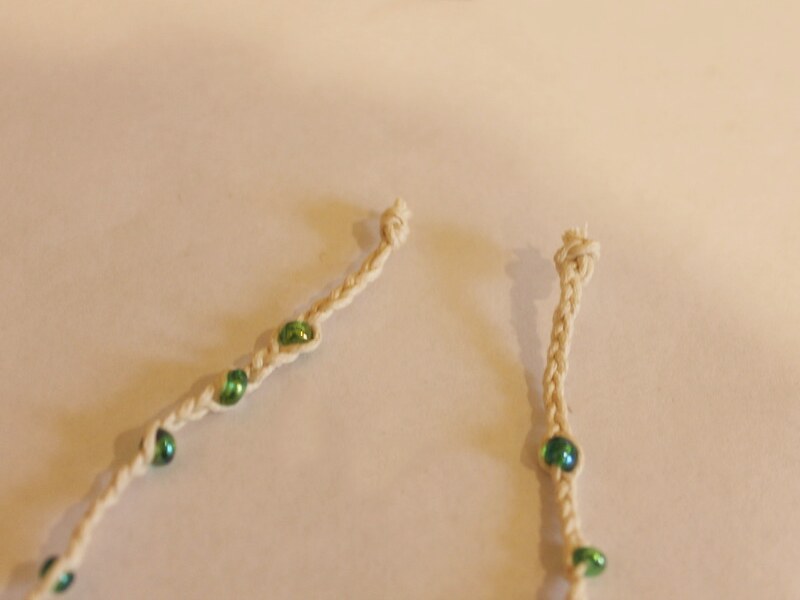
8: Add the crimps around each of the knots at each end of the braid. Use flat nose pliers to squash the crimps around the string.
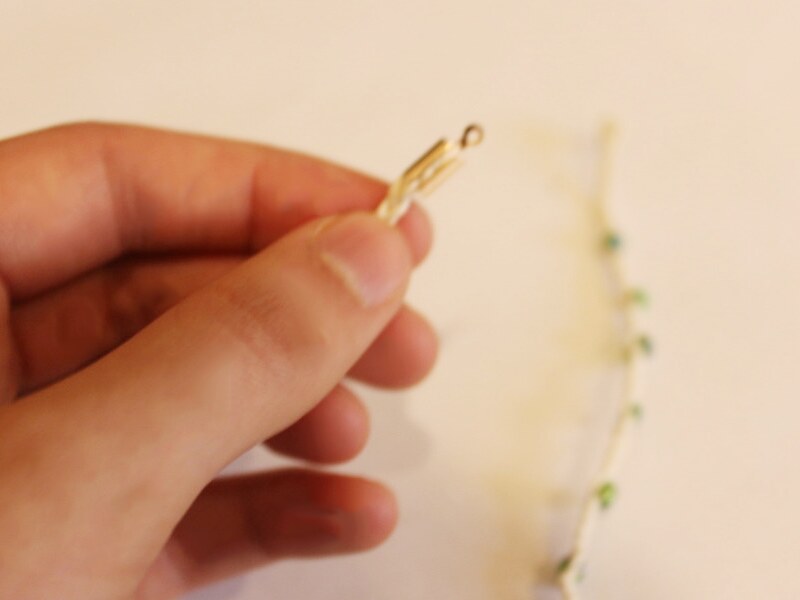
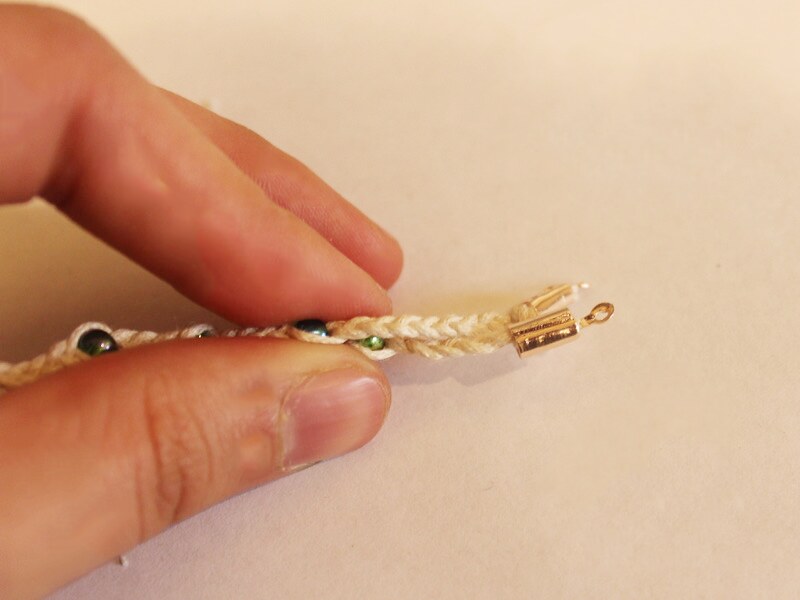
9: Add a jump ring to the loop at the top of one of the crimps and slide on the lobster clasp. Close the jump ring to secure the clasp in place.

10: Add the last jump ring to the other side of the necklace to finish it off.
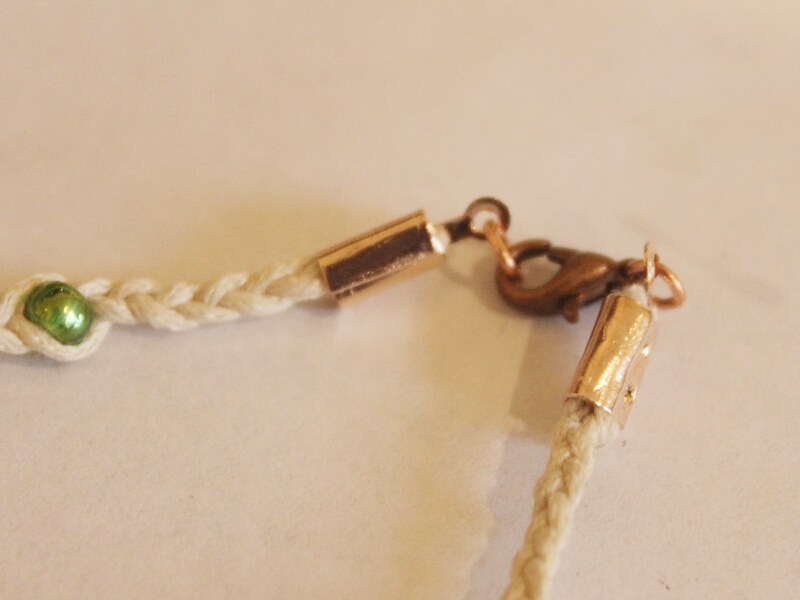
Now your boho braided bead necklace is ready to wear! Perfect for summer beach days!
-
Here’s how to make a beaded circle lariat necklace. So cool!
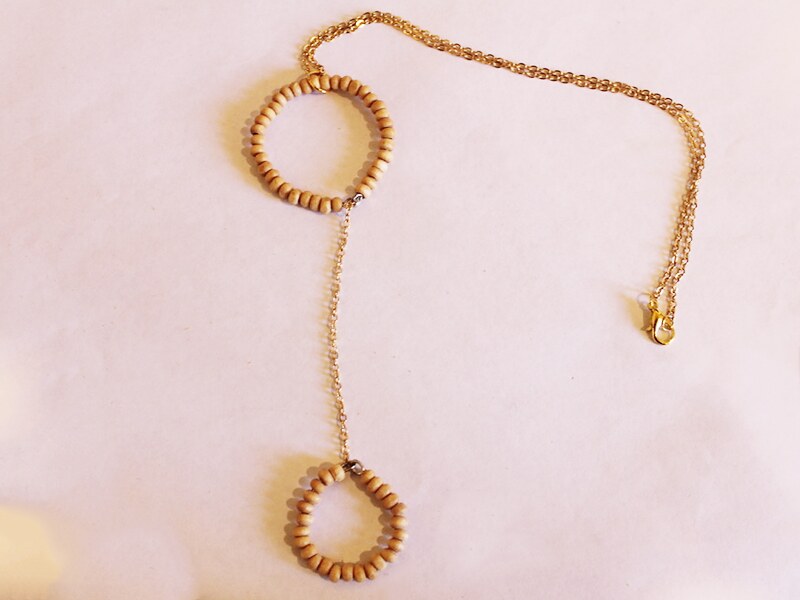
Do you remember the triangle lariat tutorial? Here’s how to make a beaded circle lariat to add to your collection!
You will need the following tools and materials to make this lariat necklace:
1: Pliers. You will need your cutting pliers to cut your wire, flat nose pliers and round nose pliers.
2: Two pieces of wire, one longer than the other.

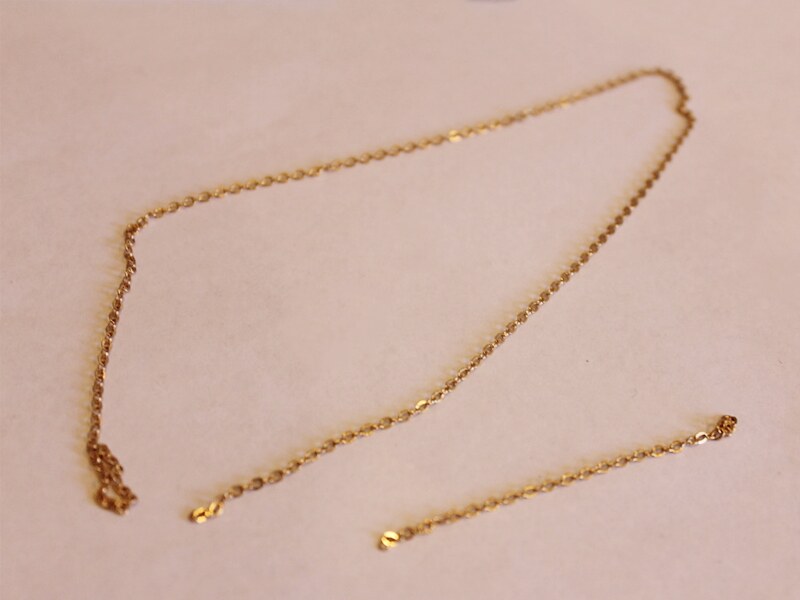
3: Two pieces of chain, a necklace length piece and another that is approximately 10cm long.
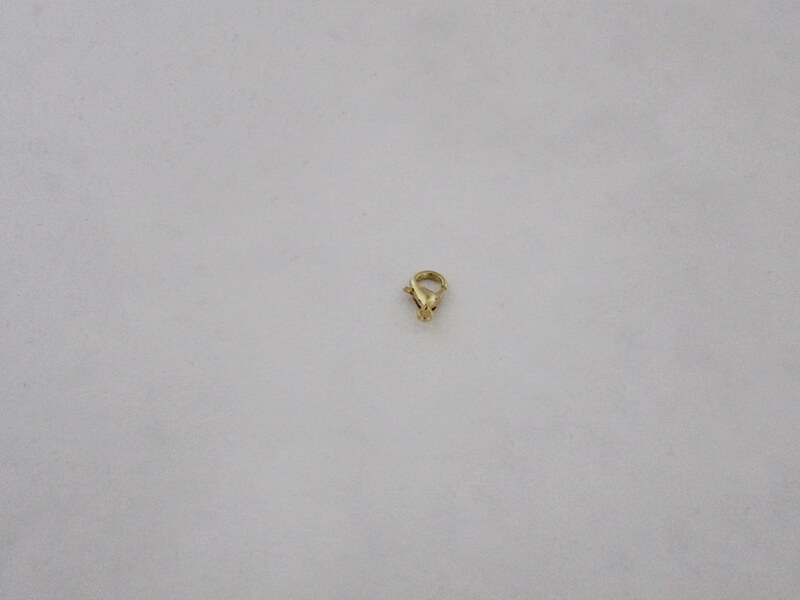
4: A lobster clasp.
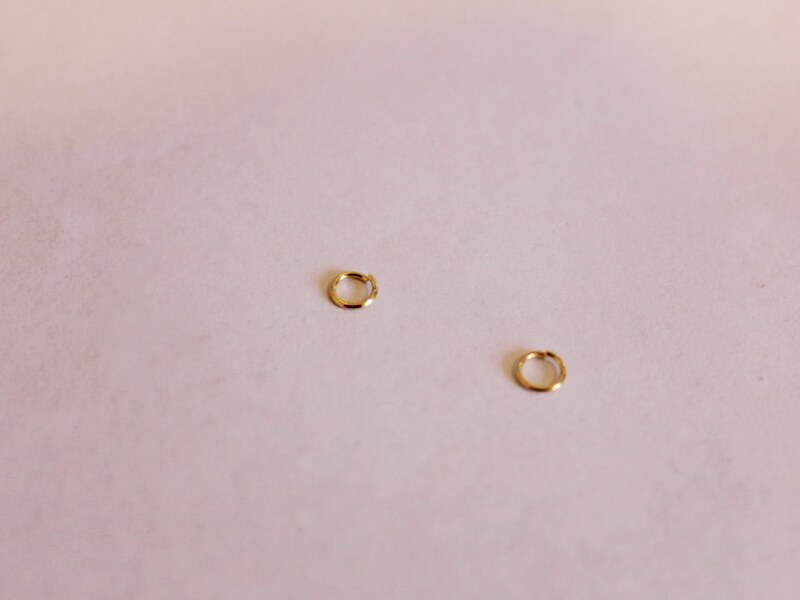
5: Two small jump rings.
6: One large jump ring.

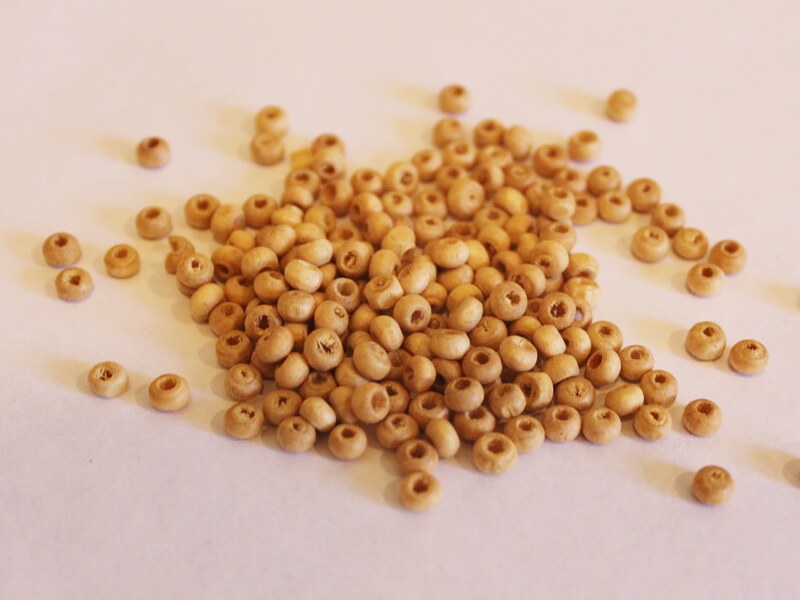
7: Beads of your choice. I used some natural colored wooden beads.
Follow these steps to make your circle lariat necklace:
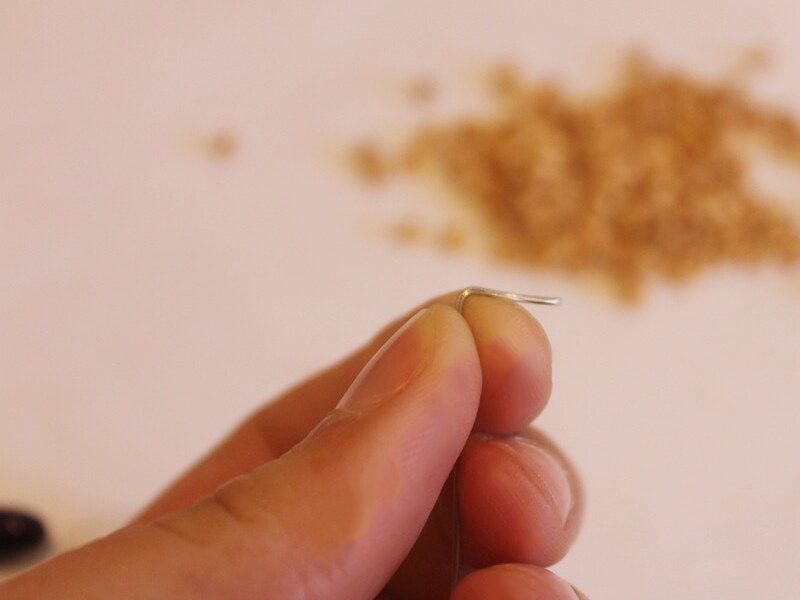
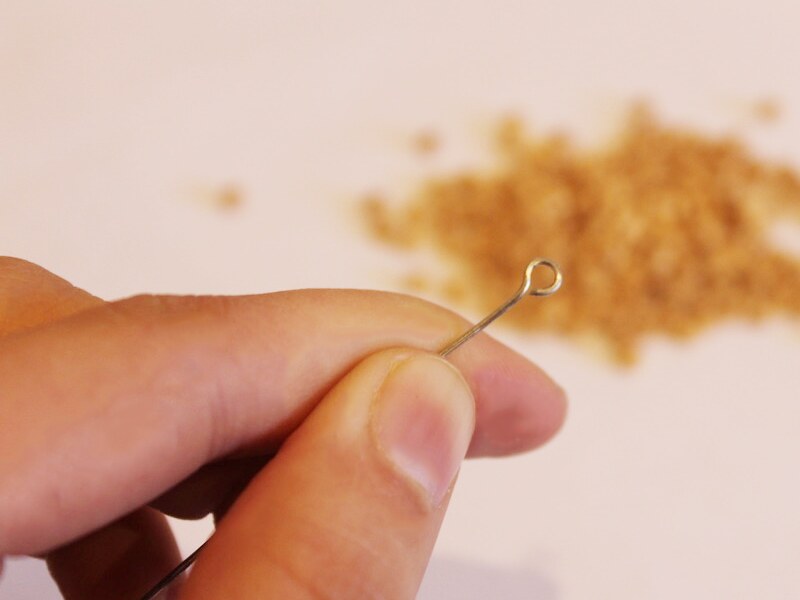
1: Create a loop at one end of the longer piece of wire using your round nose pliers.
2: Add beads to the wire until there is only 1cm left unbeaded.
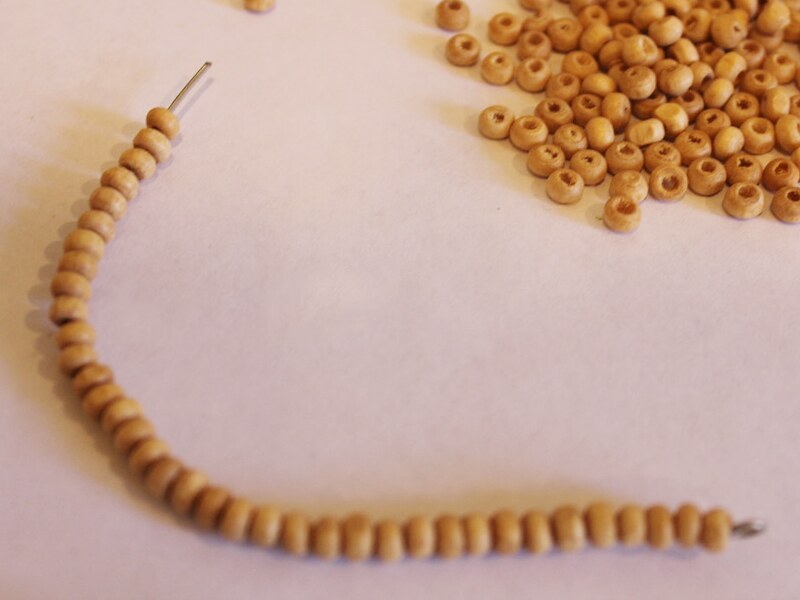
3: Create another loop at the end of the wire to secure the beads in place.
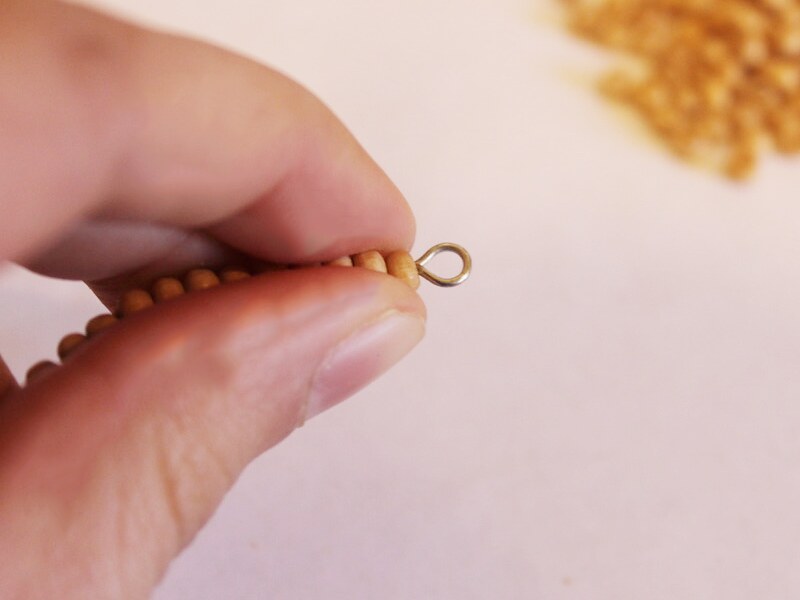
4: Gently bend the wire into a circle shape, carefully open one of the loops and link the two ends together to secure the circle shape in place.

5: Repeat steps 1-4 for the second piece of wire, making a smaller circle.
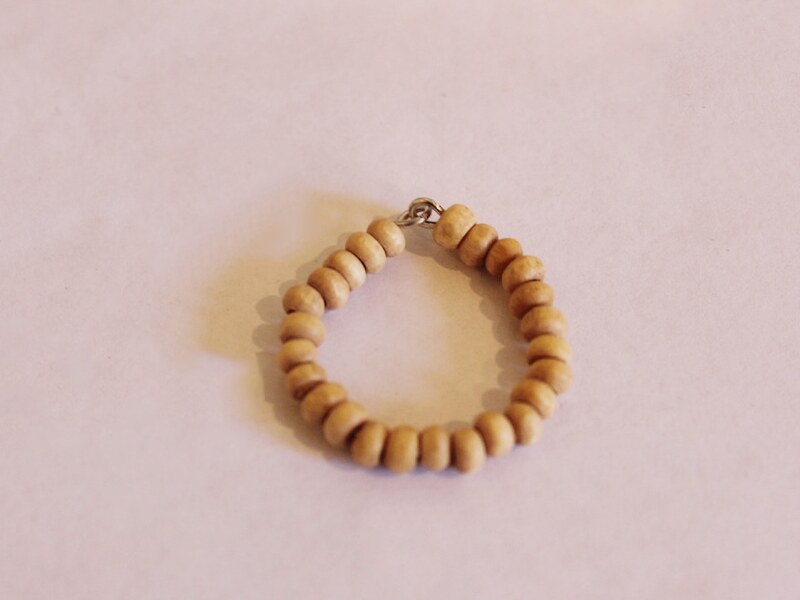
6: Open one of the loops on the smaller circle and attach one end of the short chain.
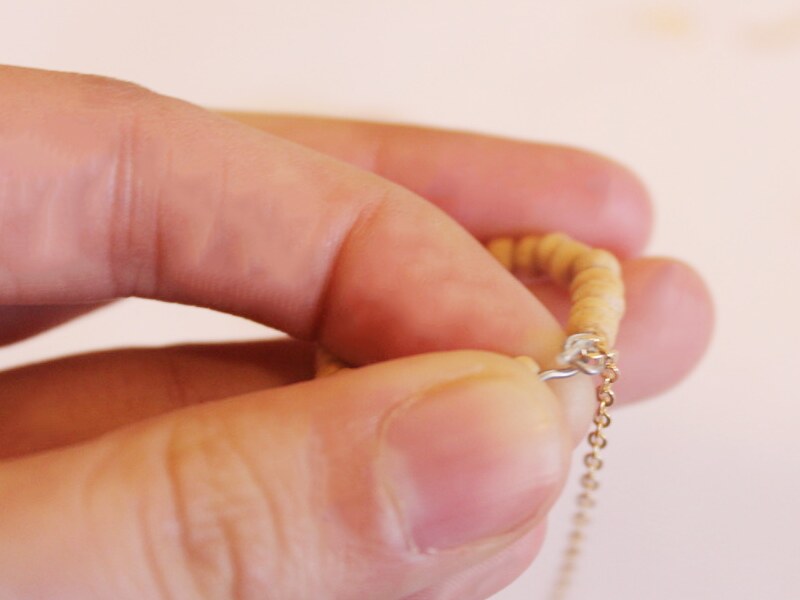

7: Attach the other end of the short chain the same way to the larger circle.
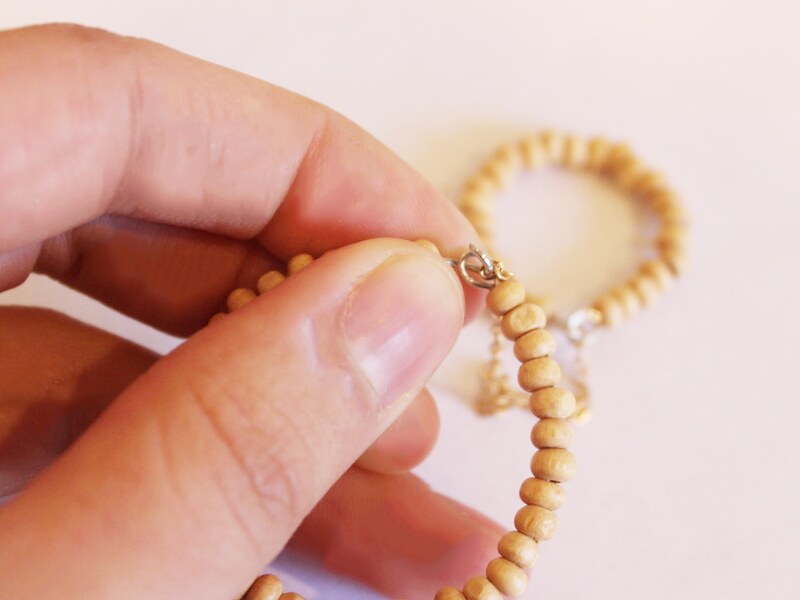
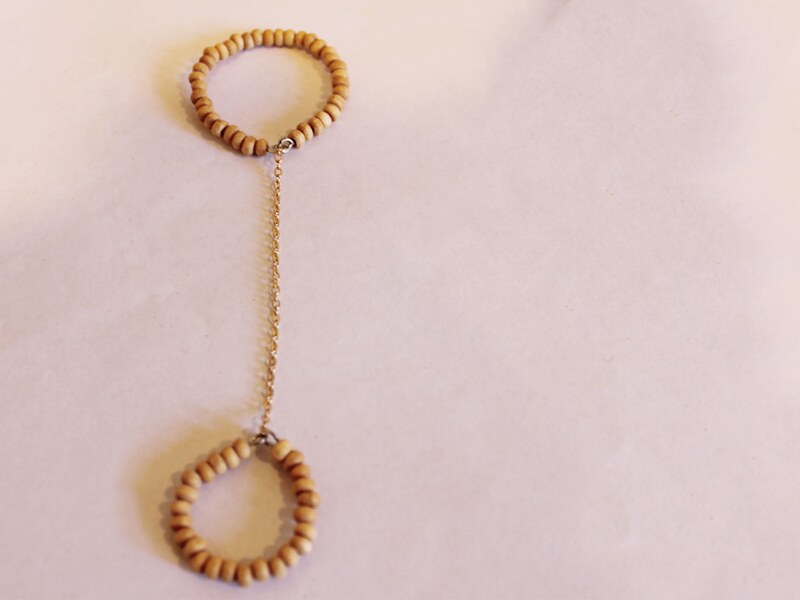
8: Add a small jump ring to one end of the long piece of chain and use it to secure the lobster clasp in place.
9: Add the other small jump ring to the other end of the long chain.
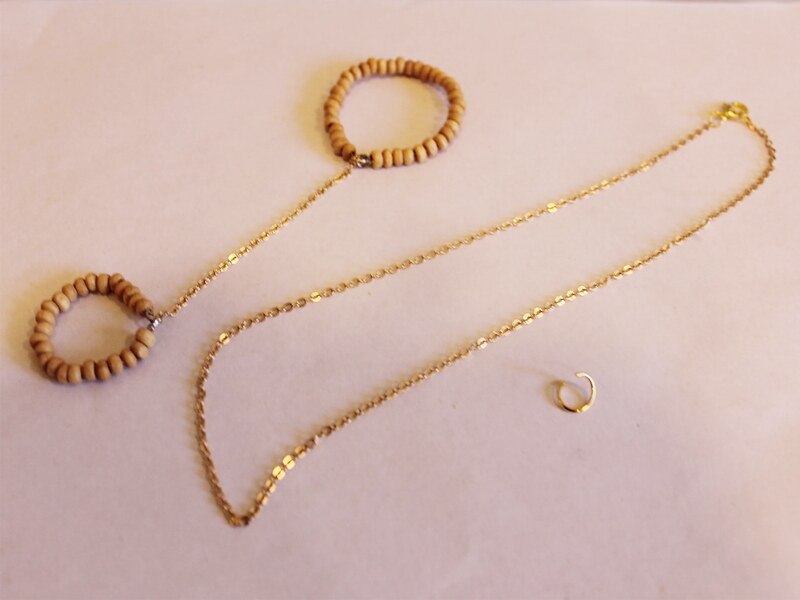
10: Use the large jump ring to attach the circle charms to the chain like you would a pendant.
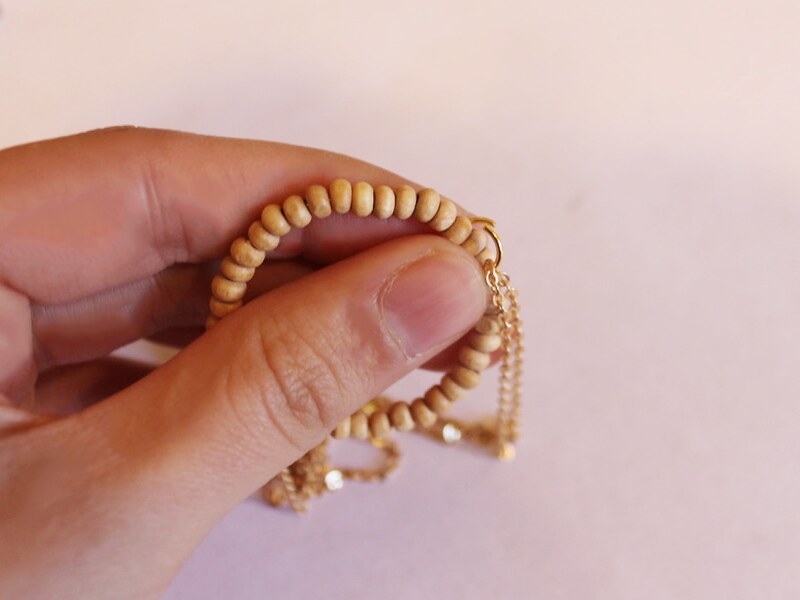
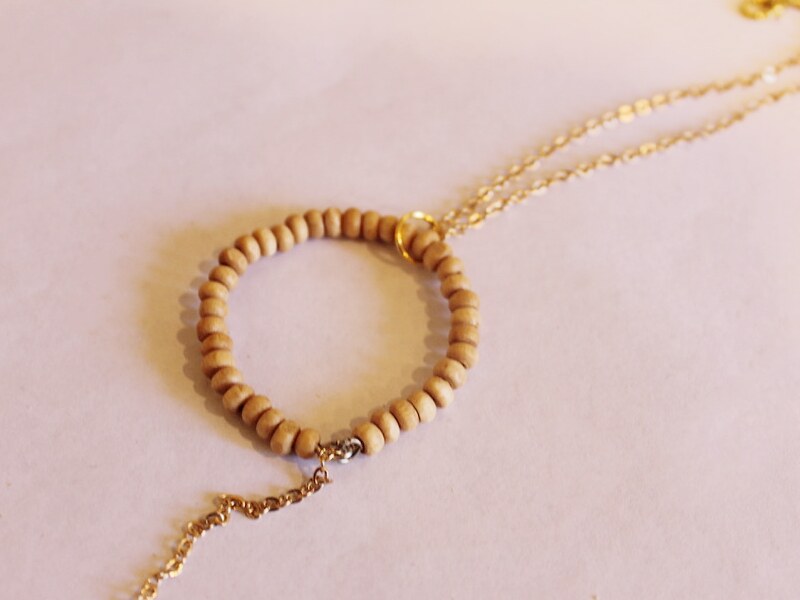
Now your necklace is finished!
Here’s another circle lariat I made using copper chain and yellow and purple glass beads.

-
Here’s how to make a beaded body chain for summer!

This body chain looks incredible. Using glass beads and some delicate gold chain it is sure to make a statement with your next summer outfit!
You will need the following tools and materials to make your beaded body chain:
1: Pliers. You will need your flat nose pliers, round nose pliers and cutting pliers to make this body chain.
2: Eight glass beads. I used these blue beads.

3: Eight eye pins.

4: Five jump rings.

5: Two lobster clasps.

6: A necklace length piece of chain.

7: Another piece of chain long enough to fit around your waist (plus another 10cm).

Follow these steps to make your beaded body chain:
1: Add the beads to each of the eye pins.

2: Bend each of the pins to form a right angle.

3: Create a loop at the end of each pin to secure the beads in place.


4: Attach all the beads together to form a beaded chain.


5: Attach the beaded chain to the middle of the shorter piece of chain.

6: Add a jump ring to one side of the short chain.

7: Attach one of the lobster clasps to the open jump ring and close the ring to secure the clasp in place.


8: Add another jump ring to the other side of the necklace chain.

9: Add one end of the long chain to the bottom of the beaded section.

10: Create a loop with the long chain, attach approximately 10cm from the end of the beaded section using one of the jump rings.


11: Split the long loop in the middle (this will be the back of the body chain).

12: Add a jump ring and clasp to one side of the long loop.

13: Add the last remaining jump ring to the other side of the body loop to finish it off.

Now it’s finished and ready to wear! How fun?!

-
Here’s another lariat tutorial, and it’s a great one! Make this triangle lariat!
This triangle lariat is adorable and special! Here’s how to make your own.
You will need the following tools and materials to make your necklace:
1: Pliers. You will need your flat nose pliers and round nose pliers.
2: Two long pieces of chain to fit around your neck.

3: One shorter piece of chain.

4: Five jump rings.


5: A lobster clasp.

6: Three eye pins.

7: One head pin.

8: Beads. I used these bronze colored e-beads.

Follow these steps to make your triangle lariat necklace:
1: Add beads to each of the eye pins.

2: Bend each eye pin to form a right angle to the beaded section.

3: Loop the end of each pin to secure the beads in place.


4: Add the beads to the head pin. Bend the pin to form a loop to secure the beads in place.


5: Add the small eye pin charm to the shortest chain.

5: Attach the eye pins together to form a chain.


6: Attach the ends of the beaded chain to create a triangle.

7: Use one of the jump rings to attach one piece of long chain to one side of the triangle, so that it points down.


8: Attach the other long piece of chain to the other side of the triangle.


9: Attach the short chain to the bottom of the triangle.


10: Attach the remaining jump rings to the ends of the long pieces of chain and attach the lobster clasp to finish the lariat necklace.


Here’s another triangle lariat design I made using silver chain and some orange and yellow glass beads.


You May Also Like

I keep hearing that chunky chain necklaces are trendy right now… here’s how to make a gold chunky chain necklace that makes a statement.
Love the nostalgic craft-core style? If that sounds like you, here’s the perfect tutorial for you to follow.

Jewelry that does more than you think! Here’s how to make a convertible leather wrap bracelet.
-
Here’s another way to use ribbons in your jewelry!
This necklace is made using velvet ribbon to form the chain, finished off with a cute rhinestone charm!
You will need the following tools and materials to make your necklace:
1. Pliers. You will need your round nose and flat nose pliers to make your necklace.
2: Scissors to cut your ribbon to length.
3: A ribbon crimp end.

Tradico® 600 Pieces Ribbon Ends Flat Clamp Crimp for Jewelry Finding Accessories
4: A ribbon. I used this velvet ribbon.

5: A jump ring.

6: A charm. I used this rhinestone charm that I took off a pair of old earrings that weren’t my style any more.

Follow these steps to make your ribbon necklace:
1: Cut your ribbon to length. Make sure it is long enough to fit around your head when folded in half.
2: Hold the two ends of the ribbon together. Fold your ribbon so that both sides of the velvet face the same direction.

3: Secure the ends of the ribbon together with the flat crimp. Squeeze the crimp closed using the flat nose pliers.


4: Add the jump ring to the loop of the crimp end.

5: Attach the charm to the jump ring and close it to secure the charm to the necklace.


Once your charm is in place your new ribbon necklace is finished and ready to wear!

-
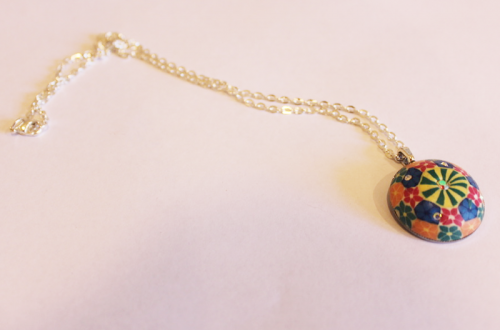
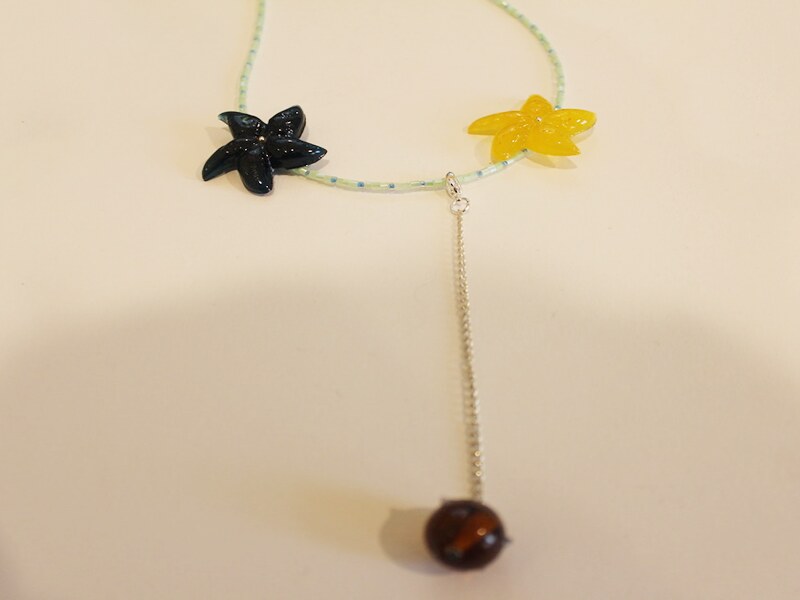
This charm will let you turn any necklace into a lariat!
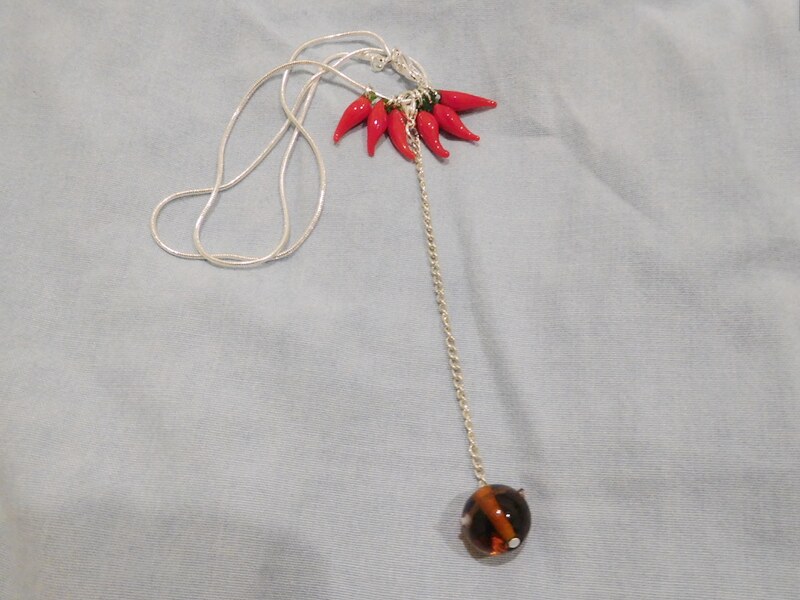
Do you love the look of a lariat necklace? Here’s a tutorial that will allow you to turn any necklace into a lariat.
You will need the following tools and materials to make your clip on lariat charm:
1: Pliers. You will need your round nose, cutting pliers and flat nose pliers.
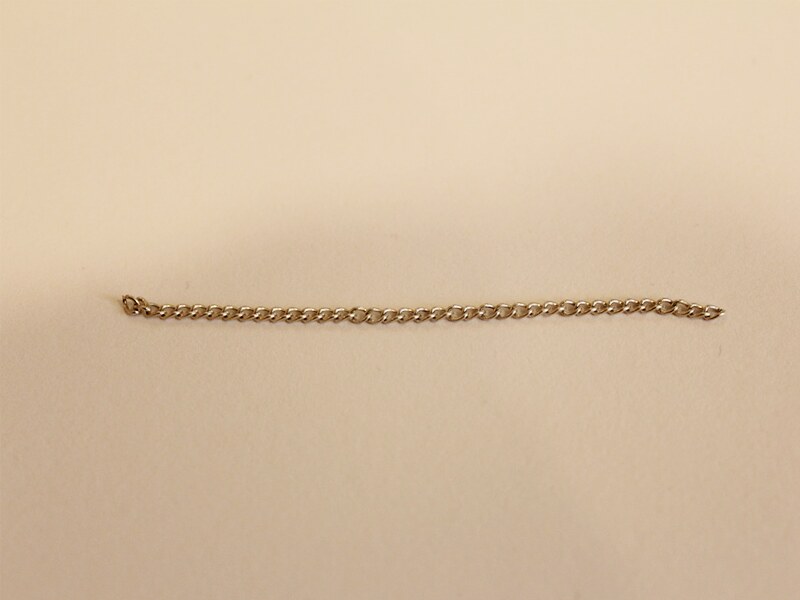
2: A piece of chain, mine was approximately 9cm long.
3: A lobster clasp.
4: A jump ring.

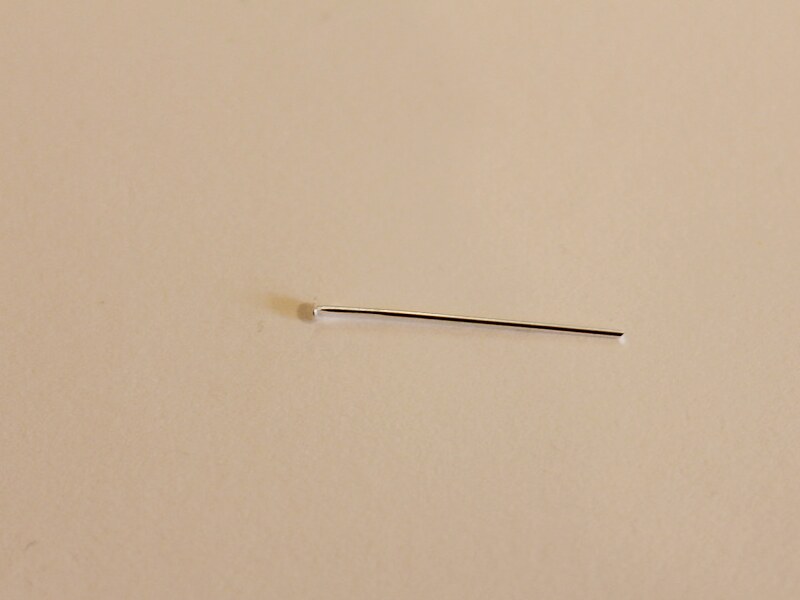
5: A head pin.
6: A bead of your choice (You can also use a charm). I used this glass bead.

Follow these steps to make your clip on lariat charm:
1: Add the bead to the head pin.
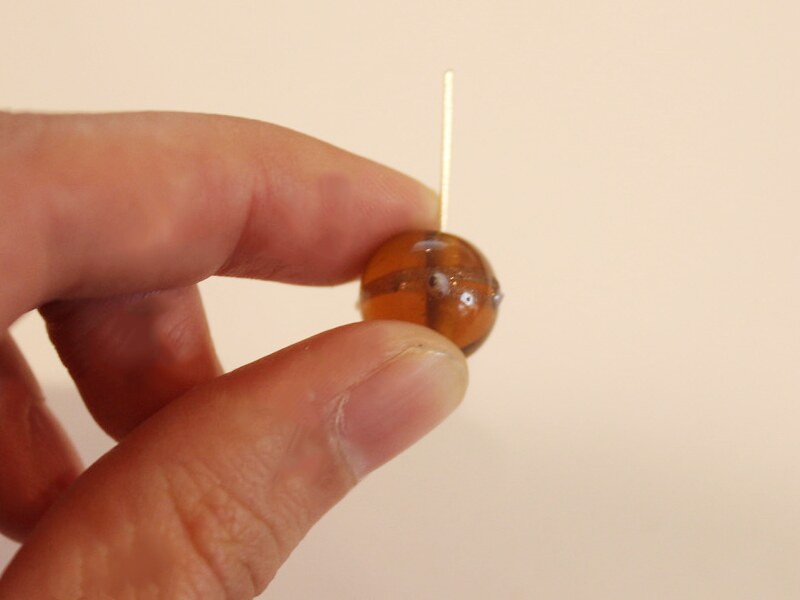
2: Bend the pin to form a right angle.
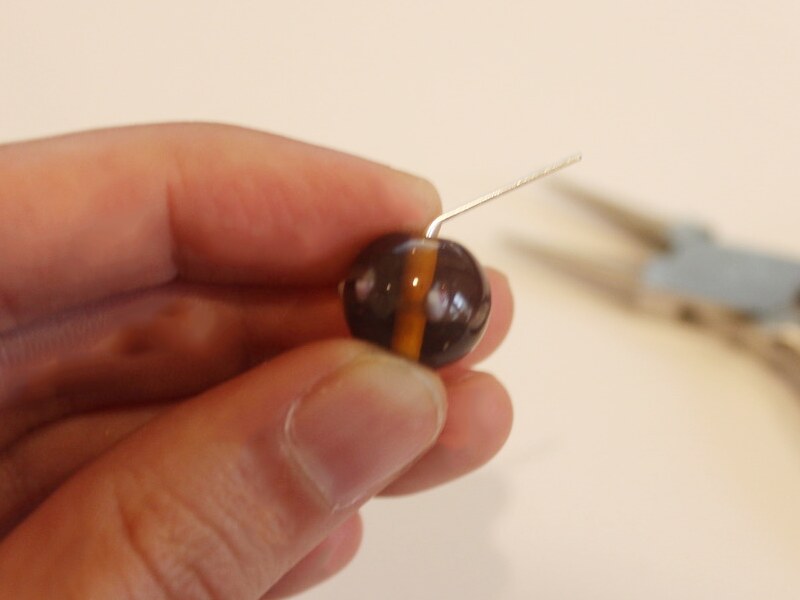
3: Trim the pin so that there is only 1cm left.
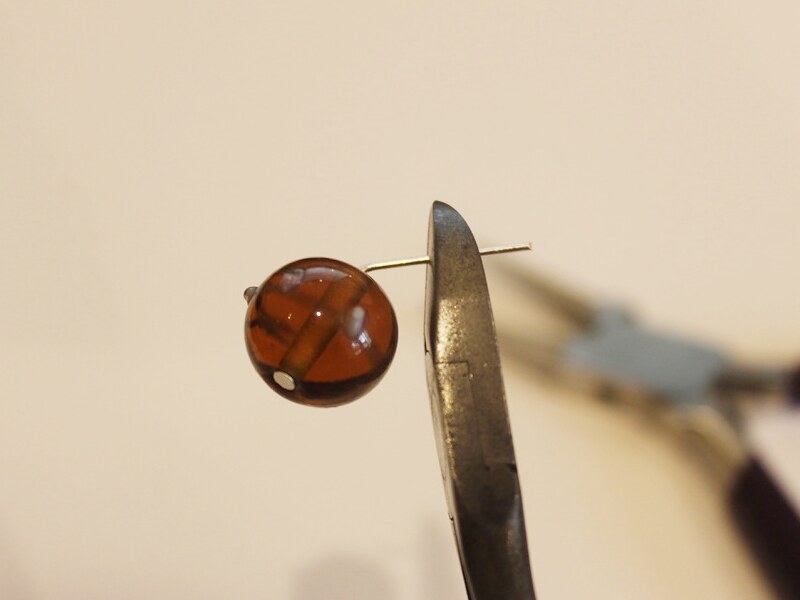

4: Create a loop at the top of the pin using the round nose pliers.

5: Attach the charm to one end of the chain.
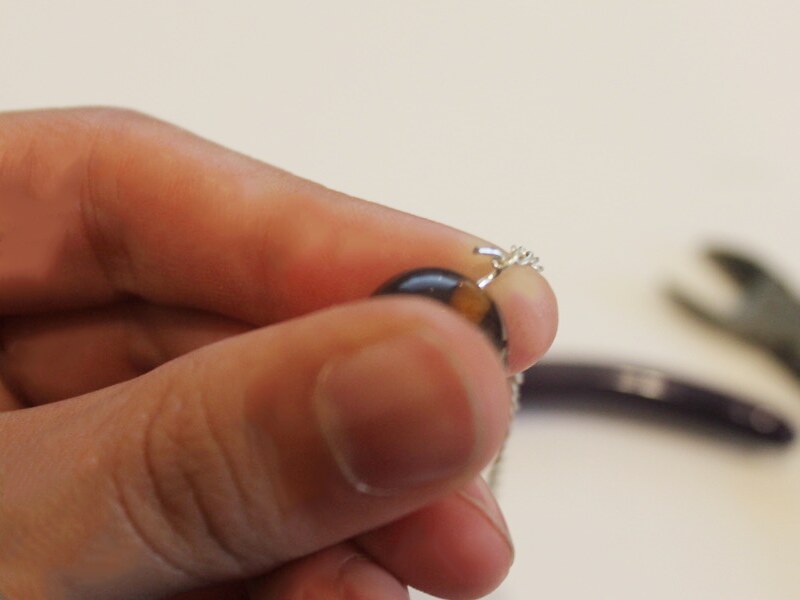
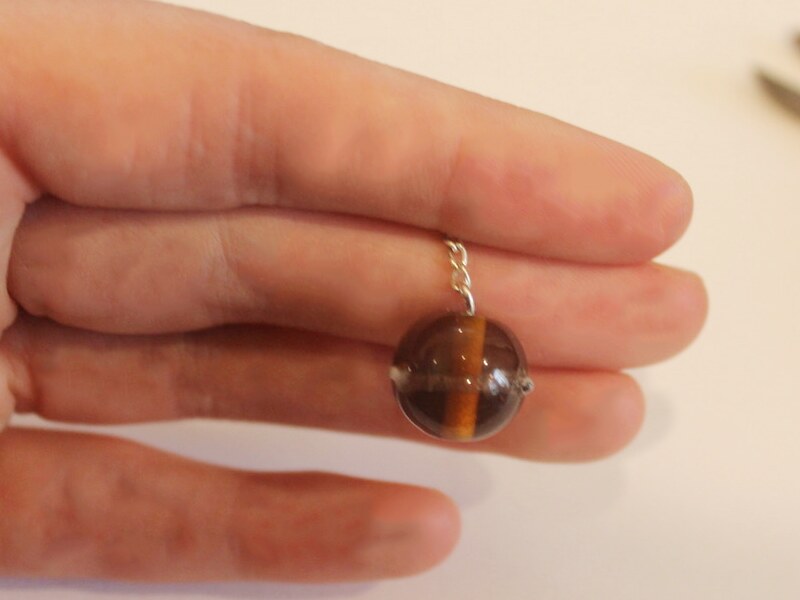
6: Add the jump ring to the other end of the chain and add the lobster clasp.
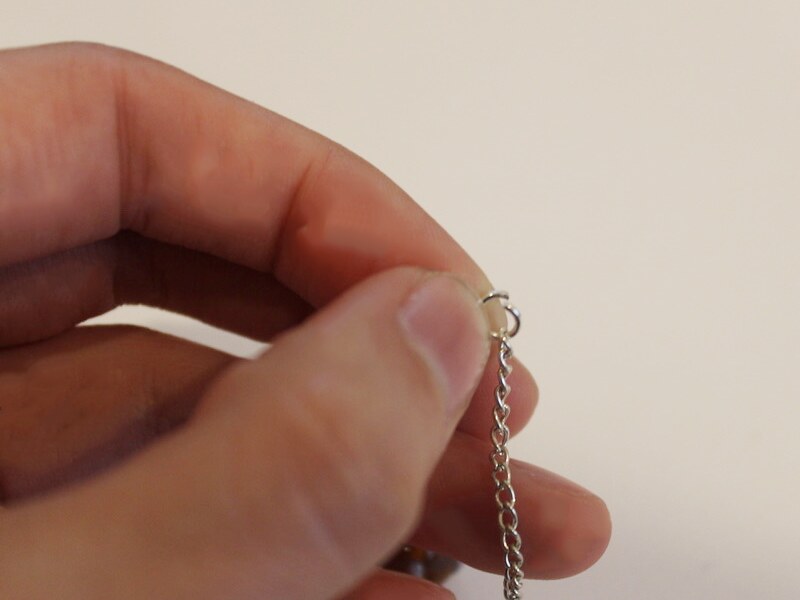
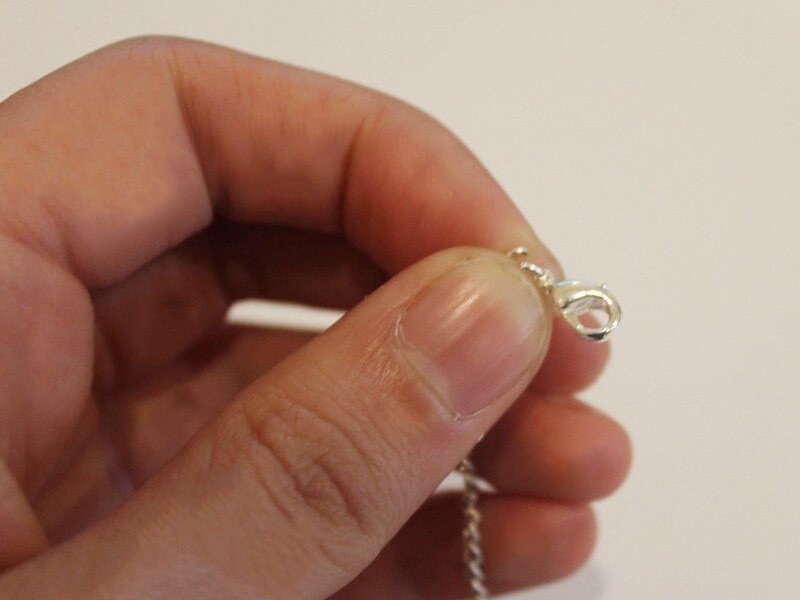
7: Close the jump ring to secure the clasp to the chain.
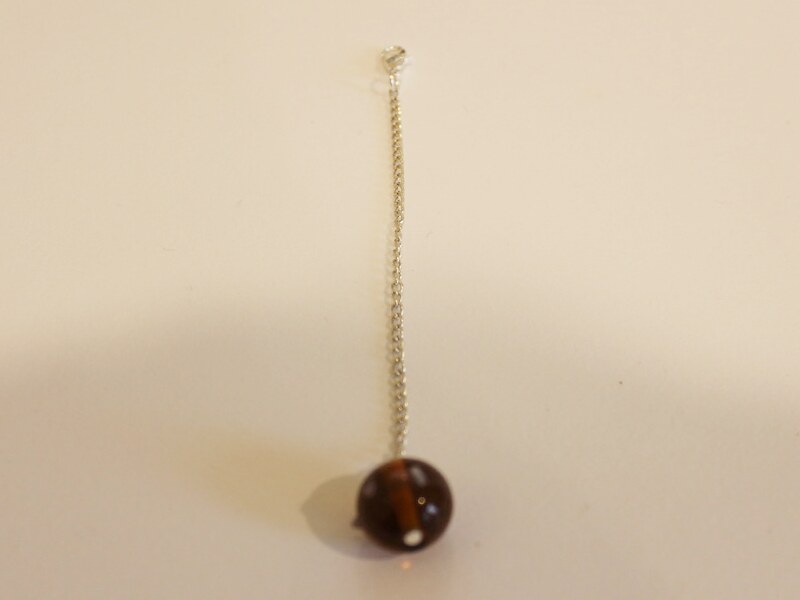
Once the clasp is in place your charm is ready to be attached to all the necklaces in your collection! How will you style your lariat charm?
-
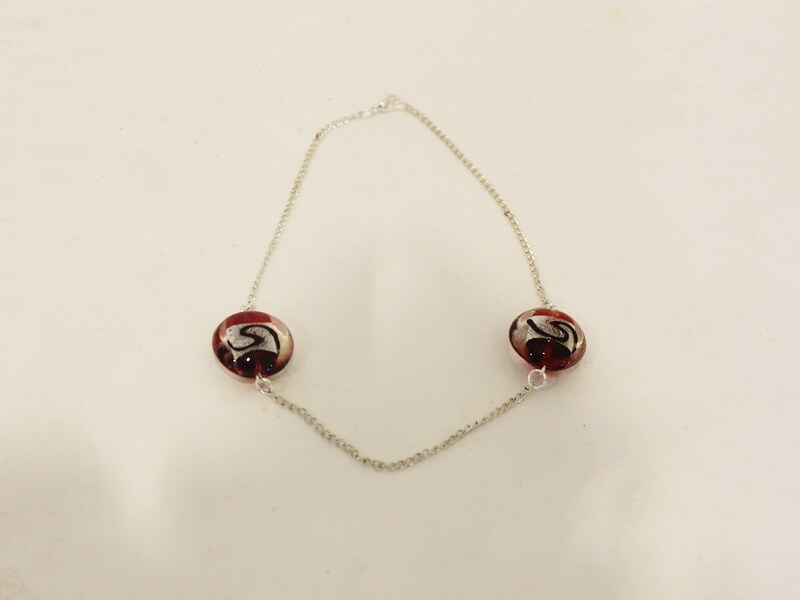
How to make a bead and chain choker necklace
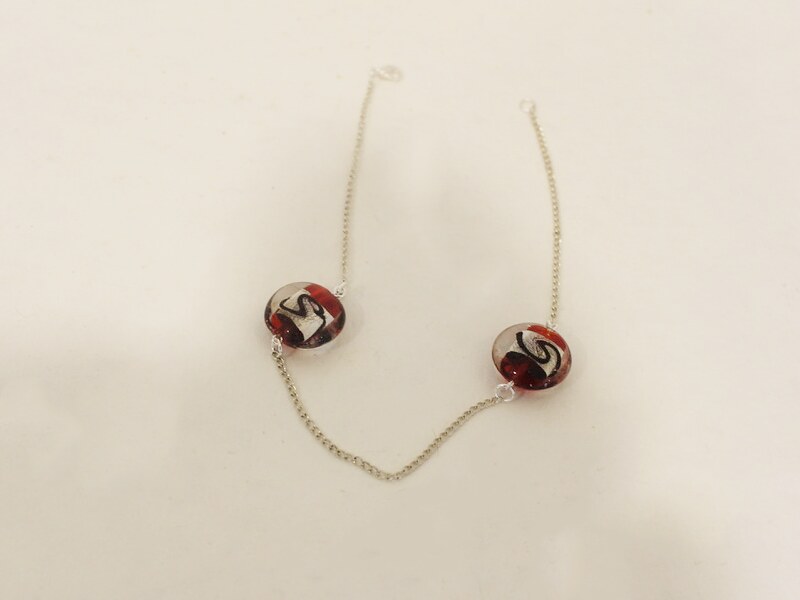
This choker necklace combines cool beads and pieces of chain for a cool effect.
You will need the following tools and materials to make this choker necklace:
1: Pliers. You will need round nose pliers and flat nose pliers.
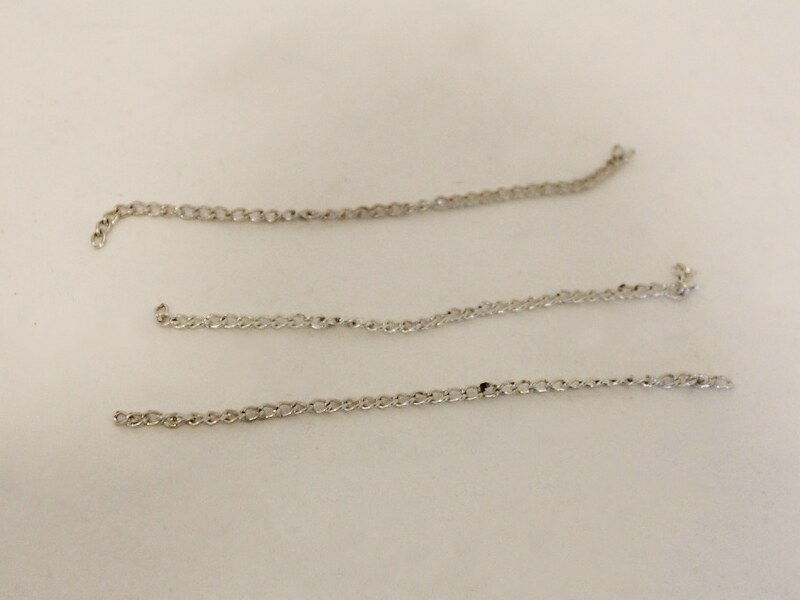
2: Three short pieces of chain, approximately 8-10cm long.
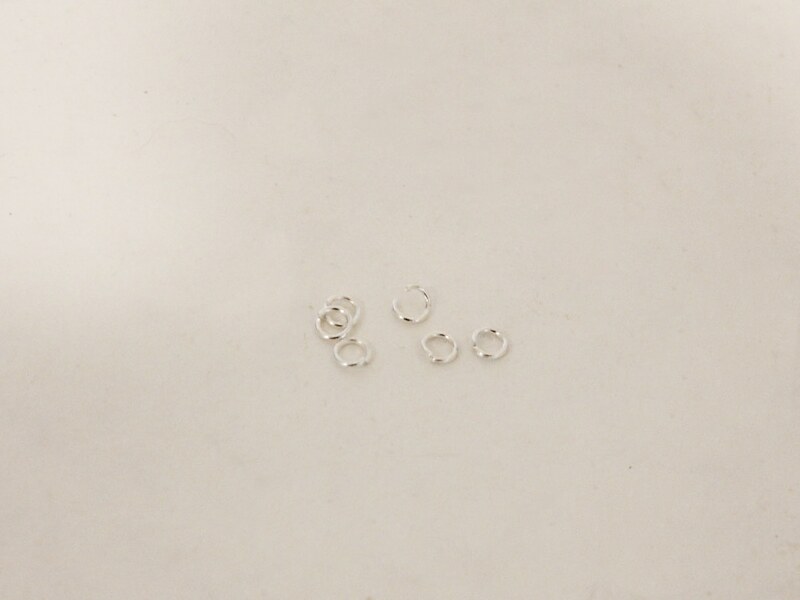
3: Six jump rings.
4: Two eye pins.

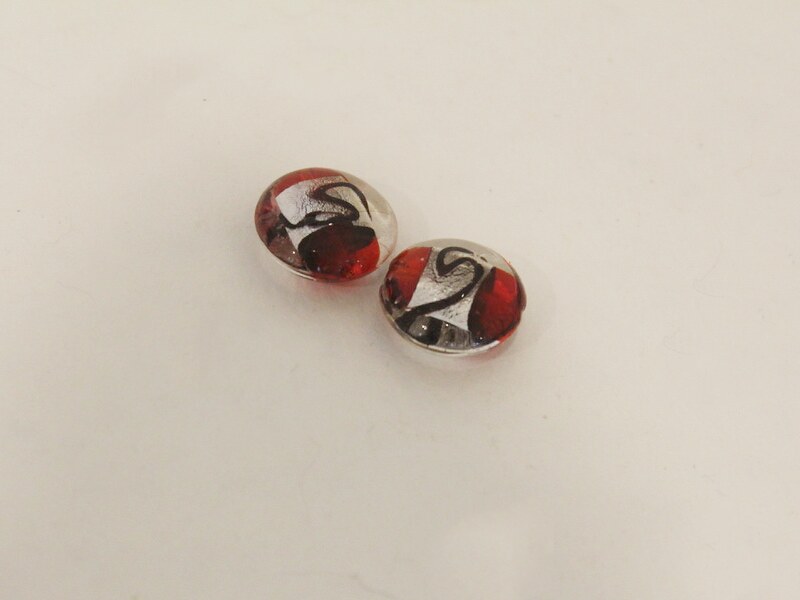
5: Two glass beads.
6: A lobster clasp.

Follow these steps to make your glass bead choker necklace:
1: Add a bead to the eye pin.
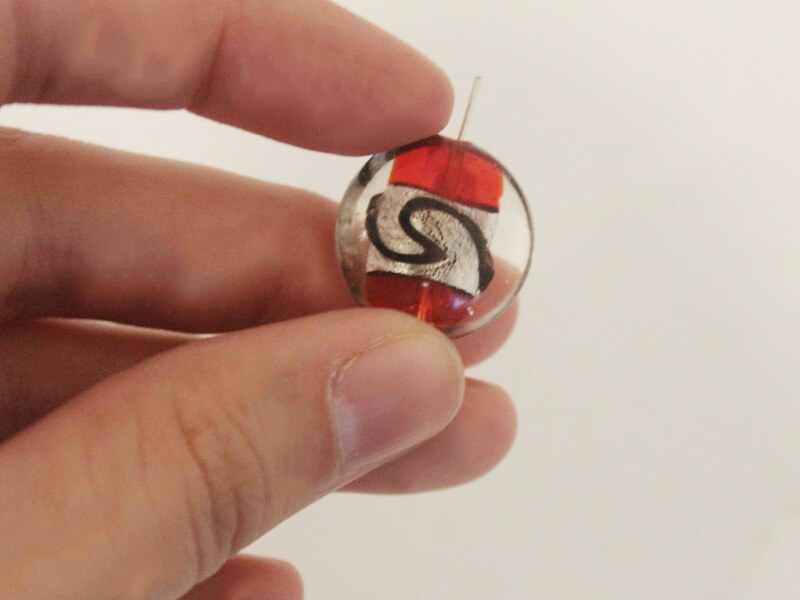
2: Bend the eye pin to form a right angle.
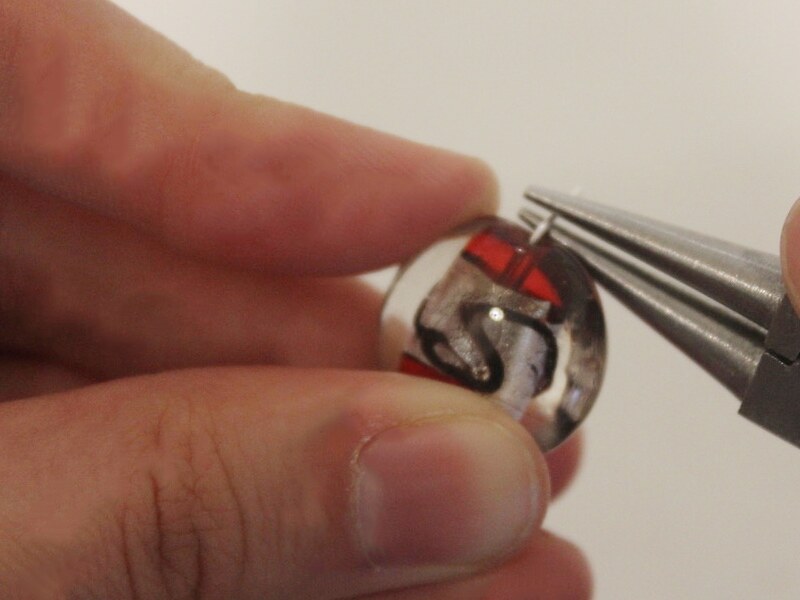
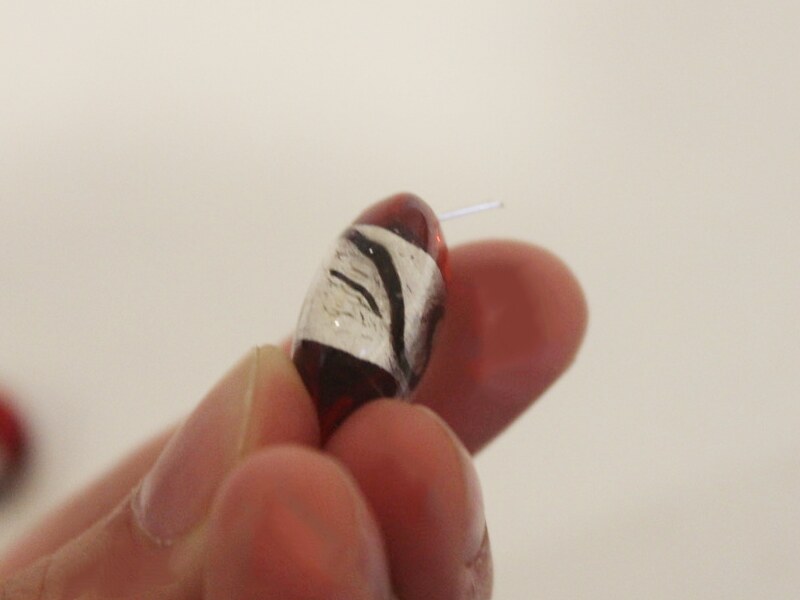
3: Loop the end of the pin to secure the bead in place.
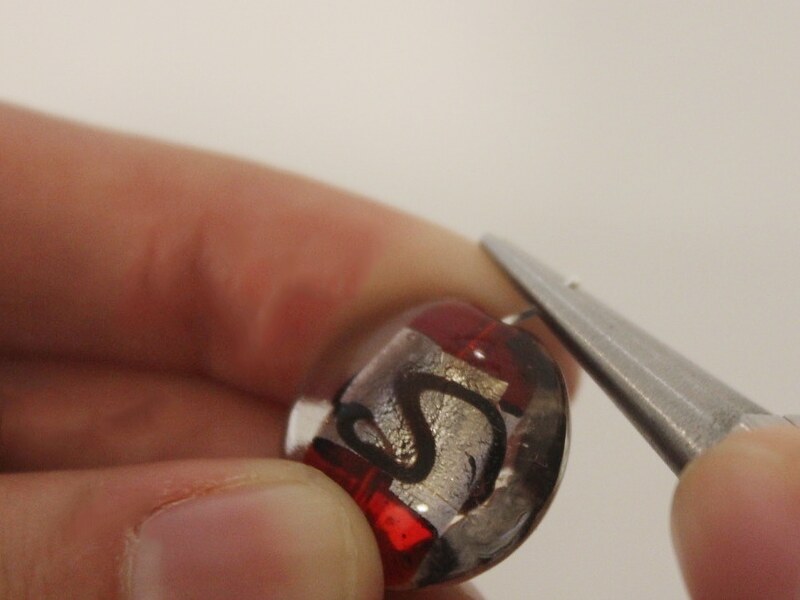
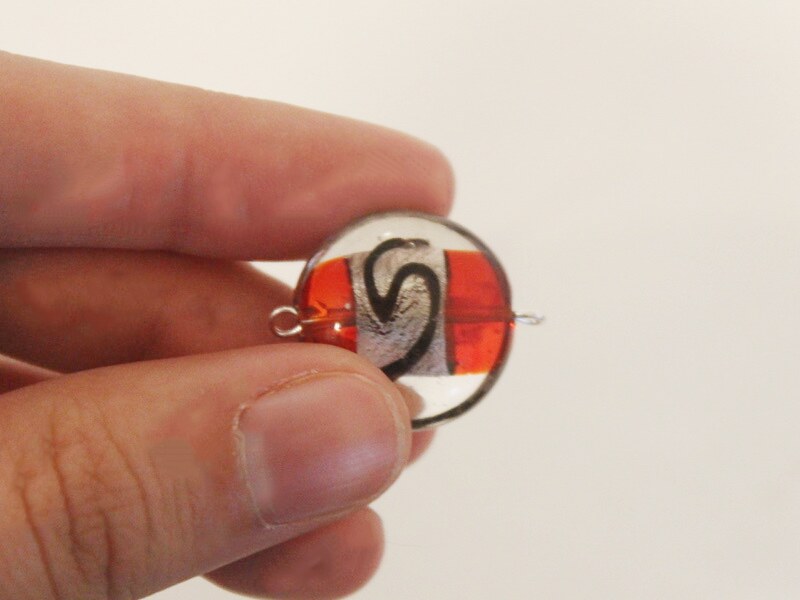
4: Repeat steps 1-3 for the other bead.
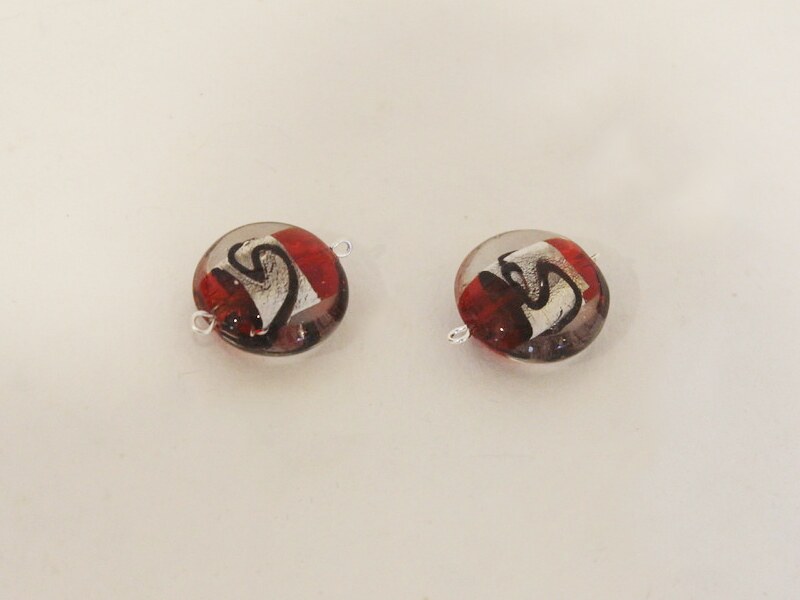
5: Add a jump ring to one side of one of the beads and a piece of chain. Close the jump ring to secure the bead and chain together.
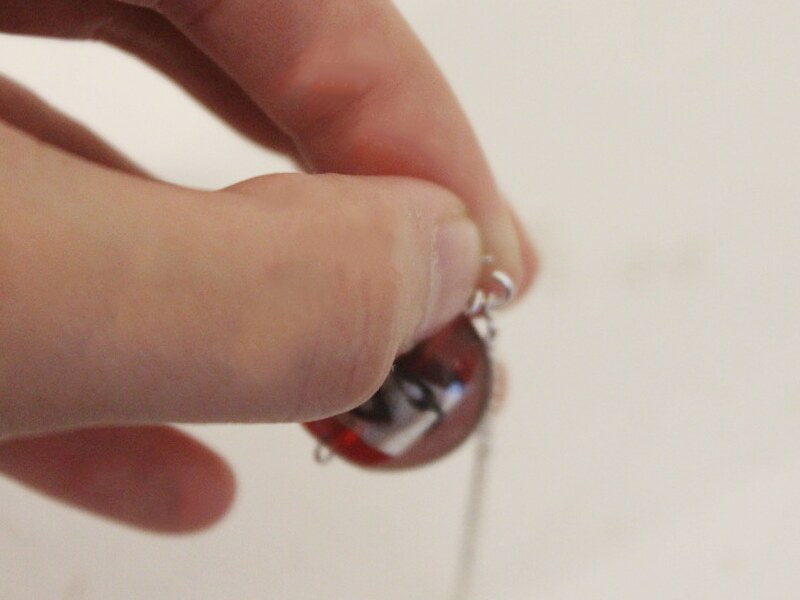

6: Repeat step 5 to attach all the pieces of chain to the bead charms, forming a long piece of chain broken by two beads.
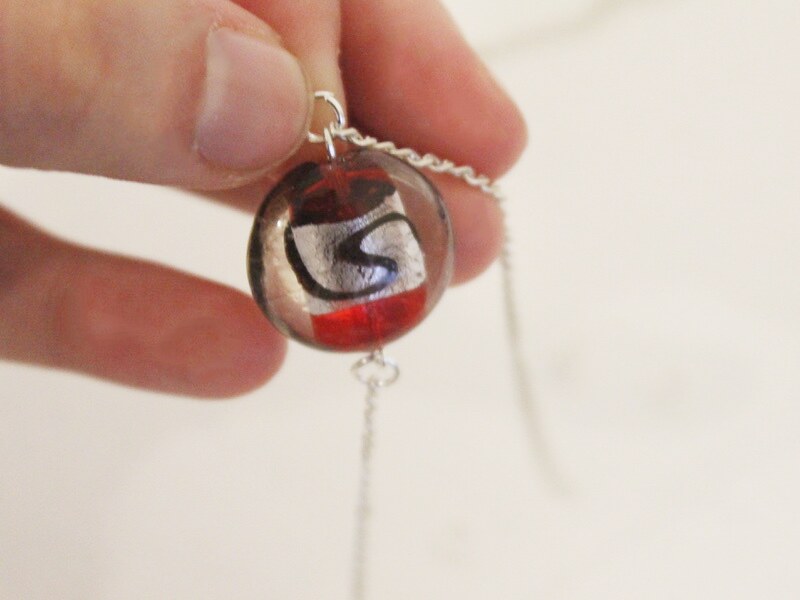
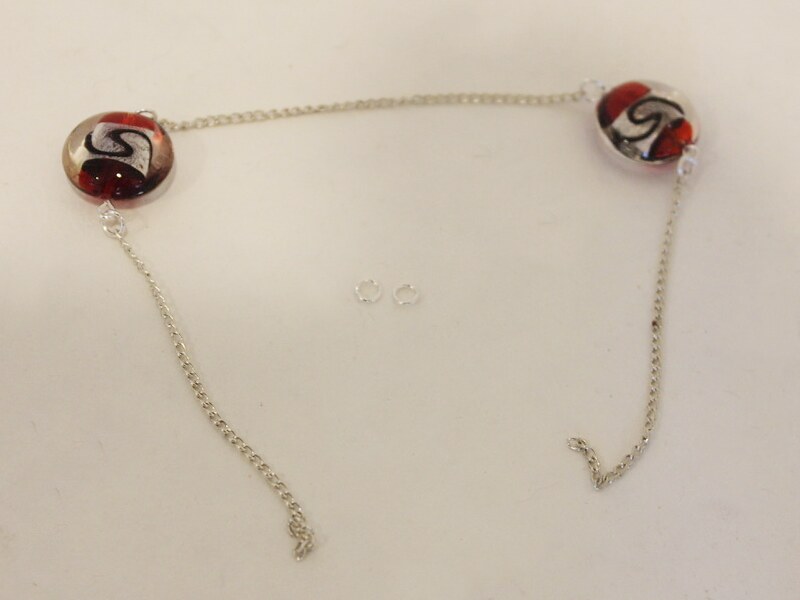
7: Add a jump ring to the end of the chain and add the lobster clasp to the open jump ring. Close the jump ring to secure the clasp in place.
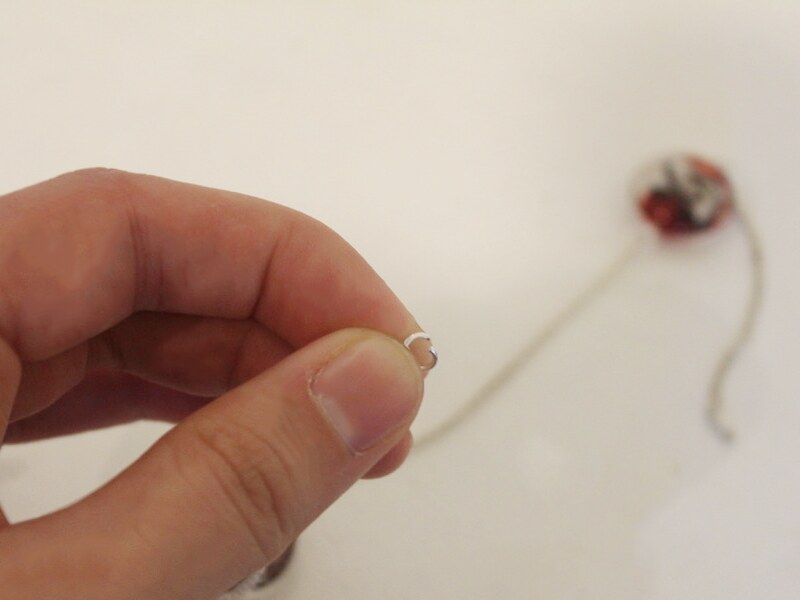

8: Add the other jump ring to the other side of the necklace to finish it off.
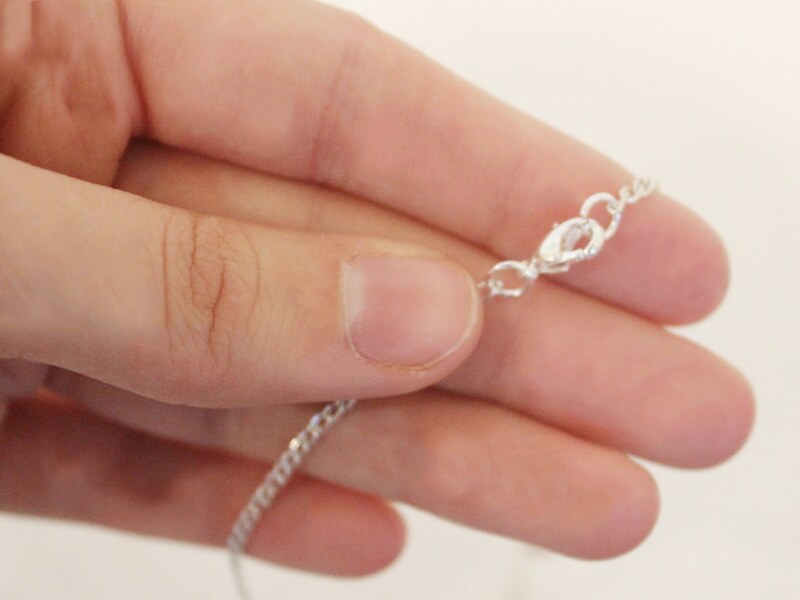
Now your beaded chain choker is finished and ready to wear!