-
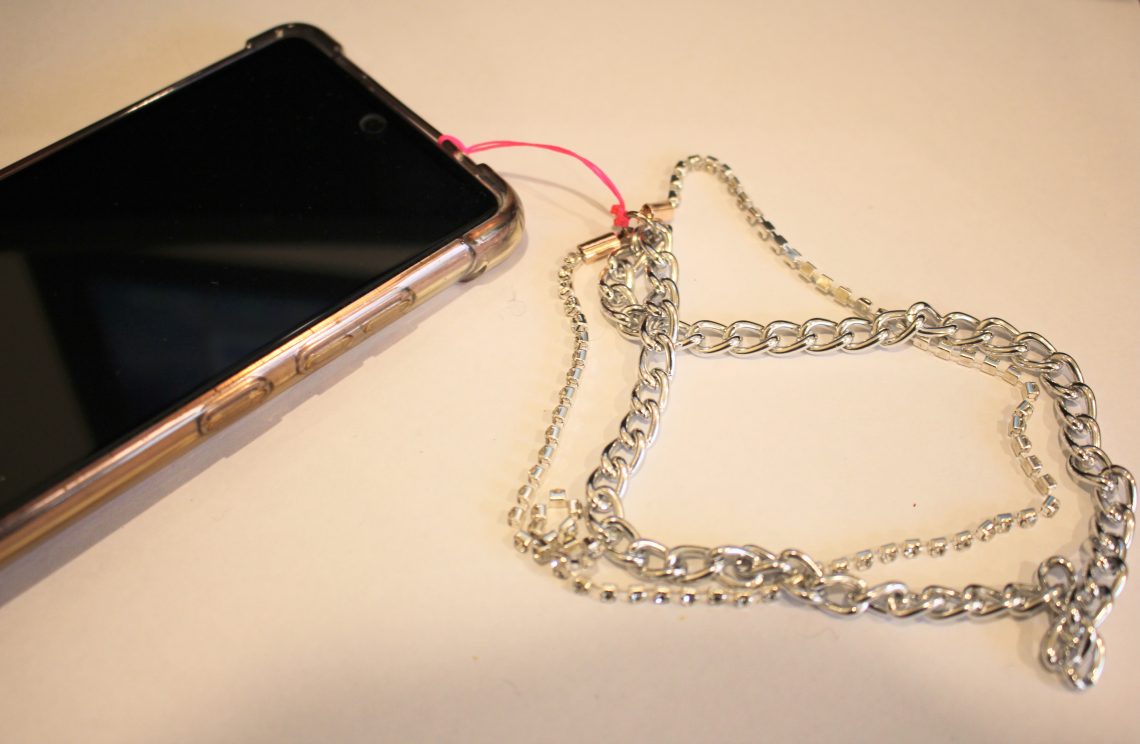
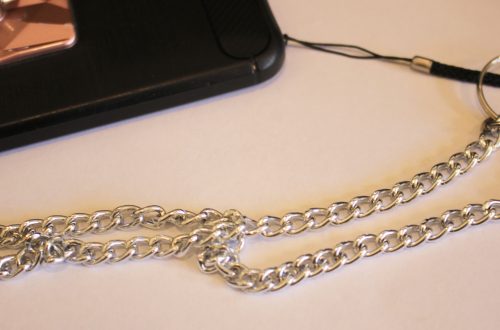
Need help keeping hold of your phone? Here’s how to make a cute chain and rhinestone phone strap so its harder to lose!
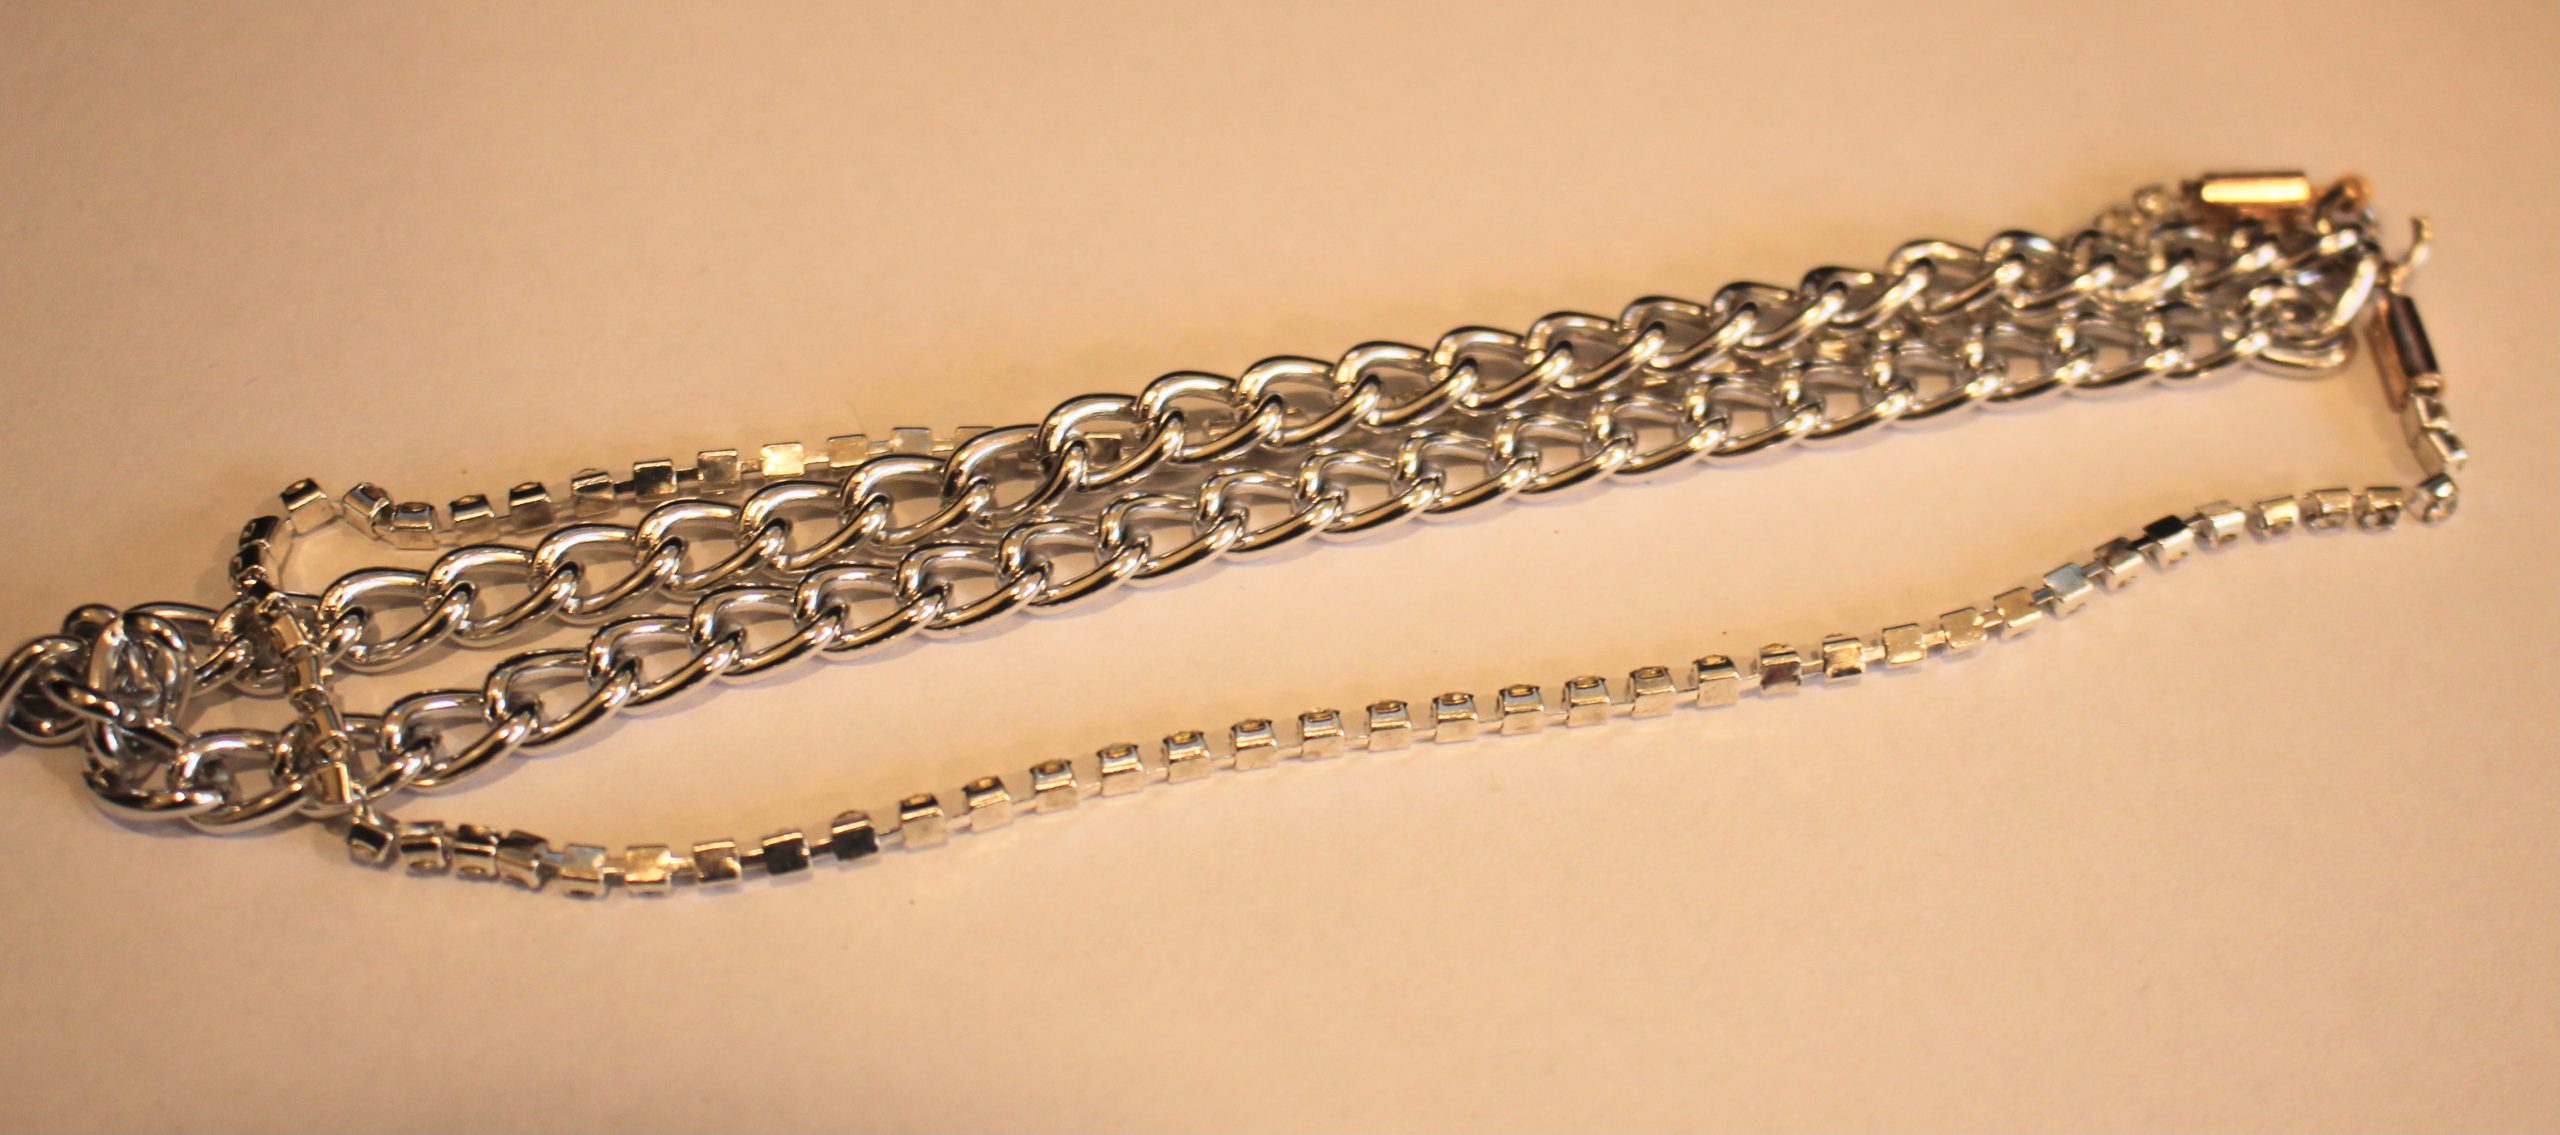
I’m loving making phone straps lately! This one combines a chunky chain with some rhinestone trim to create this double stranded phone strap. I decided to add the extra chain for more strength! Please note that this tutorial contains affiliate links.
You will need the following tools and materials to make this phone strap:
1: Pliers. I used my flat nose pliers, round nose pliers and cutting pliers. I also used scissors to trim my string.




2: A piece of chain about 30cm long. I used this silver tone chunky curb chain.

3: A piece of rhinestone trim about the same length as the chain.

4: Two crimp ends.

5: A large jump ring.

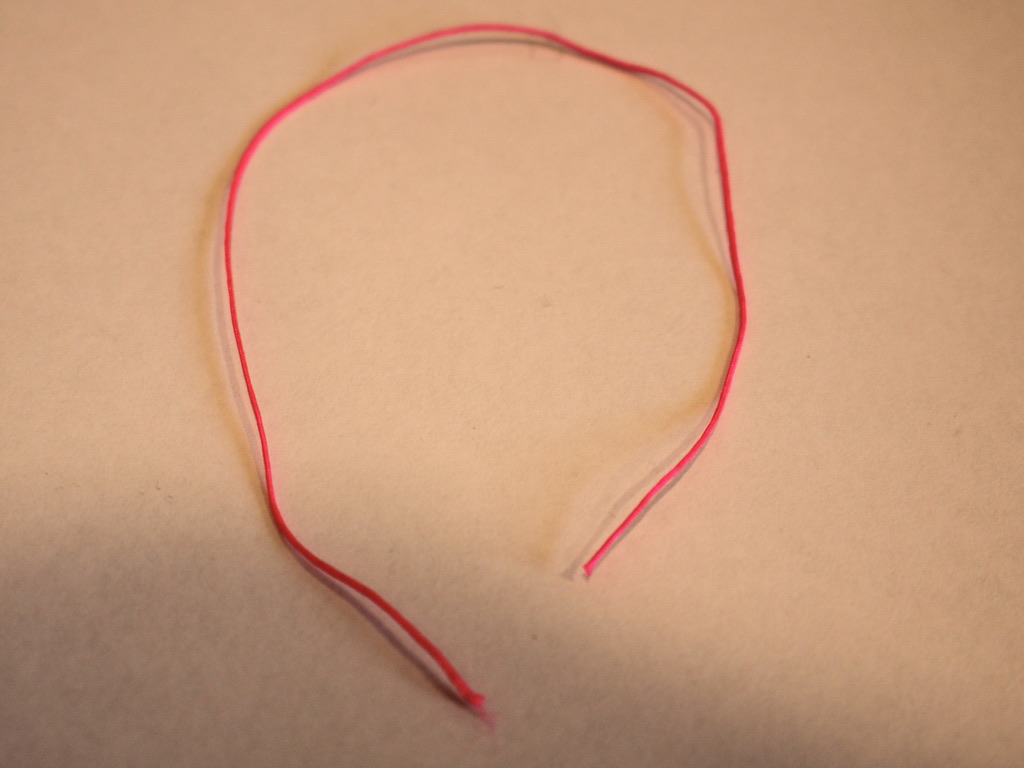
6: A piece of string. I used this hot pink nylon string that I cut to be about 15cm long.
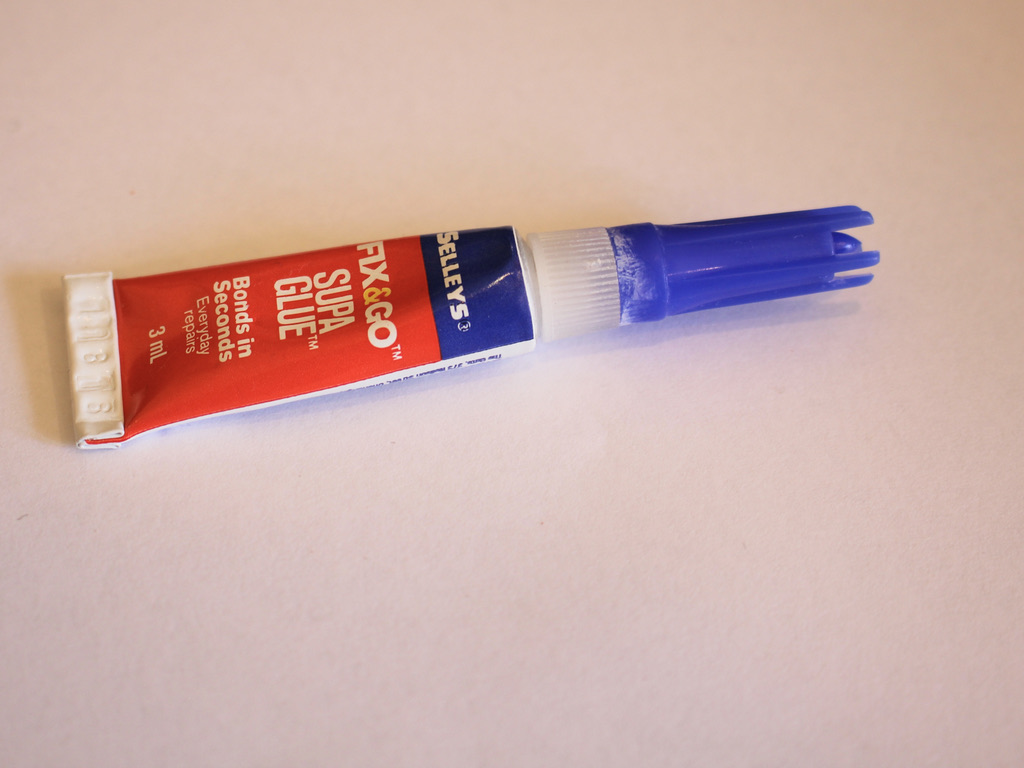
7: Super glue.
Follow these steps to make your rhinestone phone strap:
1: Take one end of the rhinestone strand and place it in one of the crimp ends.

2: Squash one side of the crimp around the end of the rhinestones using the flat nose pliers.

3: Repeat the squeezing of the crimp for the other side, folding it around the end of the rhinestones. Squeeze until the crimp feels securely attached to the rhinestone strand.


4: Repeat steps 2 and 3 for the other end of the rhinestone chain.

5: Add one end of the chain and rhinestone strand to the jump ring.
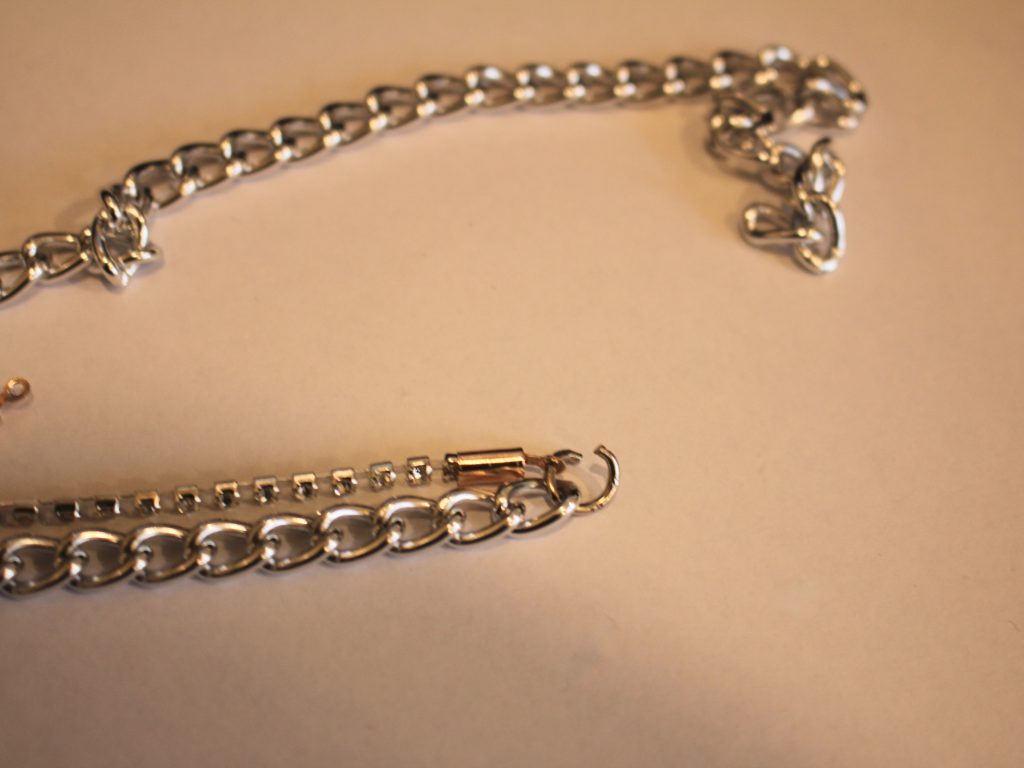
6: Add the other end of the chain and rhinestone strand to the jump ring in the same order.

7: Close the jump ring using your pliers.

8: Fold the string in half and tie the open ends around the jump ring, loop and knot it a few times to secure it.

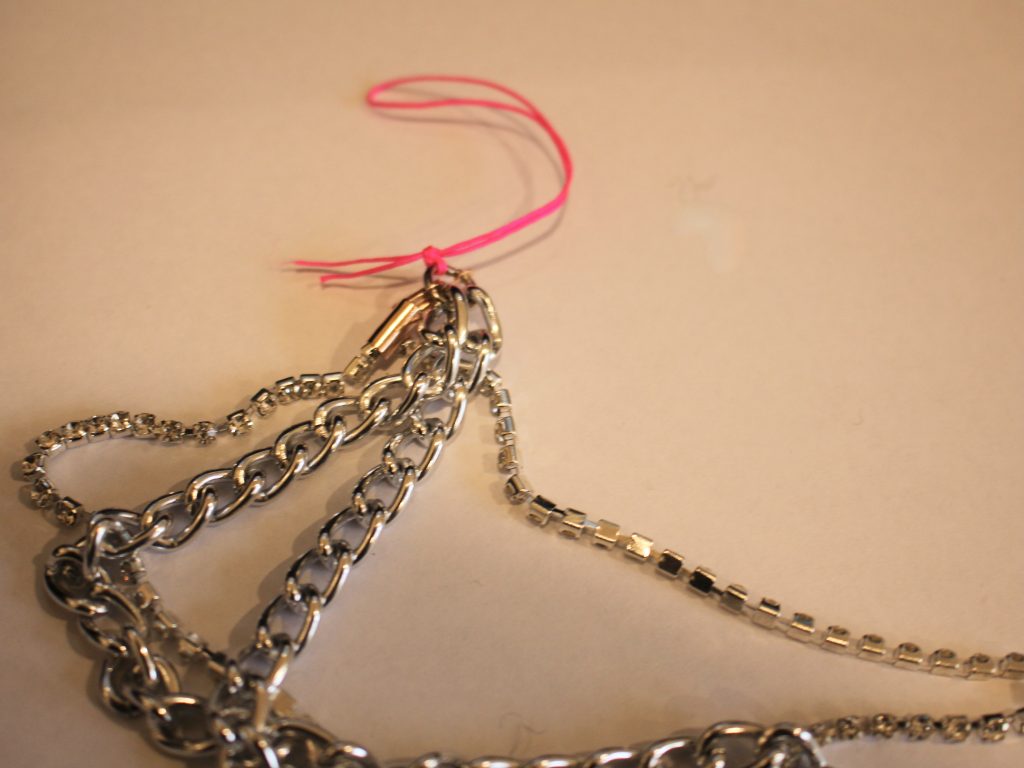

9: Trim the ends of the string.

10: Add a dab of super glue to the ends of the string to secure the knot.

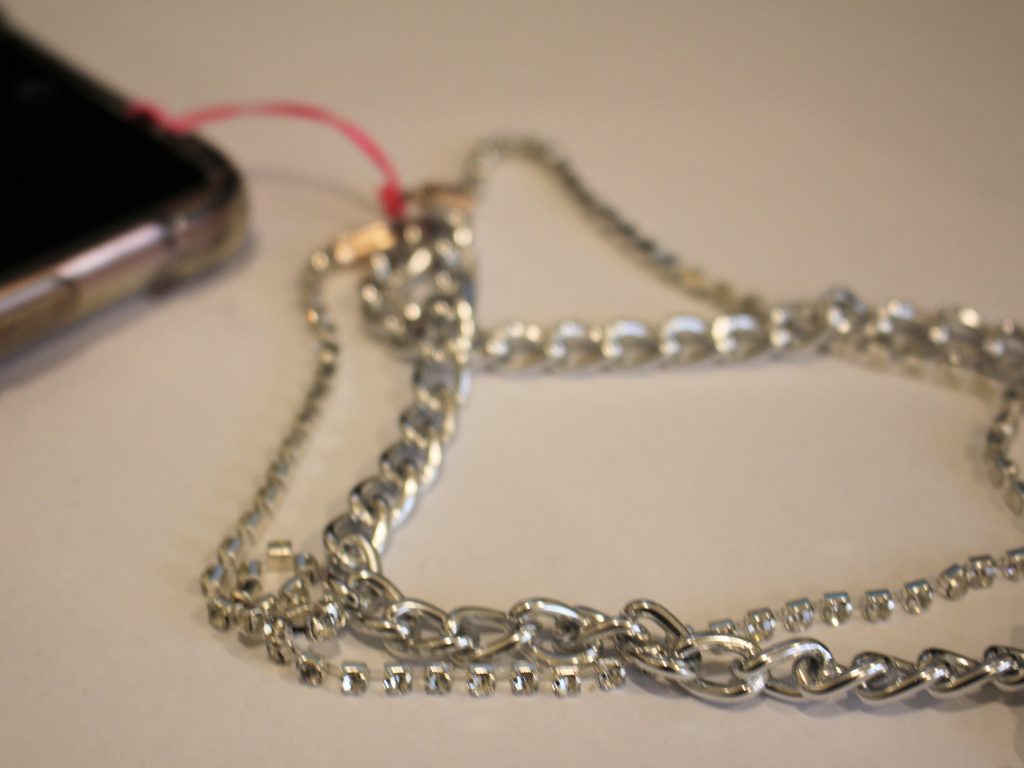
Now your double strand phone strap is finished and ready to pop on your phone. Loop it through on of the holes on your phone case for more phone customisation!


-
Here’s how to turn a necklace into a strap for your electronics!
You never want to lose your gadgets! I love having a wrist strap for my camera, my phone, all sorts of things… If you want a cute new wrist strap for your fave toy, here’s one you can make from an existing necklace chain and a piece of string! Please note that this tutorial contains affiliate links.
You’ll need these tools and materials to make your electronics strap:
1: A necklace chain.

2: A piece of string, I made mine about 25cm long.
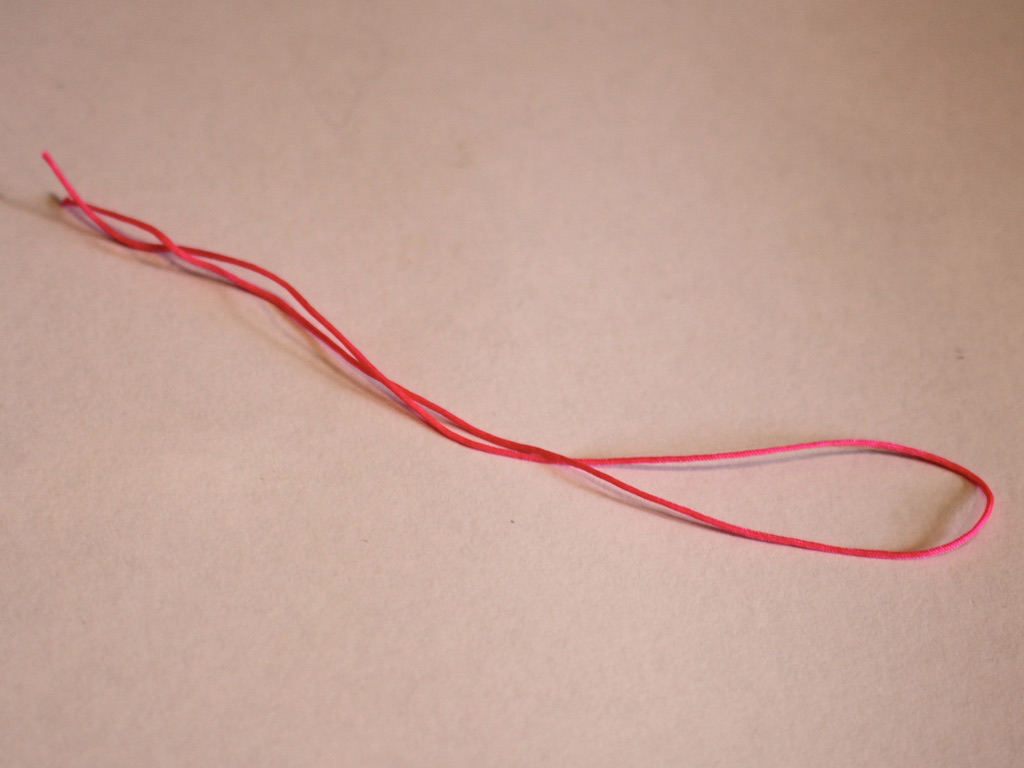
3: A pair of scissors for cutting and trimming string.
4: A couple of pairs of pliers to open and close jump rings.

5: Super glue for securing the end of the string.
Follow these steps to make your wrist strap:
1: Open the jump rings on the chain to remove the clasp.
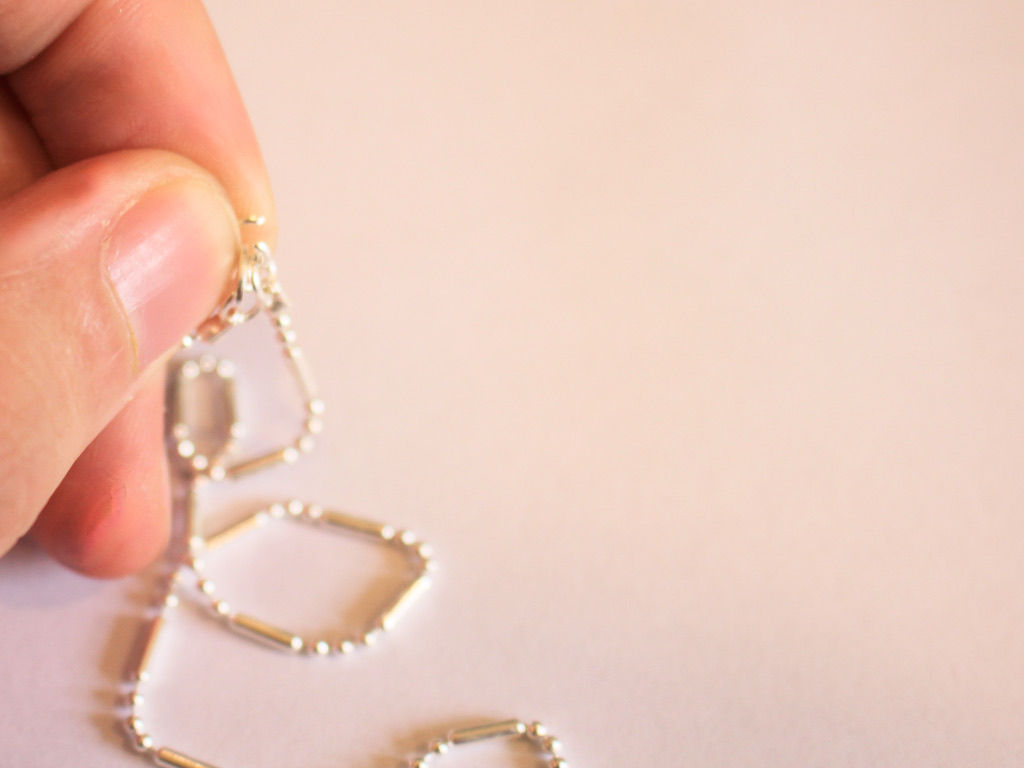

2: Attach the ends of the chains together using the jump rings.

3: Fold the string in half and thread it through one of the jump rings.

4: Tie a knot in the string, leaving a loop on one side.
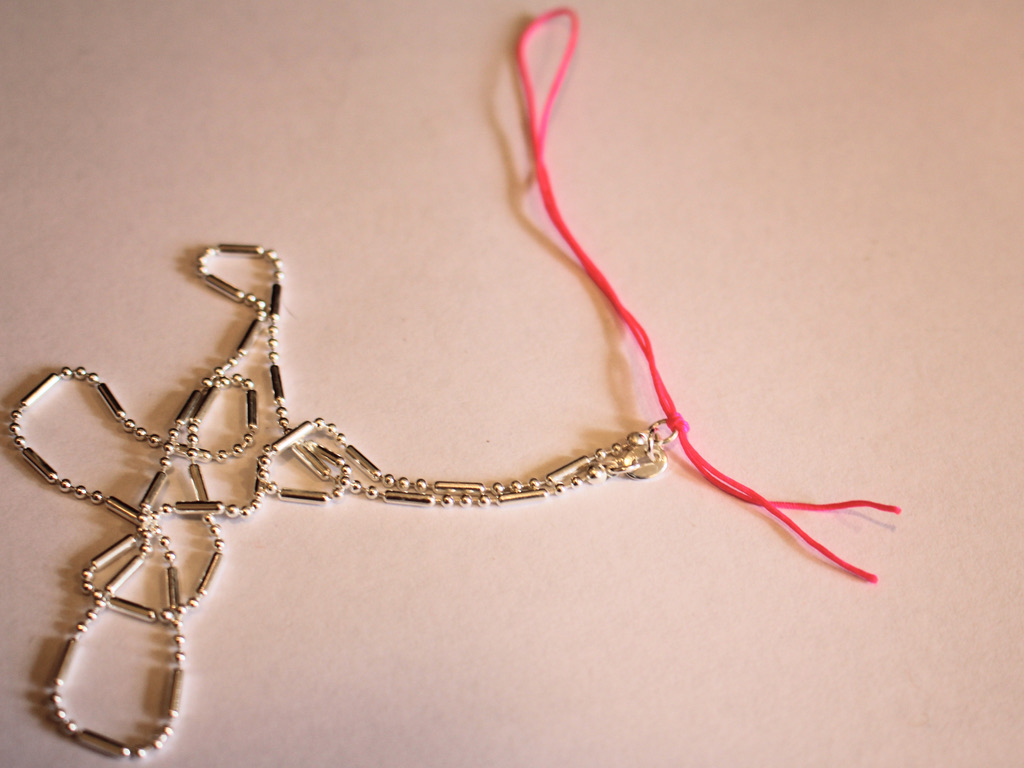
5: Wind the end of the threads through the jump rings and tie an extra few knots to secure the string to the chain.

6: Trim the excess string.

7: Add a dab of superglue to the end of the string to secure it and stop the knot from unraveling.

Now your wrist strap chain is finished! I added mine to my film camera because I’m a super cool hipster 😉


-
Here’s a fun simple design to make! All you need is some brightly coloured string and a fun bead!
This is a fun one, and great for when you feel like you need a new accessory to match an outfit in a snap! This bracelet is made using some bright string and a cheerful bead to make a simple bracelet that still looks great. Please note that this tutorial contains affiliate links.
You’ll need the following tools and materials to make this bracelet:
1: A piece of beading string. I used this hot pink nylon beading thread. Cut it to a length by measuring it around your wrist and adding approximately 8cm extra. I usually measure mine by eye. If you think its too long, you can trim it a bit.

2: A bead. I used this smiley bead.

Here’s where you can get similar beads. Follow these steps to make your own simple string and bead bracelet:
1: Add the bead to the string buy sliding it over the end of the string.

2: Tie the string around your wrist.

Now its done! Perfect. If tying it yourself is tricky, you can ask someone for help to tie it on for you.


-
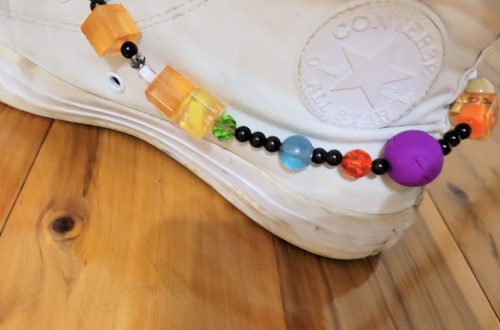
Here’s another sparkly shoe chain tutorial for you…
Shoe jewellery is pretty fun! Here’s how to make a sparkly decoration for your fave shoes using some string and some rhinestone embellished beads. I made this one long enough that you could also clip the ends together so you can wear it around boots. Please note that this tutorial contains affiliate links.
You’ll need these tools and materials to make this shoe chain:
1: A piece of string about 35-40cm long.

2: Two large lobster clasps.

3: Some beads. I used these second-hand rhinestone embellished metal beads.

4: Scissors for trimming the string.
5: Some superglue.
Follow these steps to make your shoe chain using string and beads:
1: Add one of the lobster clasps to one end of the string and tie a knot.


2: Tie two more knots, leaving the end for now.

3: Add the beads to the string.
4: Add the second lobster clasp to the other end of the string and tie three knots as you did in steps 1 and 2.

5: Trim the ends of the string using your scissors.

6: Add a dab of superglue to the knots to secure them then set it aside to dry.
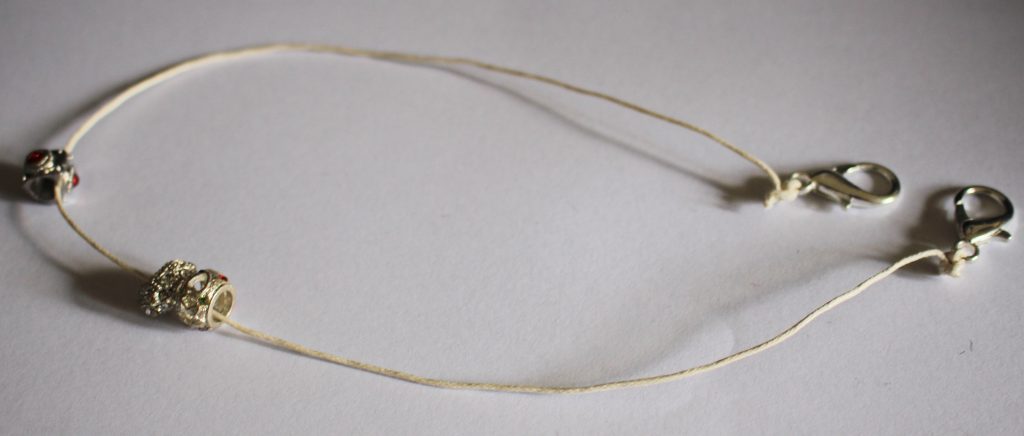
Now your shoe chain is finished. Here it is clipped to some low top sneakers, but you could experiment and add them to high-tops or boots!


- Uncategorized
Here’s how to make a braided mask chain with beaded details!
If you’re like me, masks have become a long-term part of life. It can be annoying to keep track of your mask as you take it on and off during the day, so here’s piece you can make that helps you keep track of your mask! This mask chain features braid with beaded details for a cool, hippie look! Please note that this tutorial contains affiliate links.
You’ll need the following tools and materials to make your braided mask chain with bead details:
1: Scissors
2: Three pieces of hemp cord. I cut mine to be about a 1m long but didn’t use all of it, so I suggest cutting a bit shorter.

3: Beads with holes large enough to fit the cord. I used these painted red timber beads.

4: Two large lobster clasps.

5: Super glue
Follow these steps to make your braided bead mask chain.
1: Thread the three pieces of cord through the end of one of the lobster clasps.
2: Tie a knot to secure the clasp.


3: Tie a second knot for extra security and trim the excess.

4: Start braiding the cord. It can be useful to clip the end of the piece to something so that you can pull the strings taught and make braiding easier.

5: Once you have braided a small section, approx. 4cm, add one of the beads to the centre cord.

6: Continue braiding, wrapping the next two strings around the bead and then continue braiding as usual.

7: Repeat steps 5 and 6 for the next bead and then the rest of the chain until it is the length you like.
8: Add the second clasp to the other end of the chain and knot it to secure it in place.


9: Knot the end again and trim the cord.
10: Add a dab of superglue to each end of the beaded chain and set it aside to dry.

Now your mask chain is finished and ready to use!


If you love braided designs, here are some other pieces you can make at home:
-
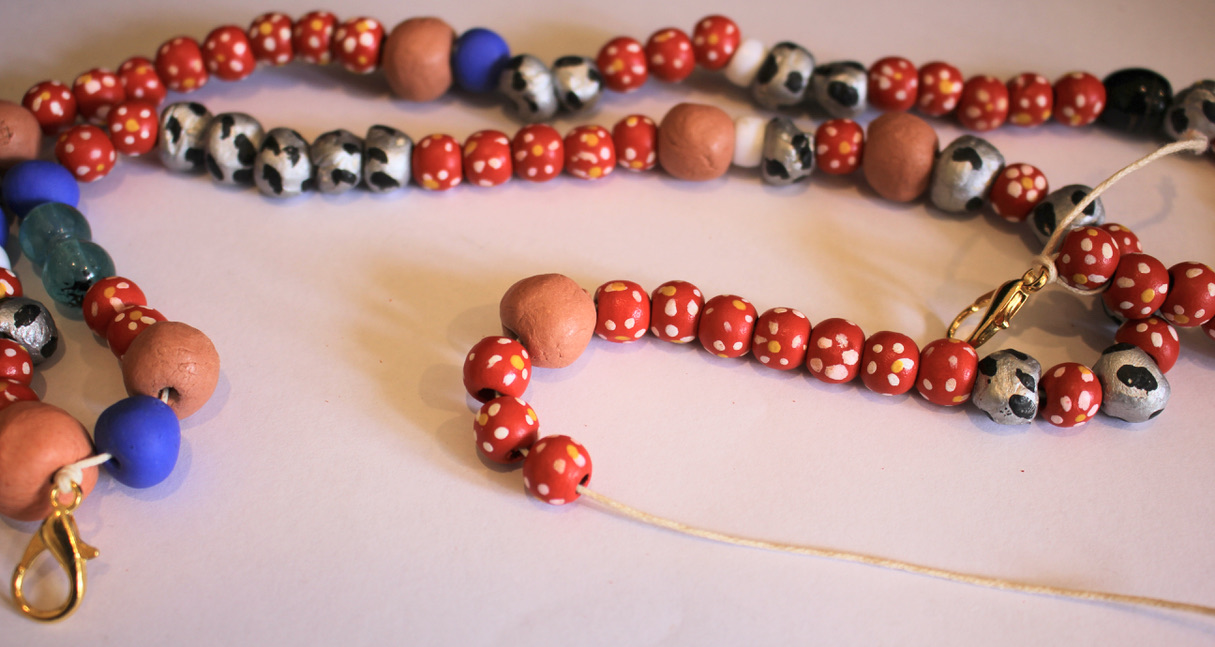
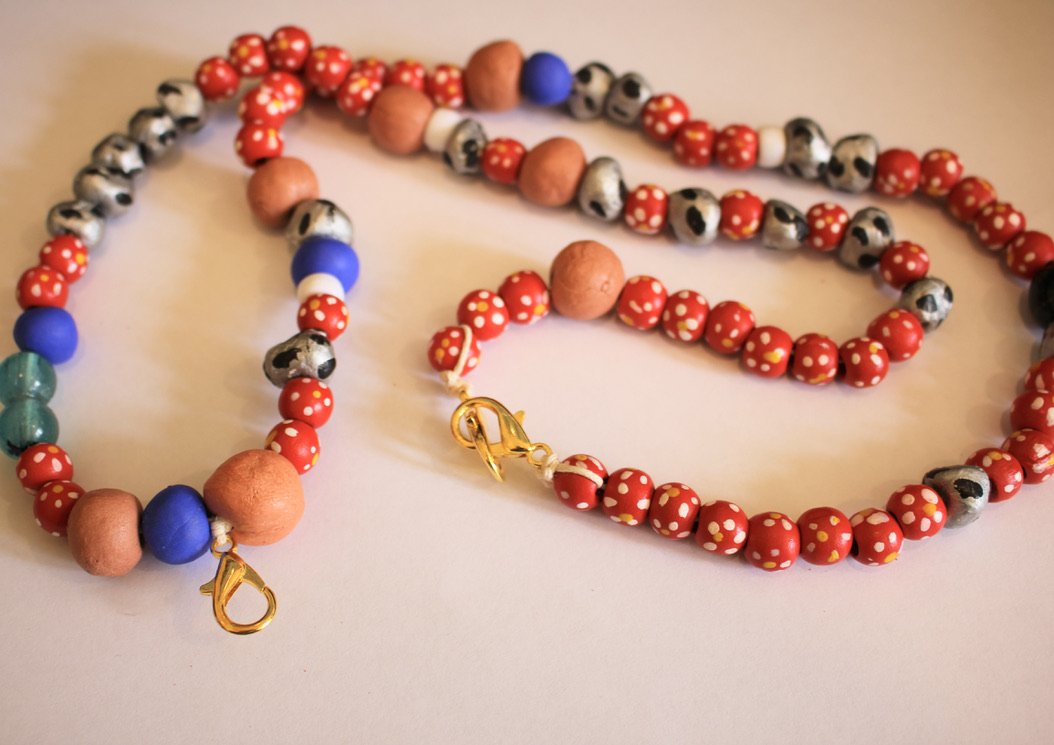
How to make a beaded lanyard using string and funky beads!
I recently caught up with a friend, she’s a teacher and she was really excited that she found some funky beaded lanyards, and it made me think… I could probably make one myself! So here’s the tutorial, here’s how to transform some string, clasps and funky beads into a useful lanyard! Please note that this tutorial contains affiliate links.
You’ll need these tools and materials to make your own beaded lanyard:
1: Scissors
2: Cotton twine, cut about 15cm longer than the length you want your lanyard.

3: Three large lobster clasps.

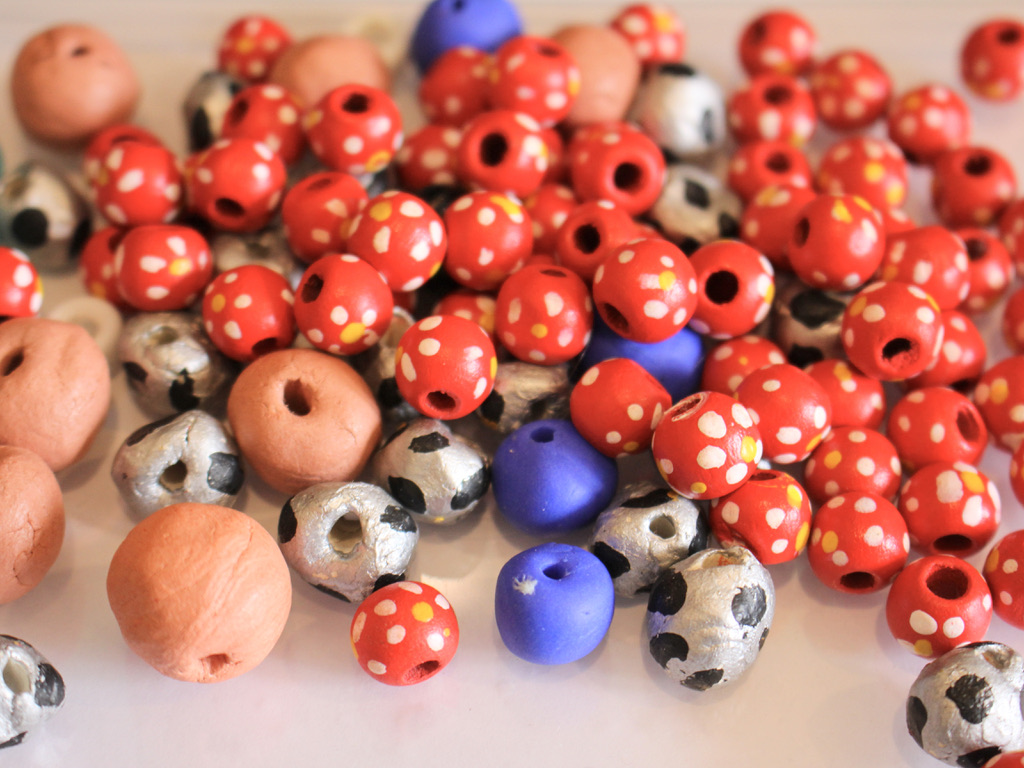
4: A selection of beads with holes large enough to fit on the string. I used some painted timber beads, glass beads, plastic beads, and some beads I made from polymer clay, resin and air dry clay.
5: Superglue
Follow these steps to make your own beaded lanyard:
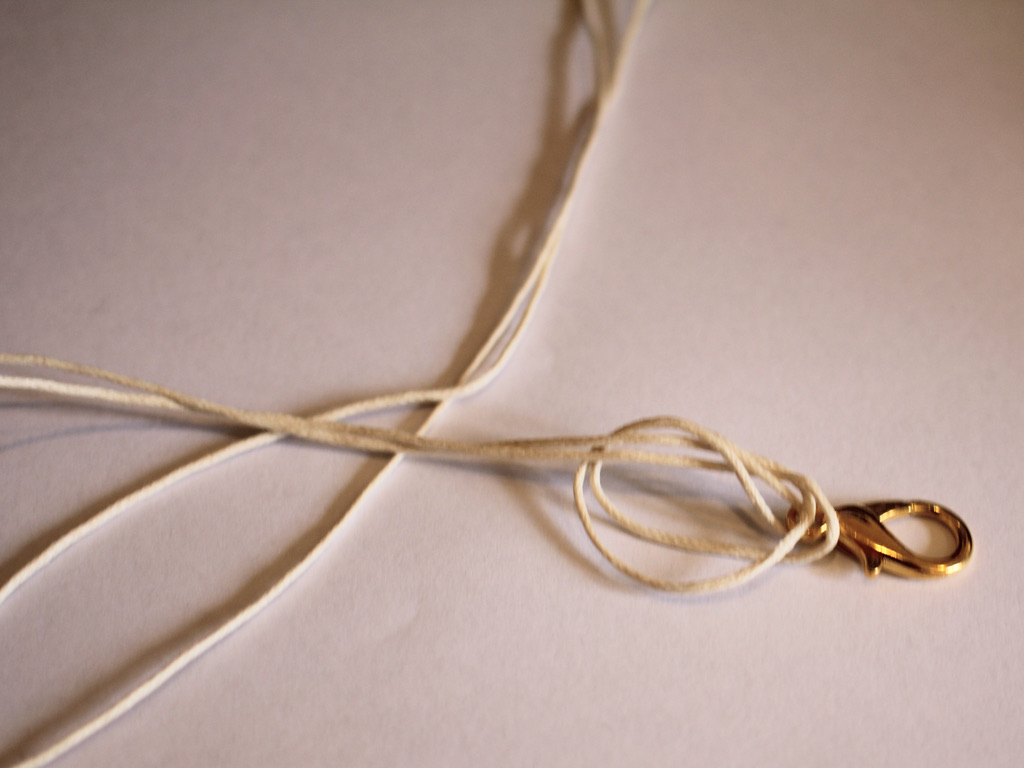
1: Take one of the clasps and add it to the middle of the piece of string.

2: Create a knot at the top of the clasp.

3: Add beads to one side of the lanyard until you get the length you like.


4: Add another clasp to the end of the lanyard and loop the end of the string back through the last bead and pull it tight.
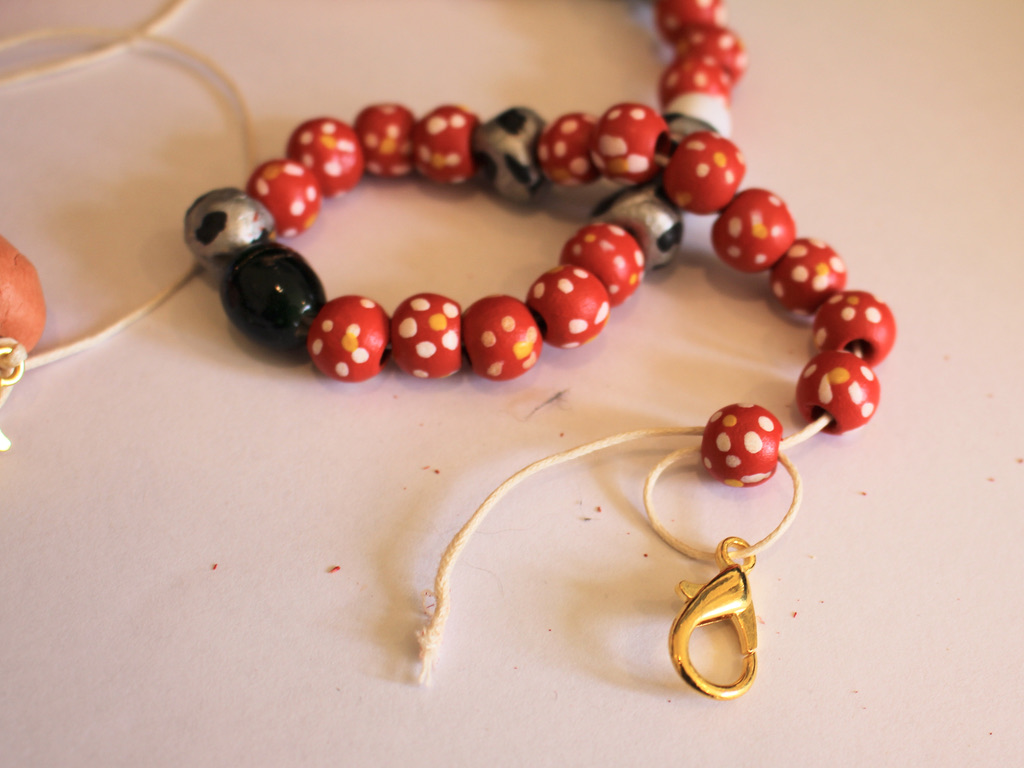

5: Tie a secure knot to the end of the string securing the clasp tightly to the last bead.


6: Repeat steps 3 to 5 for the other side of the lanyard.

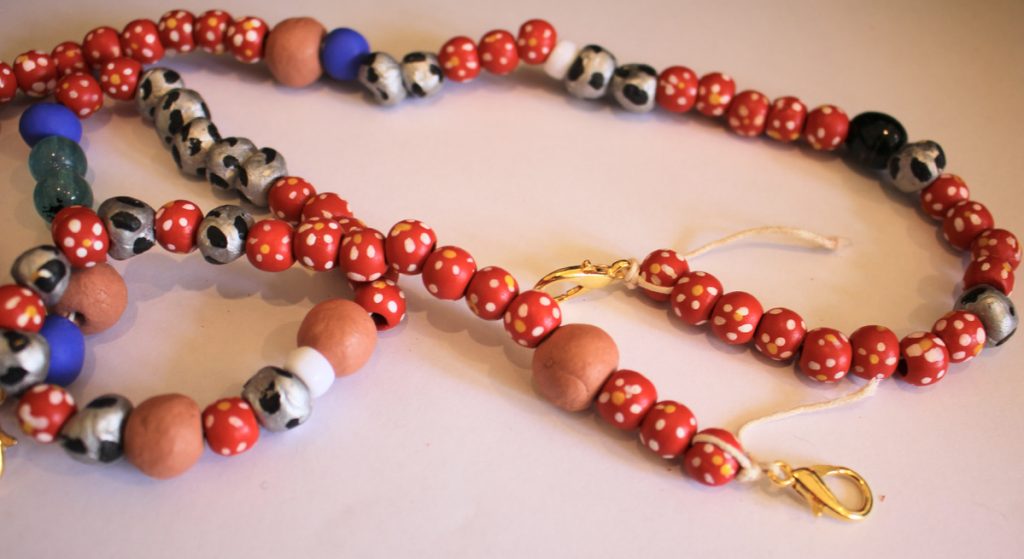
7: Trim the excess string on either end of the lanyard.


8: Add a dab of superglue to each of the knots at the end of the lanyard. Set it aside to dry.

Clip the ends of the lanyard together and now your beaded string lanyard is finished and ready to use!


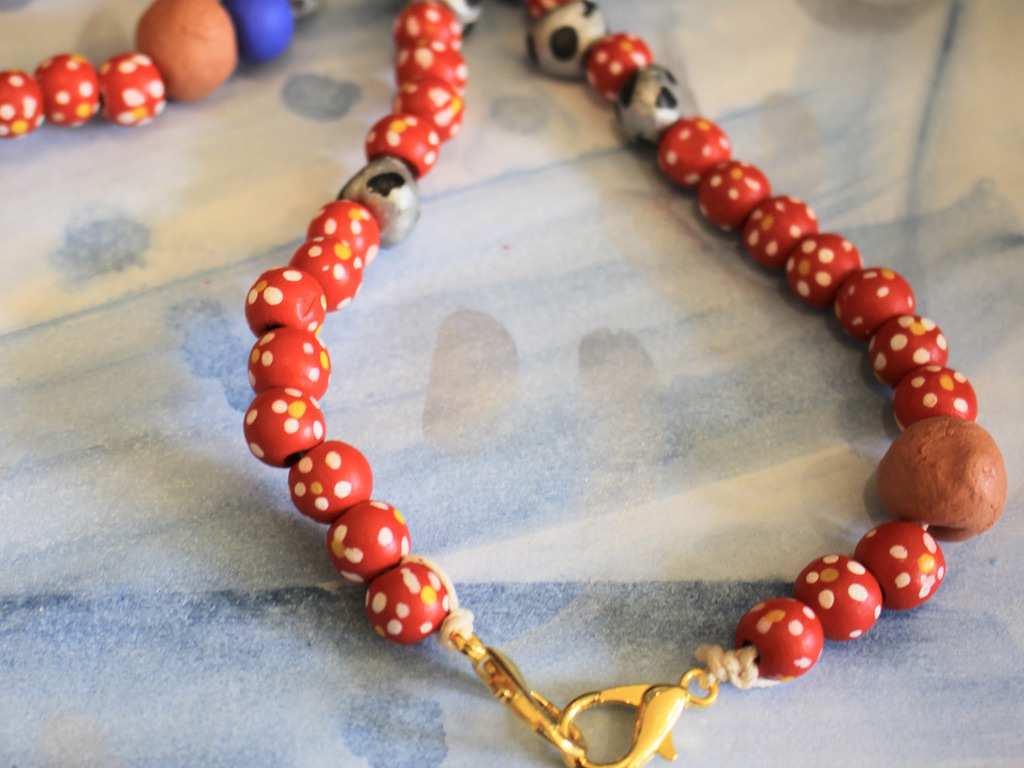
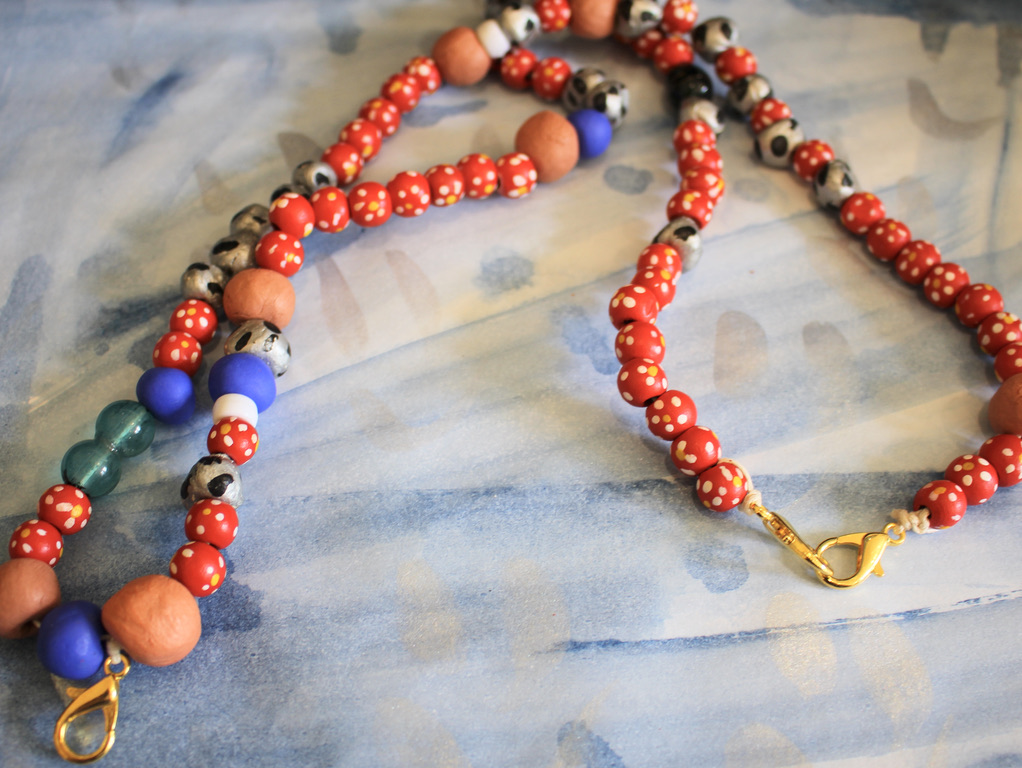
If you want to make your lanyard with handmade beads, here’s a tutorial you can follow to make your own.
-
Here’s how to string beads onto nylon beading thread!
I’ve been experimenting with different stringing materials lately for my beaded designs and I’ve come to like working with nylon beading thread, so I thought I’d make a tutorial to show you all how to use it! In this tutorial I am going to make a simple beaded necklace using glass seed beads and polymer clay fruit beads for a fun and tropical look. Please note that this tutorial contains affiliate links.
You’ll need these tools and materials to make your beaded necklace:
1: Some nylon beading thread. You’ll need to cut a bit over double the length you want your necklace to be.

2: A beading needle with a thin loop of thread tied to it.

3: A sterling silver lobster clasp.

4: A sterling silver jump ring.

5: Superglue.
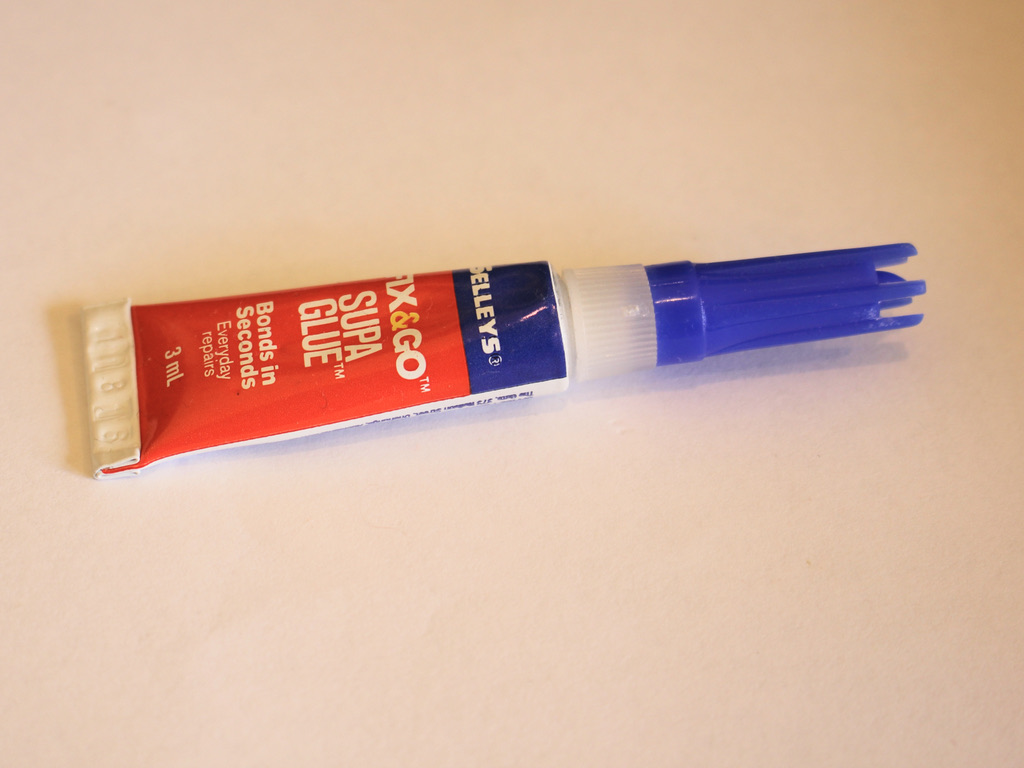
6: Beads. I used some polymer clay fruit beads and some clear silver lined glass seed beads.


7: Scissors to trim the thread.
Follow these steps to create your beaded necklace using nylon thread:
1: Fold the thread in half.

2: Loop the thread through the jump ring on the clasp and pull the ends back through.

3: Pull the loop tight.

4: Create another knot over the one you just made. If the knot is a little high, pull the strings apart carefully, making sure not to break the thread.


5: Loop the ends of the thread through the loop on the end of the needle.

6: Begin adding beads, pulling the beads gently over the thin thread and onto the necklace thread.


7: Add beads in the same manner in your chosen pattern until you have the length you want for your necklace.


8: Tie a knot at the end of the beaded section the same way you knotted the thread in step 4.

9: Slide the jump ring onto the thread.


10: Loop the thread through the ring again and then tie a knot below the jump ring. Do this one more time so that you have a secure knot.


11: Trim the excess thread.

12: If you feel like it, you can melt the extra thread using a lighter or match, but be careful not to break the thread or burn yourself.

13: Add a dab of superglue to the knots at each end of the necklace.


Now your necklace is finished and ready to wear!

If you don’t feel like making your own version of this necklace, you can purchase this one that I made here: https://www.etsy.com/au/listing/891450996/fruit-necklace-fruit-bead-necklace?ref=shop_home_active_30&frs=1
Here are some other polymer clay fruit designs you can make:
-
How to make a beaded phone strap using a piece of string!
Beaded phone straps are a bit of a trend right now, and here’s a down and dirty way to make one! Really all you need is some string and some beads. I added a large lobster clasp as well, you can use it to attach the strap to your phone or to add some keys or other important charms to your design! Please note that this tutorial contains affiliate links.
You will need these tools and materials to make your own beaded phone strap:
1: A piece of string. I cut mine to be about 40cm long but I suggest going longer, maybe 50-60cm.

2: A selection of beads. Make sure they have holes big enough to fit over the string. I used a mix of handmade polymer clay beads, glass beads, resin beads, timber beads and plastic beads.

3: A large lobster clasp.

4: A pair of scissors for cutting and trimming your string.
Follow these steps to make your phone strap:
1: Fold the string in half.

2: Take the folded end and create a knot, I made mine a little small, I suggest creating the knot about 8-10cm down the string. After you pull the knot tight you will have a loop and two separate strings.


3: Begin adding beads to one of the strings until you have most of the string beaded.


4: Add beads to the other side, beading the second string to the same length as the first.

5: Tie the ends of each string together, adding the lobster clasp before securing the knot.


6: Add an accent bead to one of the tails of the loop and knot the end to secure the bead in place.


7: Repeat step 6 for the second tail of the beaded phone strap.

Now your phone strap is finished! This is a bit of a down and dirty DIY but the results are pretty cute and you can personalise it to your liking!


-
Here’s another way to make an awesome shell anklet.

Are you digging the current trend for shell jewelry as much as I am? This current trend is perfect for DIY projects! Here’s all the steps you need to follow to make a rustic finger knit shell anklet. Here’s a little video on how to finger knit… just in case you need a reminder!
You’ll need the following tools and materials to make your anklet:
1: Scissors or cutting pliers to cut the string.
2: Flat nose pliers and round nose pliers.
3: Some cotton string.

4: Shells. I used these shells that I found with natural holes in them.

5: Two leather crimp ends.

6: Two jump rings.
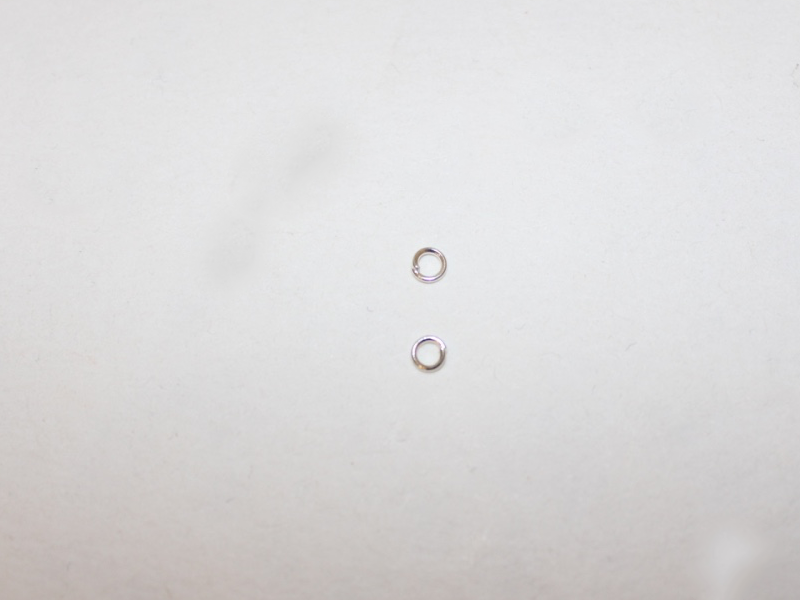
7: A lobster clasp.

Follow these steps to make your amazing finger knit shell anklet:
1: Add the shells to the string.

2: Make a slip knot and tighten it a little bit around your finger.

3: Make another loop around your finger.

4: Pull the first loop over the second one and off your finger.
5: Repeat steps 3 and 4 a few more times.

6: Place the first shell against your finger as you make the next loop. Pull the first loop over the shell to secure it to the knitted strand.

7: Continue this until all the shells are in place and the knitted string is long enough to fit around your ankle.


8: Tie a knot at the other end of the anklet.

9: Trim the ends of the string.

10: Add a crimp end to both ends of the anklet, securing them around each knot.

11: Add a jump ring to one side of the anklet and secure the clasp in place.

12: Add the remaining jump ring to the other side of the anklet to finish it off! So cute!

-
Here’s how to make a braided bead choker, perfect for the beach!
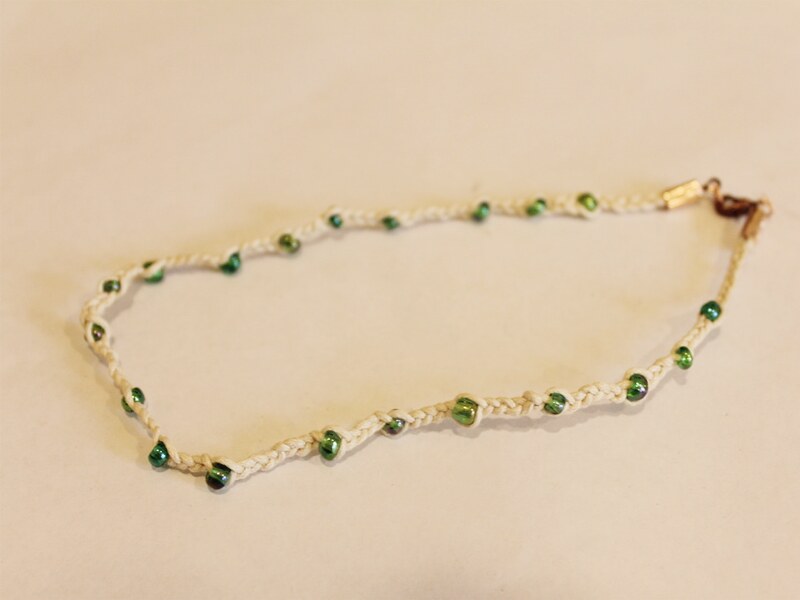
Do you love the look of boho braids? Why not make this super cute braided bead necklace?
You’ll need the following tools and materials to make your braided necklace:
1: Scissors or cutting pliers to cut the string.
2: Pliers. You’ll also need your flat nose pliers and round nose pliers.
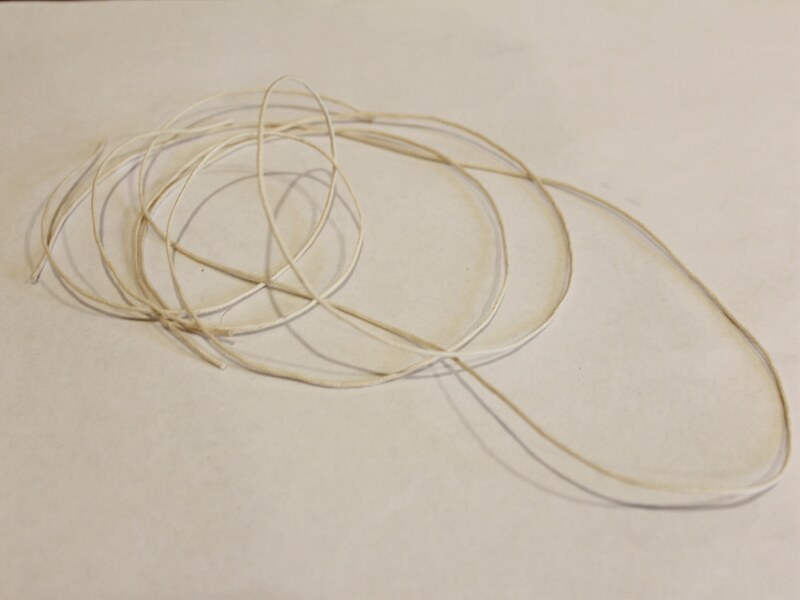
3: Three pieces of string the same length. I made mine approximately 60cm long.
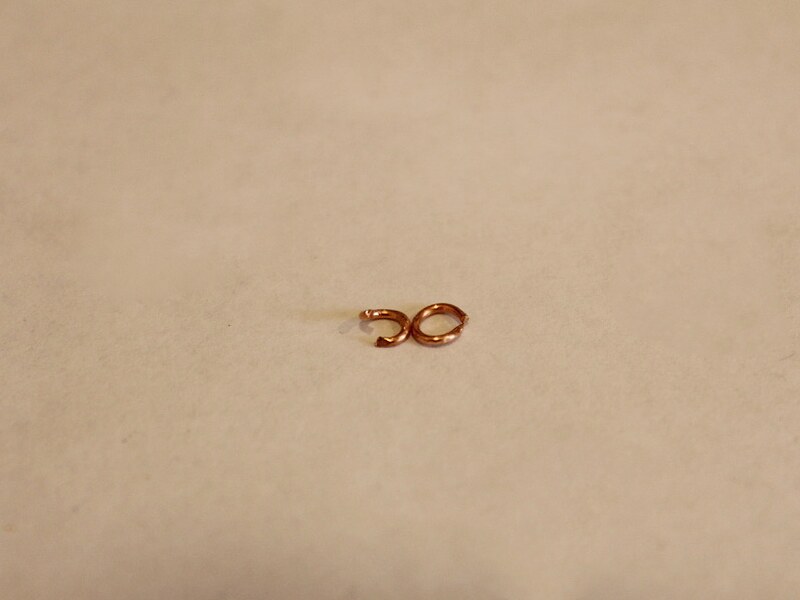
4: Crimp ends. I used these rose gold colored ones.

6: A lobster clasp.

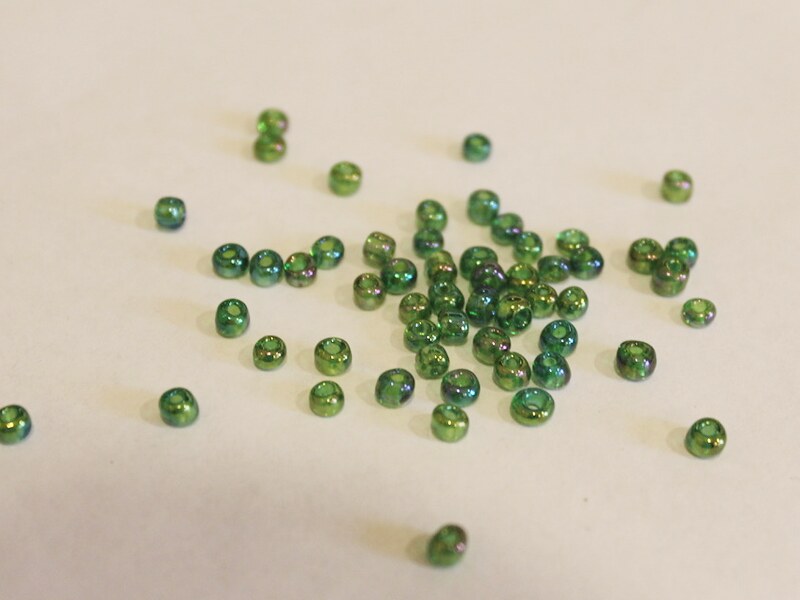
7: Beads of your choice. I used these green glass e-beads.
Follow these steps to make your braided bead necklace:
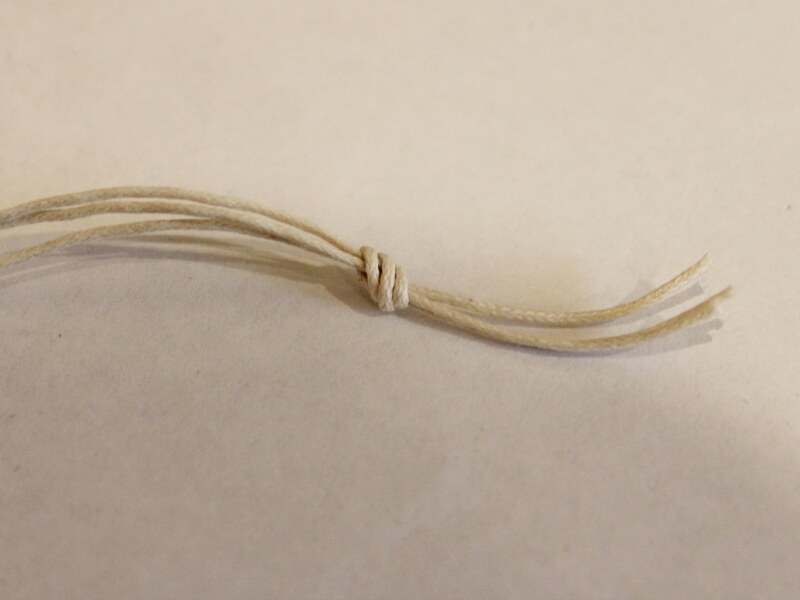
1: Gather the three strings together and create a knot at one end.

2: Begin braiding the strings.
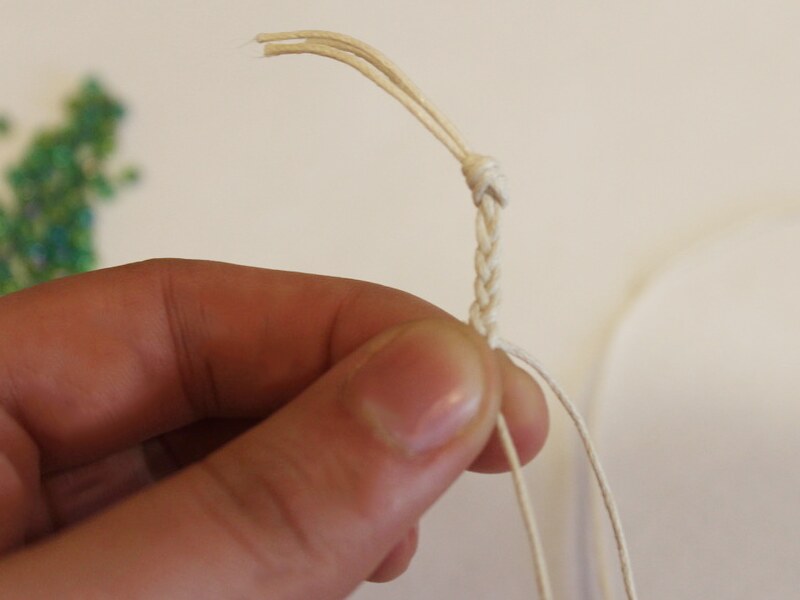
3: Add a bead to the string currently at the center of the braid.
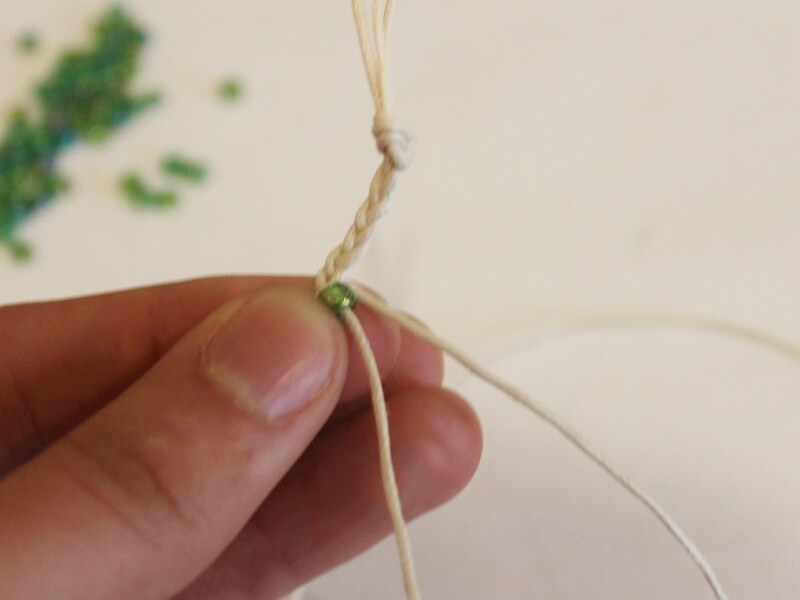
4: Braid around the bead to secure it in place.
5: Continue steps 3 and 4, adding beads in whatever pattern you like. I added mine fairly randomly.
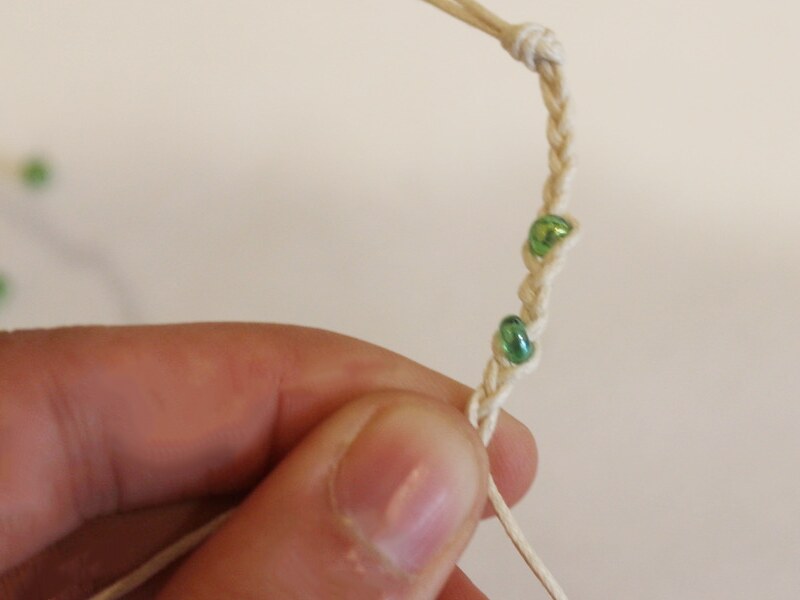
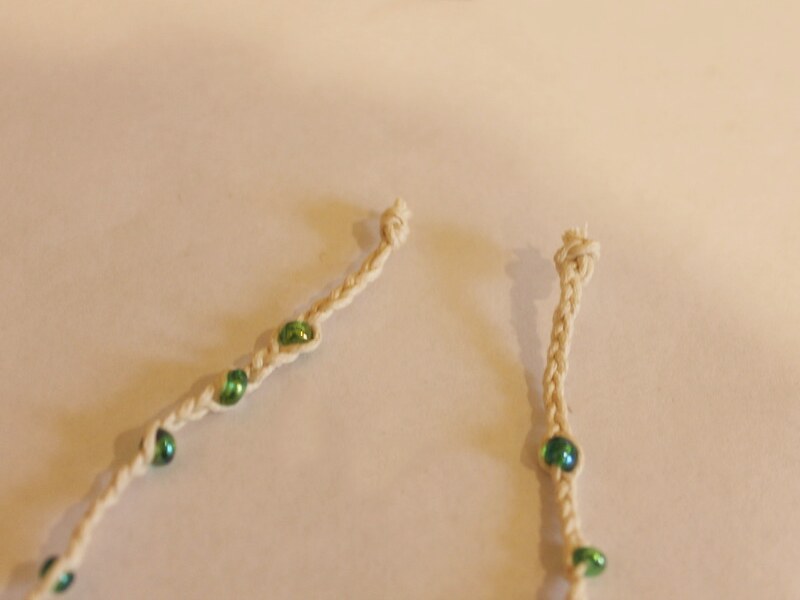
6: Once you’ve made your braid long enough create a knot to the other end of the braid.


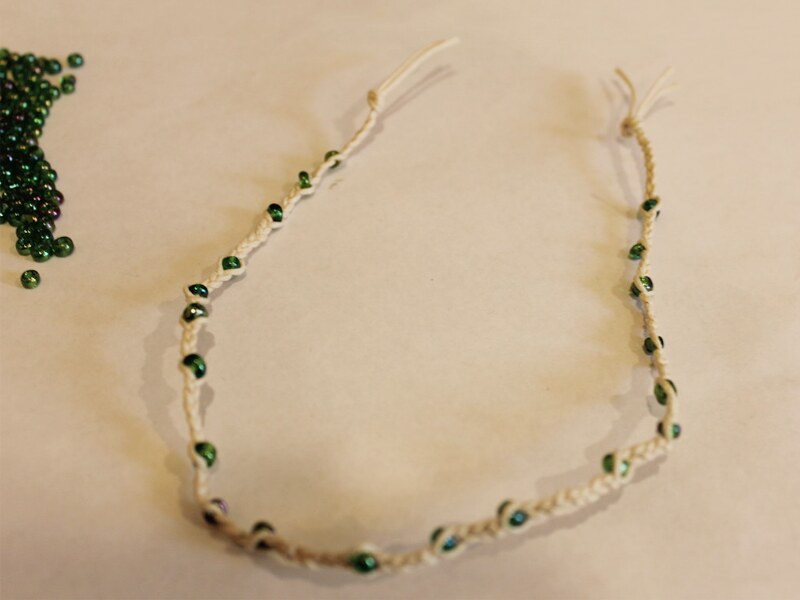
7: Trim the ends of the strings off.
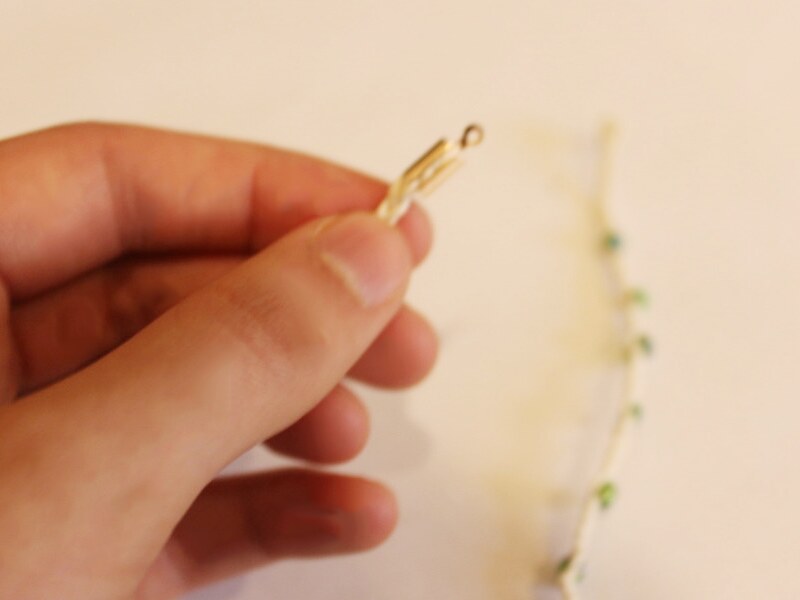
8: Add the crimps around each of the knots at each end of the braid. Use flat nose pliers to squash the crimps around the string.
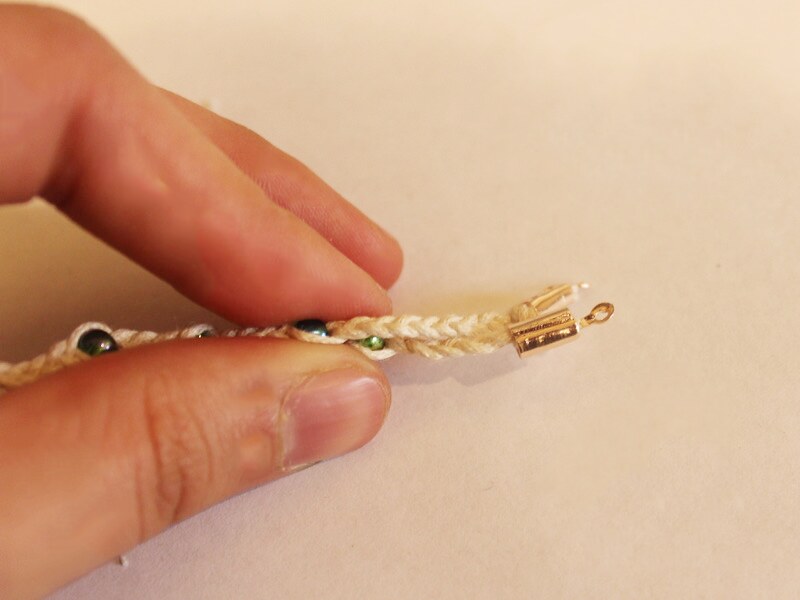
9: Add a jump ring to the loop at the top of one of the crimps and slide on the lobster clasp. Close the jump ring to secure the clasp in place.

10: Add the last jump ring to the other side of the necklace to finish it off.
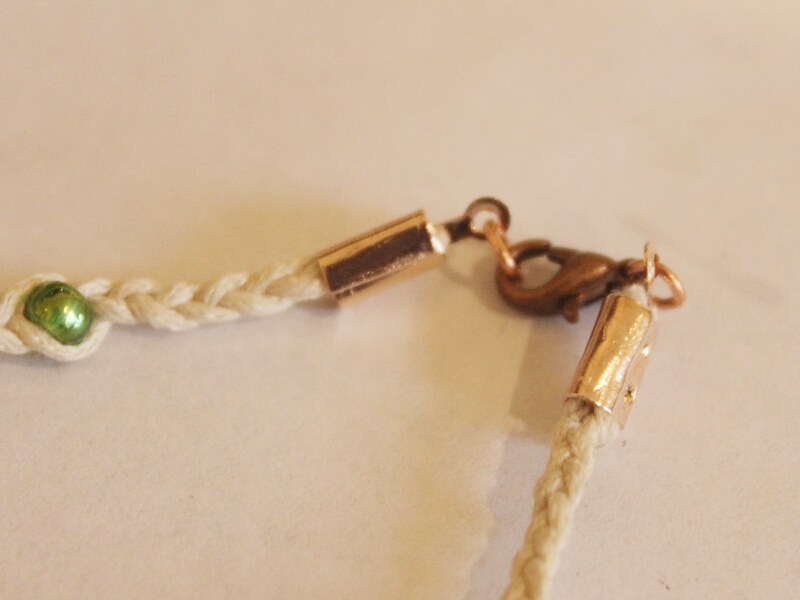
Now your boho braided bead necklace is ready to wear! Perfect for summer beach days!